This easy crockpot sausage and peppers recipe is made with Italian sausage, bell peppers, onions, garlic and marinara sauce for a classic comfort meal that slow cooks to perfection.
From the recipe collection of Tara Ippolito

If you need a low effort, big flavor dinner that practically makes itself, this crockpot sausage and peppers is it. It’s one of those classic comfort meals that smells incredible while it cooks and tastes even better piled onto a roll or served over pasta.
This slow cooker version keeps things simple with Italian sausage, colorful bell peppers, onion, garlic, and marinara sauce. It’s perfect for busy weeknights, game days, or anytime you want a hearty meal without babysitting the stove. This one is a keeper for sure.
Ingredients
Here’s everything you’ll need to make this delicious crockpot meal. You can find the full ingredients list along with measurements and instructions in the recipe card below.
- Italian Sausage (sweet, hot, or a mix)- The star of the dish. Sausage adds rich, savory flavor and releases juices as it cooks, seasoning everything in the crockpot. I love Premio for this.
- Bell Peppers (red, yellow, green)- Add sweetness, color, and a slight bite that balances the richness of the sausage.
- Onion- Softens as it cooks and adds depth and natural sweetness to the sauce.
- Garlic- Brings bold, aromatic flavor that enhances the marinara and sausage.
- Marinara Sauce- Creates a saucy base that ties everything together and makes this perfect for sandwiches or pasta. I used Victorias here.
- Italian Seasoning-Adds classic herb flavor with minimal effort. I used Simply Organic.
- Salt & Black Pepper- Enhances and balances all the flavors as they cook together.
- Crushed Red Pepper- An optional spice that adds gentle heat without overpowering the dish. I used Simply Organic.
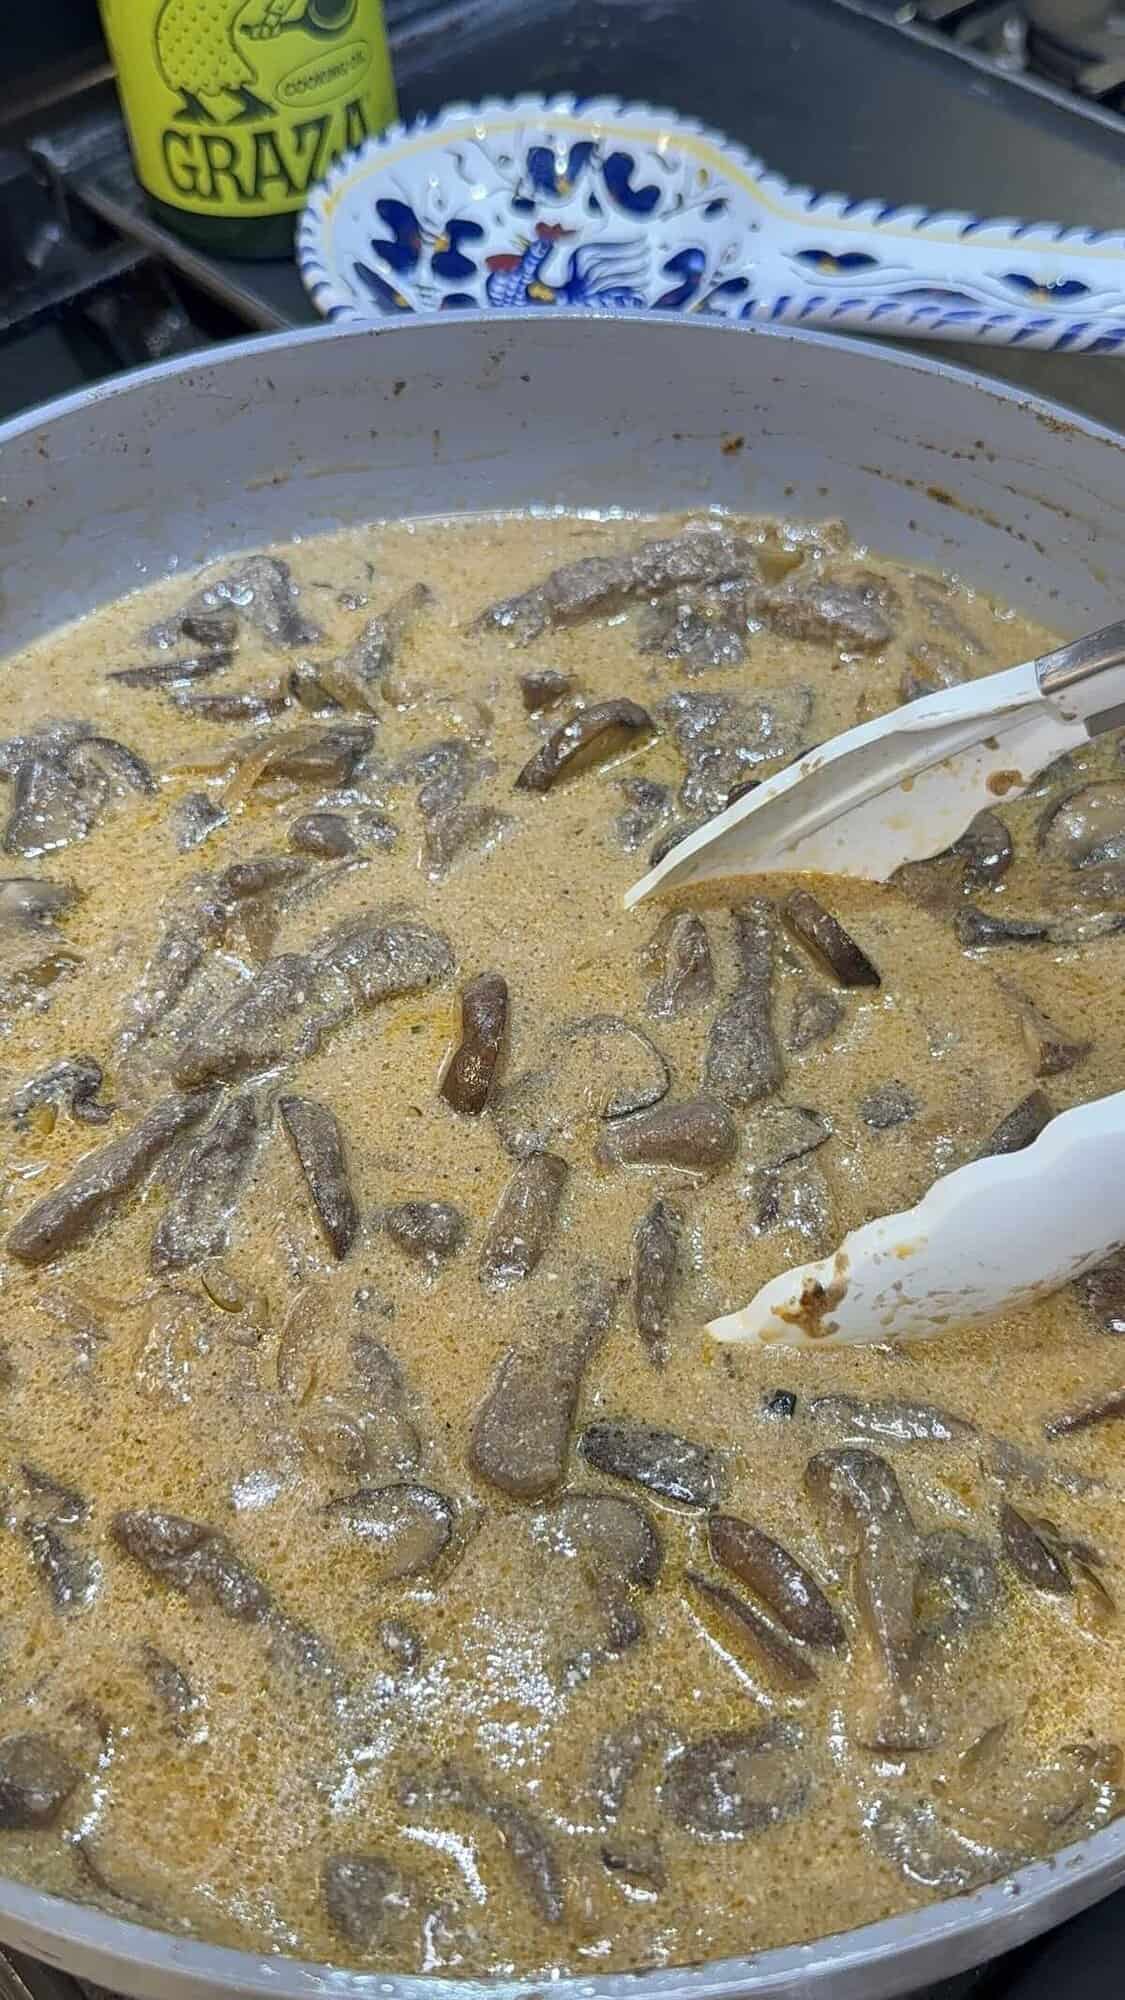
- Olive Oil- Just a little bit helps brown the sausage. I used Graza.
- Parsley- An optional garnish that adds a pop of color.
How To Make It
Here’s now to make these delicious sausage and peppers. You can find the full ingredients list along with instructions on the recipe card below.
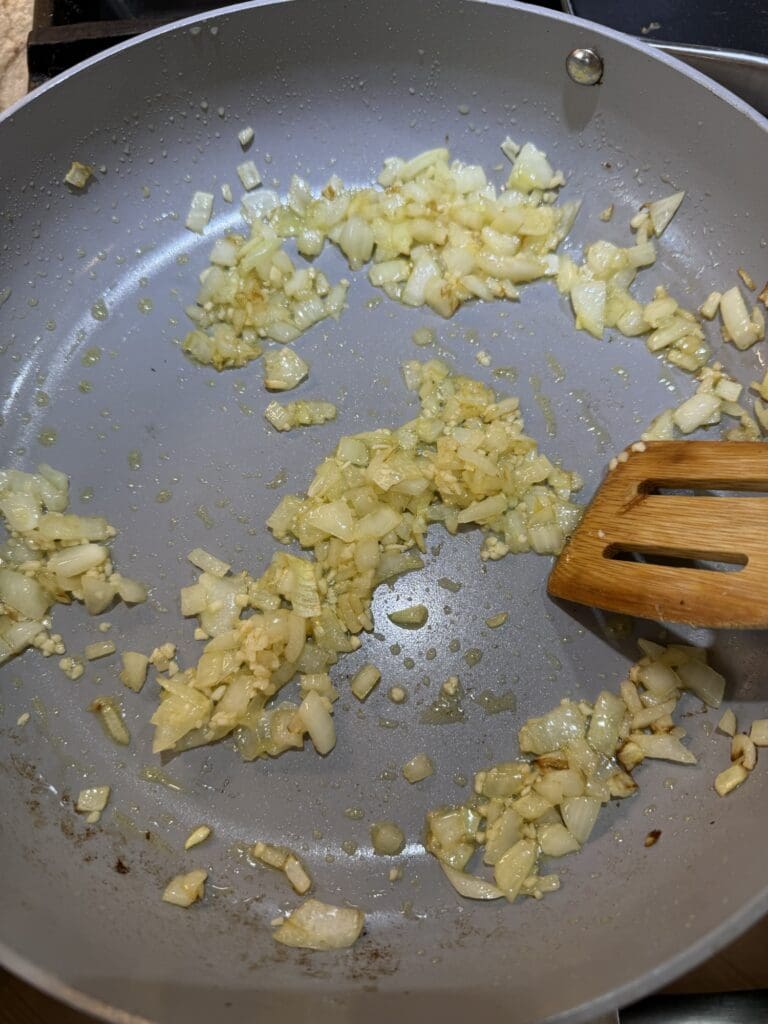
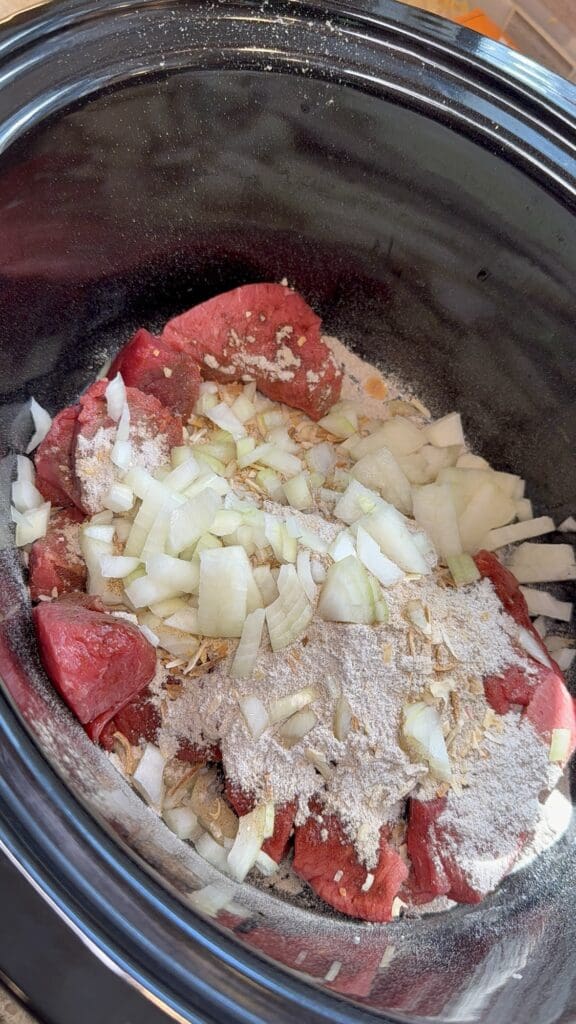
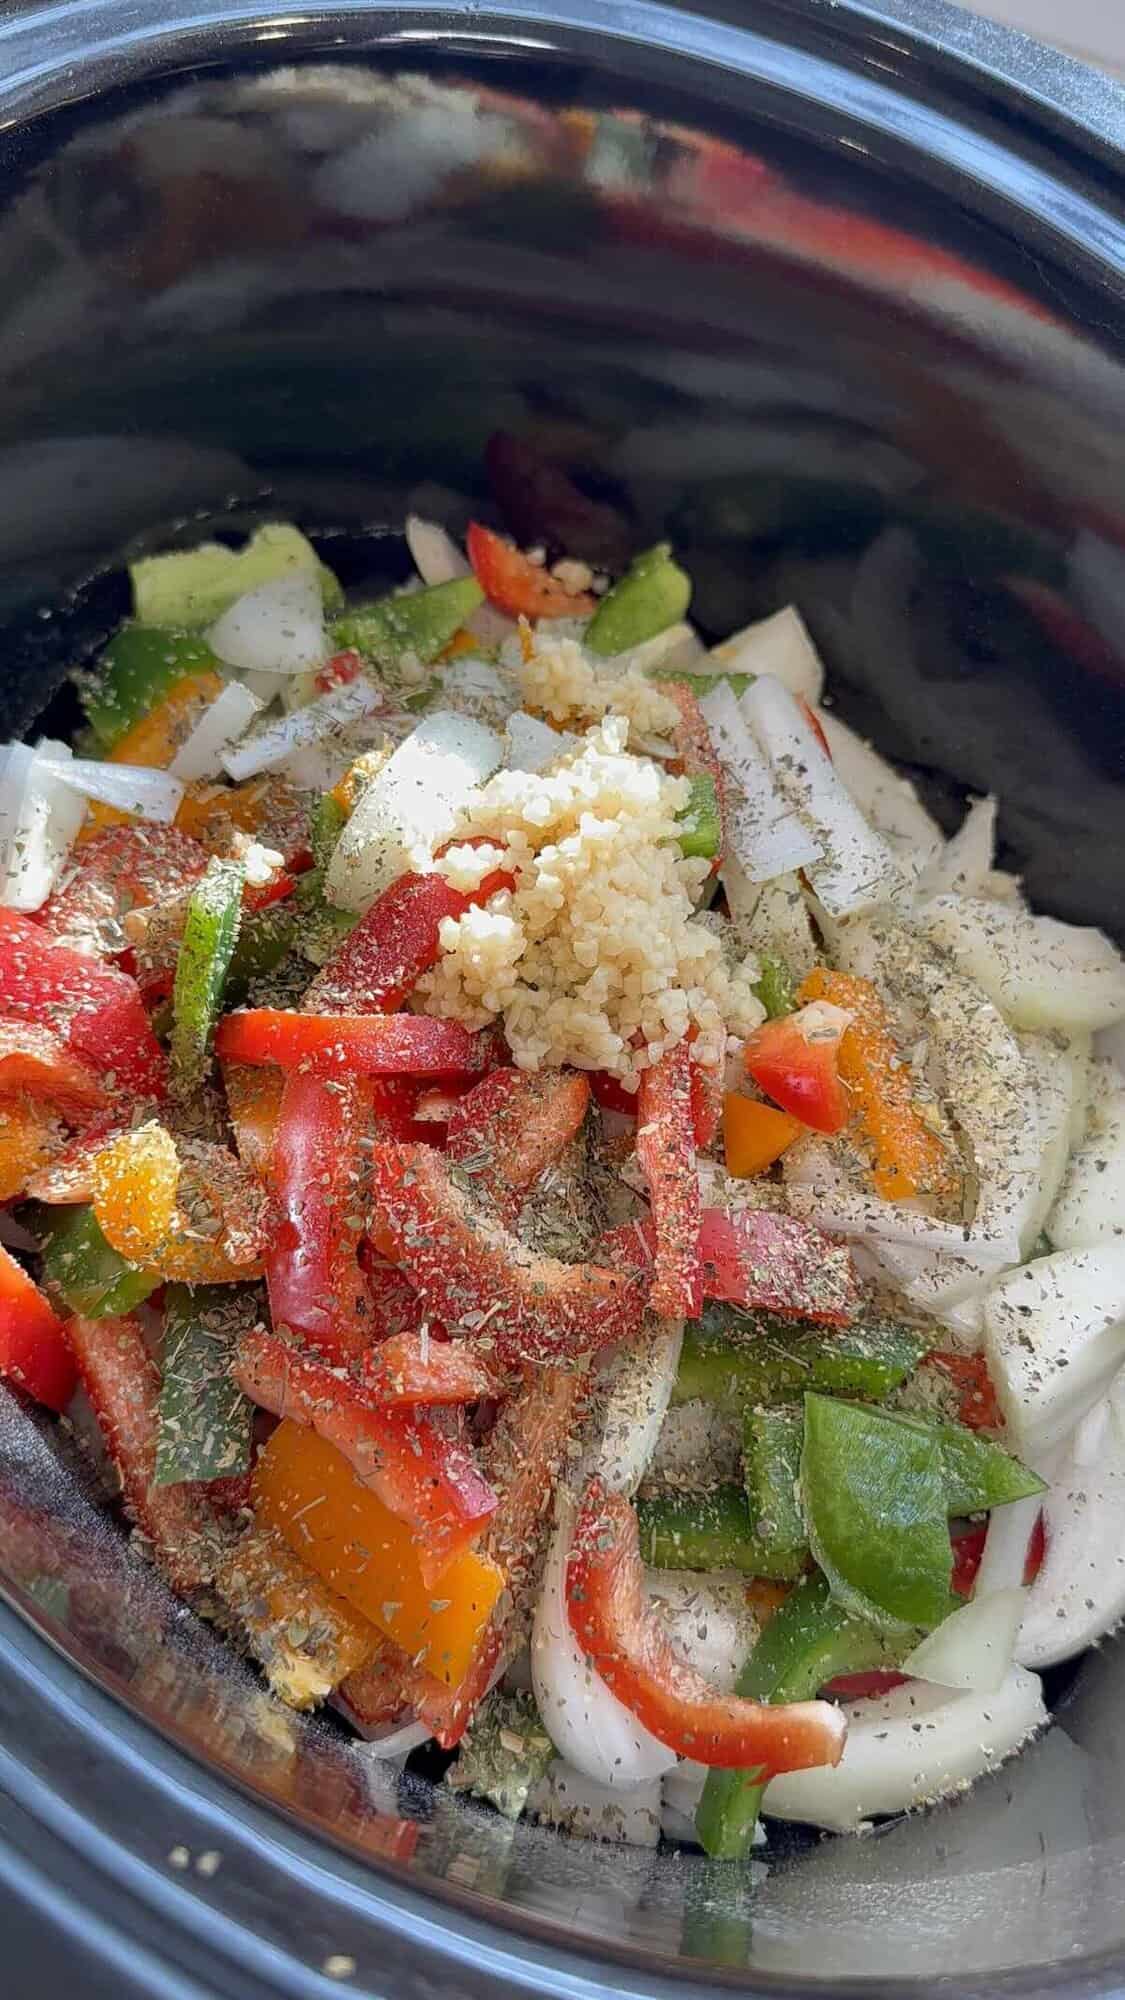
Fist, add the sliced bell peppers, onions and garlic into the crockpot. Season it with salt, pepper, garlic powder, Italian seasoning and red pepper flakes (optional).
NOTE: Don’t over slice the peppers and onions. Slightly bigger pieces will hold up better when cooking.
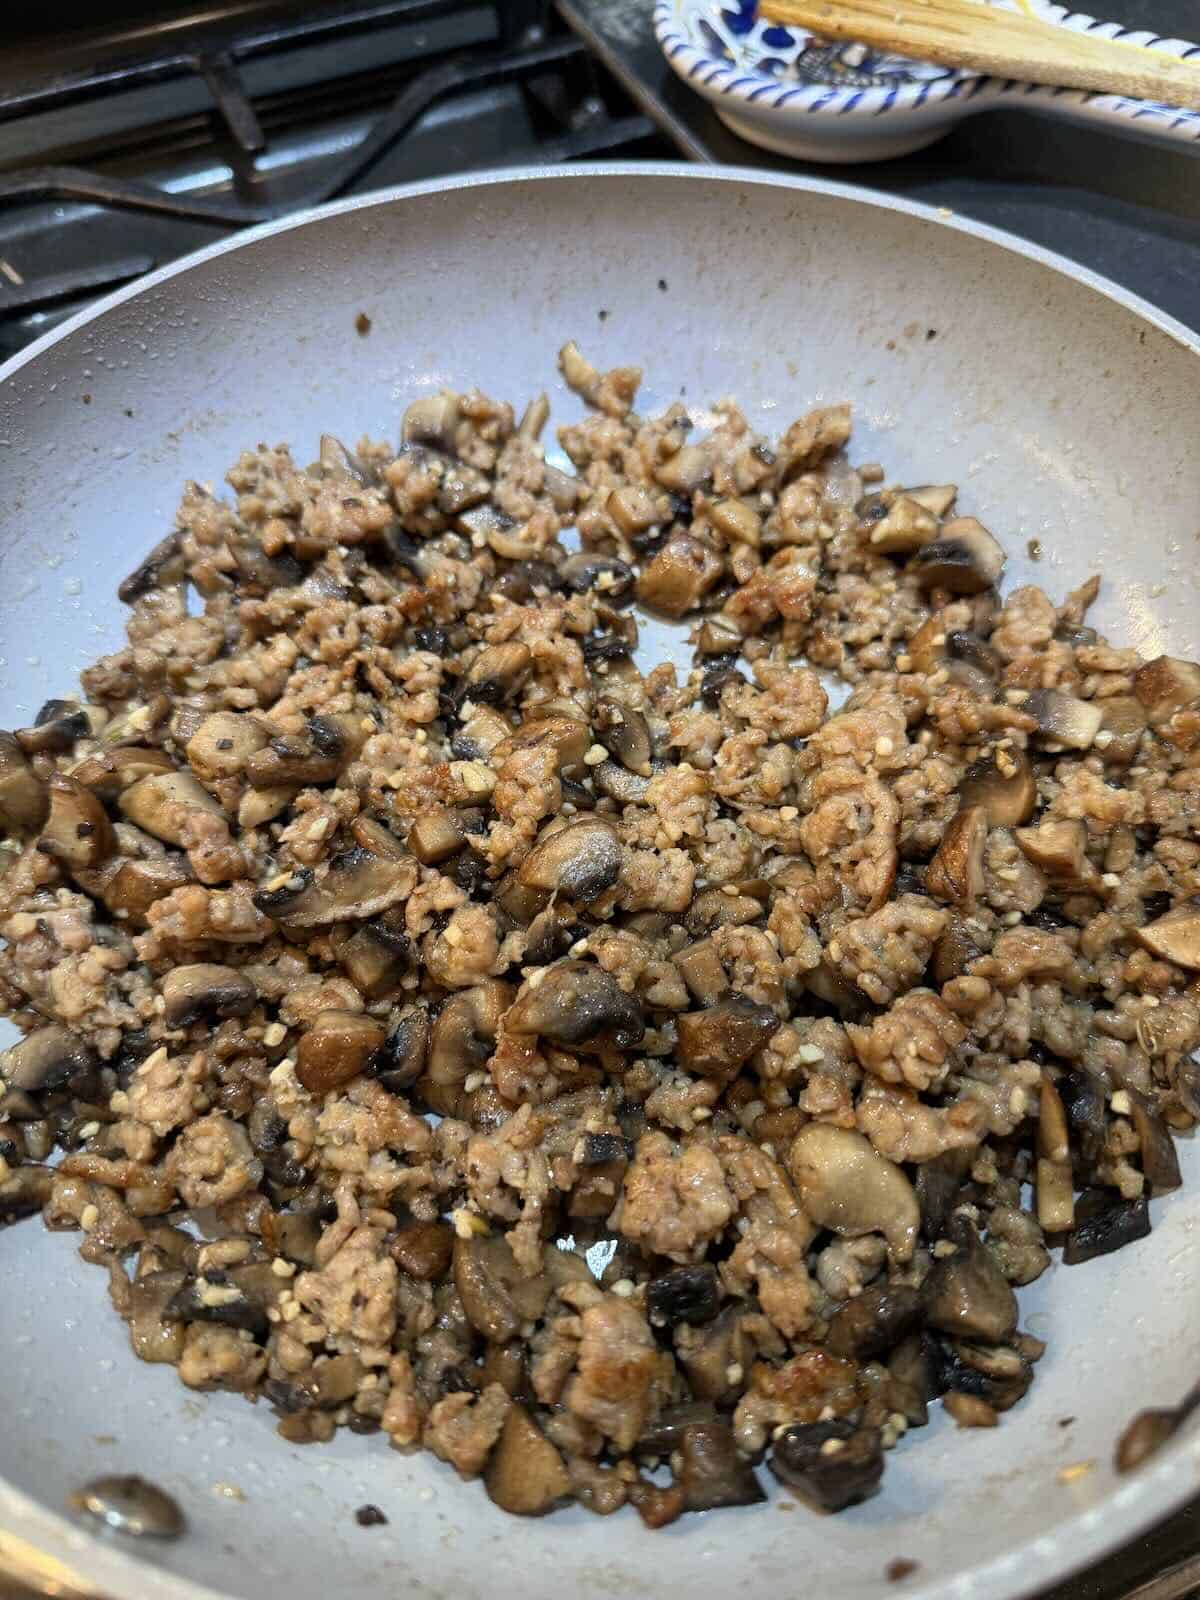
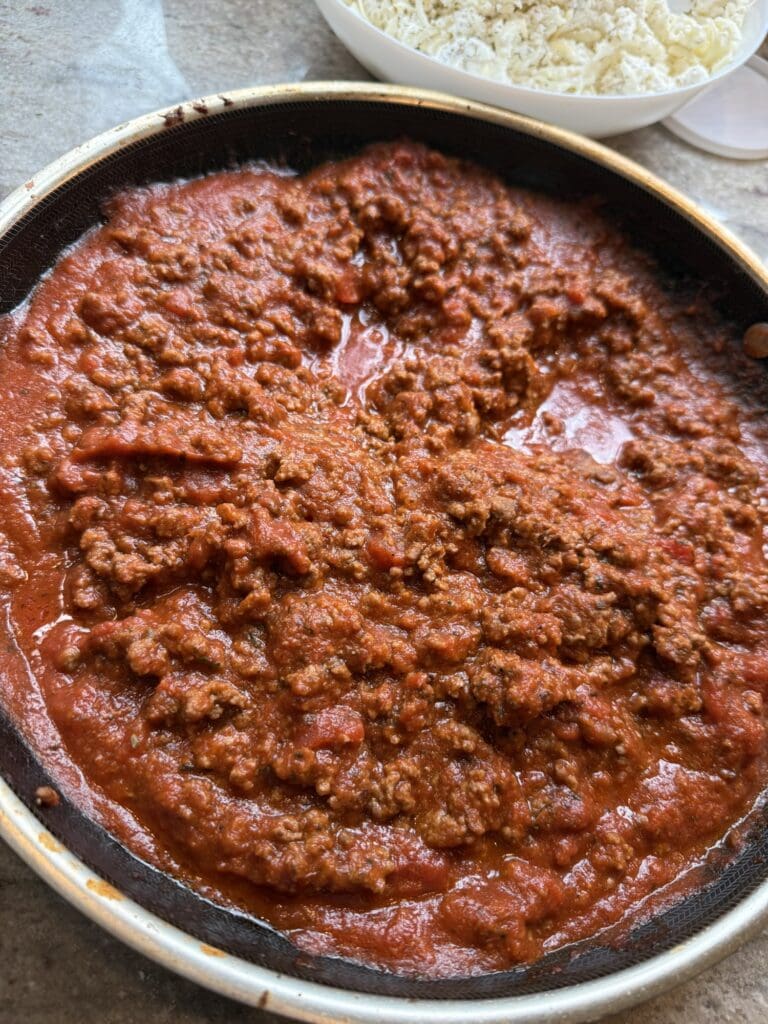
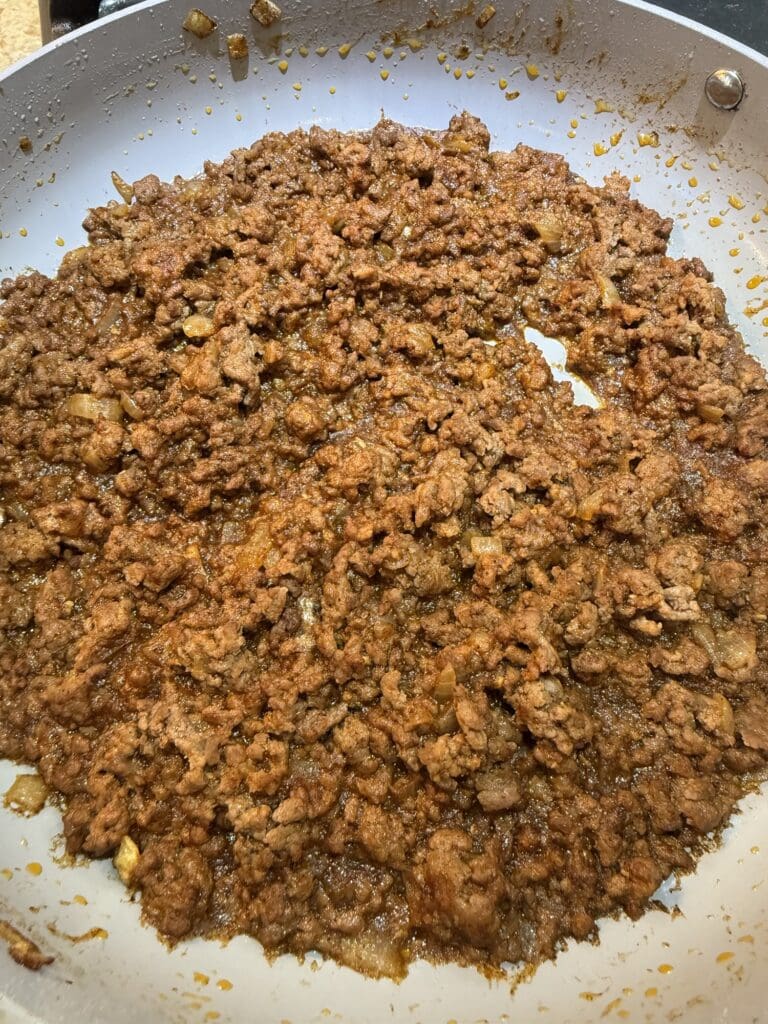
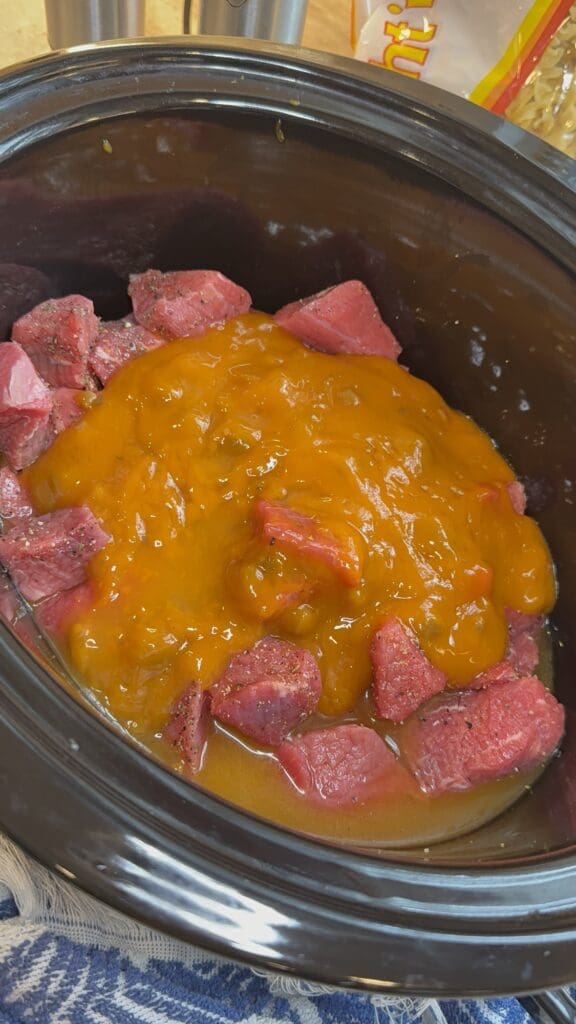
Now, in large skillet, heat the olive oil over medium high heat and brown the sausage. Remove it from the pan let it rest for 2 minutes then slice it into 1-2” pieces and place it into the crockpot.
PRO TIP: Don’t over cook the sausage. It will continue to cook it the sauce.
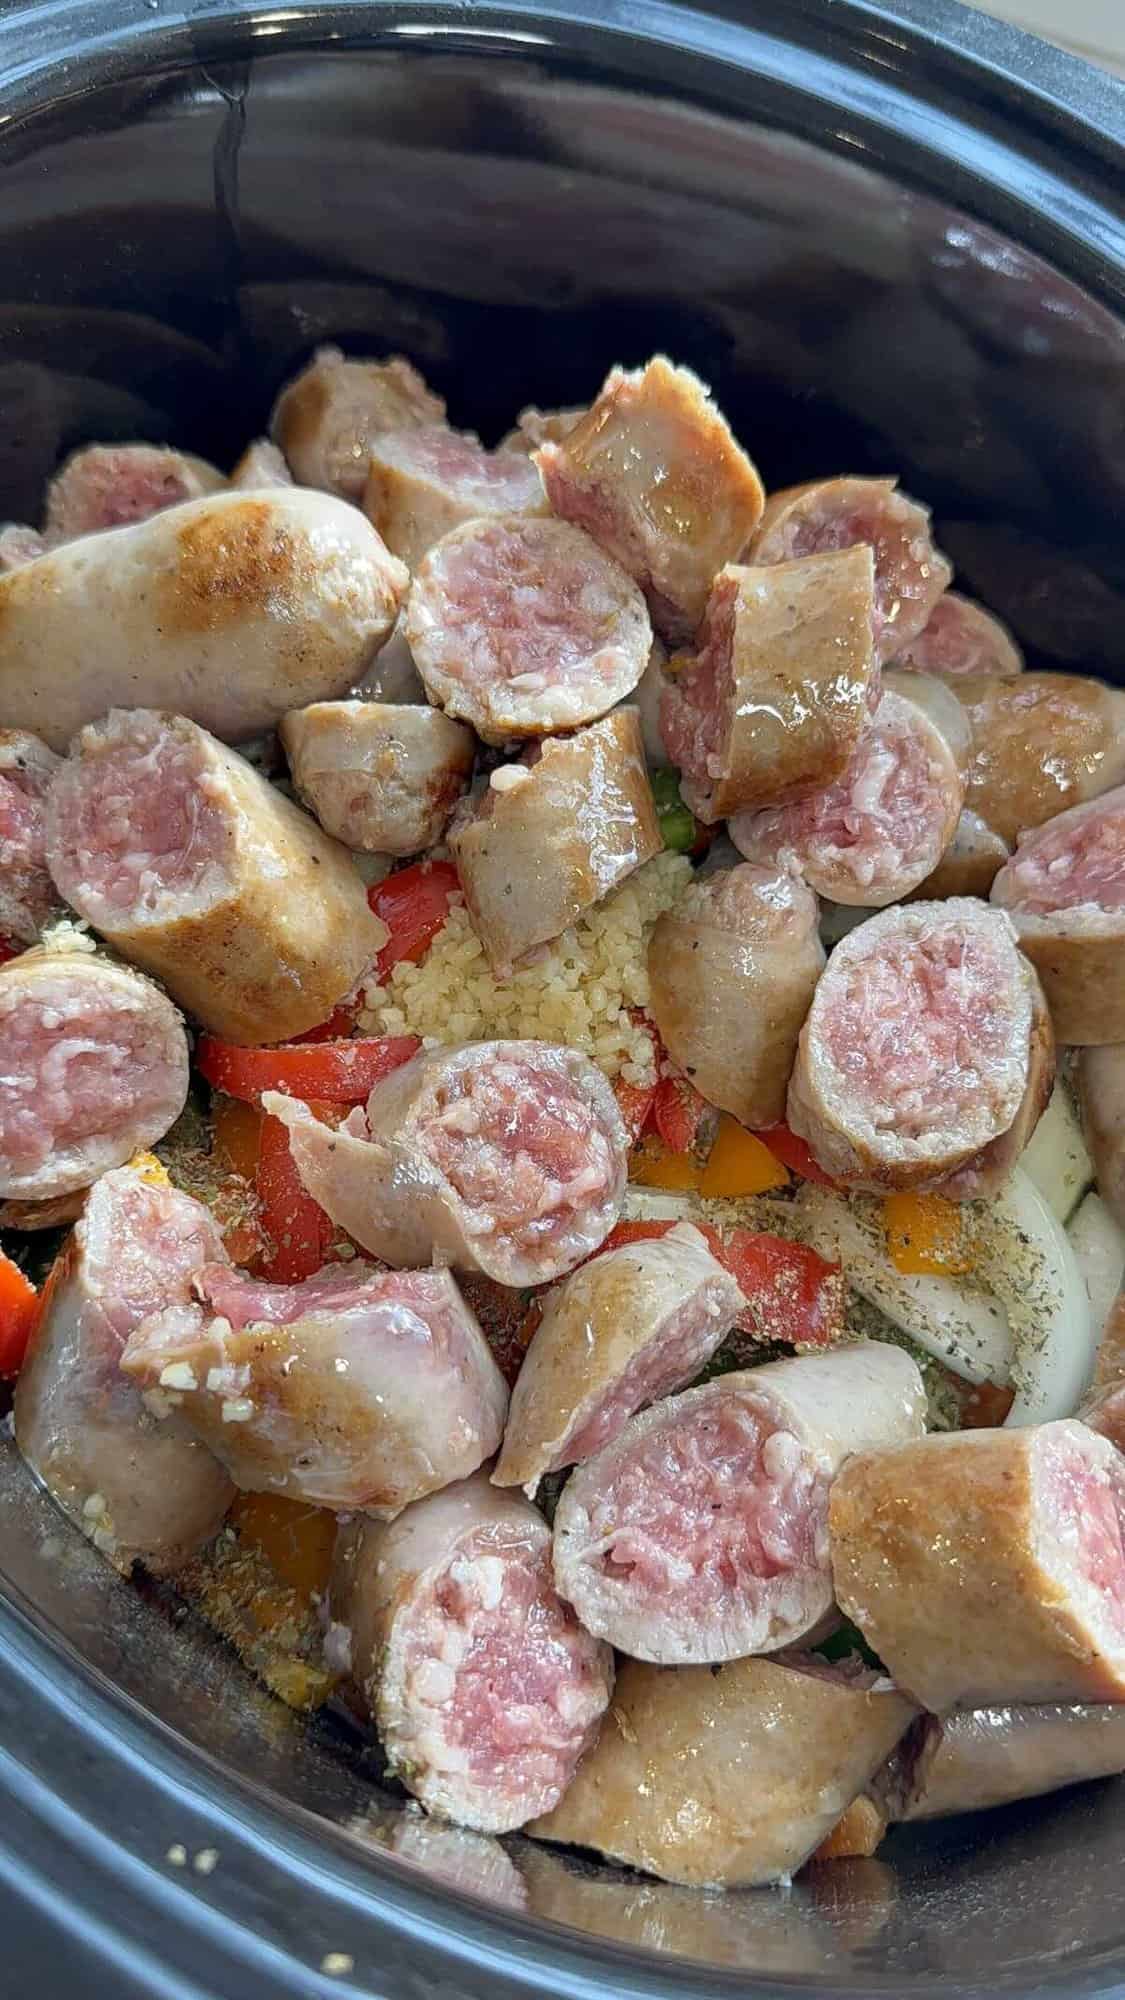
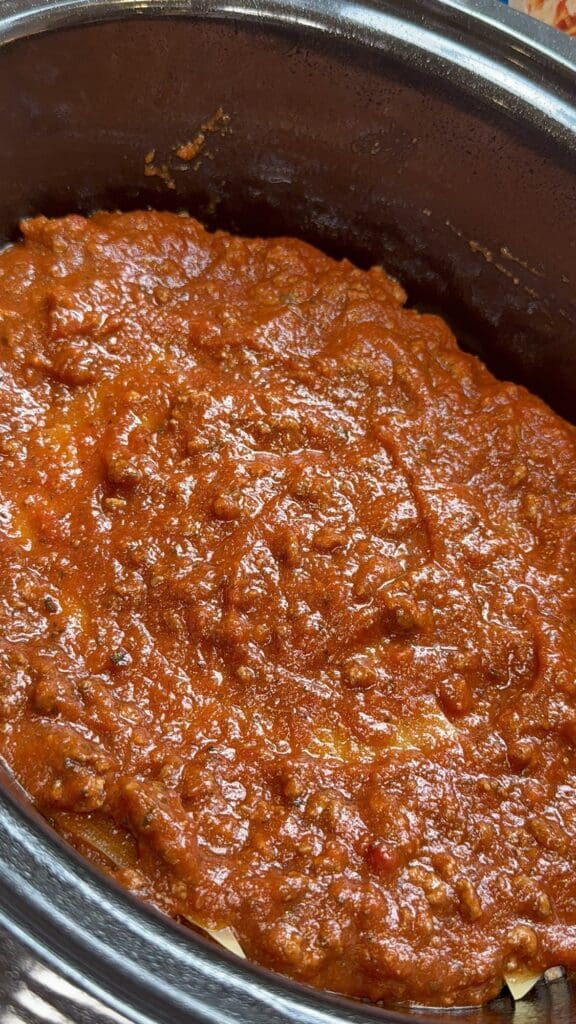
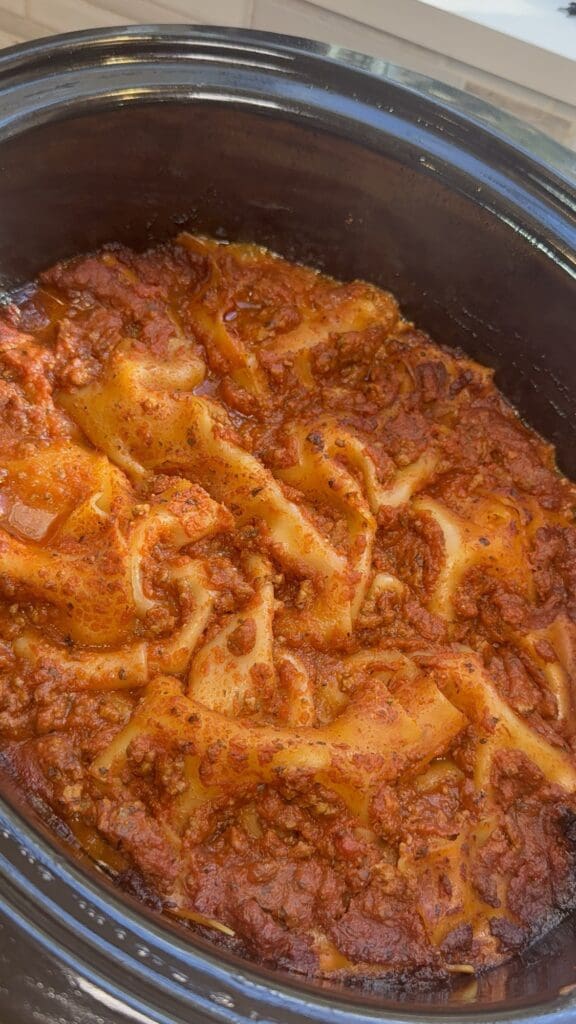
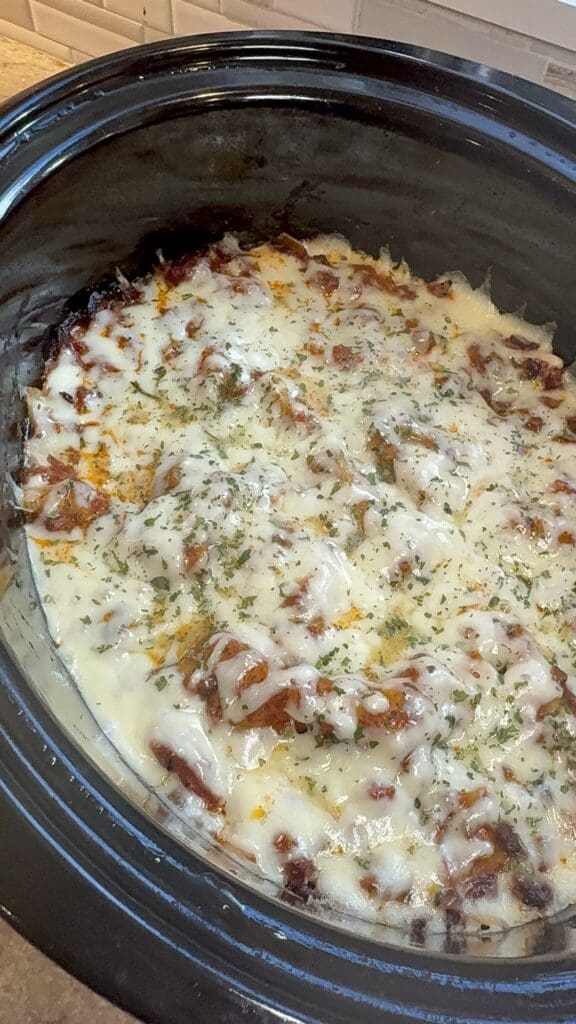
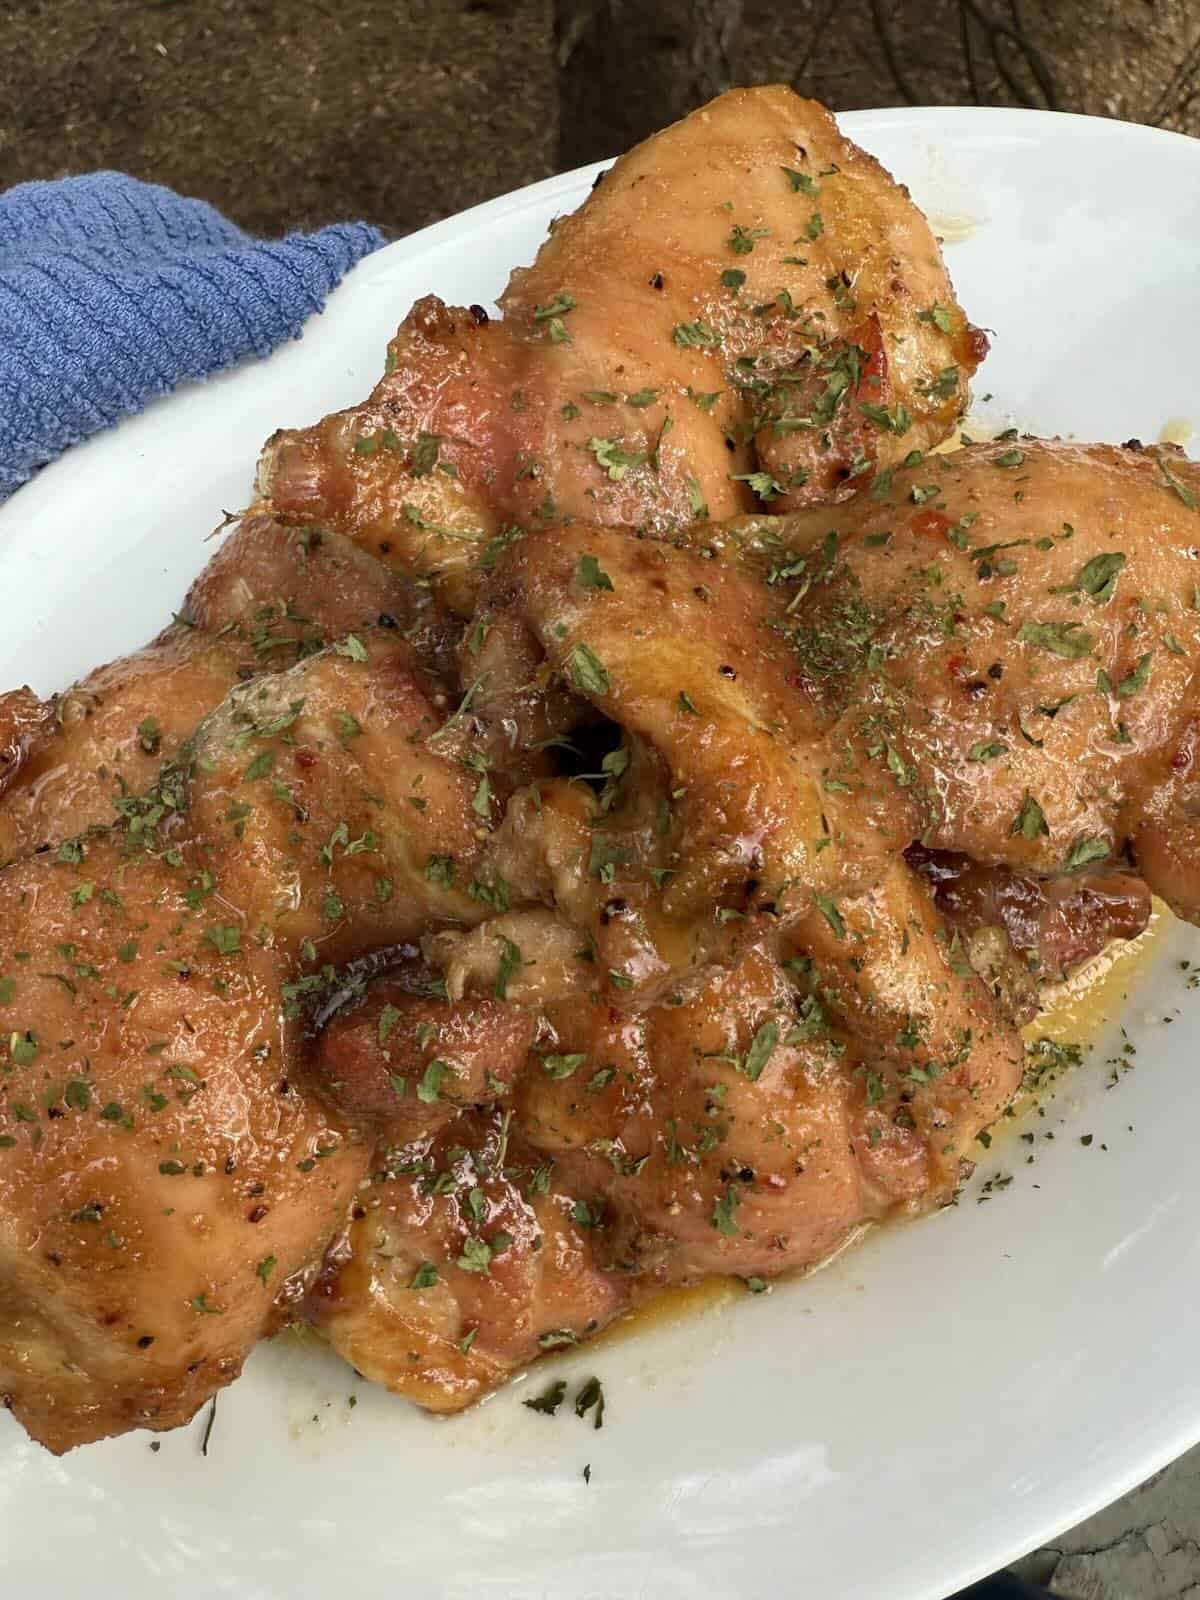
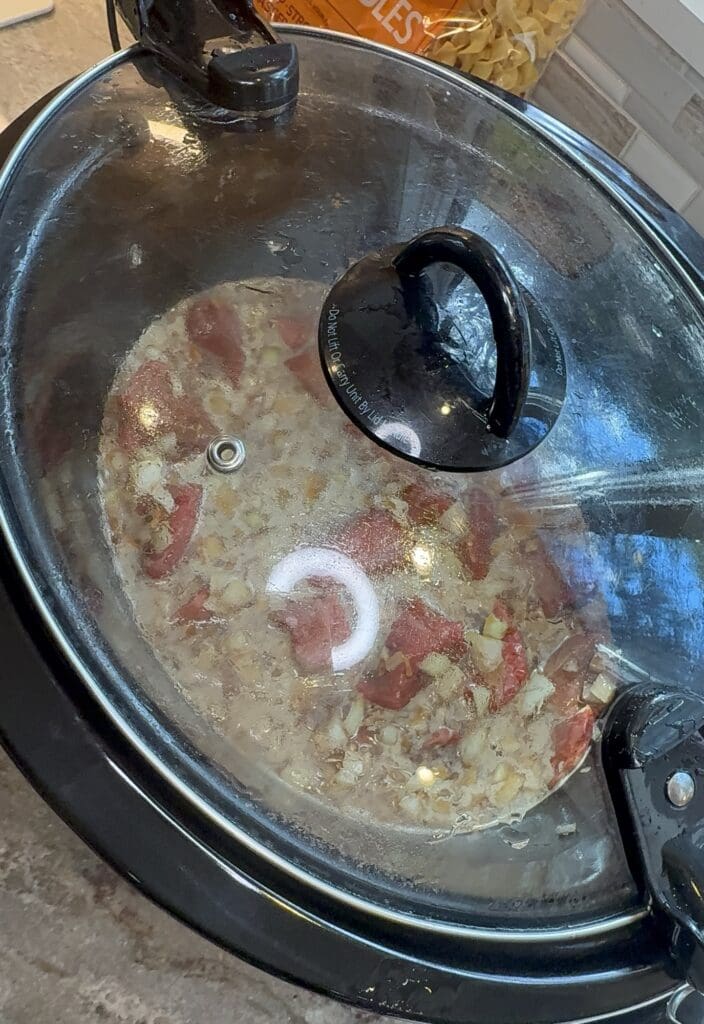
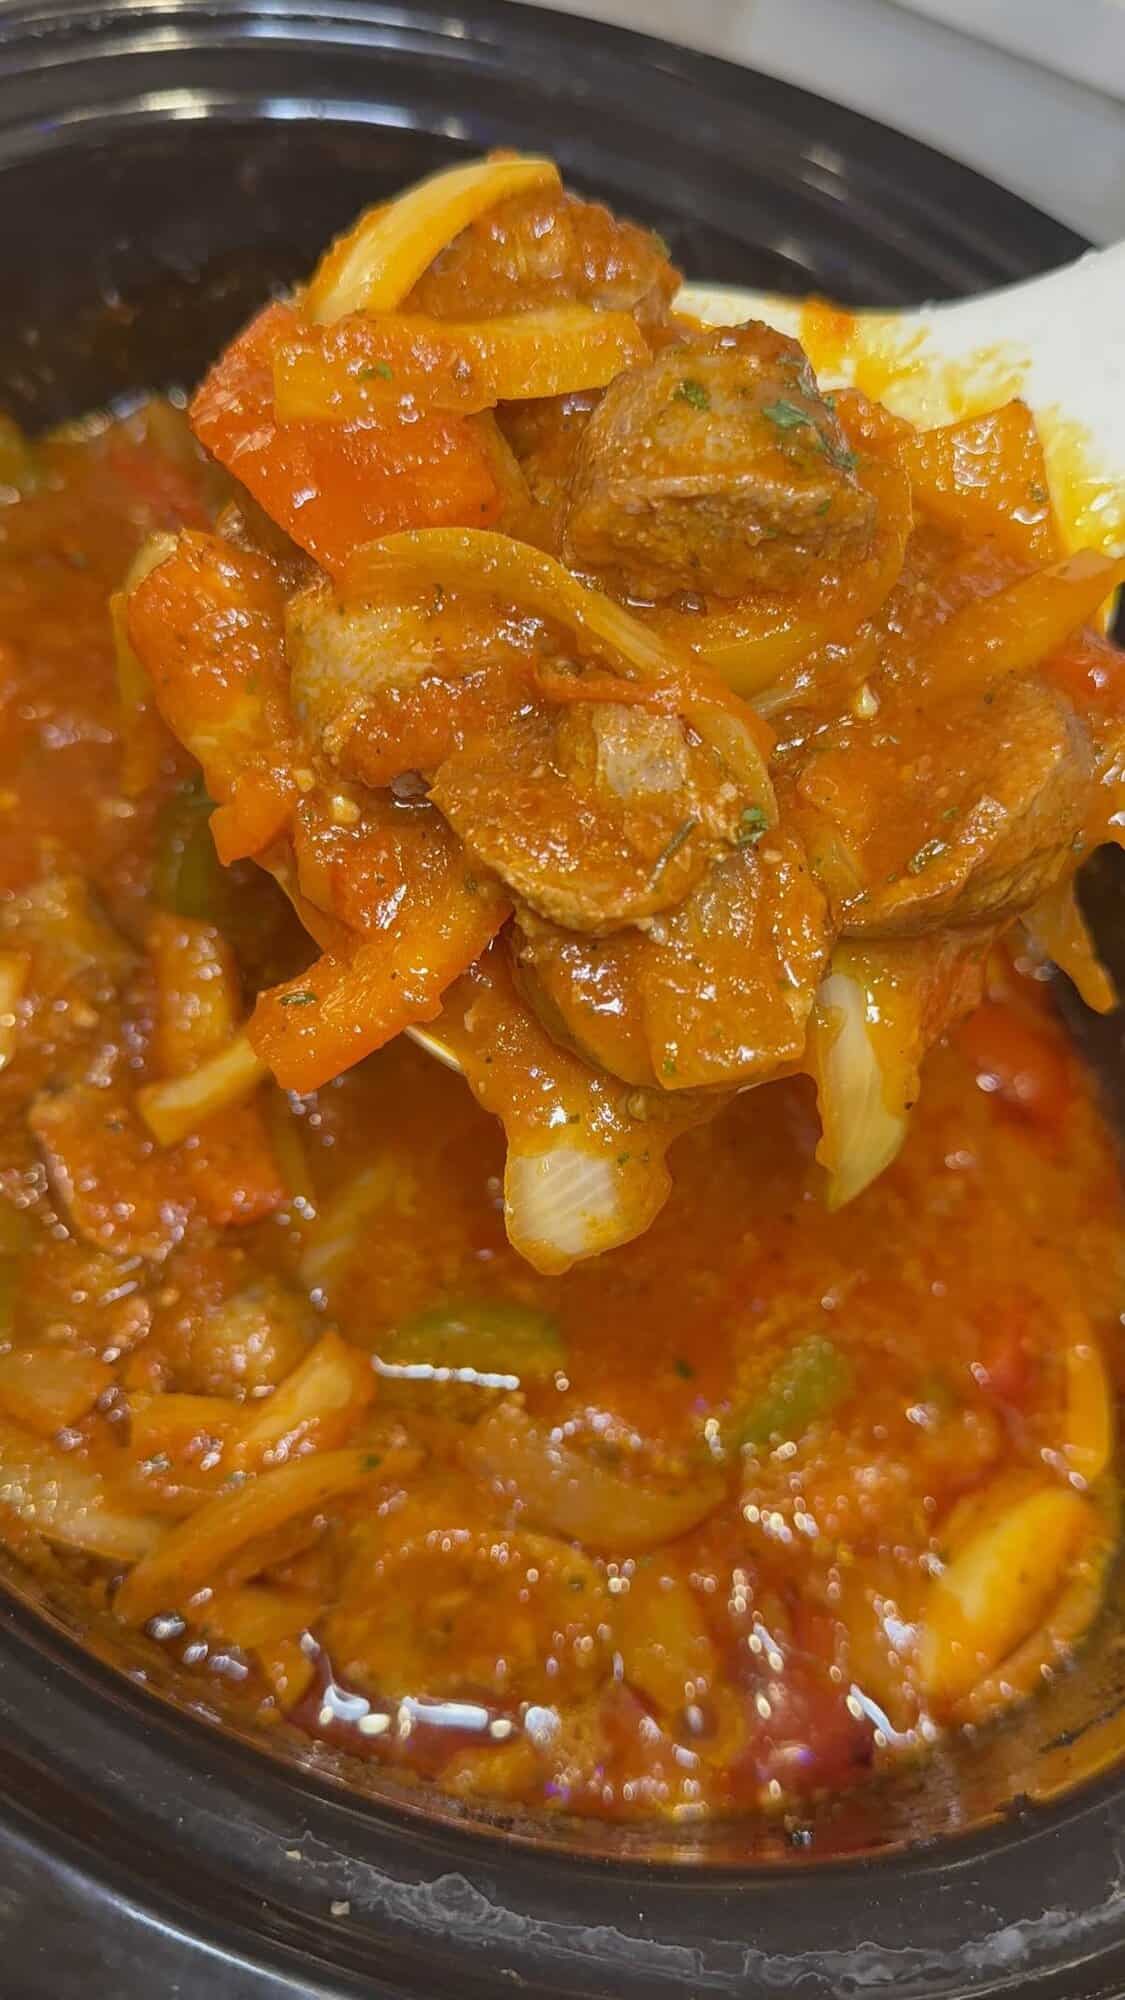
Then, pour the marinara sauce over the peppers, onions and sausage and mix everything together. Place the lid on top and set it to low for 6-7 hours. Garnish with parsley and enjoy!
What Can I Serve This With?
These sausage and peppers can be served alone, over spaghetti or inside a roll for a delicious sandwich.
Do I Need To Brown The Sausage?
No, you don’t need to brown the sausage first and can add it in whole. It will fully cook in the crockpot. Browning the sausage first will add a lot of additional flavor and improves texture in my opinion but it’s not mandatory.
Can I Cook This On High Instead Of Low?
Yes, you can cook this on the high setting for about 3-4 hours or until the sausage is cooked all the way through.
Storage
Let the sausage and pepper is cool completely and place it into an air tight container. It will last the fridge for three days. This recipe freezes well, too. Just place it into a freezer safe air tight container and it will last for up to three months. Thaw it in the fridge the night before before reheating.

Crockpot Sausage And Peppers Recipe
Equipment
- 6-8 QT Crockpot
Ingredients
- 2 Pounds Italian Sausage- Sweet, Mild, Hot or a combo
- 4-5 Cups Marinara Sauce
- 1 Small Red Bell Pepper, sliced
- 1 Small Greene Bell Pepper, sliced
- 1 Small Yellow Bell Bell Pepper, sliced
- 1 Large Yellow Onion, Sliced
- 3 Cloves Garlic, minced
- 1 Tbs Olive Oil
- 1 Tbs Italian Seasoning
- 1 teaspoon Garlic Powder
- Salt and Pepper, to taste
- 1 teaspoon Red Pepper Flakes, optional
- Parsley for garnish, optional
Instructions
- Add the sliced bell peppers, onions and garlic into the crockpot. Season it with salt, pepper, garlic powder, Italian seasoning and red pepper flakes (optional).
- In large skillet, heat the olive oil over medium high heat and brown the sausage. Remove it from the pan let it rest for 2 minutes then slice it into 1-2” pieces and place it into the crockpot.
- Pour the marinara sauce over the peppers, onions and sausage and mix everything together. Place the lid on top and set it to low for 6-7 hours. Garnish with parsley and enjoy!
Video
Other Easy Crockpot Recipes
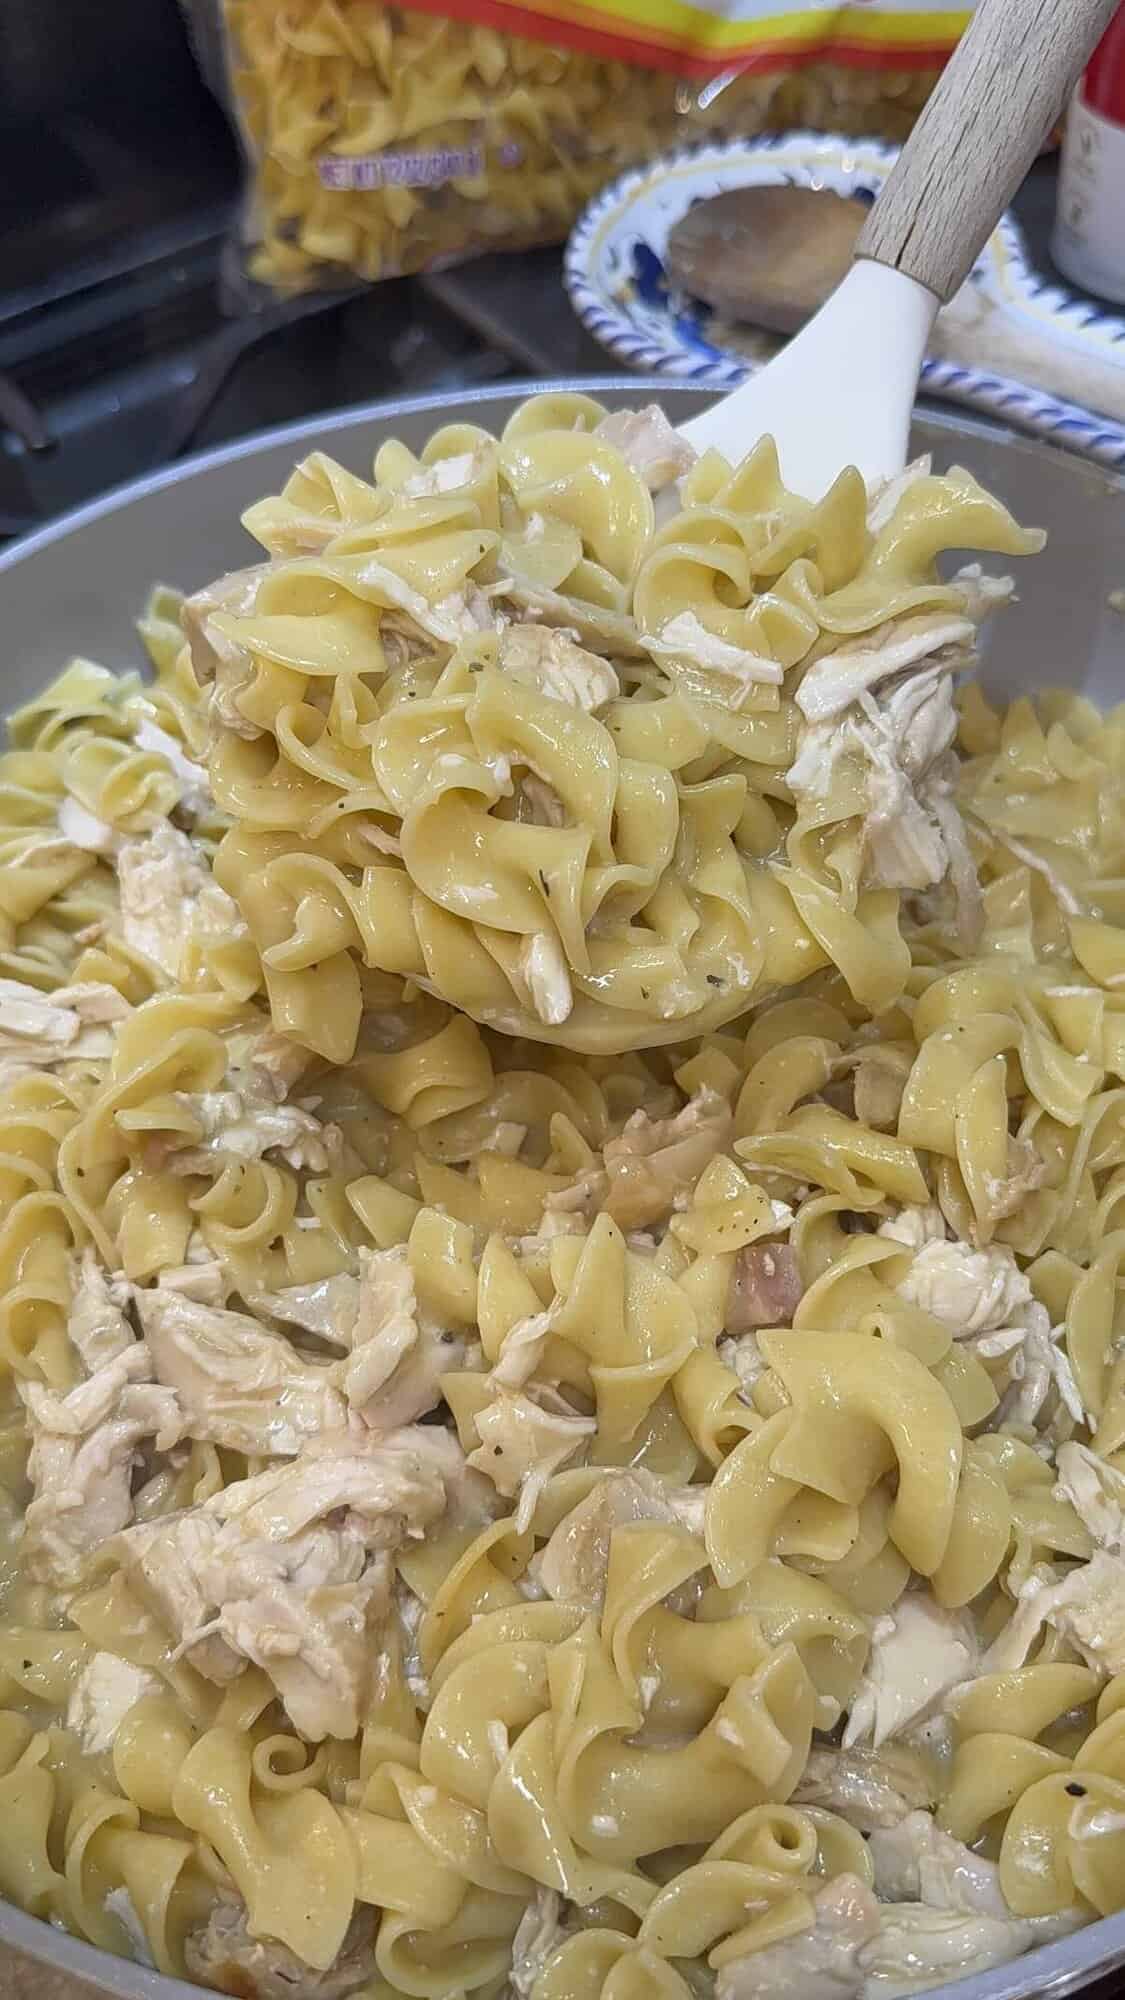
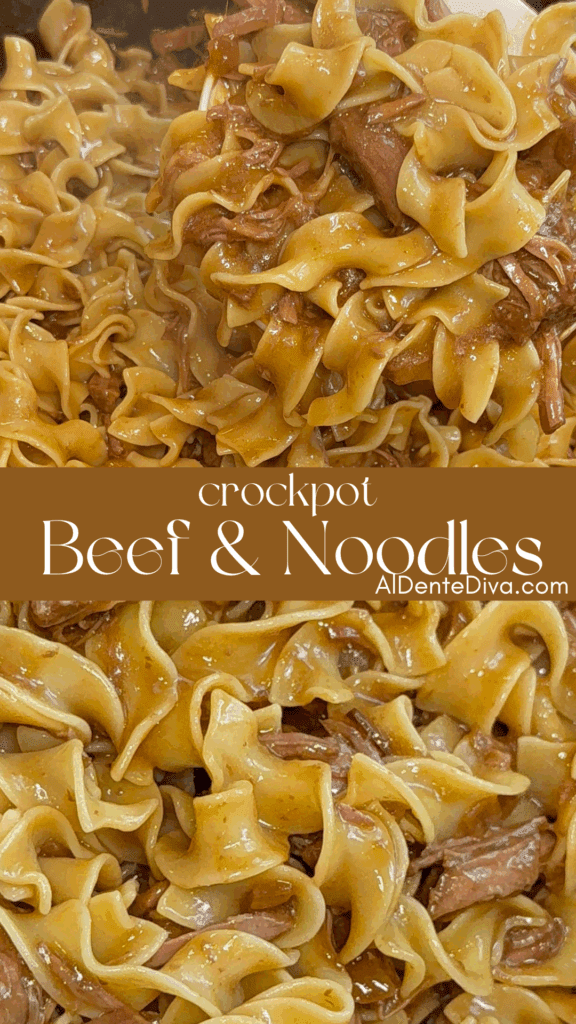
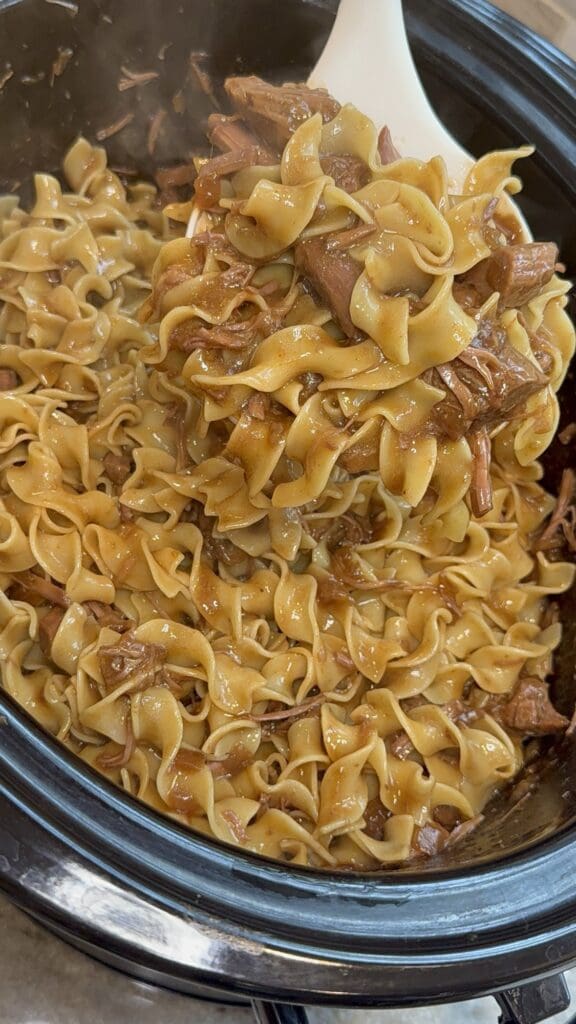
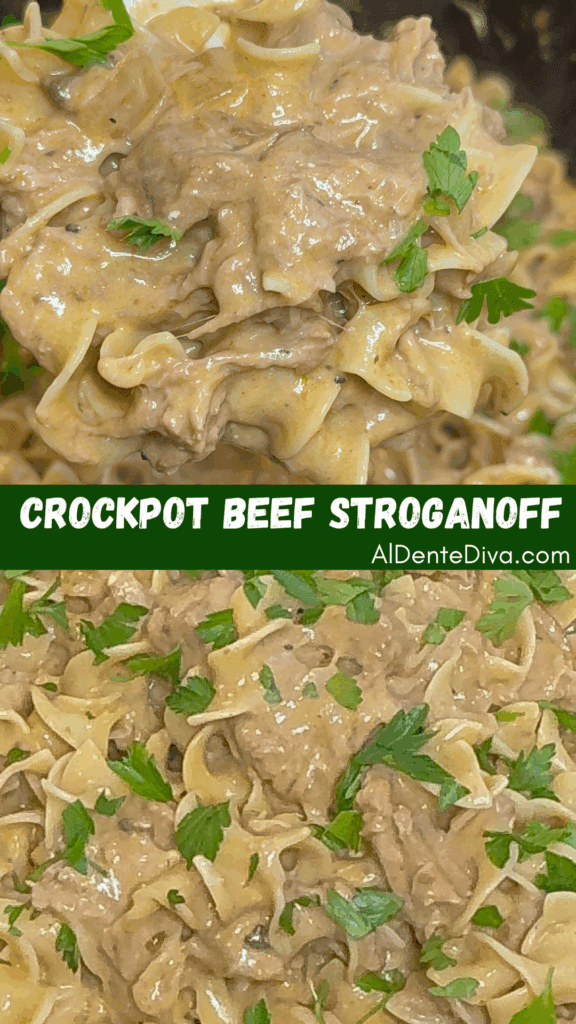
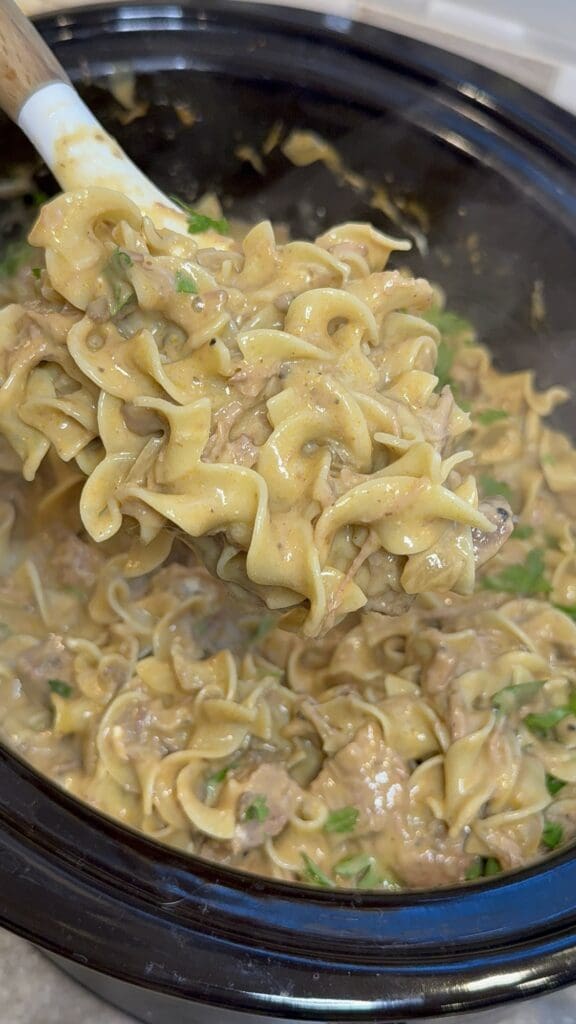
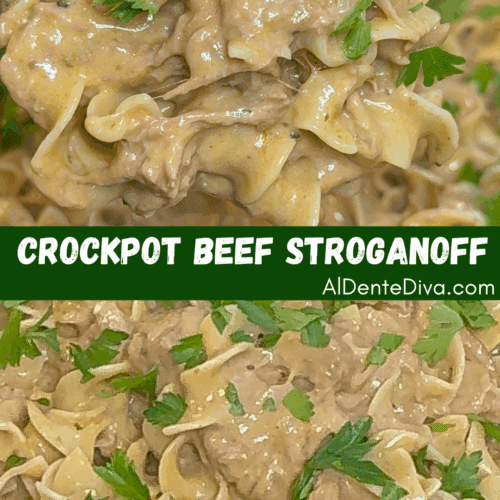
CROCKPOT CHICKEN AND NOODLESIf you like super easy to make crockpot recipes like this one, you have to try this Crockpot Beef And Noodles, Crockpot Chicken And Noodles and Crockpot Beef Stroganoff.