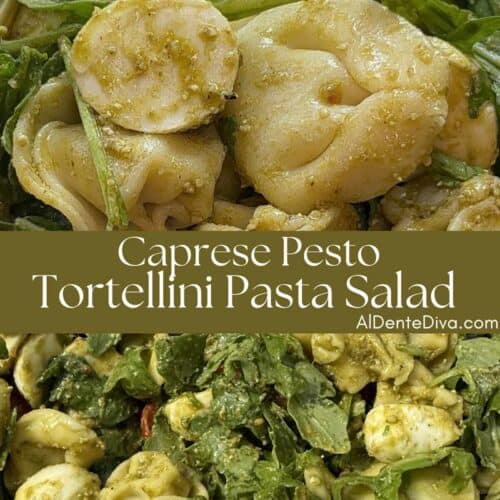
Caprese pesto tortellini pasta salad is made with cheese filled tortellini, fresh mozzarella, cherry tomatoes and arugula tossed in pesto and chilled.
From the recipe collection of Tara Ippolito
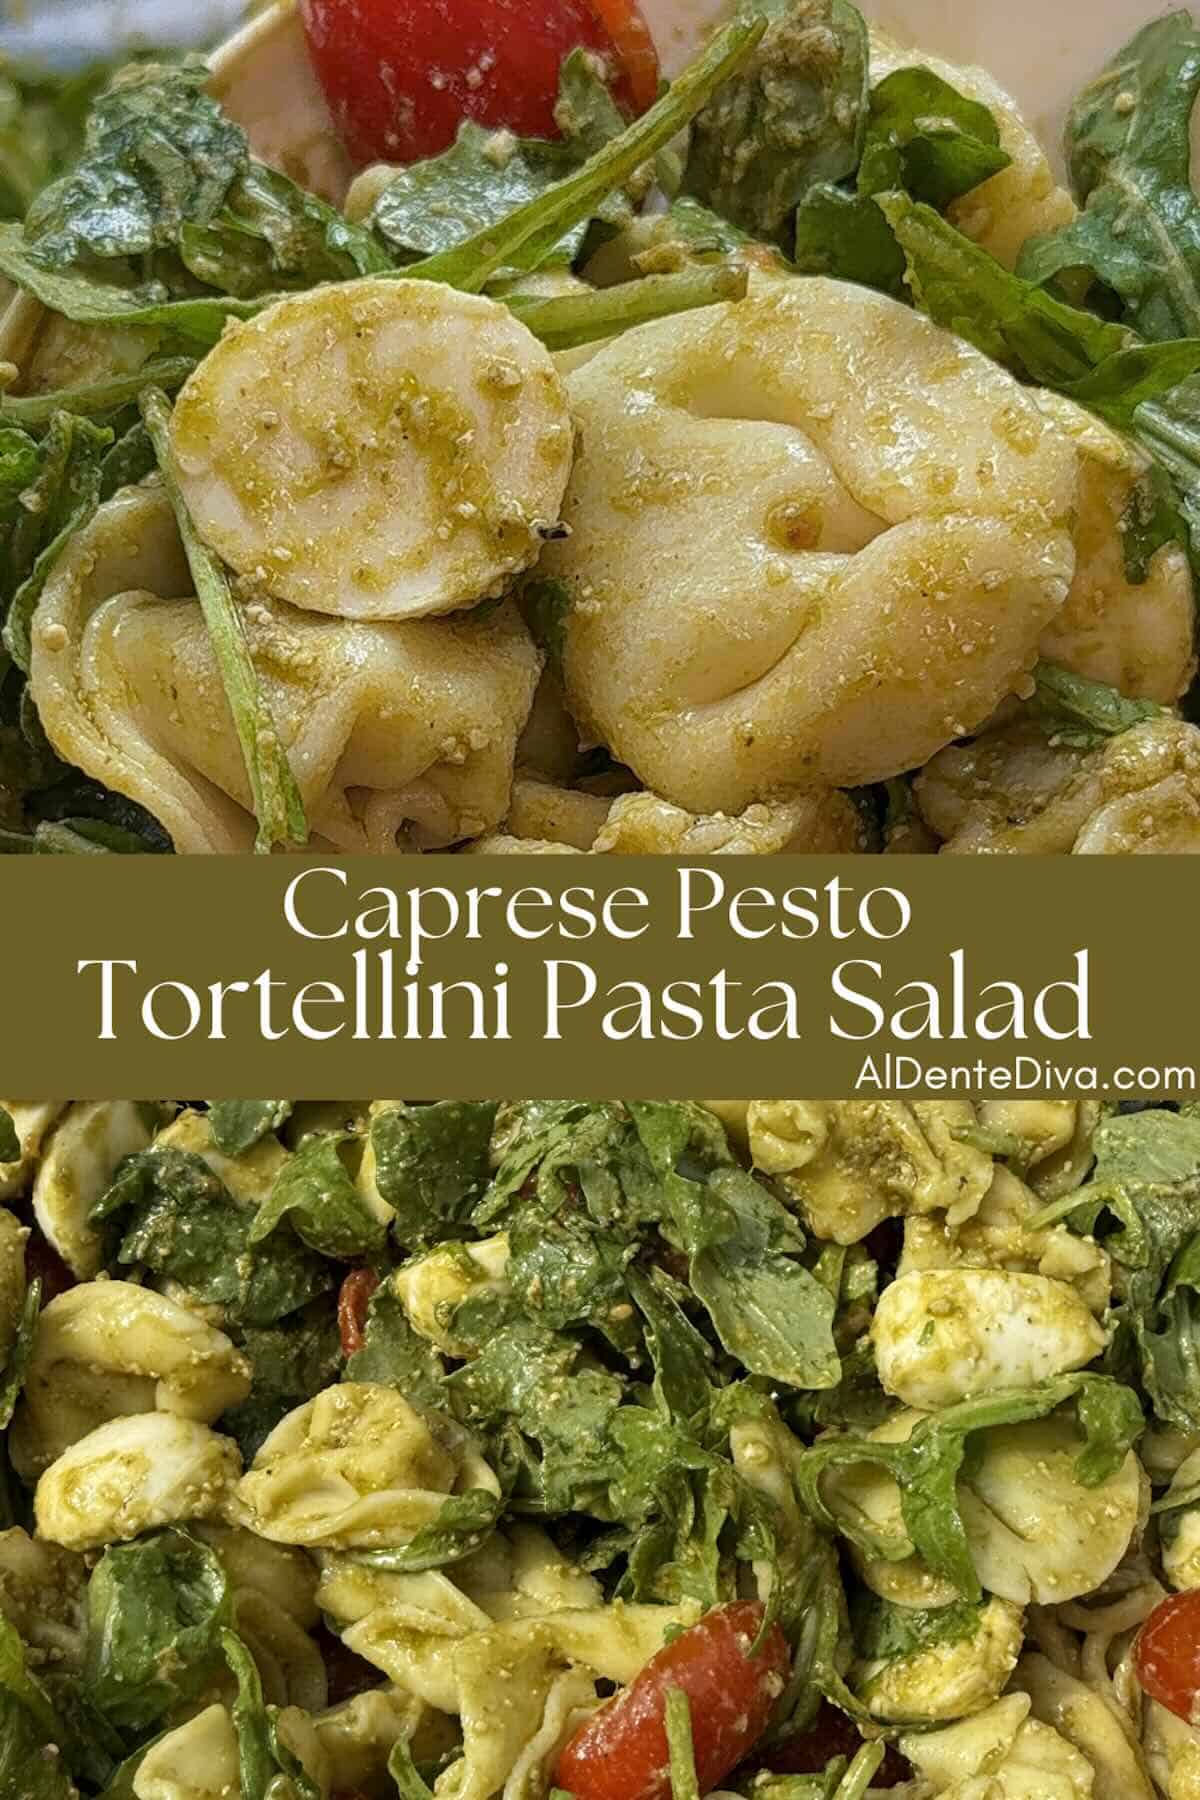
You’ll be making this Caprese Pesto Tortellini Salad on repeat all summer long. Especially when you need something easy that looks impressive. It’s fresh, simple, and it just works every single time.
What I love most about this one is how satisfying it is without feeling heavy. The cheese tortellini makes it hearty and filling, while the tomatoes, arugula, and pesto keep everything bright and summery. It’s the perfect thing to bring to BBQ’s, parties and the pool.
Ingredients
Here’s everything you’ll need to make this delicious pasta salad. You can find the full ingredients list along with instructions on the recipe card below.
- Cheese Tortellini– The base of the salad; hearty, cheesy, and makes it filling
- Cherry Tomatoes – Juicy, sweet bursts of freshness
- Mozzarella Balls – Creamy, mild, classic Caprese flavor
- Premade Pesto – Rich, garlicky, herby sauce that ties everything together
- Arugula – Adds a fresh, slightly peppery bite to balance the richness.
- Olive Oil – Loosens the pesto and adds a smooth finish
- Salt & Pepper – Enhances and brings all the flavors together
How To Make It
Here is how to make this amazing side dish. You can find the full ingredients and instructions on the recipe card below.
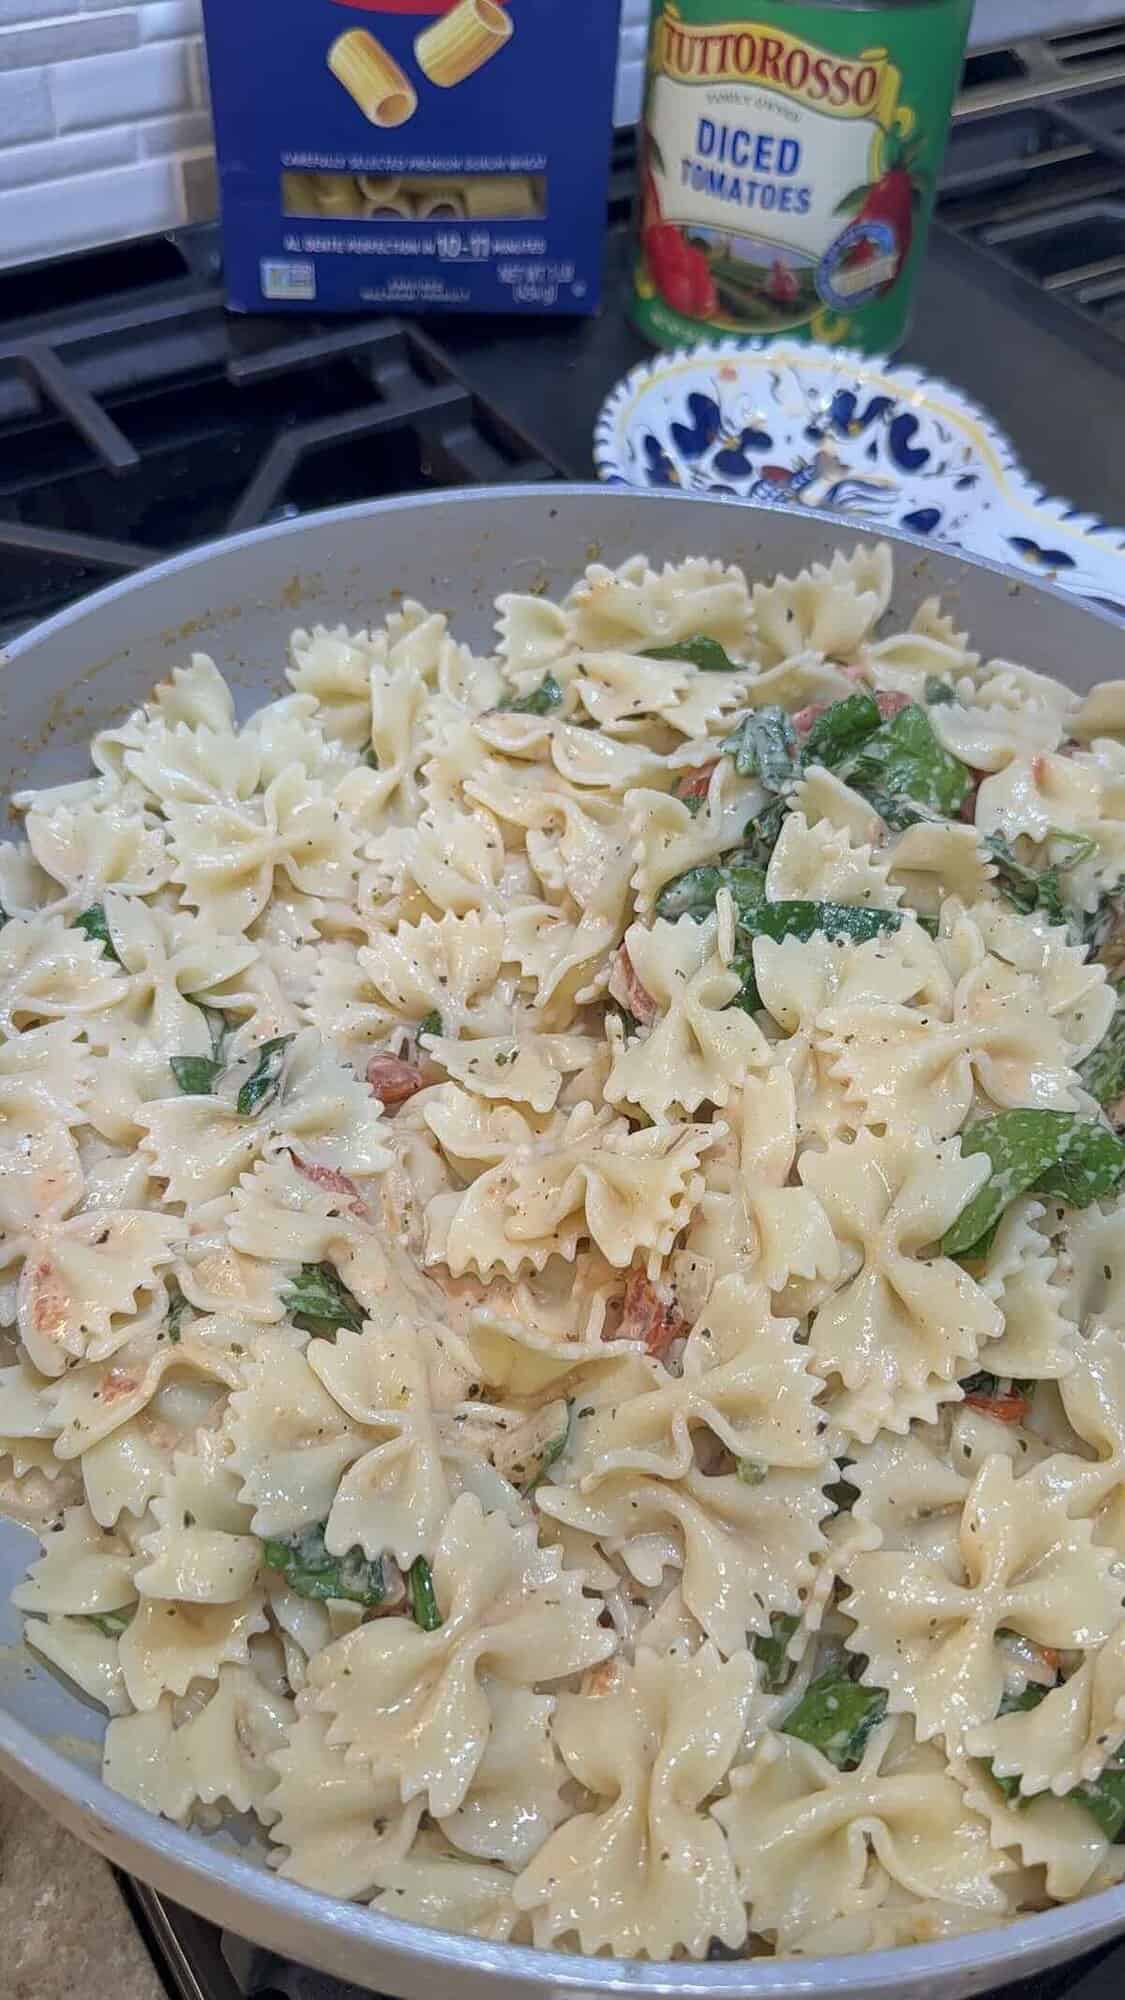
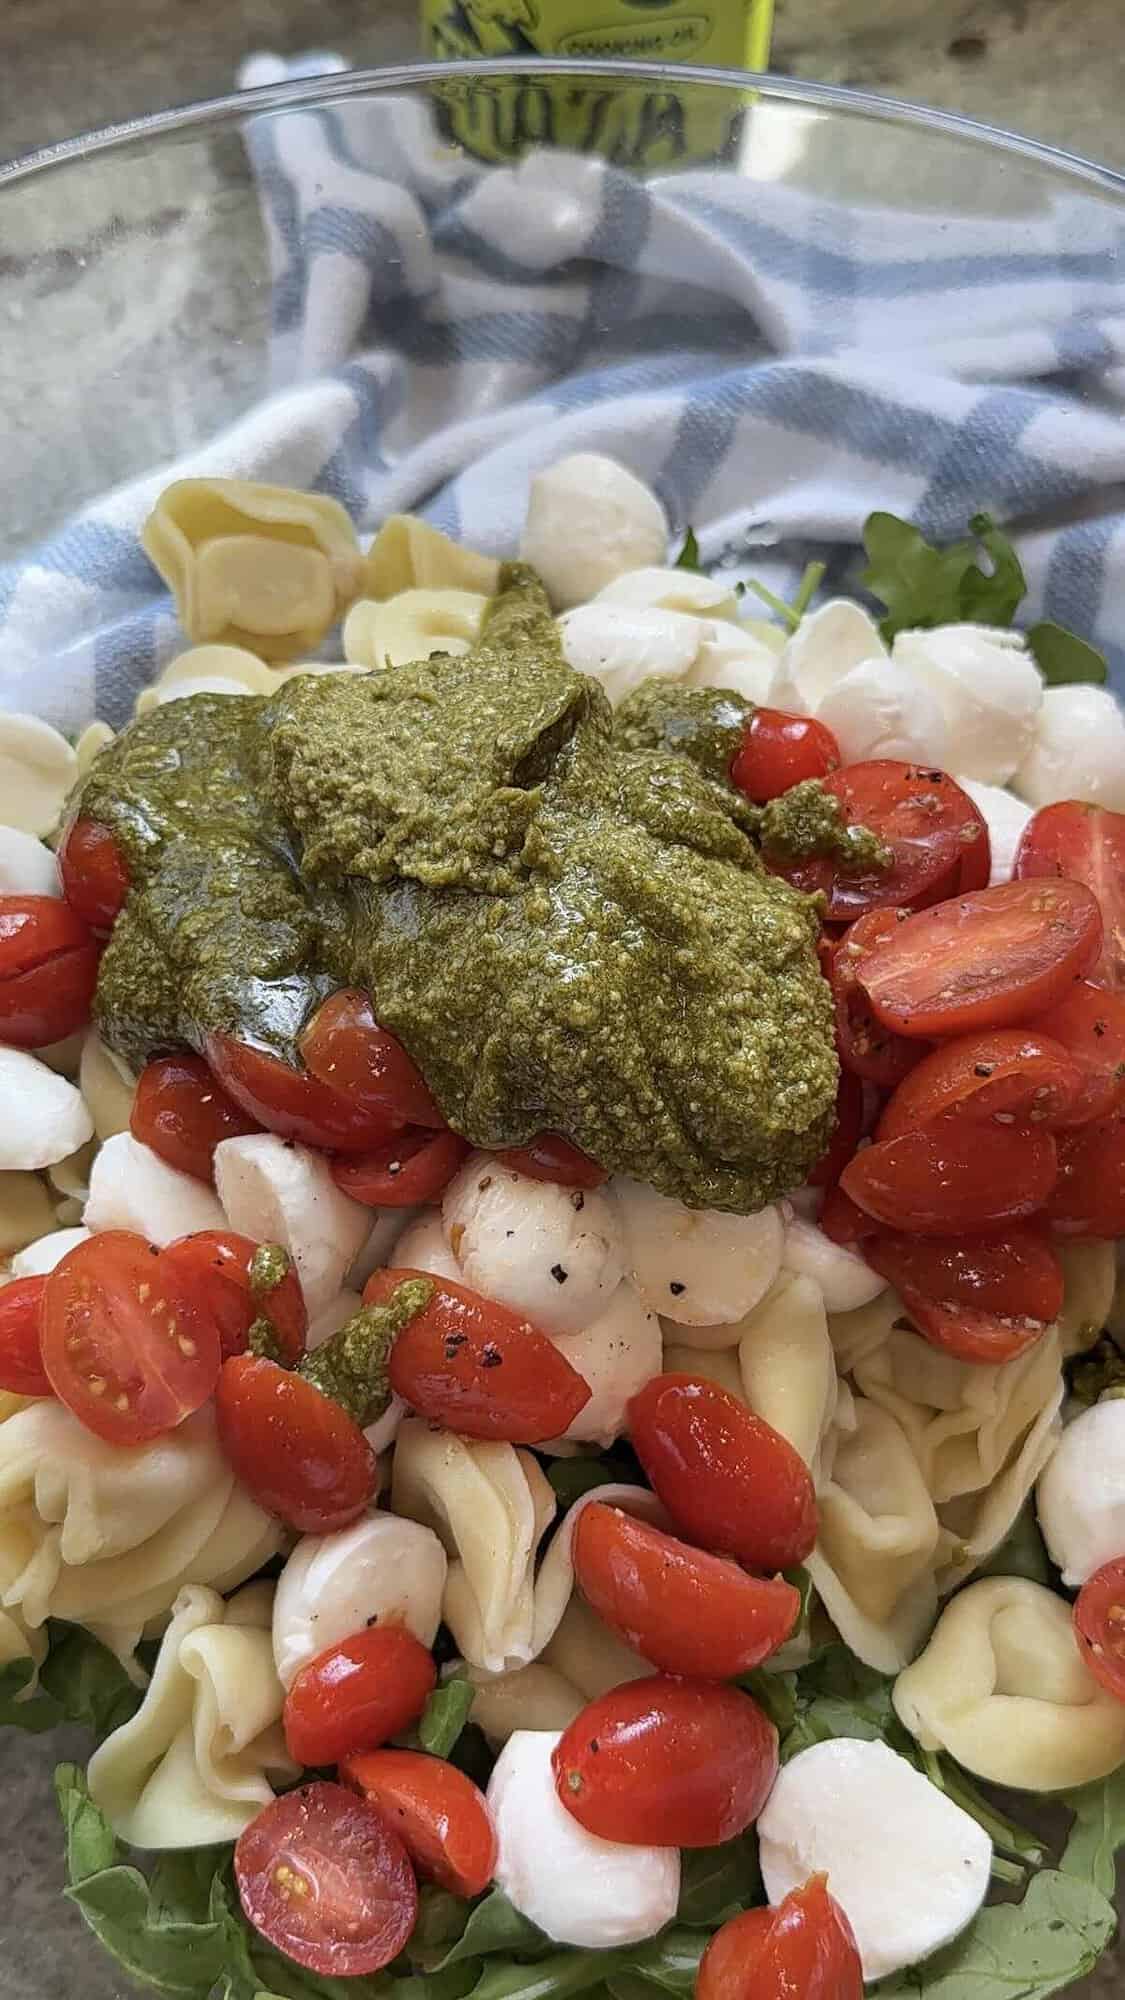
First, in a large bowl, add the cooked tortellini, mozzarella balls, and arugula. Lightly season the tomatoes with salt and pepper and add them to the bowl too. Spoon in the pesto and drizzle with olive oil.
PRO TIP: Make sure the tortellini is completely cool before adding it so the pesto doesn’t get oily and separate.
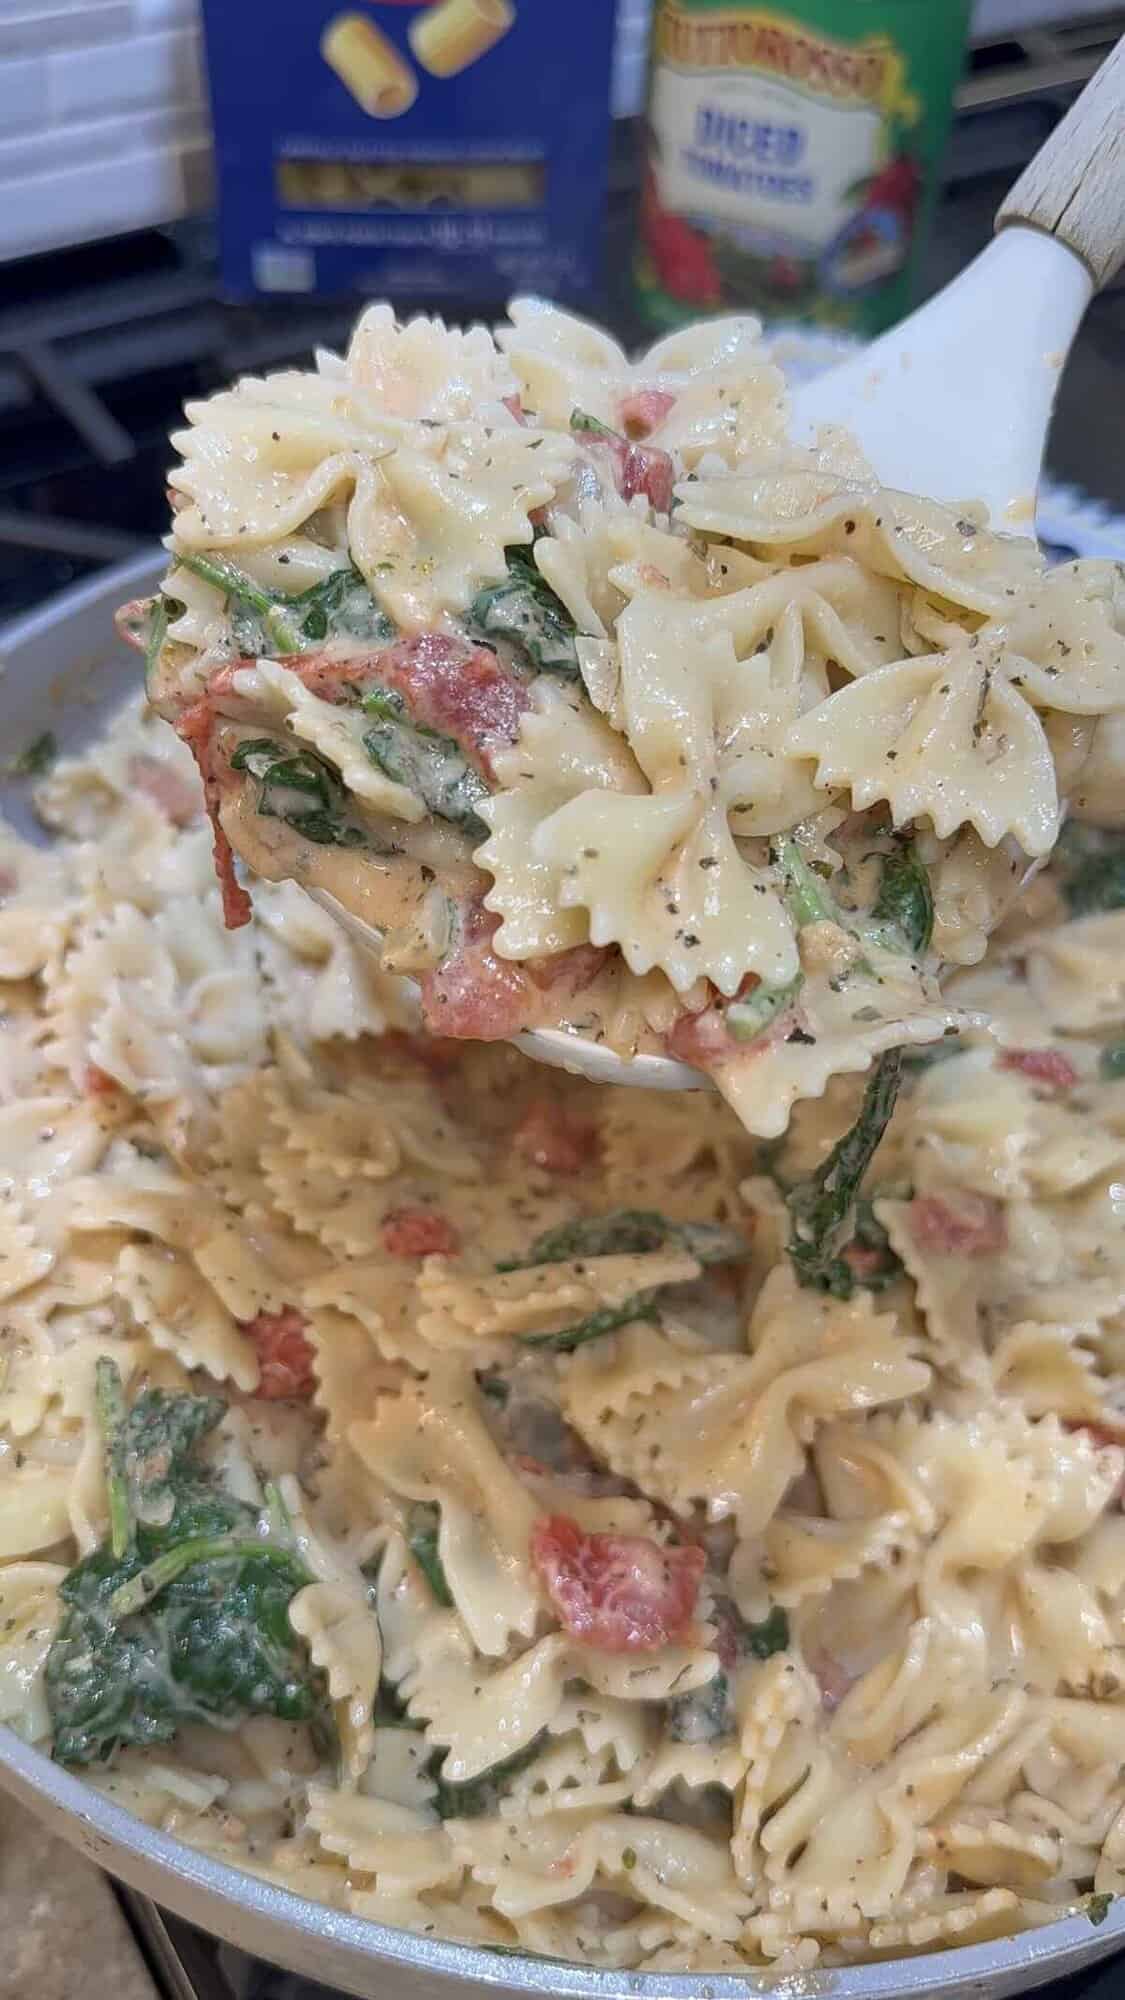
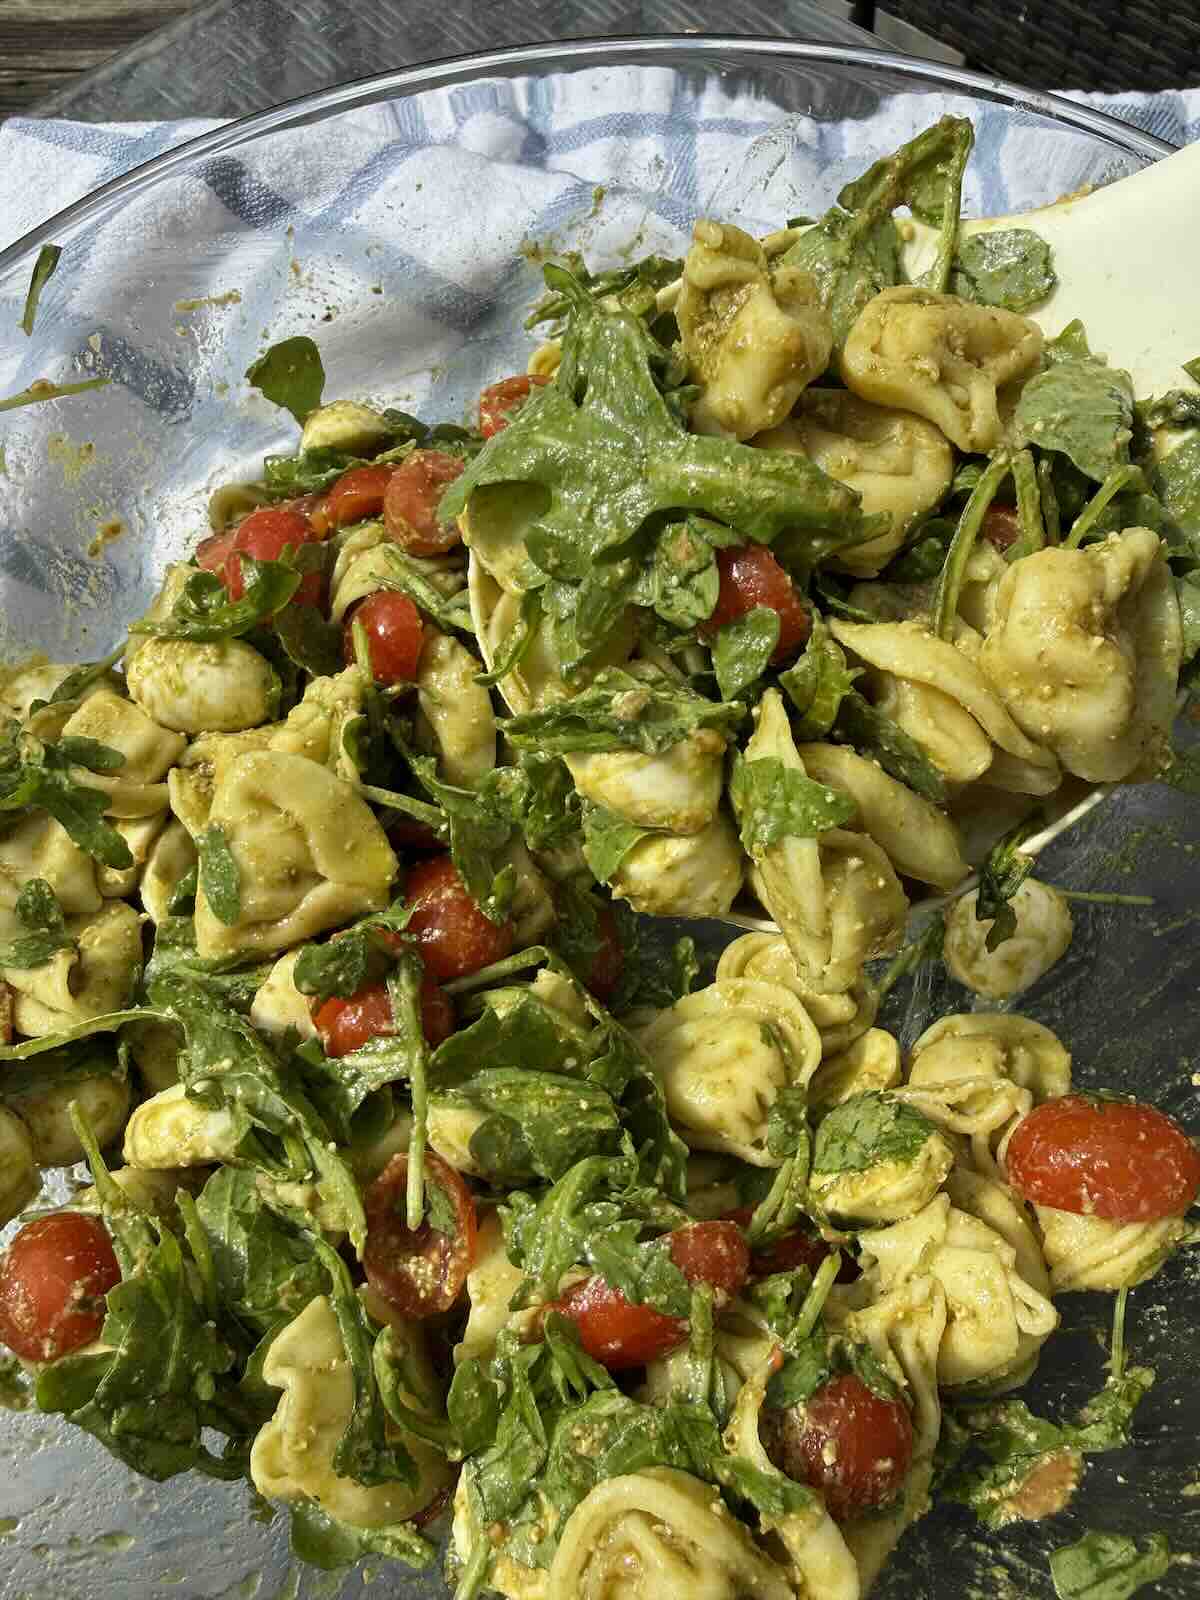
Now, toss everything together until it’s evenly coated, cover and refrigerate for at least 30 minutes. Toss everything together one last time before serving and enjoy!
PRO TIP: Let it sit in the fridge so the flavors can blend. Refresh the pasta salad with a little more pesto before serving if needed.
Can I Make This Ahead Of Time?
Yes you can make this ahead of time and it’s actually better that way. Letting it sit in the fridge helps all the flavors soak into the tortellini.
Can I Add A Protein?
Definitely! Grilled chicken, shrimp, or even prosciutto would all work really well here.
Storage
Add the pasta salad to a food safe air tight container and it will last in the fridge for up to three days.
Caprese Pesto Tortellini Salad Recipe
Ingredients
- 10 Oz Cheese Tortellini, cooked to al dente and cooled
- 1 Cup Cherry Tomatoes, halved
- 8 Oz Fresh Mozzarella Balls, halved
- 2 Cups Arugula
- ¼ Cup Premade Pesto
- Salt and Pepper to taste
- 1 Tbs Olive Oil
Instructions
- In a large bowl, add the cooked tortellini, mozzarella balls, and arugula. Lightly season the tomatoes with salt and pepper and add them to the bowl too. Spoon in the pesto and drizzle with olive oil.
- Toss everything together until it’s evenly coated, cover and refrigerate for at least 30 minutes. Toss everything together one last time before serving and enjoy!
Video
Other Easy Pasta Salad Recipes
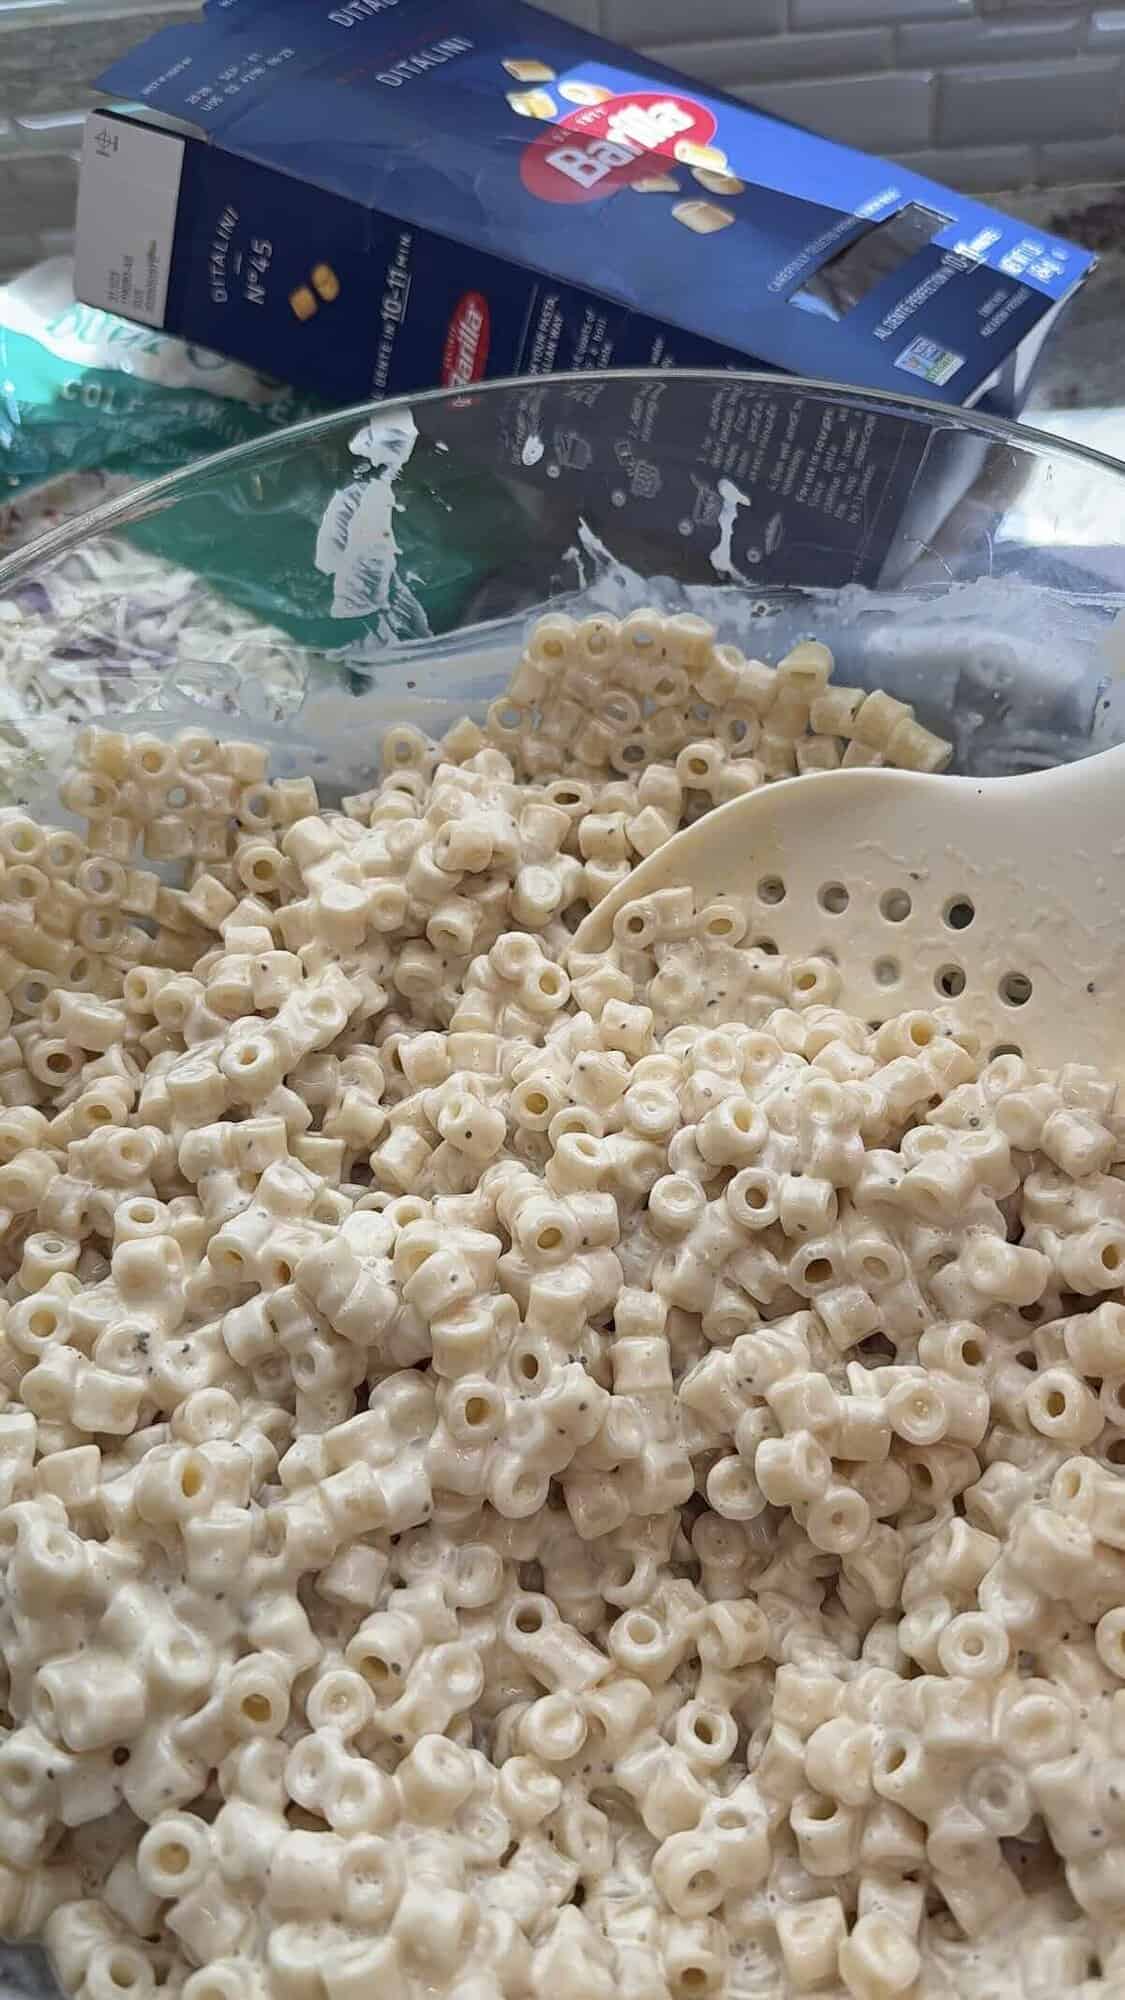
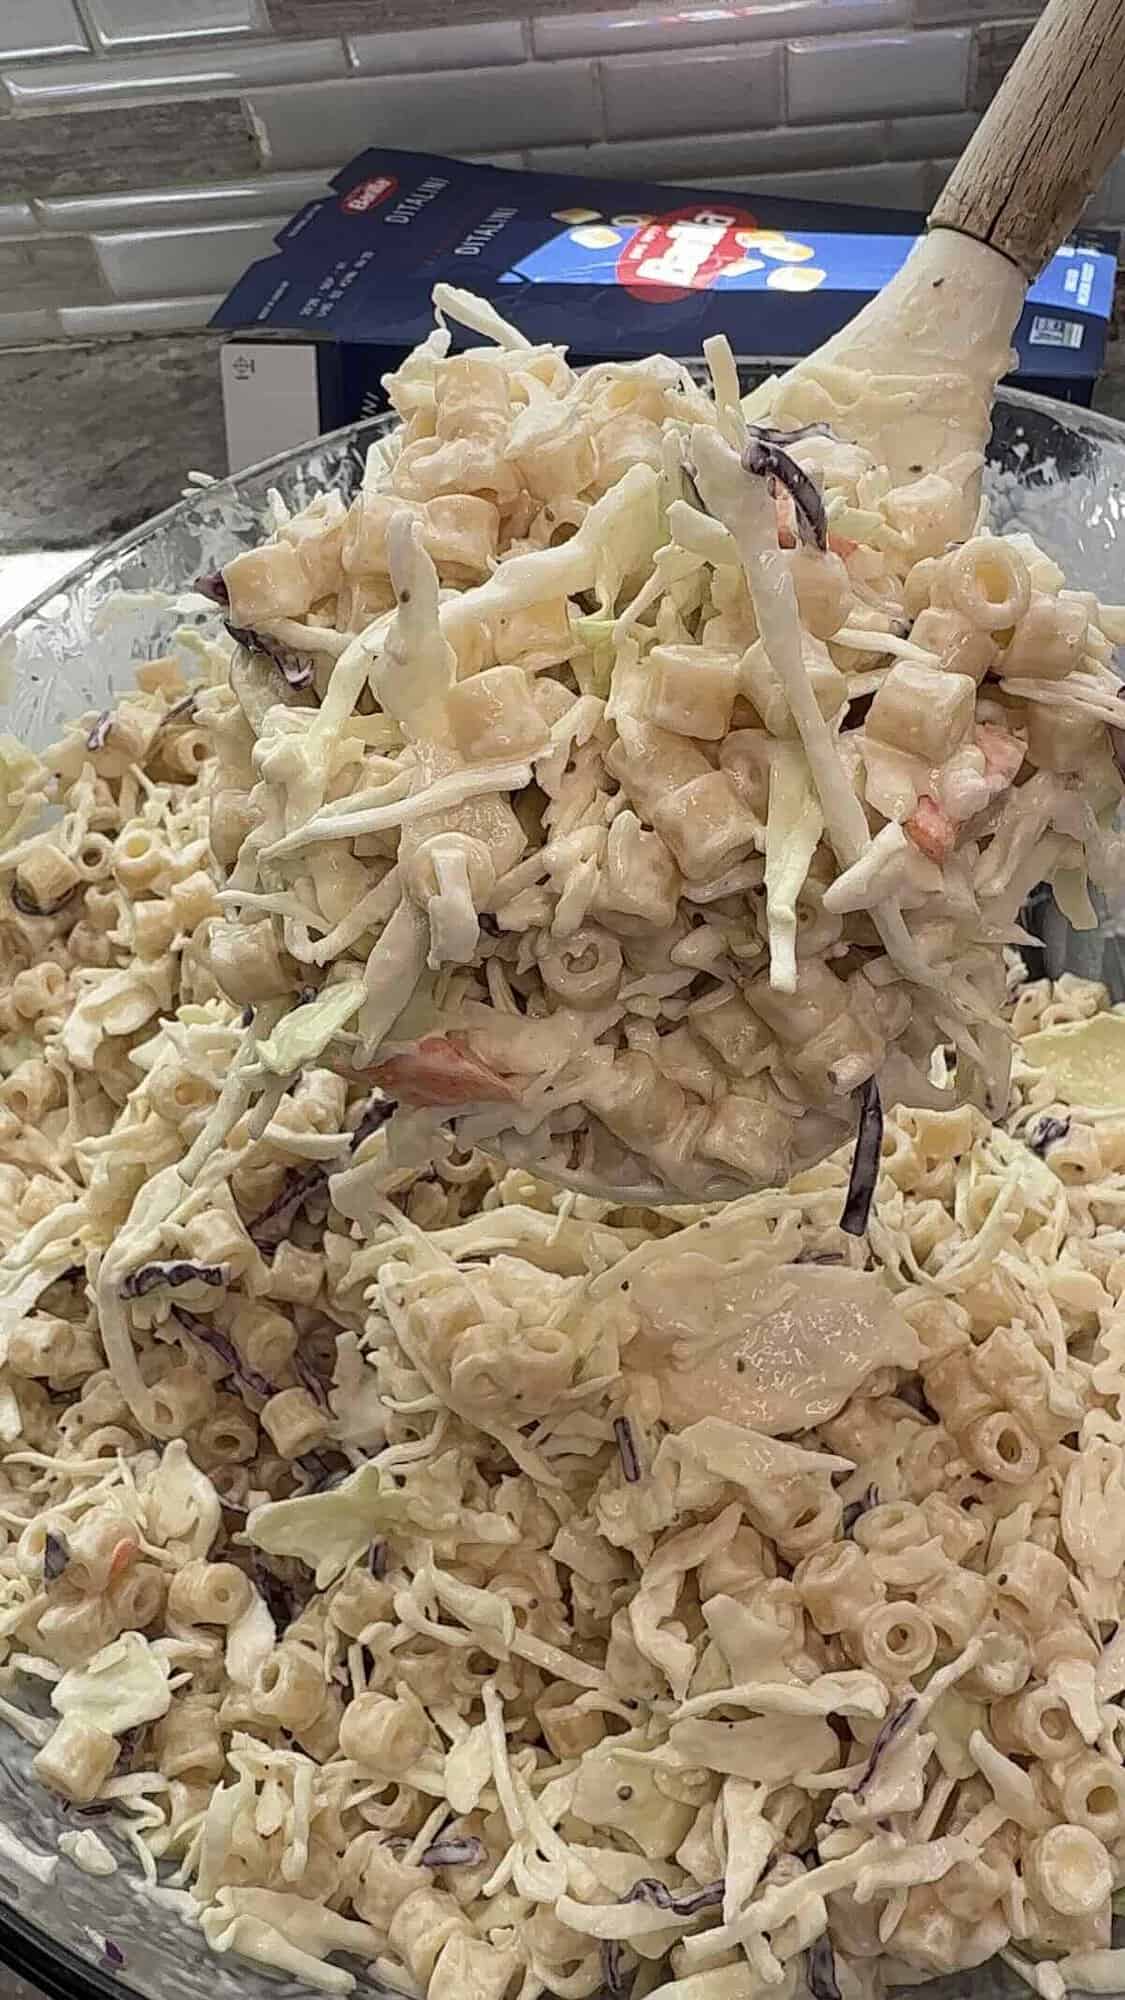
If you like super easy to make pasta salad recipes like this one, you have to try this Coleslaw Pasta Salad, Moms Famous Tortellini Salad and Hawaiian Macaroni Salad.