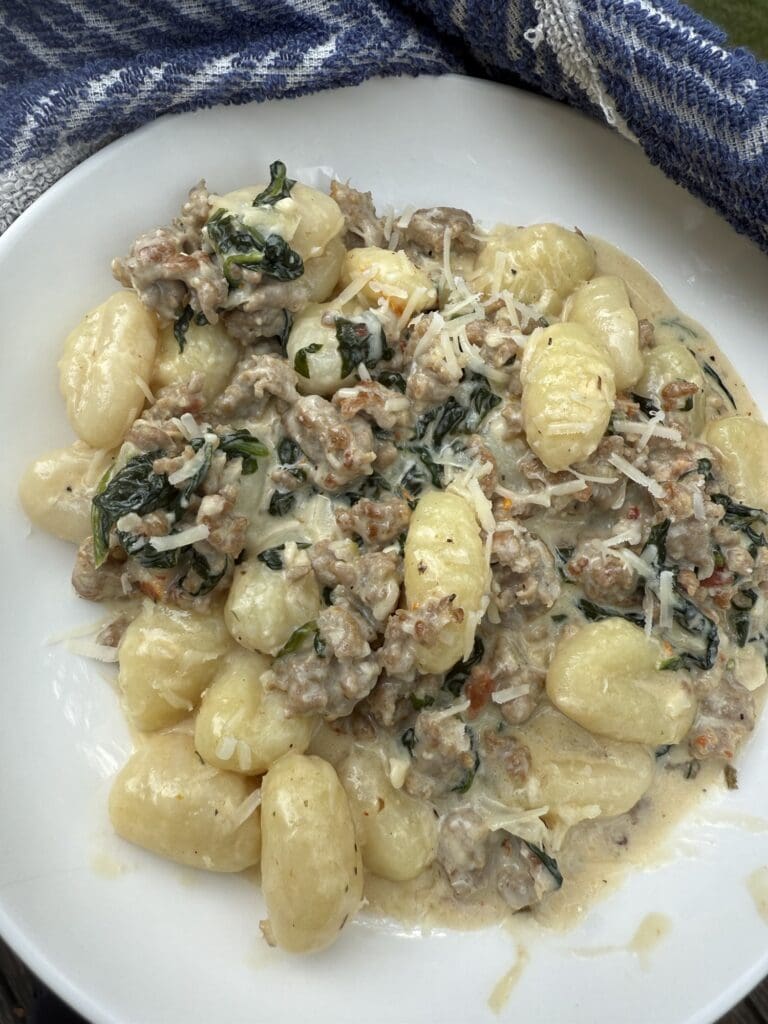
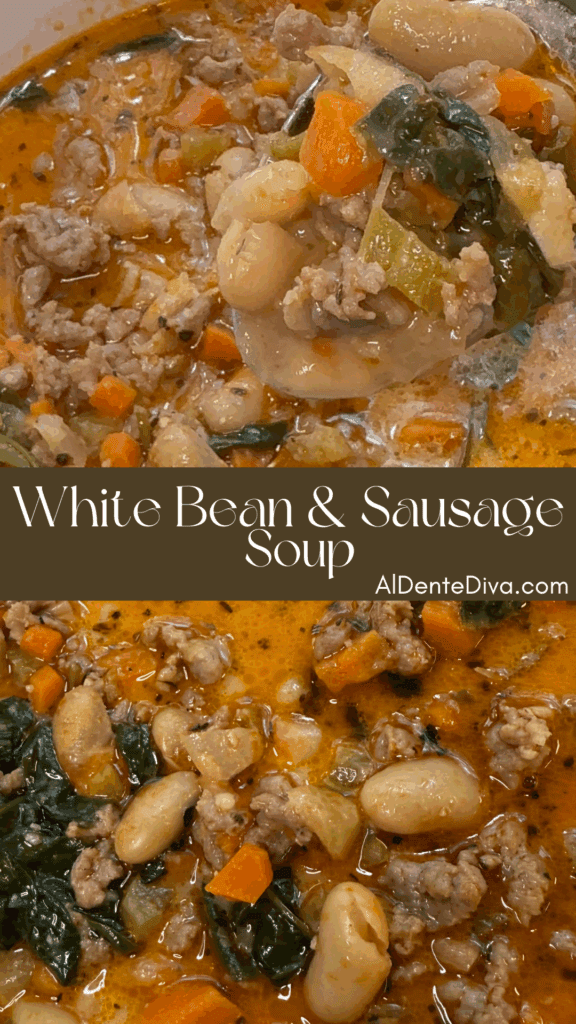
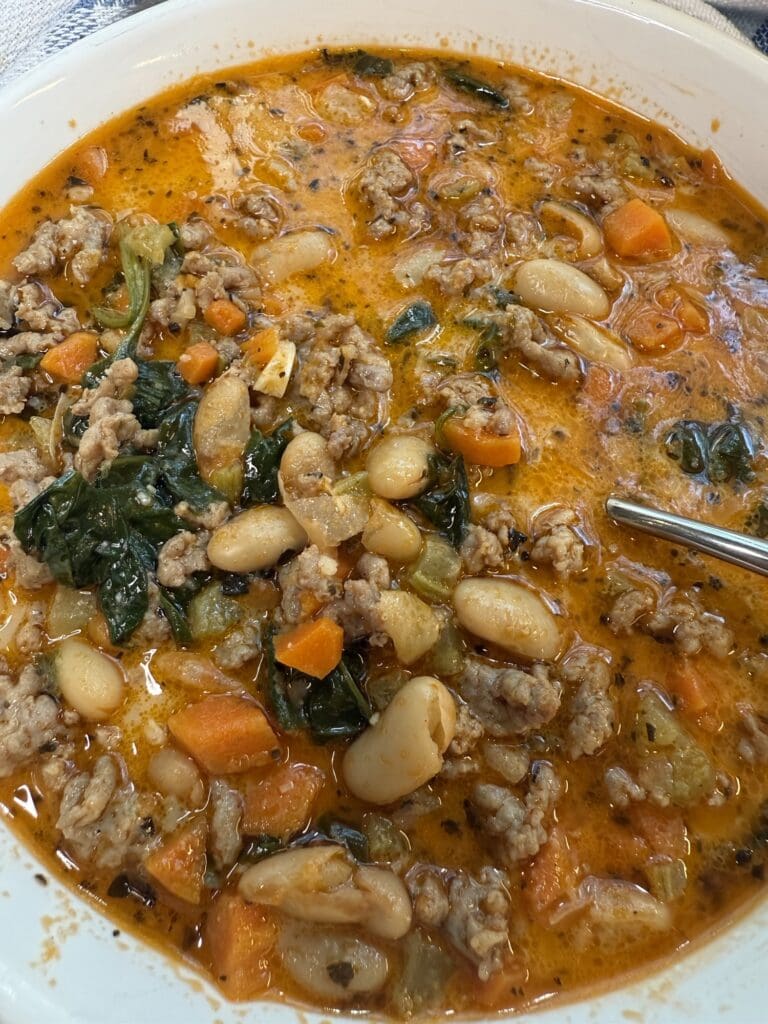
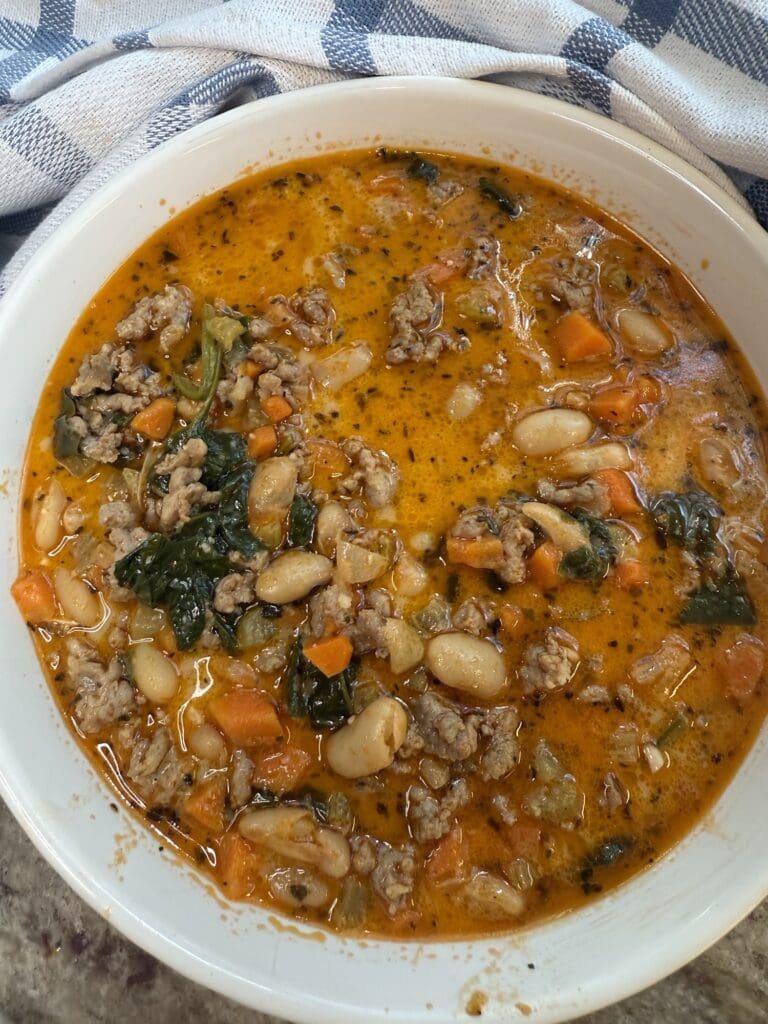
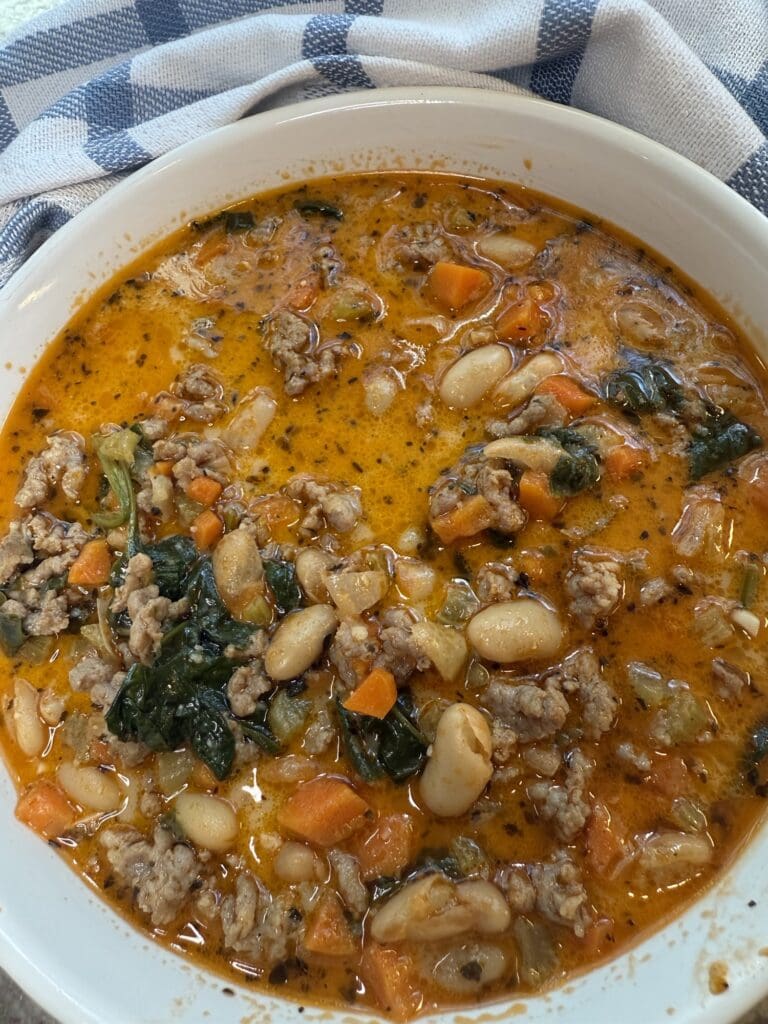
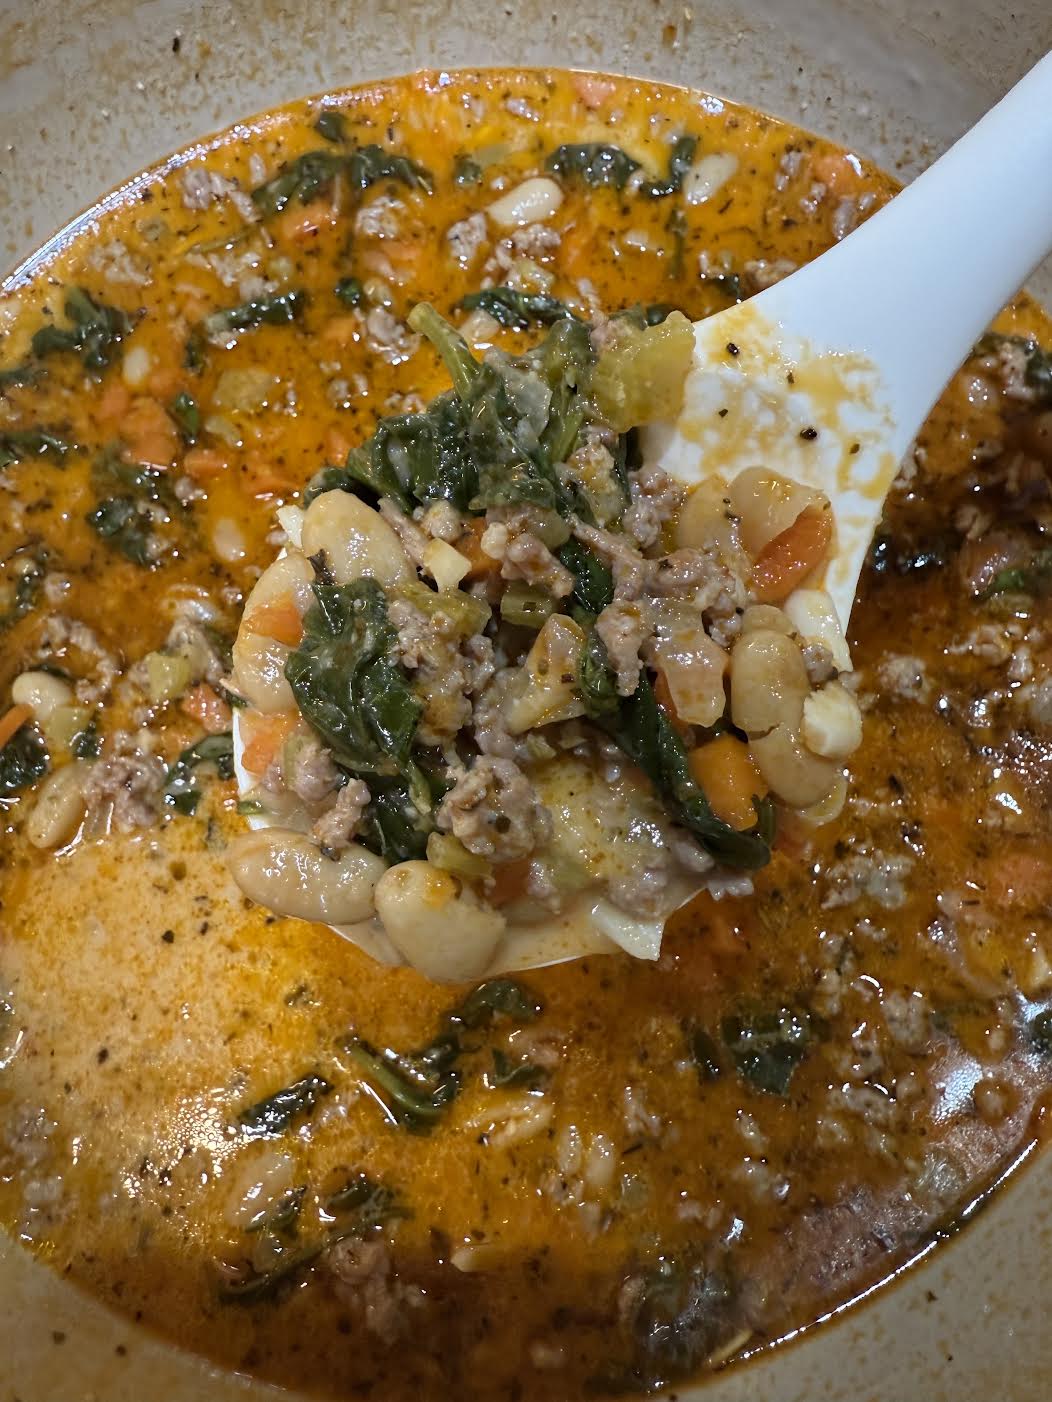
White bean and sausage soup is a hearty meal made with seasoned vegetables, Italian sausage, white beans and spinach cooked in a flavorful broth.
White Bean And Sausage Soup
From the recipe collection of Tara Ippolito
This white bean and sausage soup is one of my favorite cool weather meals.
It’s the kind of recipe that is super hearty and comforting without being complicated. It’s actually really easy to put together with simple ingredients.
Plus, it’s all made in one pot. So, clean up is a breeze, too. That’s always a win for me.
Once the seasons start to shift and the temperature drops, it’s officially soup season. That’s when this recipe goes right onto my dinner menu.
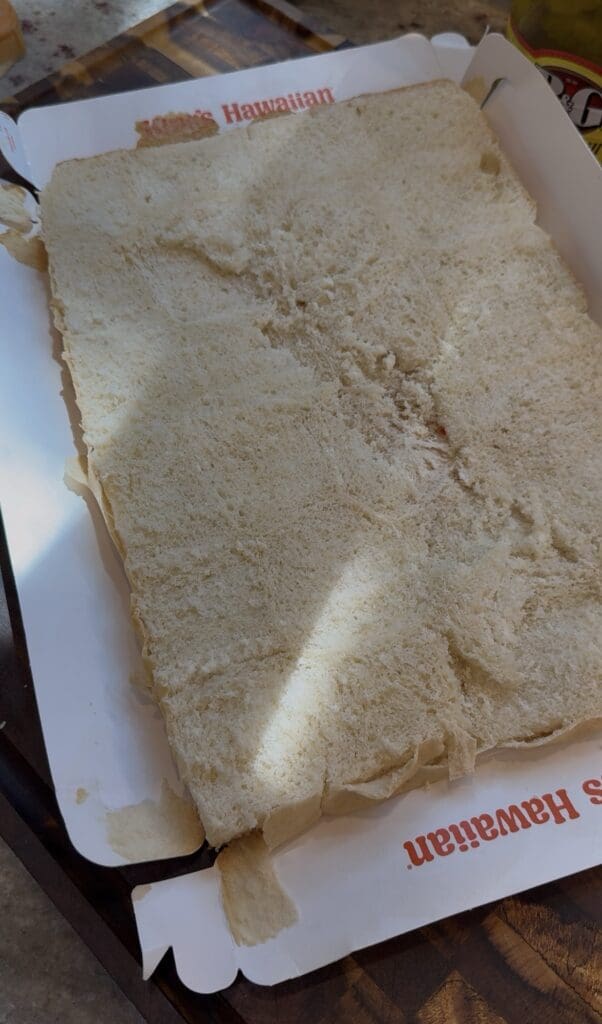
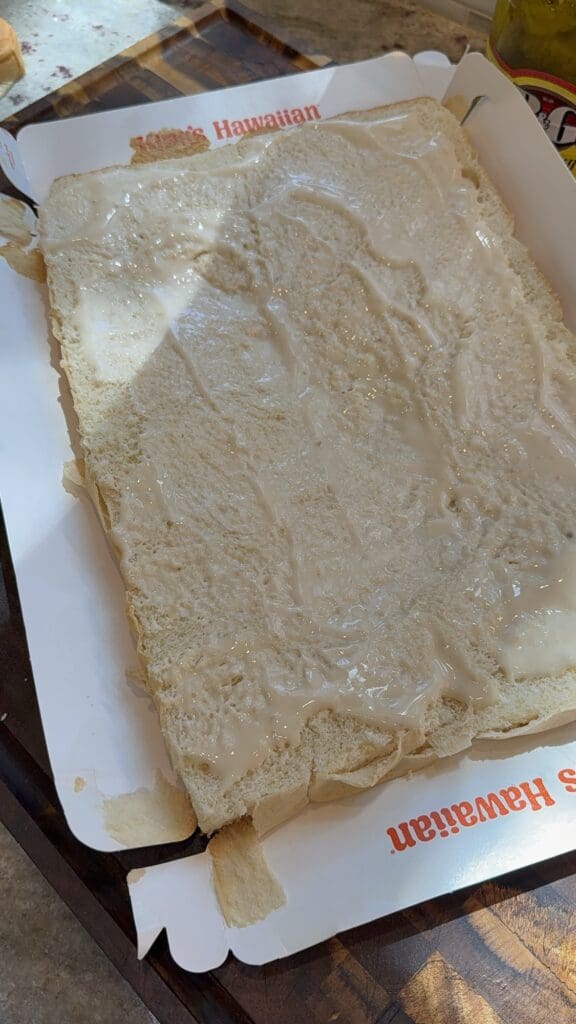
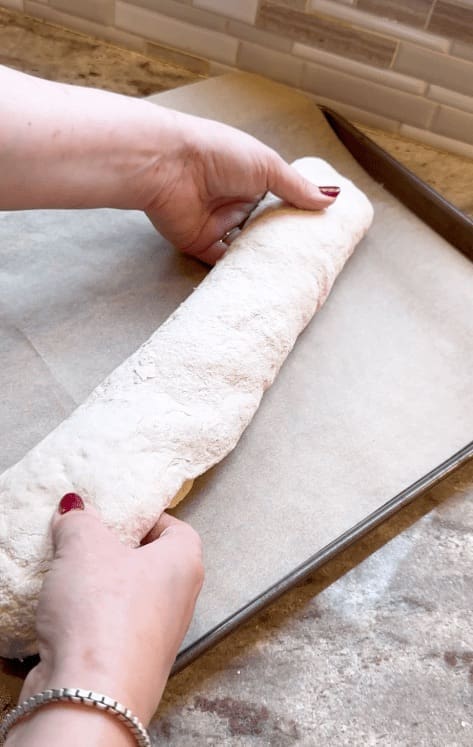
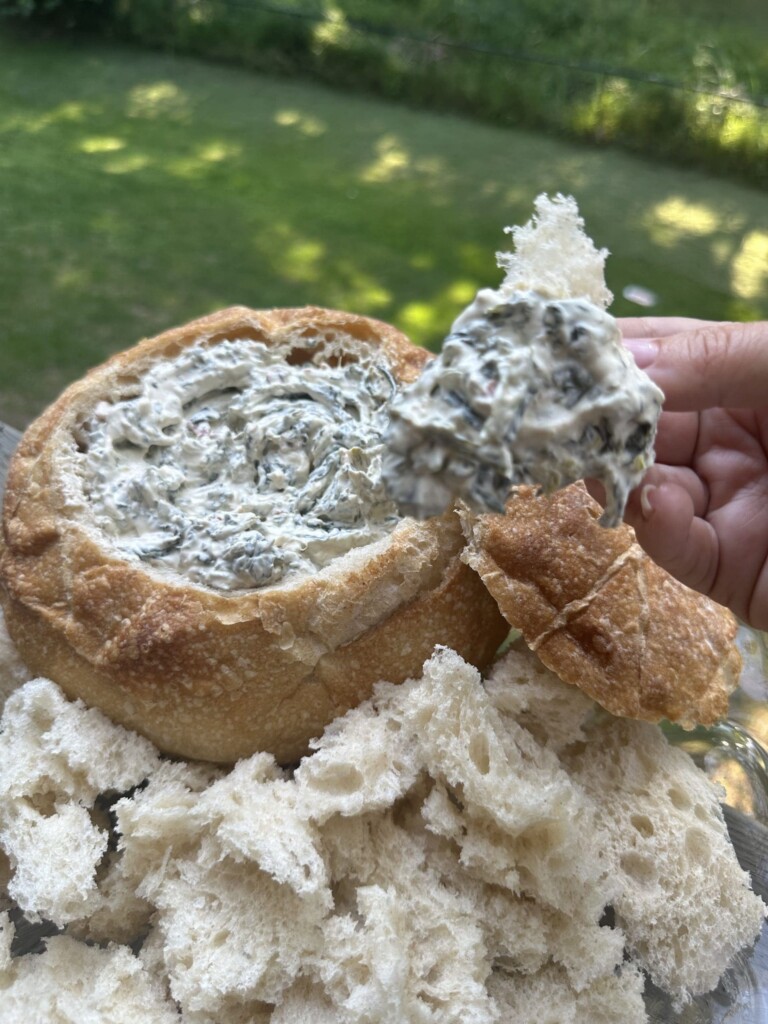
Always with a loaf of Italian bread on the side for dunking. That’s the best part!
I love to make this early in the day and just leave it warm on the stove for everyone to come and eat as they please.
Luckily for me, everyone in my house is a huge soup fan. They very exited when they know this is what I’m making for dinner.
It warms everyone up and keeps them full and happy for hours.
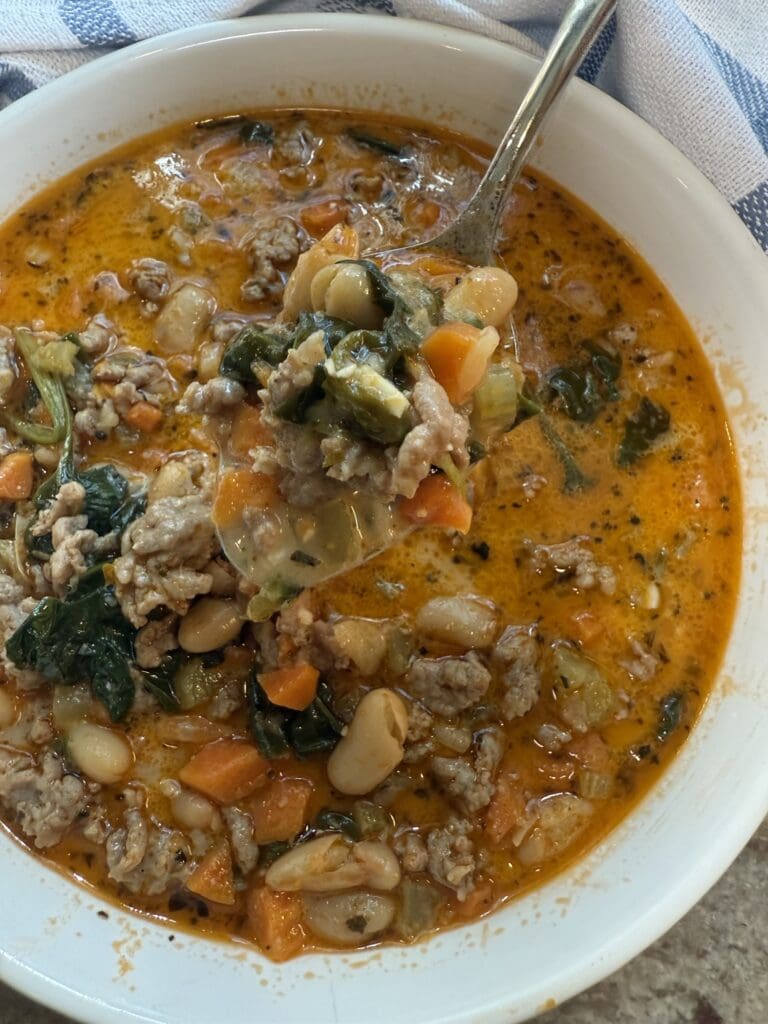
The beans, sausage and vegetables go together so well for the perfect combination in each bite.
It’s budget-friendly, nourishing, and comes together really quickly. I’d say that’s the perfect meal for a busy weeknight or cozy, cool weekend.
I really hope you give this recipe a try. You do, I know you’ll love it just as much as my family and I do.
White Bean And Sausage Soup Variations
I like this soup recipe made just the way it is, but here are some ways to change it up if you’d like to.

- Protein- Substitute the ground sausage for ground beef, turkey, pork or veal if you’d prefer.
- Sausage- Both Sweet and spicy (or a combination of both) would work great in this recipe.
- Beans- Either white beans or Great Northern Beans are ok to use here.
Other Easy Soup Recipes
If you like super easy to make soup recipes like this one, here are some others that I know you’ll love, too.
White Bean And Sausage Soup Ingredients
- Olive Oil
- Ground Italian Sausage (sweet or hot)
- Onion, diced
- Carrots, peeled and diced small
- Celery, diced small
- Garlic, chopped
- Tomato Paste
- White Wine
- Chicken Broth
- Cannelli/ White Beans, rinsed and drained
- Heavy Cream
- Parmesan Cheese, grated
- Baby Spinach
- Salt, Pepper, Garlic Powder, Italian Seasoning, Bay Leaf
Instruction
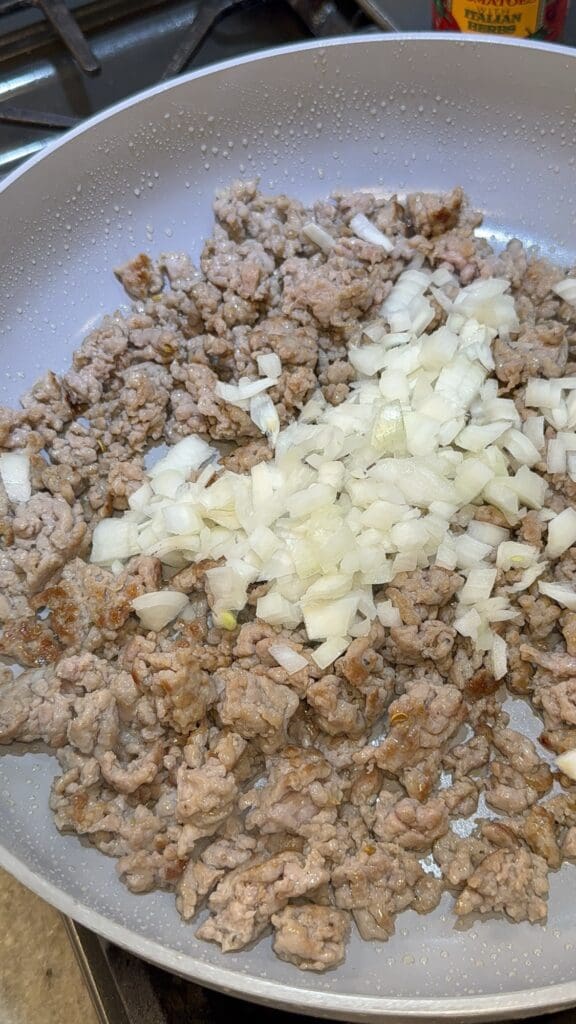
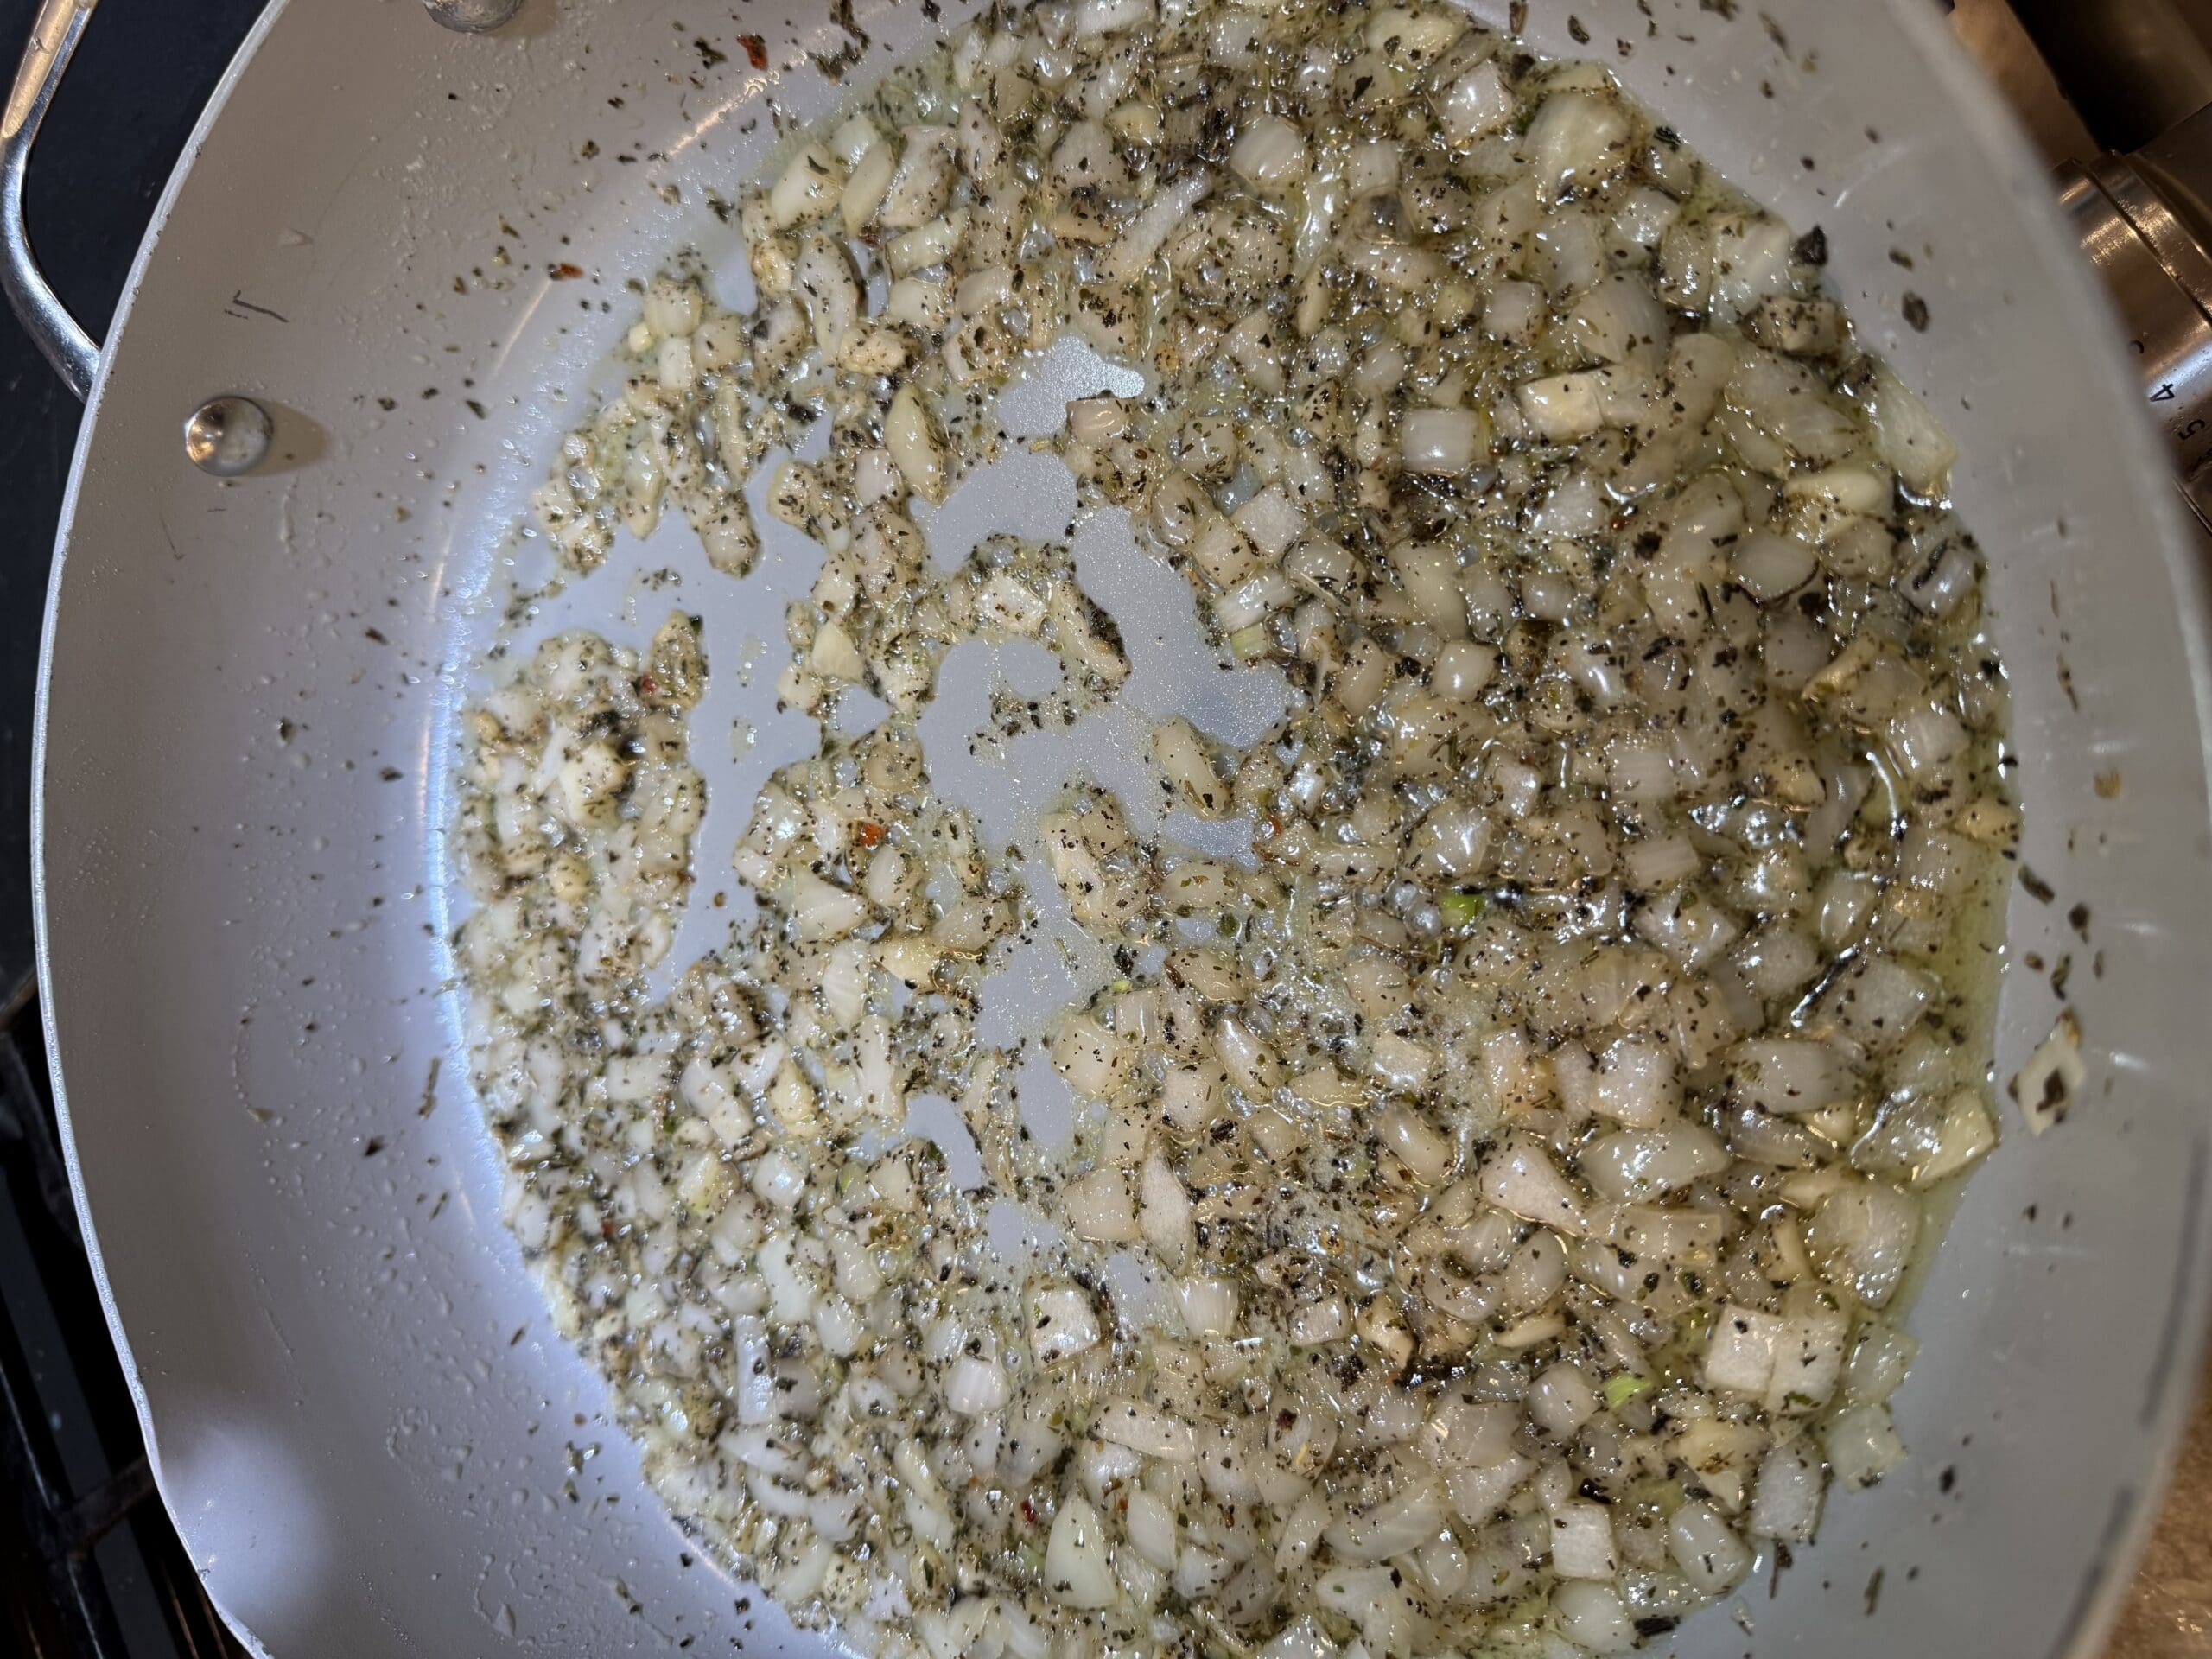
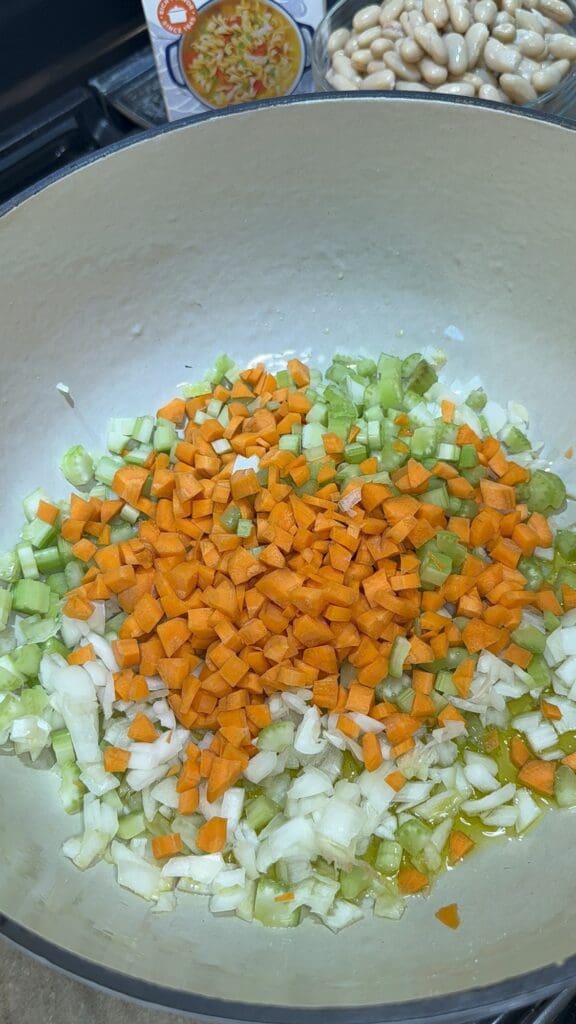
First, in a large pot, heat the olive oil over medium high heat and add the chopped onion, celery and carrots.
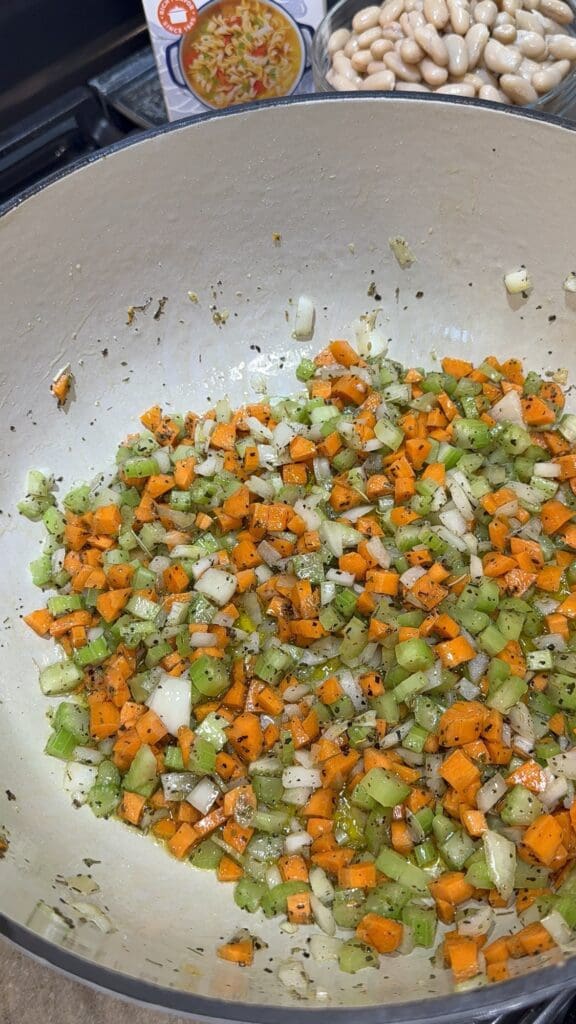
Then, season them with salt, pepper and Italian season and sauté until soft, stirring frequently. This should take about 5-7 minutes.
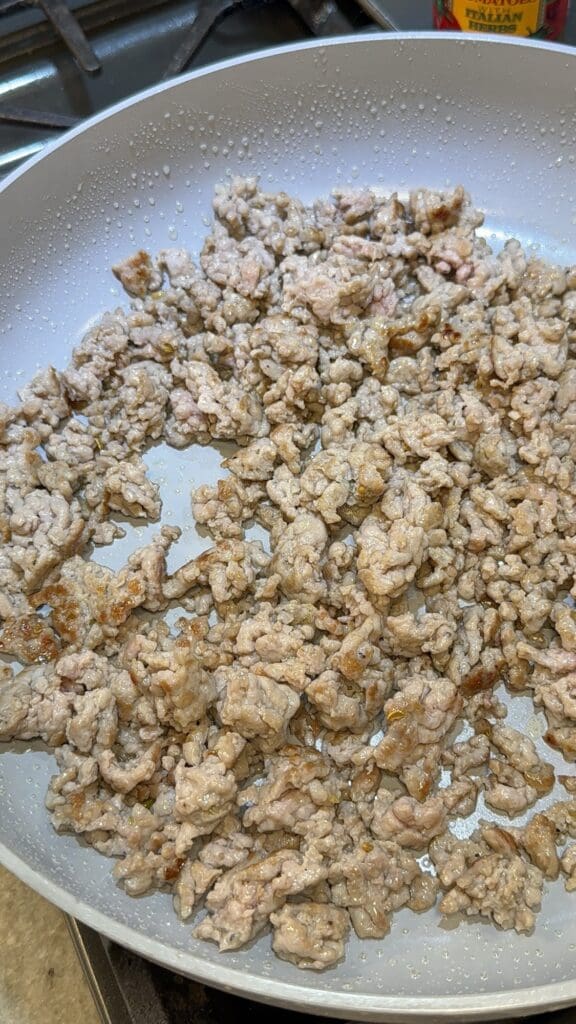
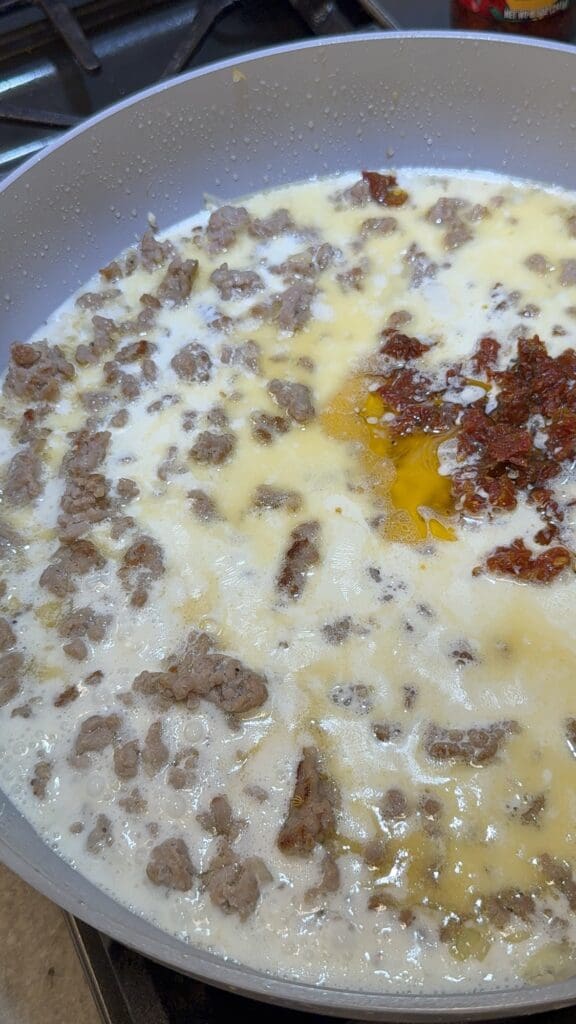
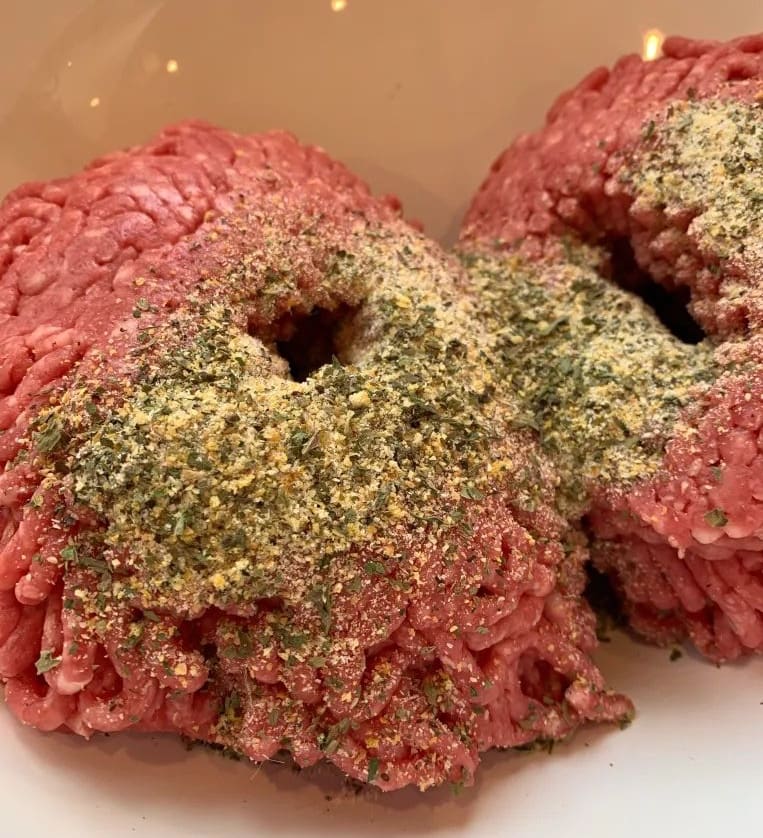
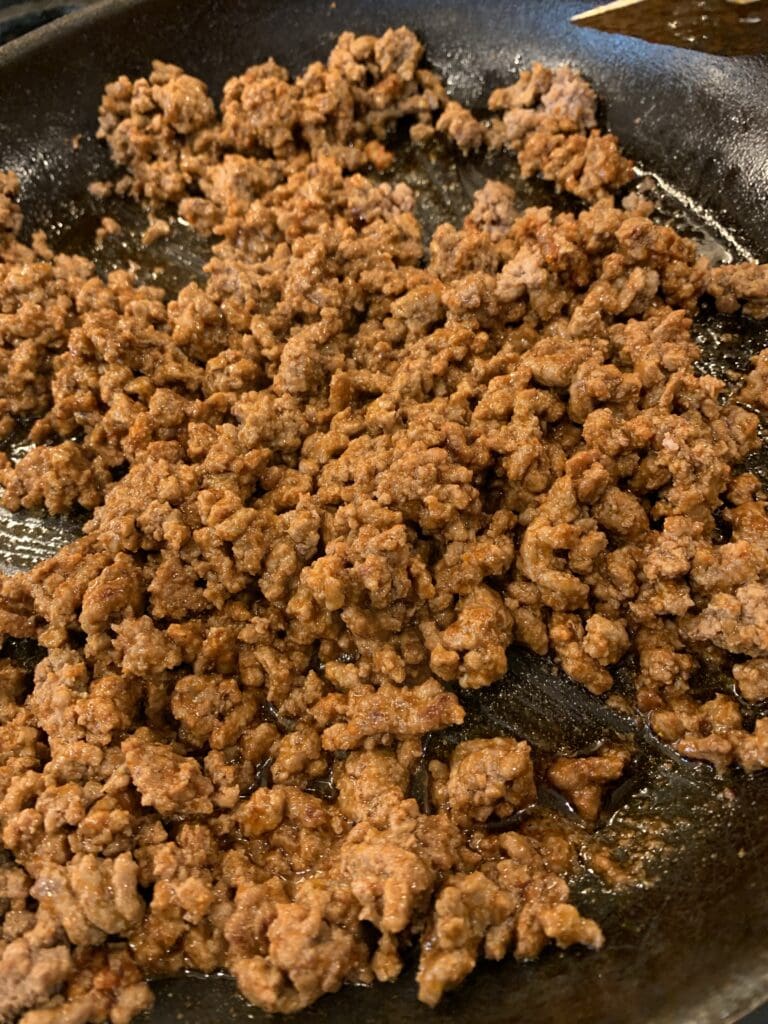
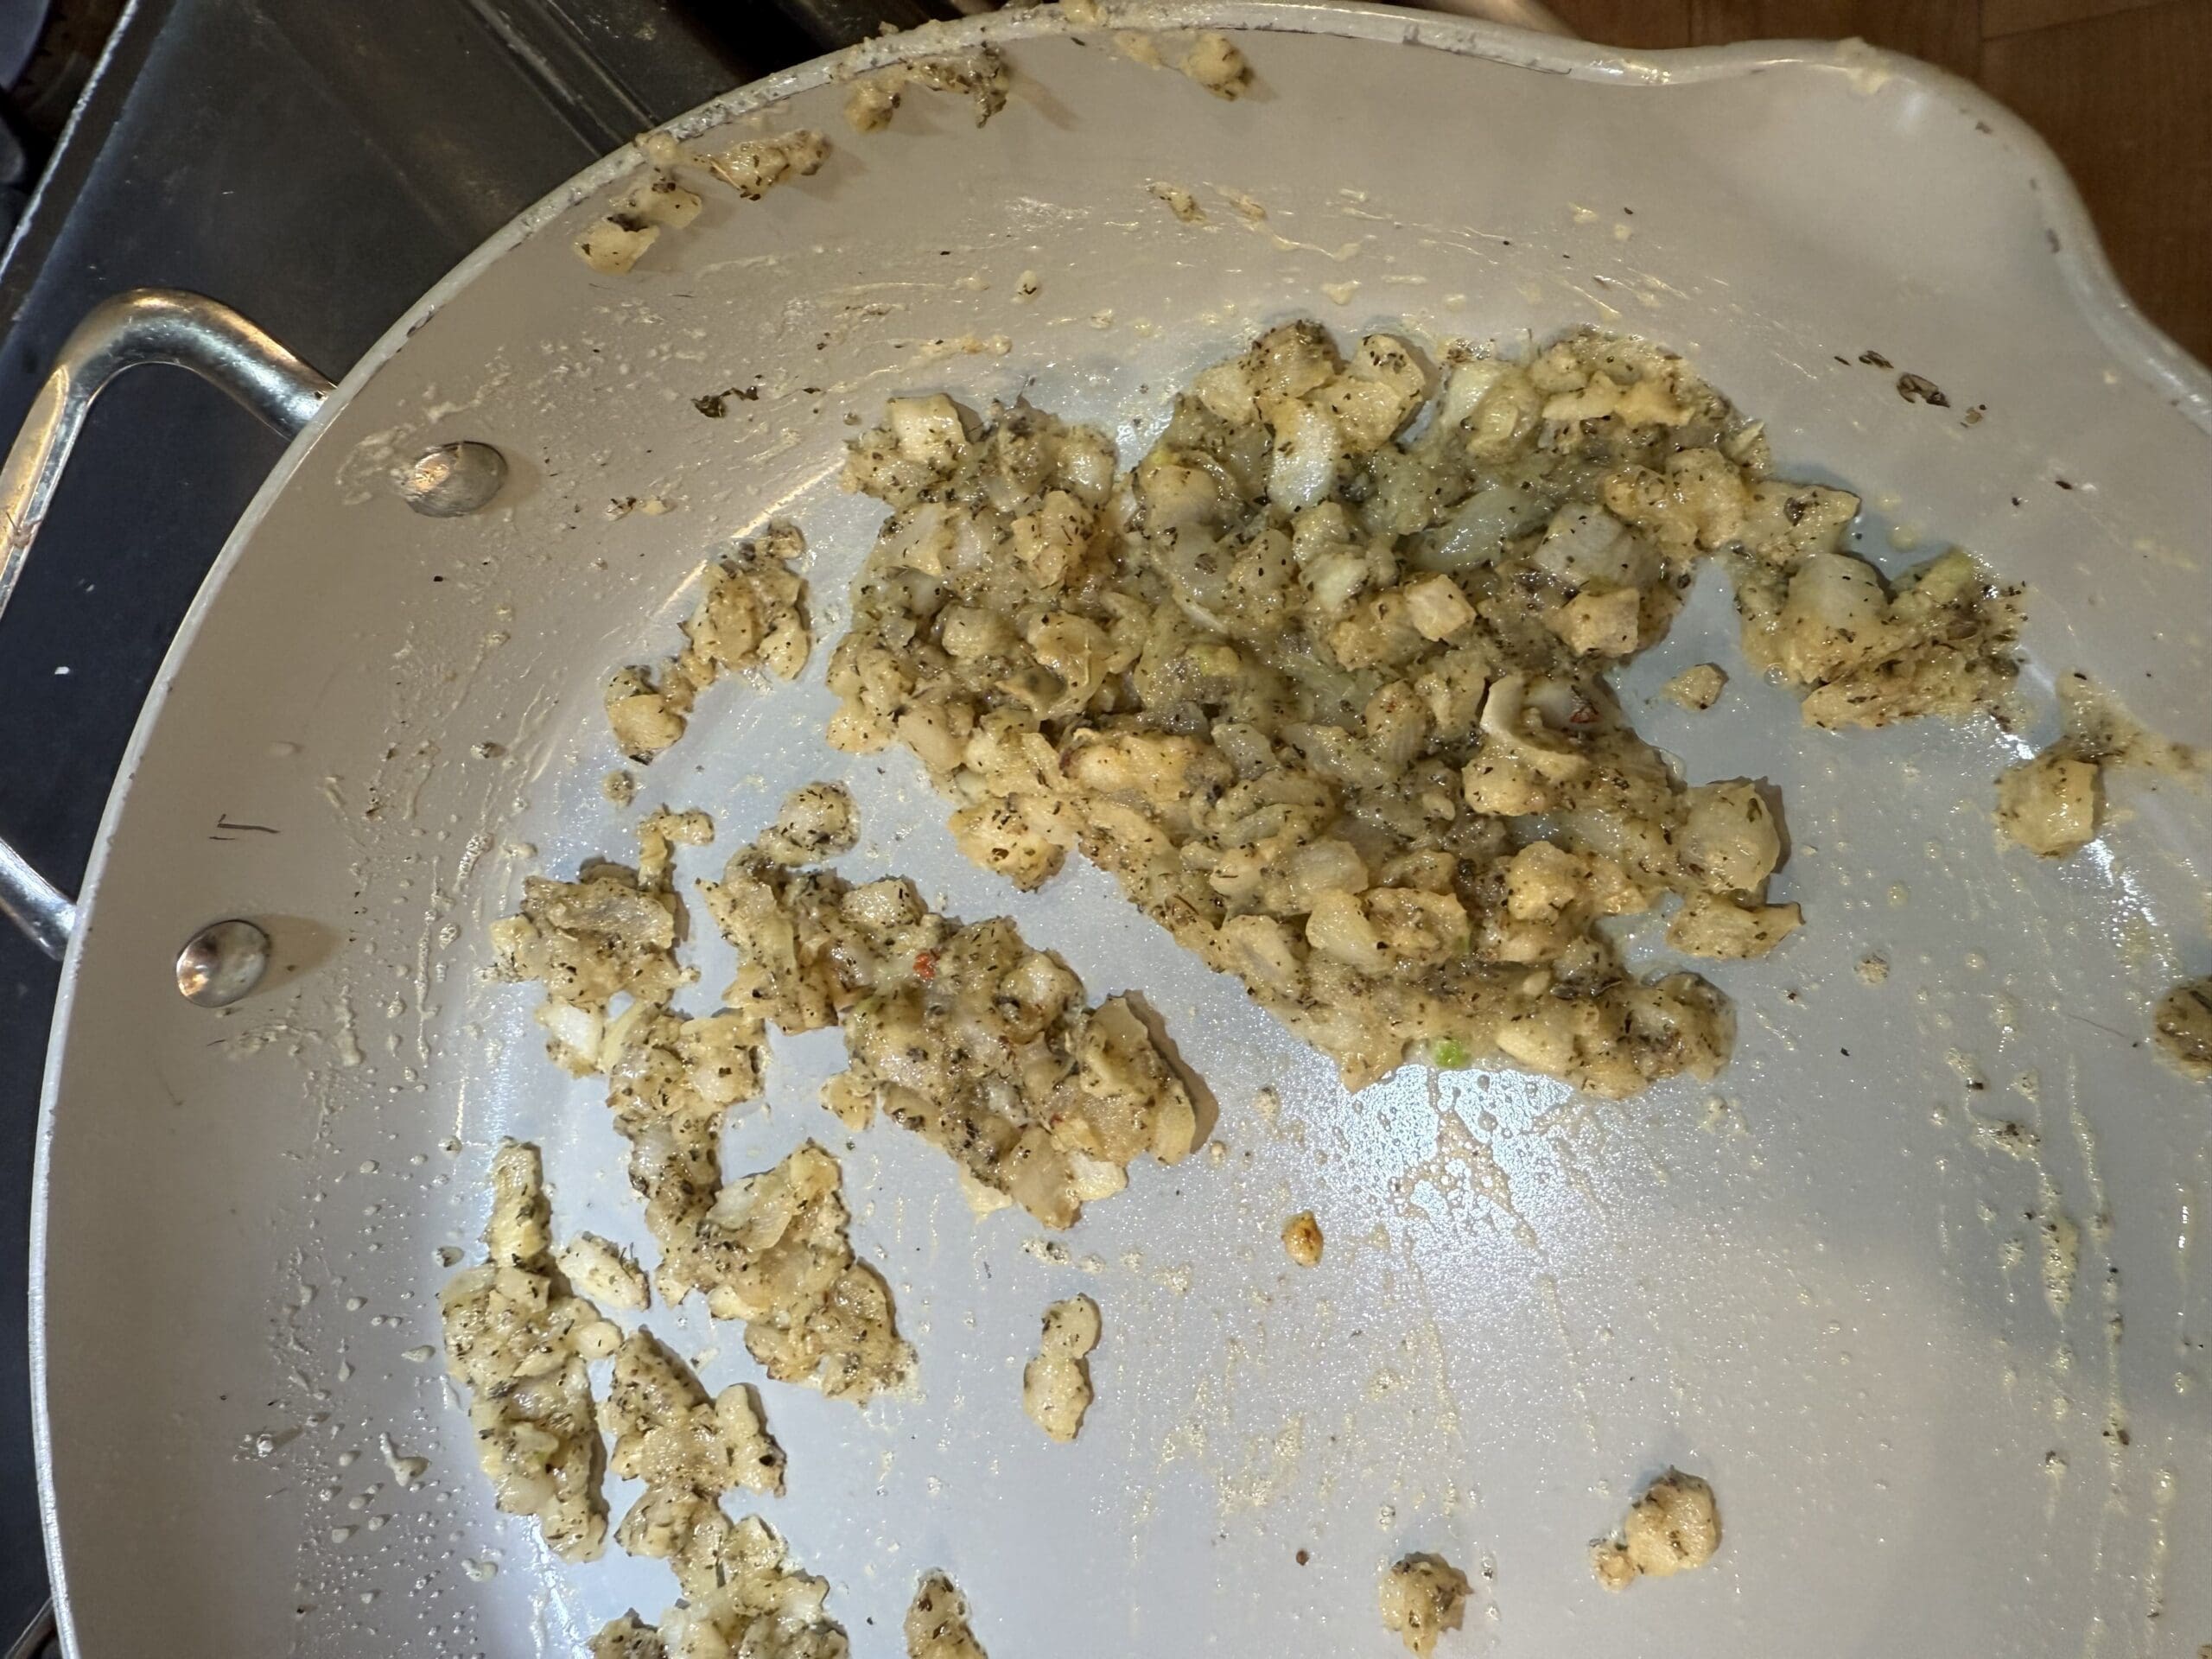
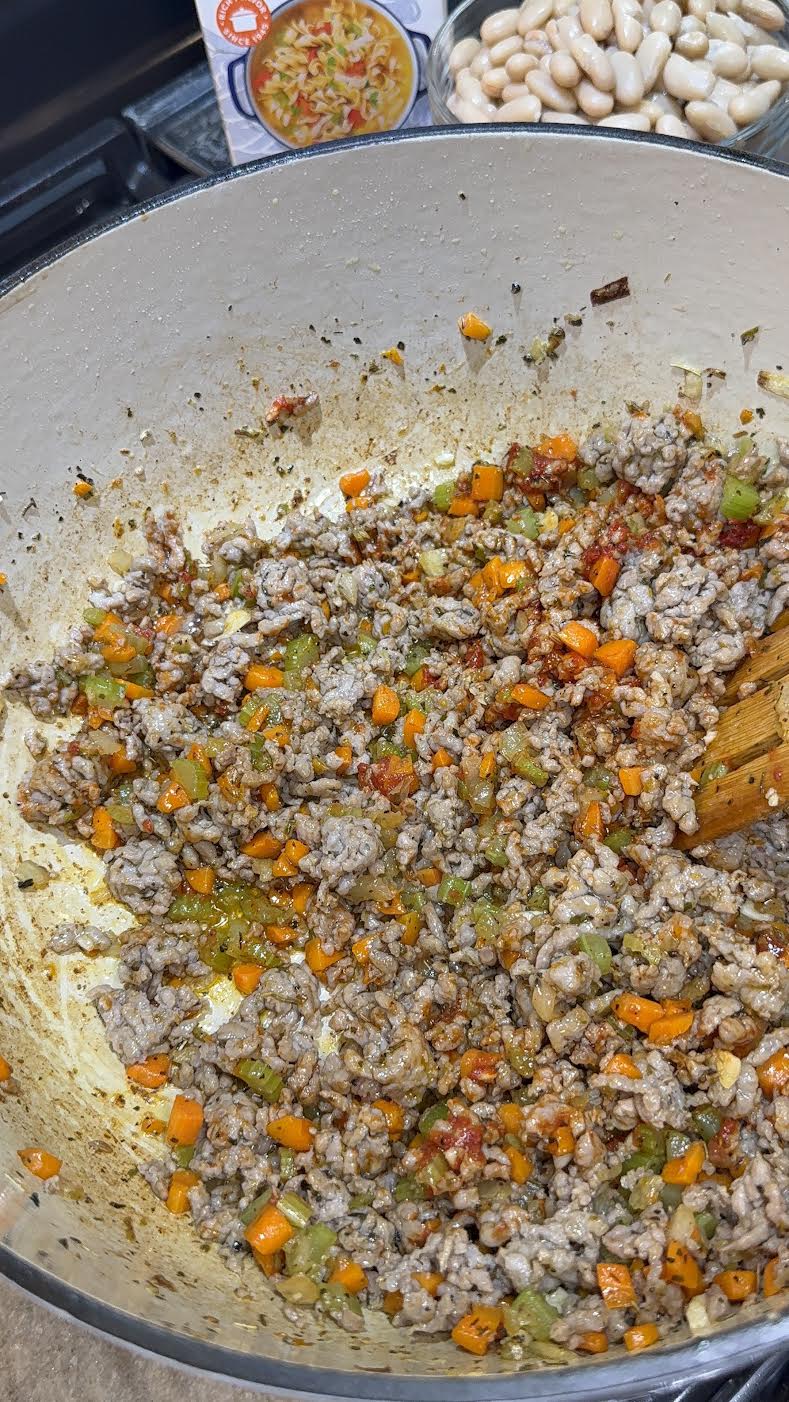
Now, add the sausage and break in down into small pieces as it browns.
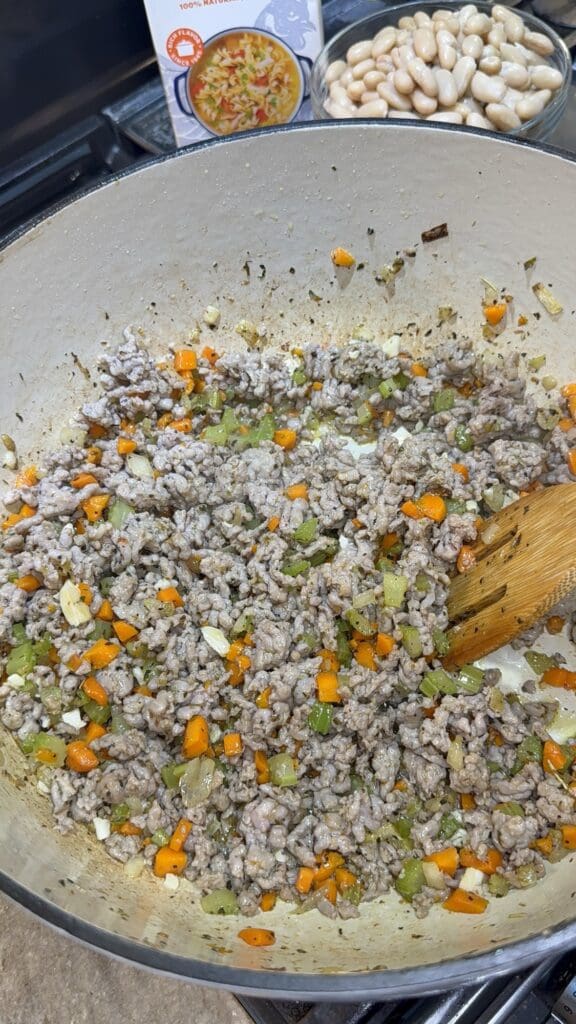
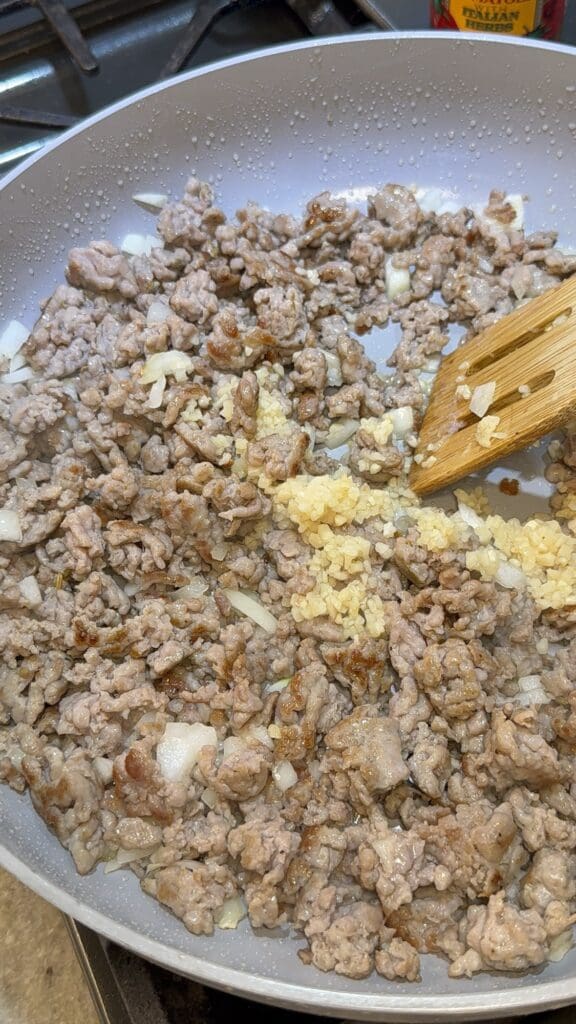
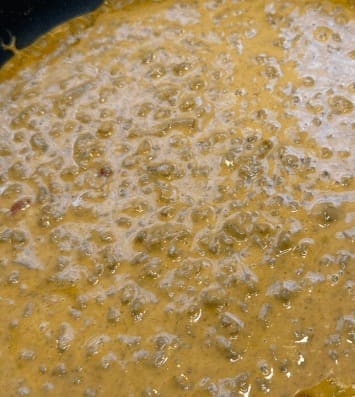
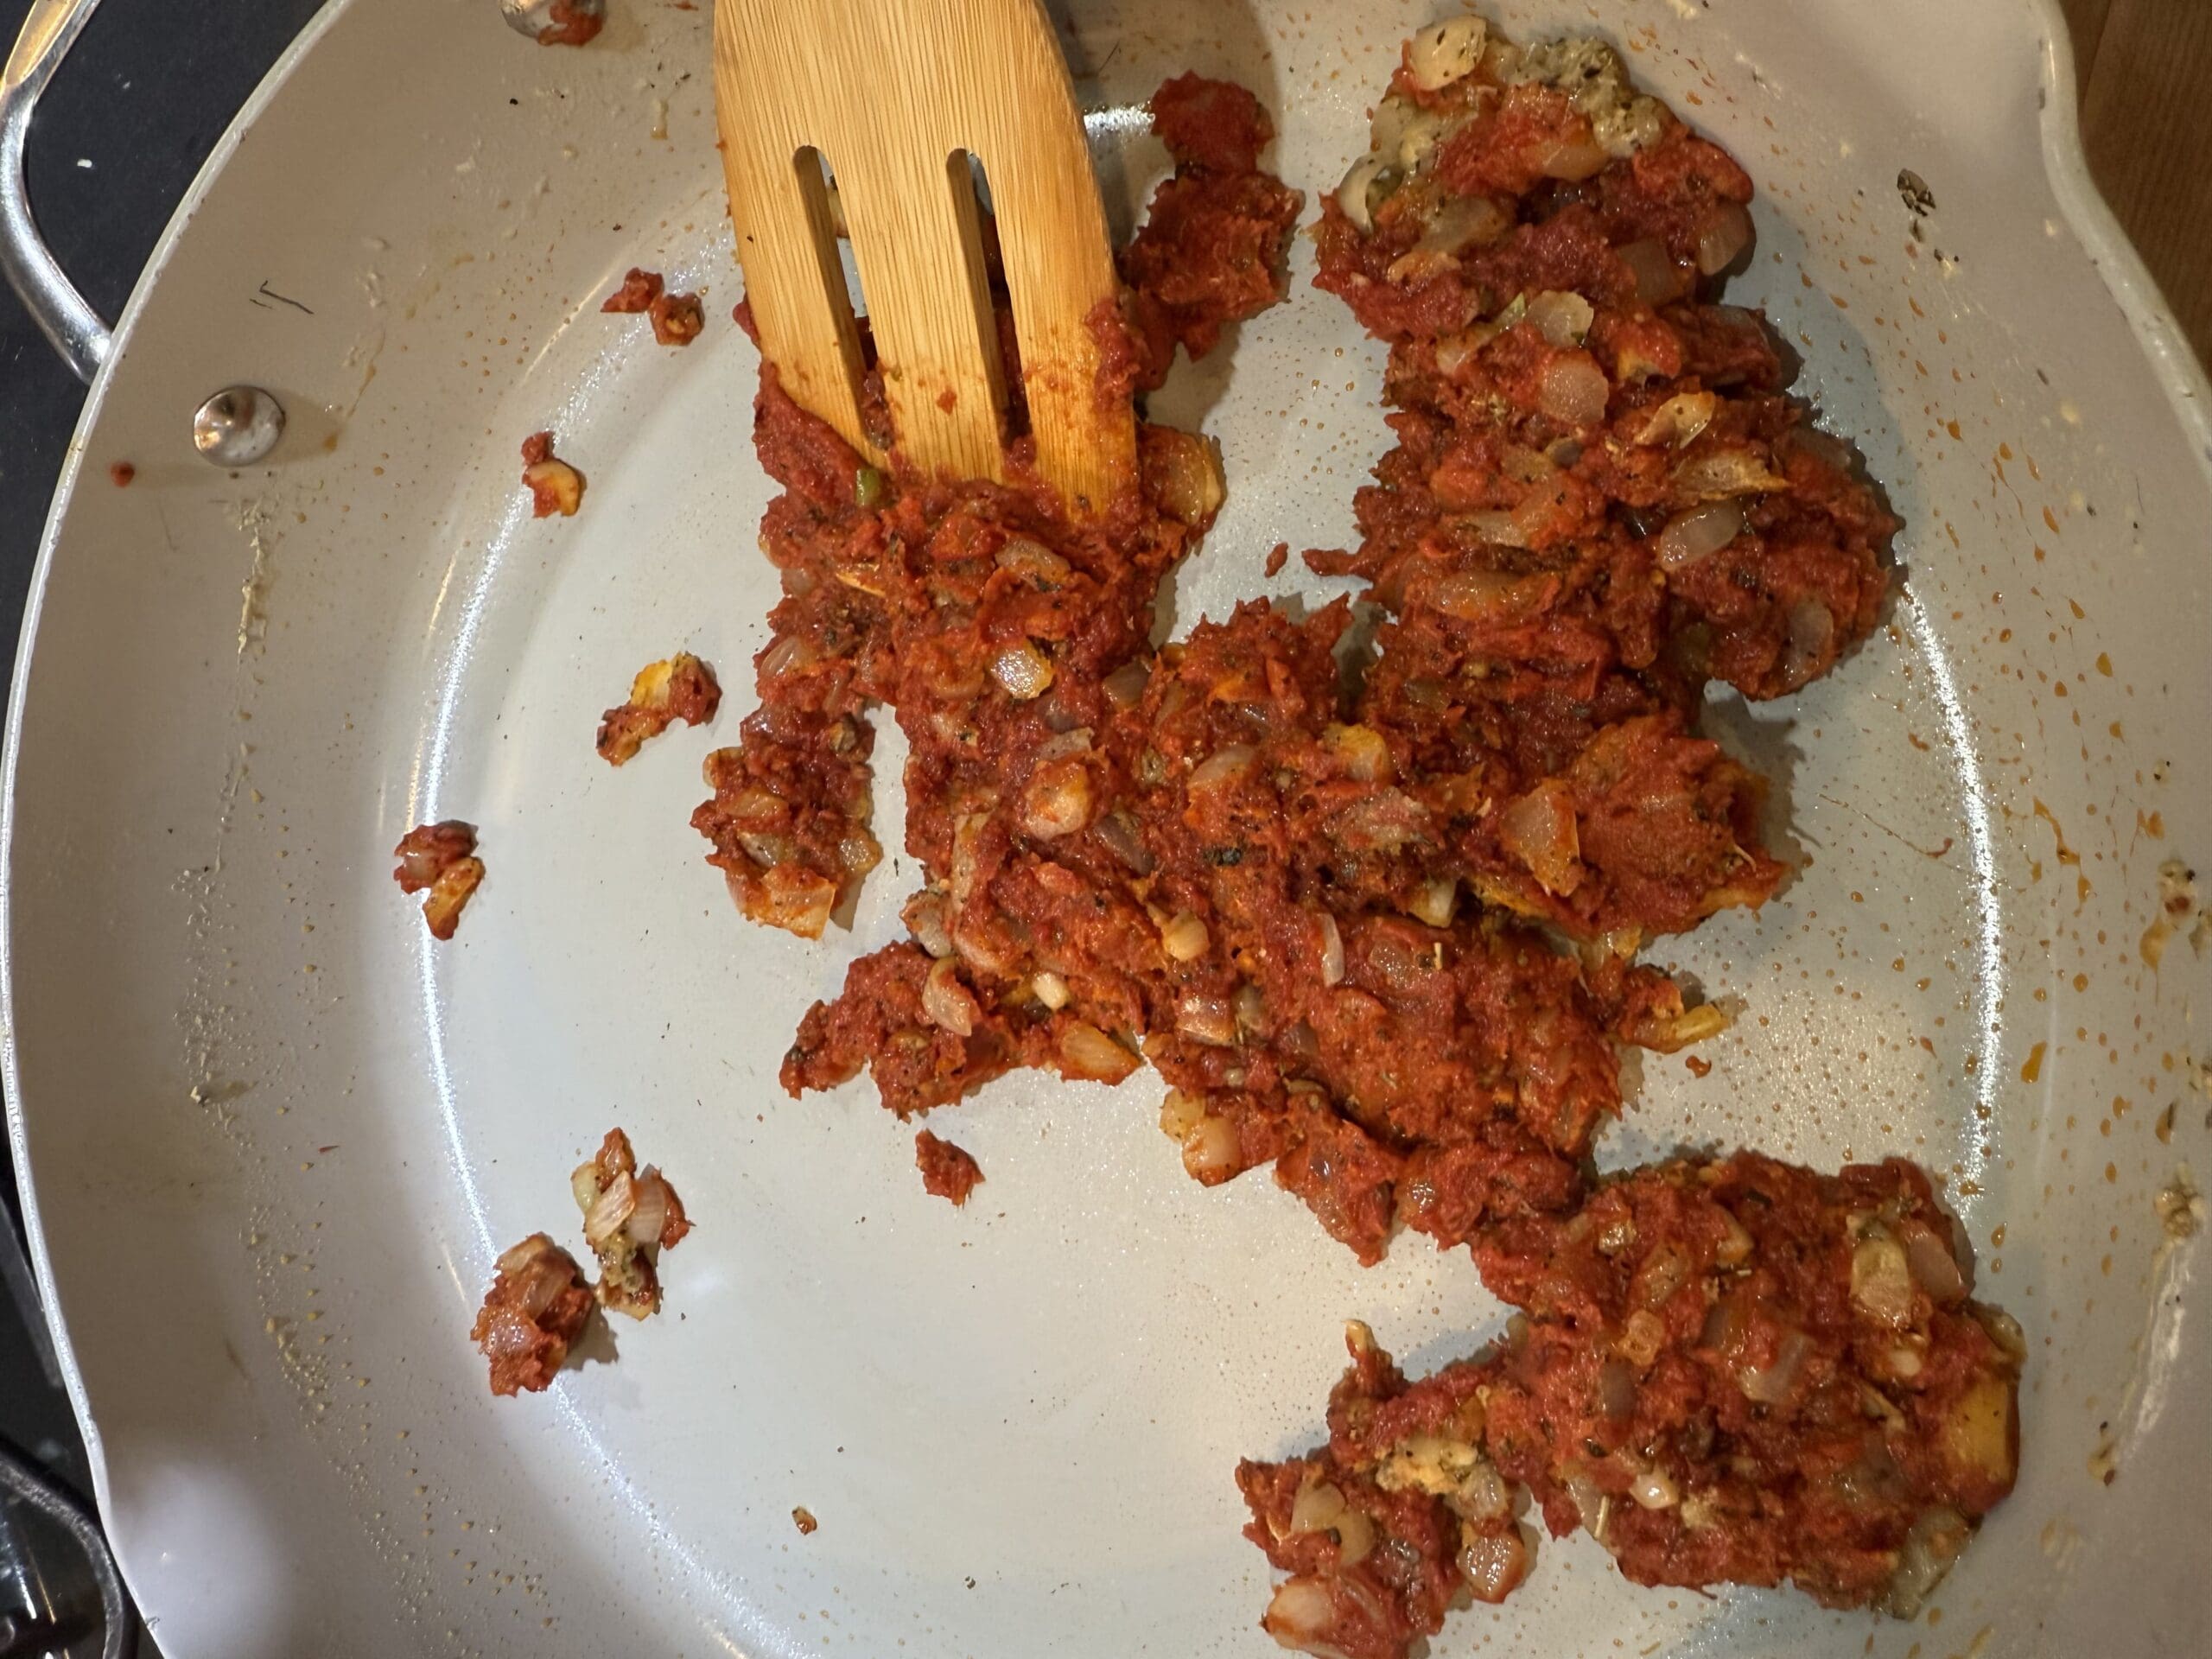
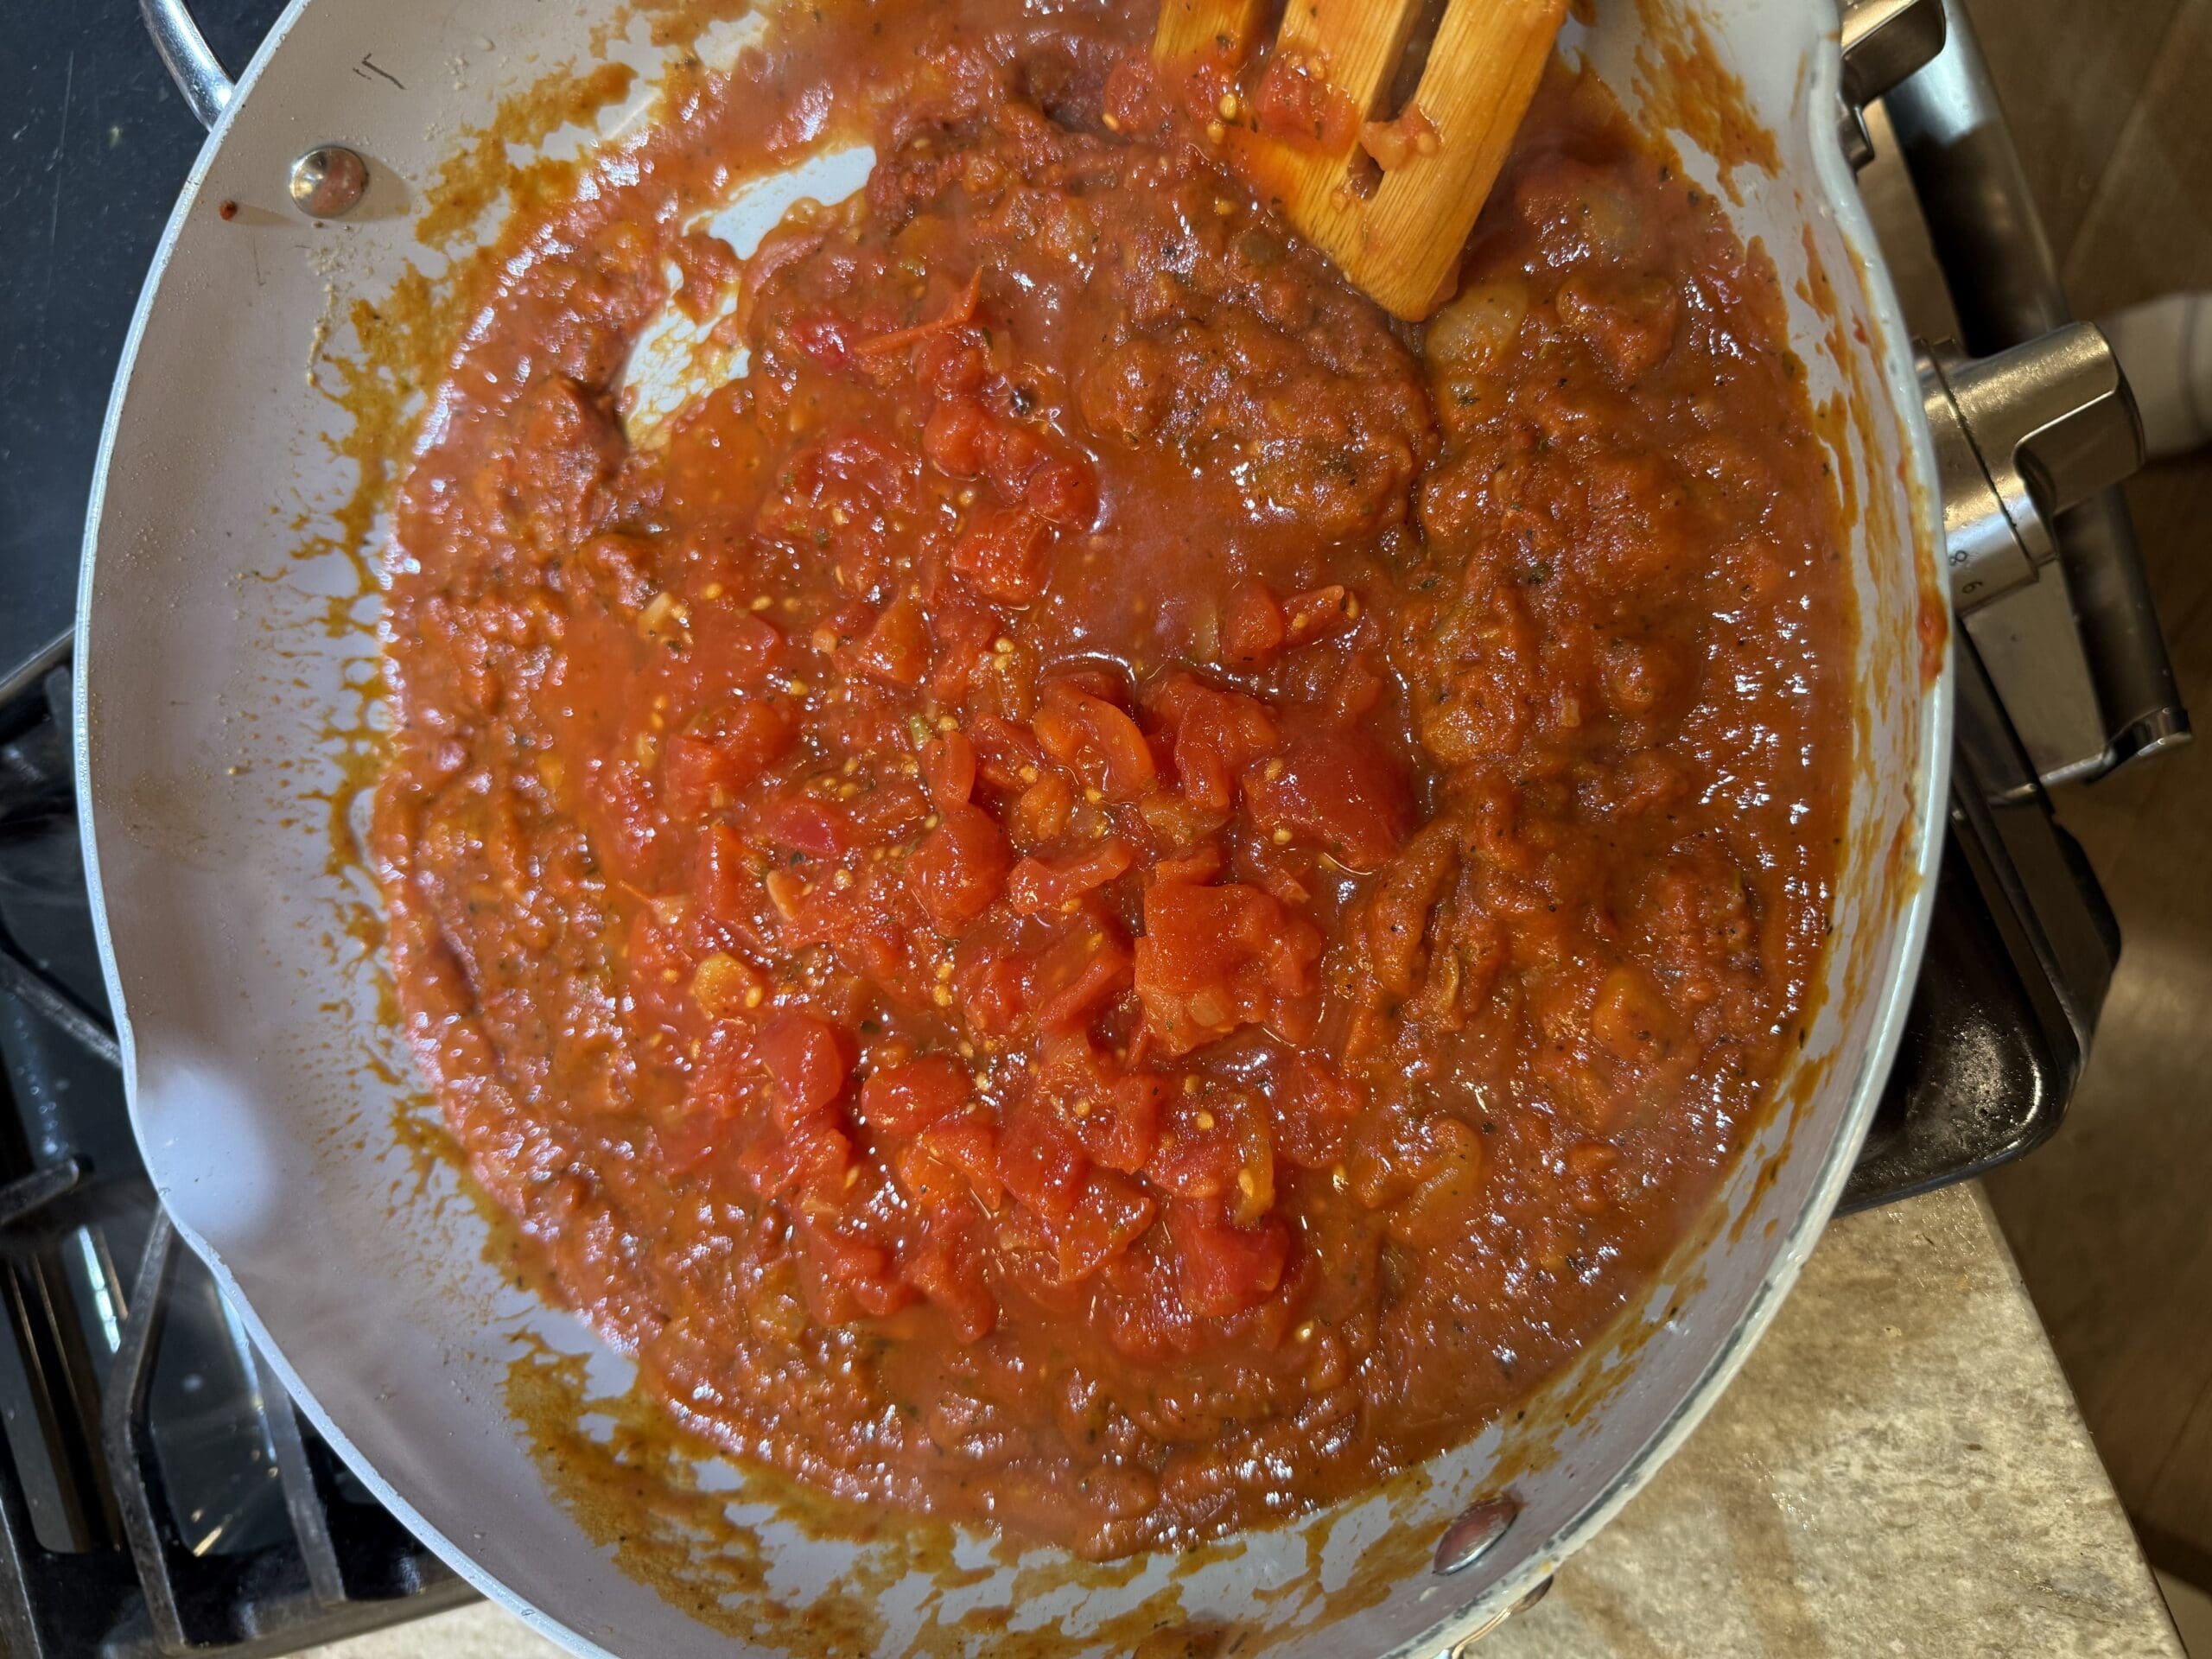
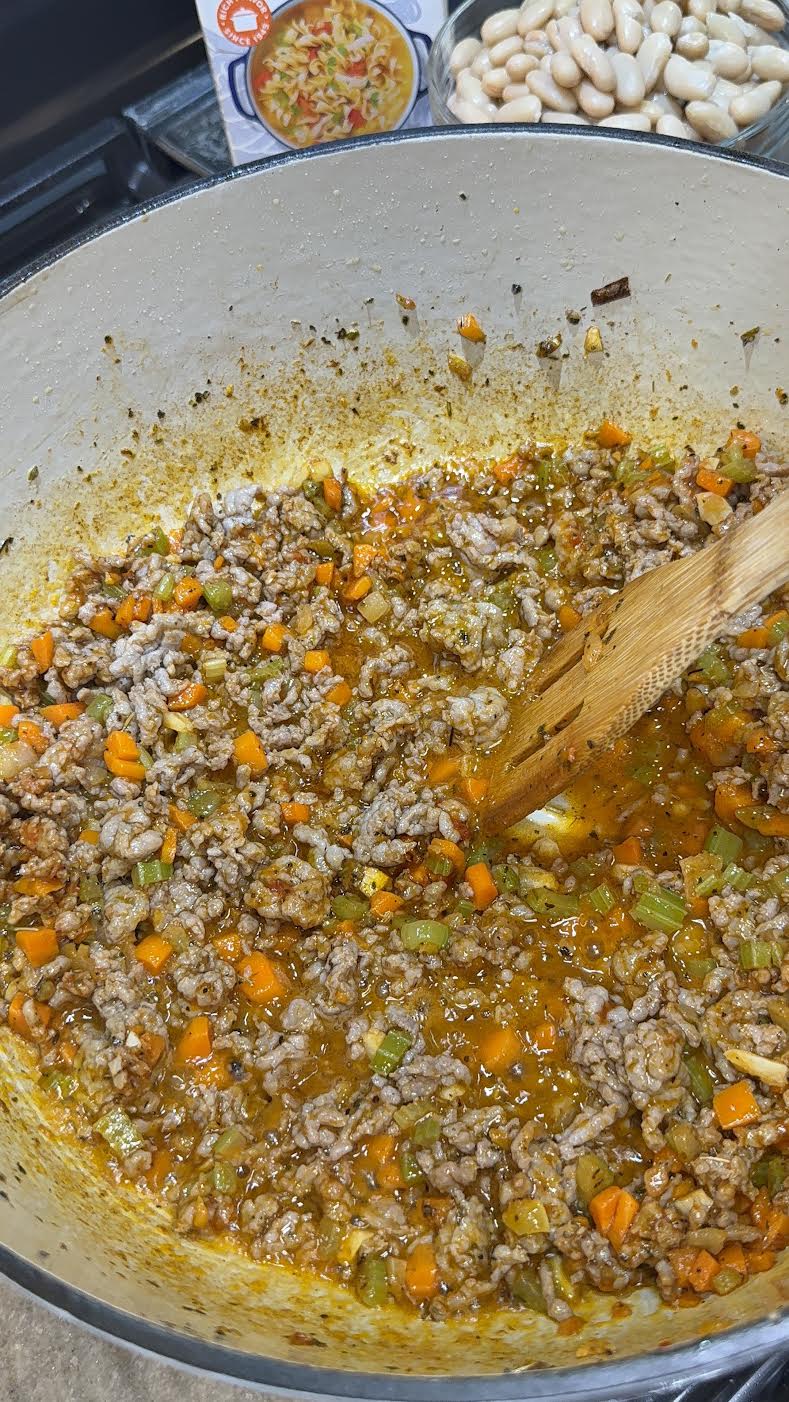
Once the sausage is fully cooked, add the chopped garlic and stir in the tomato paste for about 2 minutes.
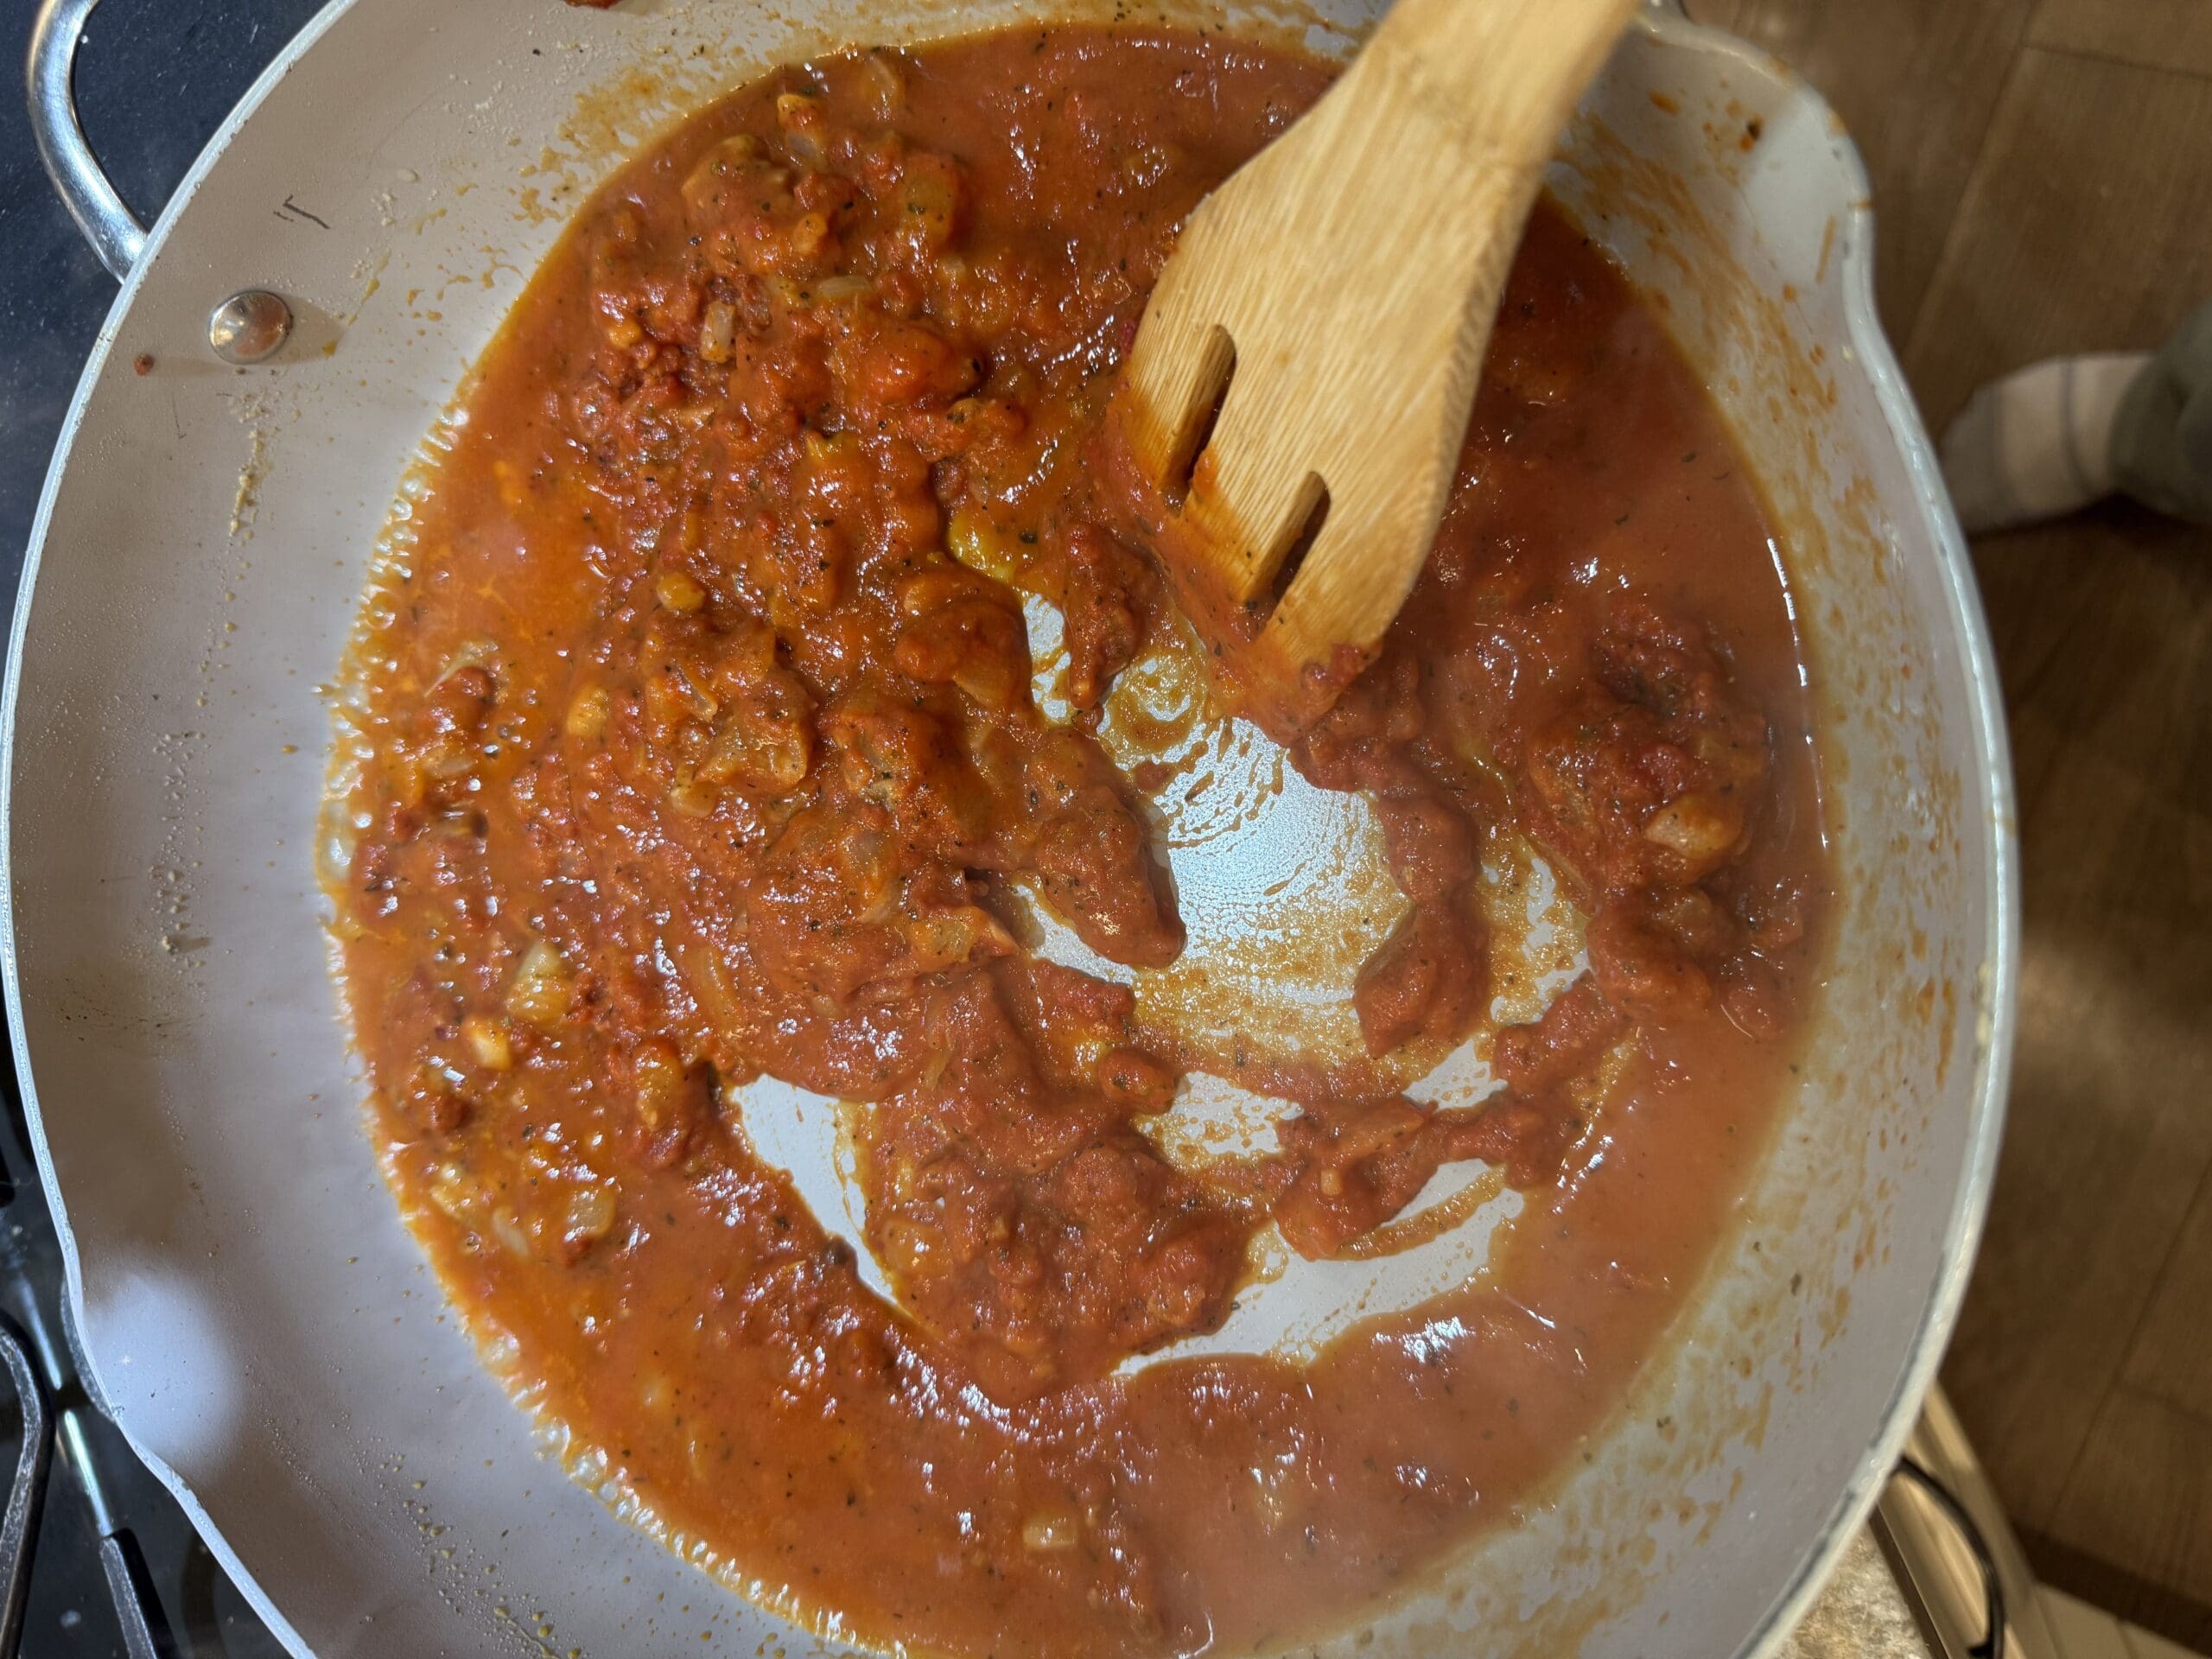
Next, add the white wine and scrape all the bits off the bottom of the pan. Let the wine cook over medium high heat for about 2 minutes.
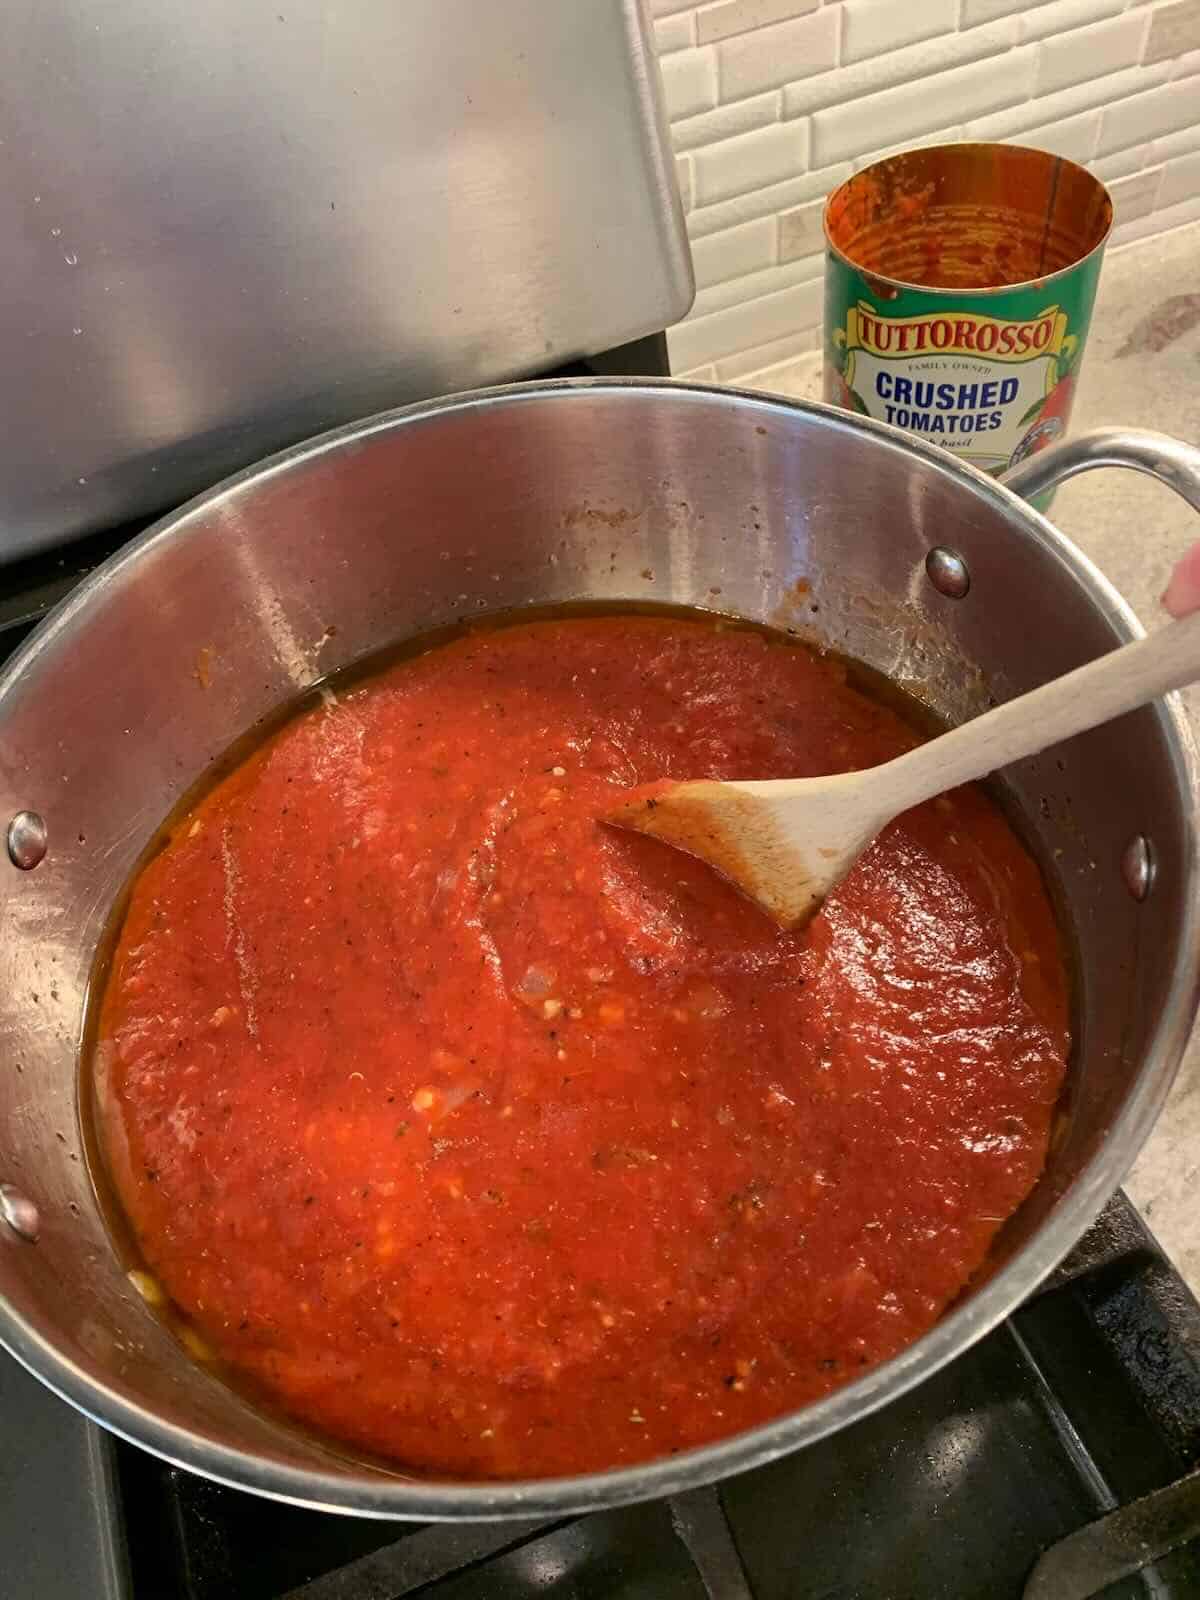
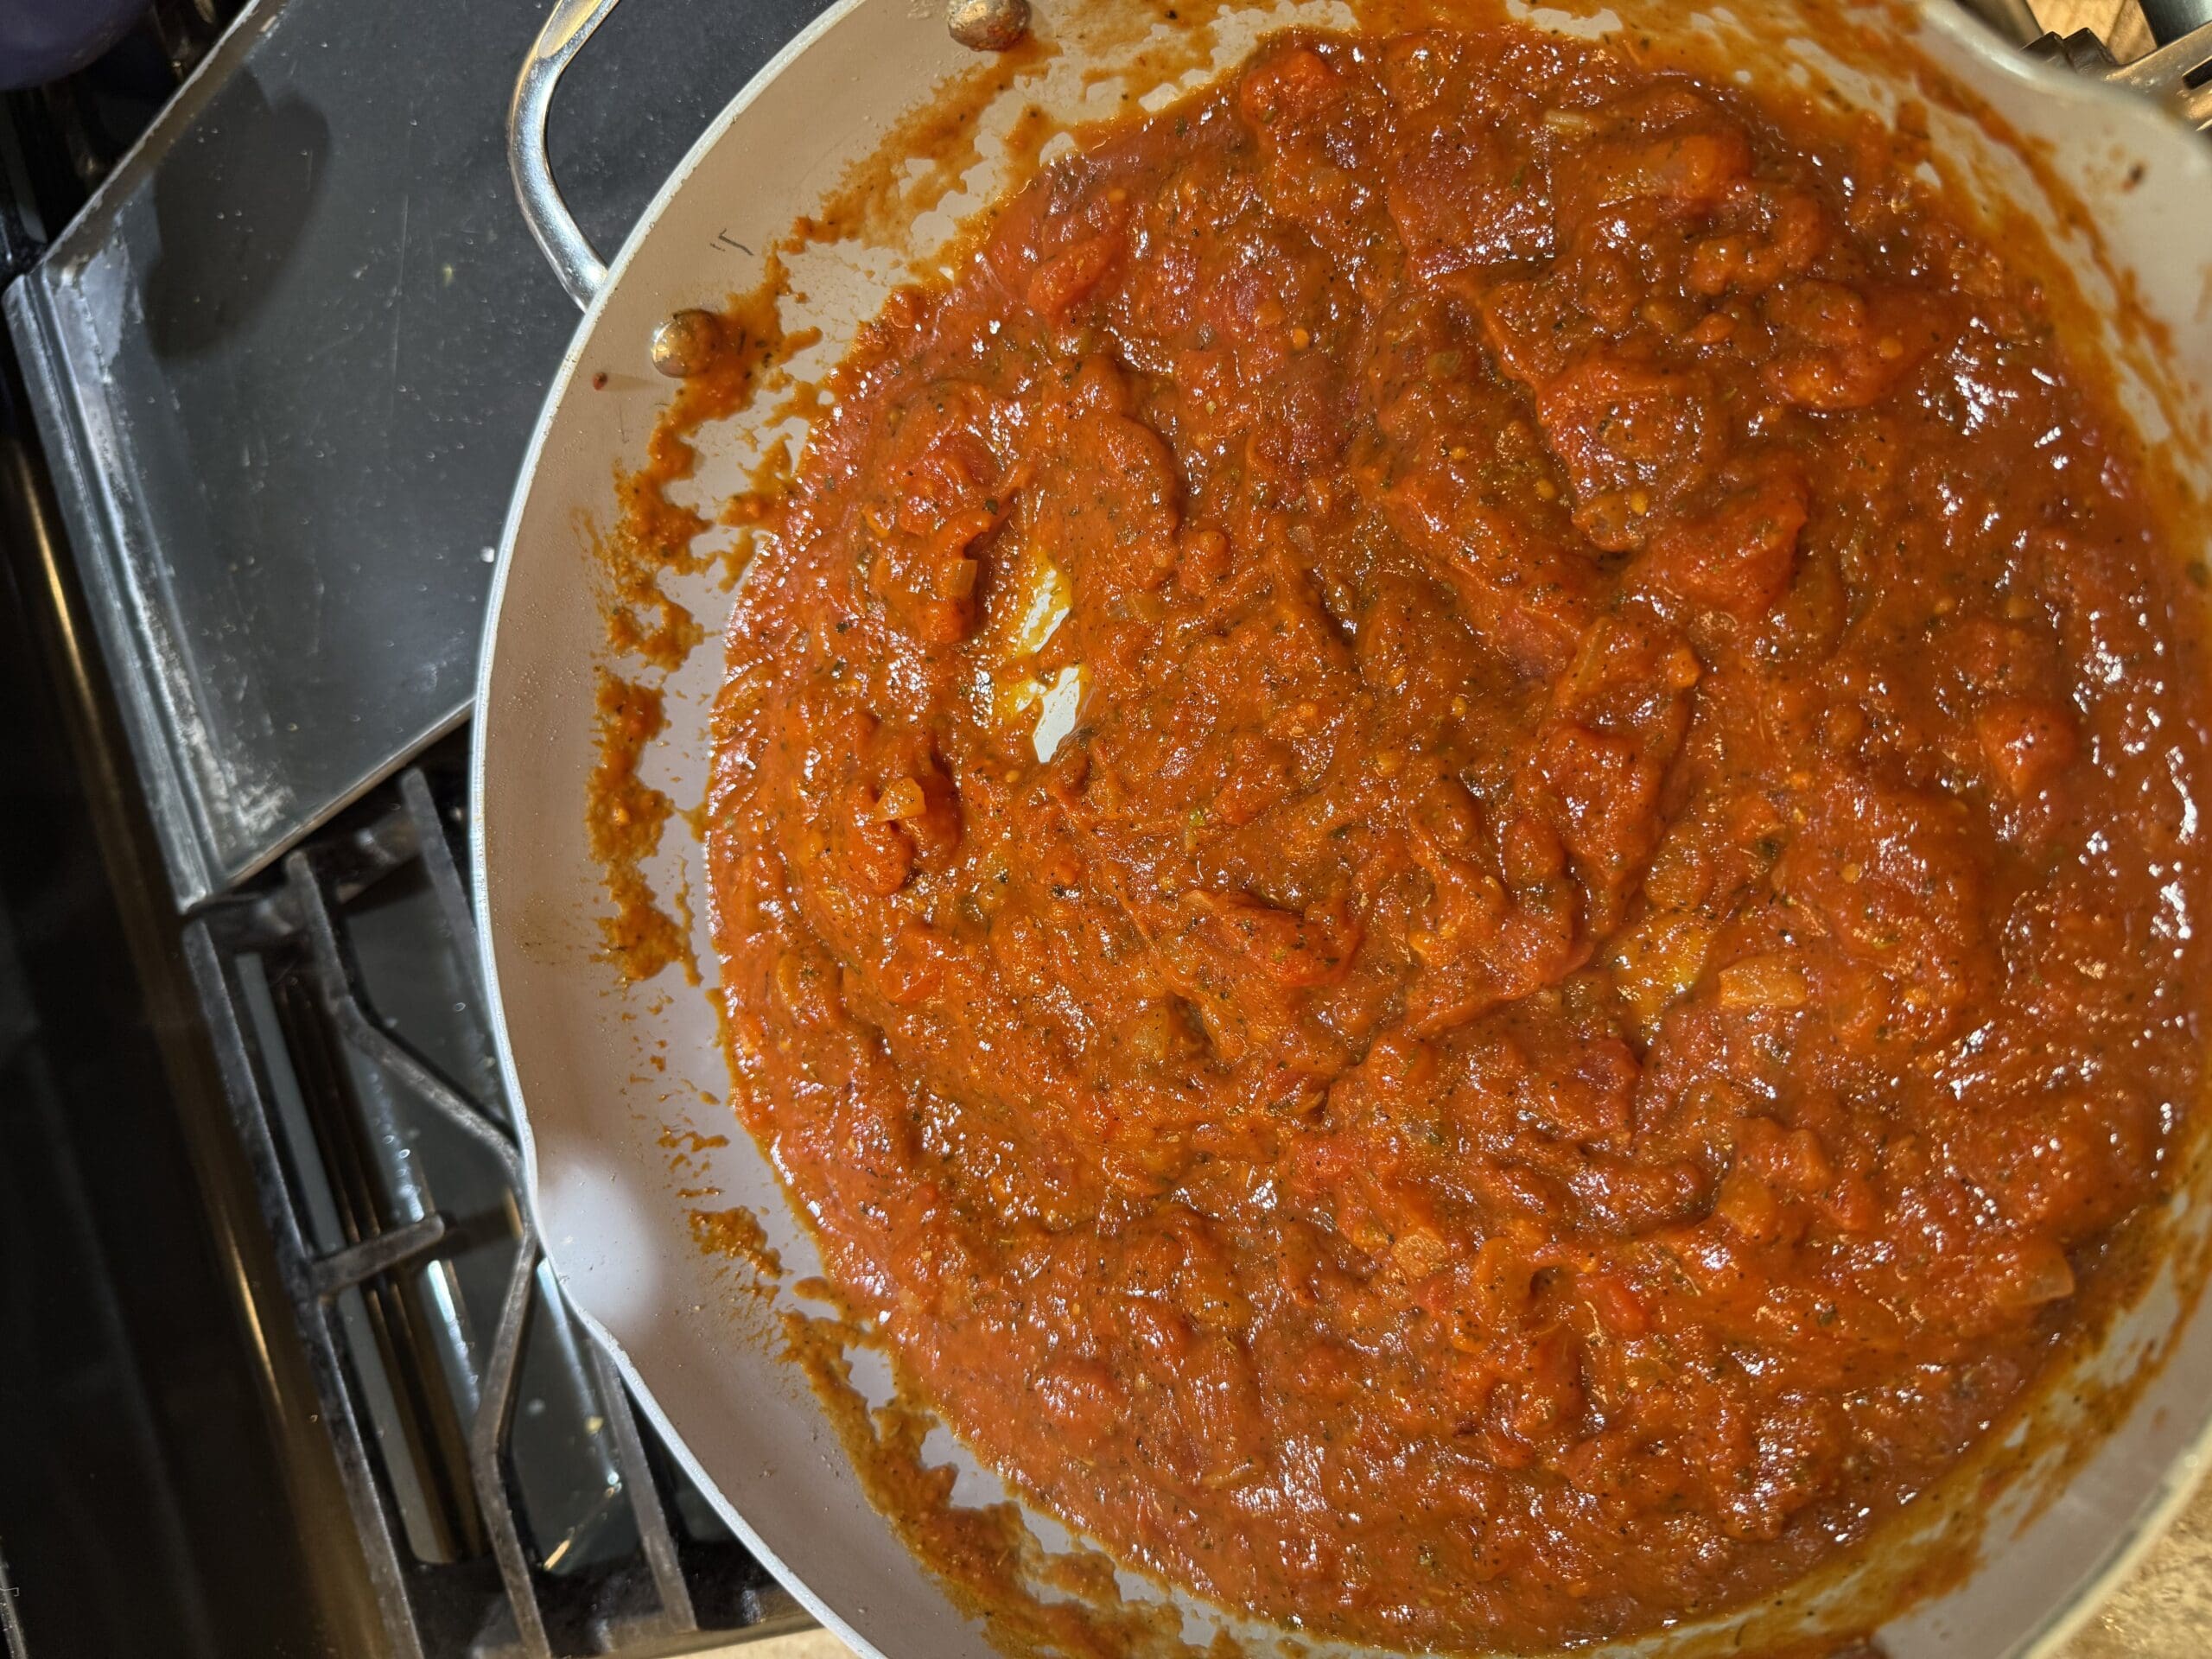
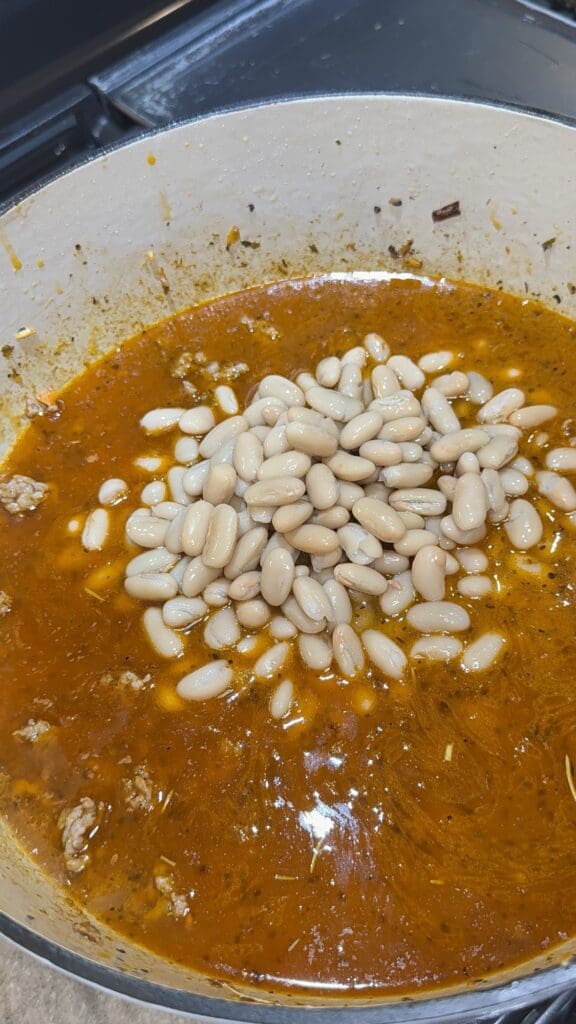
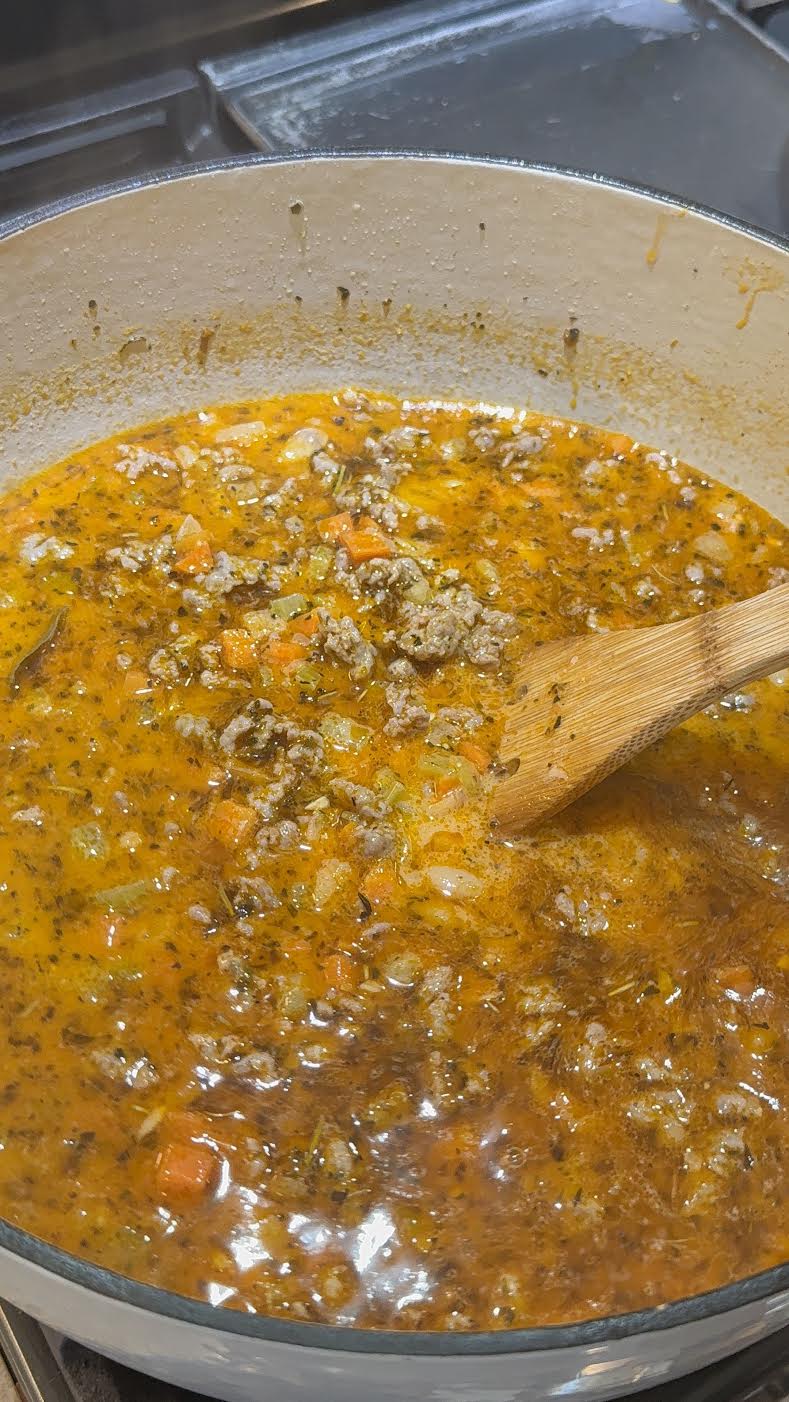
Then, add in the chicken broth and beans.
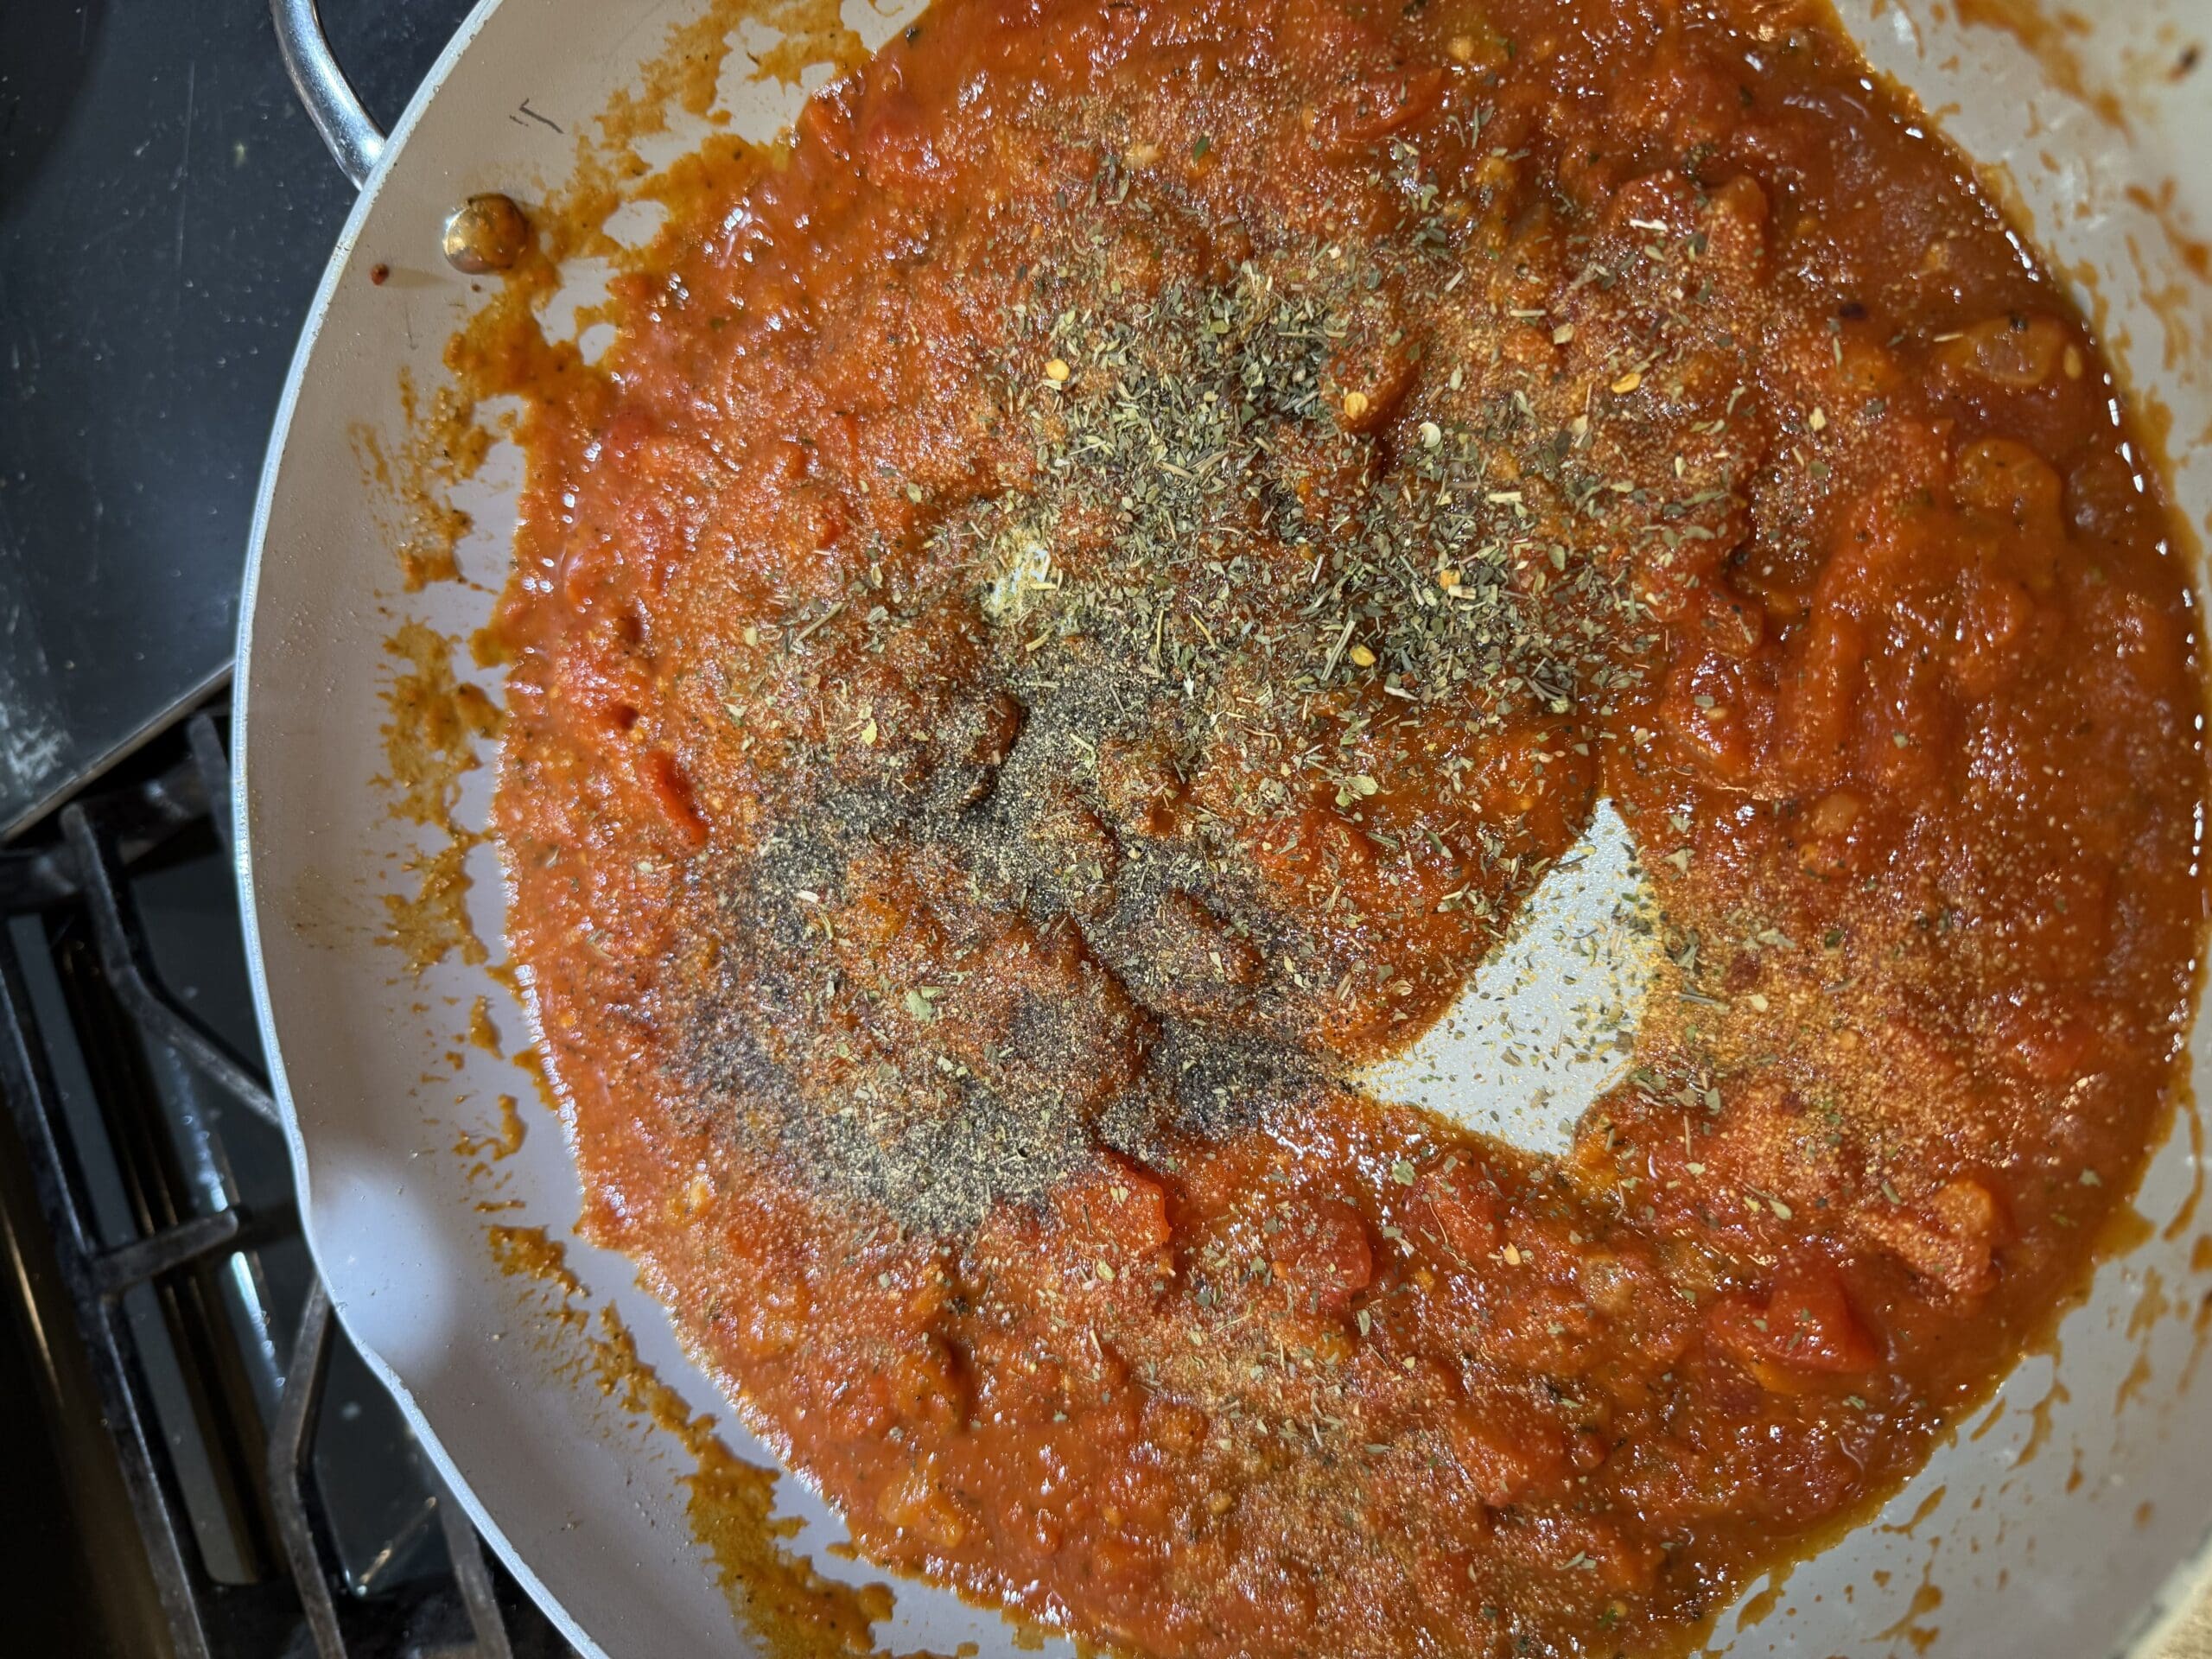
Now, season the soup with salt, pepper, garlic powder and Italian seasoning.
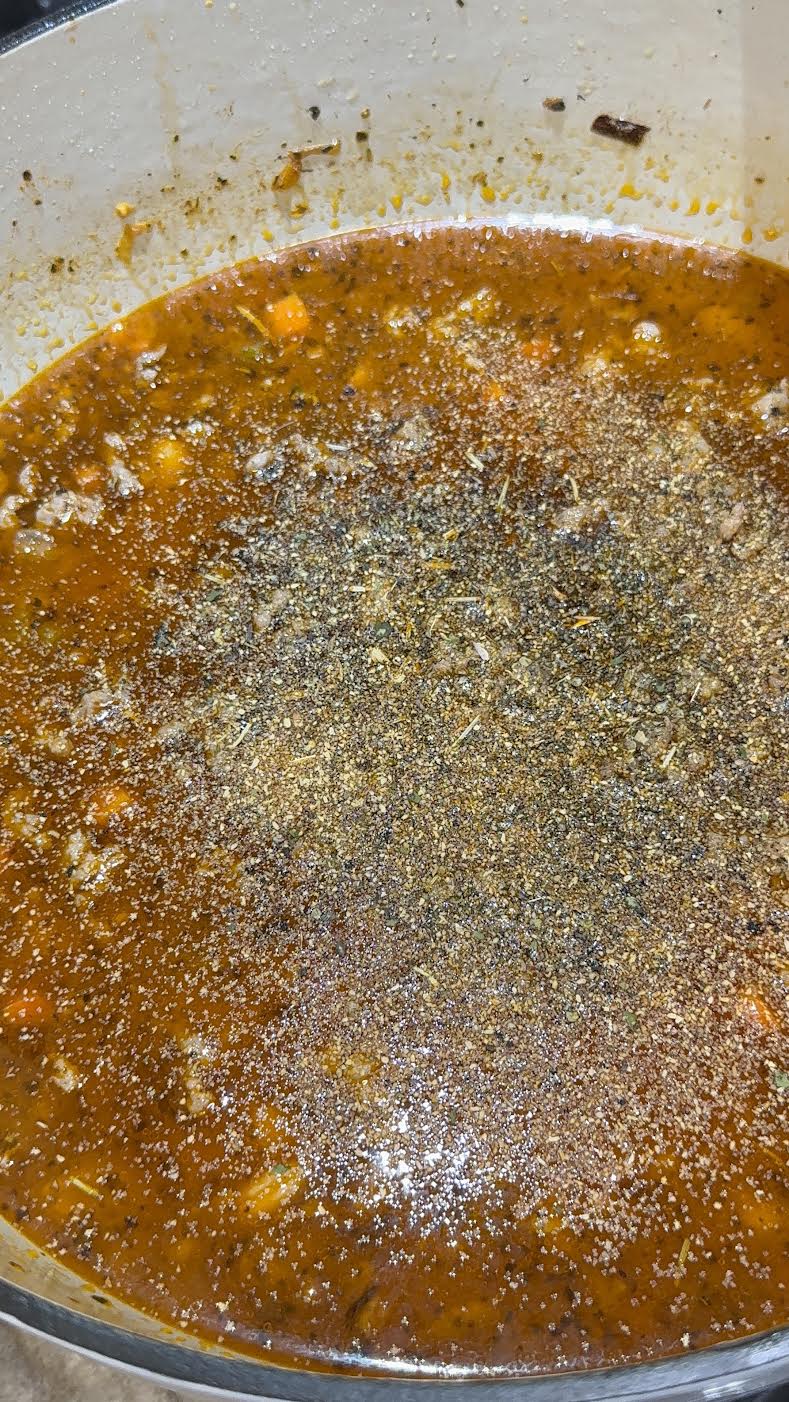
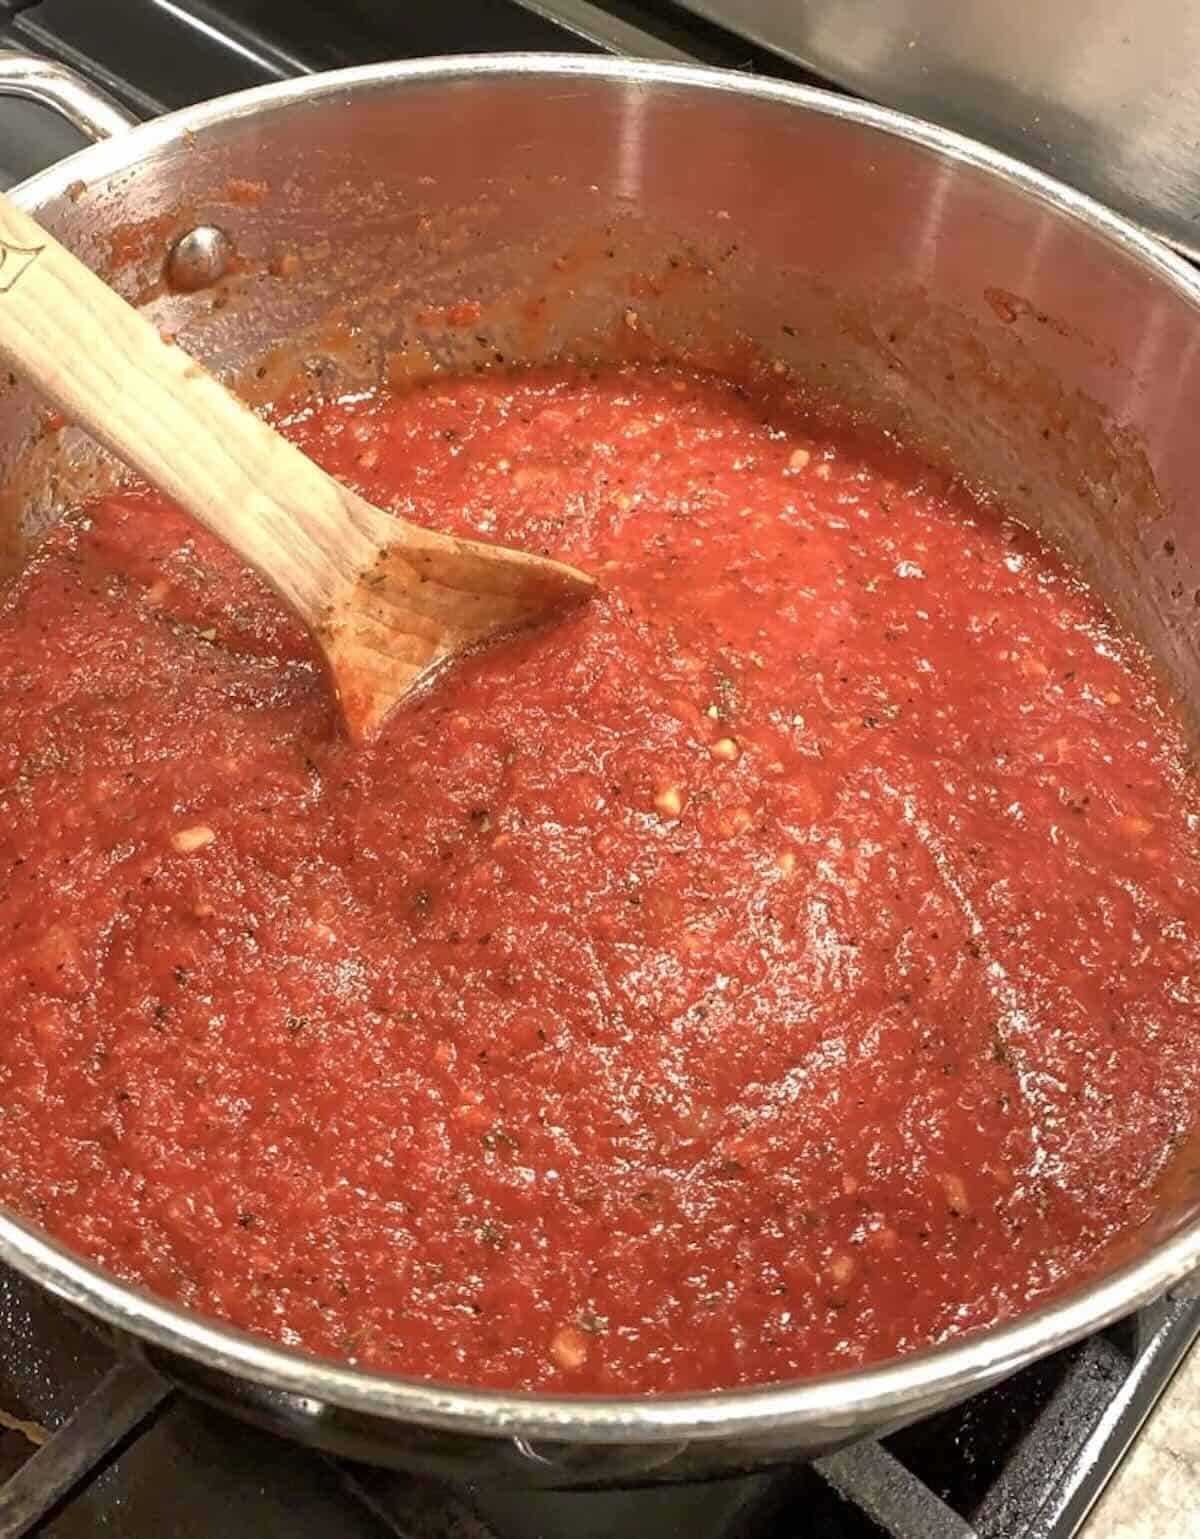
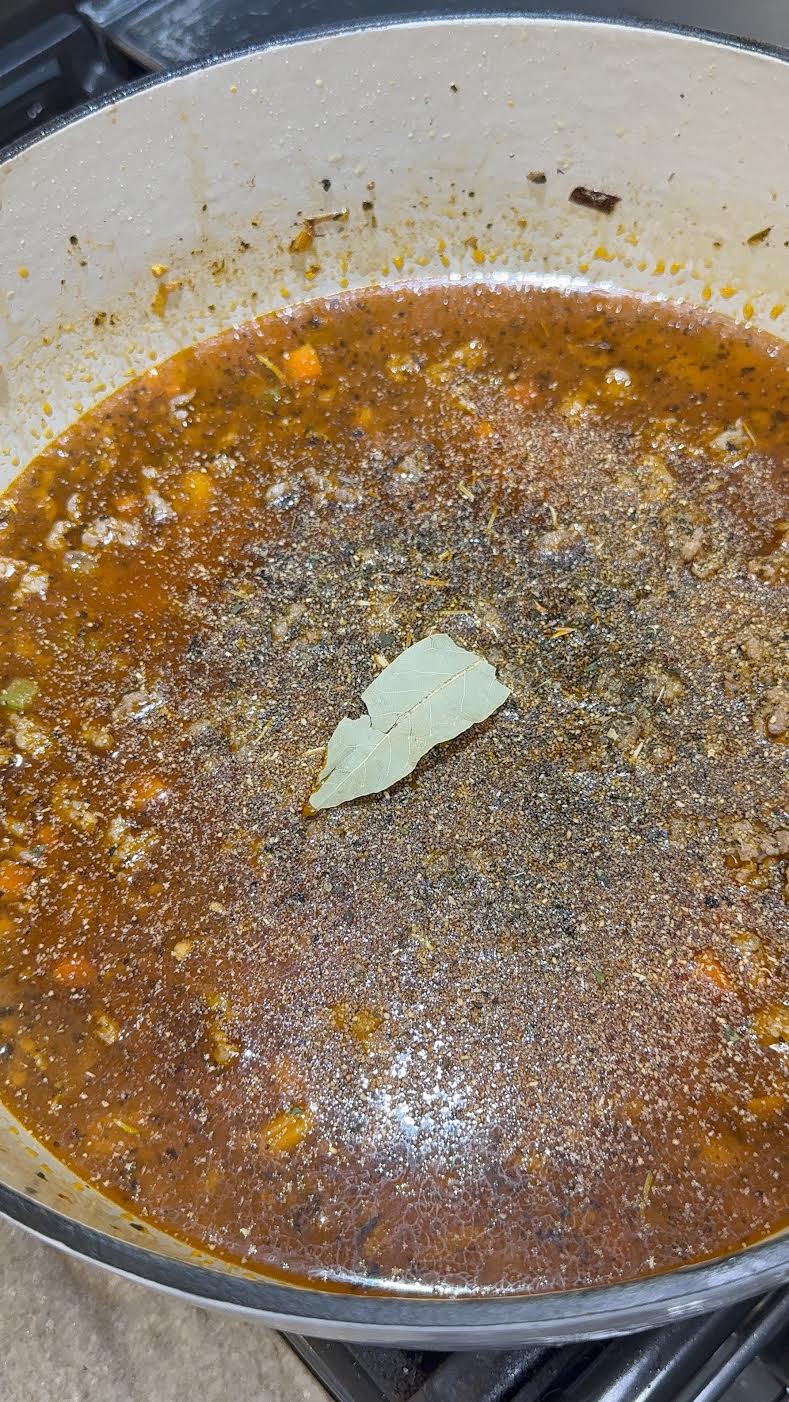
Next, add the bay leaf, give the soup a big stir and simmer it, covered for 20 minutes.
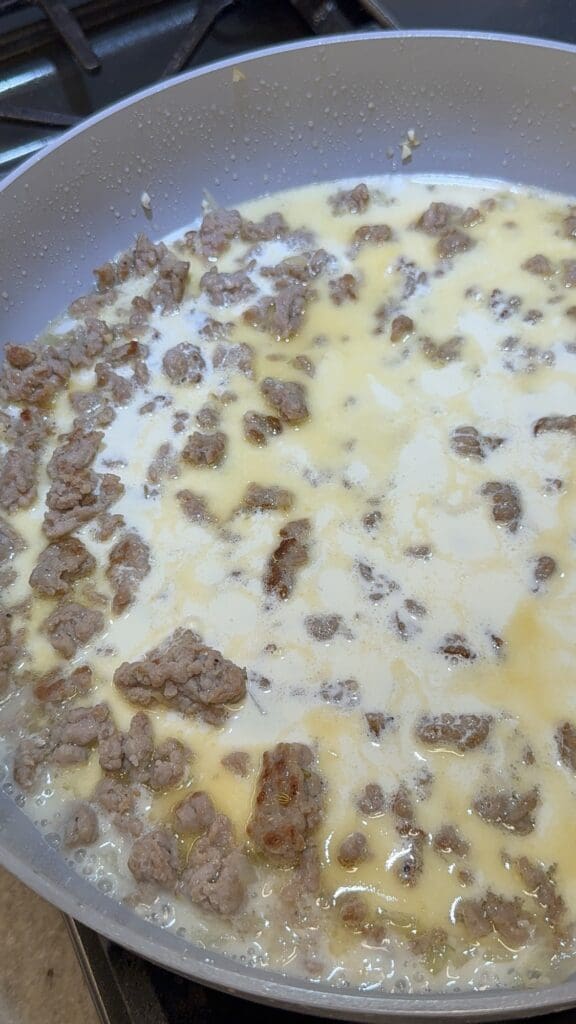
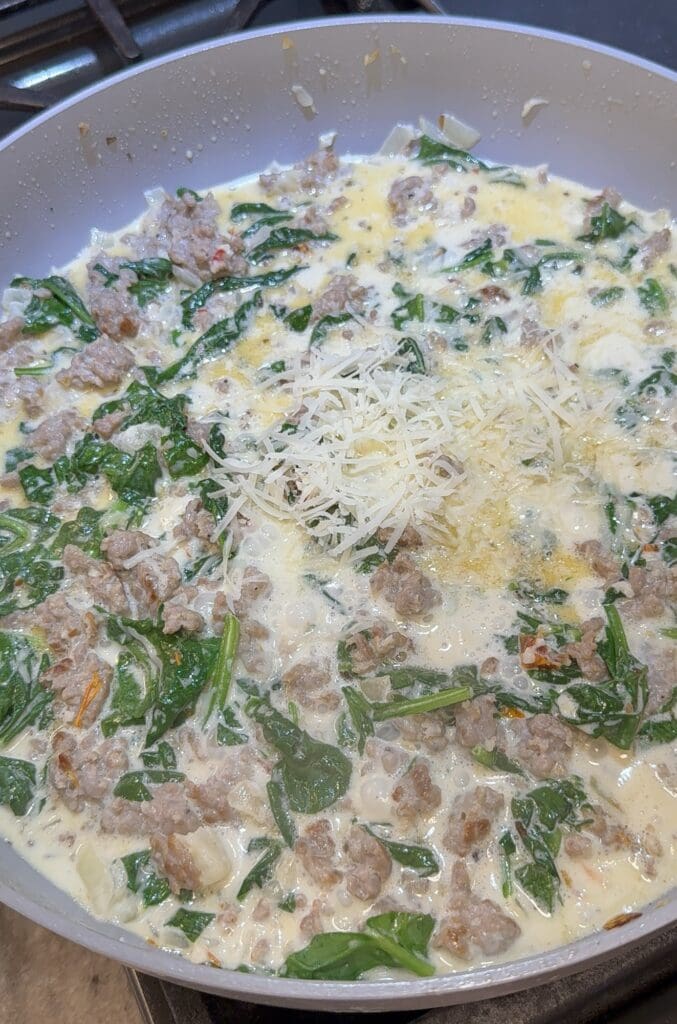
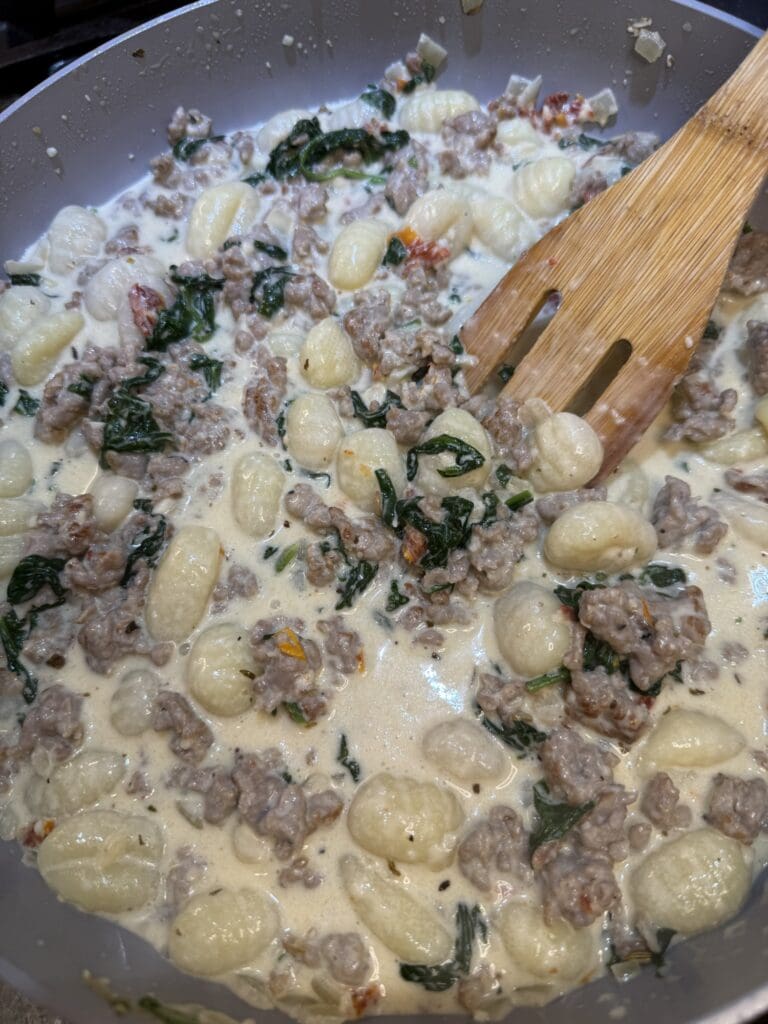
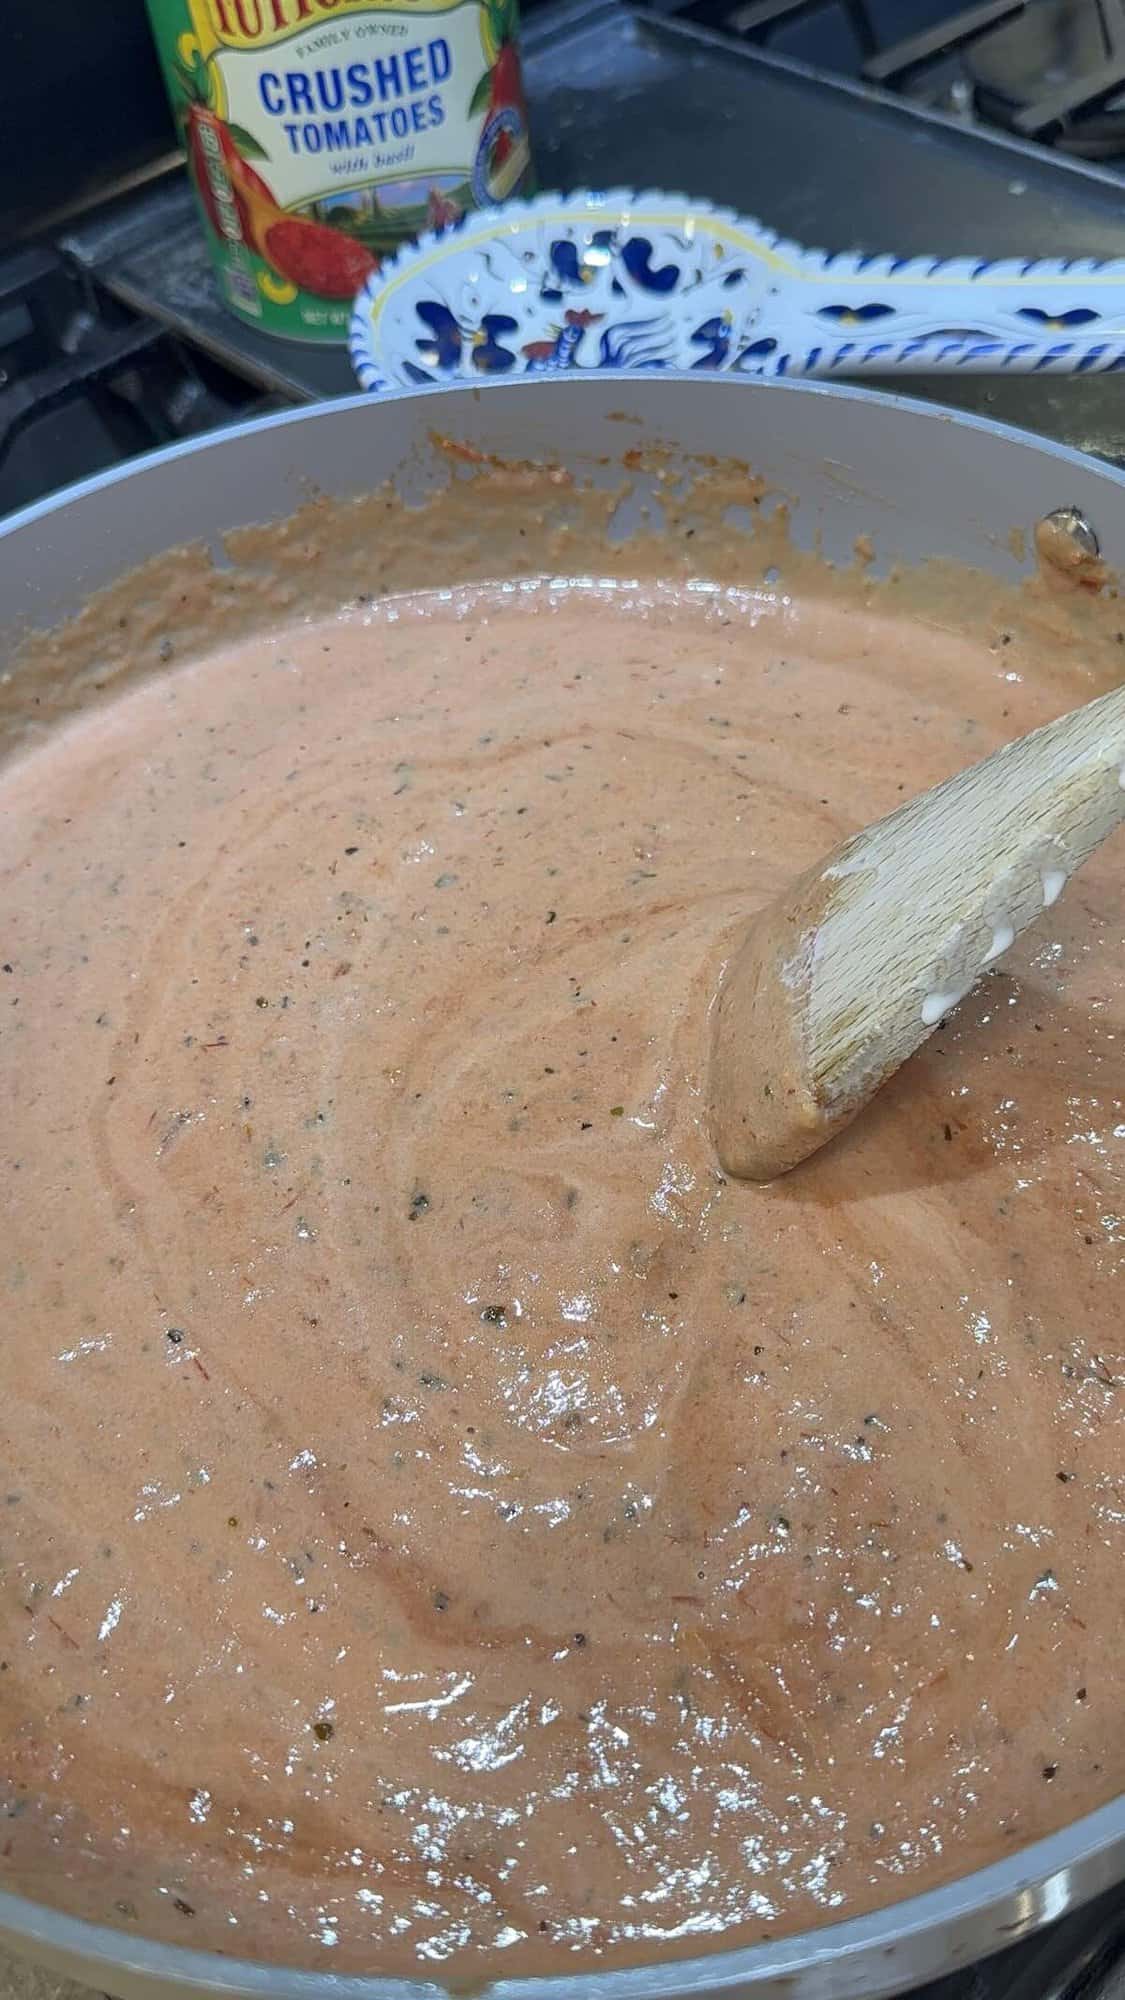
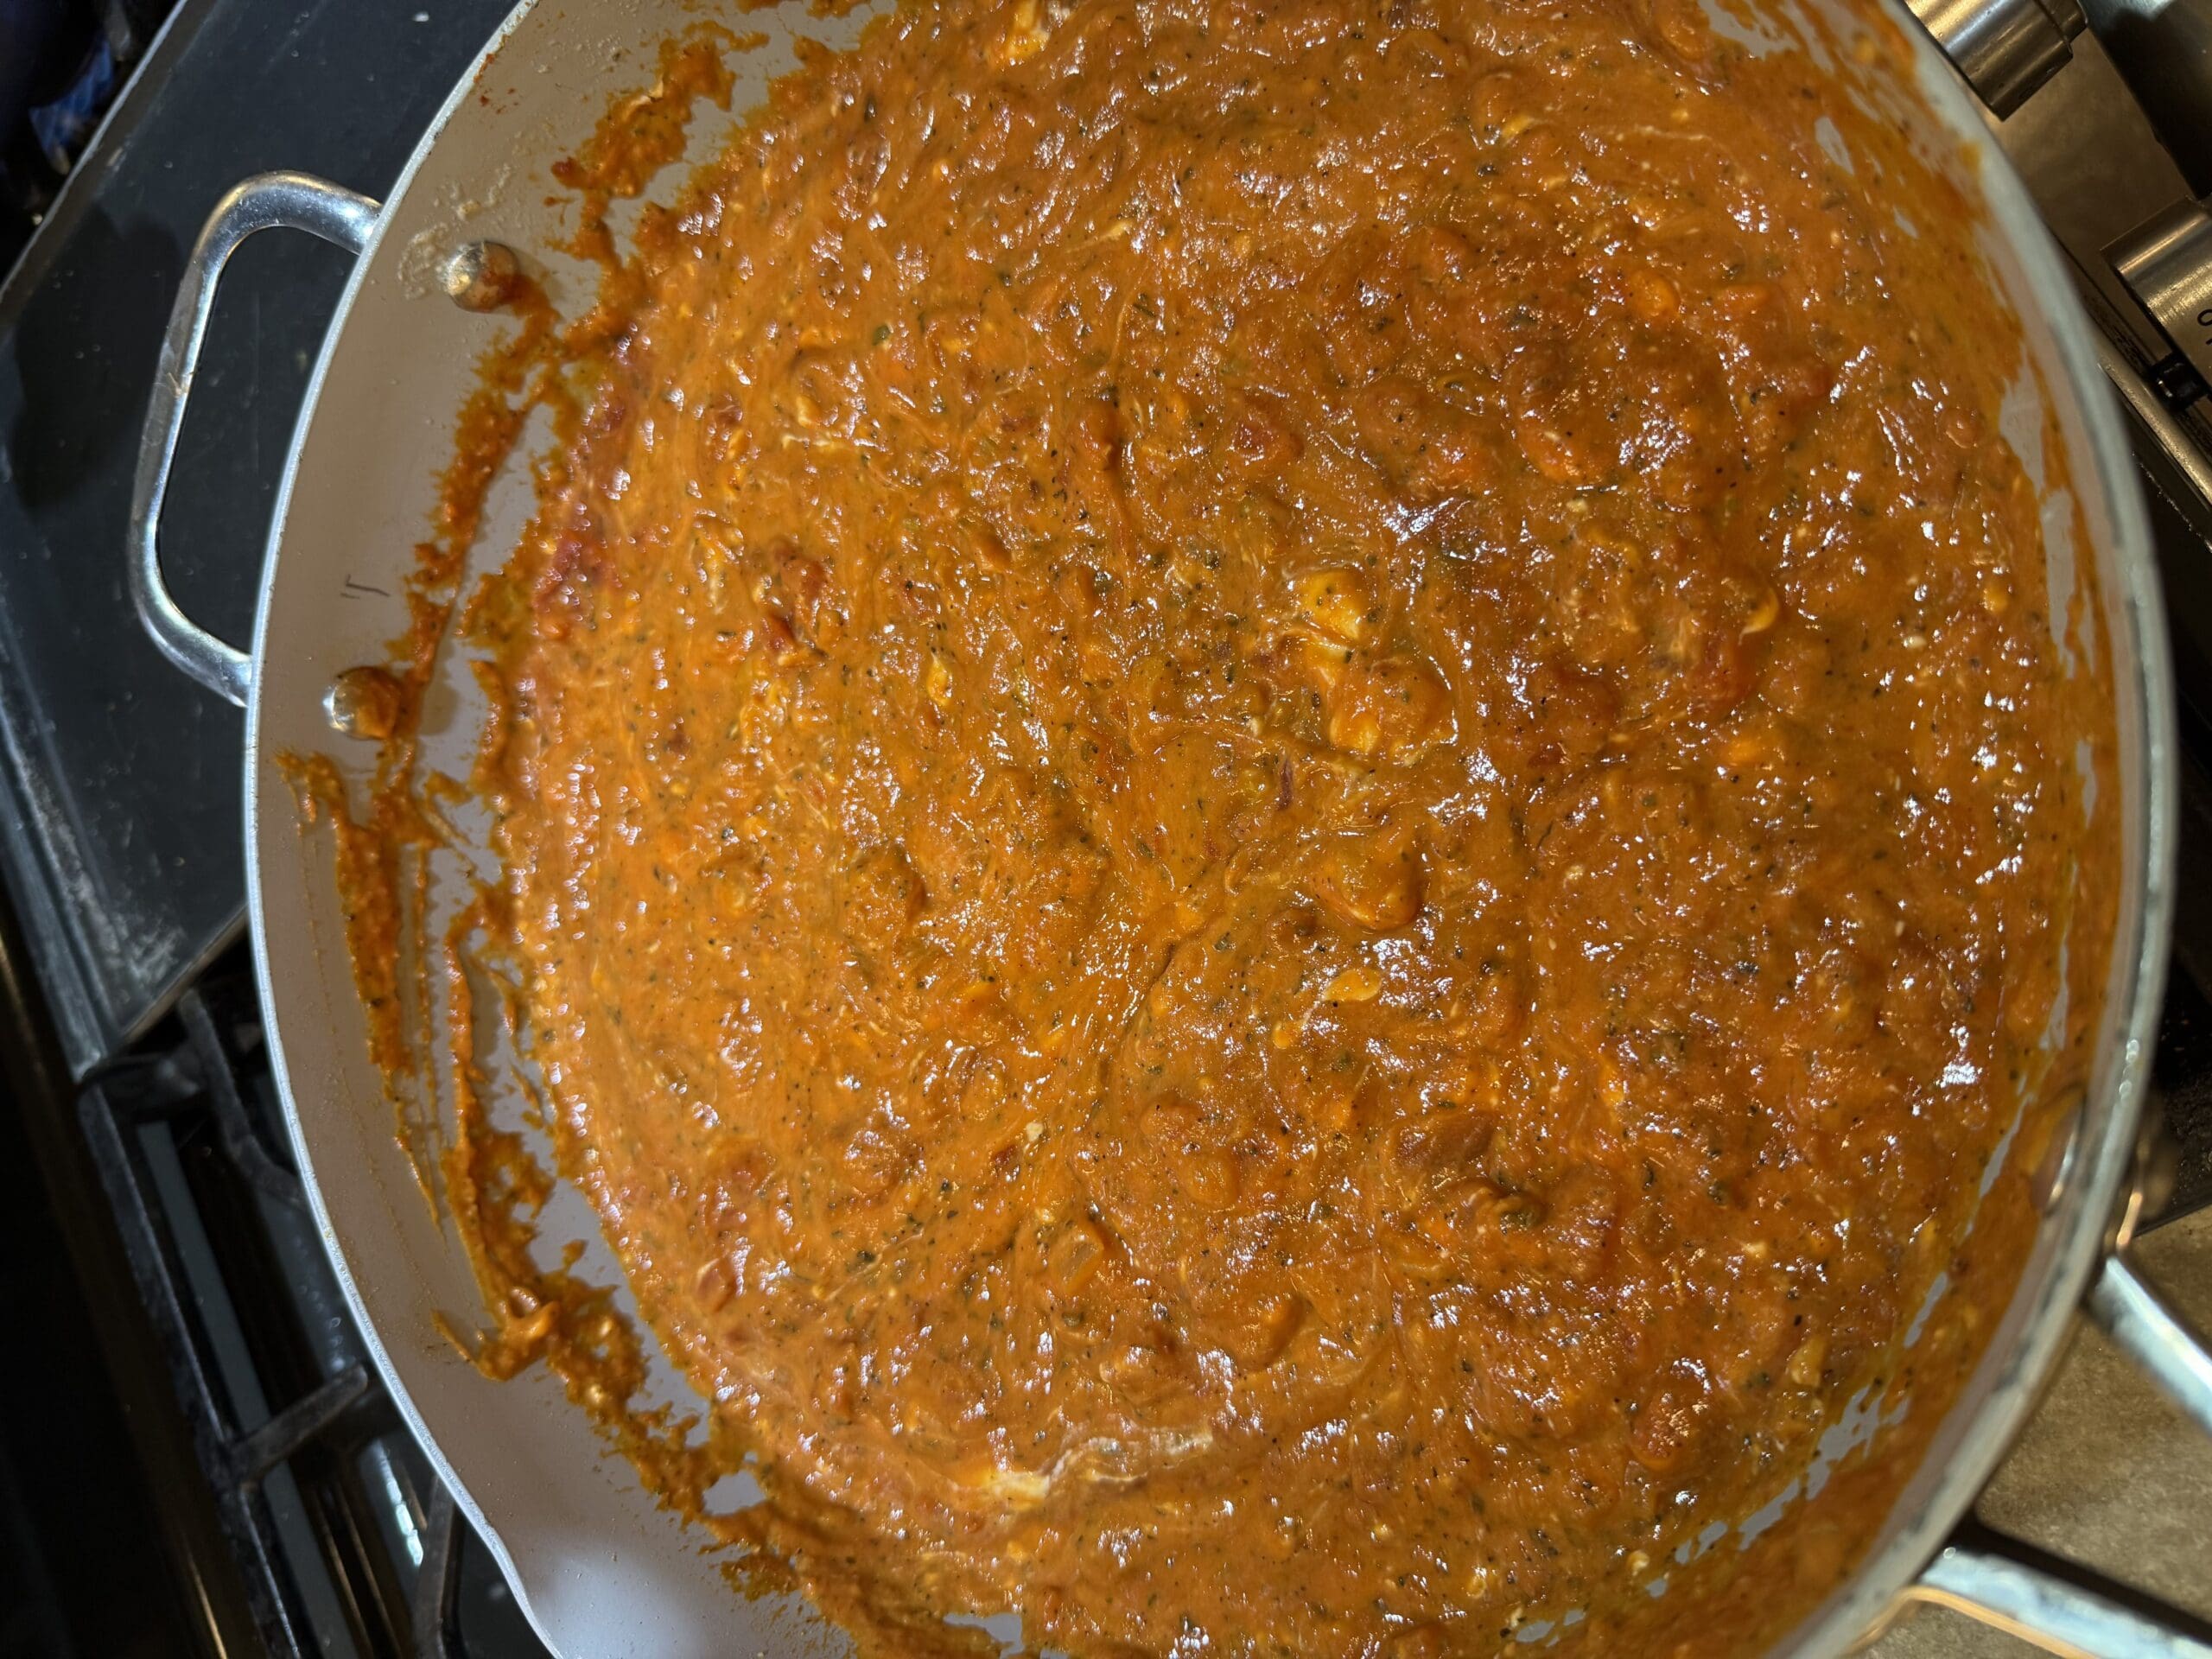
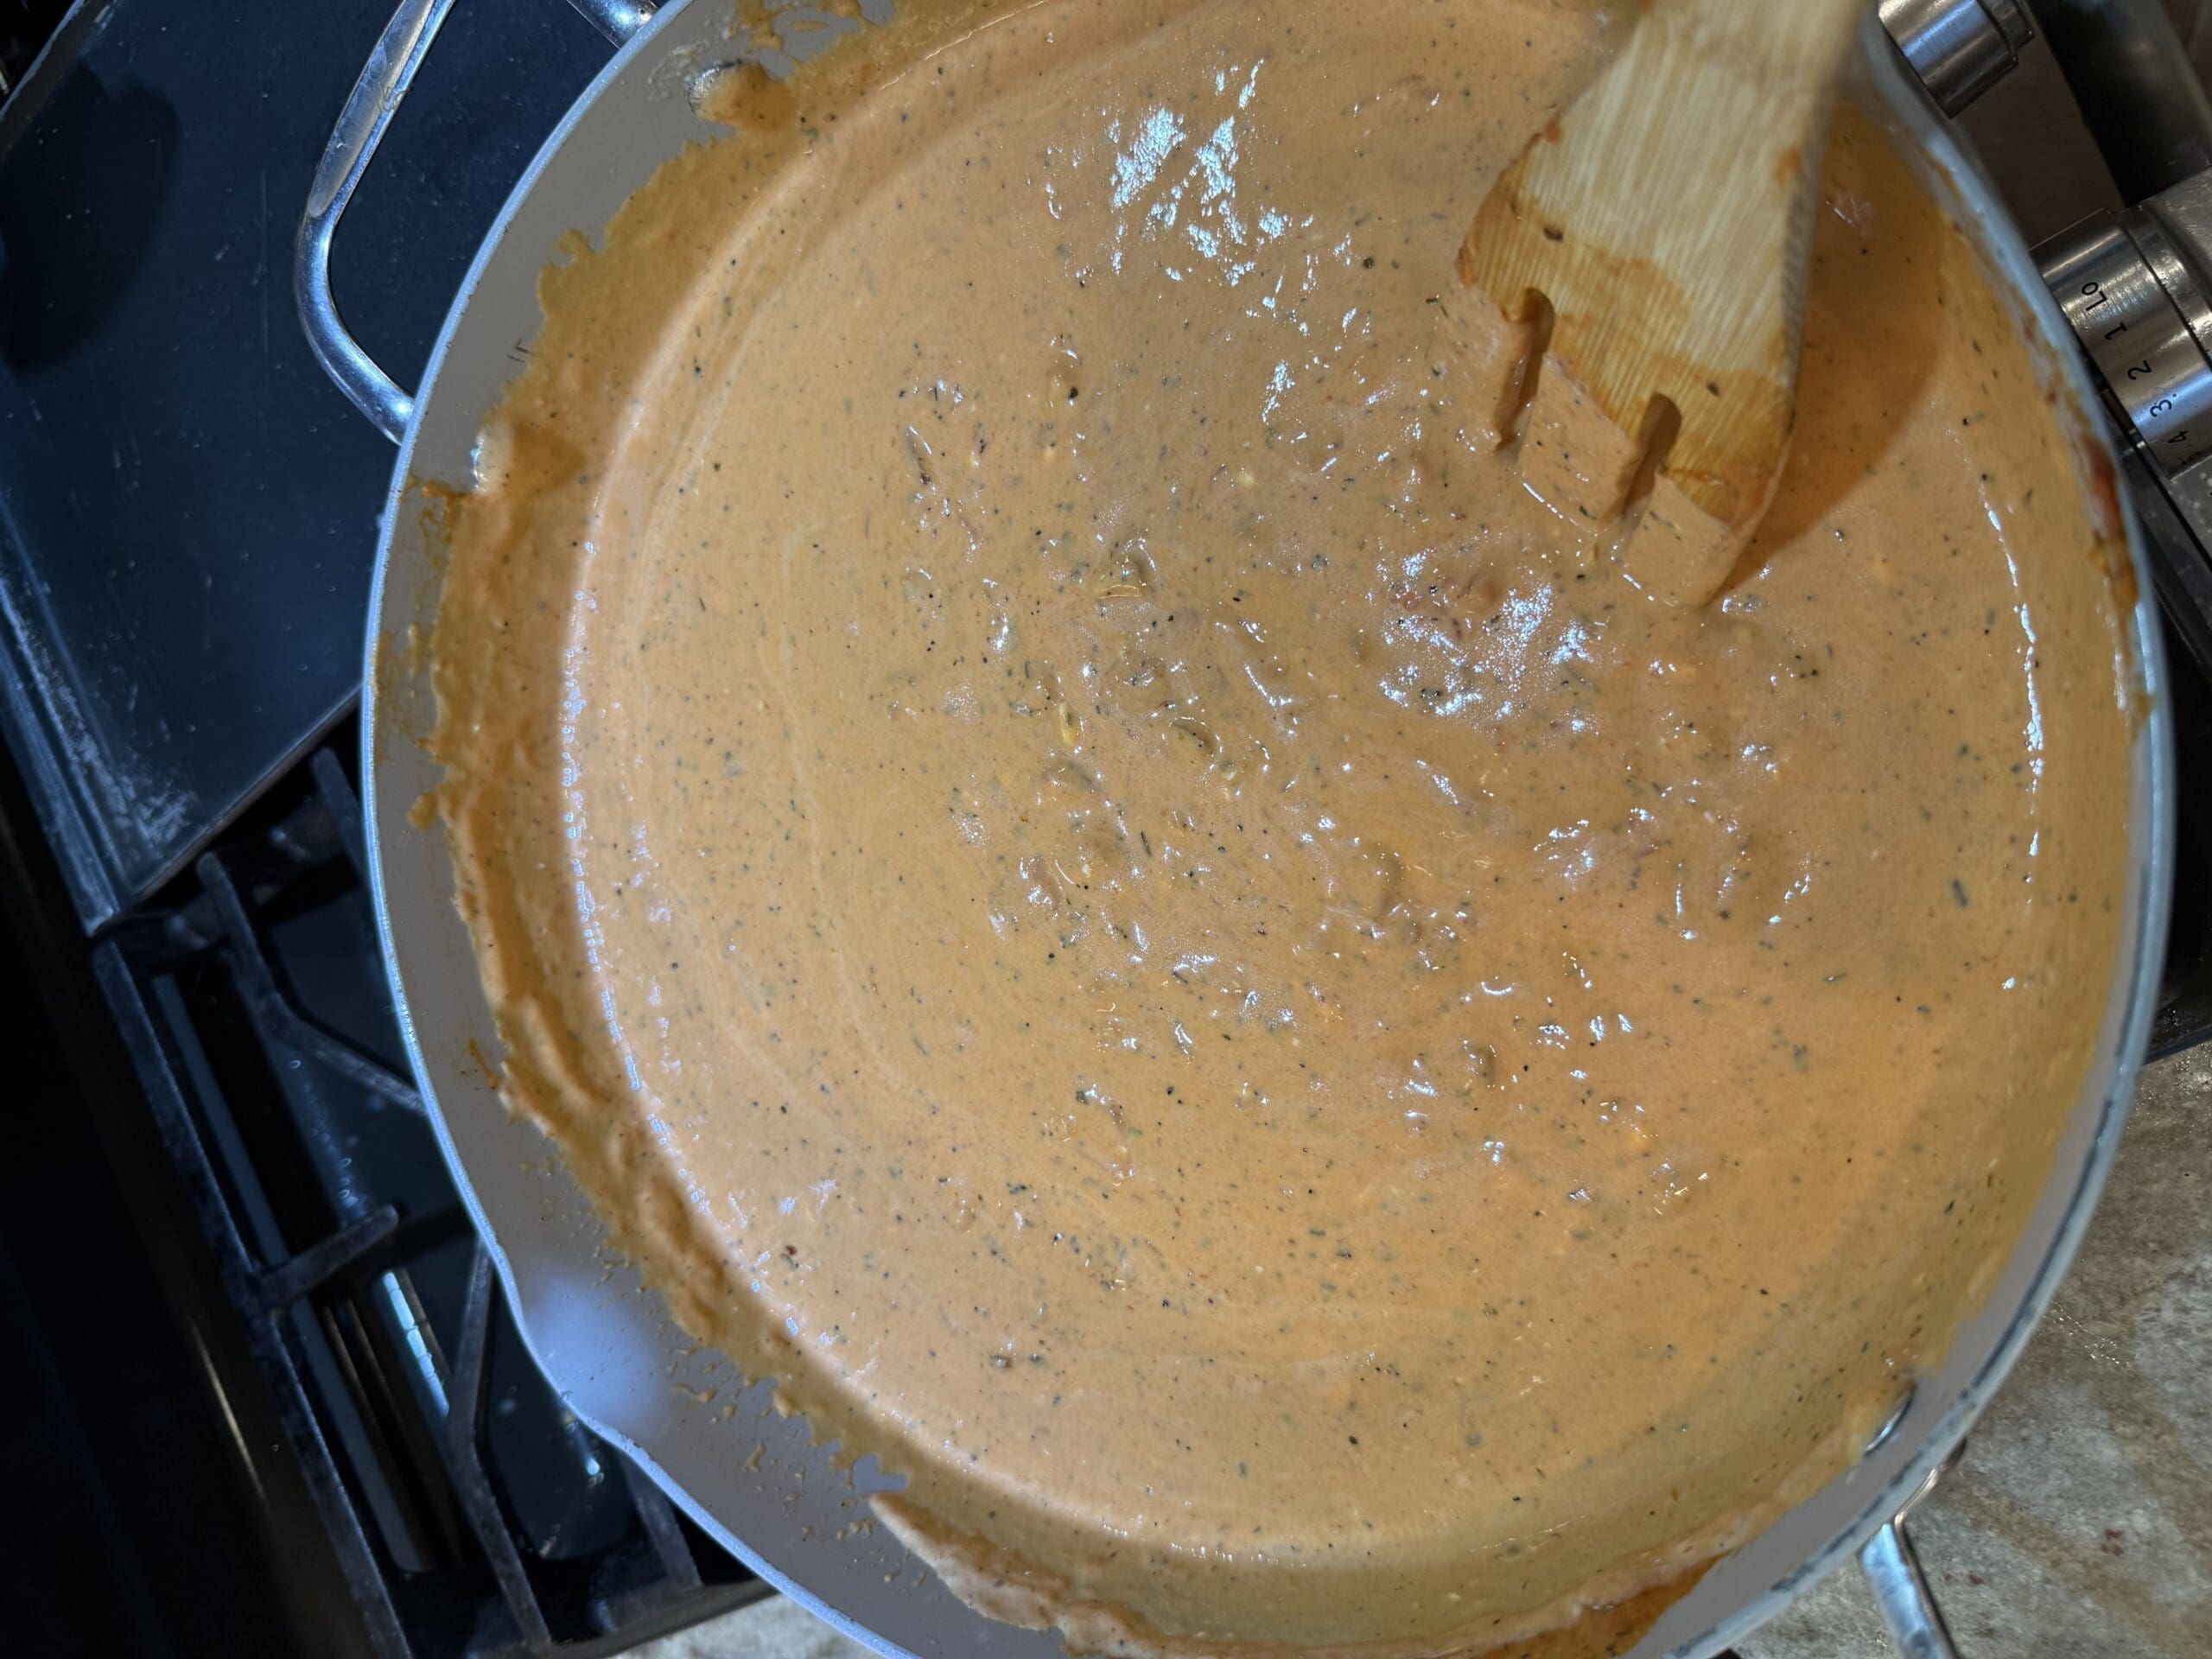
Then, stir in the heavy cream and Parmesan cheese.
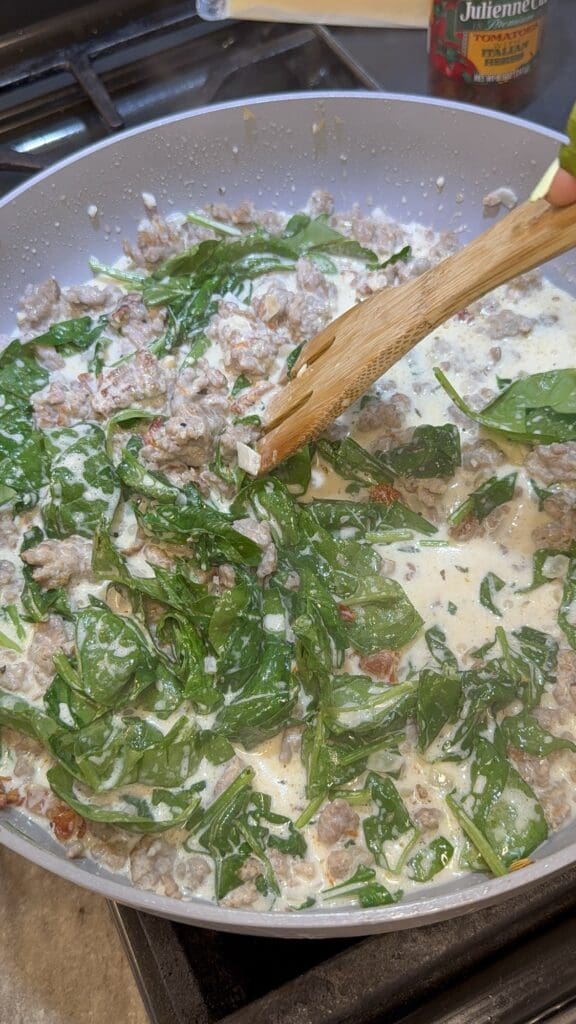
Now, stir in the spinach until it has wilted into the soup.

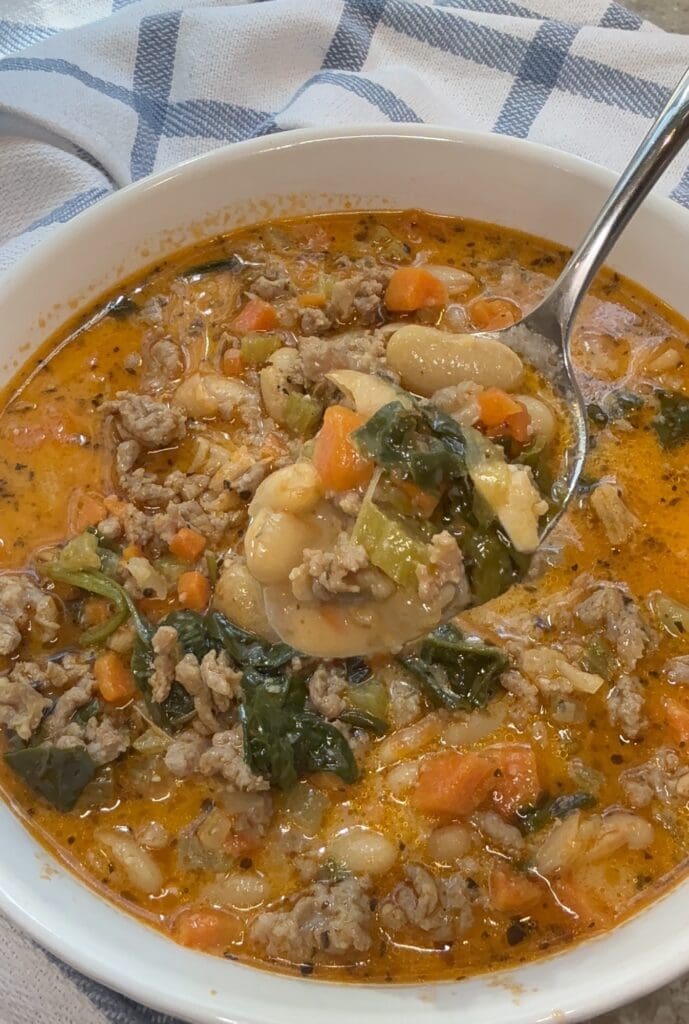
Finally, remove the bay leaf, serve warm and enjoy!

White Bean And Sausage Soup
Ingredients
- 4 Tbs Olive Oil
- 1 Small Onion, diced small
- 2 Large Carrots, diced small
- 2 Stalks Celery, diced small
- 1 Pound Italian Ground Sausage
- 4 Cloves Garlic, chopped
- ½ Cup White Wine
- 4 Tbs Tomato Paste
- 4 Cups Chicken Broth
- 2 15.5 Oz Cans Cannelli/ White Beans, rinsed and drained
- ½ Cup Heavy Cream
- ½ Cup Parmesan Cheese, grated
- 2 Cups Baby Spinach
- Salt and Pepper, to taste
- 2 Tbs Italian Seasoning (divided)
- 1 Tbs Garlic Powder
- 1 Bay Leaf
Instructions
- In a large pot, heat the olive oil over medium high heat and add the chopped onion, celery and carrots. Season them with salt, pepper and 1 tbs of Italian season. Sauté until soft, stirring frequently. This should take about 5-7 minutes.
- Add the sausage and break in down into small pieces as it browns.
- Once the sausage is fully cooked, add the chopped garlic and stir in the tomato paste for about 2 minutes.
- Add the white wine and scrape all the bits off the bottom of the pan. Let the wine cook over medium high heat for about 2 minutes.
- Stir in the chicken broth and beans.
- Season the soup with salt, pepper, garlic powder and the rest of the Italian seasoning. Add the bay leaf, give the soup a big stir and simmer it, covered, for 20 minutes.
- Stir in the heavy cream and parmesan cheese.
- Stir in the spinach until it has wilted into the soup.
- Finally, remove the bay leaf, serve warm and enjoy!