Heads Up: This post contains affiliate links. If you use them, I may earn a small commission – at no extra cost to you.
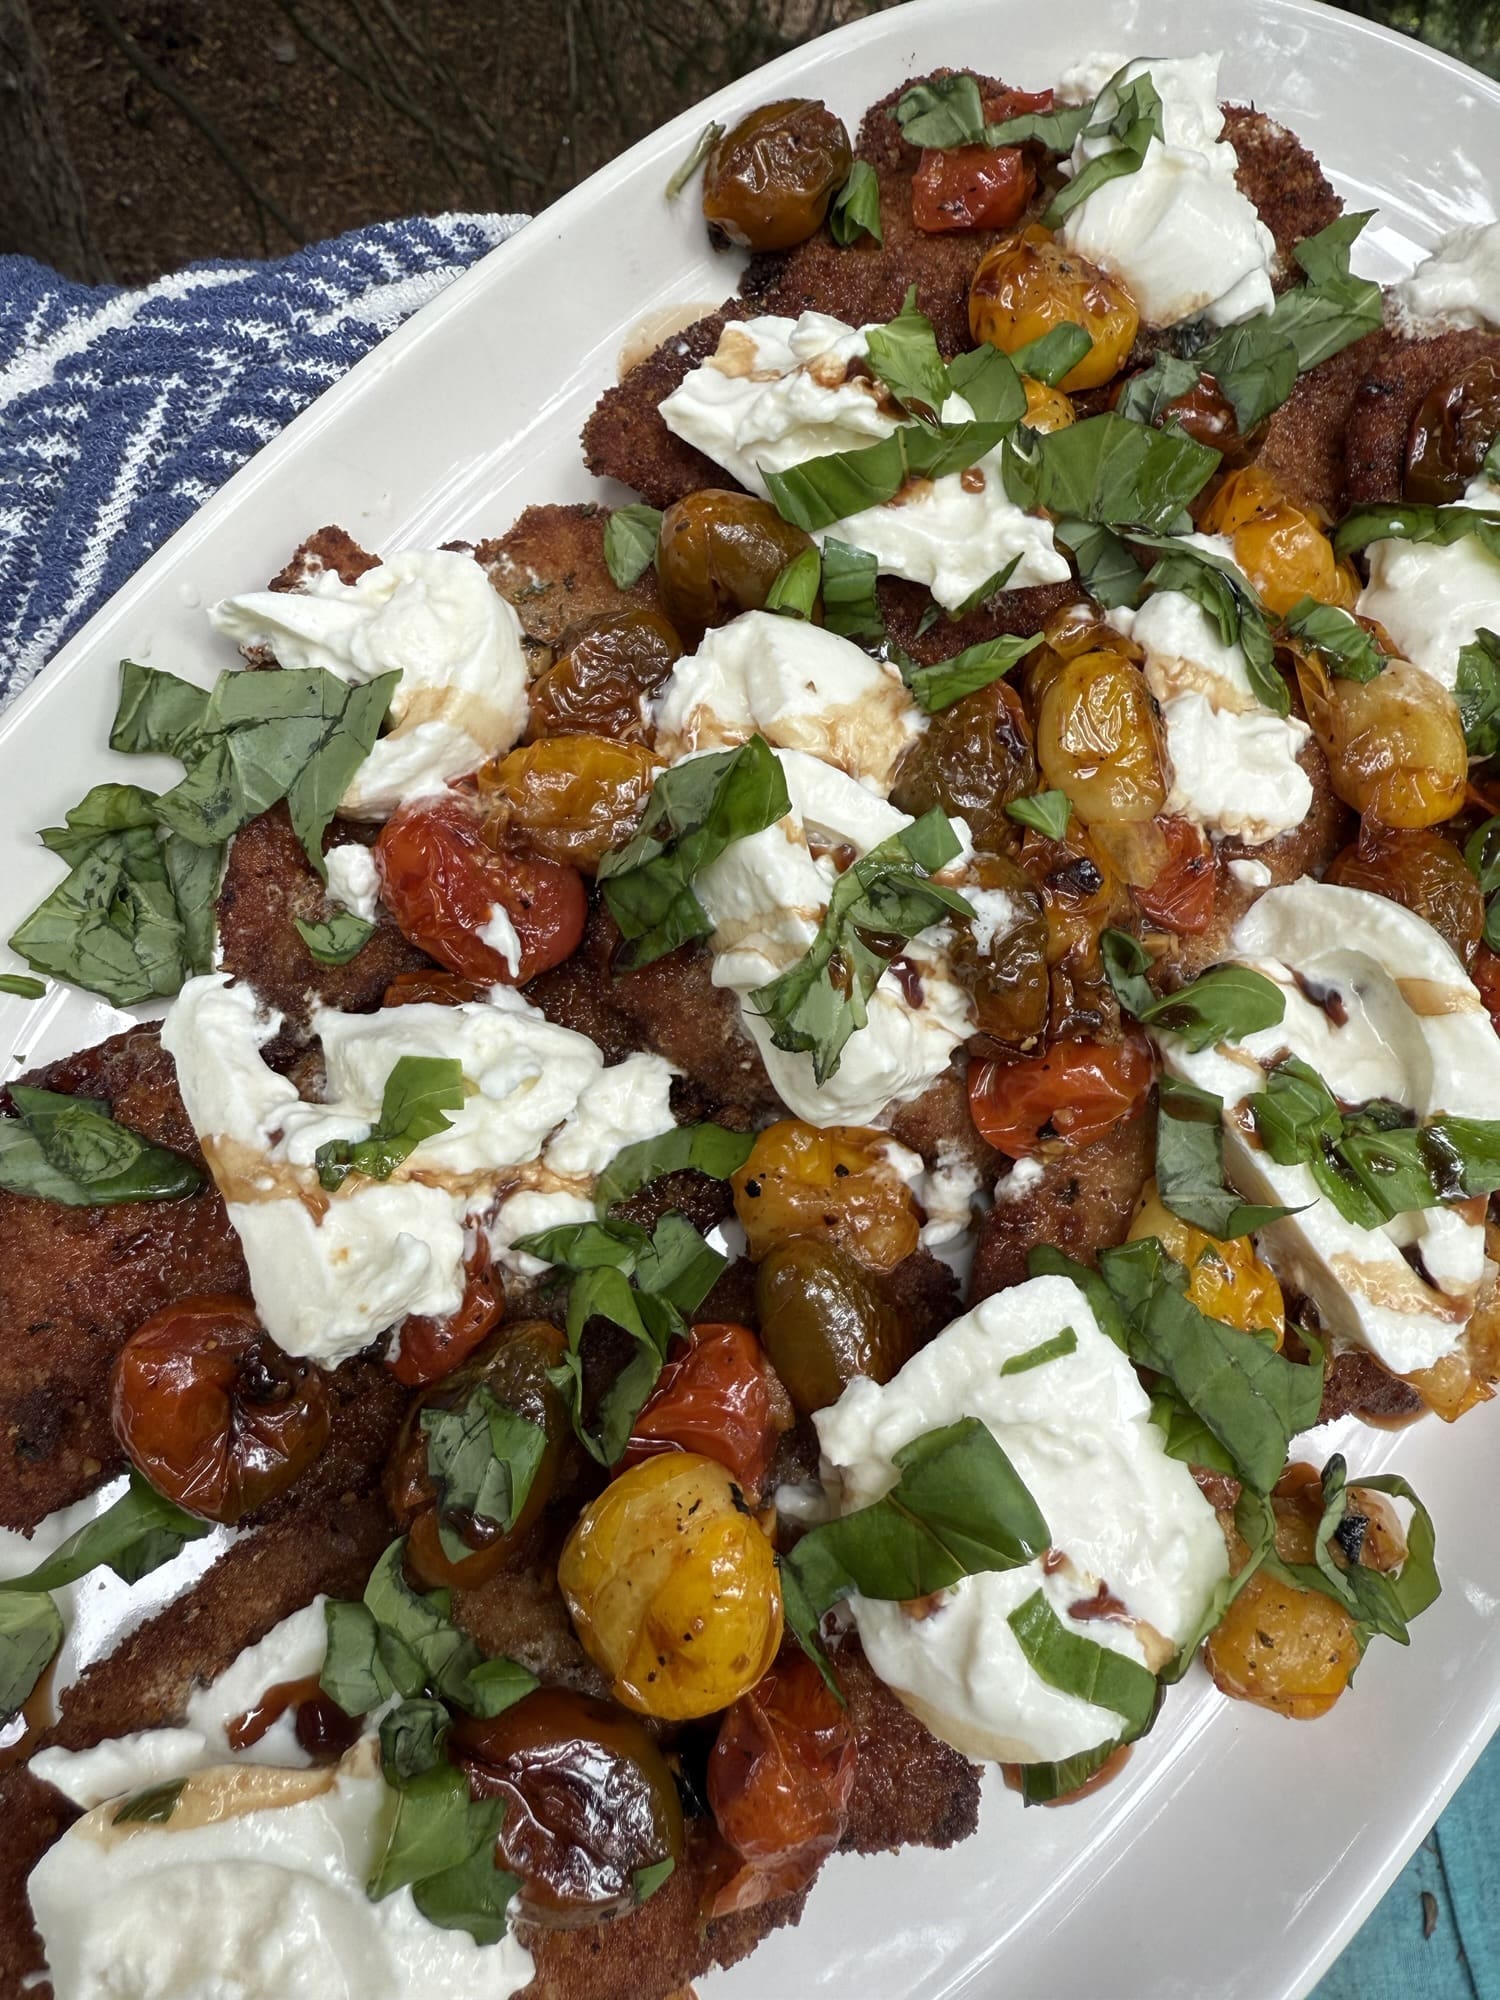
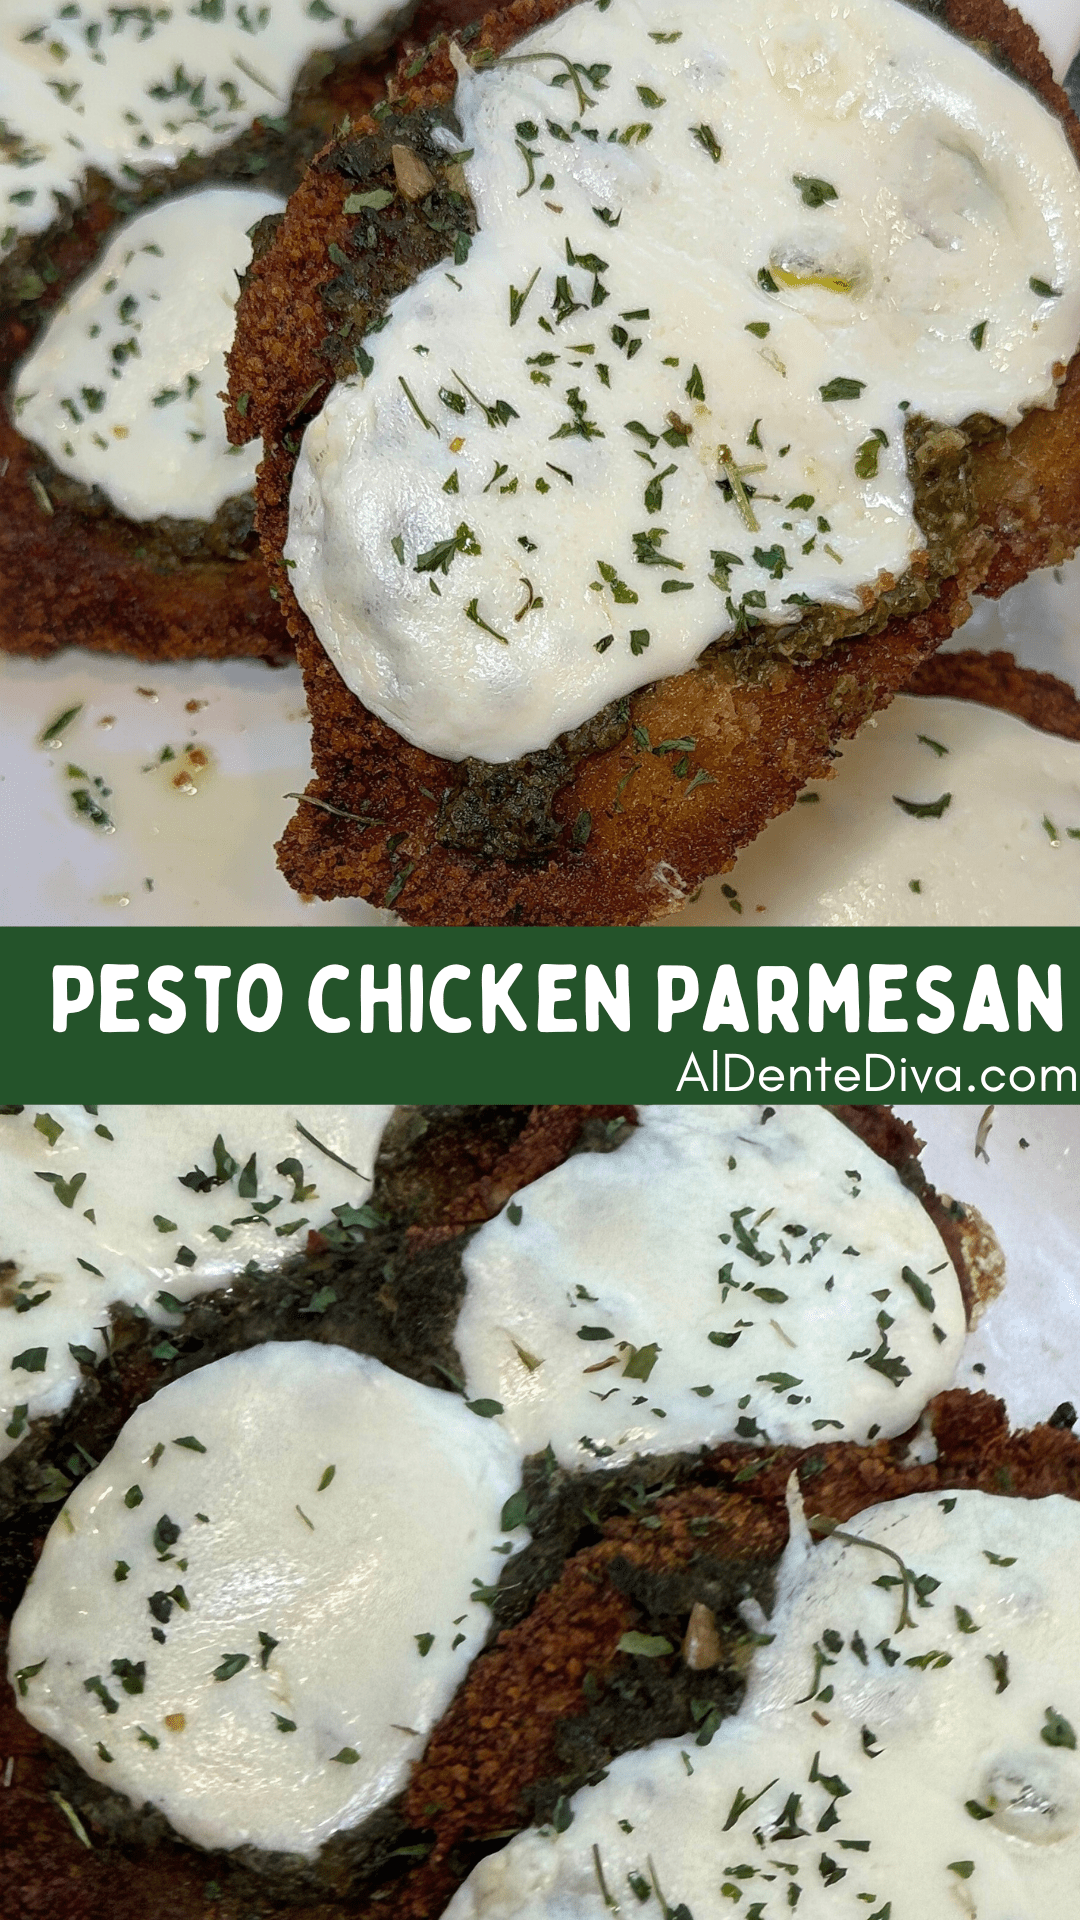
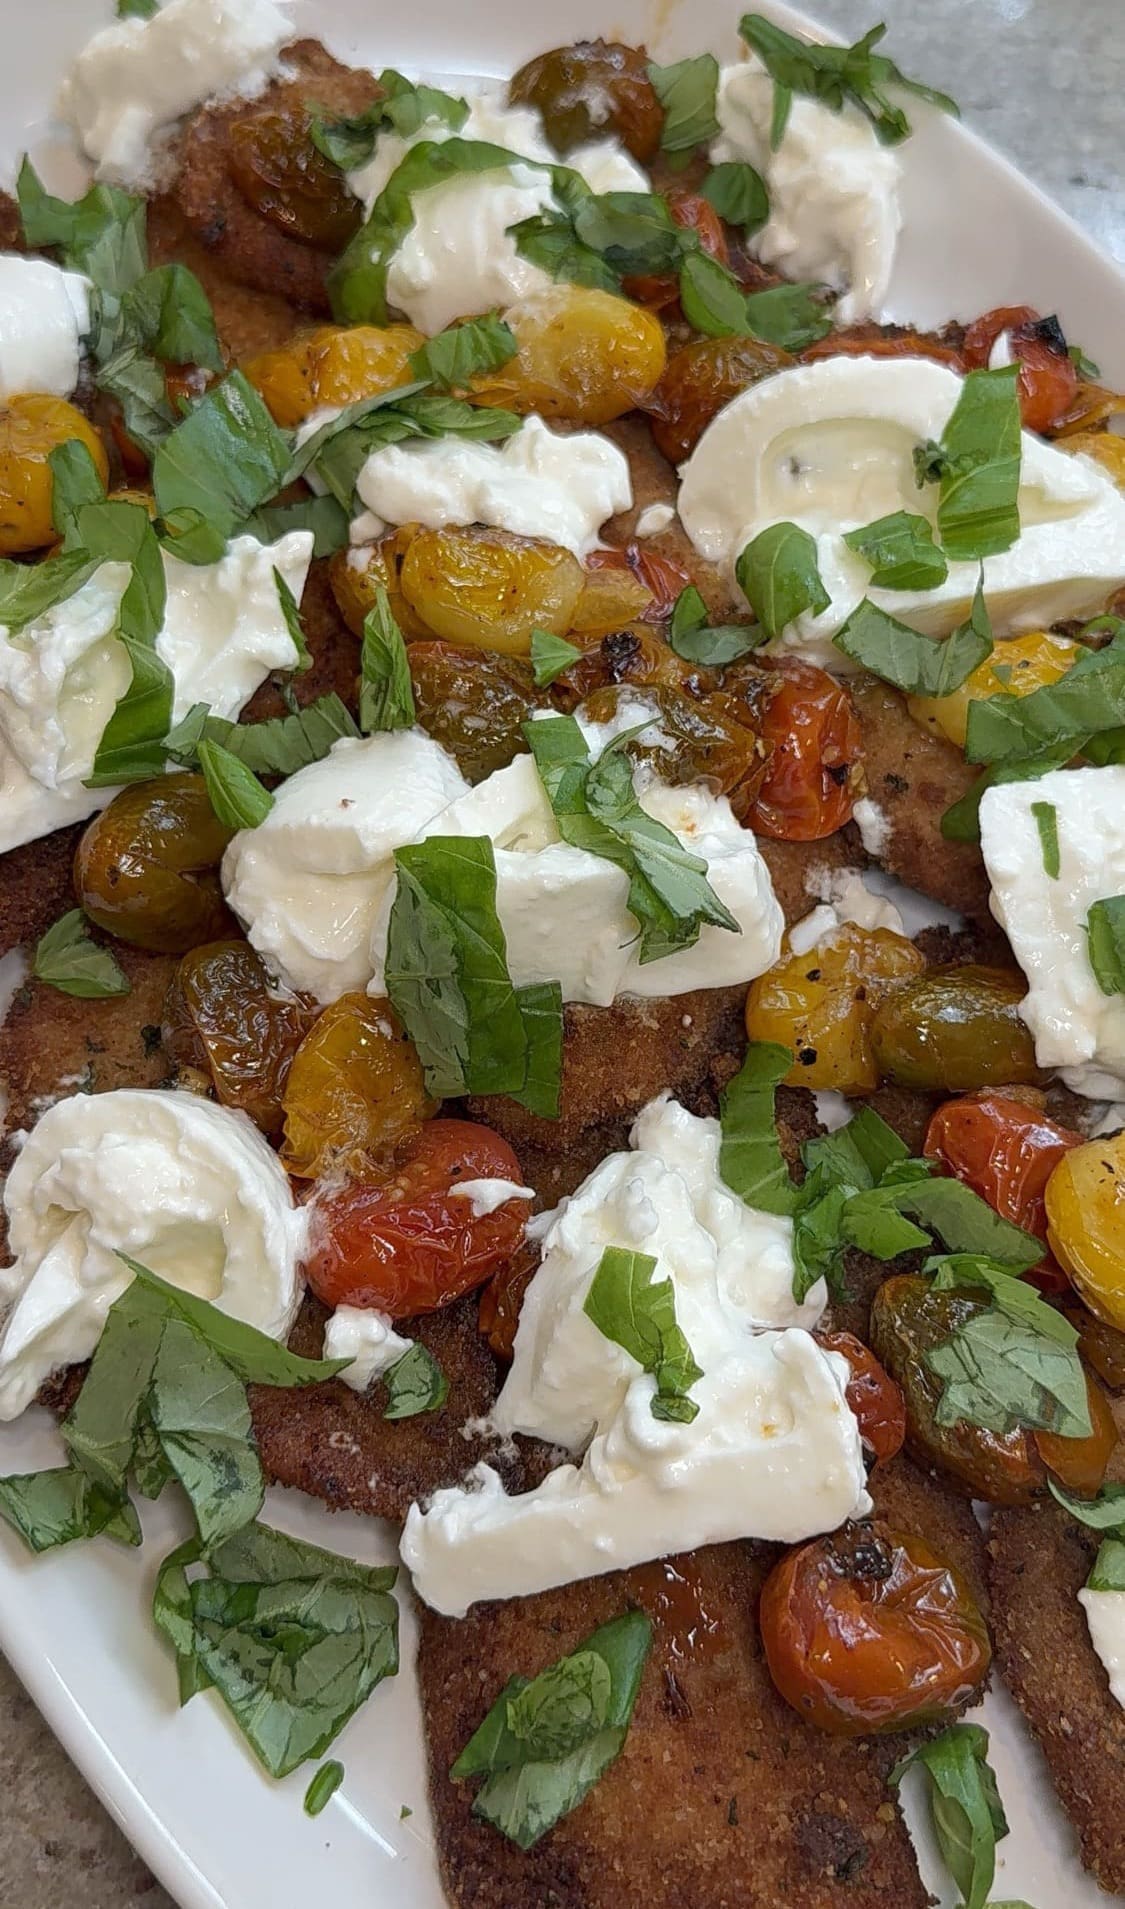
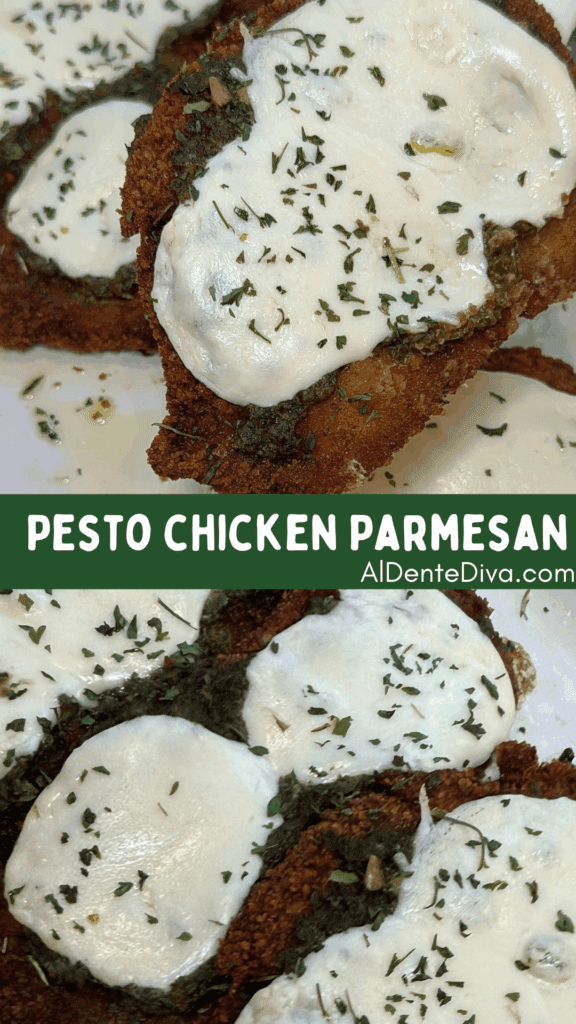
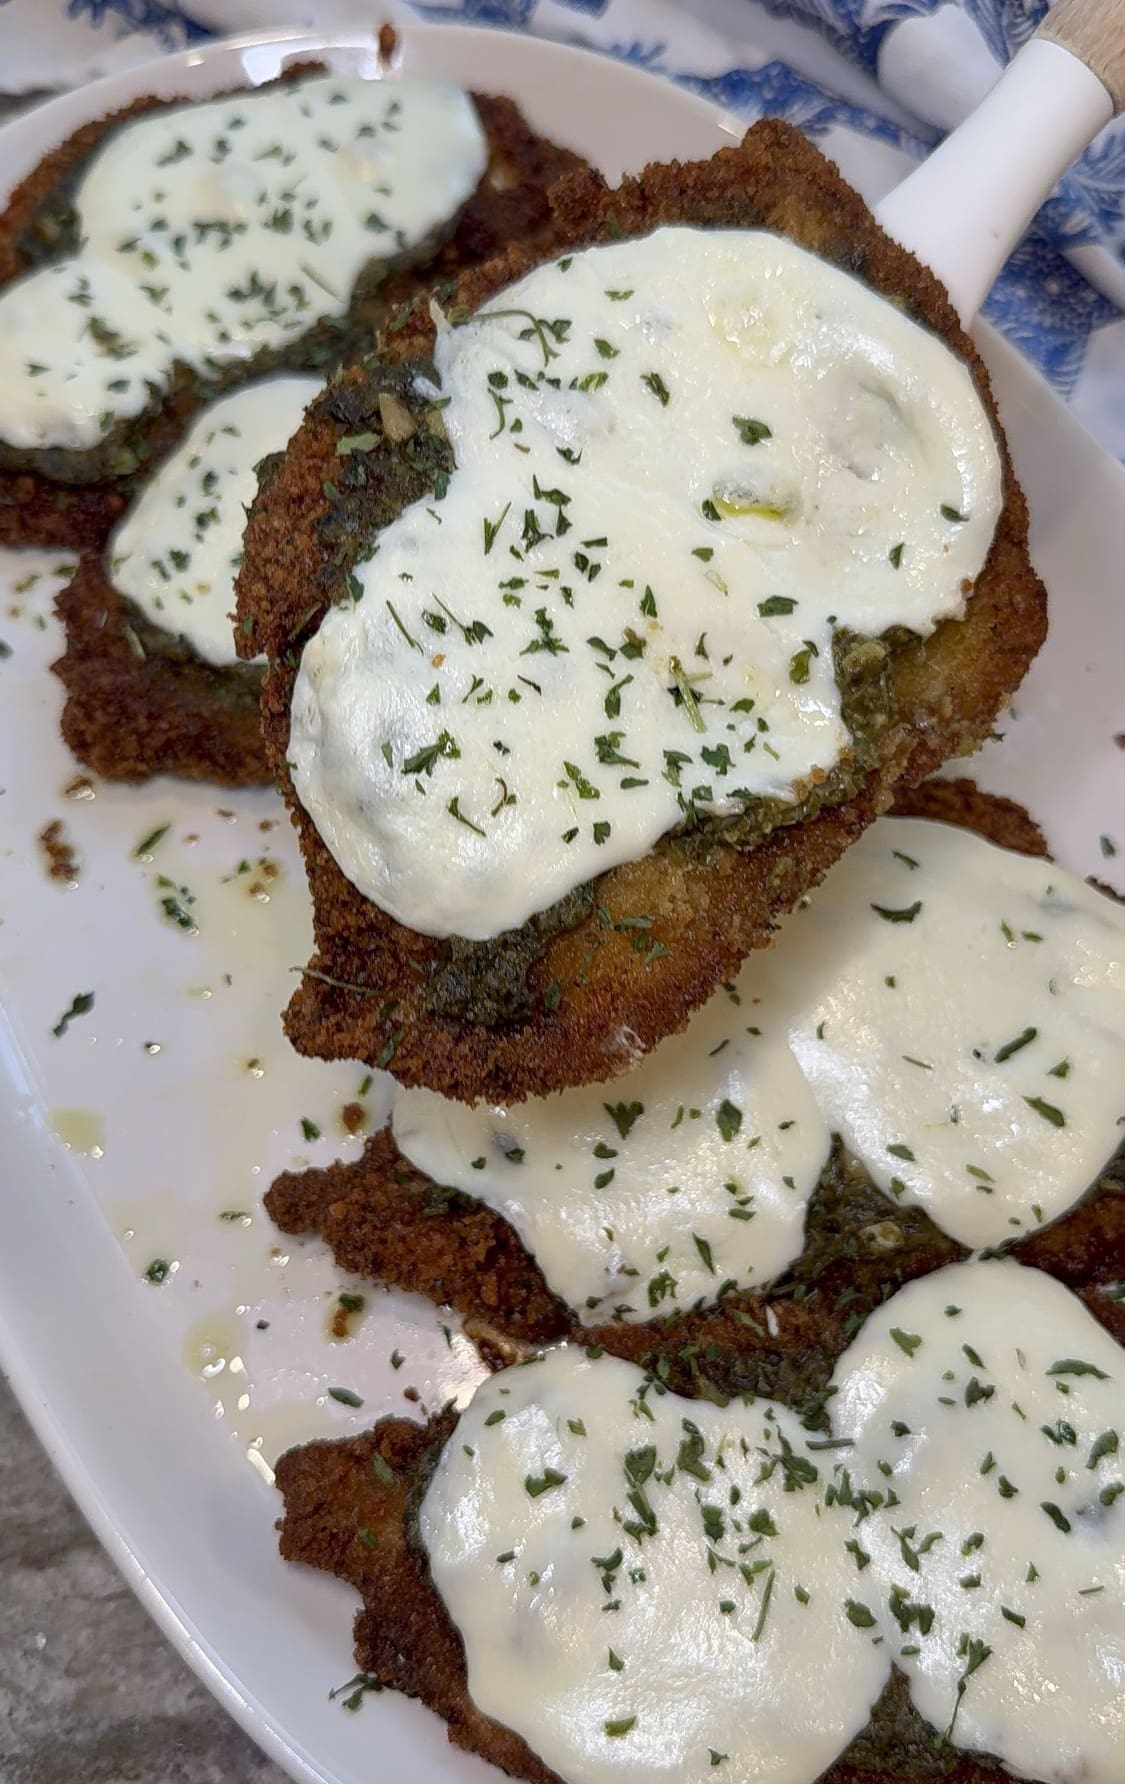
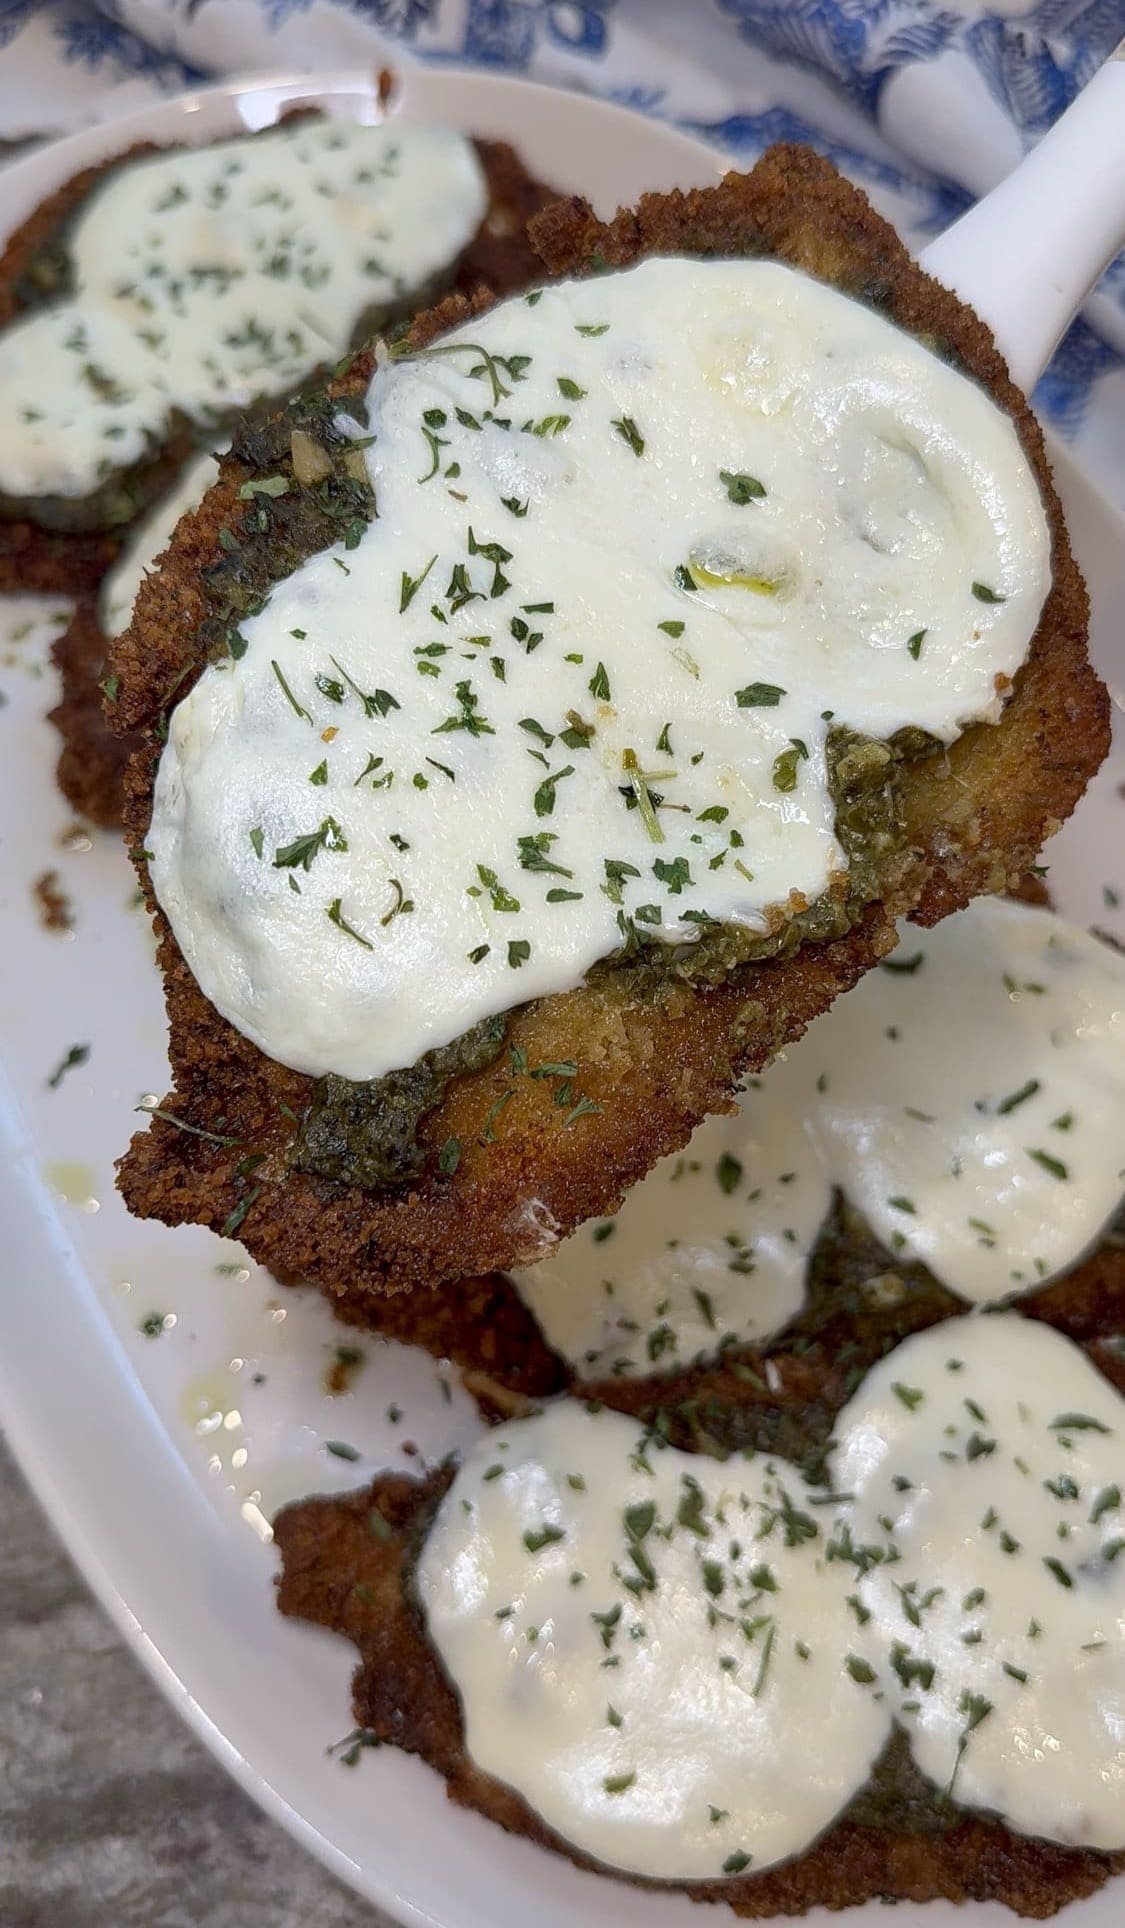
This pesto chicken Parmesan is a fun spin on an Italian classic that swaps out tomato sauce for flavored pesto for a dinner the whole family will love.
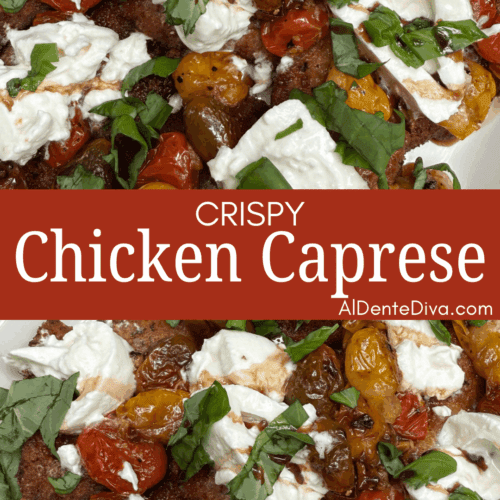
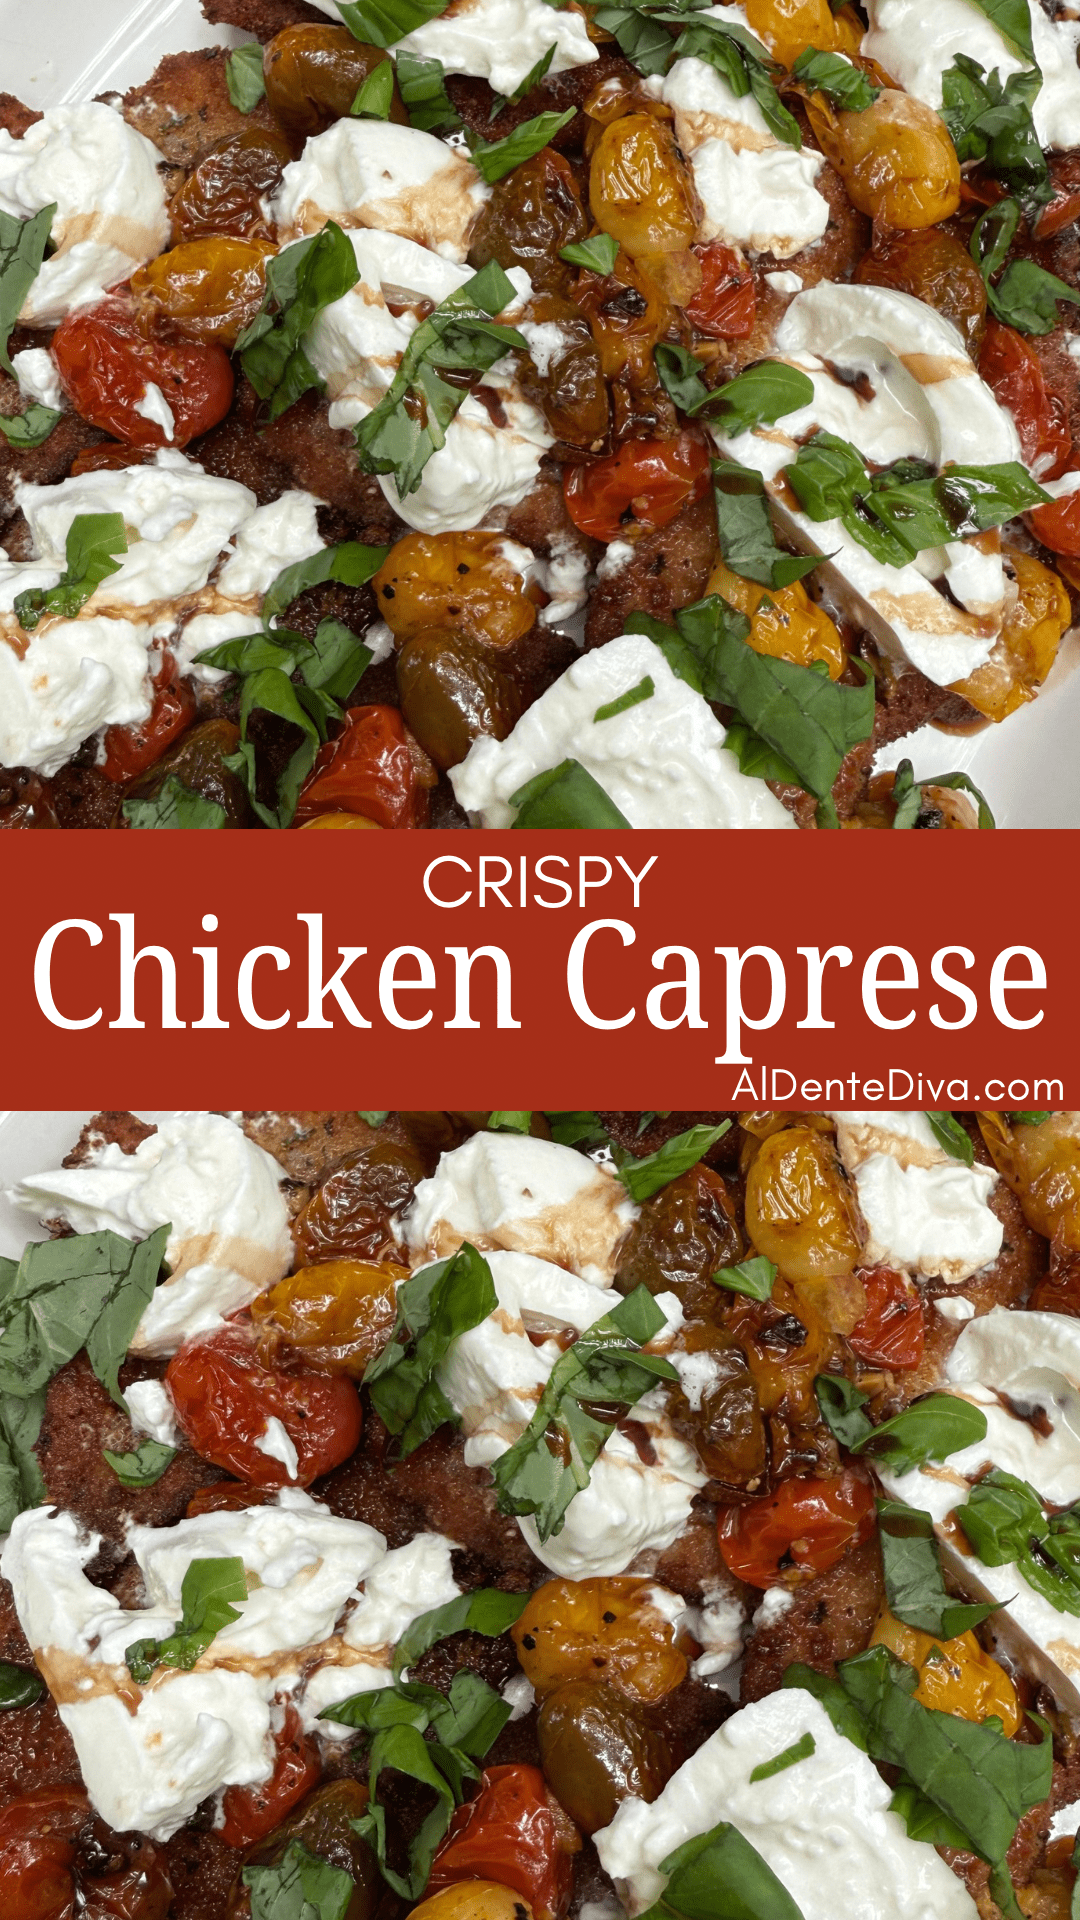
Pesto Chicken Parmesan
From the recipe collection of Tara Ippolito
This pesto chicken Parmesan is such a fun spin on the traditional chicken Parmesan classic.
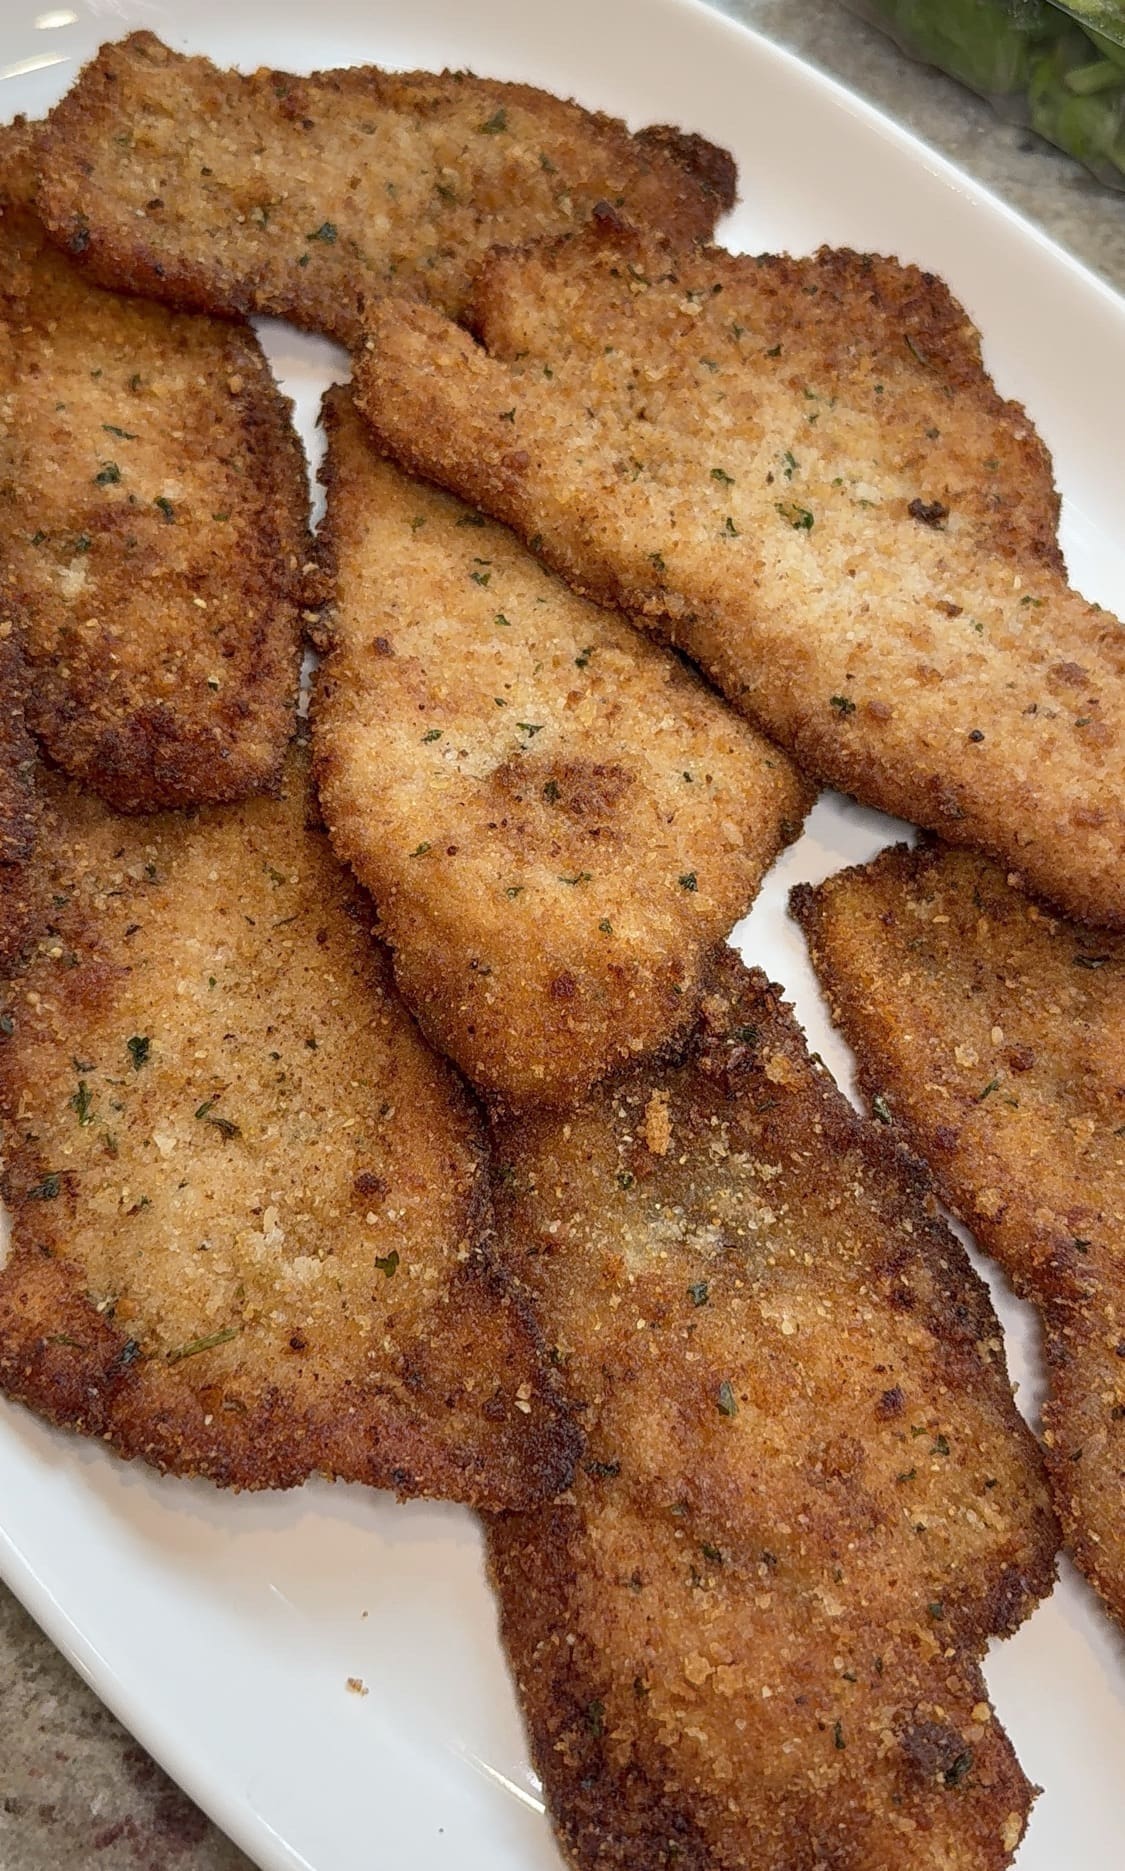
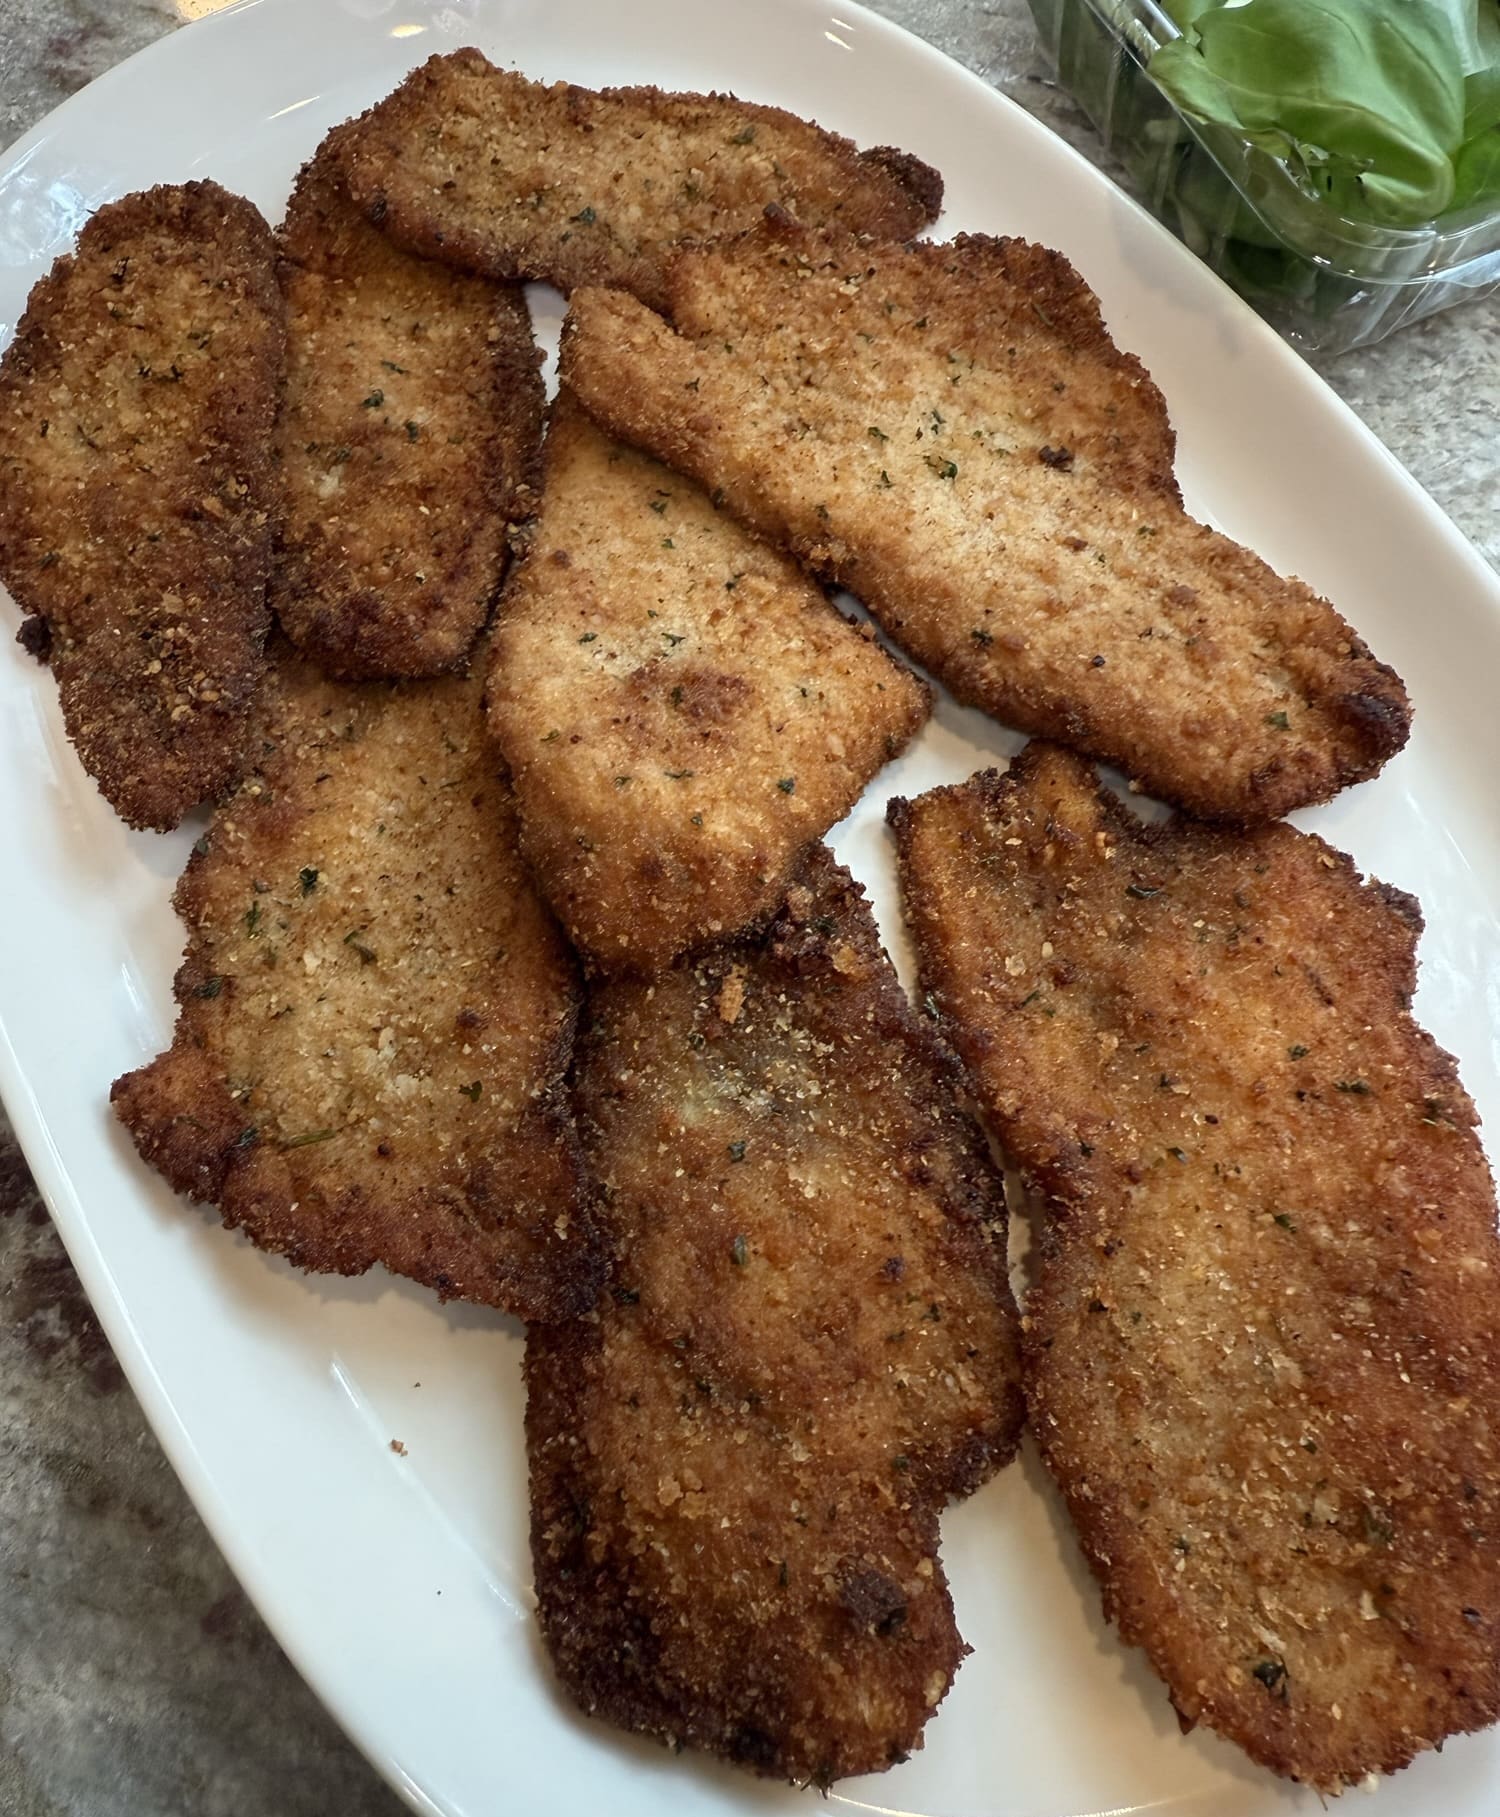
I cannot stress enough how much my family loves my homemade chicken cutlets. I’ve been making these for decades and I truly believe that I’ve perfected the recipe.
That said, you can absolutely buy premade chicken cutlets from your local Italian deli or grocery store. But, I highly recommend giving my recipe for them a shot.

If you do decide to use premade chicken cutlets, this recipe is going to be as easy as one, two, three.
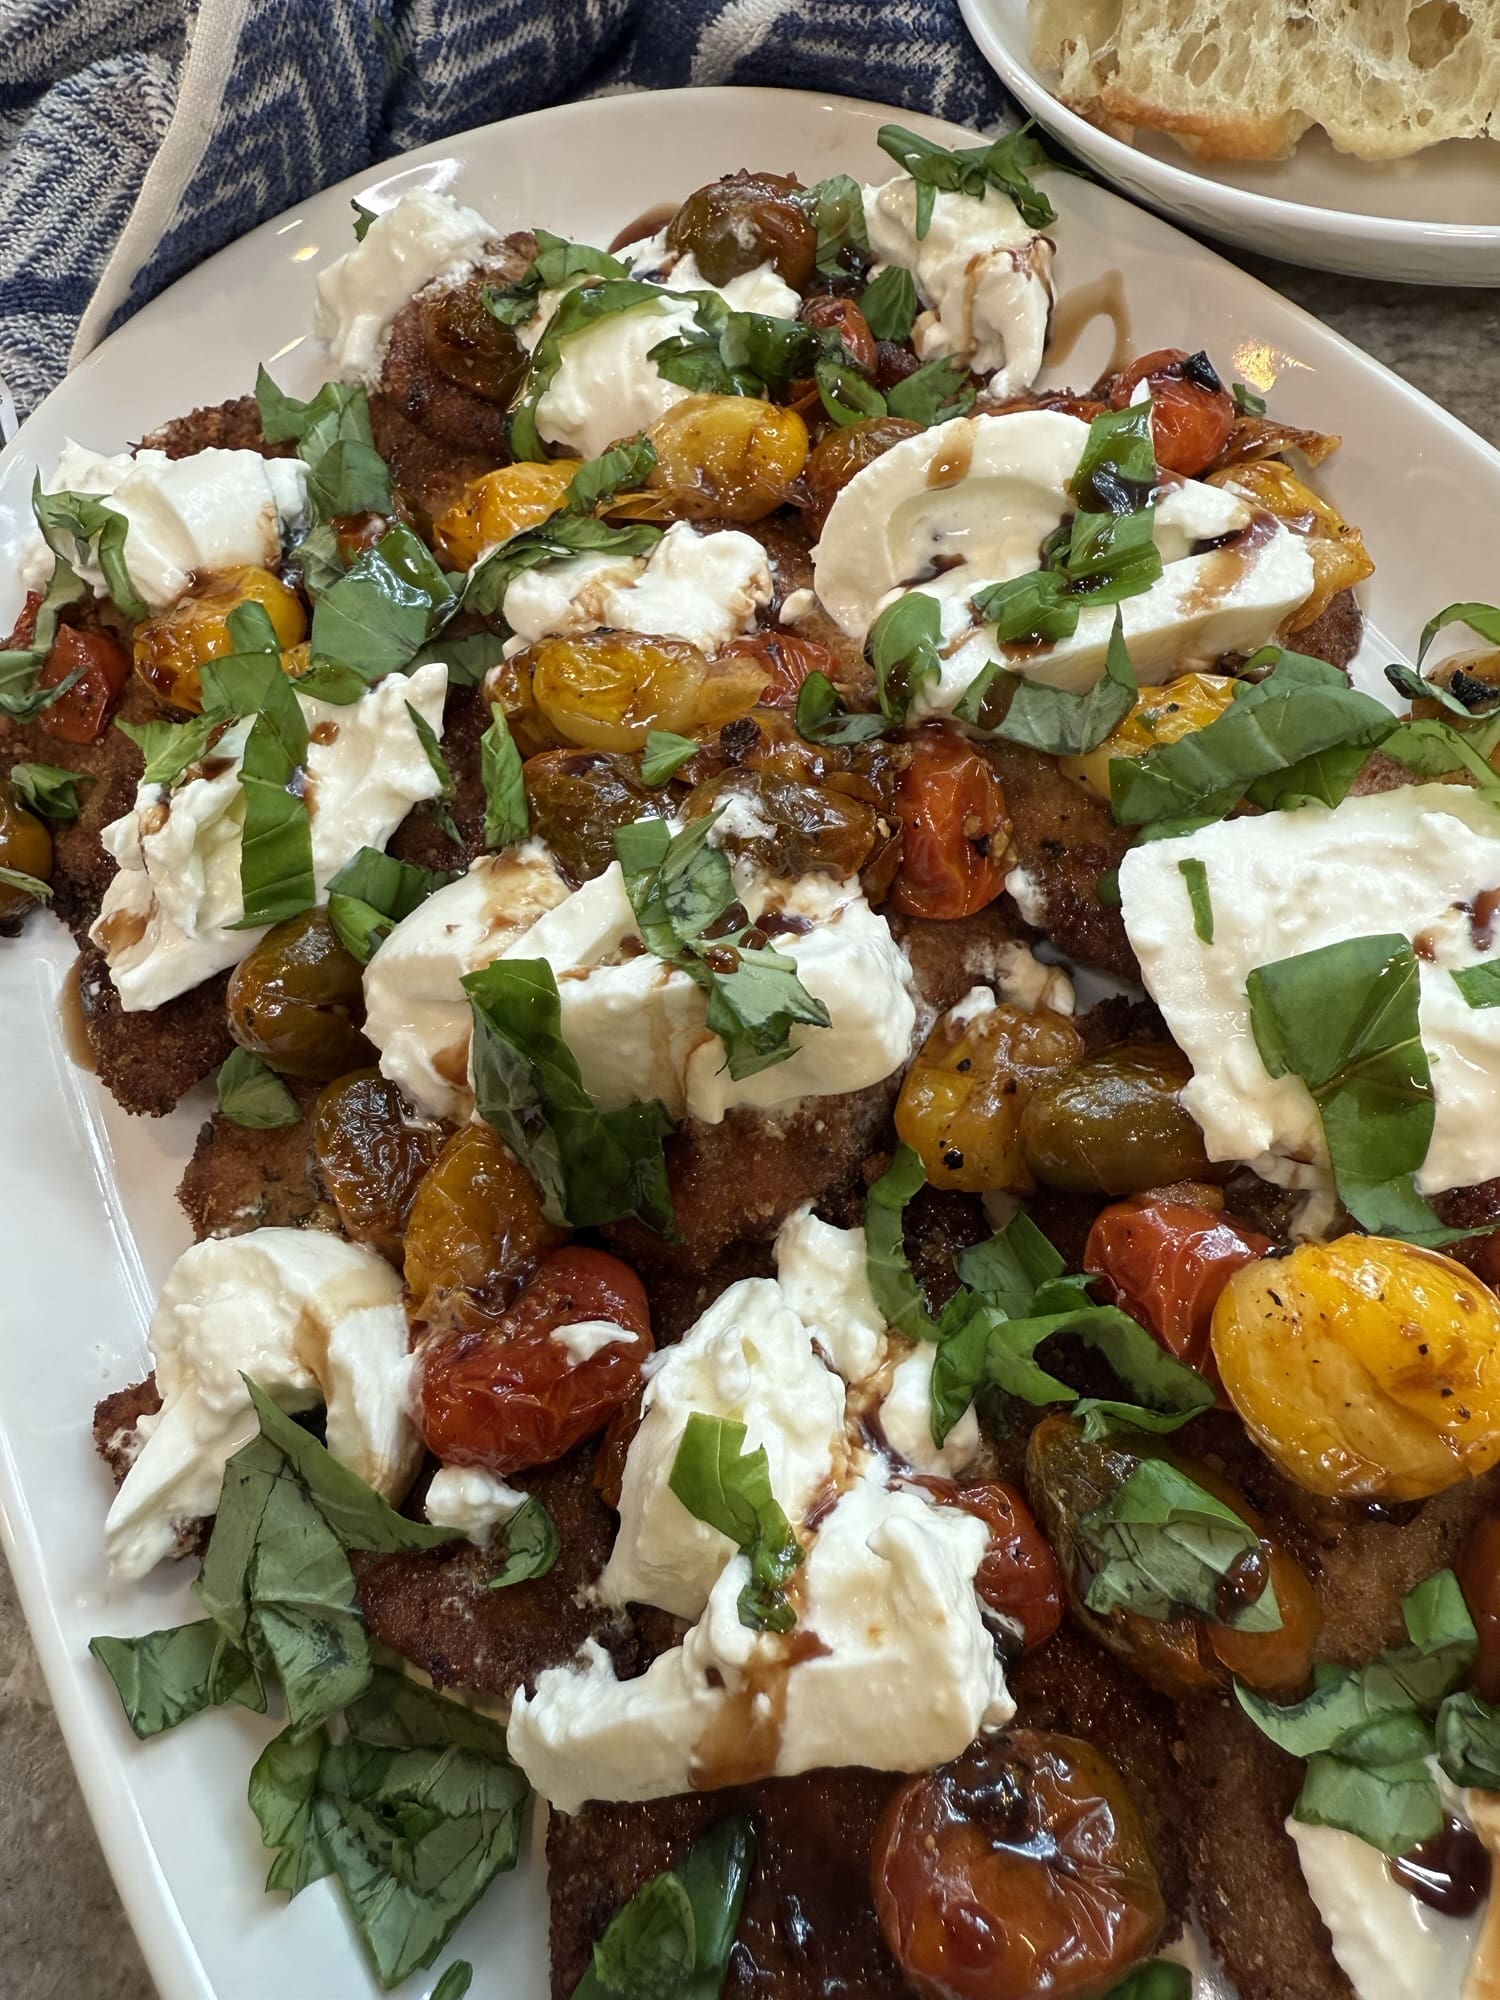
The chicken cutlets and jarred pesto sauce are two major shortcuts that make putting this recipe together a breeze. All you need is the sliced mozzarella cheese and you’re good to go!
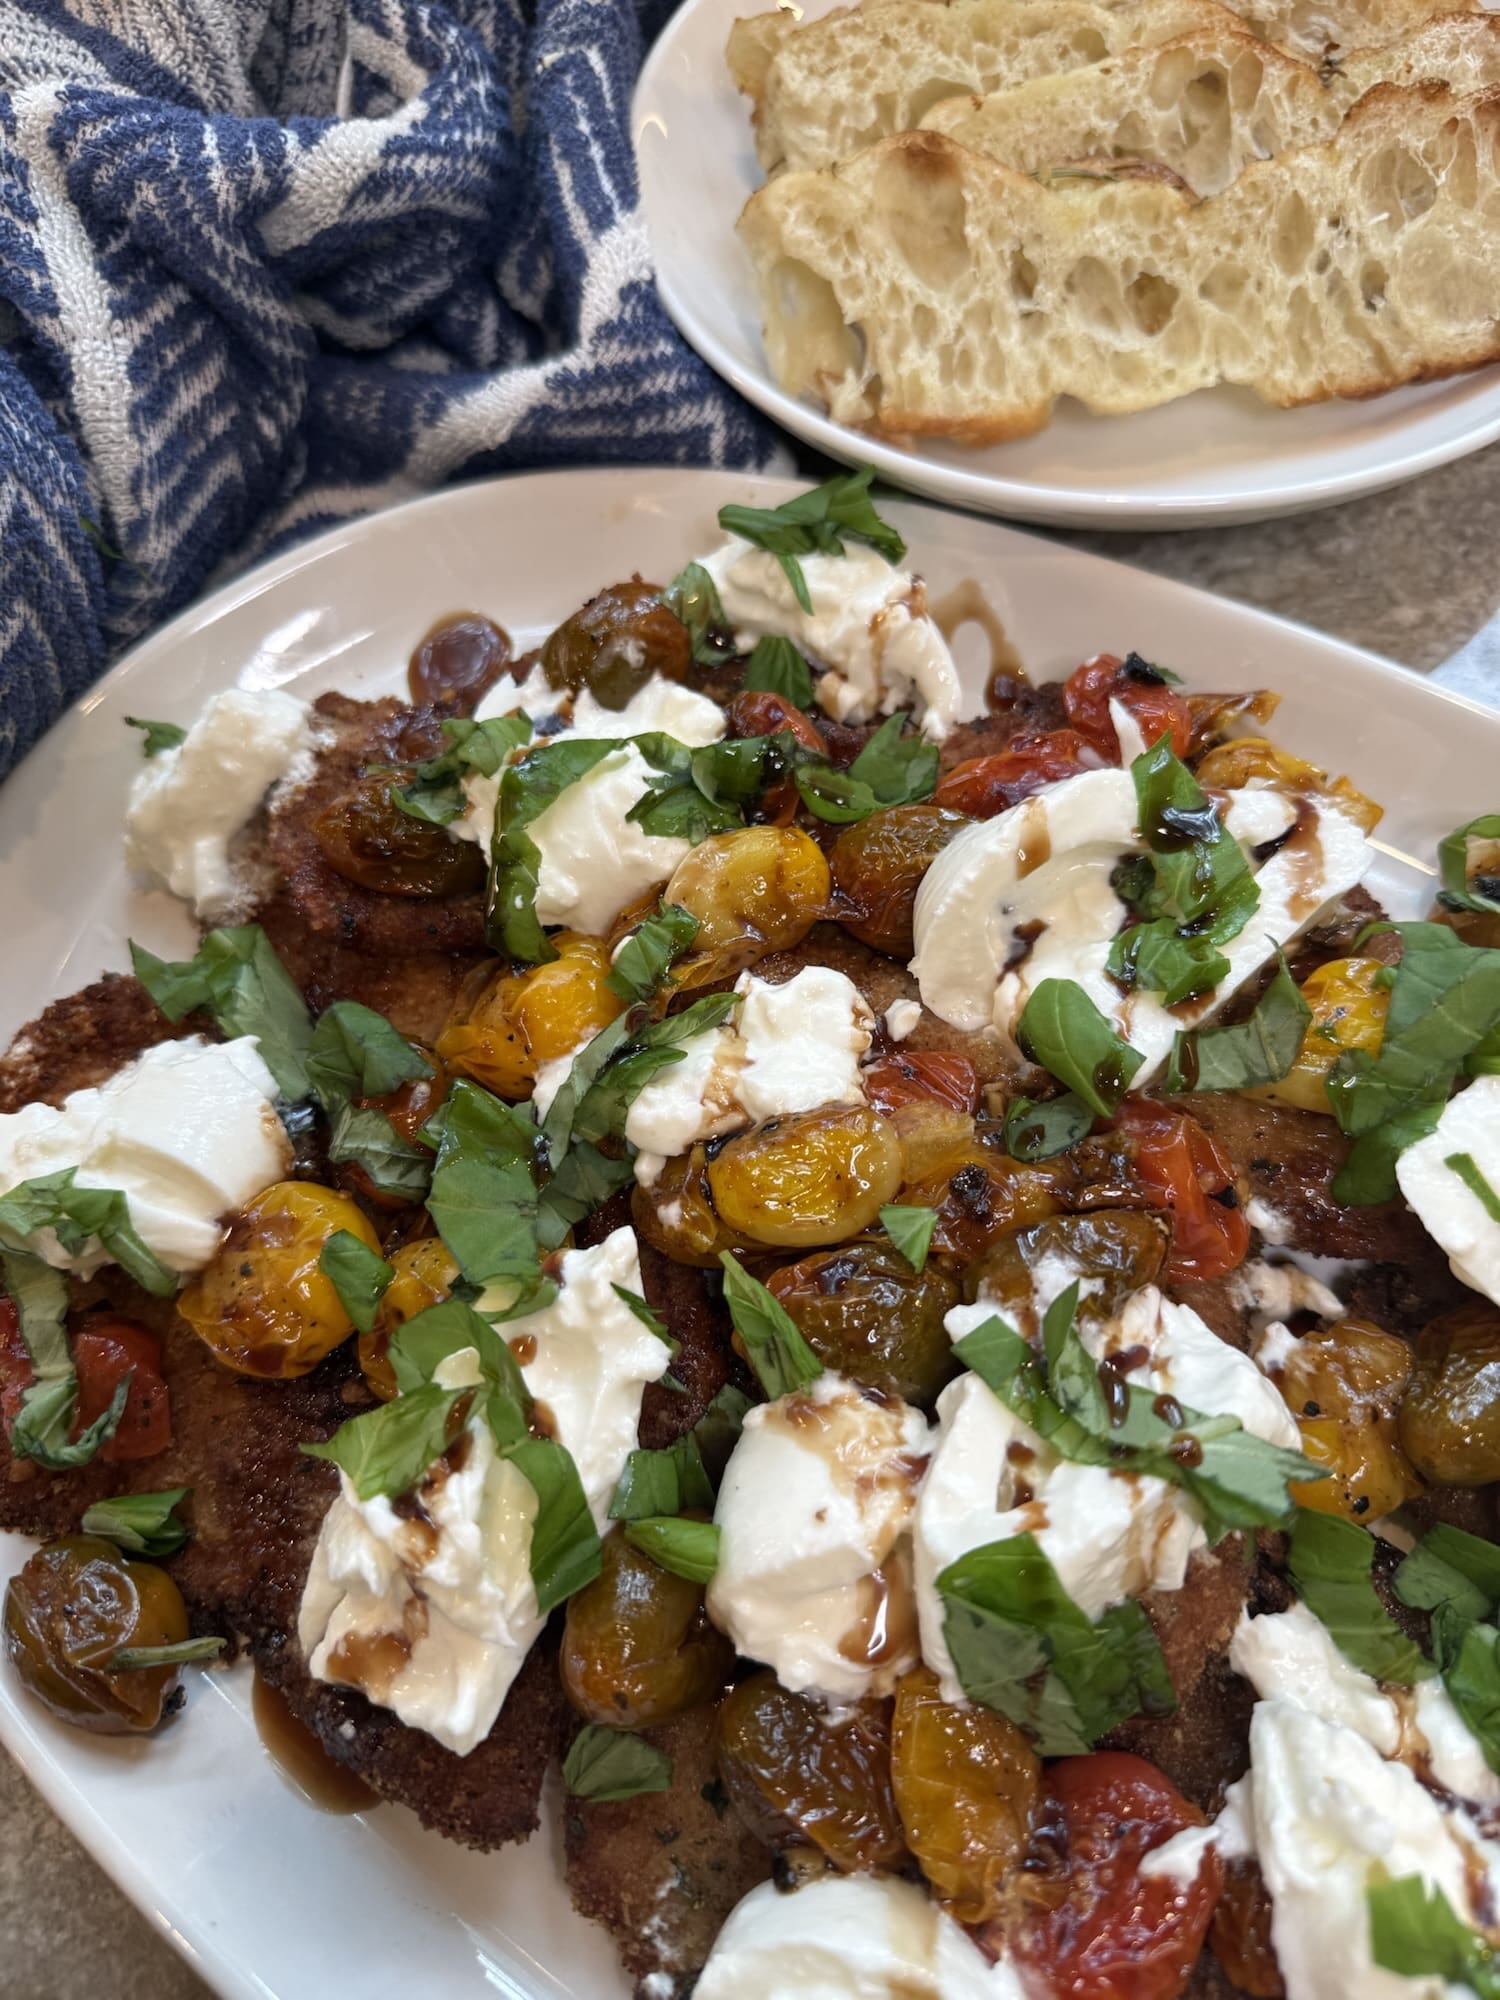
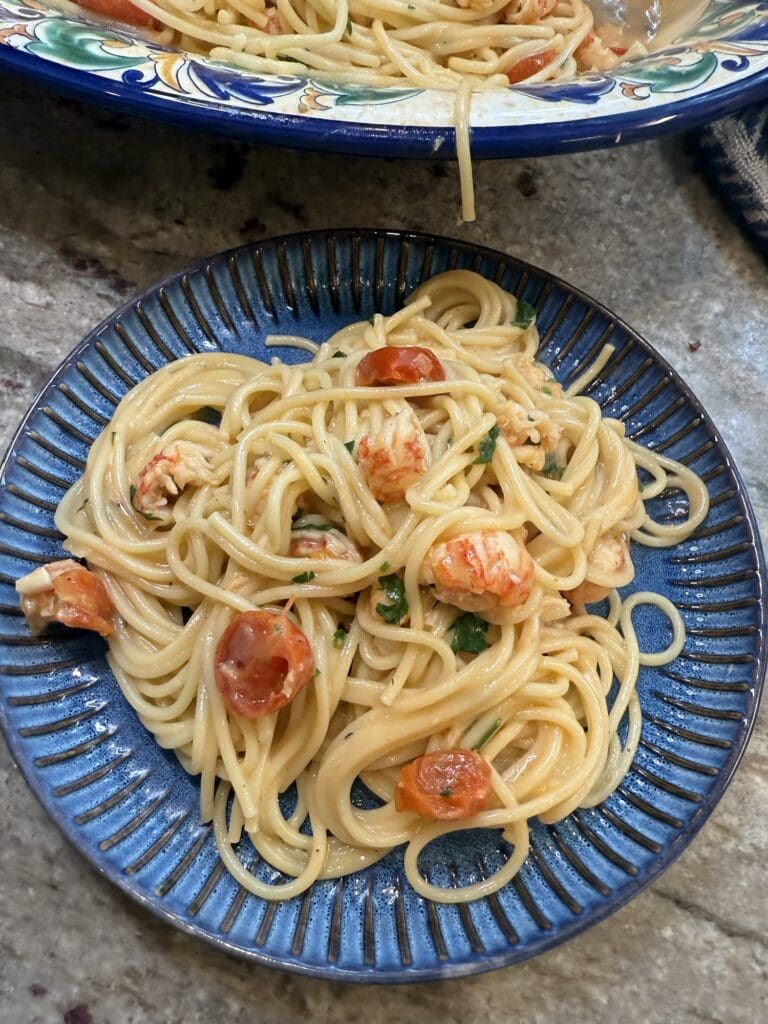
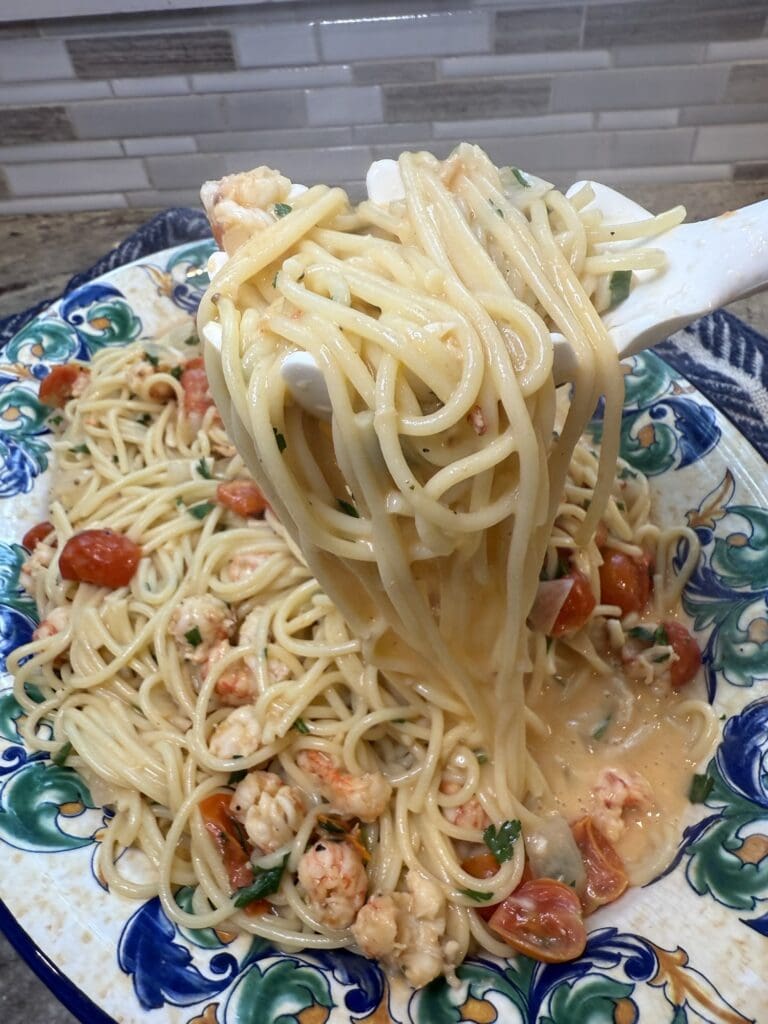
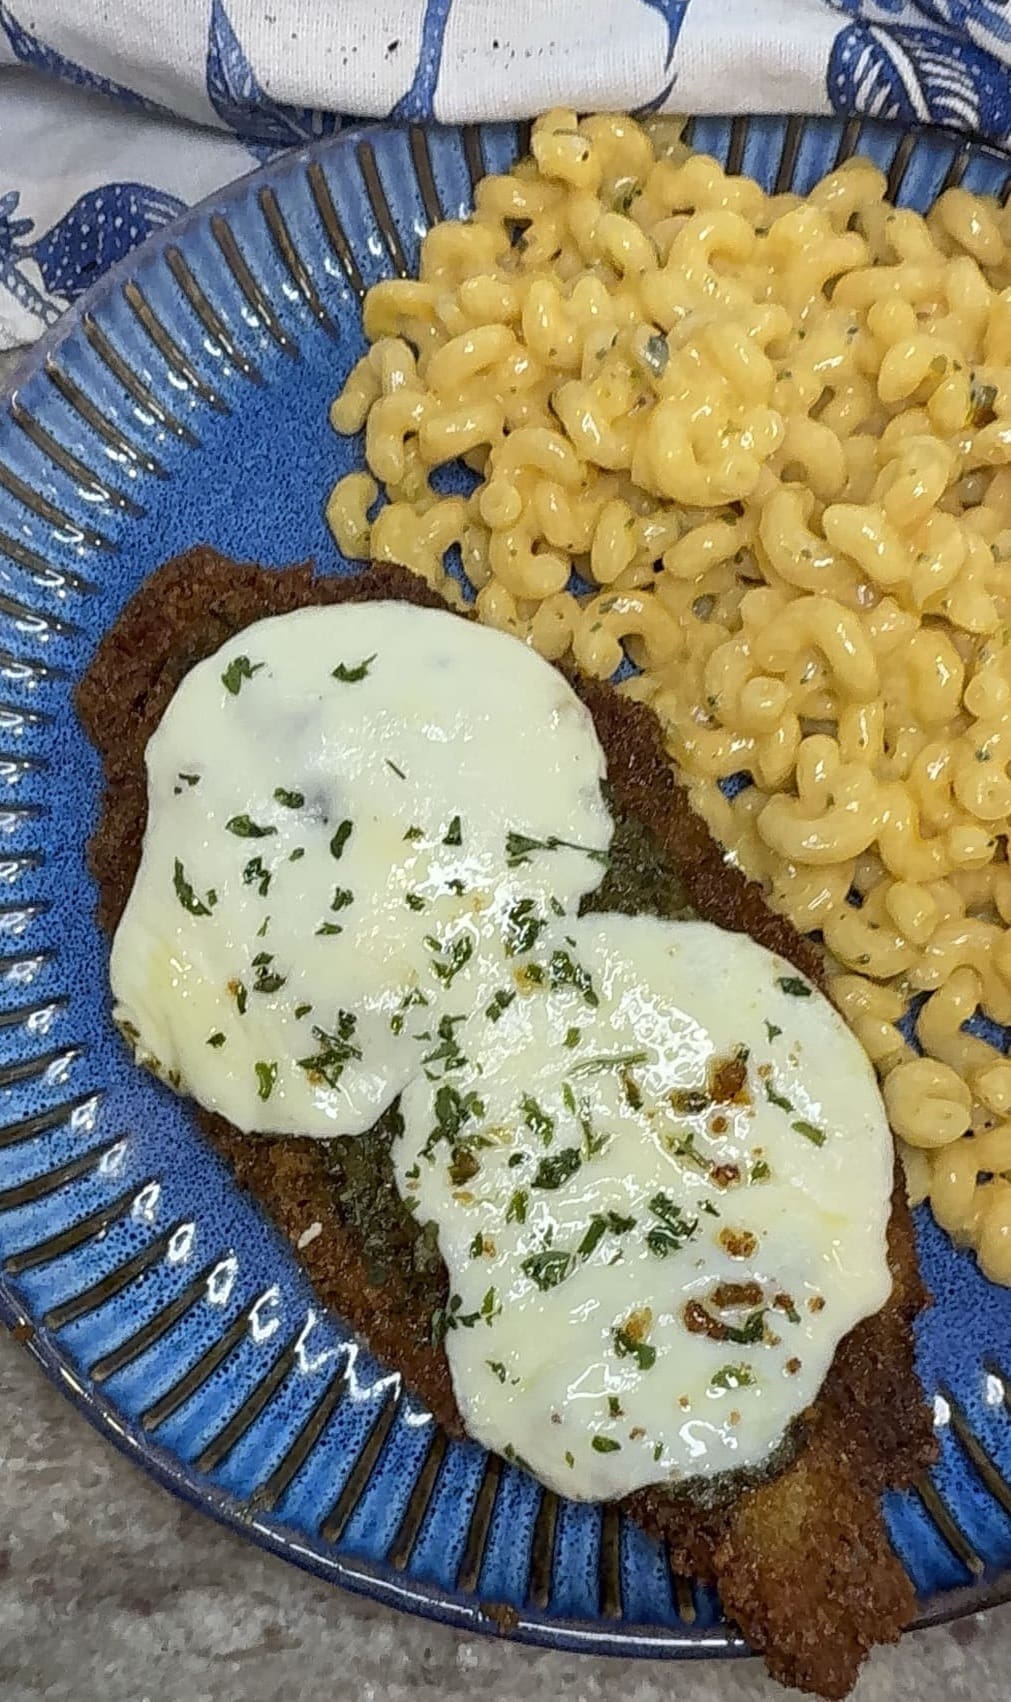
I like to serve this with some pasta and homemade garlic bread on the side.
My family always looks forward to eating this meal. We usually serve this over the warm summer months but it truly hits the spot all year round.
I hope you give this recipe a try. If you do, I know you’ll love it just as much as my family and I do.
Pesto Chicken Parmesan Variations
I like this chicken recipe made just the way it is but here are some ways to change it up if you’d like to.
- Chicken- homemade chicken cutlets or store bought are both ok to use for this recipe. You can also make this a little healthier by using grilled chicken breast instead.
- Cheese- Any kind of mozzarella a cheese would be ok to use. Just be sure to shred the cheese yourself and avoid the pre shredded stuff that comes in a bag. It will melt much better that way.
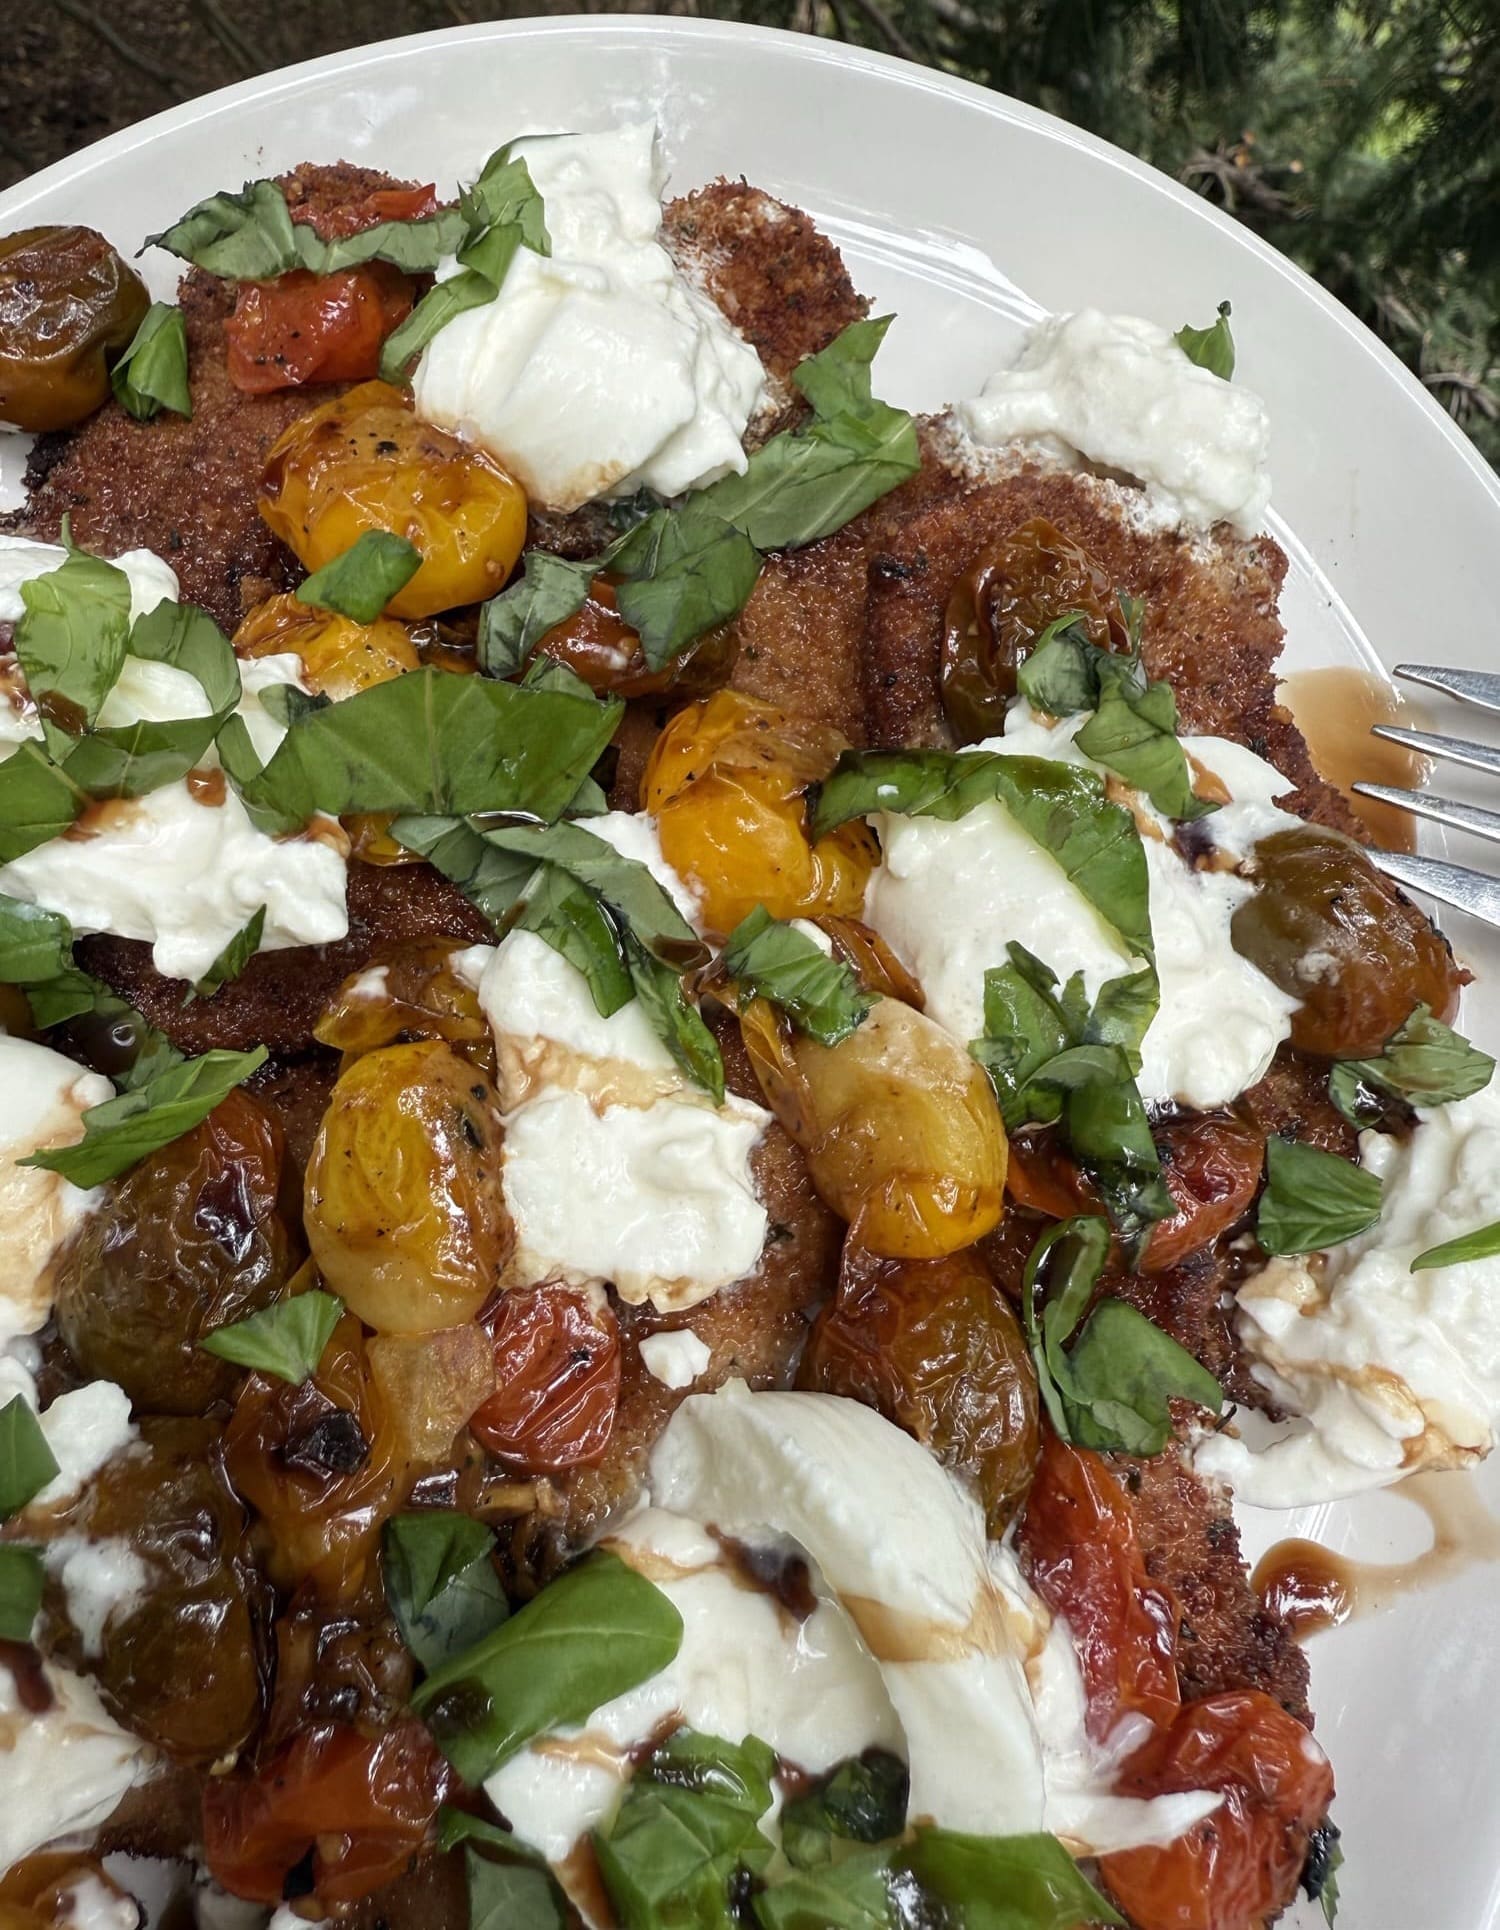
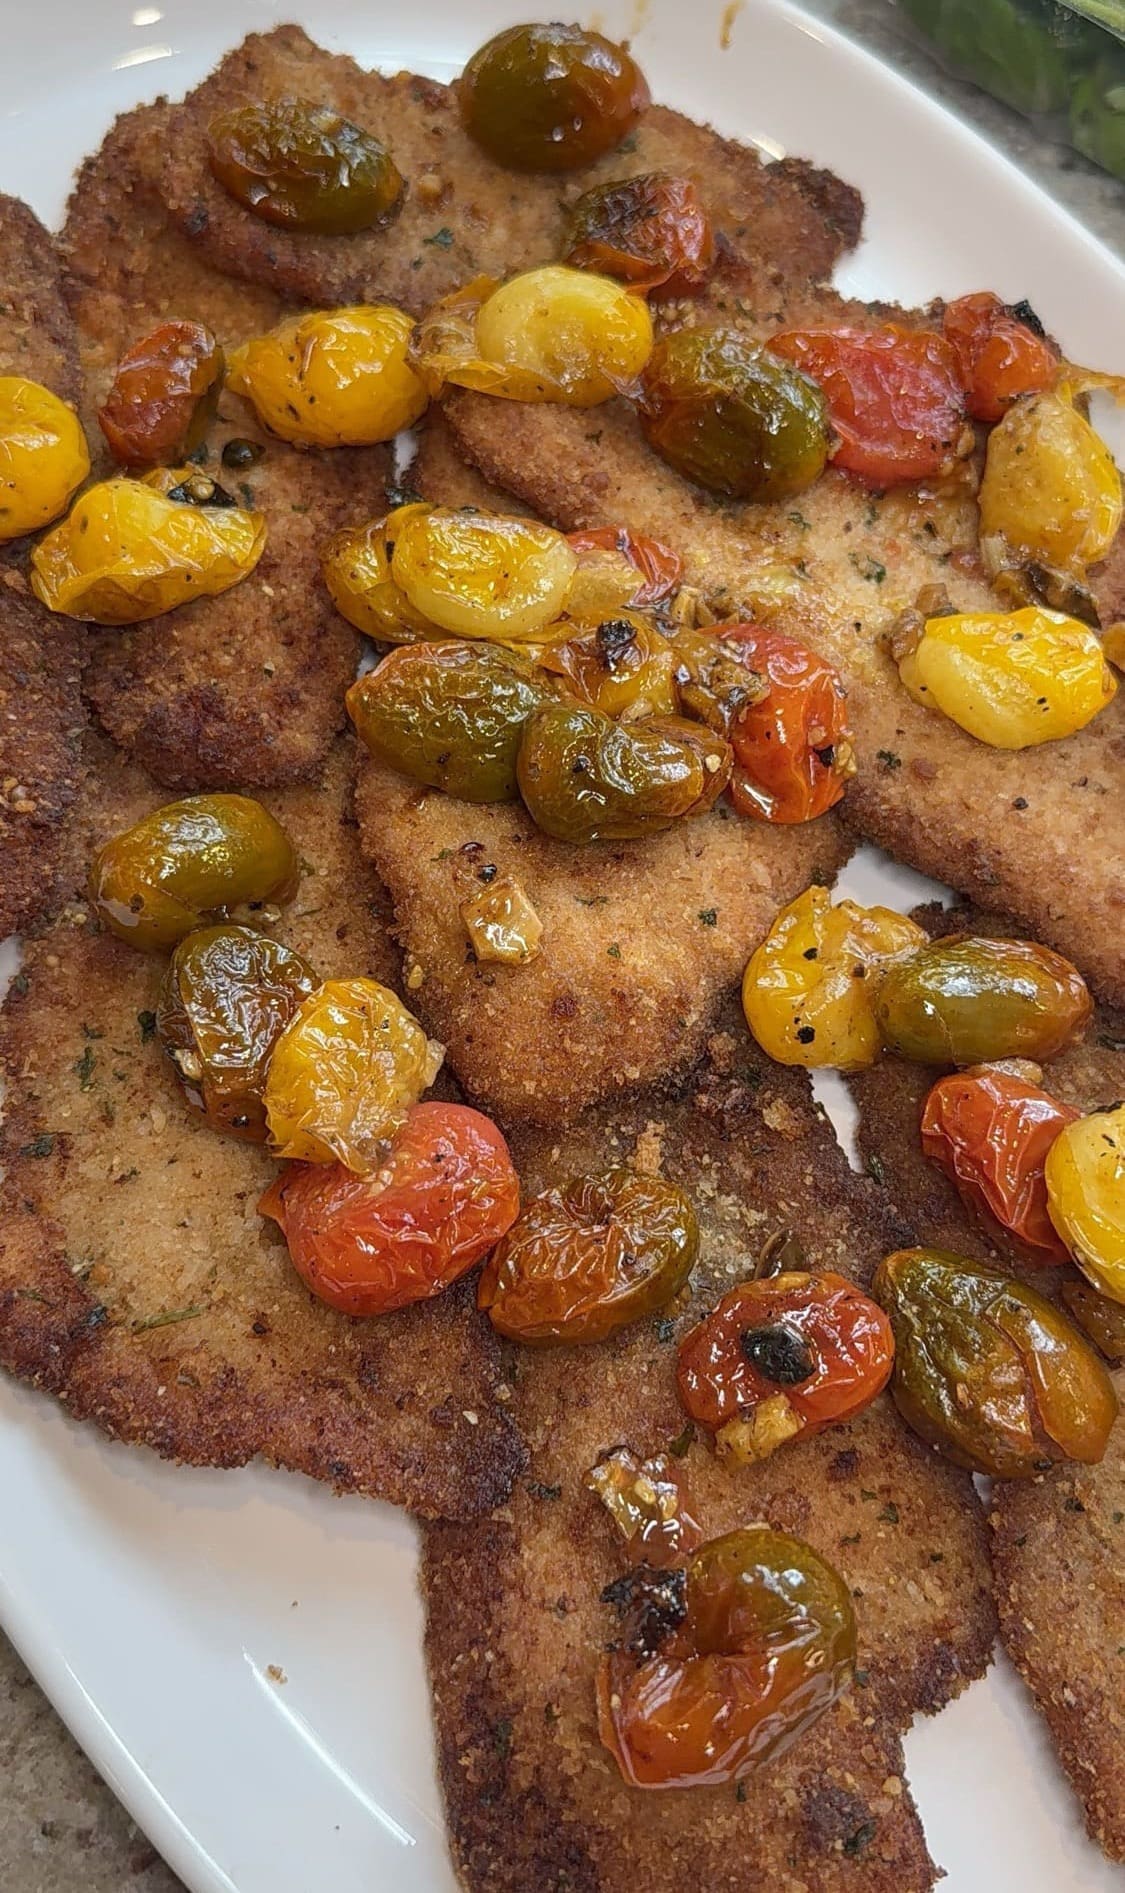
- Ad Ins- Top the cheese layer with some thinly sliced tomatoes or sun-dried tomatoes for extra texture and flavor.
Other Easy Chicken Dinners
If you like super easy to make chicken dinners like this one, here are some others that I know you’ll love, too.
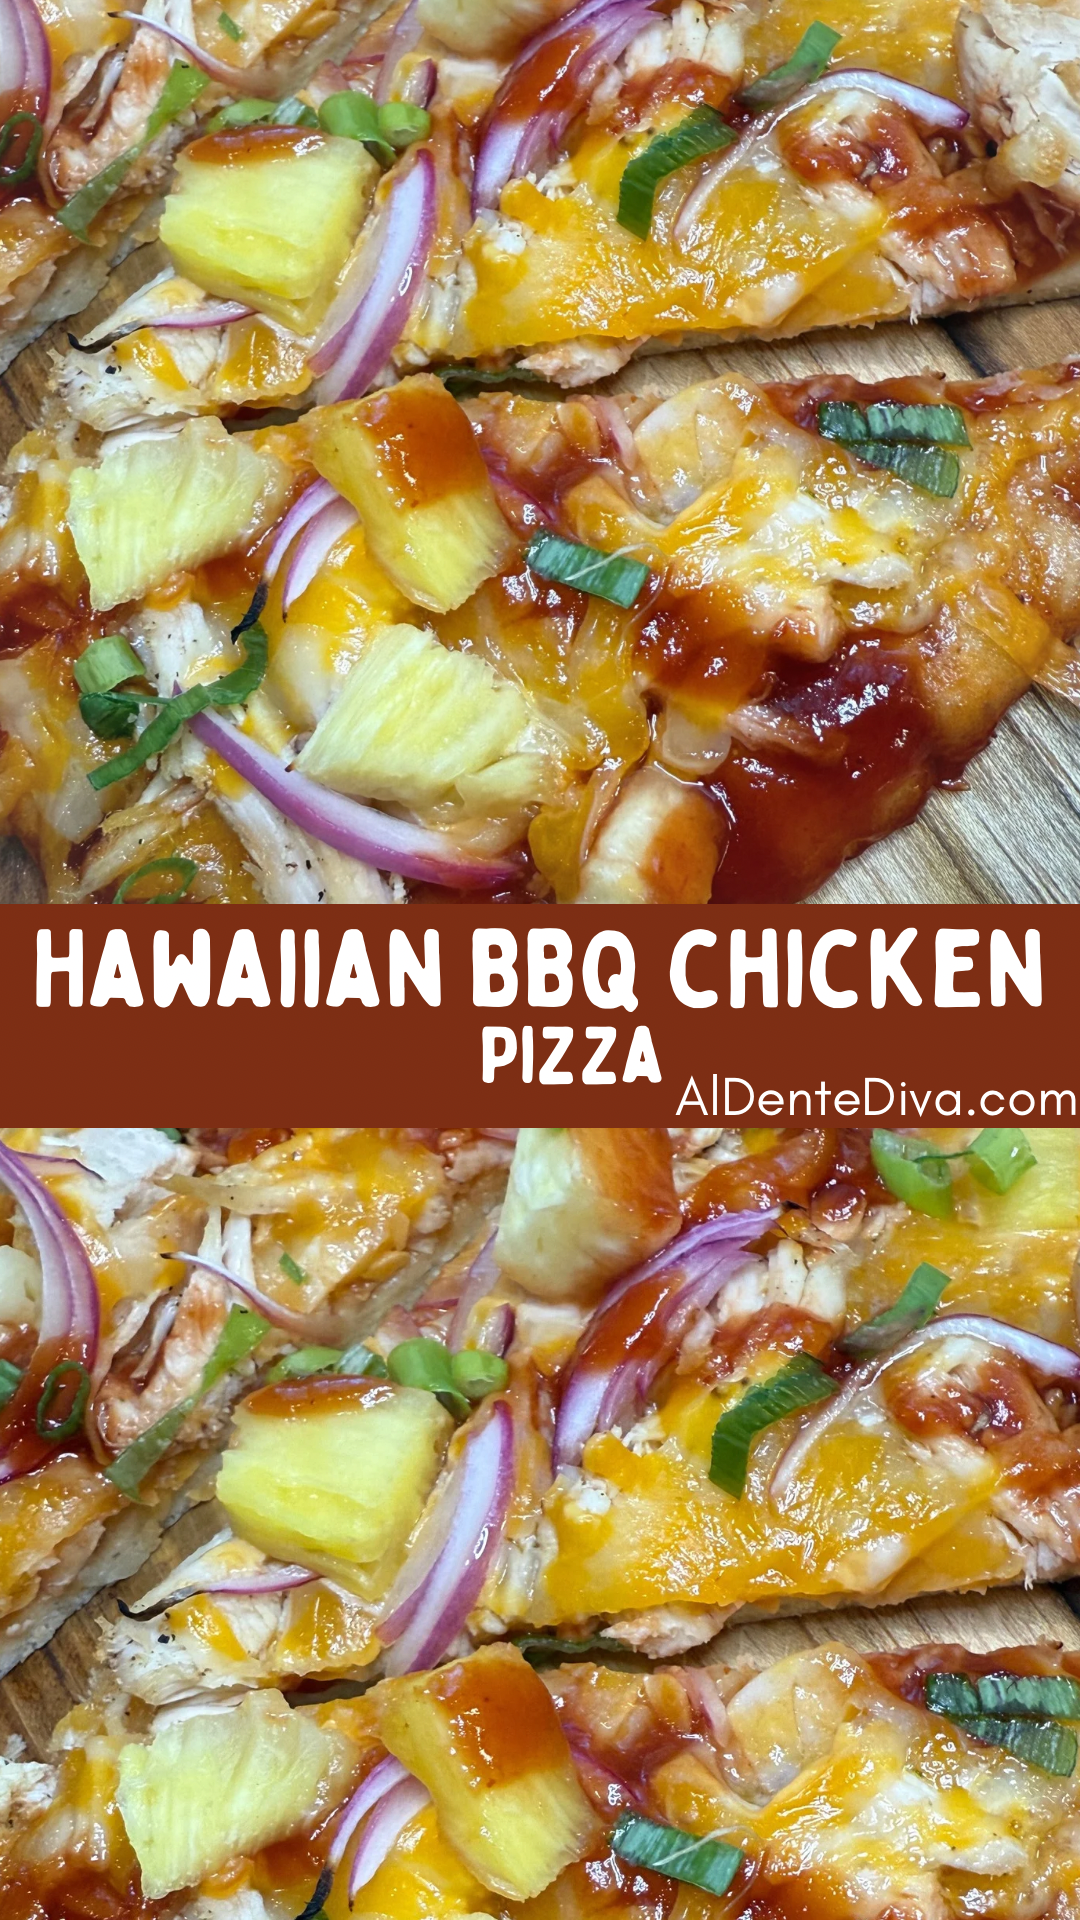
- Hawaiian BBQ Chicken Flatbread Pizza
- Chicken Frances
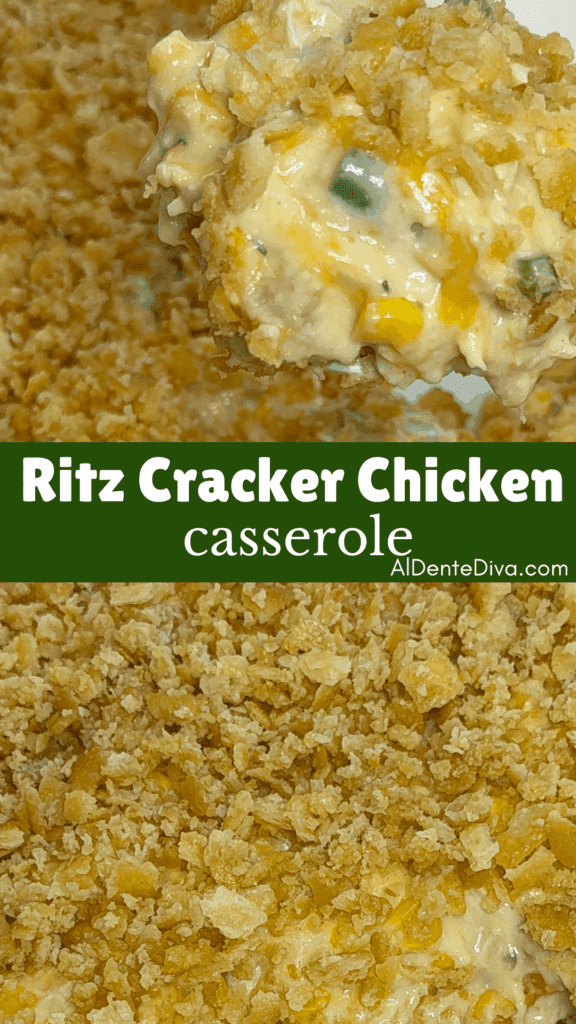
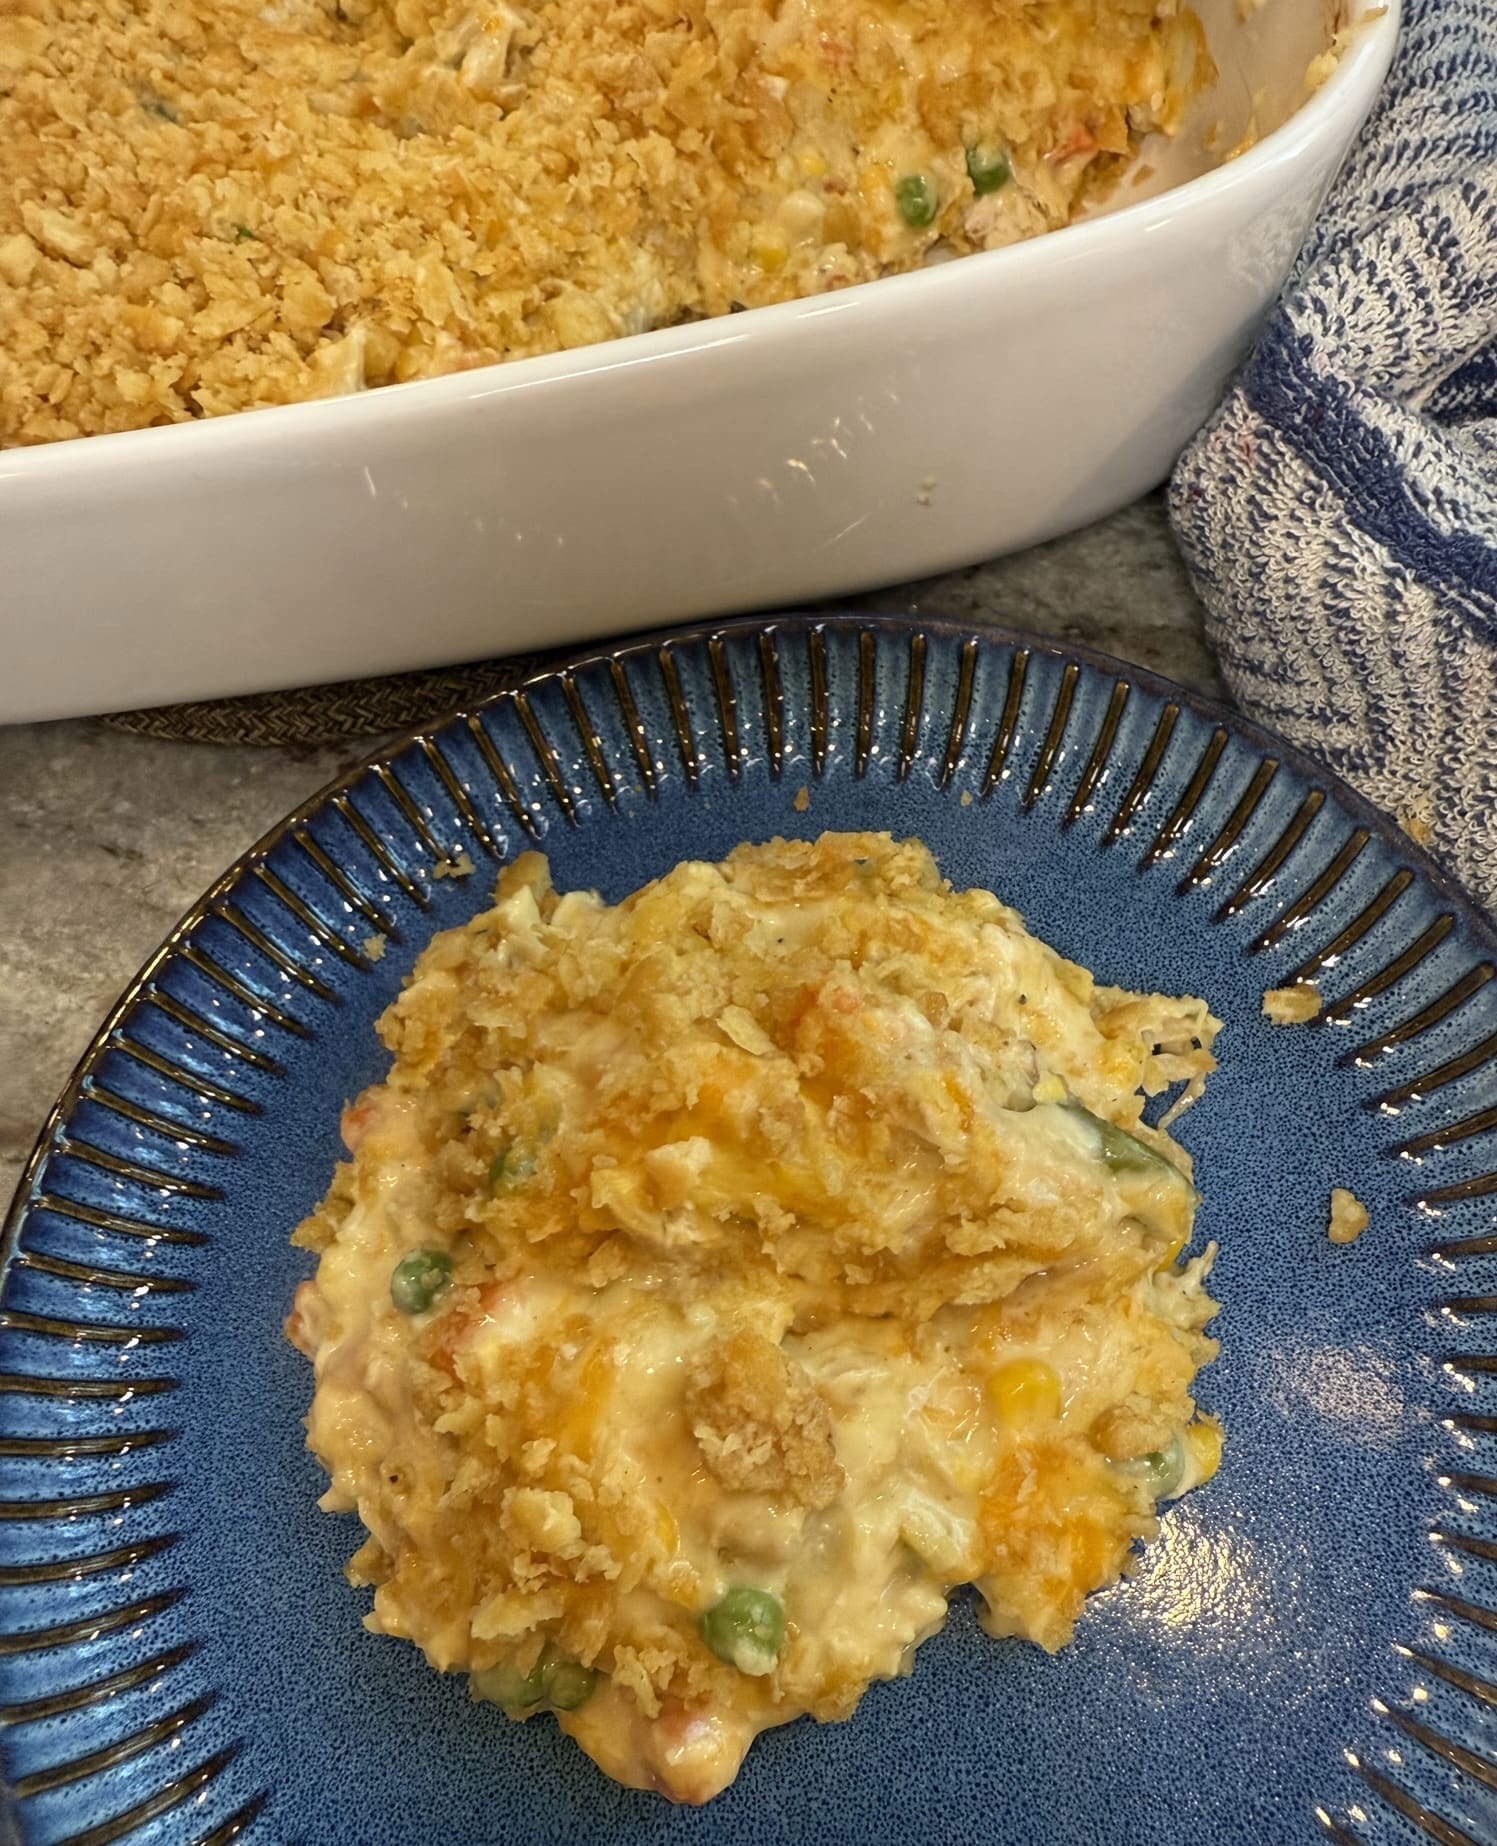
- Chicken Cordon Bleu Casserole
- Kraft Tuscan Chicken
Pesto Chicken Parmesan Ingredients
- Homemade Chicken Cutlets (or store bought)
- Pesto Sauce
- Sliced Fresh Mozzarella Cheese
- Dried Parsley, for garnish (optional)
Instructions
Preheat the oven to 350°
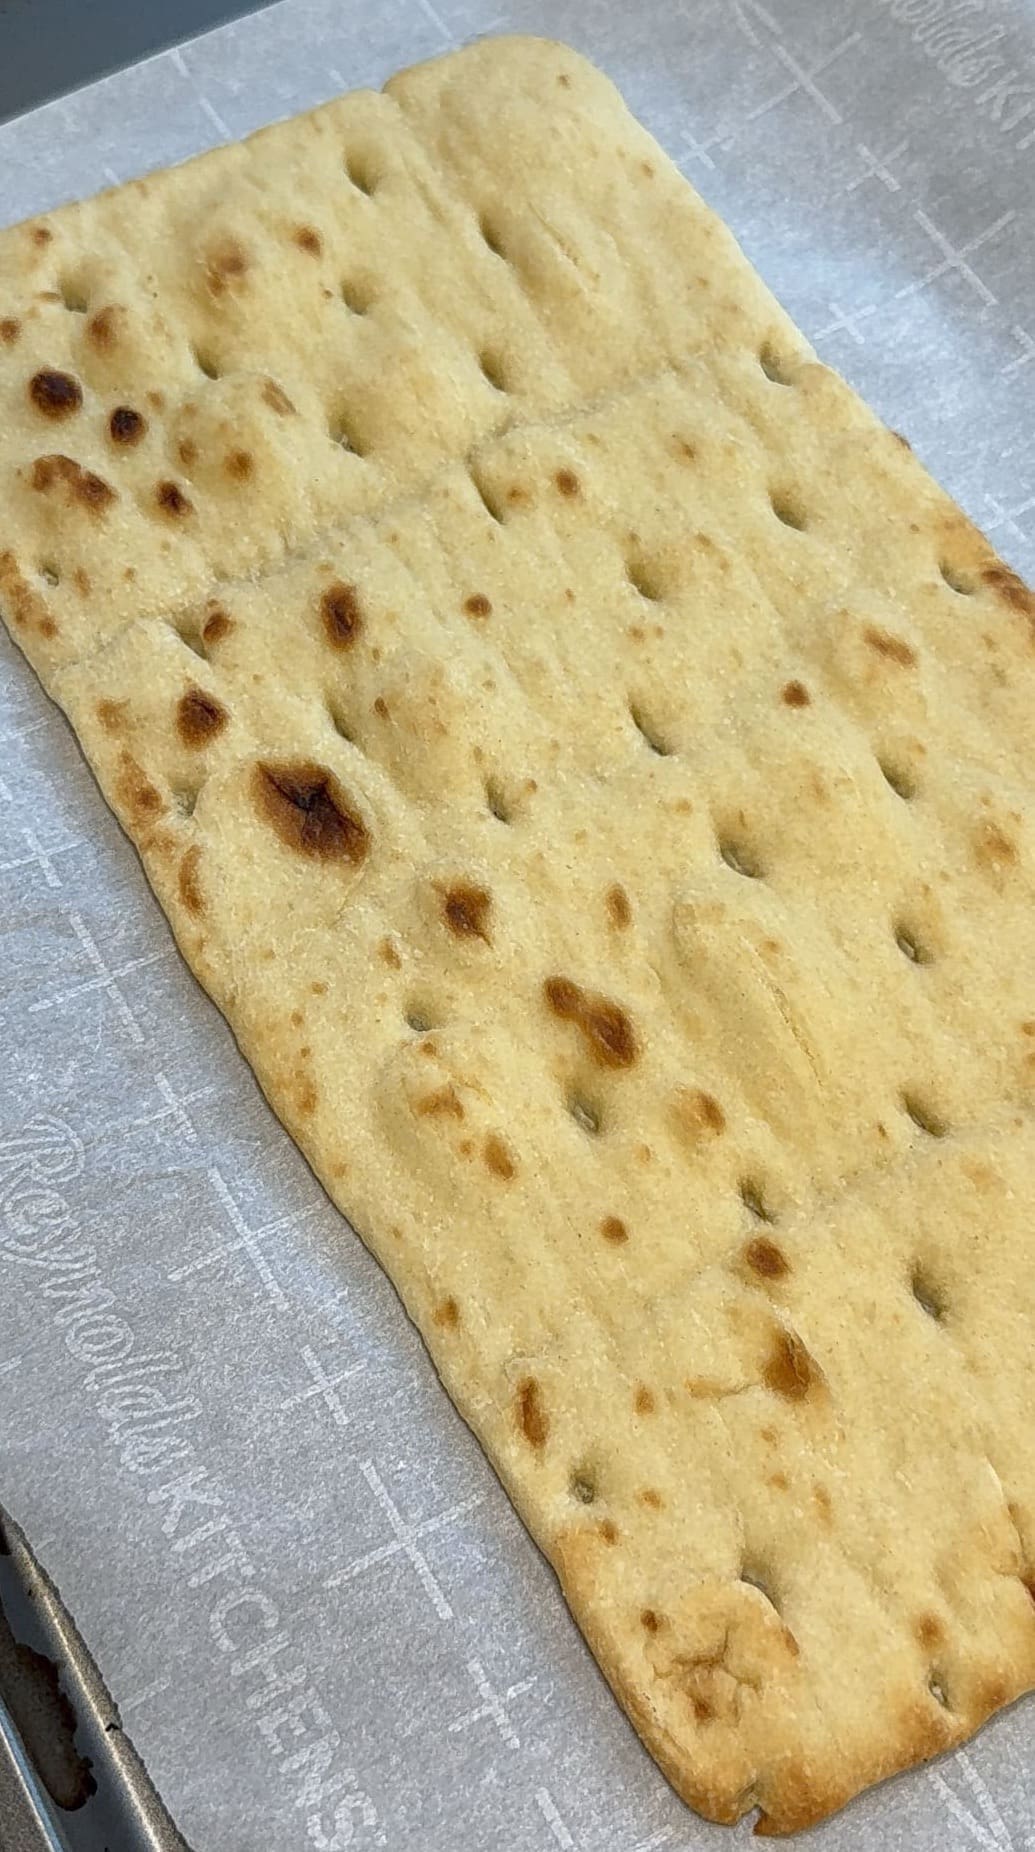
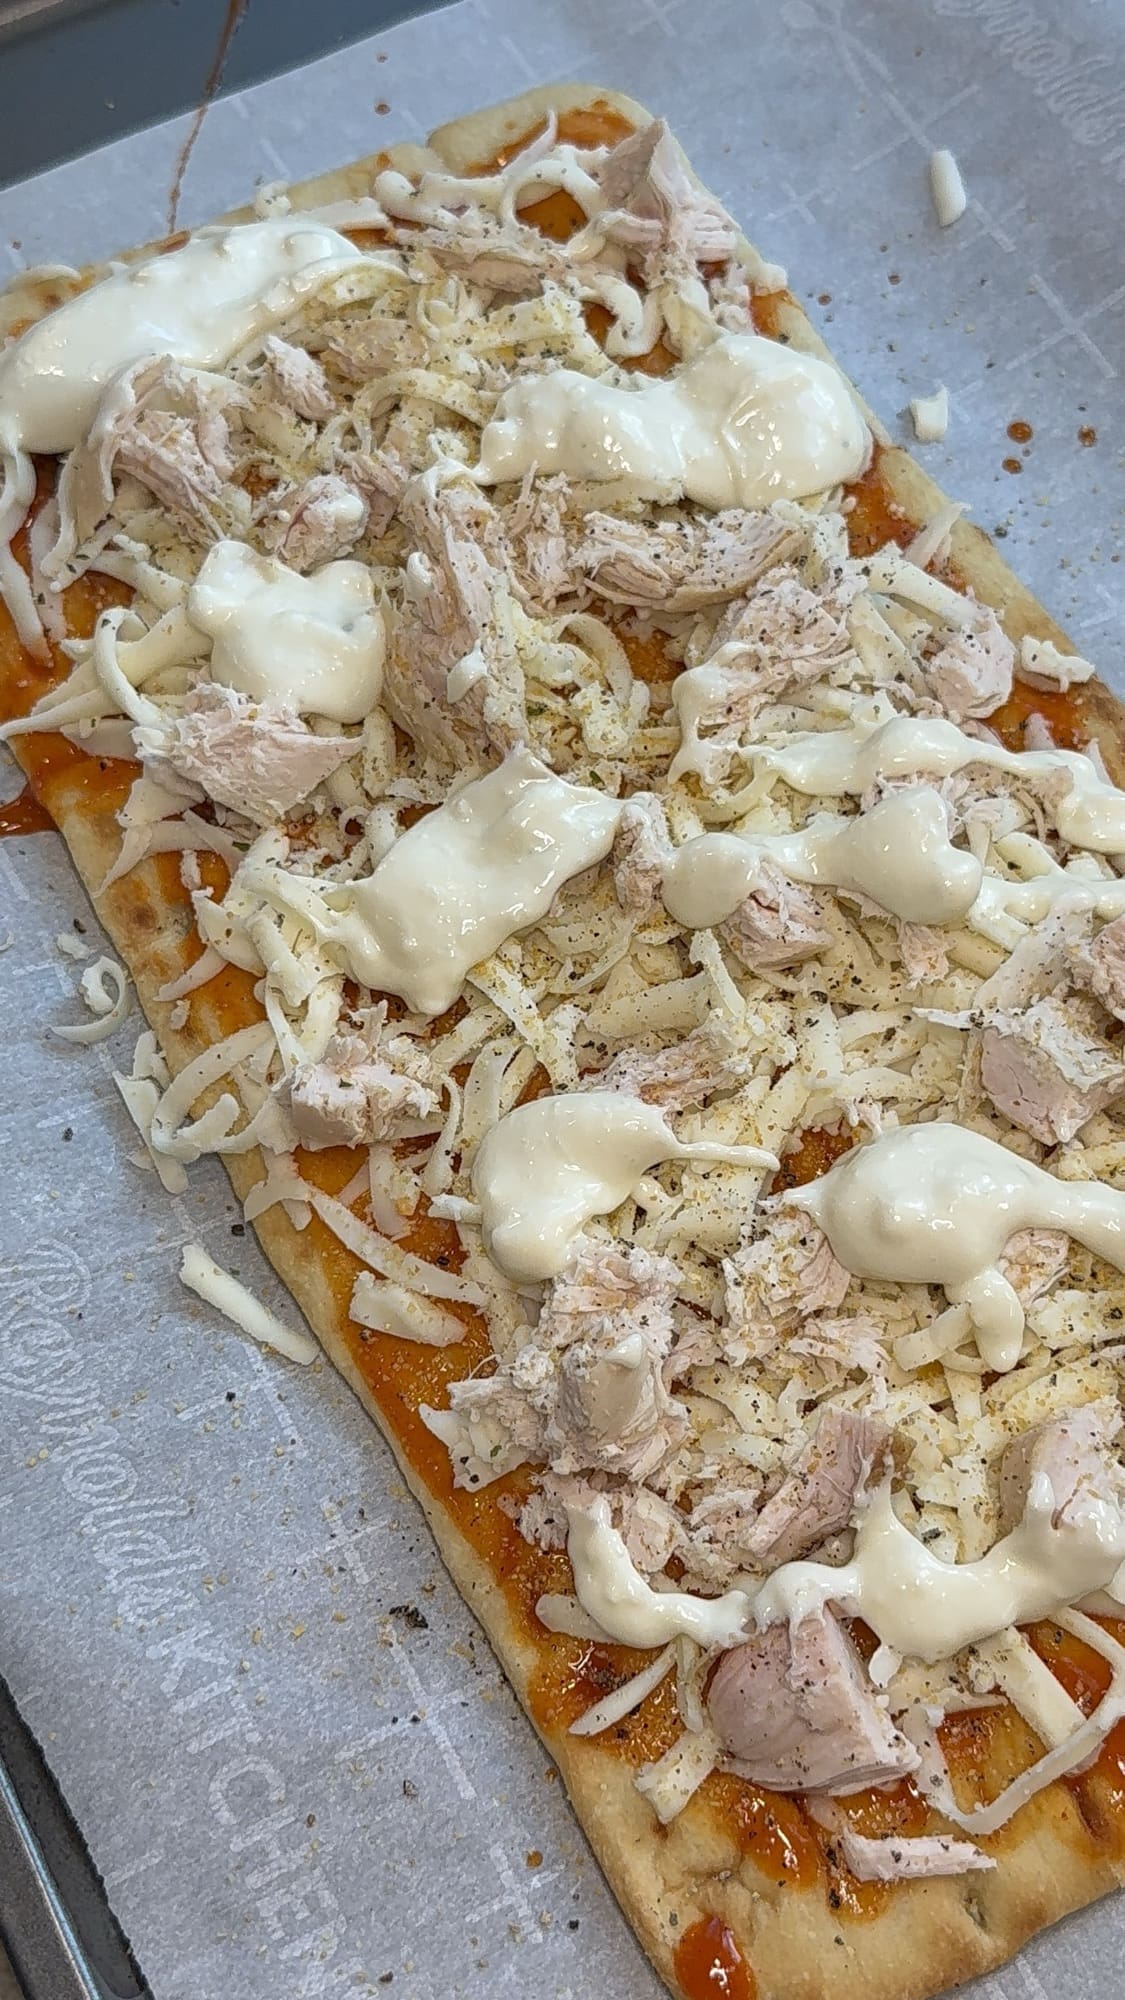
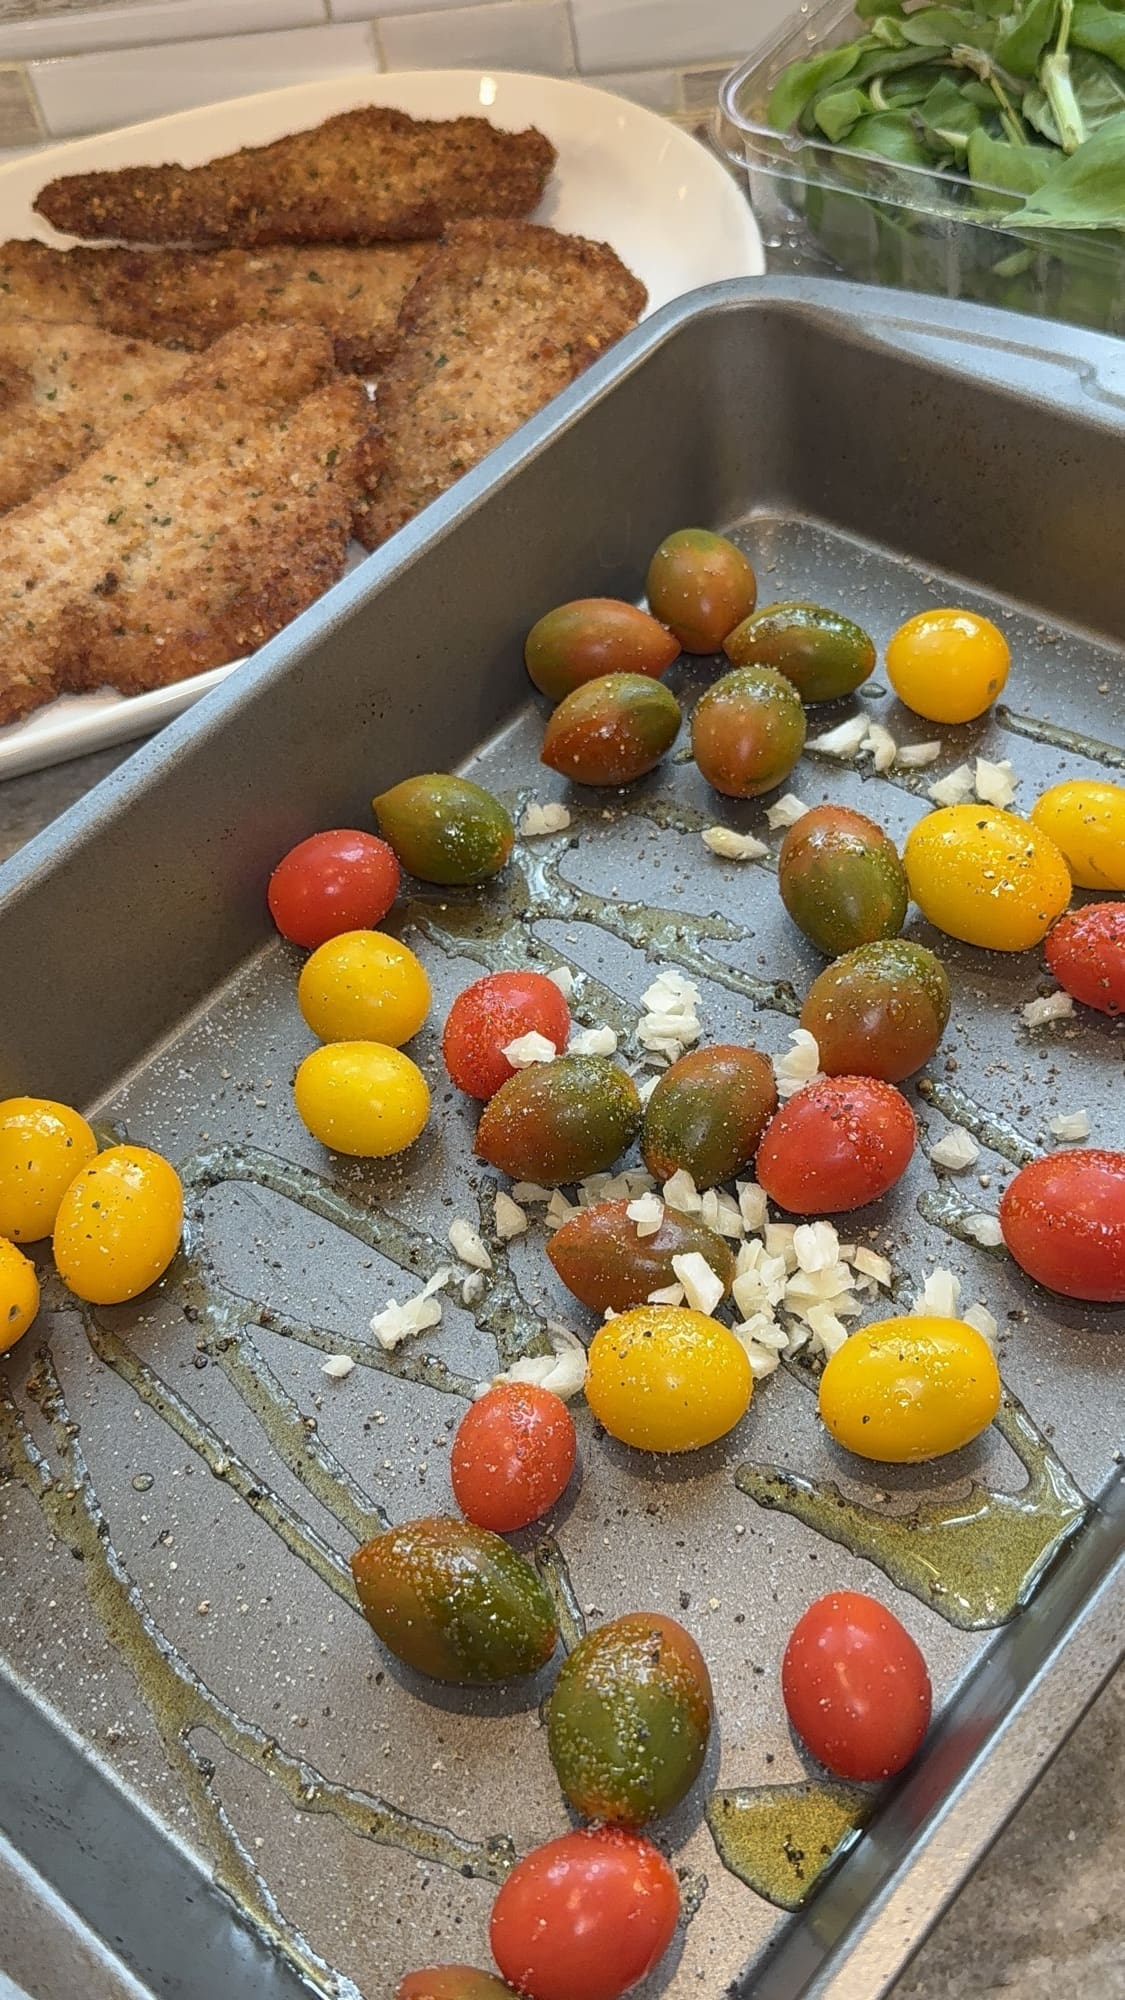
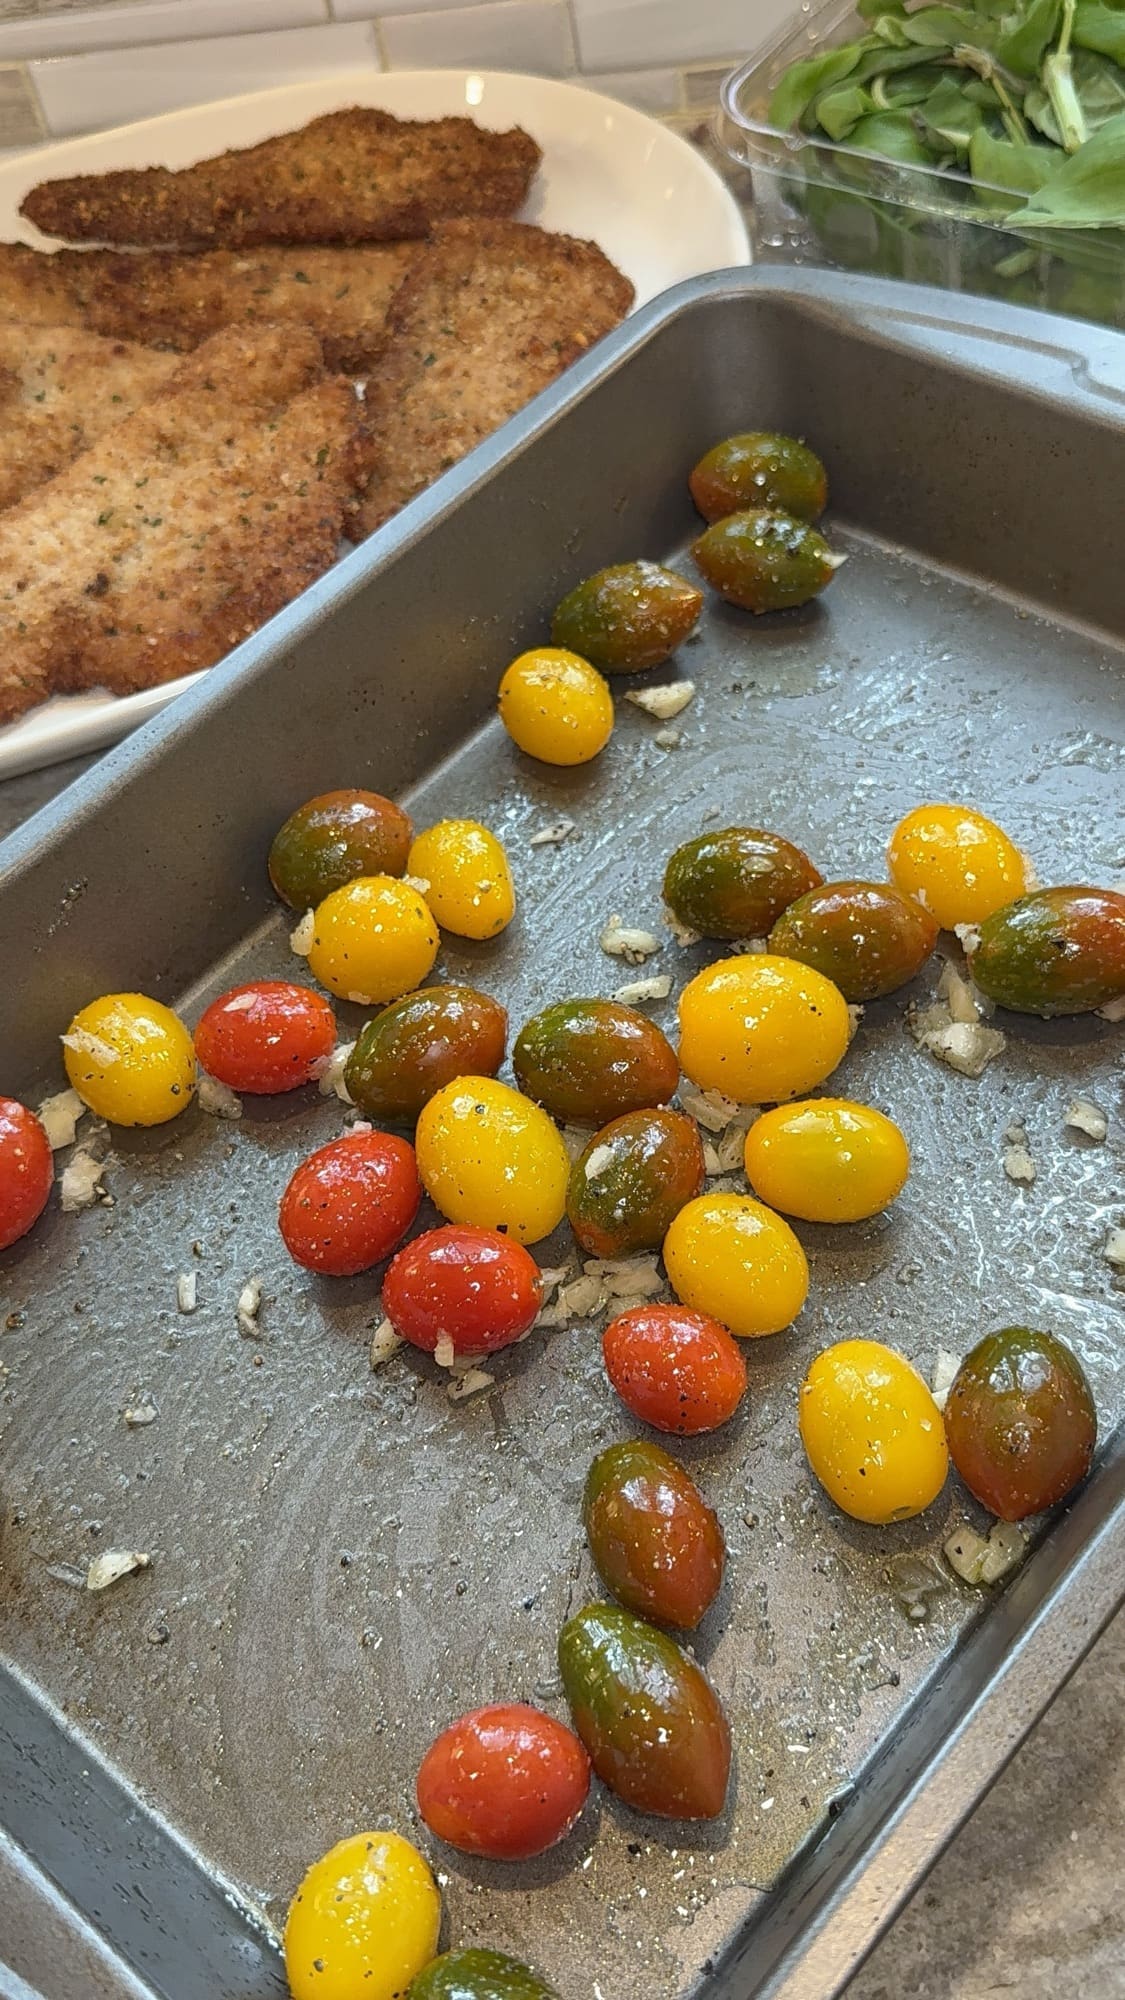
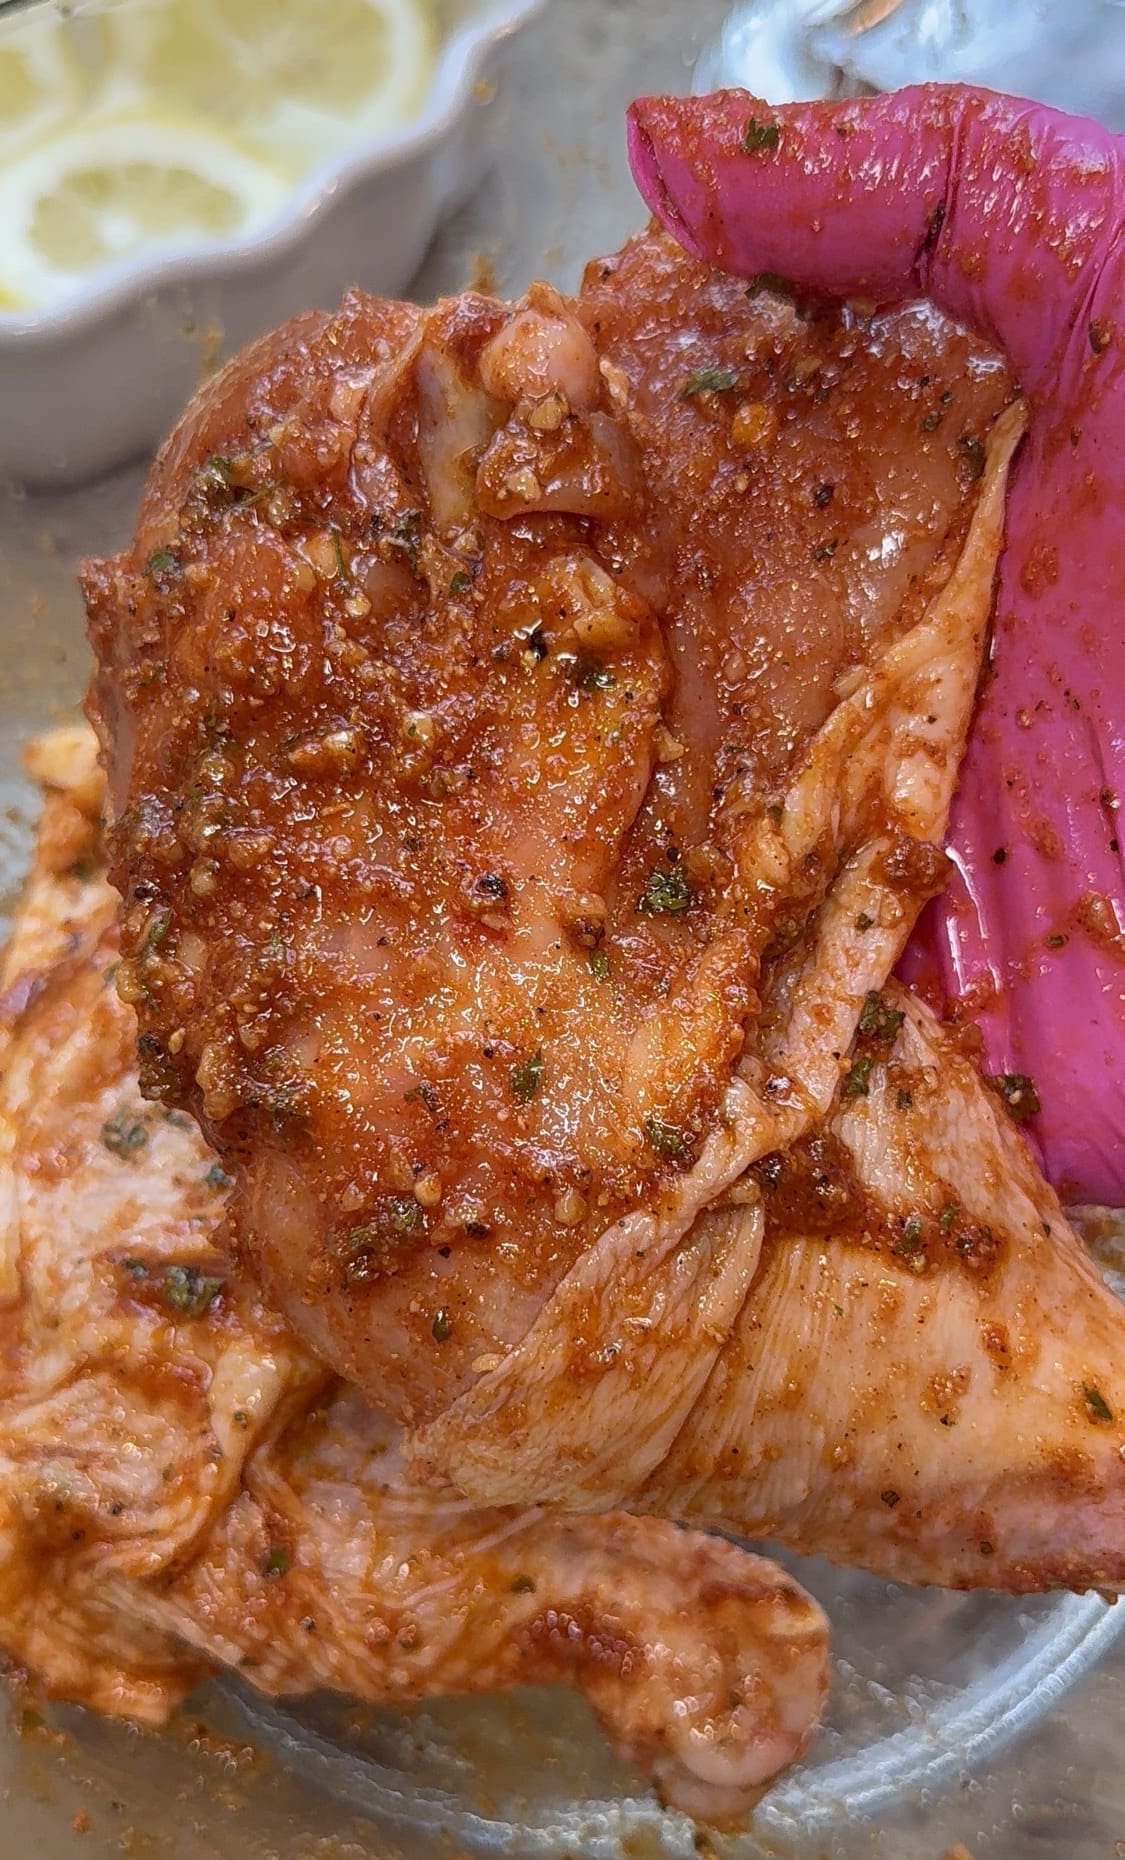
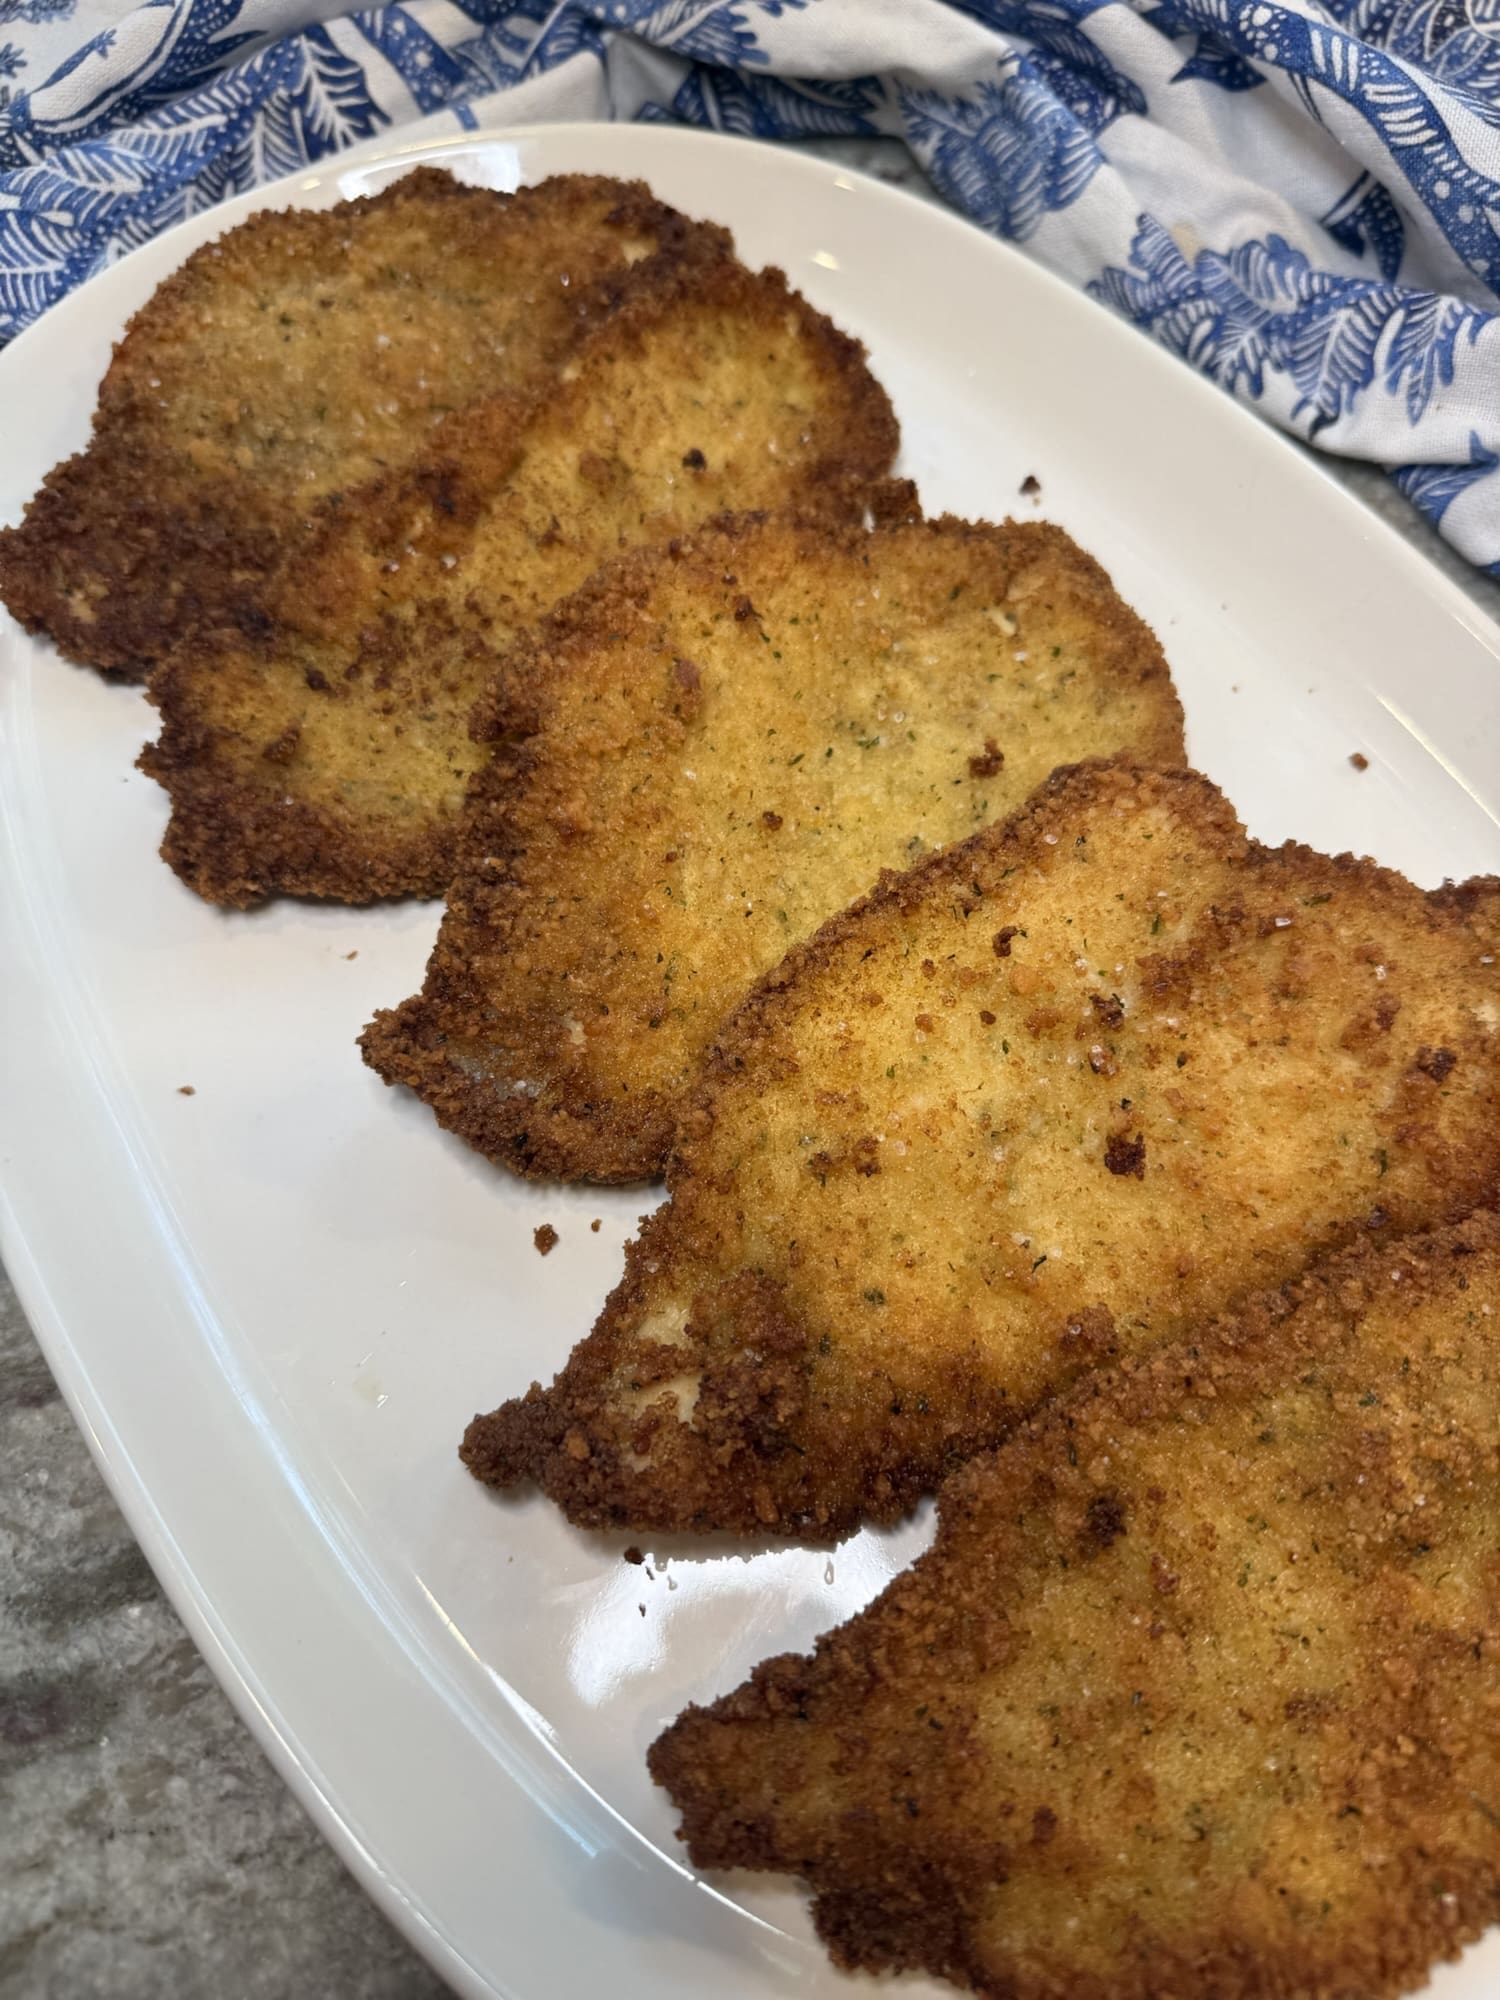
First, prepare your homemade or store bought chicken cutlets by laying them down onto a baking sheet or dish.
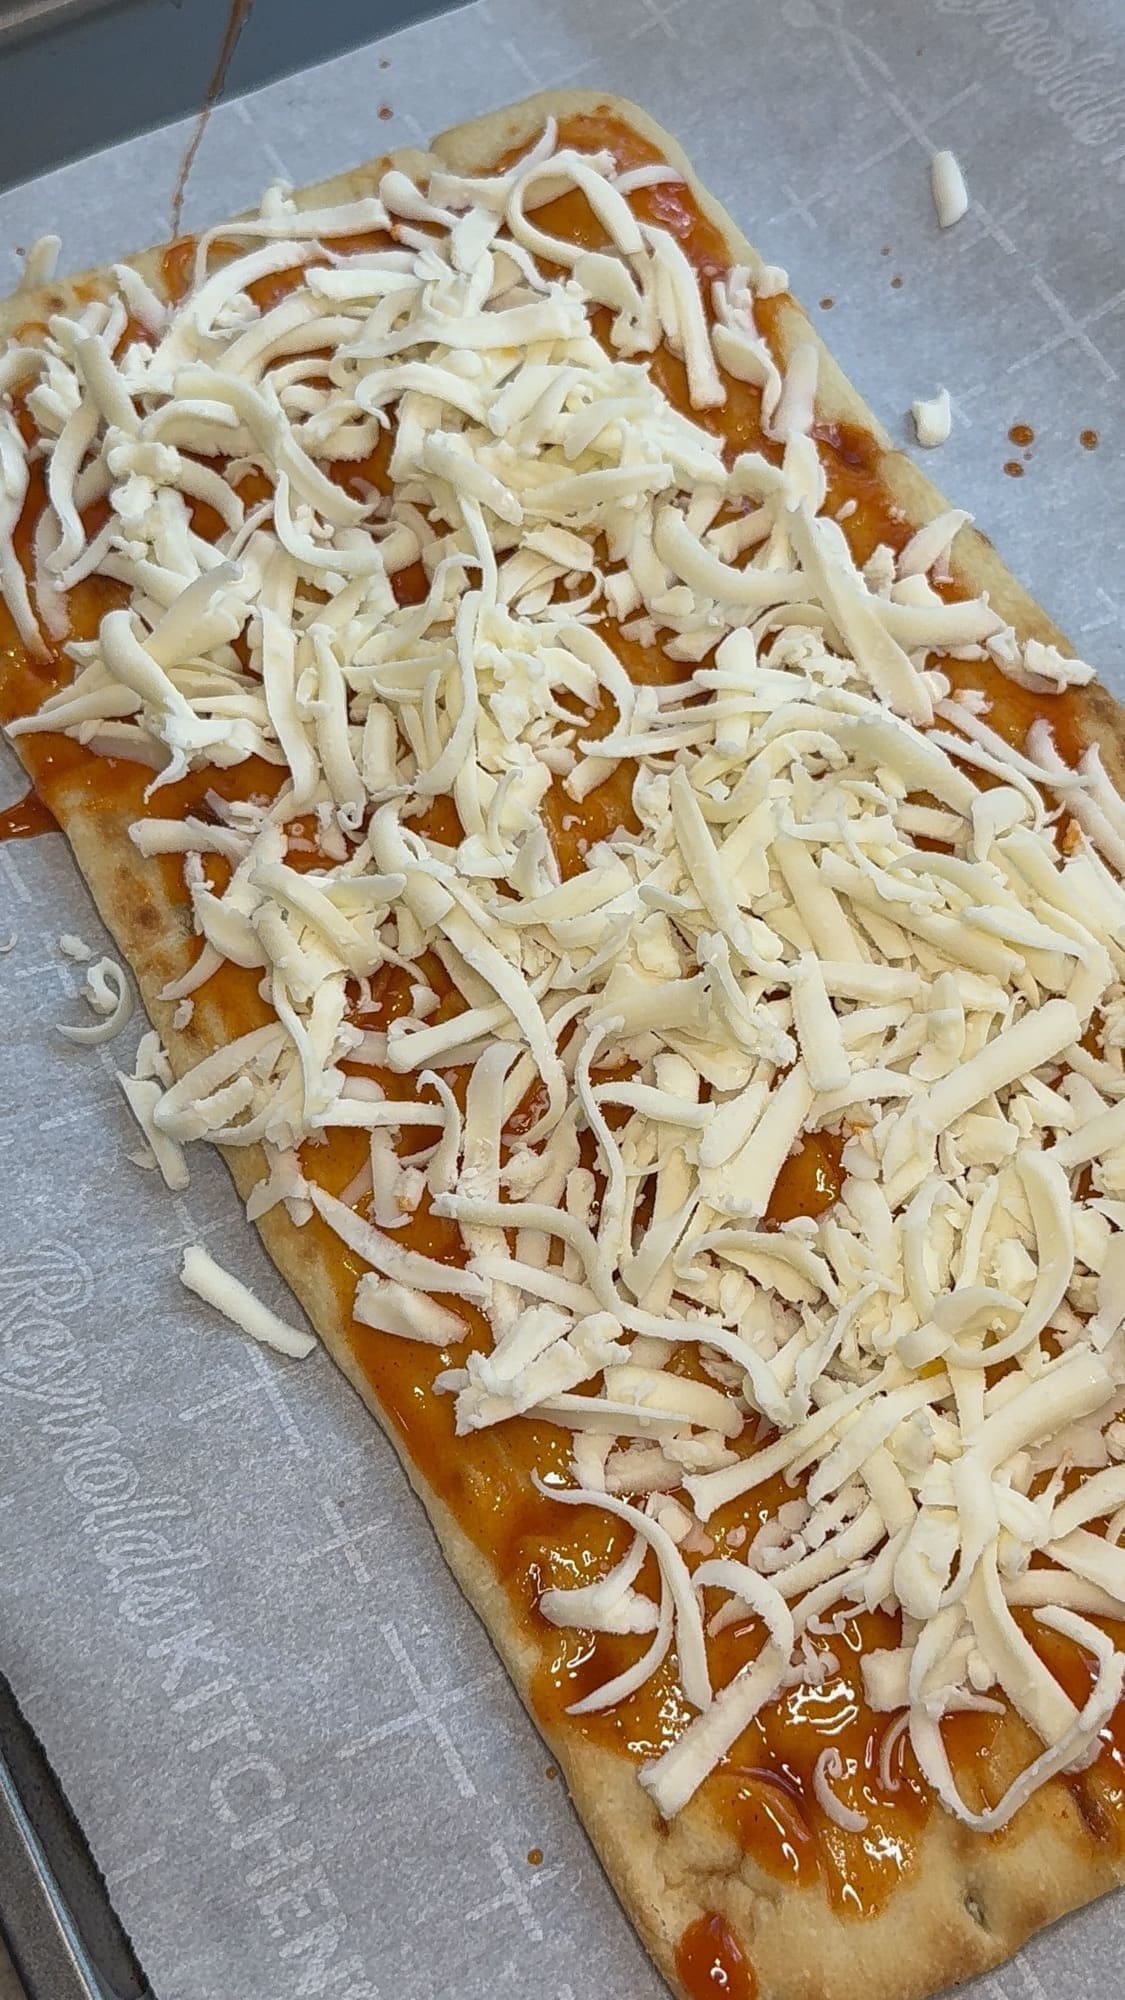
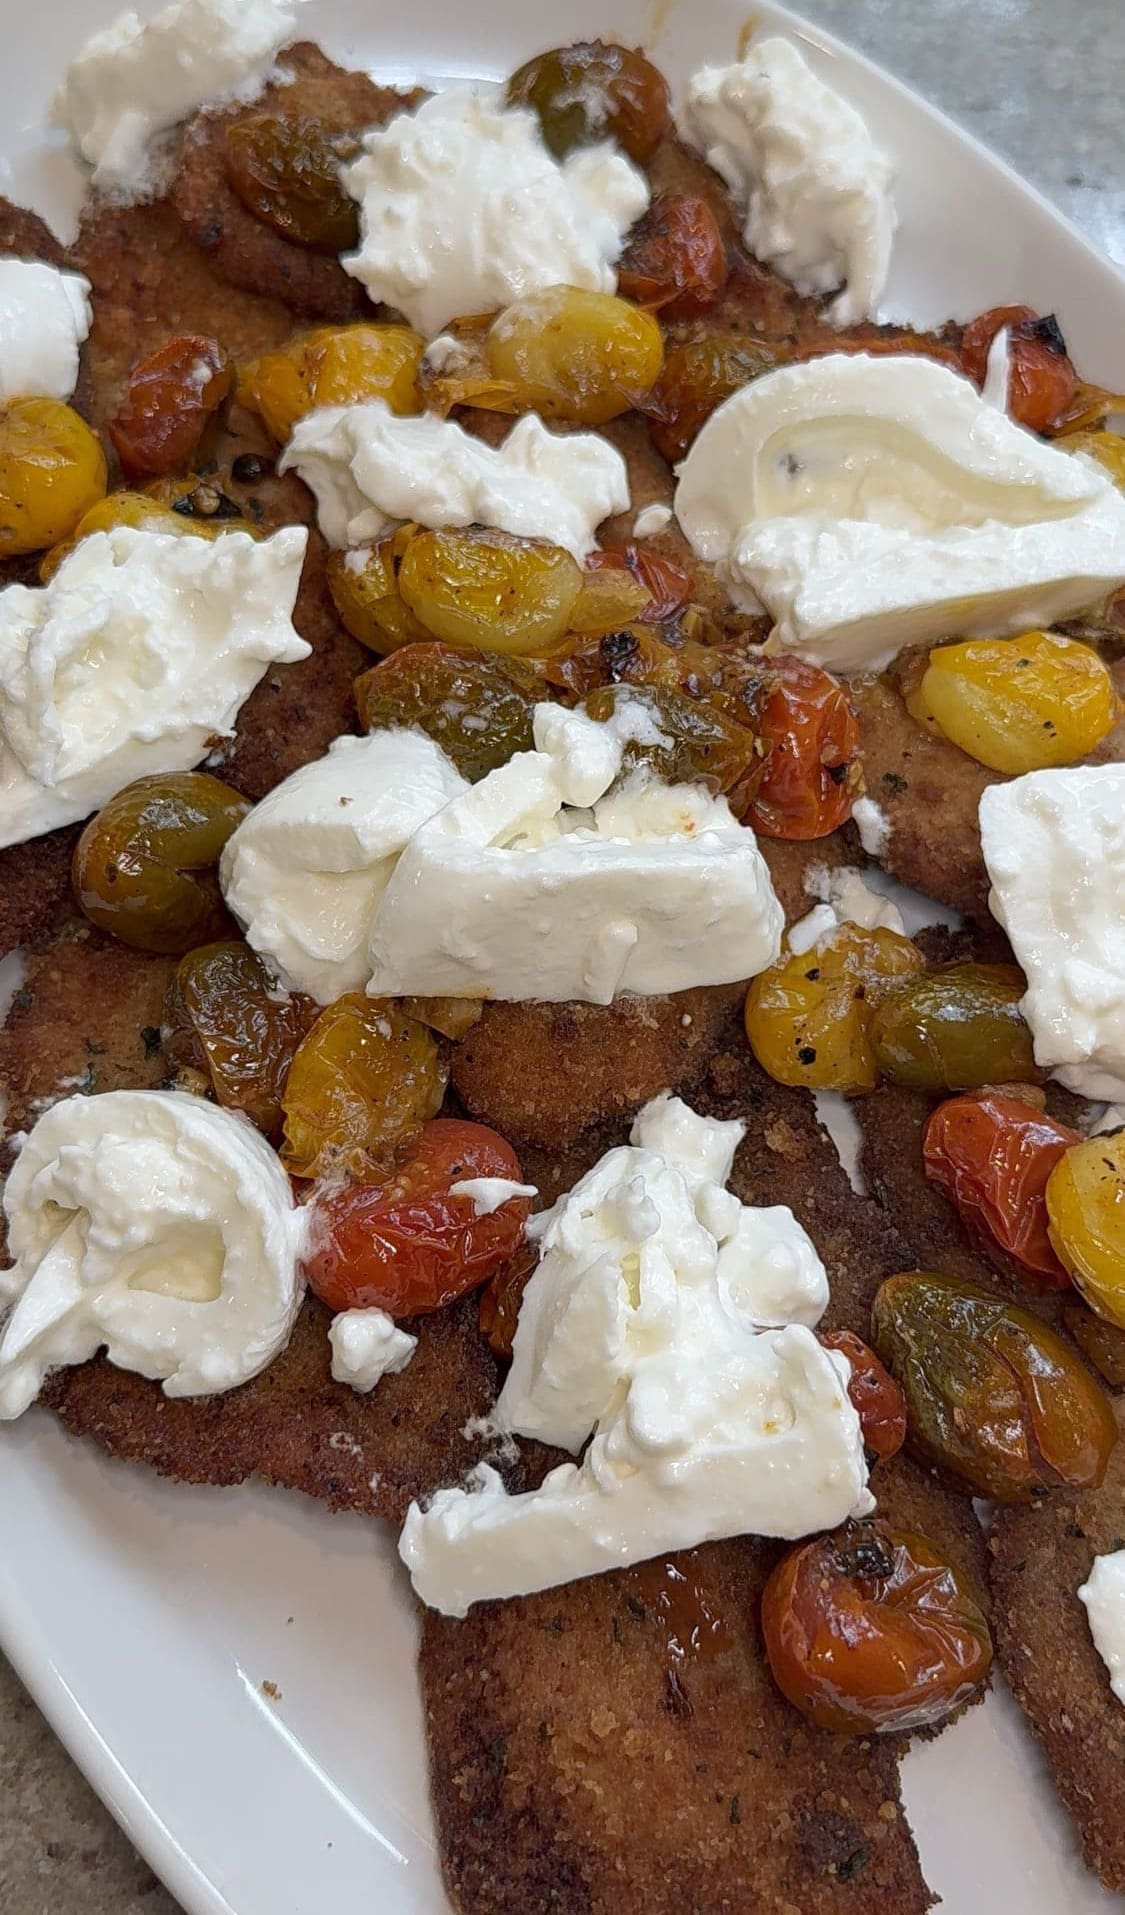
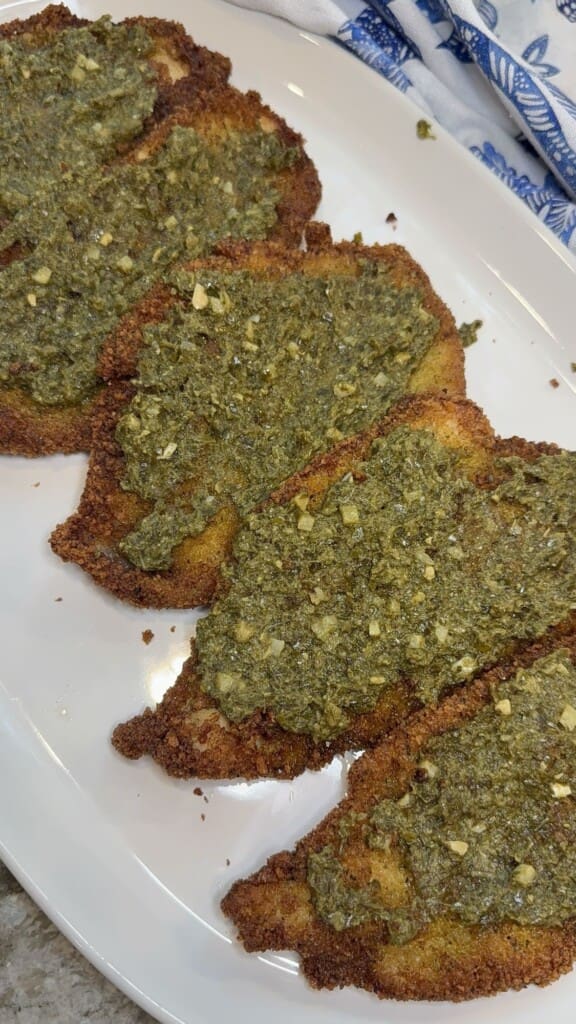
Then, spread a thin layer of pesto onto the top of each one.
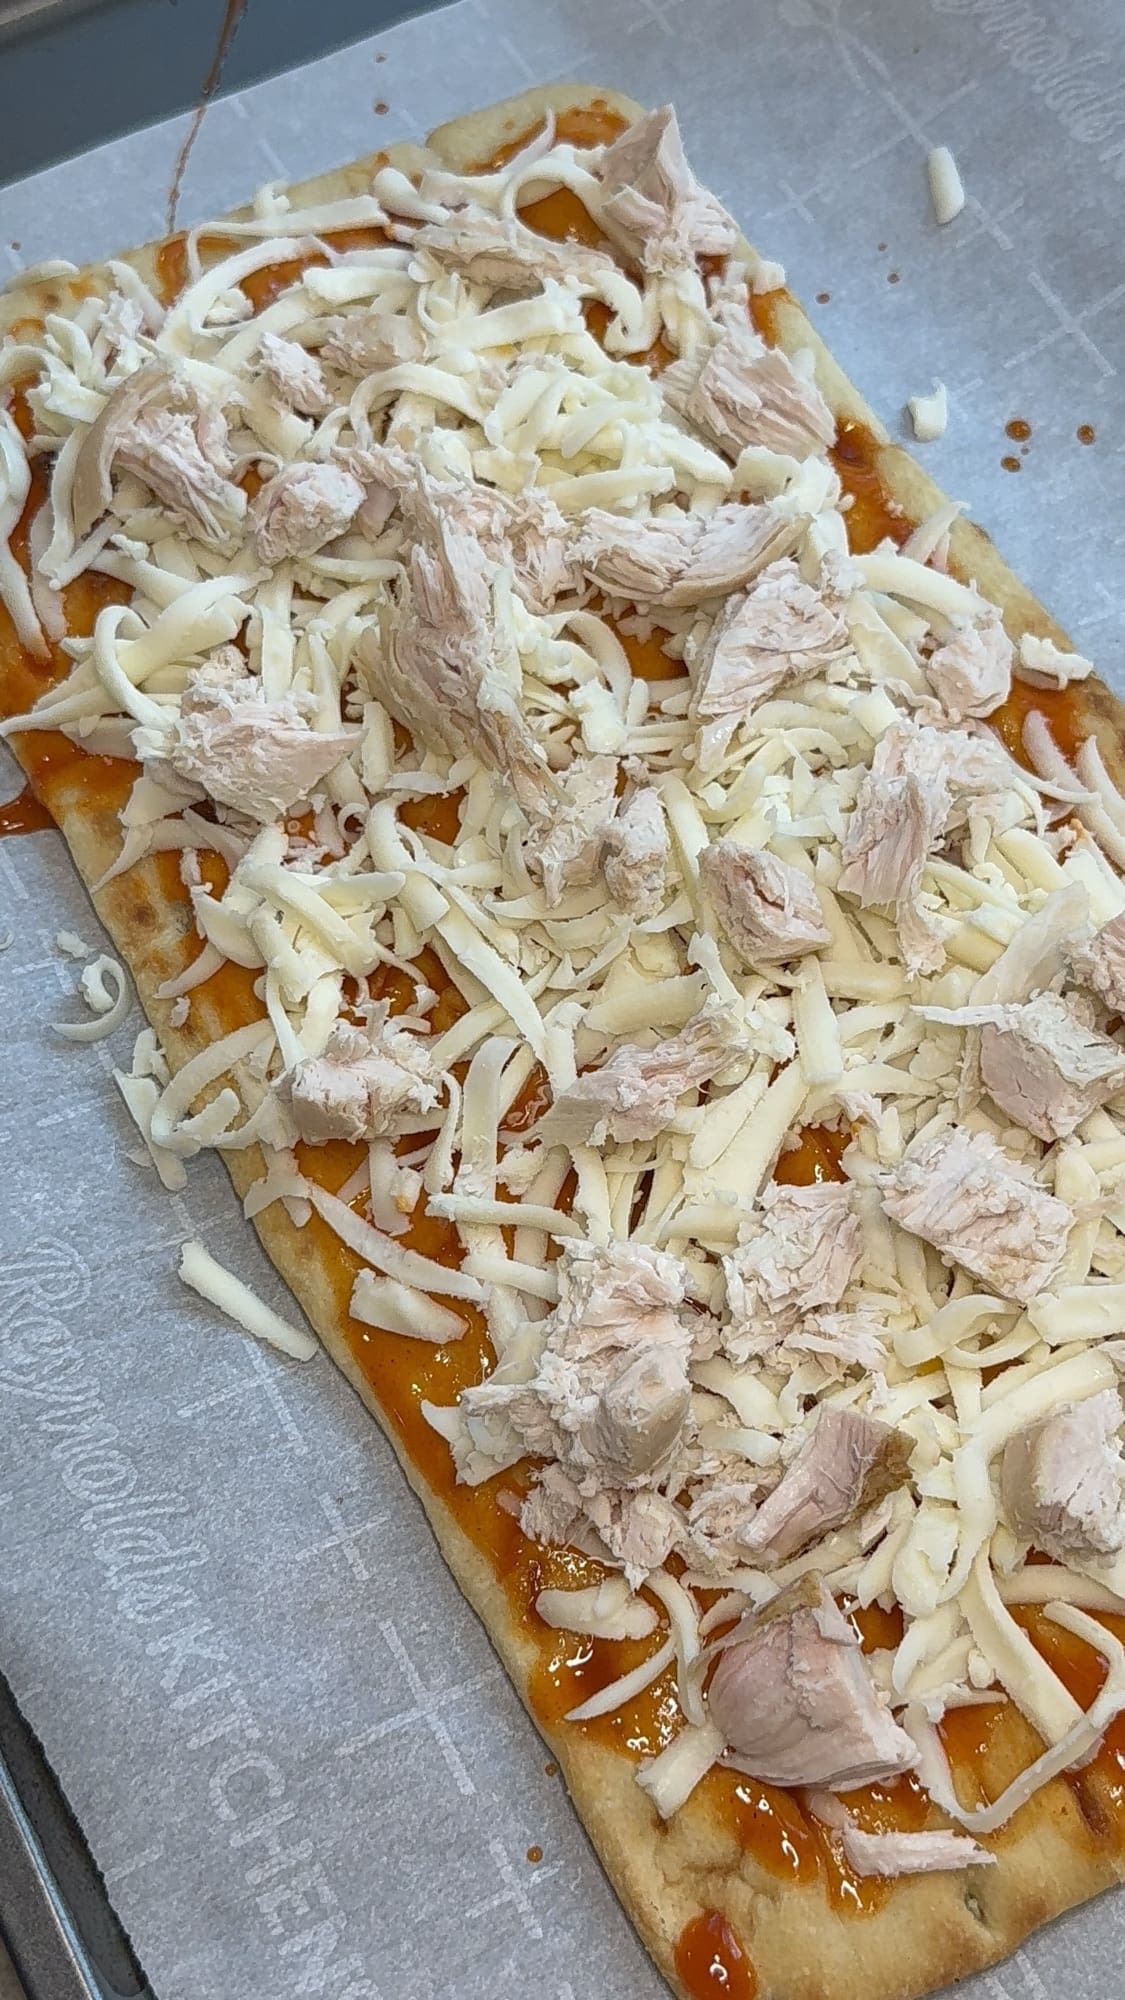
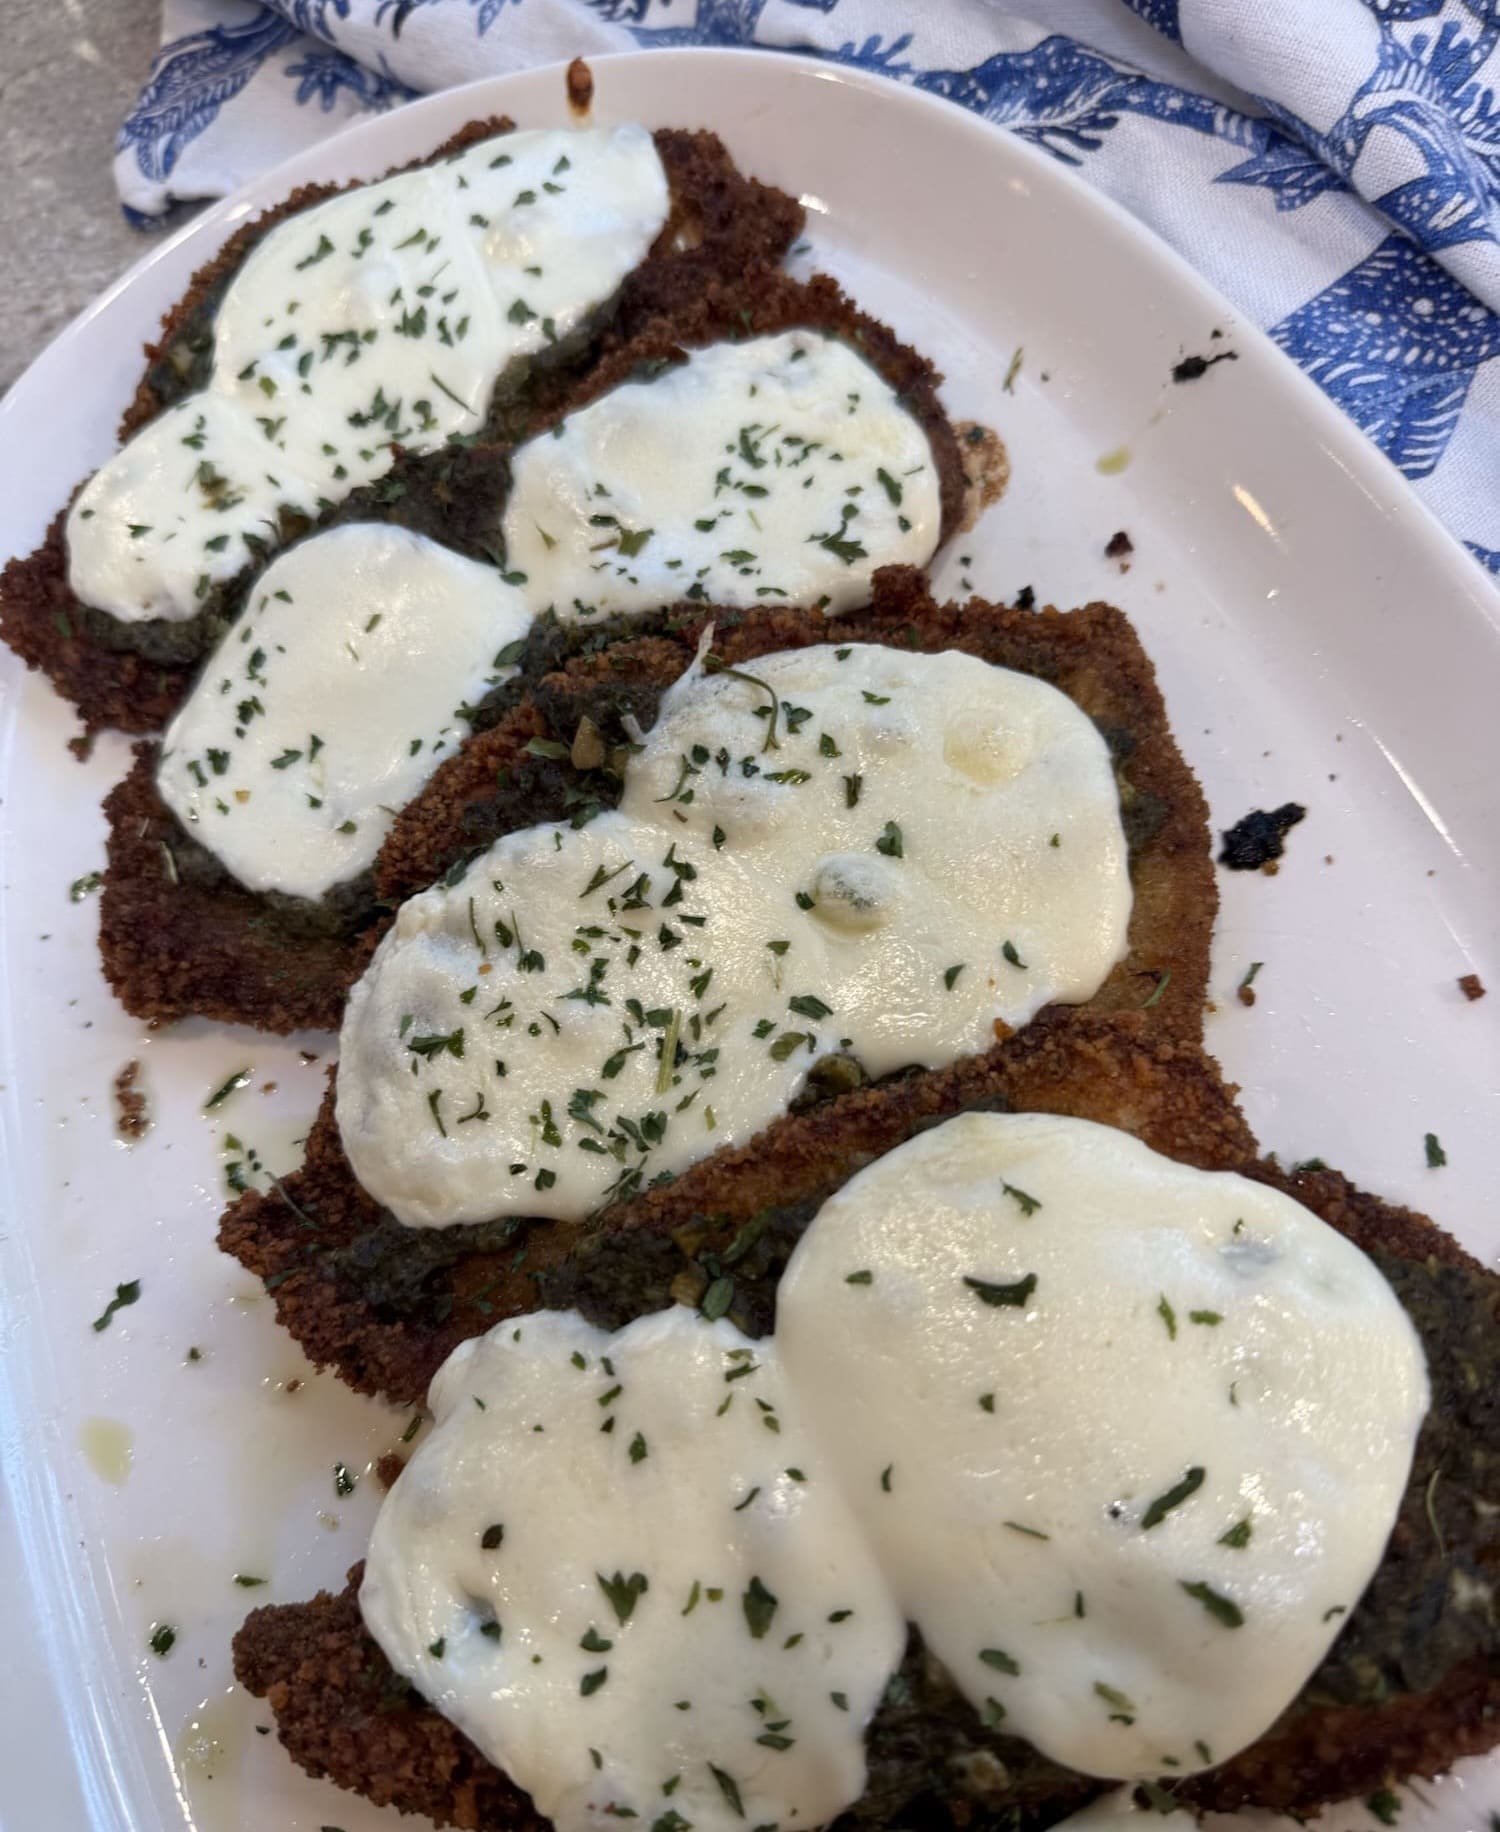
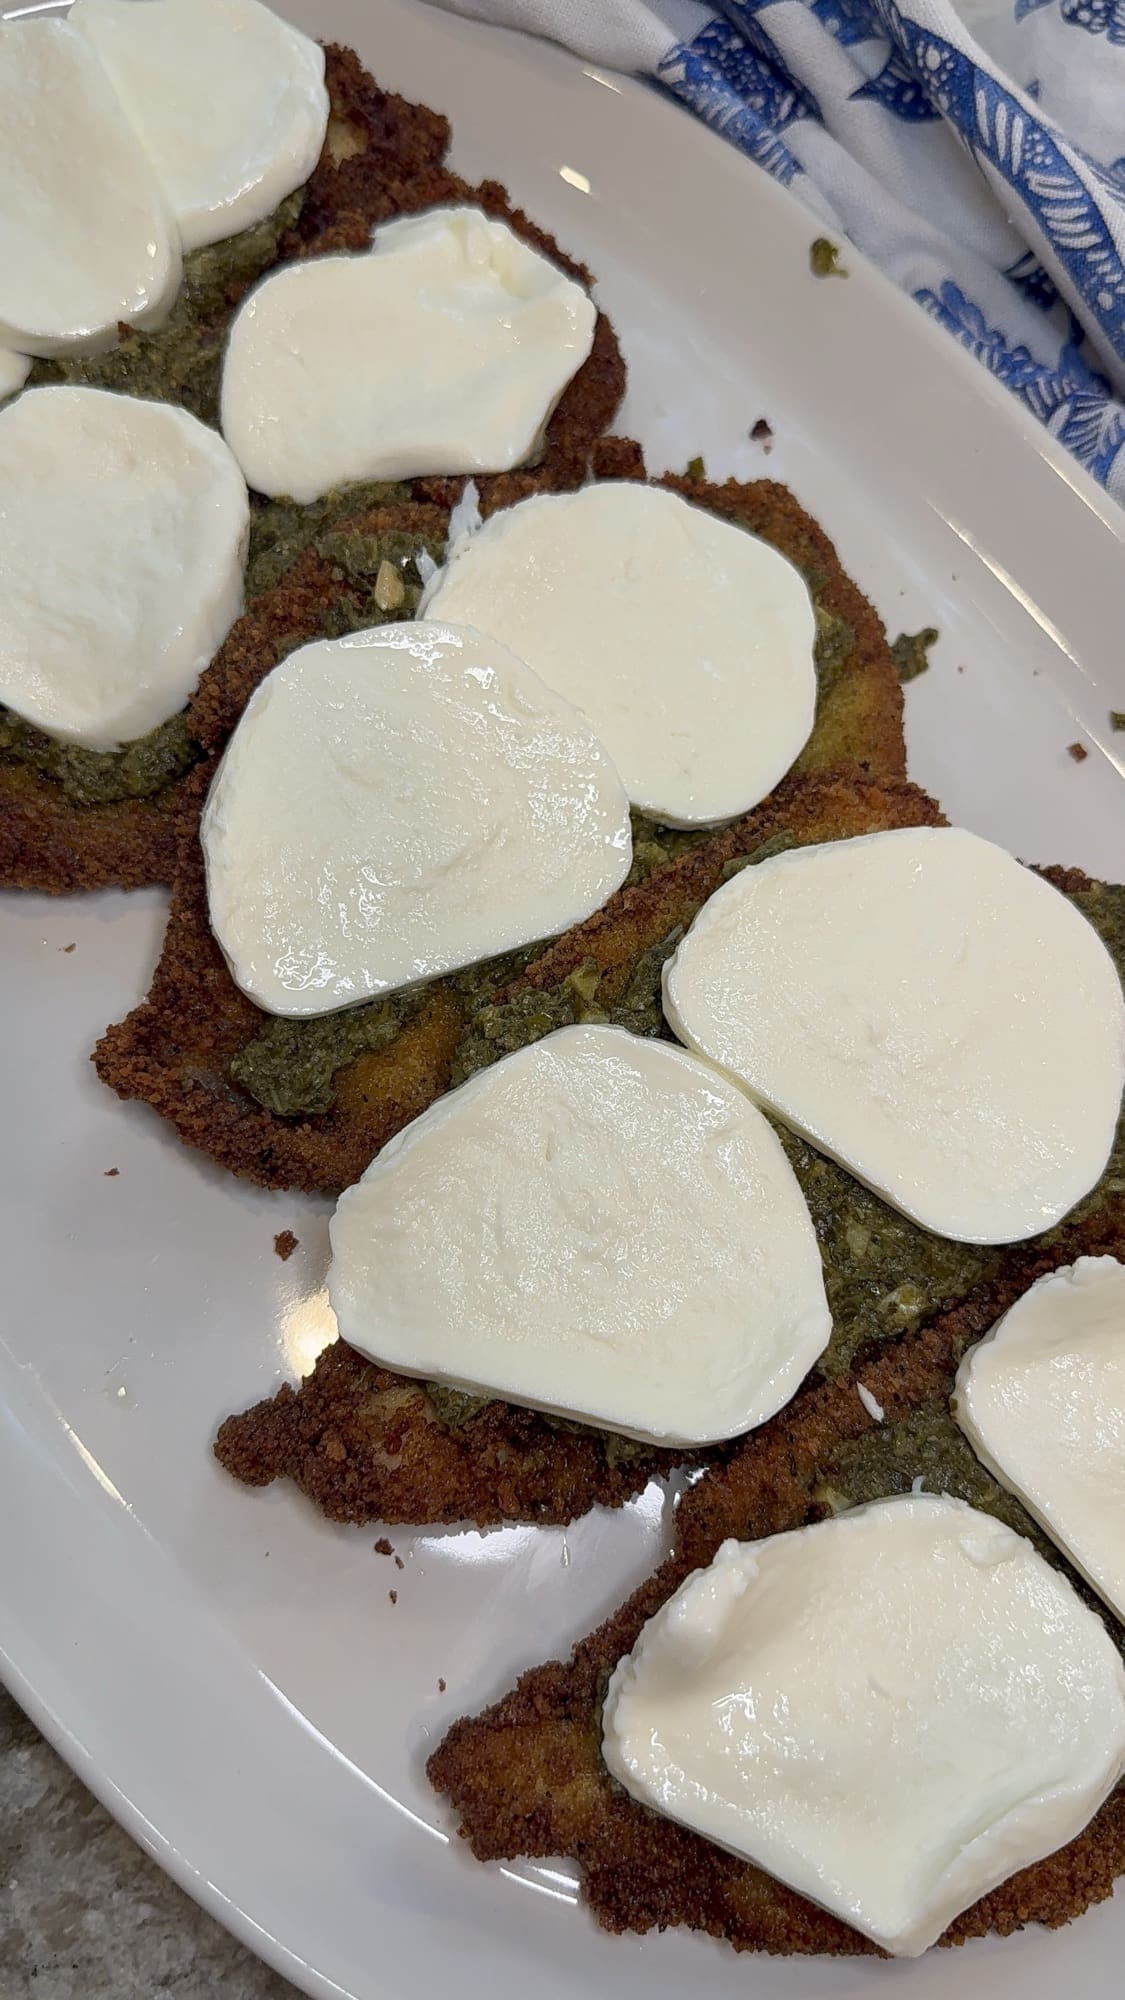
Next, add two slices of fresh mozzarella to each chicken cutlet.
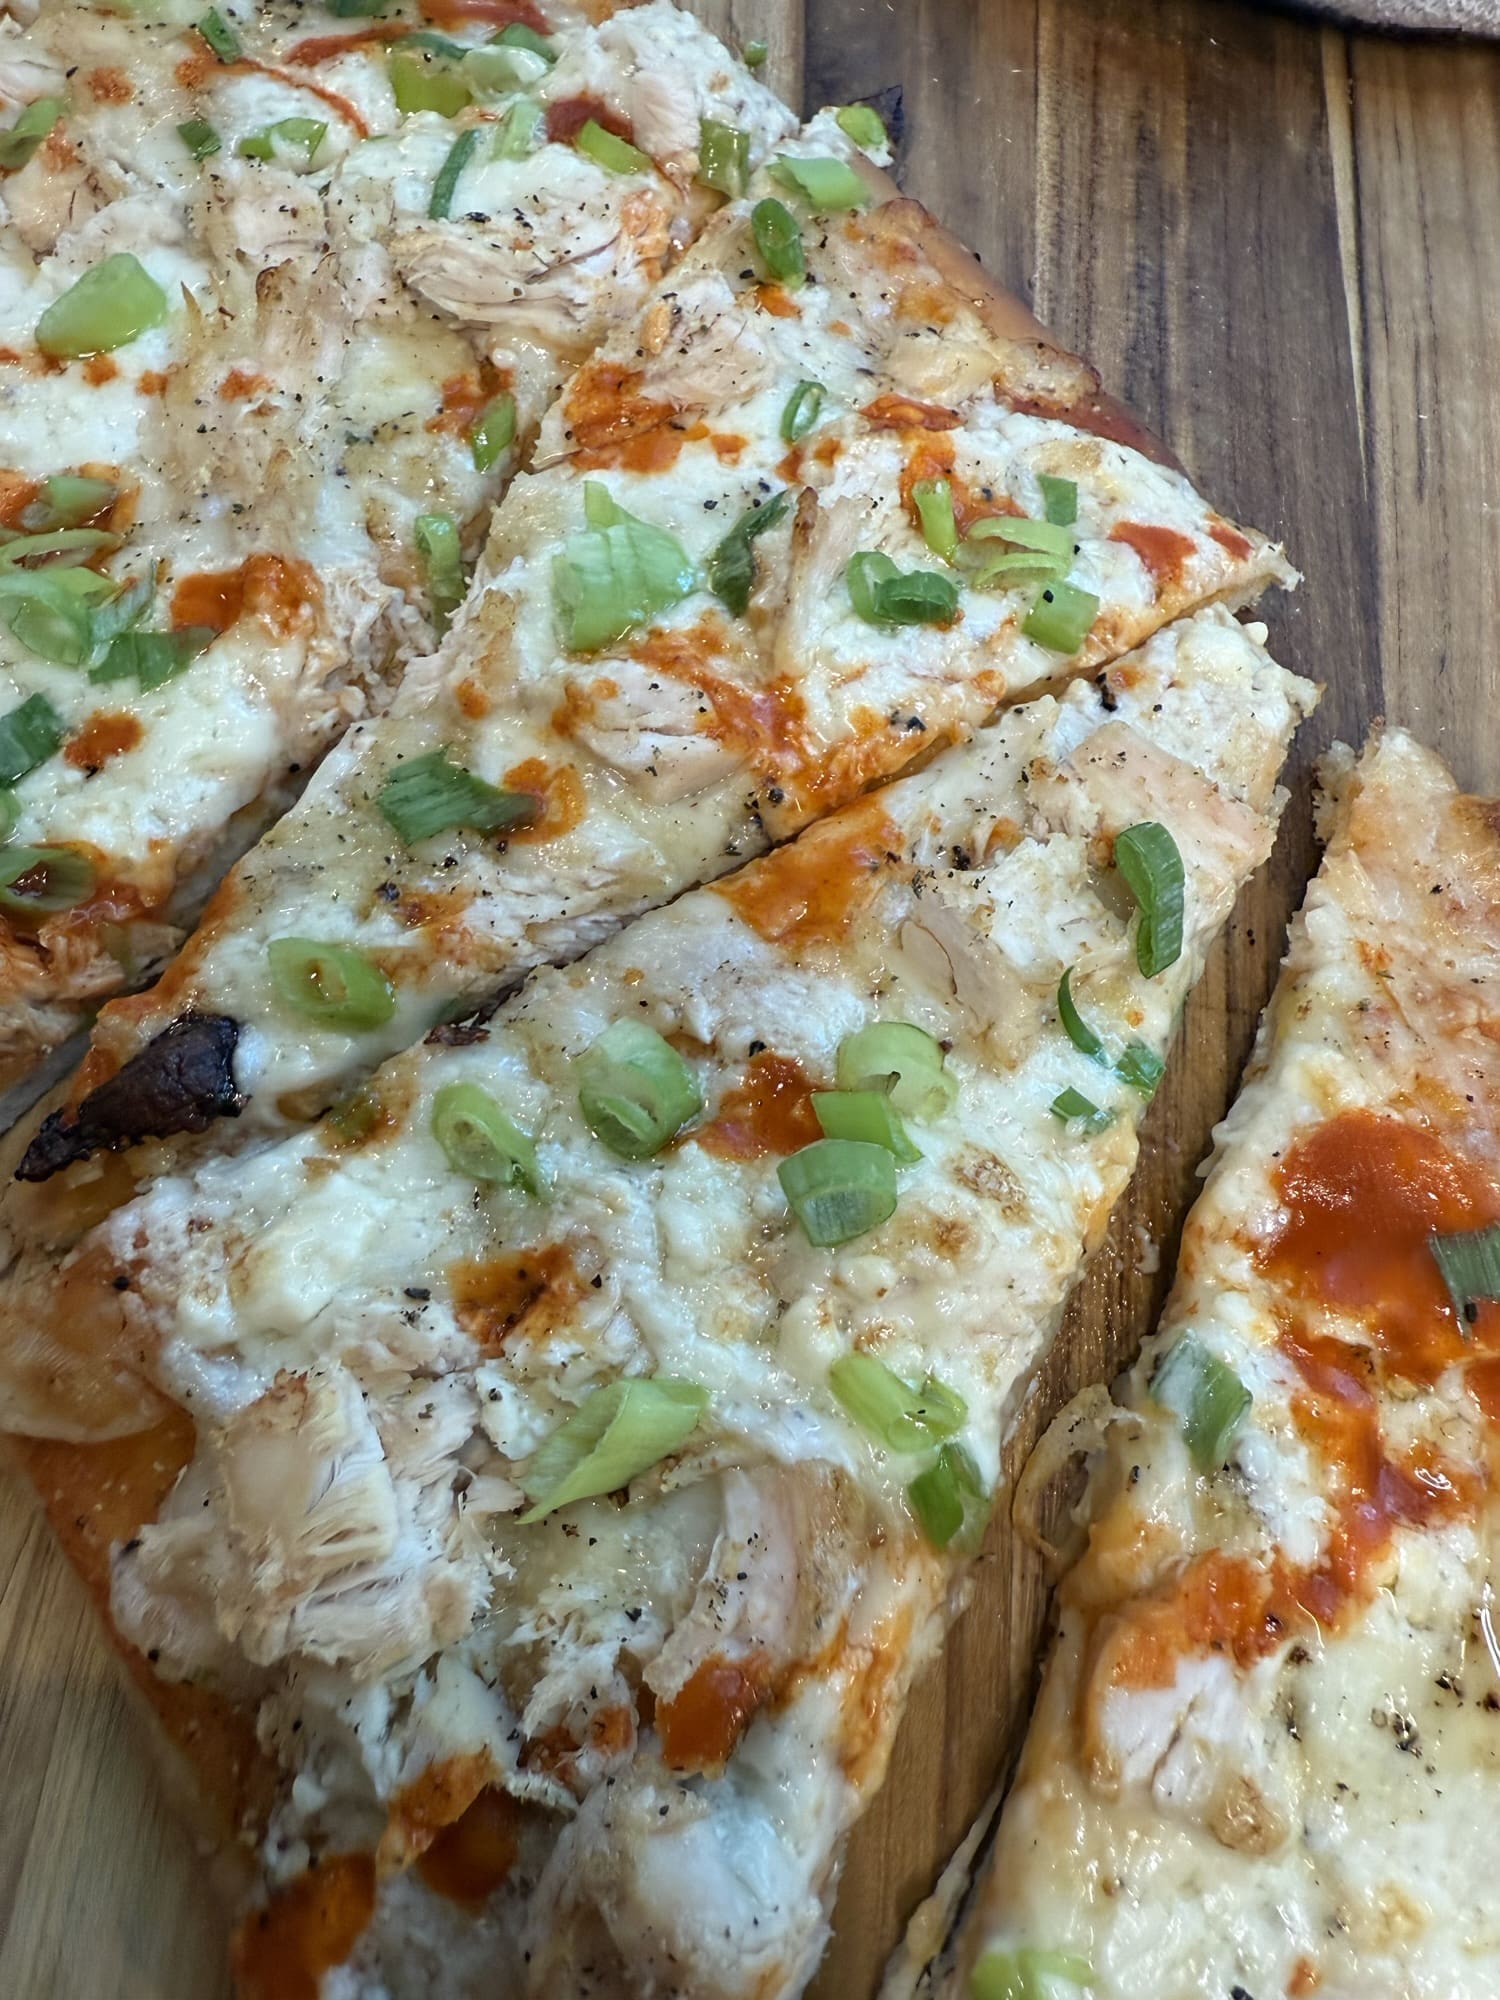
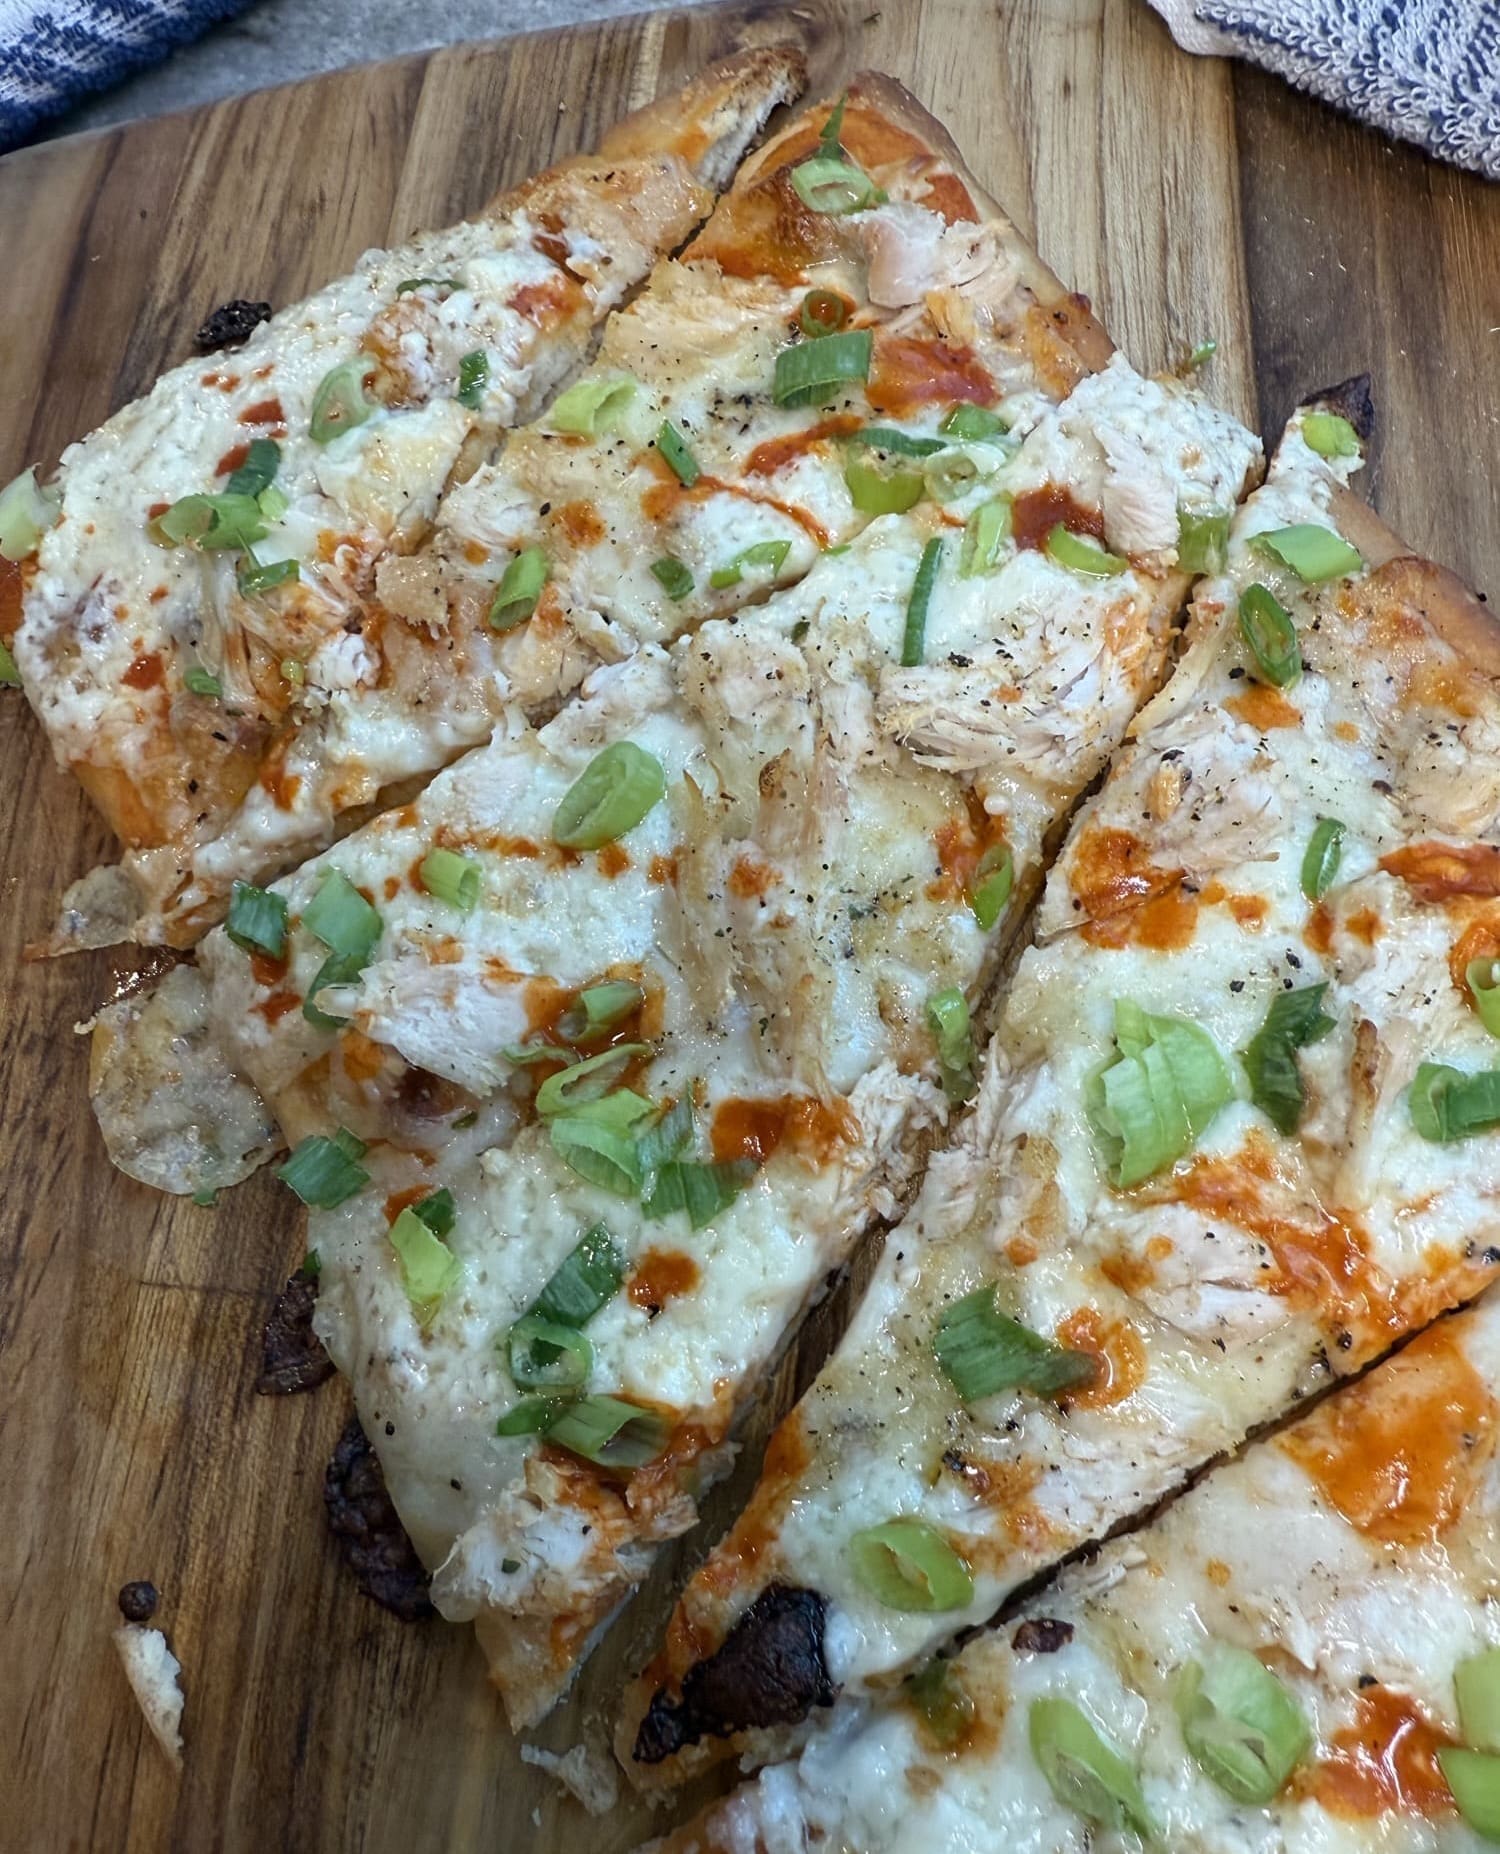
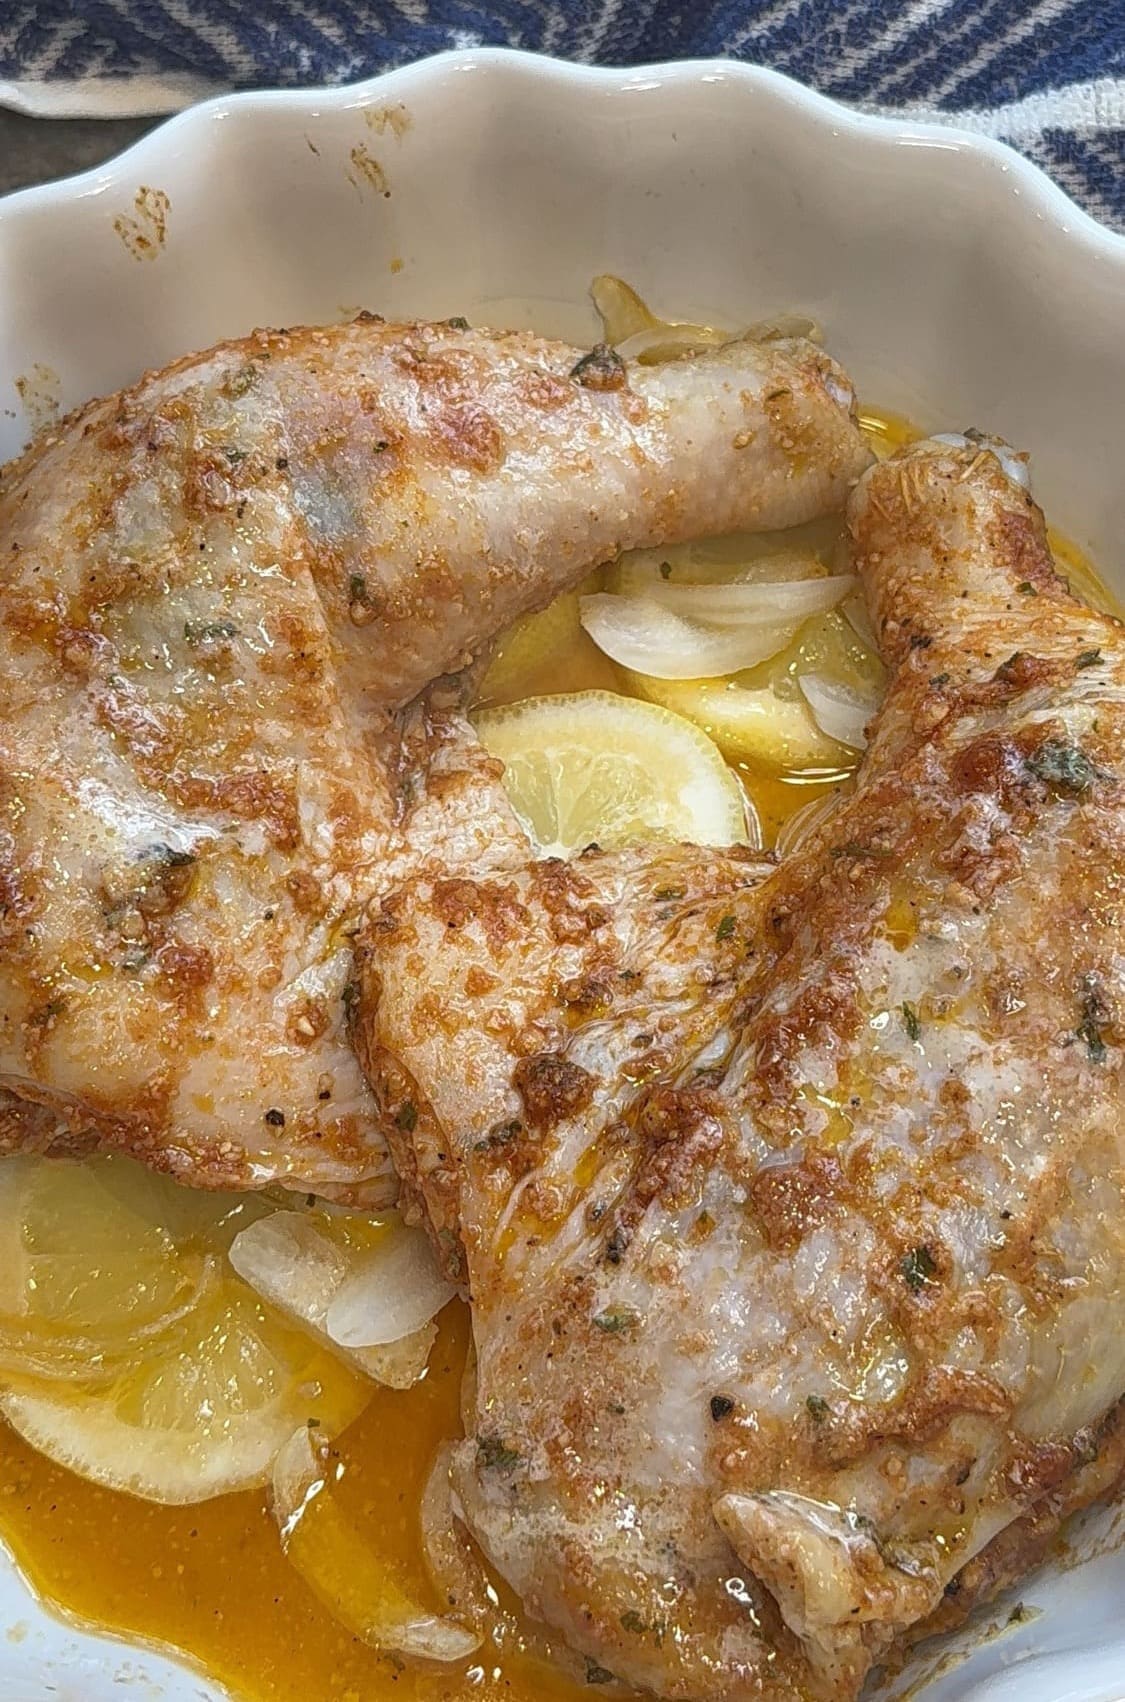
Now, place the baking sheet or dish into the center rack of the oven for about 20 minutes or until the cheese is melted.
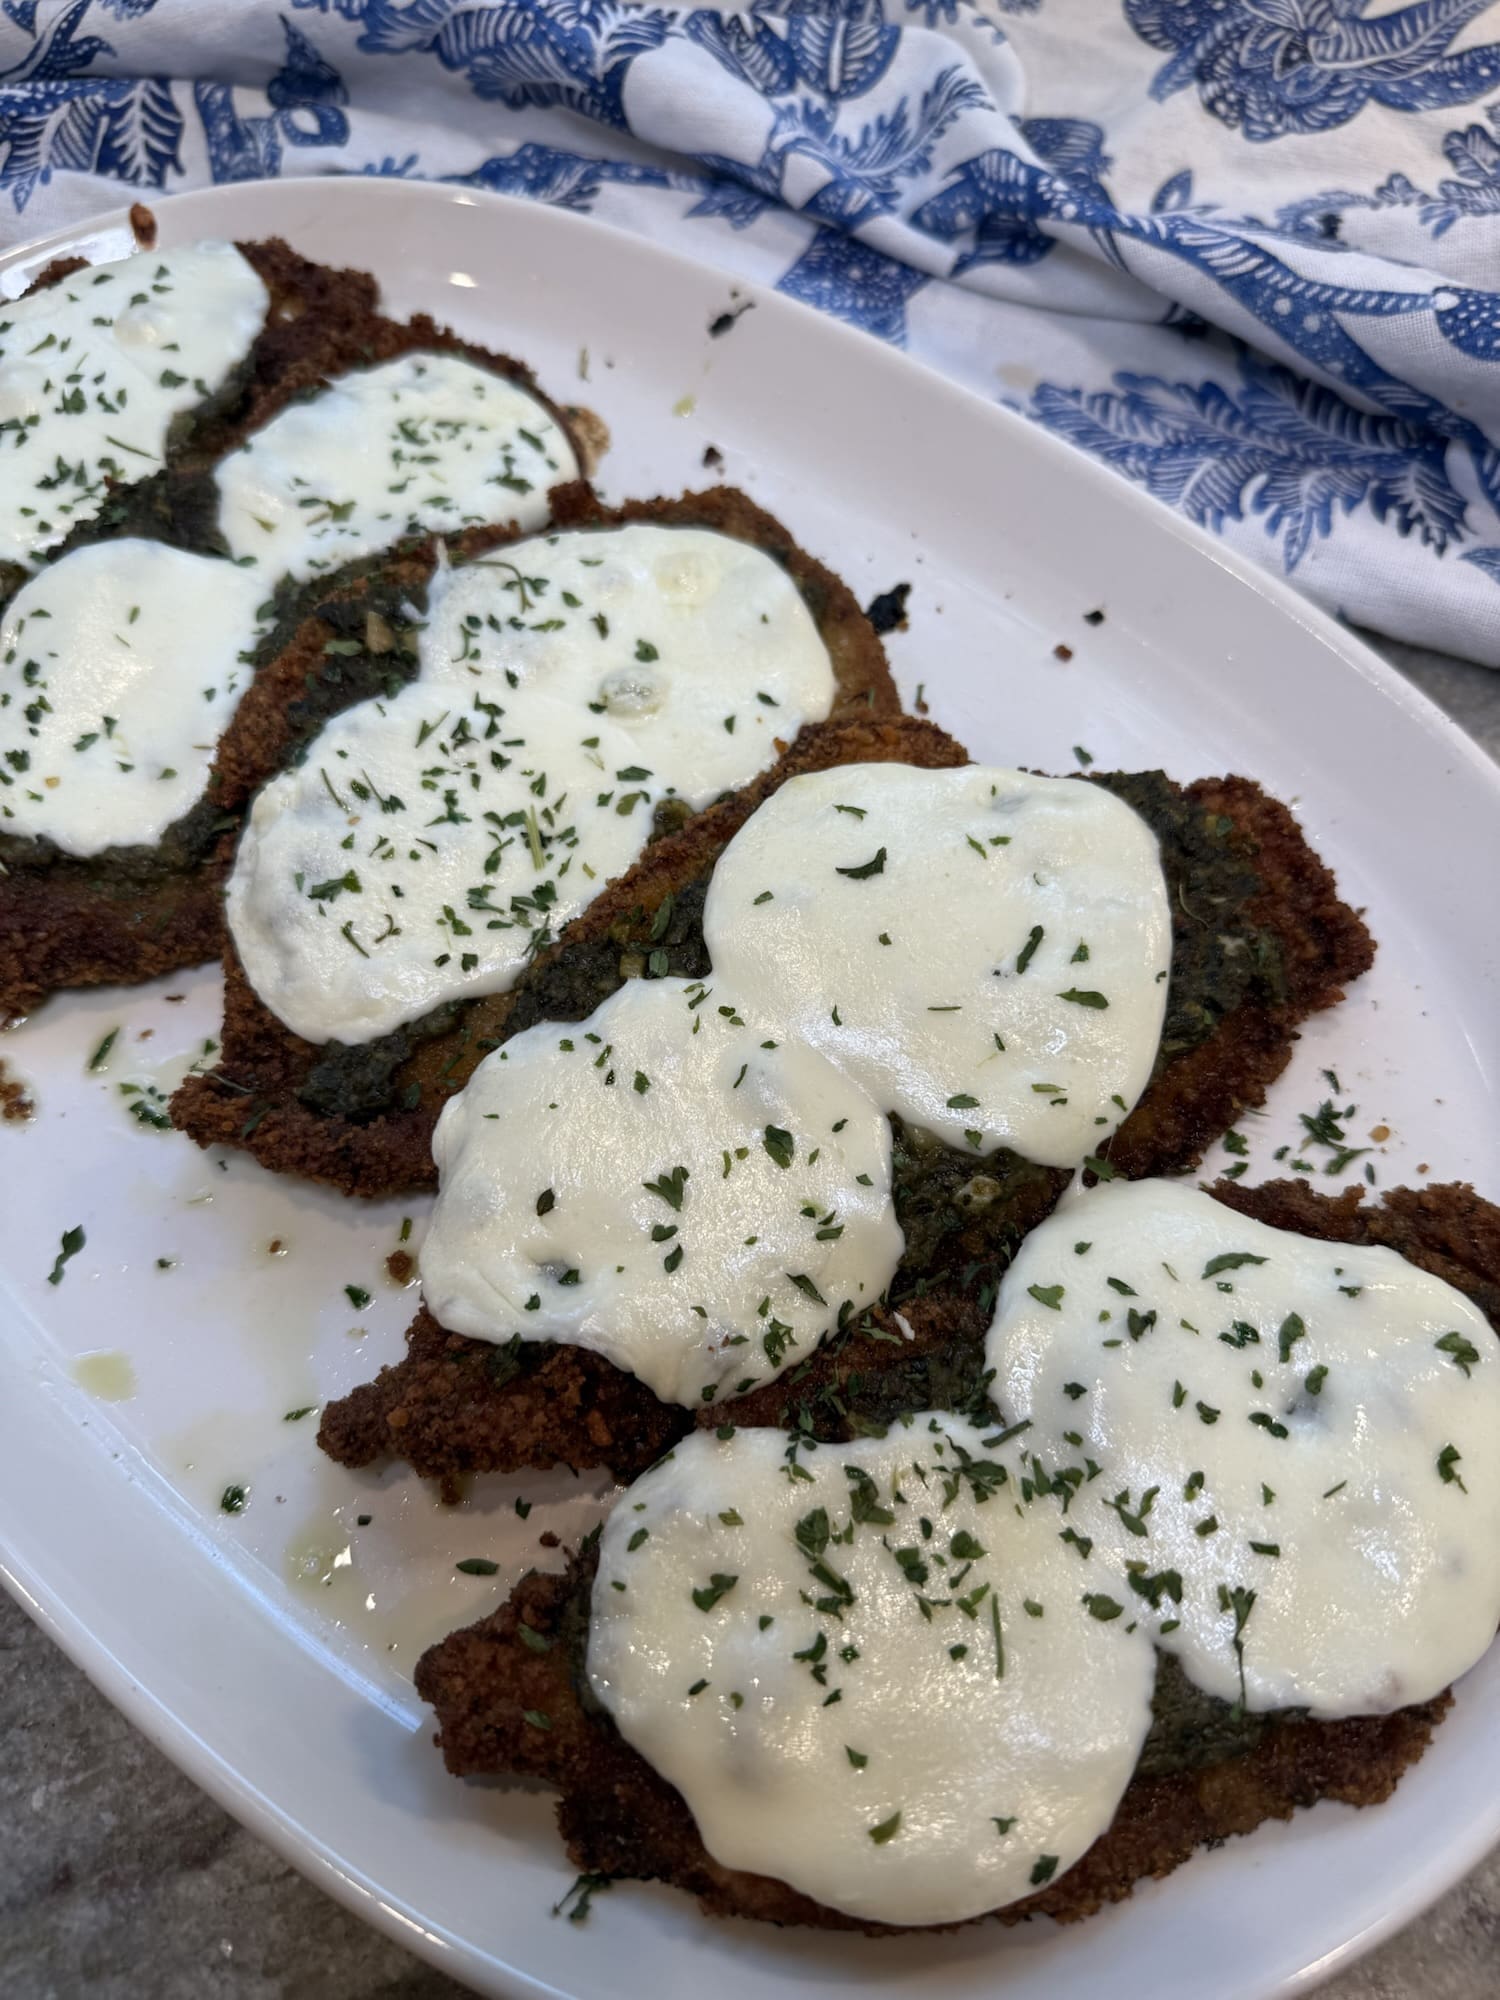
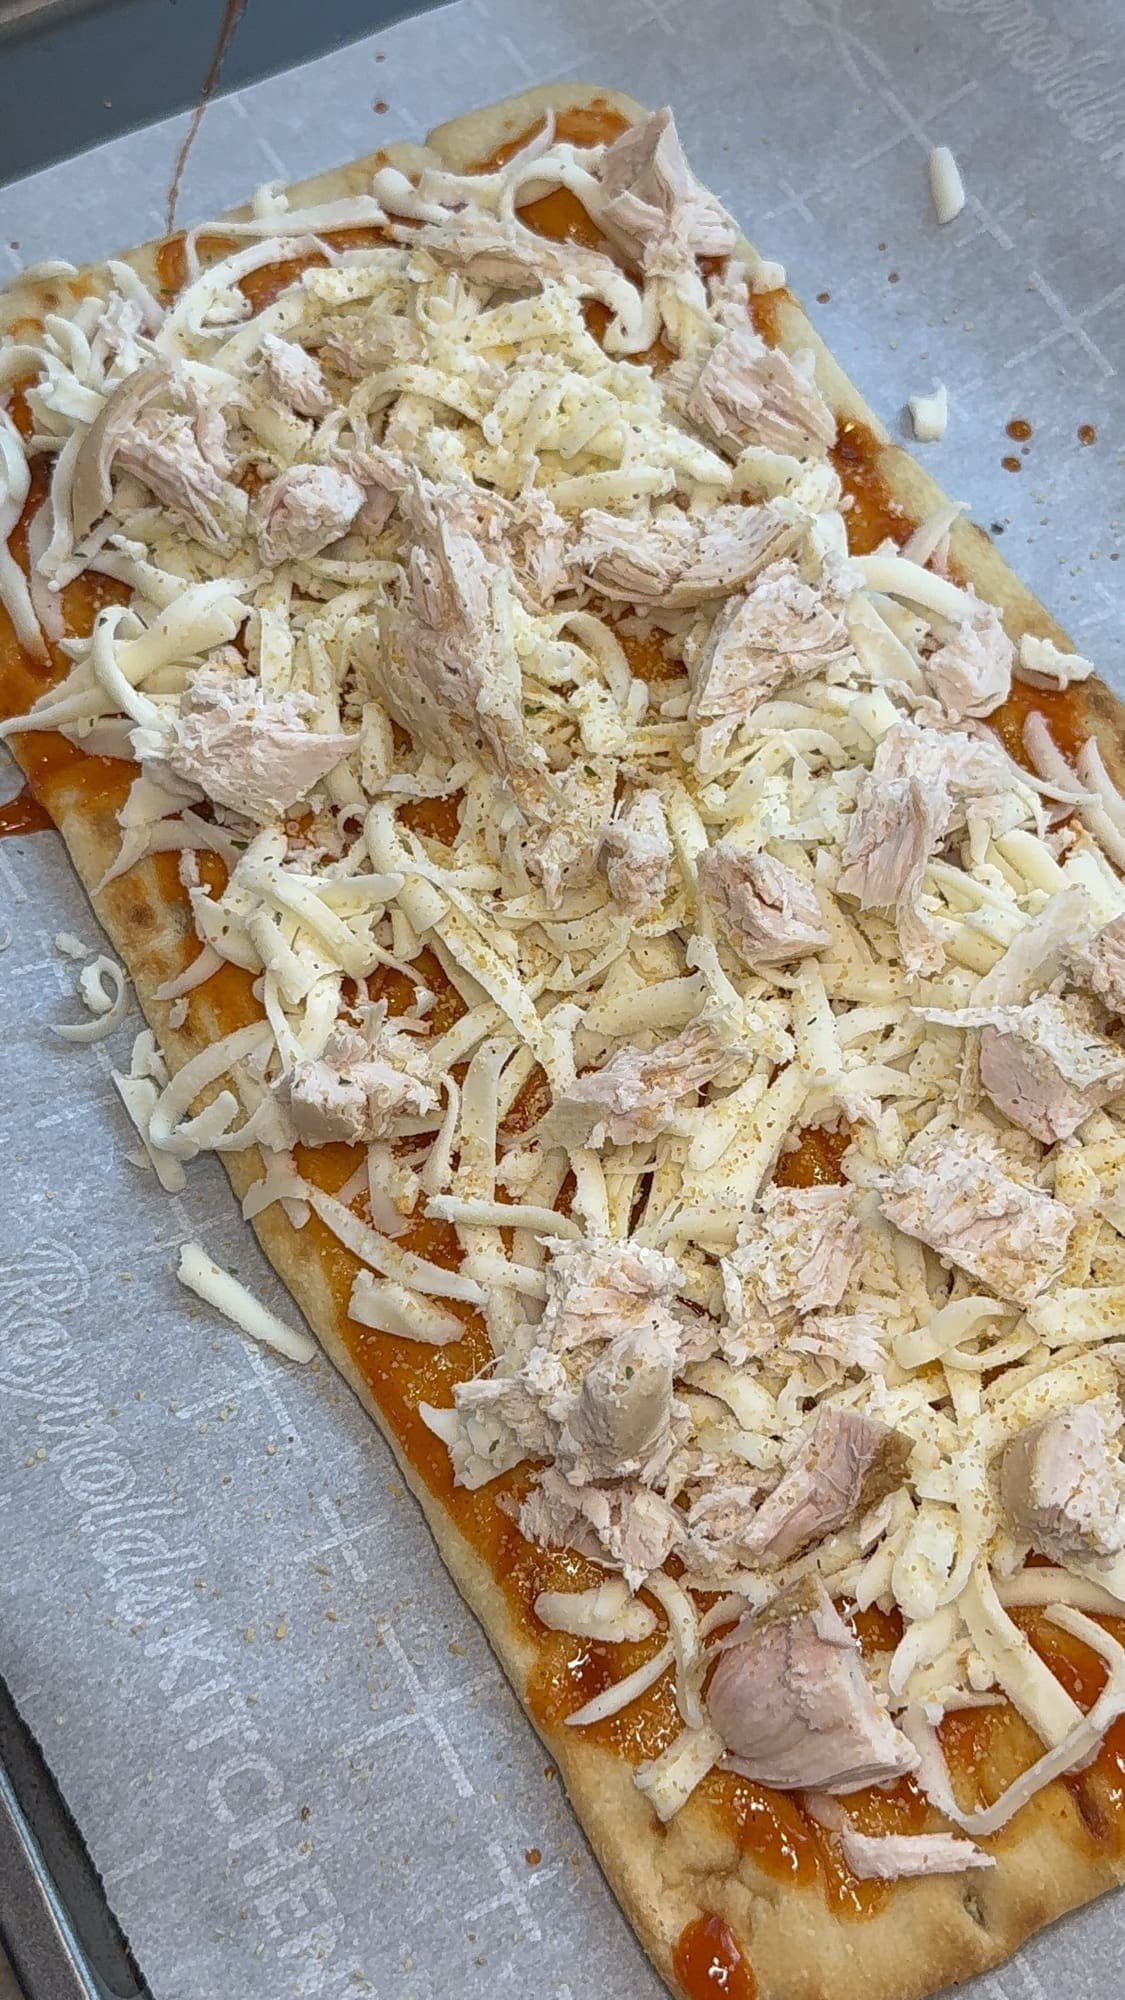
Finally, garnish with dried parsley (optional), serve warm and enjoy.

Pesto Chicken Parmesan
Ingredients
- 1 Pound Homemade Chicken Cutlets (or store bought)
- ½ Cup Pesto Sauce
- 8-10 Slices Fresh Mozzarella Cheese
- 2 Tbs Dried Parsley, for garnish (optional)
Instructions
- Preheat the oven to 350°
- Prepare your homemade or store bought chicken cutlets by laying them down onto a baking sheet or dish.
- Spread a thin layer of pesto onto the top of each one.
- Add two slices of fresh mozzarella to to top of each chicken cutlet.
- Place the baking sheet or dish into the center rack of the oven for about 20 minutes or until the cheese is melted.