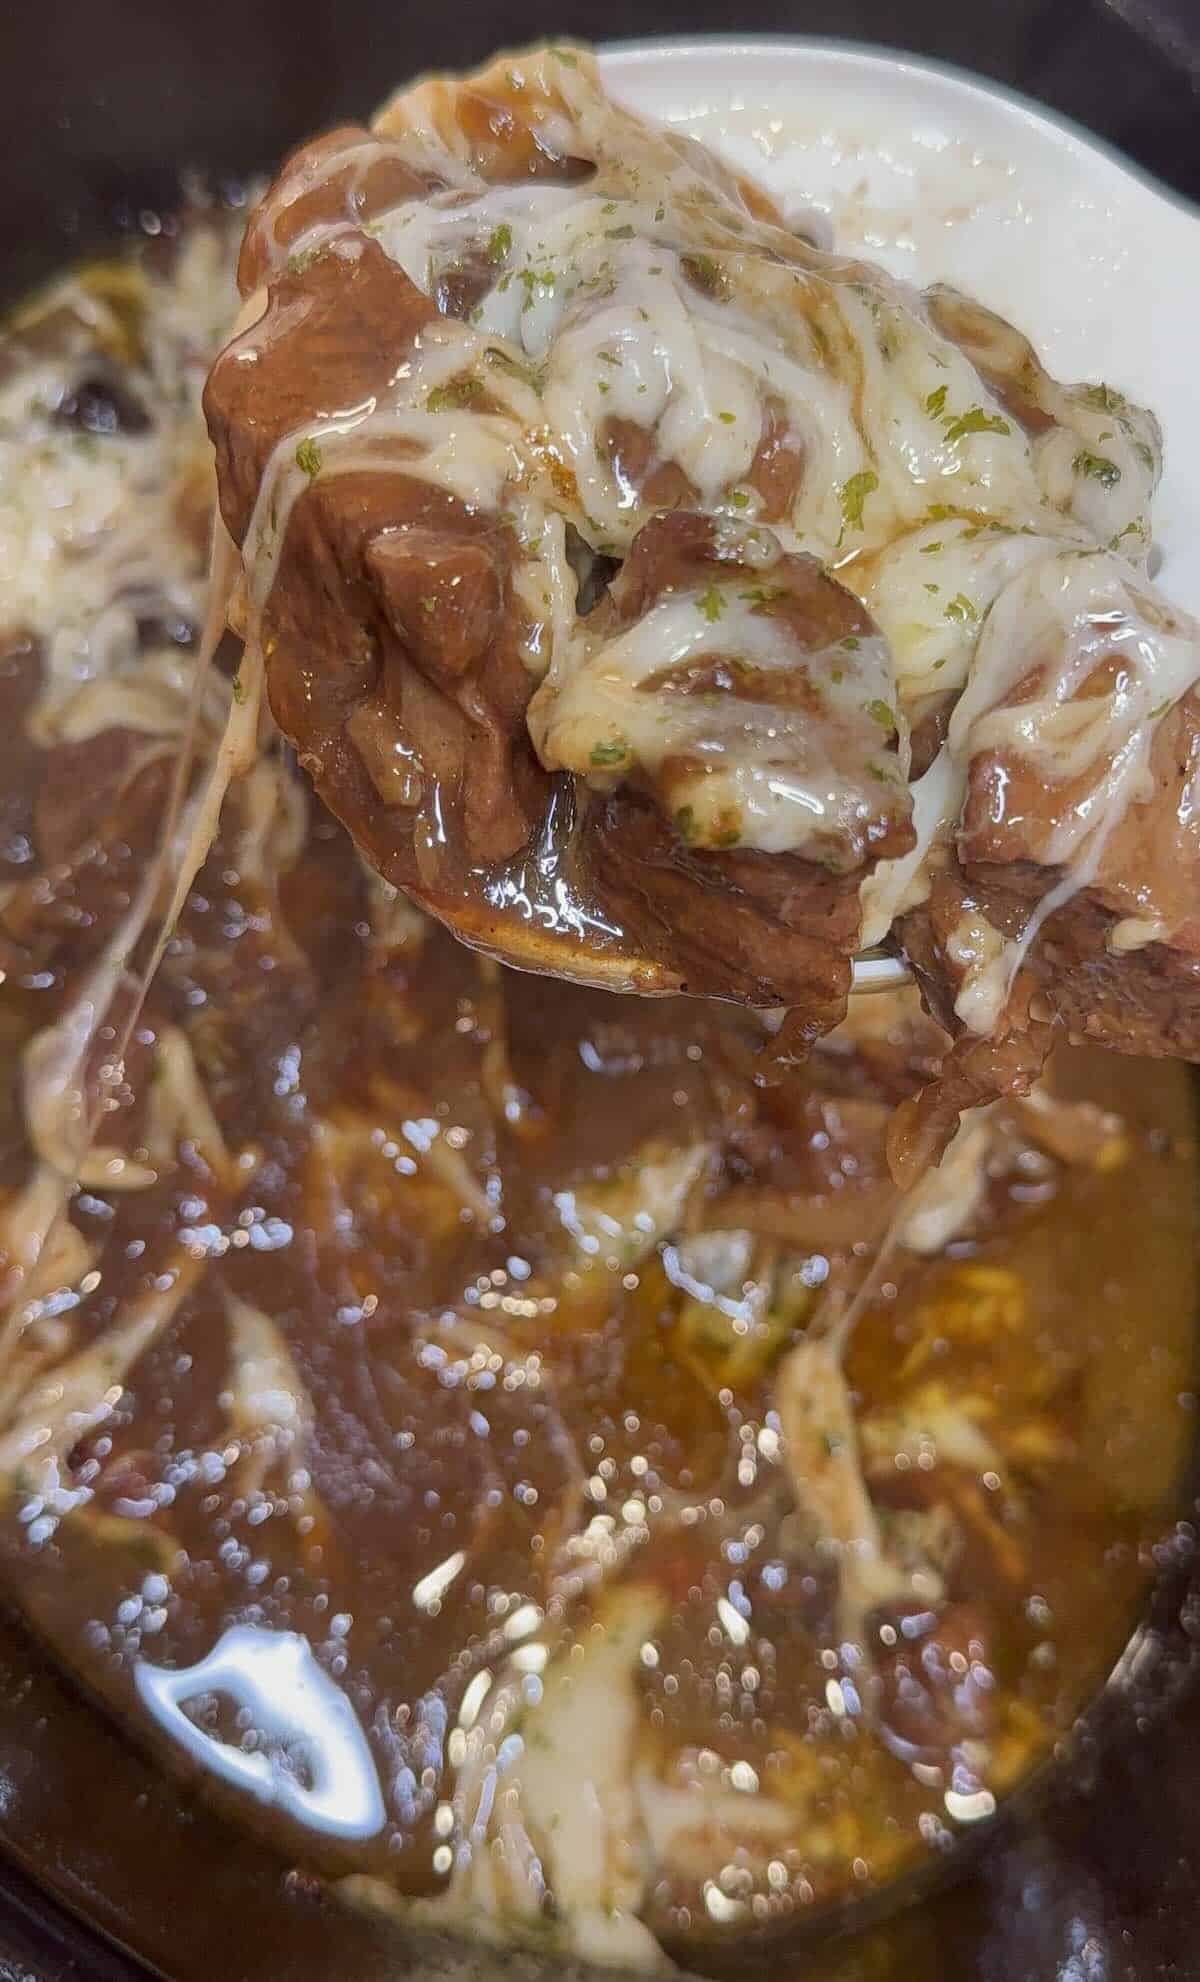
Crockpot Chicken With Peppers And Onions slow cooks chicken thighs with peppers and onions in a savory garlic ginger sauce.
From the recipe collection of Tara Ippolito

If you’re looking for one of those dump and go dinners that tastes like you spent way more time on it than you actually did, this Crockpot Chicken With Peppers And Onions is exactly what you need. Juicy chicken cooks low and slow with onions, bell peppers, garlic, ginger, and a savory soy sauce based sauce until it’s perfectly tender and packed with flavor.
The best part? There’s no browning, no complicated prep, and barely any dishes. Everything goes straight into the slow cooker, making it an easy weeknight dinner that’s delicious served over fluffy white rice, lo mein noodles, or even mashed potatoes. It’s comforting, family-friendly, and even better the next day.
Why You’ll Love This Recipe
- Easy Dump-And-Go Dinner. Everything goes straight into the slow cooker with almost no prep.
- Big Savory Flavor. Soy sauce, garlic, ginger, Worcestershire, and onions create an incredibly rich sauce.
- Perfect For Meal Prep. The leftovers reheat beautifully for lunches throughout the week.
- Better Than Takeout. It has all those comforting Asian-inspired flavors without leaving the house.
Ingredients
Here’s everything you’ll need to make this delicious recipe. You can find the full ingredients list along with measurements on the recipe card below.
- Chicken Thighs – Boneless, skinless chicken becomes incredibly tender in the slow cooker.
- White Onion – Adds sweetness and melts into the sauce while cooking.
- Bell Peppers – Bring color, freshness, and a slight sweetness.
- Minced Garlic – Gives the sauce its signature savory flavor.
- Ginger Paste – Adds warmth and authentic flavor without extra prep.
- Chicken Broth – Creates the base of the sauce.
- Soy Sauce – The star ingredient that brings rich umami flavor.
- Sugar – Balances the saltiness of the soy sauce.
- Worcestershire Sauce – Adds another layer of savory richness.
- Black Pepper – Enhances all of the flavors.
- Onion Powder – Reinforces the onion flavor.
- Garlic Powder – Adds extra garlic goodness.
- Paprika – Gives subtle warmth and color.
- Salt – Brings everything together.
- Cornstarch – Thickens the sauce into a glossy gravy.
- Cold Water – Used to make the cornstarch slurry.
How To Make It
Heres how to make this delicious dinner. You can find the full ingredients list along with instructions on the recipe card below.
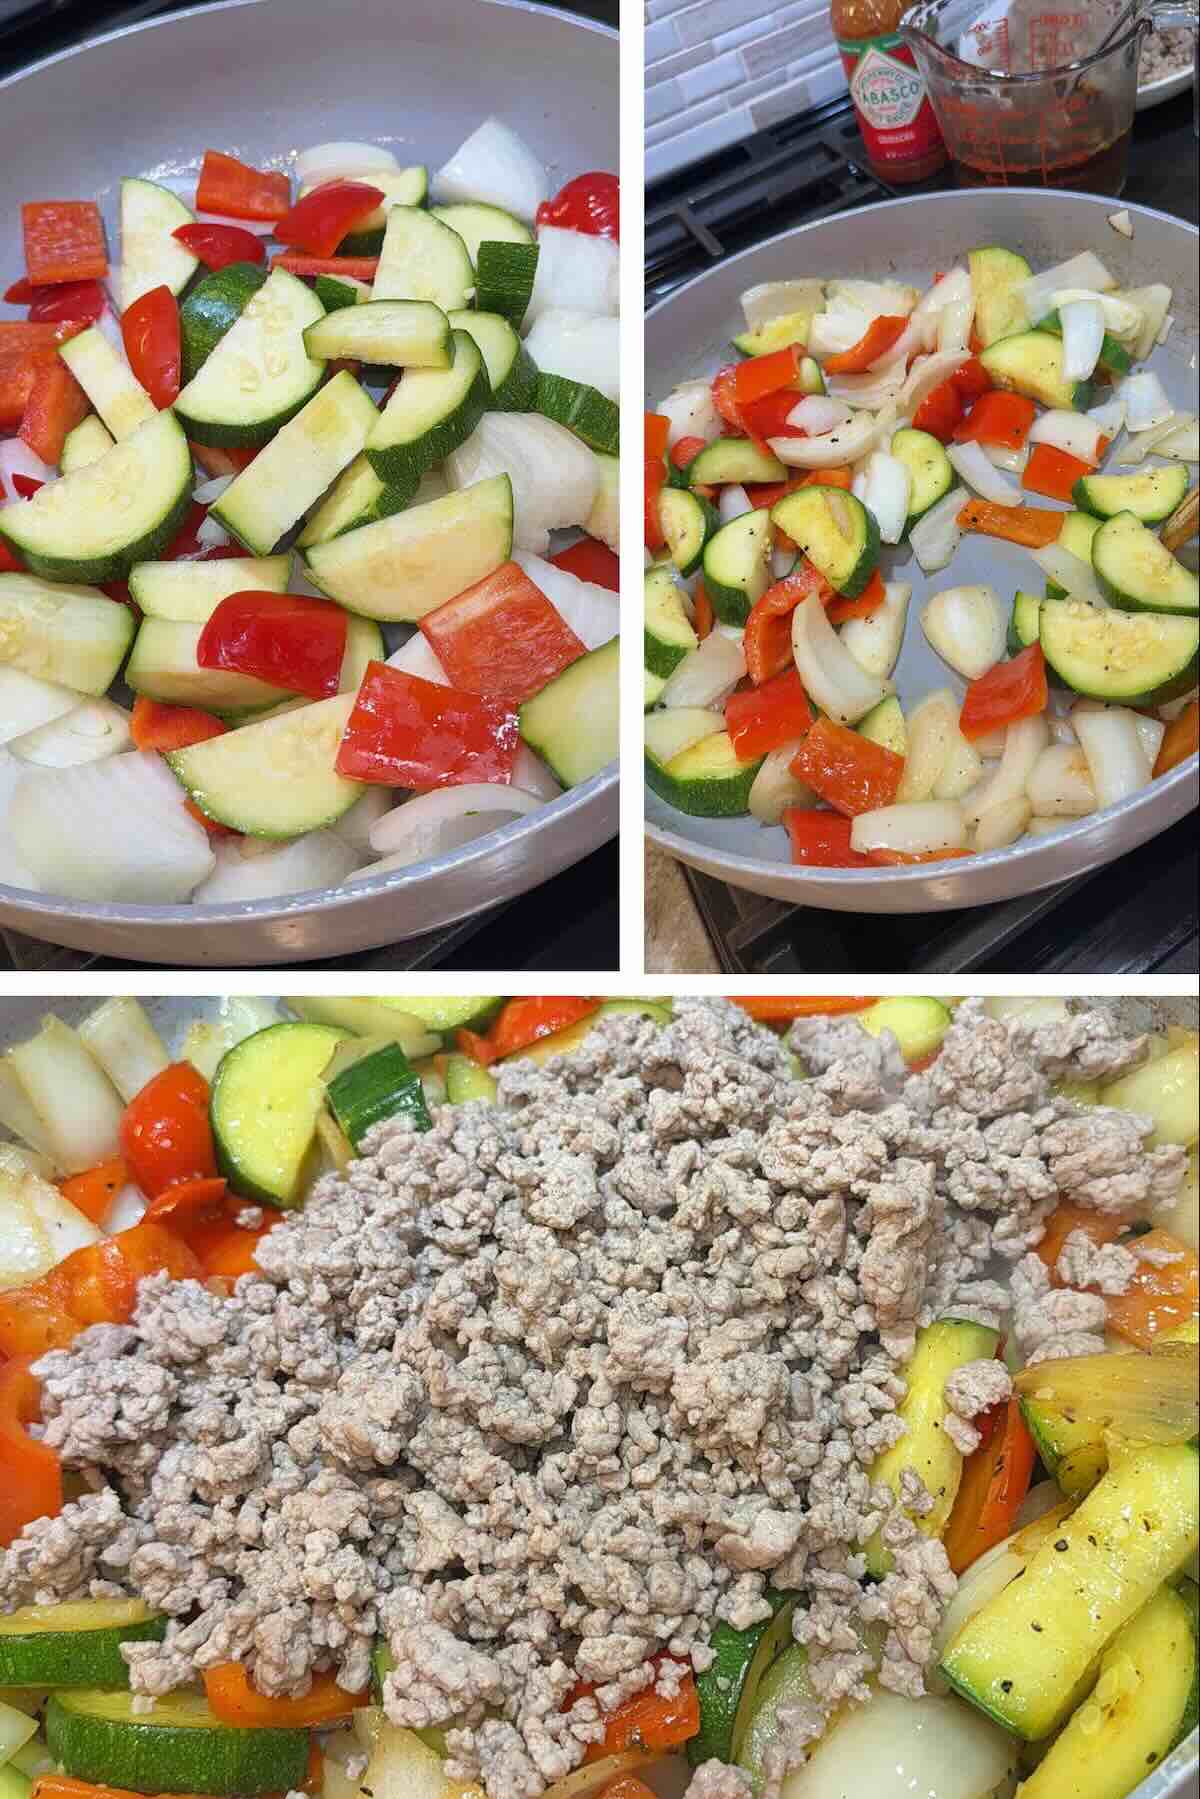
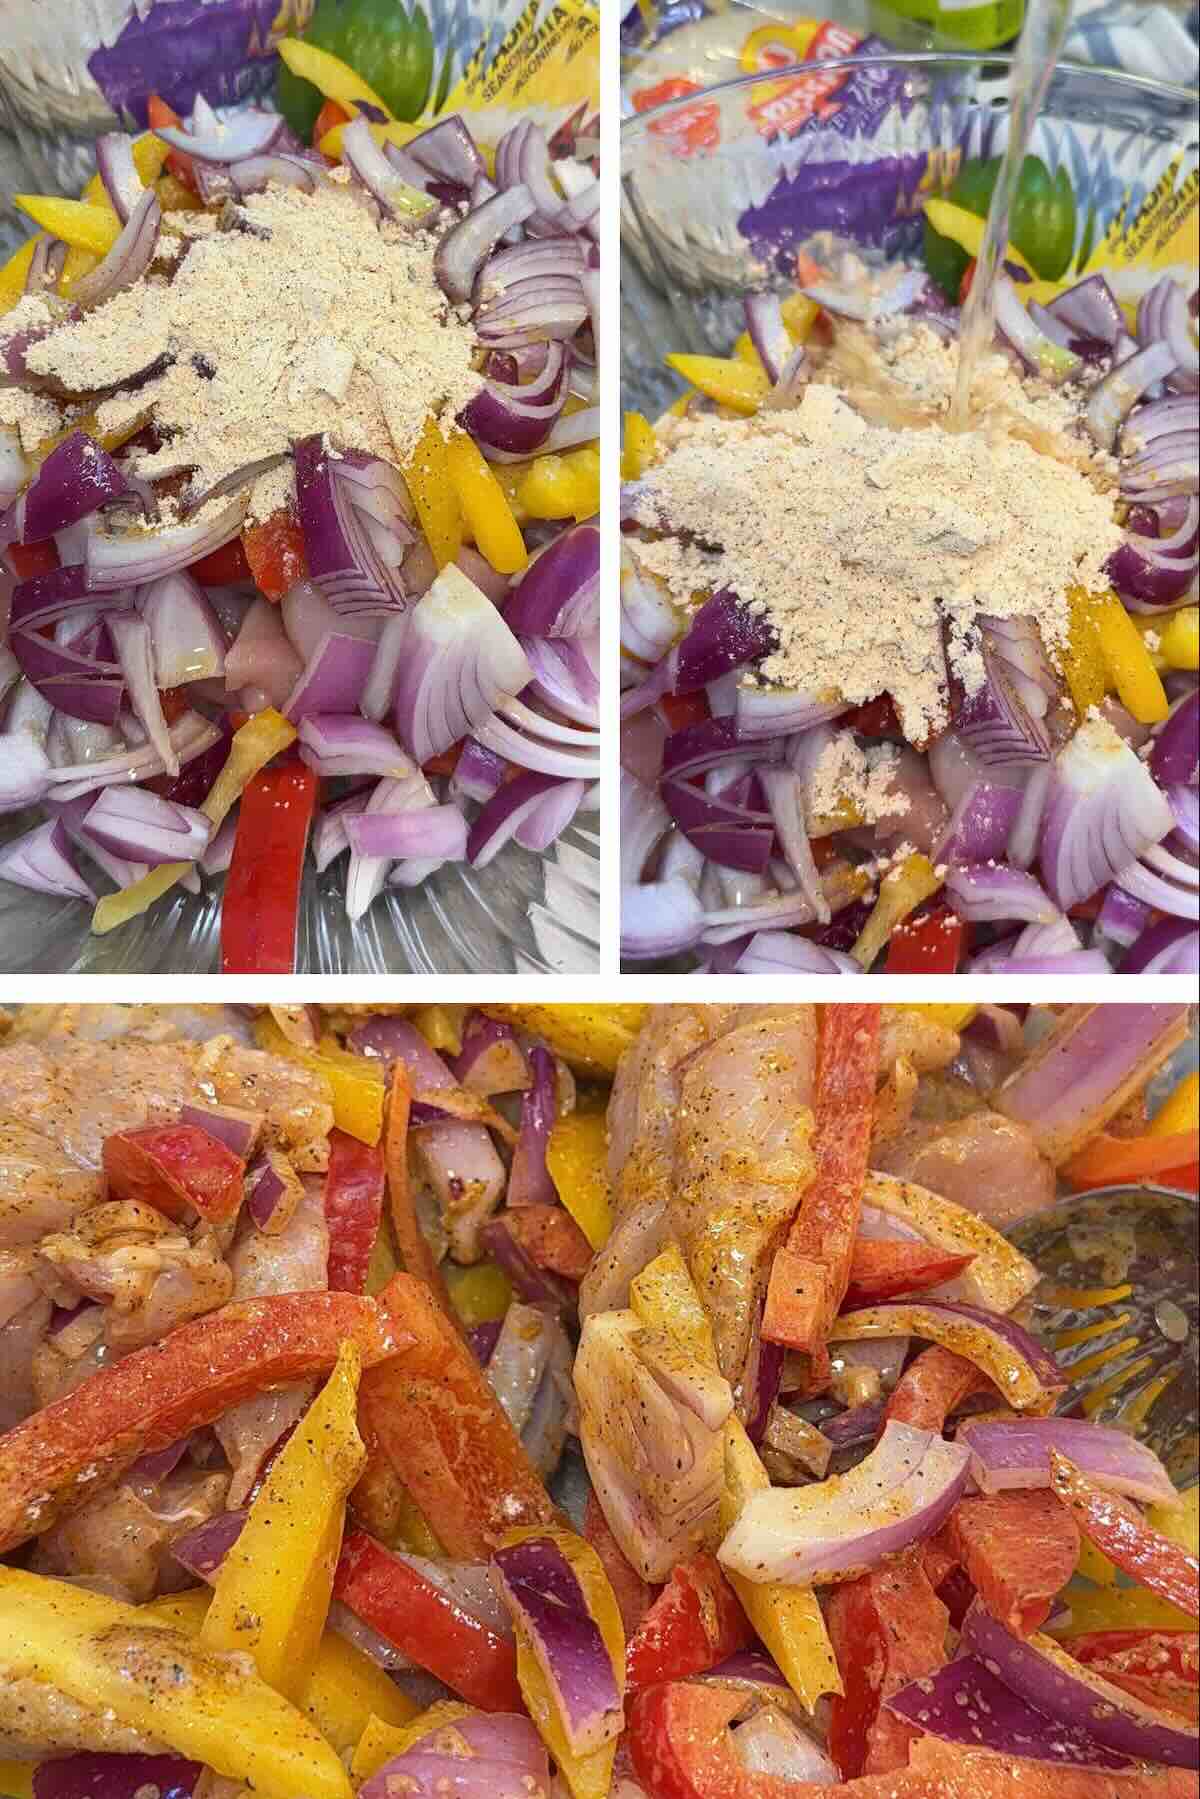
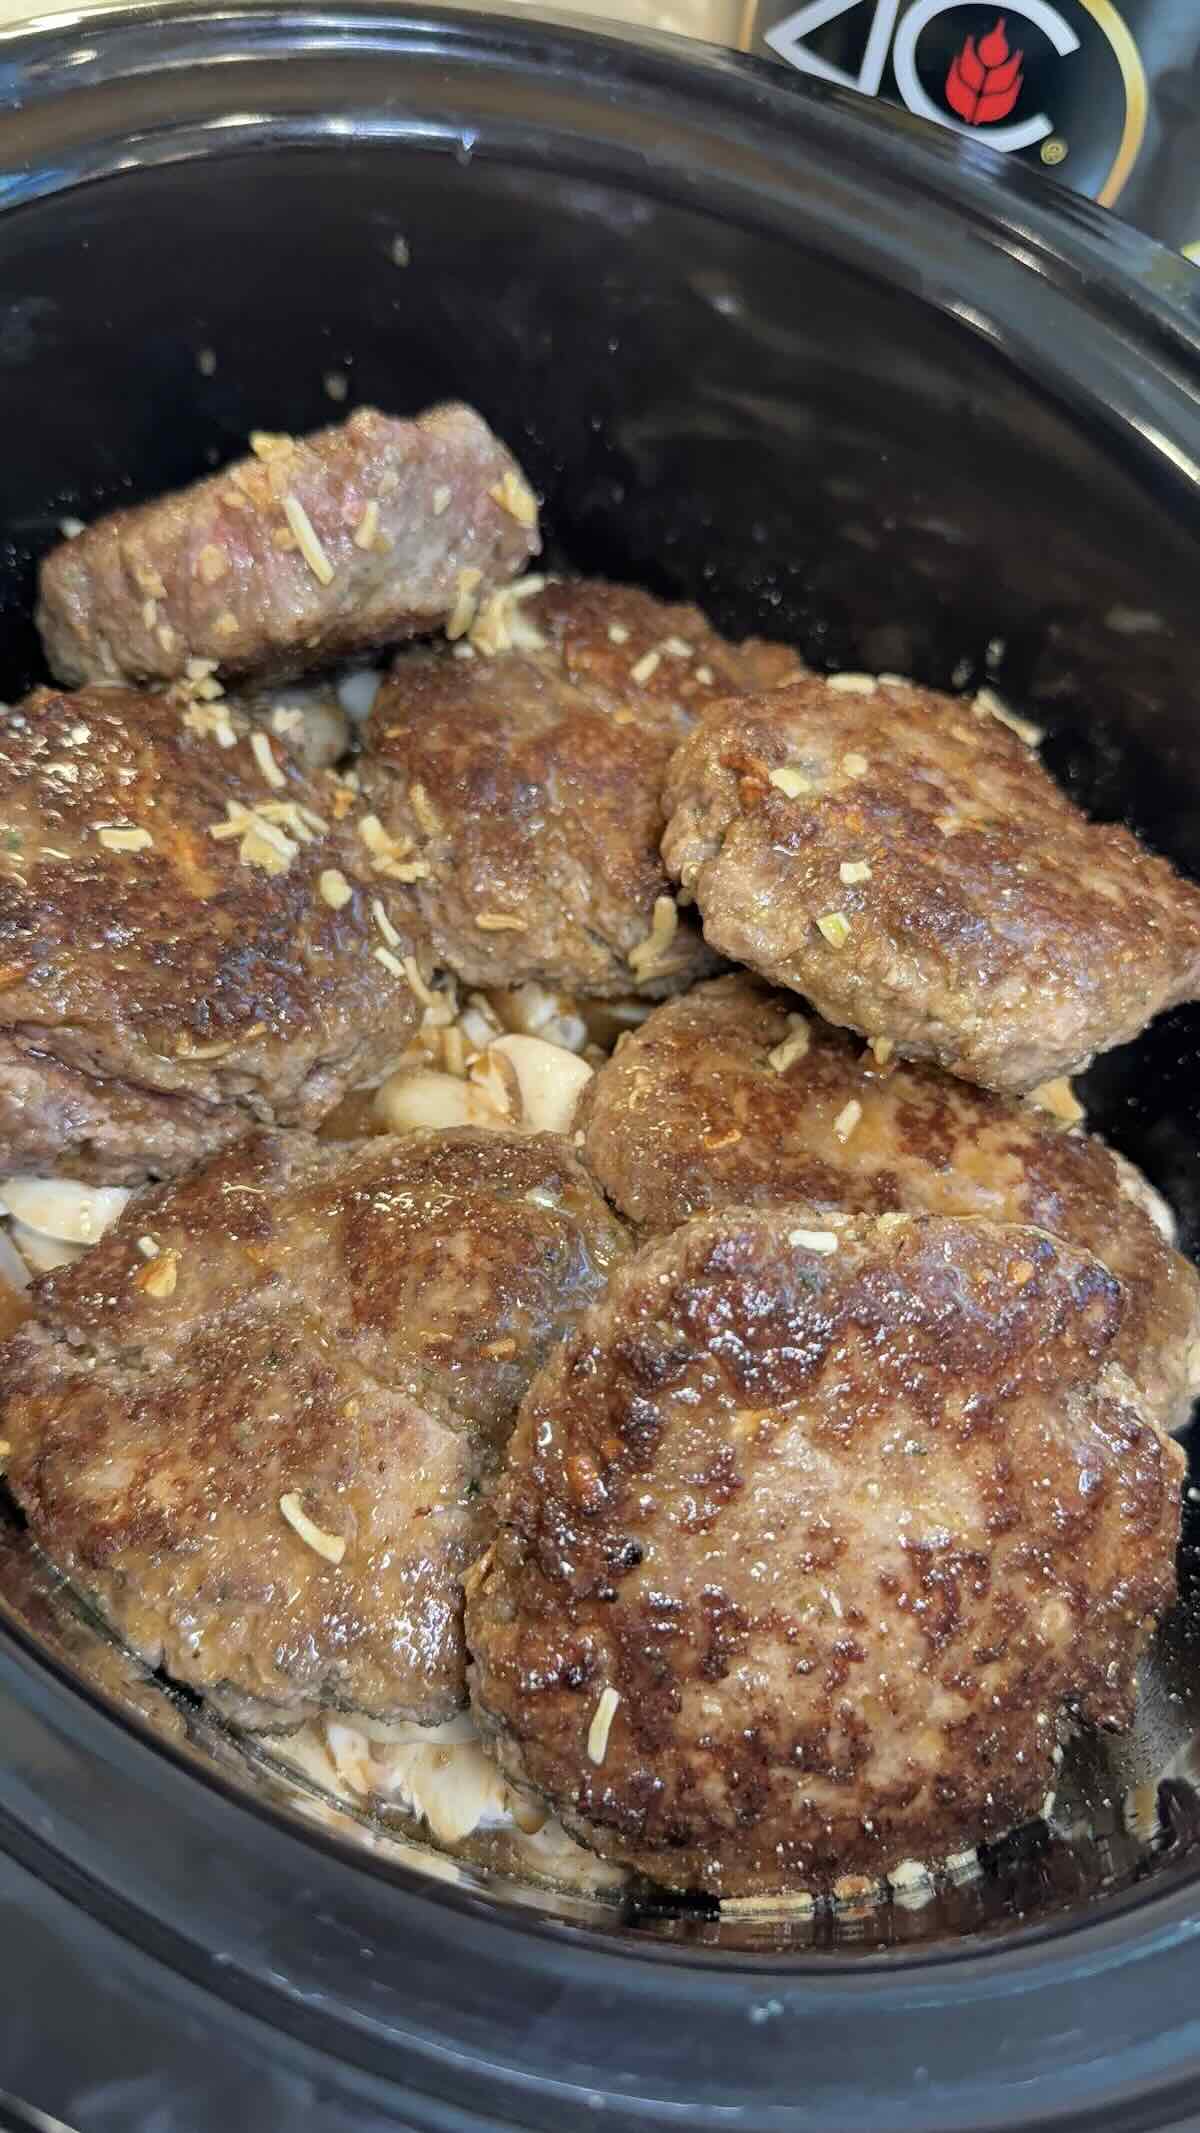
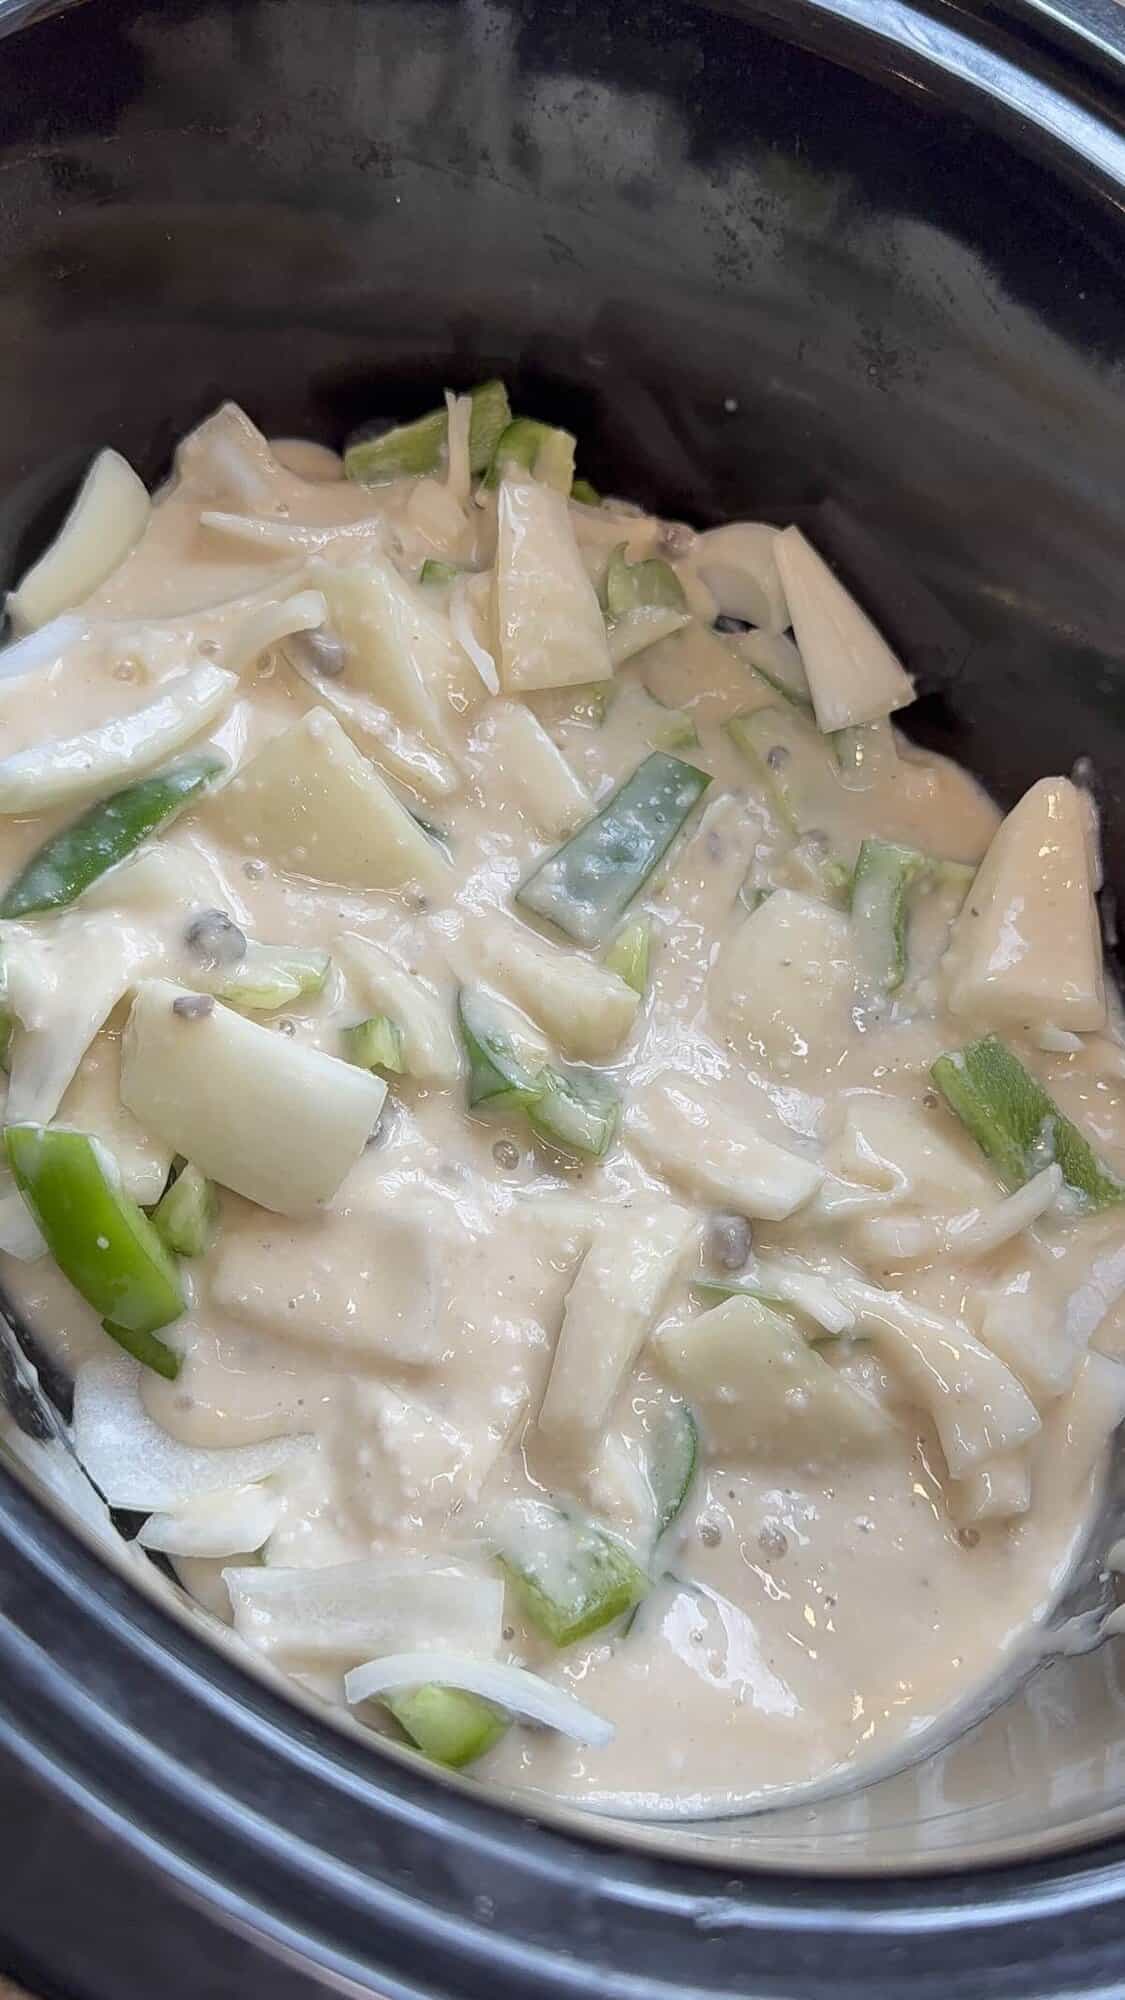
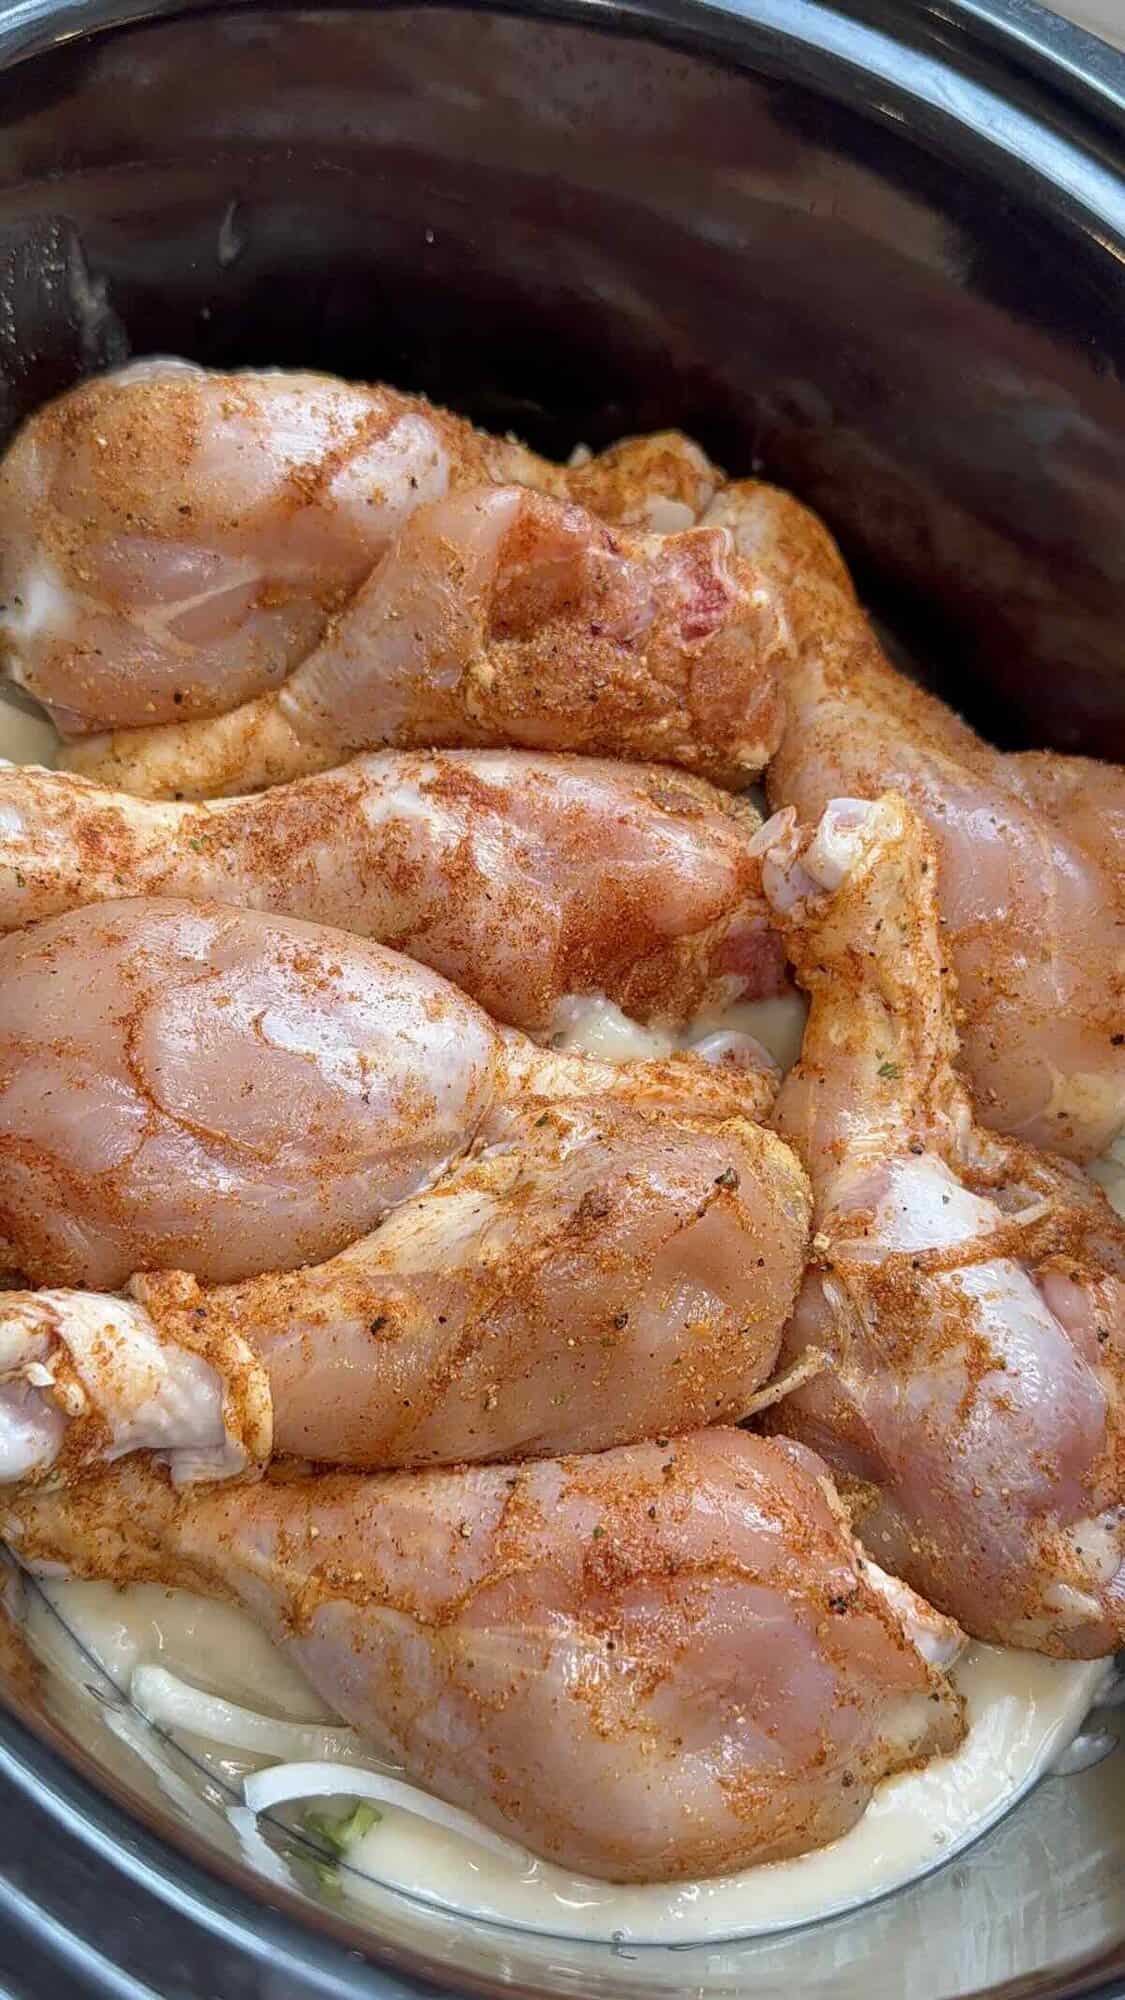
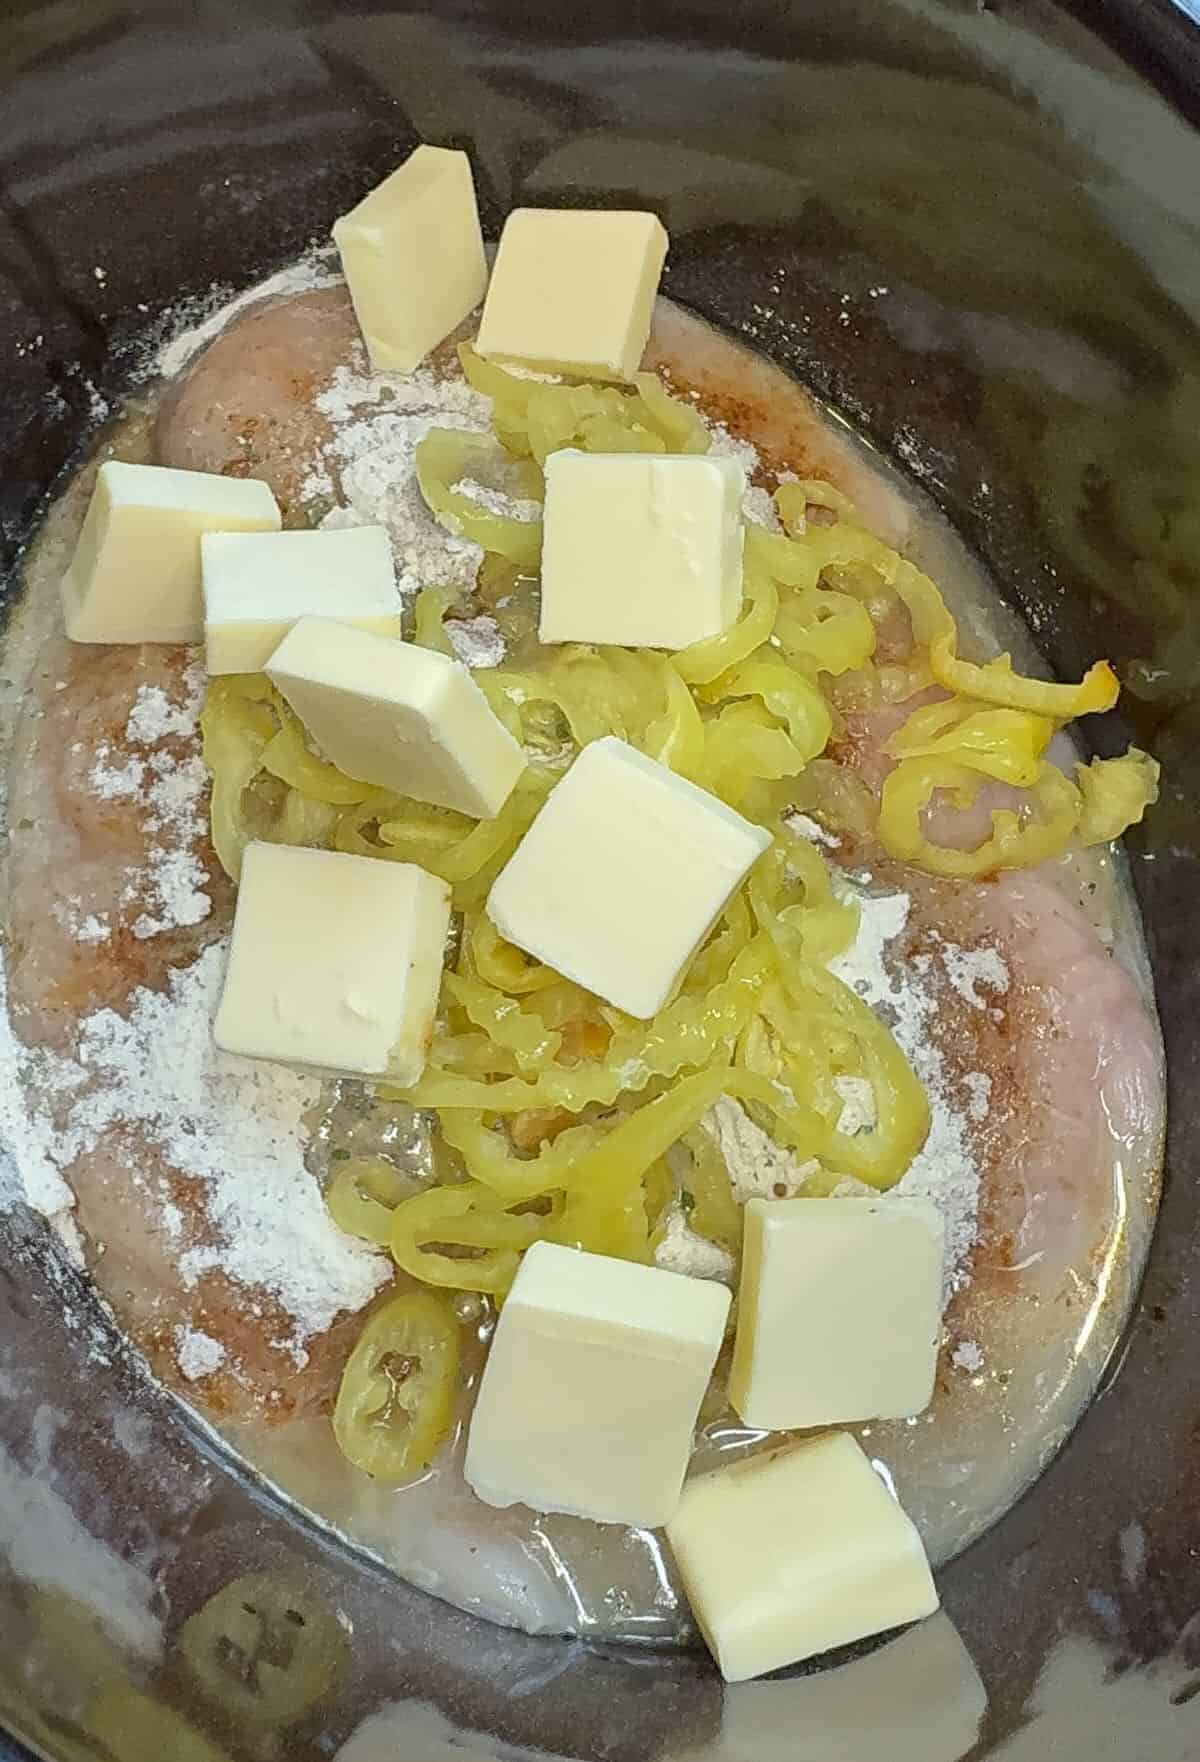
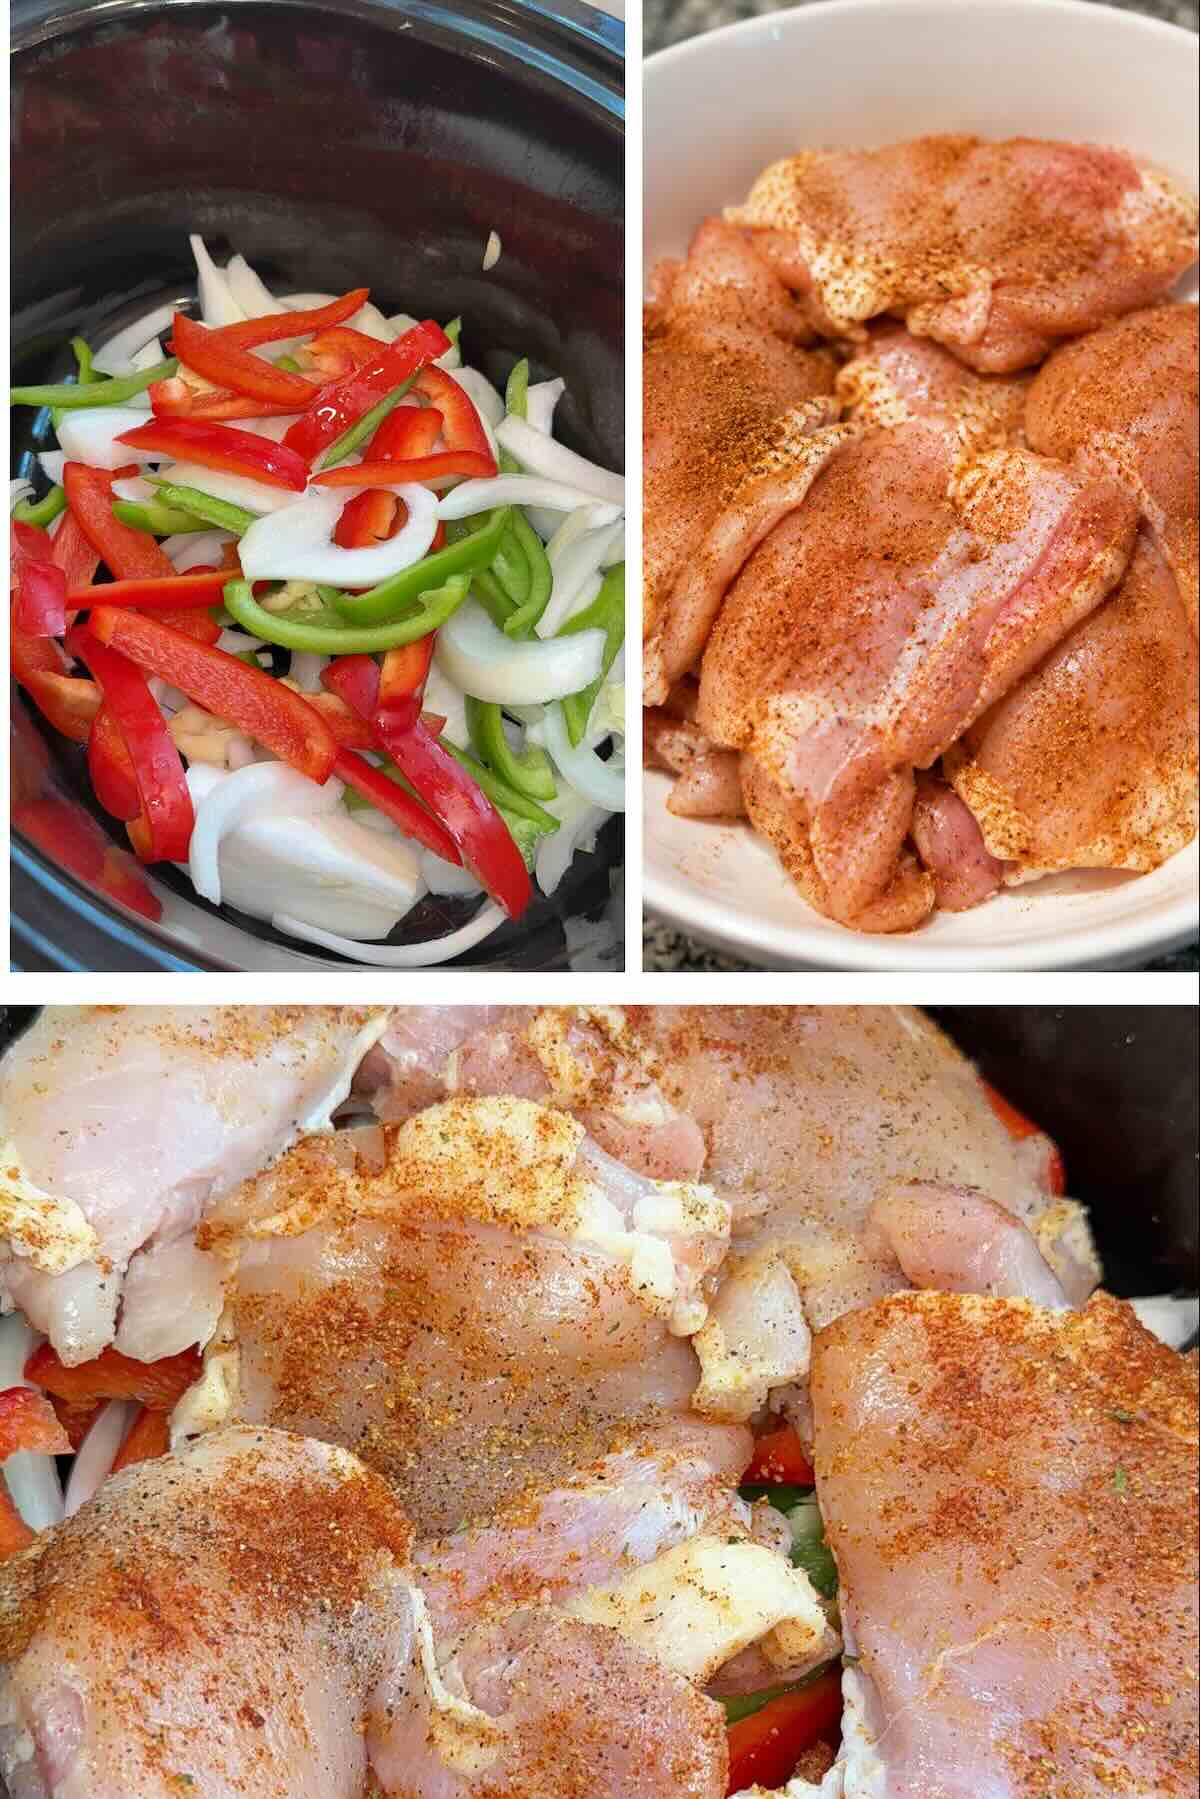
- Add the sliced onions and chopped bell peppers to the bottom of the slow cooker. Season the chicken with salt, pepper, garlic powder, onion powder and paprika and place the chicken on top of the vegetables.
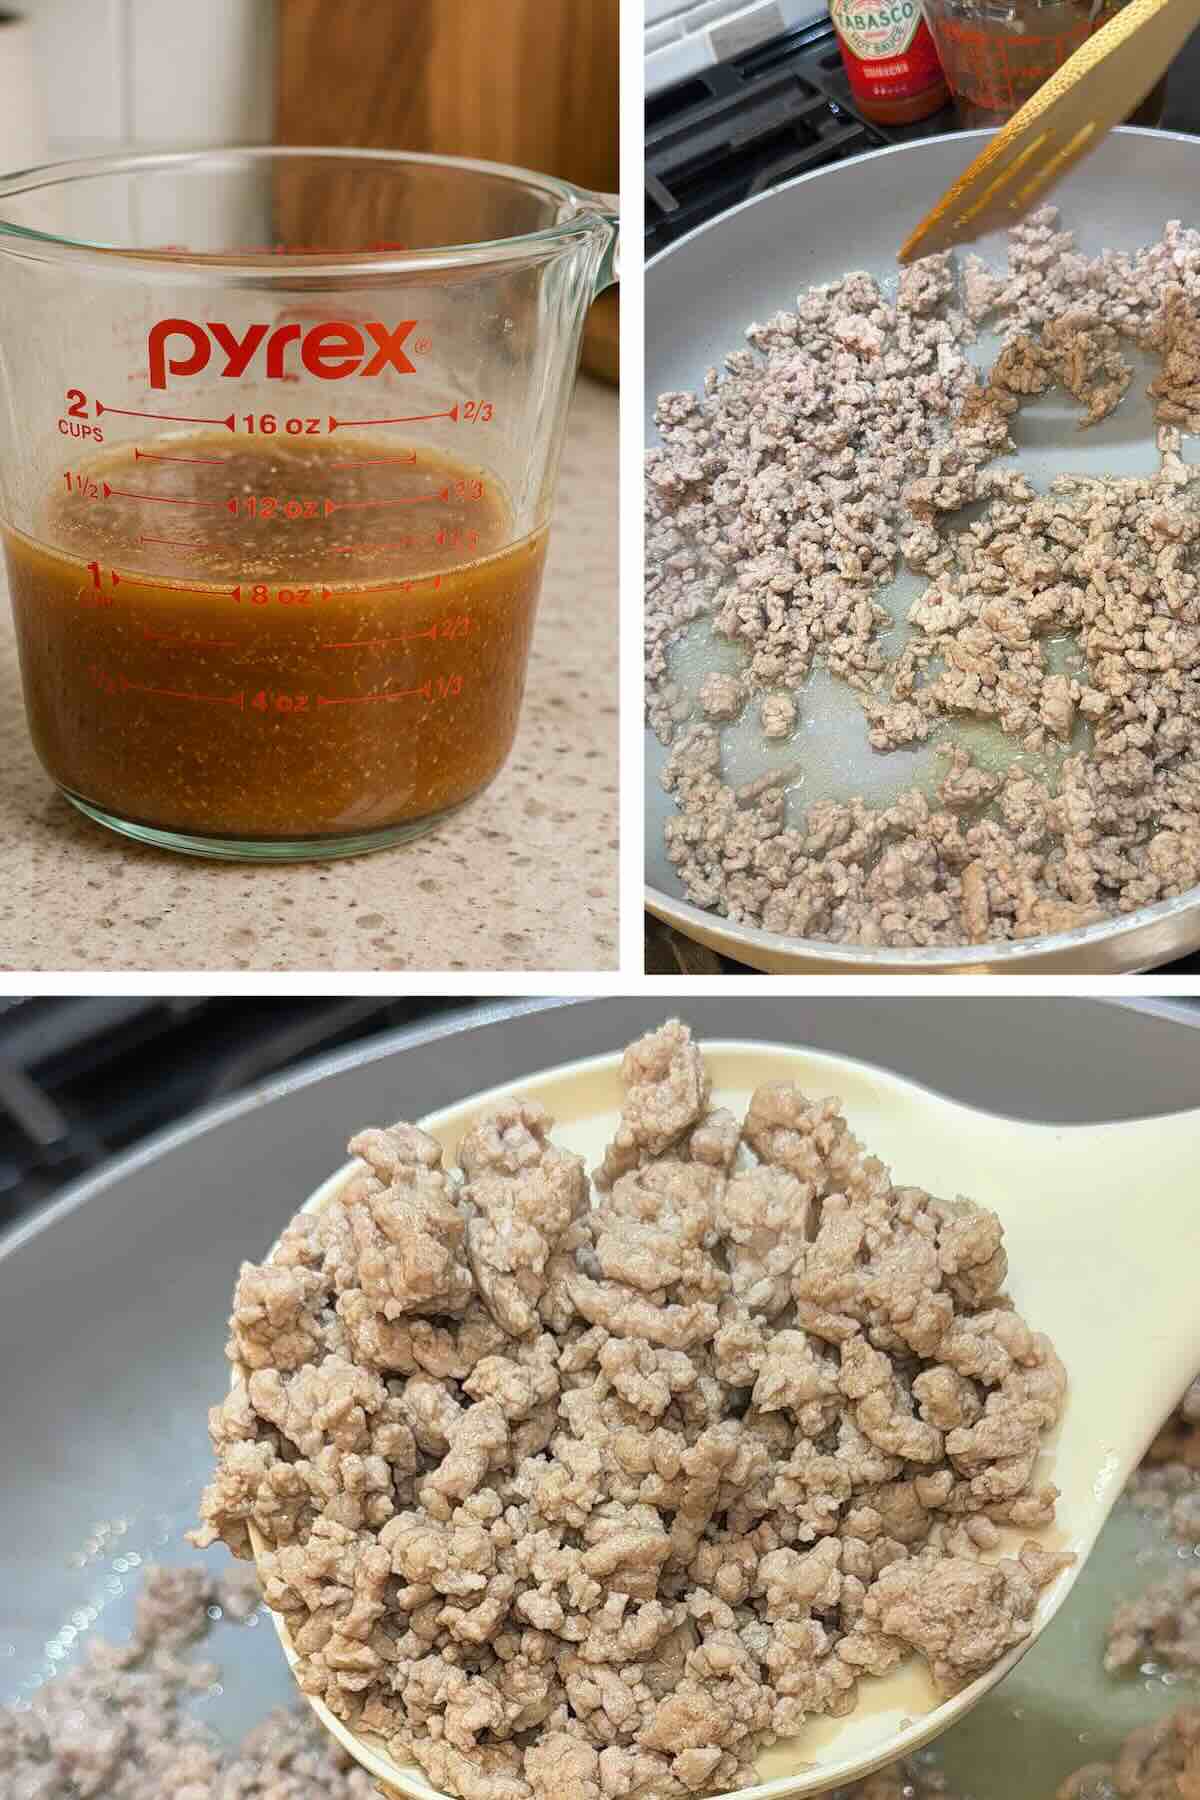
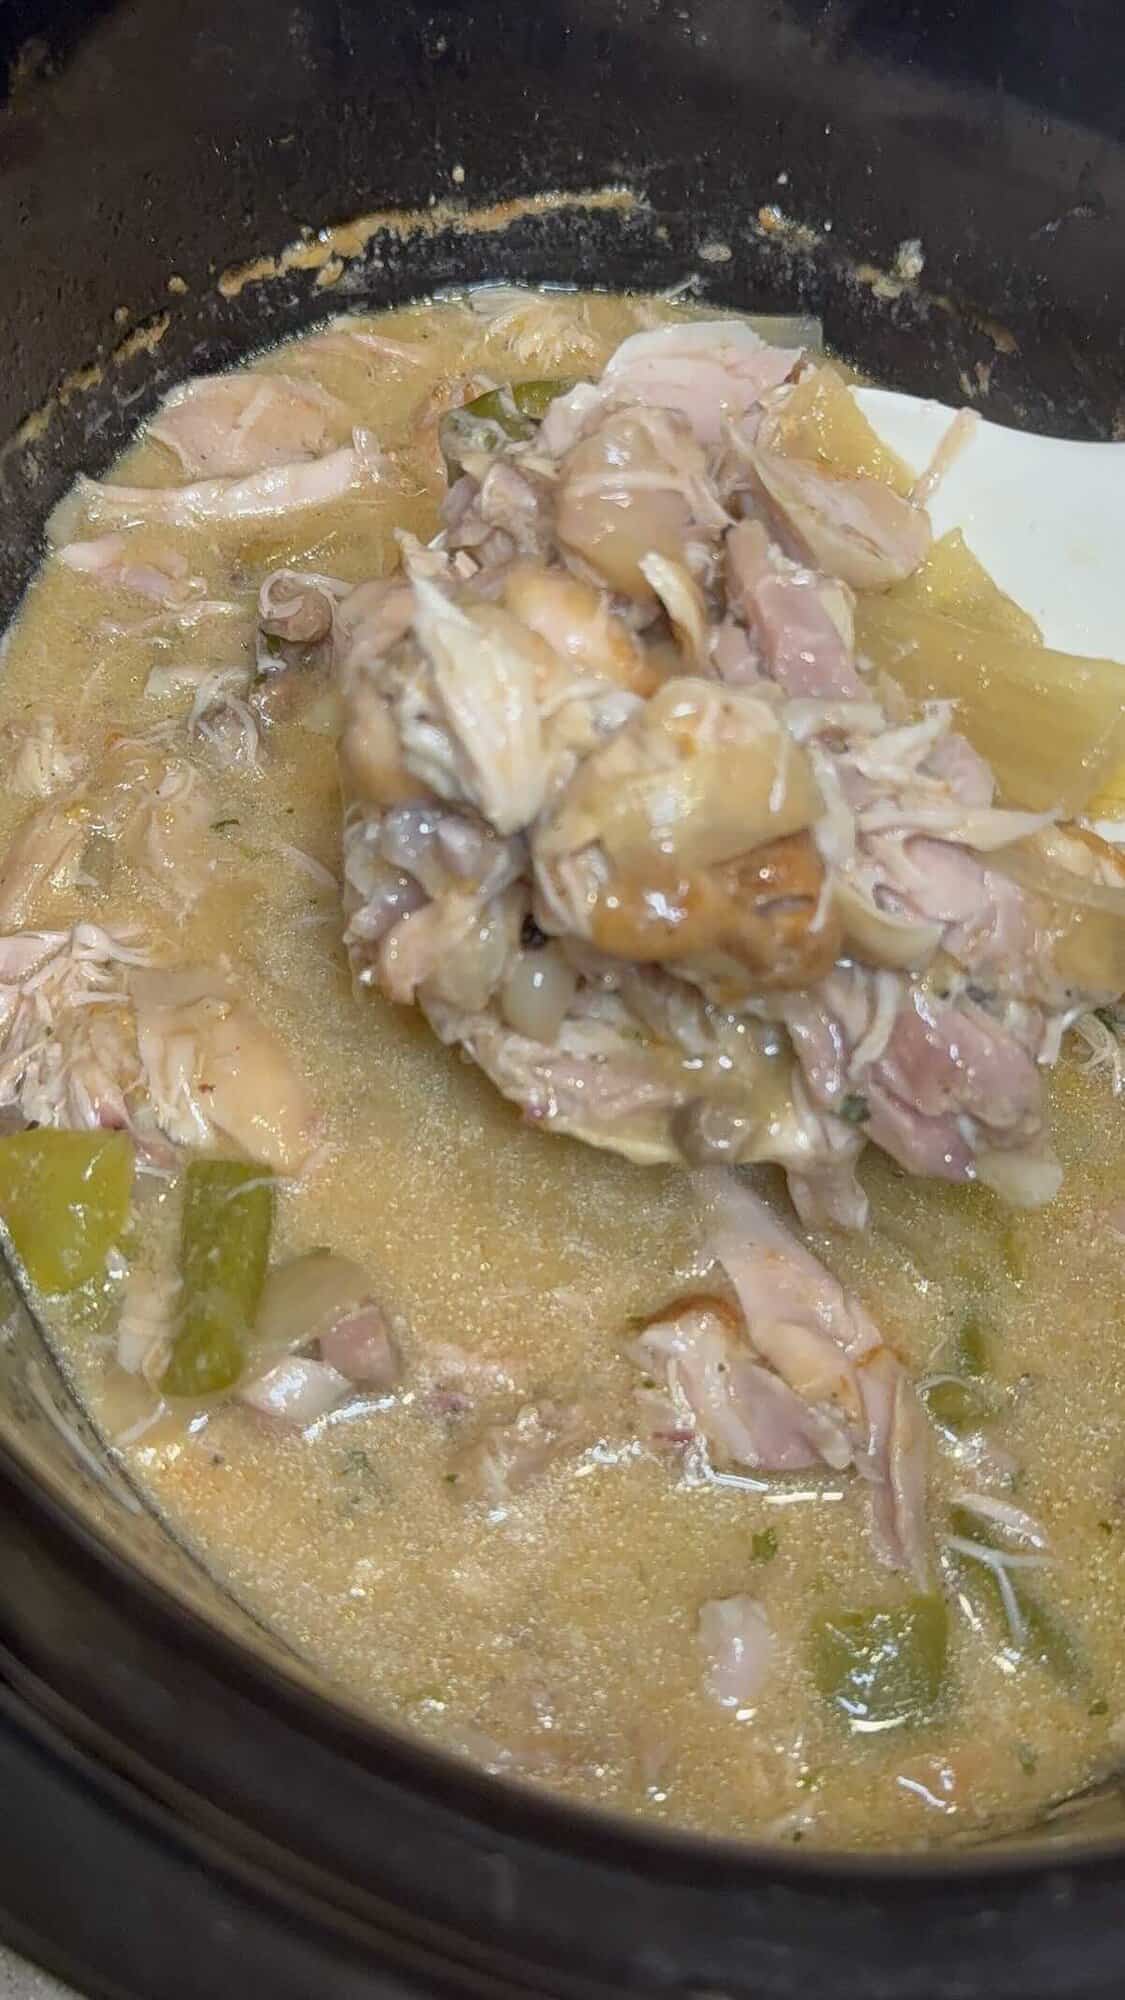
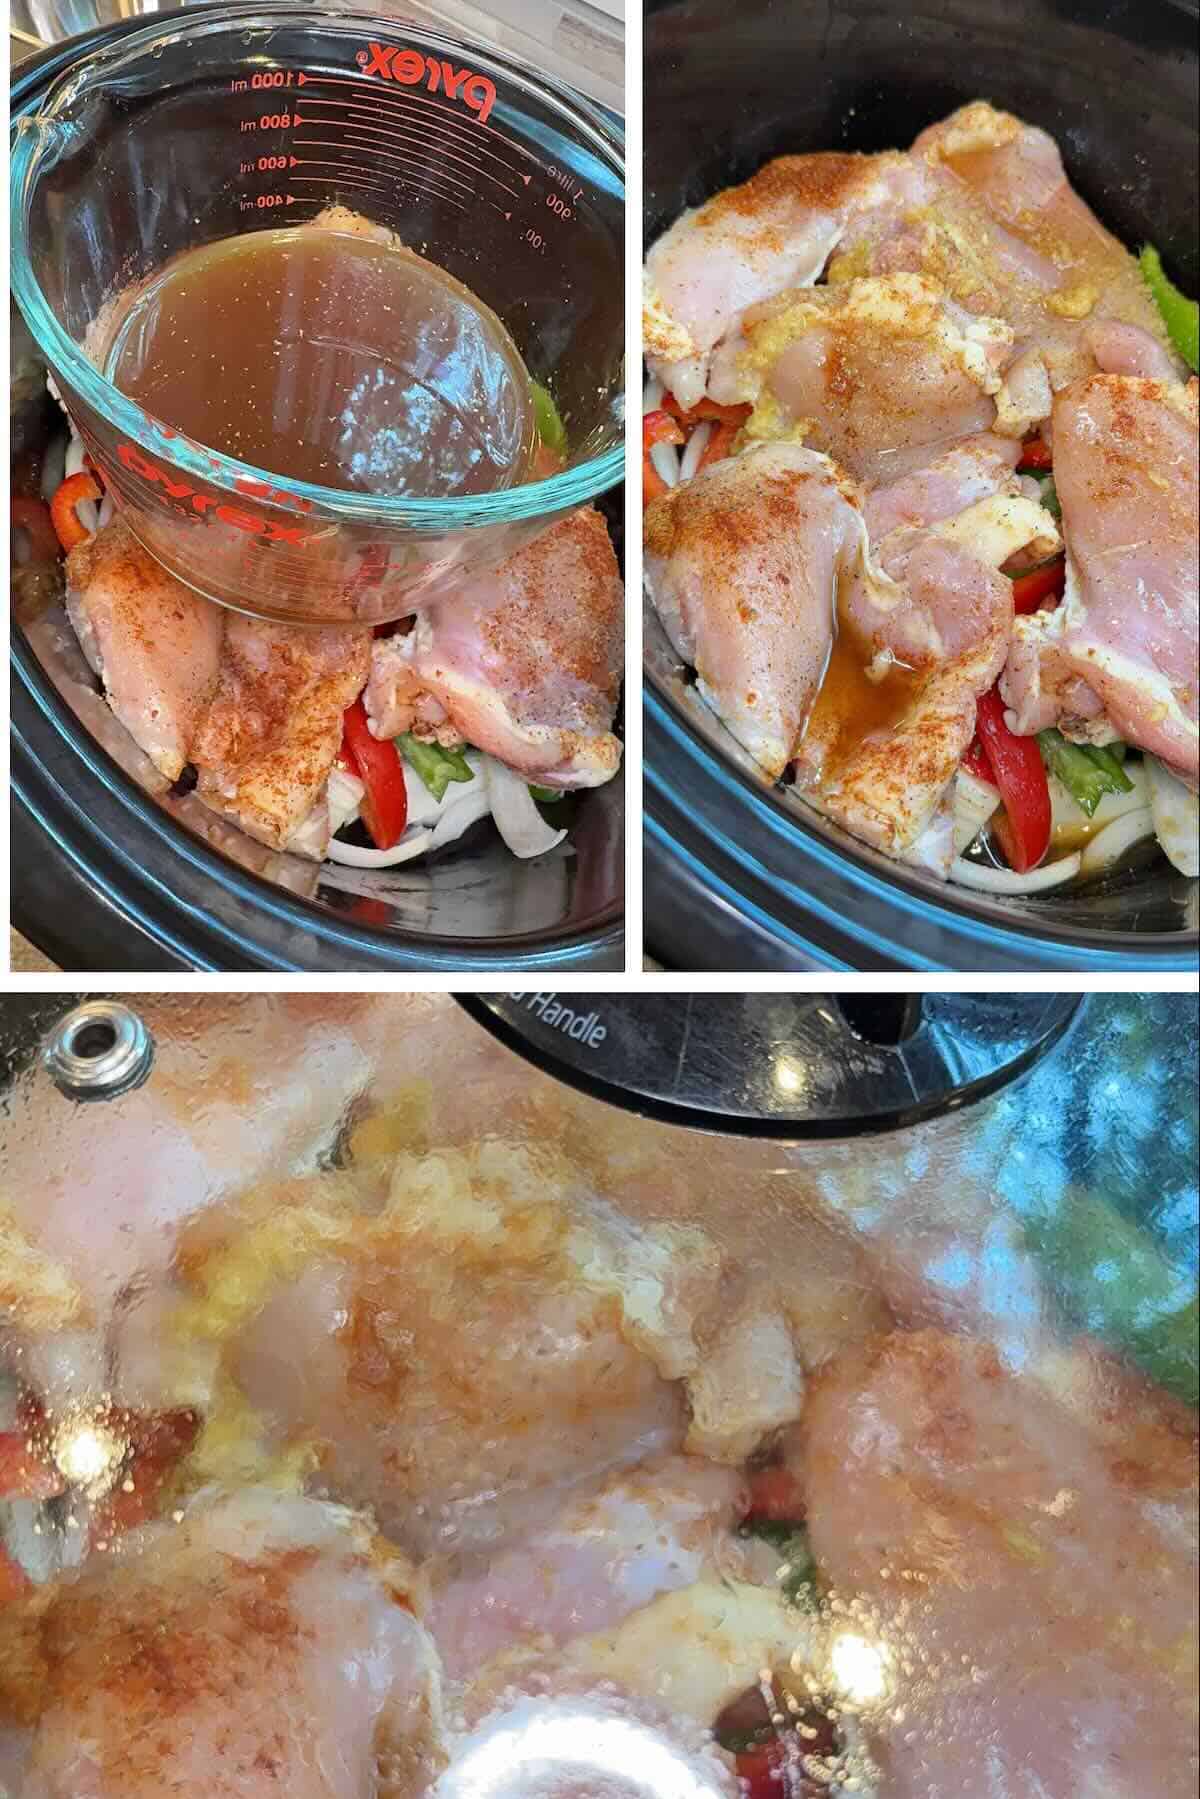
- In a small bowl, whisk together the chicken broth, soy sauce, dry sugar, Worcestershire sauce, minced garlic, ginger paste, black pepper, onion powder, garlic powder and paprika. Pour it over the chicken and vegetables. Cover and cook on LOW for 5 to 6 hours or HIGH for 2½ to 3½ hours, until the chicken is tender and fully cooked.
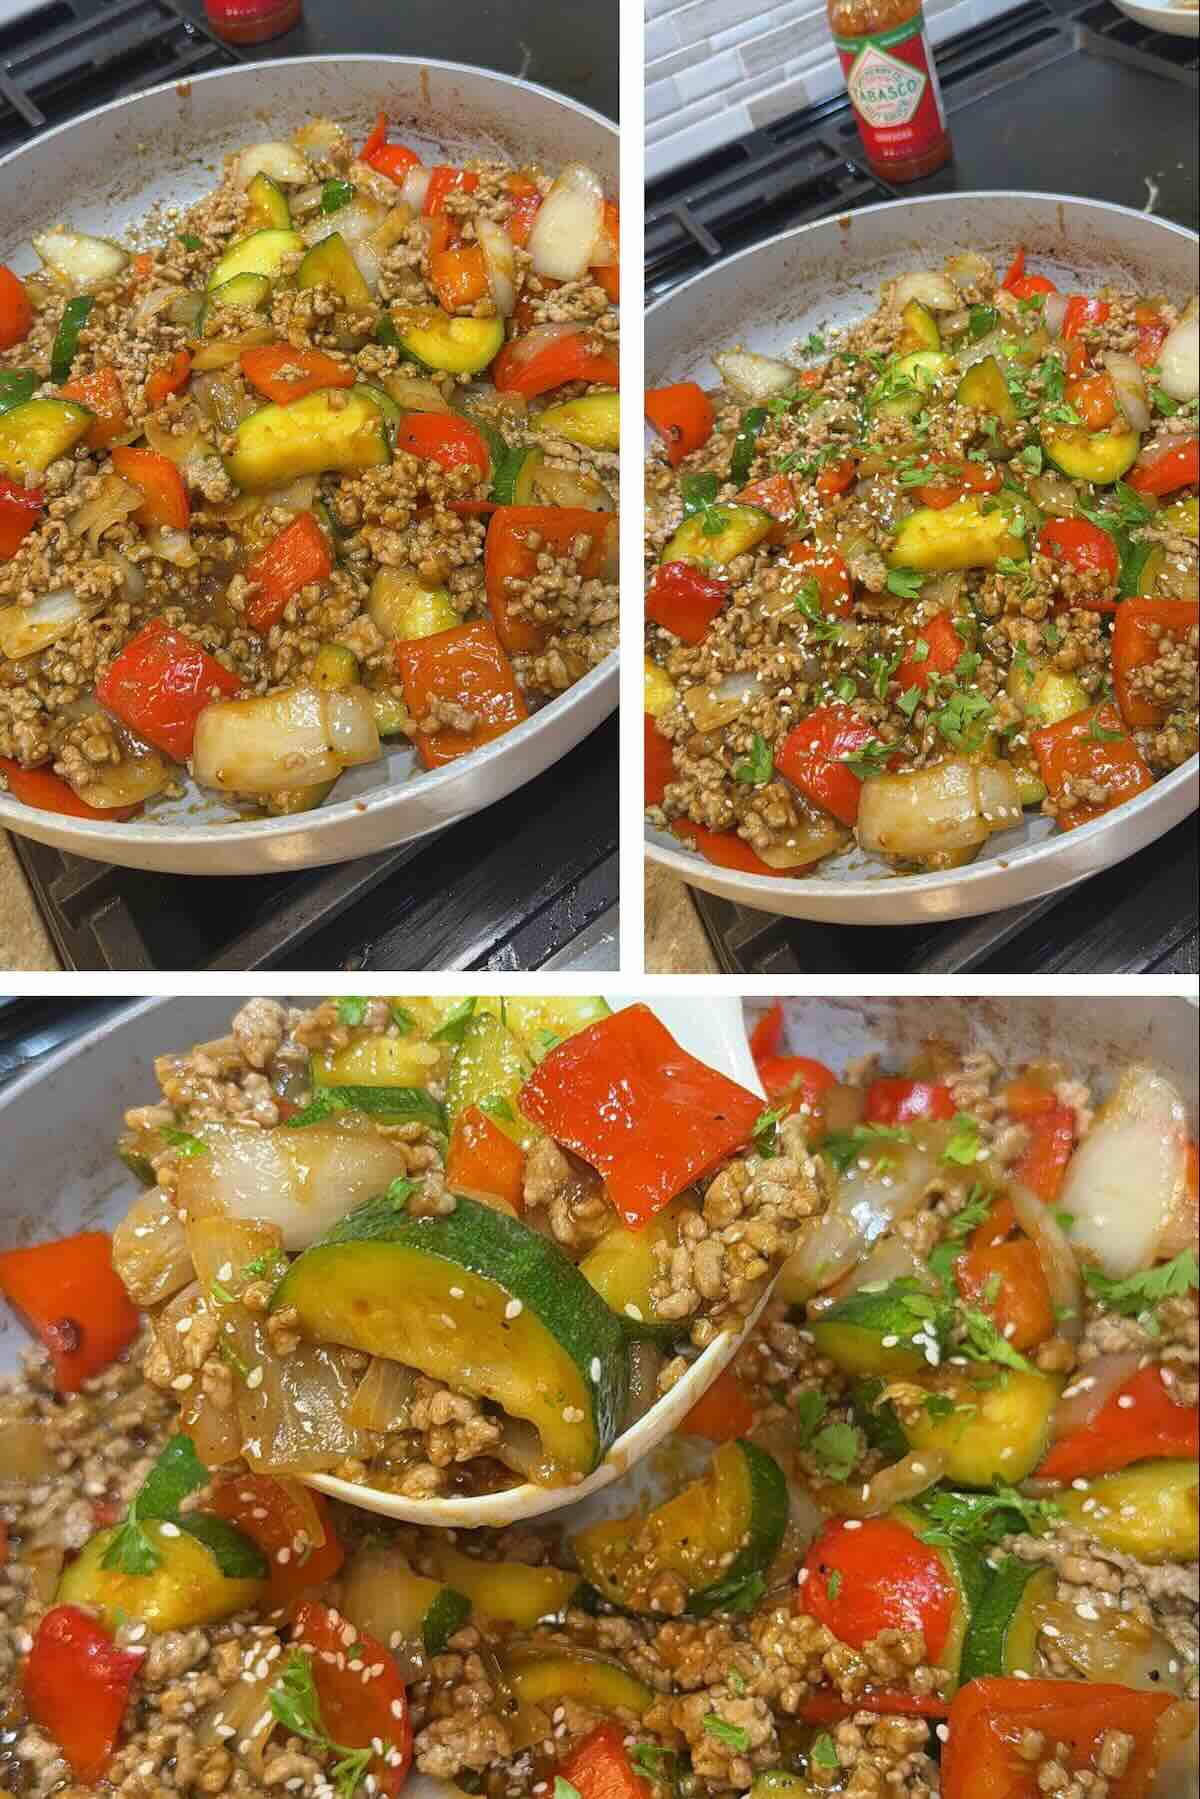
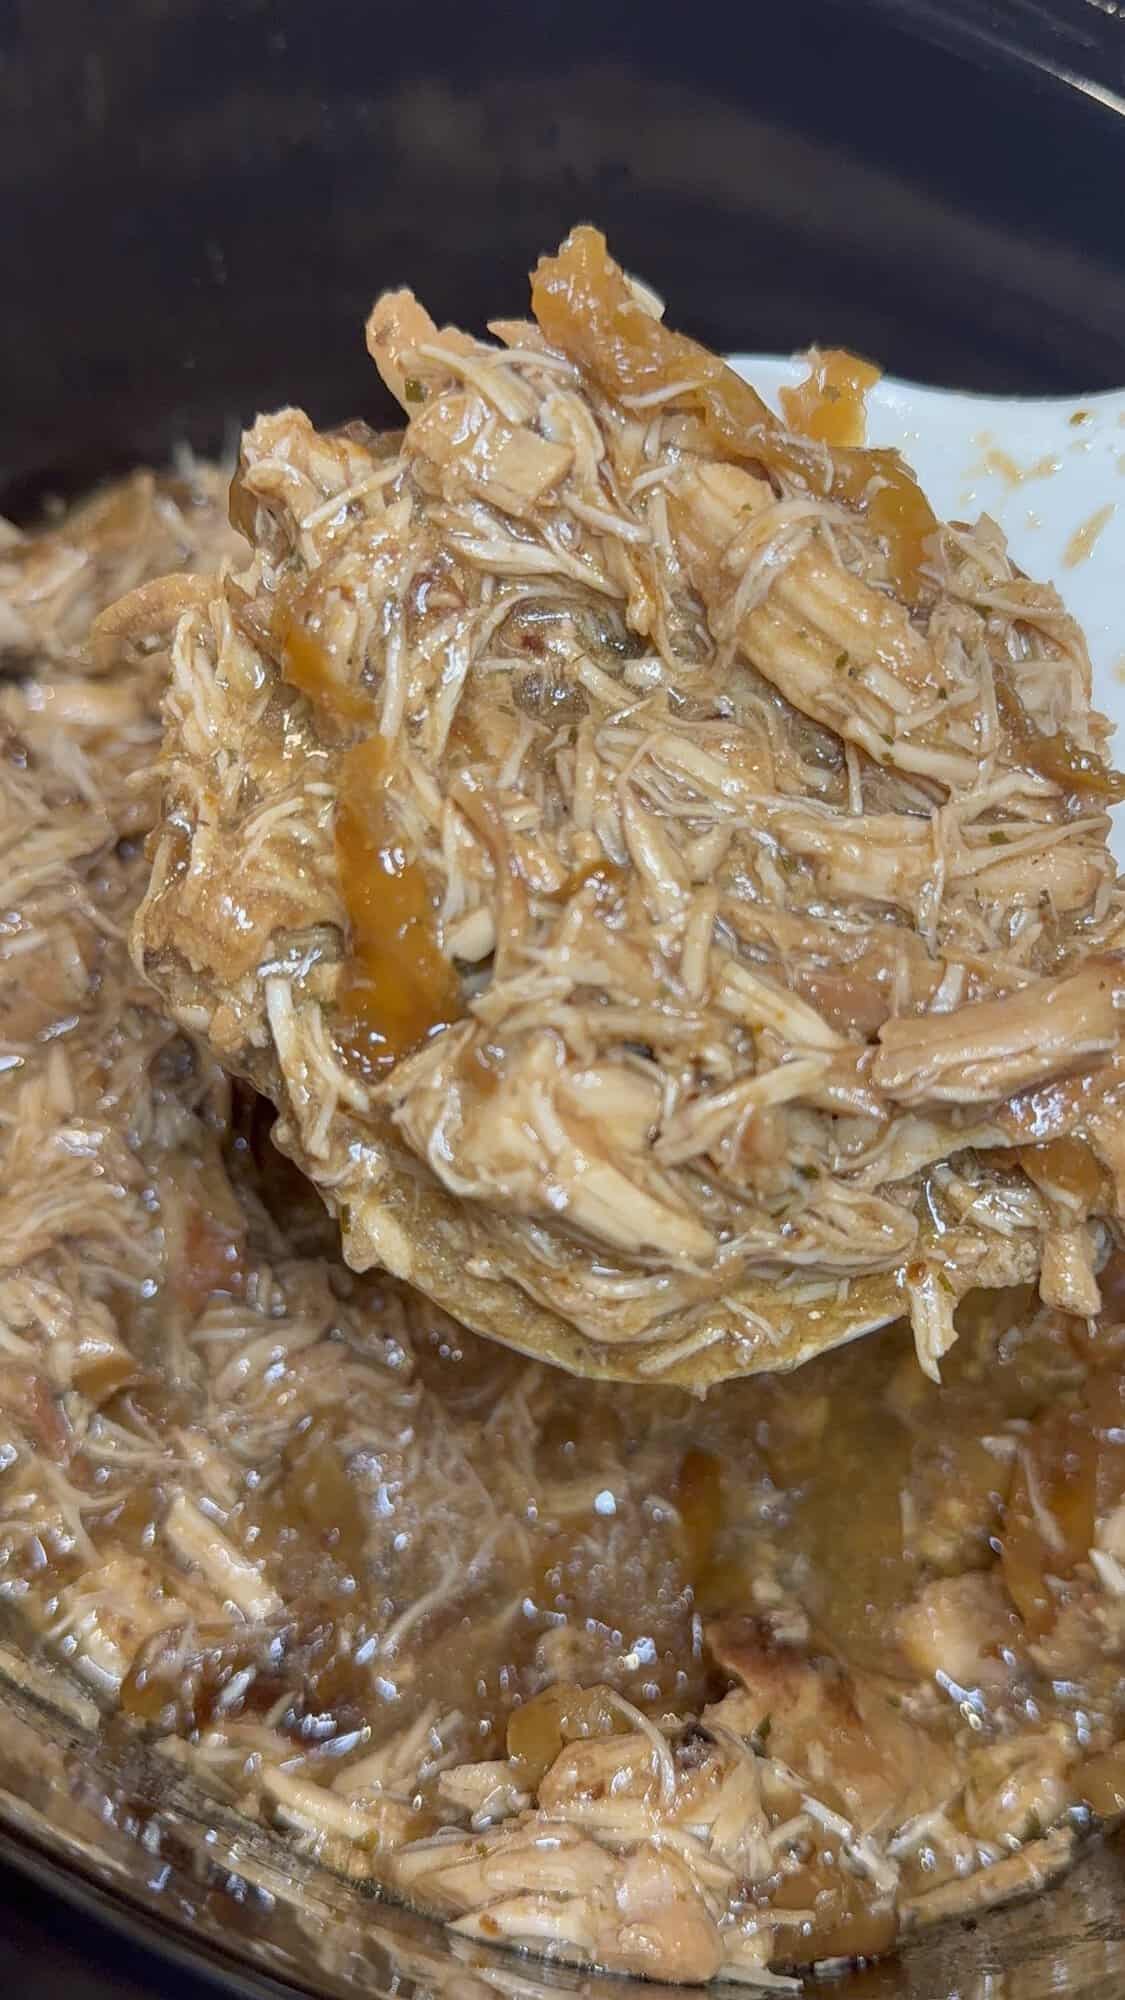
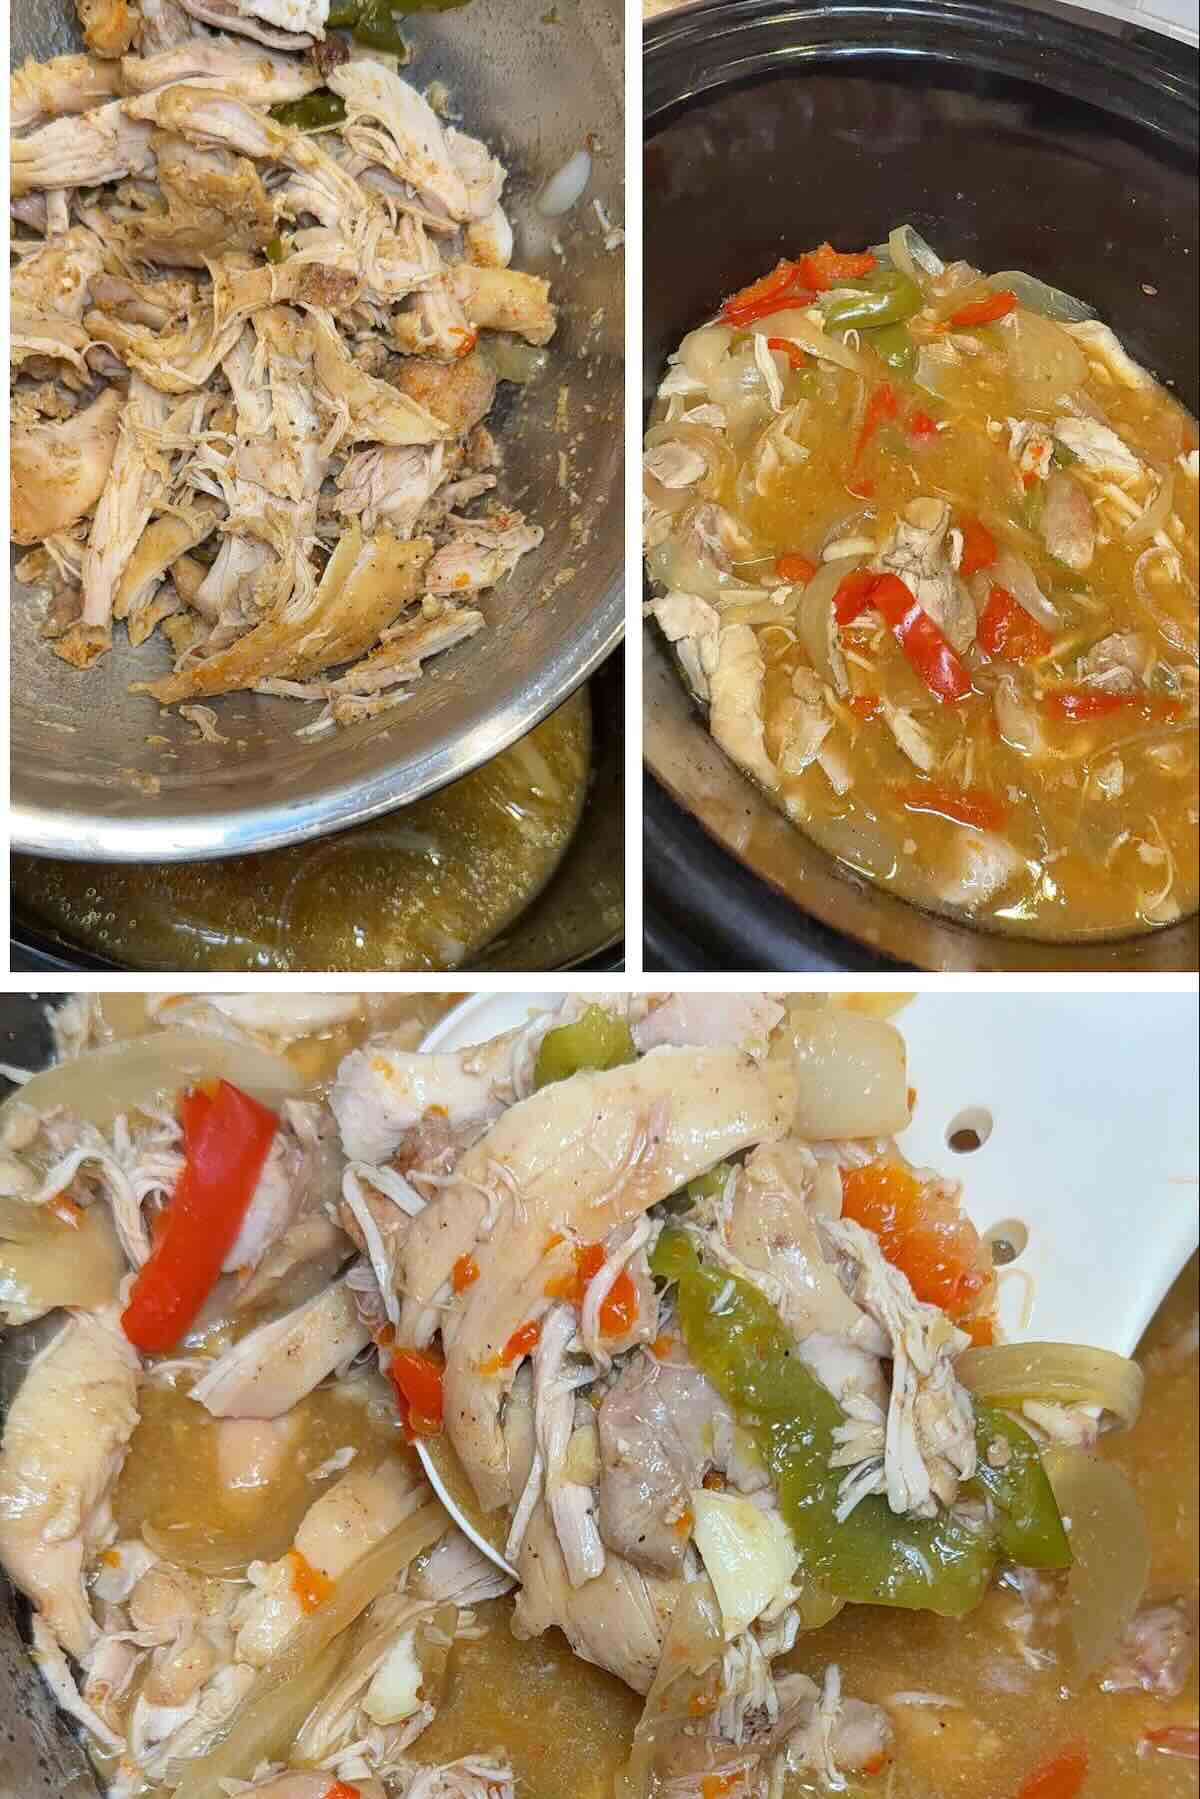
- Remove the chicken from the slow cooker and shred it with two forks or cut it into bite sized pieces. Return it to the slow cooker. In a small bowl, whisk together the cornstarch and cold water until smooth. Stir it into the slow cooker. Cover and cook for another 15 to 20 minutes, or until the sauce has thickened. Serve over steamed rice or noodles and garnish with sliced green onions and sesame seeds, if desired.
Pro Tips
- Chicken thighs stay extra juicy and are my favorite choice for this recipe.
- Slice the peppers into larger pieces so they don’t become too soft.
- Low and slow produces the most tender chicken.
- Taste the sauce before serving and add a splash of soy sauce if you’d like a little more saltiness.
- For a little heat, stir in a teaspoon of sriracha or a pinch of crushed red pepper flakes.
Variations
- Add Vegetables: Toss in broccoli, snow peas, mushrooms, or carrots during the last hour.
- Make It Spicy: Add chili garlic sauce or sriracha.
- Use Beef: This sauce works beautifully with beef stew meat.
- Low Carb: Serve over cauliflower rice instead of white rice.
- Extra Sauce: Double the sauce ingredients if you love extra for serving over rice.
What to Serve With It
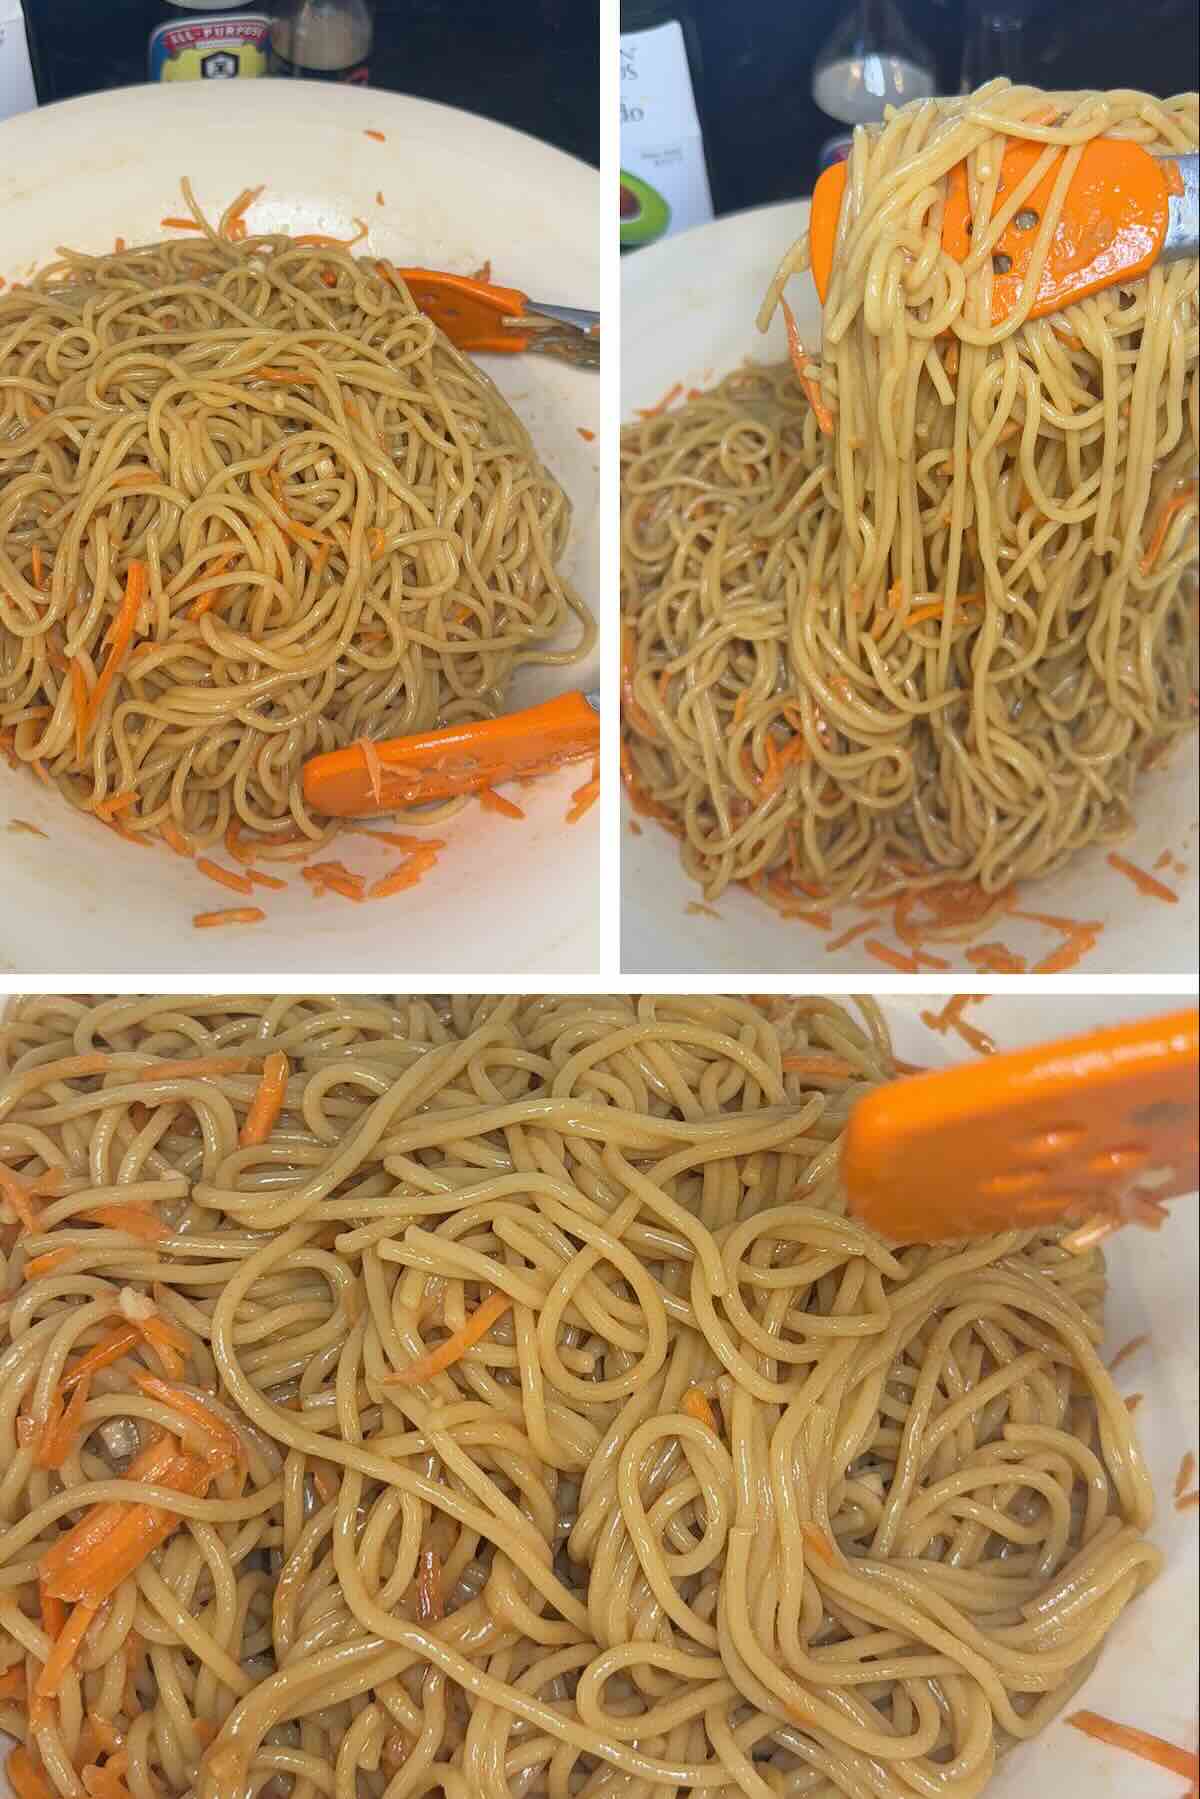
This savory chicken is perfect served over steamed rice, lo mein noodles, or fluffy mashed potatoes to soak up every bit of the delicious sauce. Round out the meal with steamed broccoli, roasted green beans, snap peas, or a simple Asian inspired cucumber salad.
Storage & Reheating
Store leftovers in an airtight container in the refrigerator for up to 4 days.
Freeze for up to 3 months.
Reheat gently in the microwave or on the stovetop. If the sauce thickens too much after refrigeration, simply stir in a splash of chicken broth or water while reheating.
Other Easy Crockpot Meals
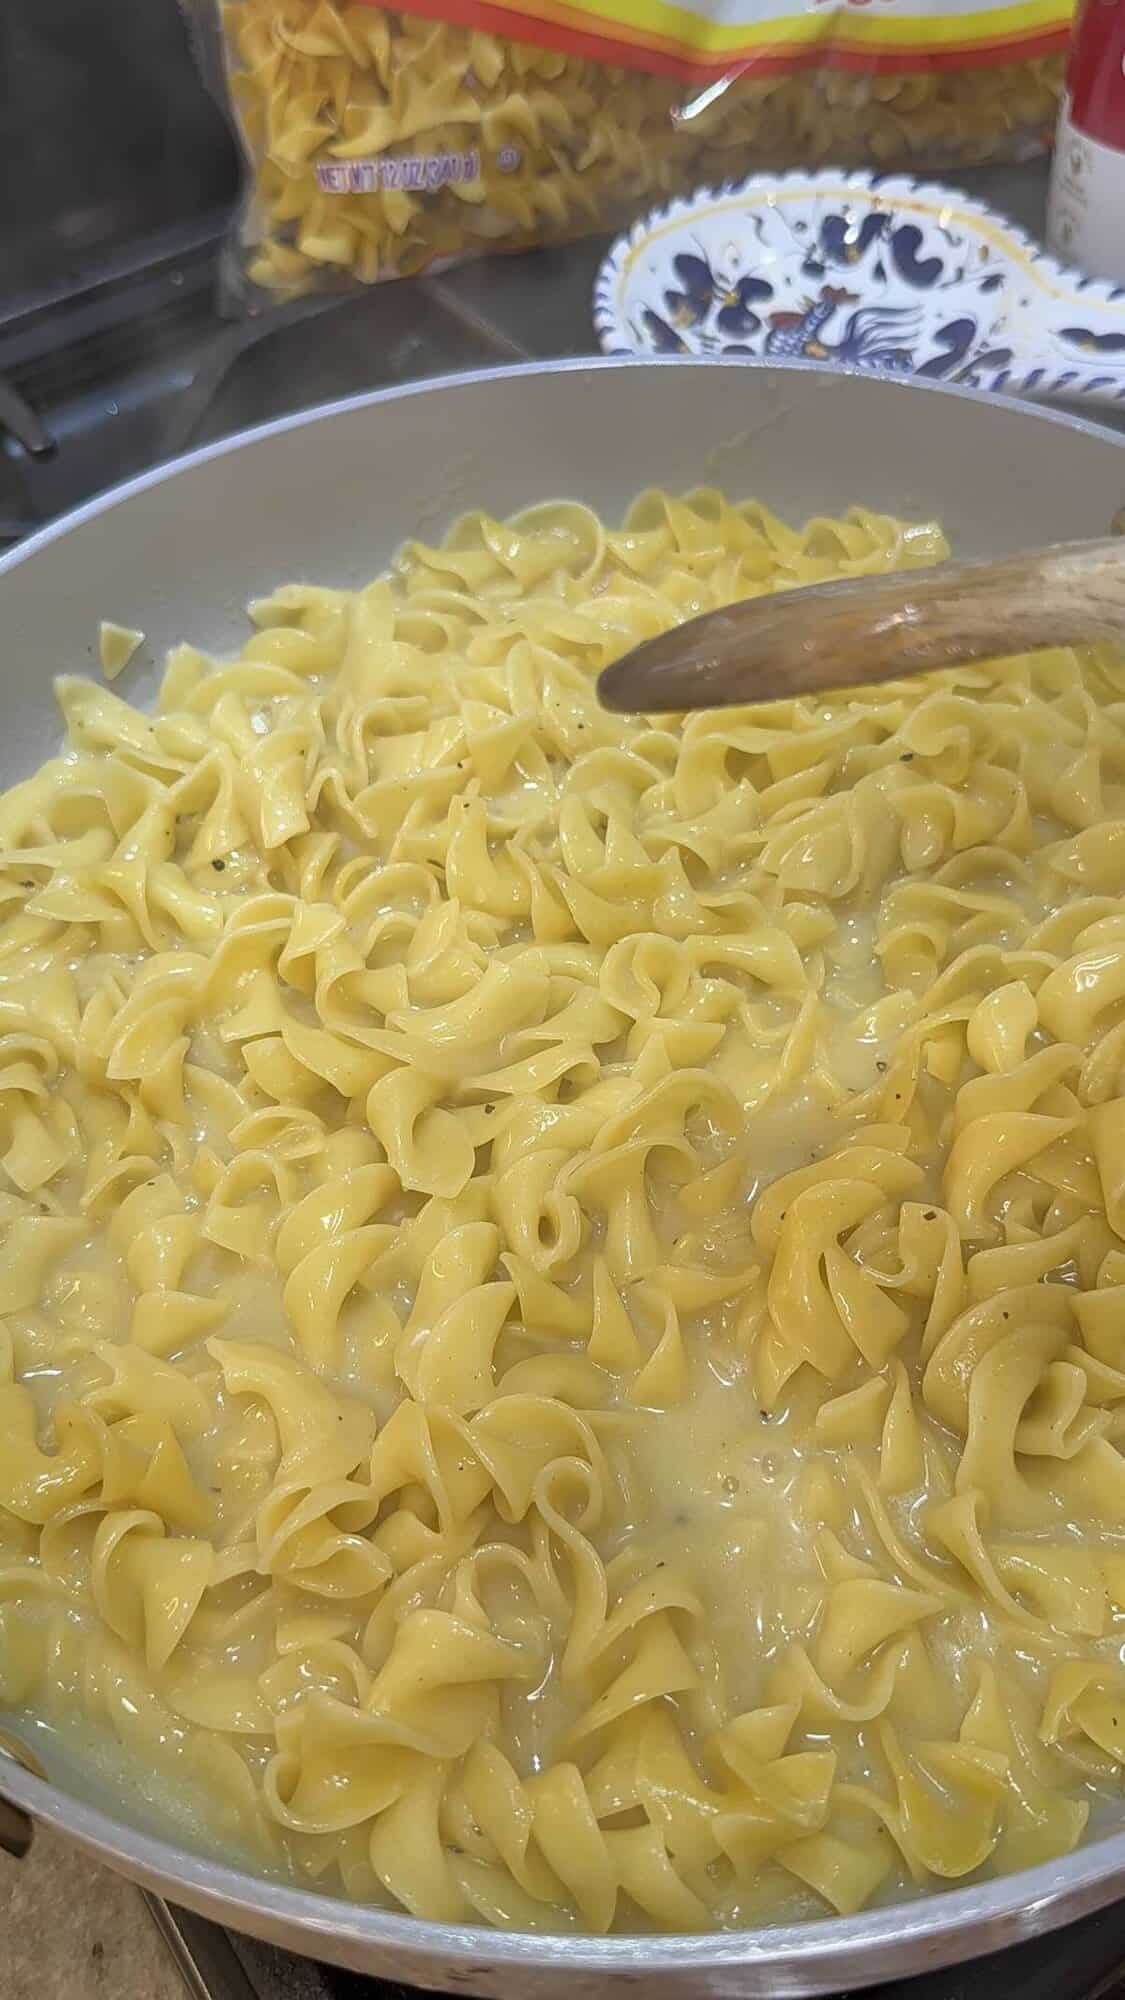
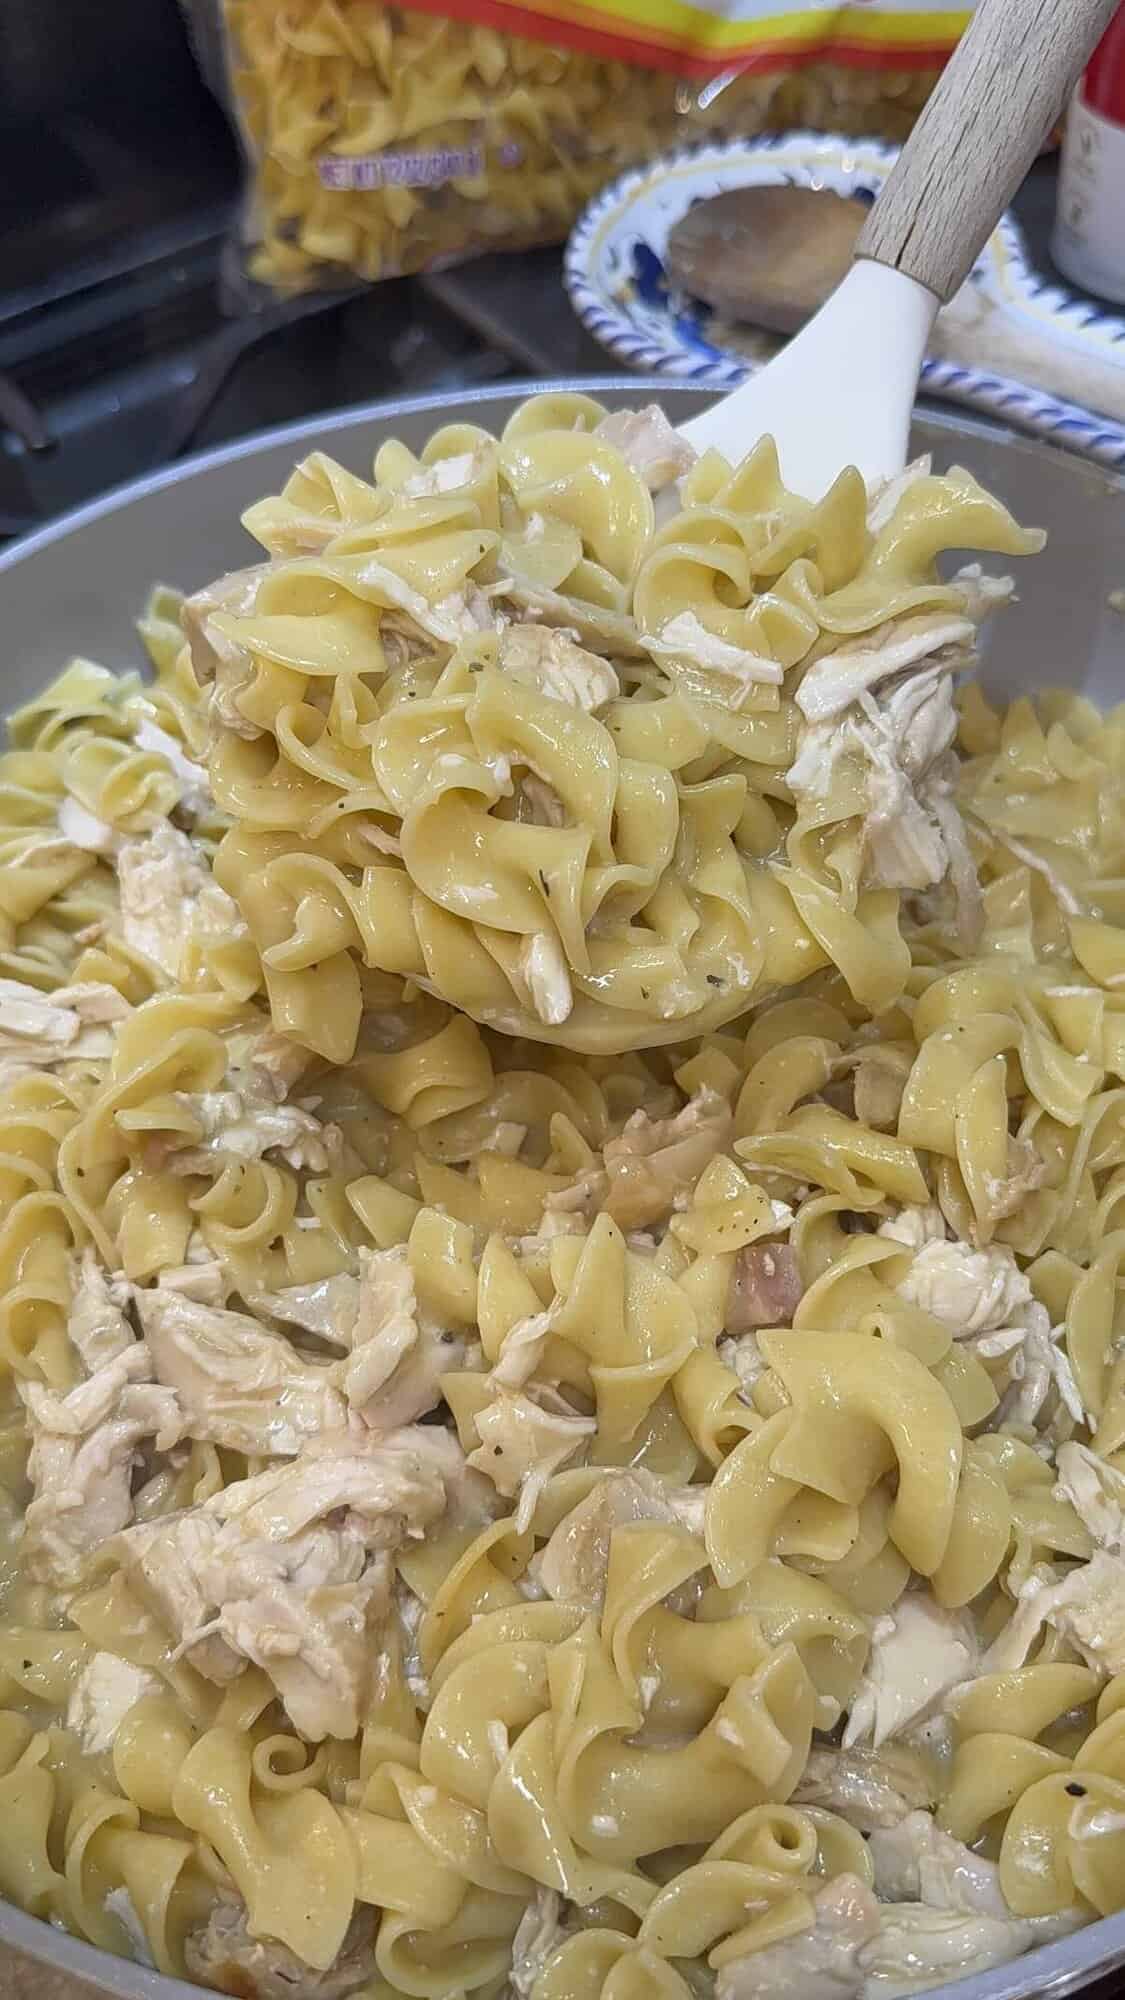
There's nothing better than a "set it and forget it meal". I've rounded up all my Best Crockpot Recipes so you can find them all easily in one place. I highly recommend my Crockpot Beef & Noodles and Crockpot Chicken & Noodles. They're both guaranteed hits!

Crockpot Chicken With Peppers And Onions Recipe
Equipment
- 6-8 QT Crockpot
Ingredients
- 2 Pounds Boneless Skinless Chicken Thighs
- 1 Medium White Onion, sliced into strips
- 2 Bell Peppers, sliced into strips
- 3 Cloves Garlic, minced
- 1 Tbs Ginger Paste
- ½ Cup Chicken Broth
- 3 Tbs Soy Sauce
- 1 Tbs Sugar
- 2 Tbs Worcestershire Sauce
- 2 teaspoon Black Pepper (divided)
- 2 teaspoon Onion Powder (divided)
- 2 teaspoon Garlic Powder (divided)
- ½ teaspoon Paprika
- 1 teaspoon Salt
- 2 Tbs Cold Water
- 2 Tbs Corn Starch
Instructions
- Add the sliced onions and chopped bell peppers to the bottom of the slow cooker. Season the chicken with the salt and half of the pepper, garlic powder, onion powder and all of the paprika and place the chicken on top of the vegetables.
- In a small bowl, whisk together the chicken broth, soy sauce, dry sugar, Worcestershire sauce, minced garlic, ginger paste and the rest of the black pepper, onion powder and garlic powder. Pour it over the chicken and vegetables.
- Cover and cook on LOW for 5 to 6 hours or HIGH for 2½ to 3½ hours, until the chicken is tender and fully cooked. Remove the chicken from the slow cooker and shred it with two forks or cut it into bite sized pieces. Return it to the slow cooker.
- In a small bowl, whisk together the cornstarch and cold water until smooth. Stir it into the slow cooker. Cover and cook for another 15 to 20 minutes, or until the sauce has thickened. Serve over steamed rice or noodles and garnish with sliced green onions and sesame seeds, if desired.
Other Easy Chicken Dinners
If you like super easy to make chicken dinners like this one, you have to try this Chicken & Stuffing Casserole, Chicken Divan and White Chicken Enchiladas.