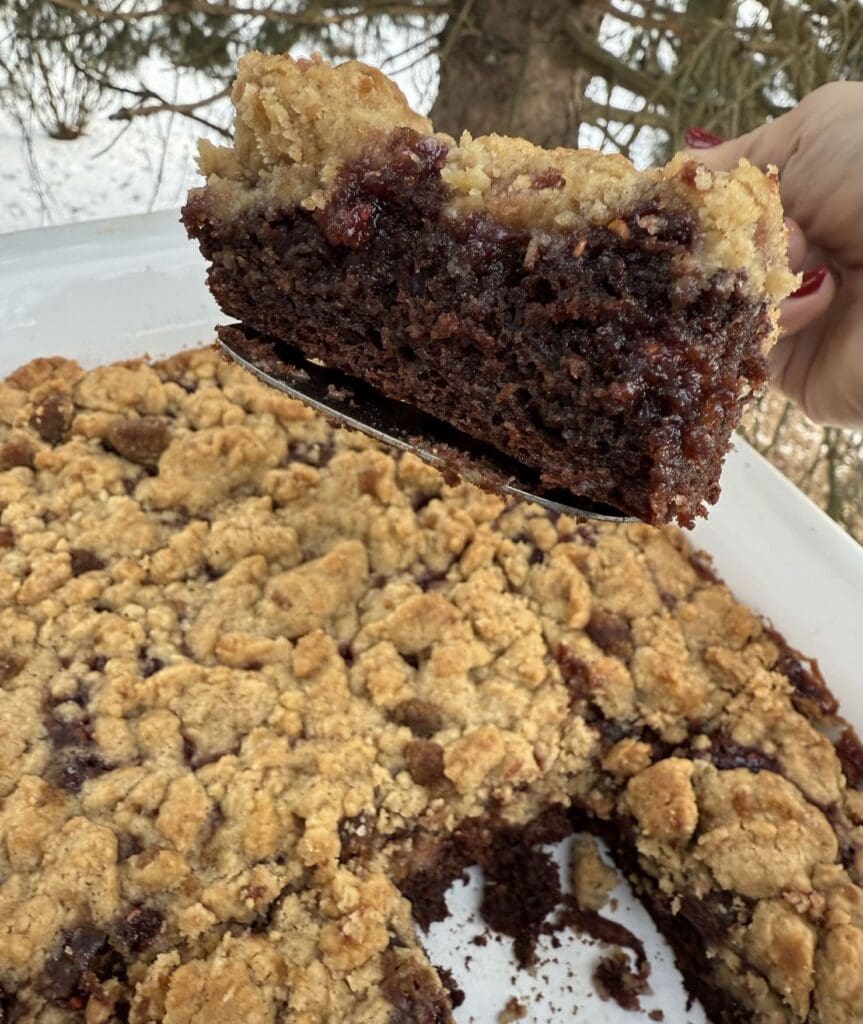
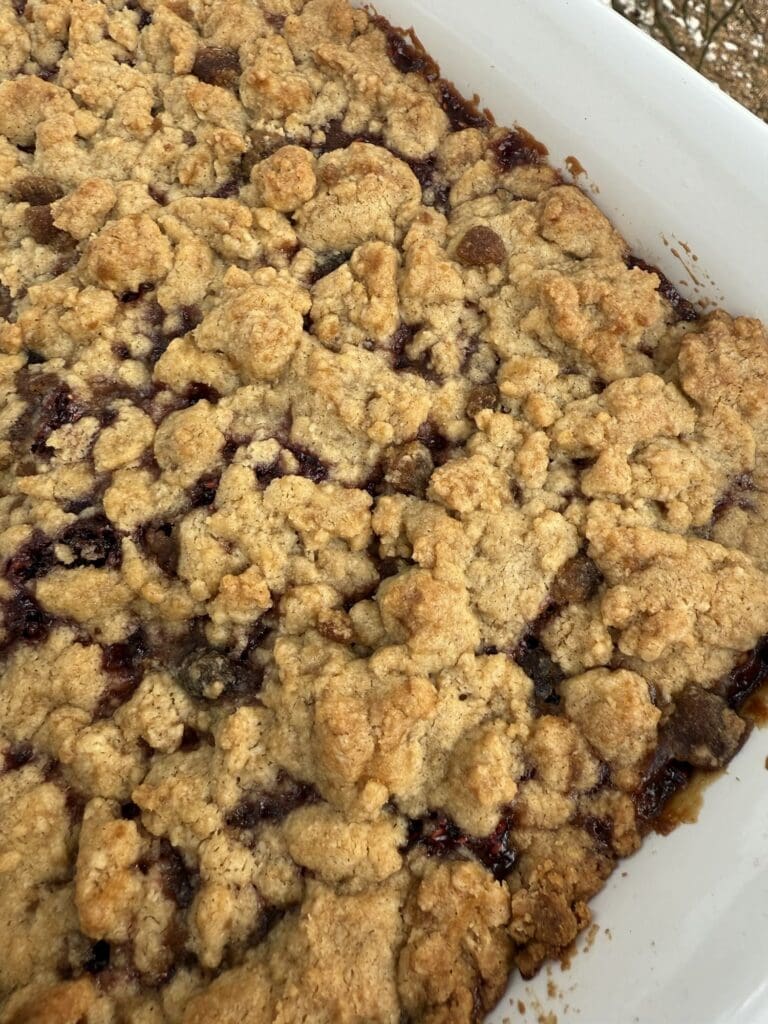
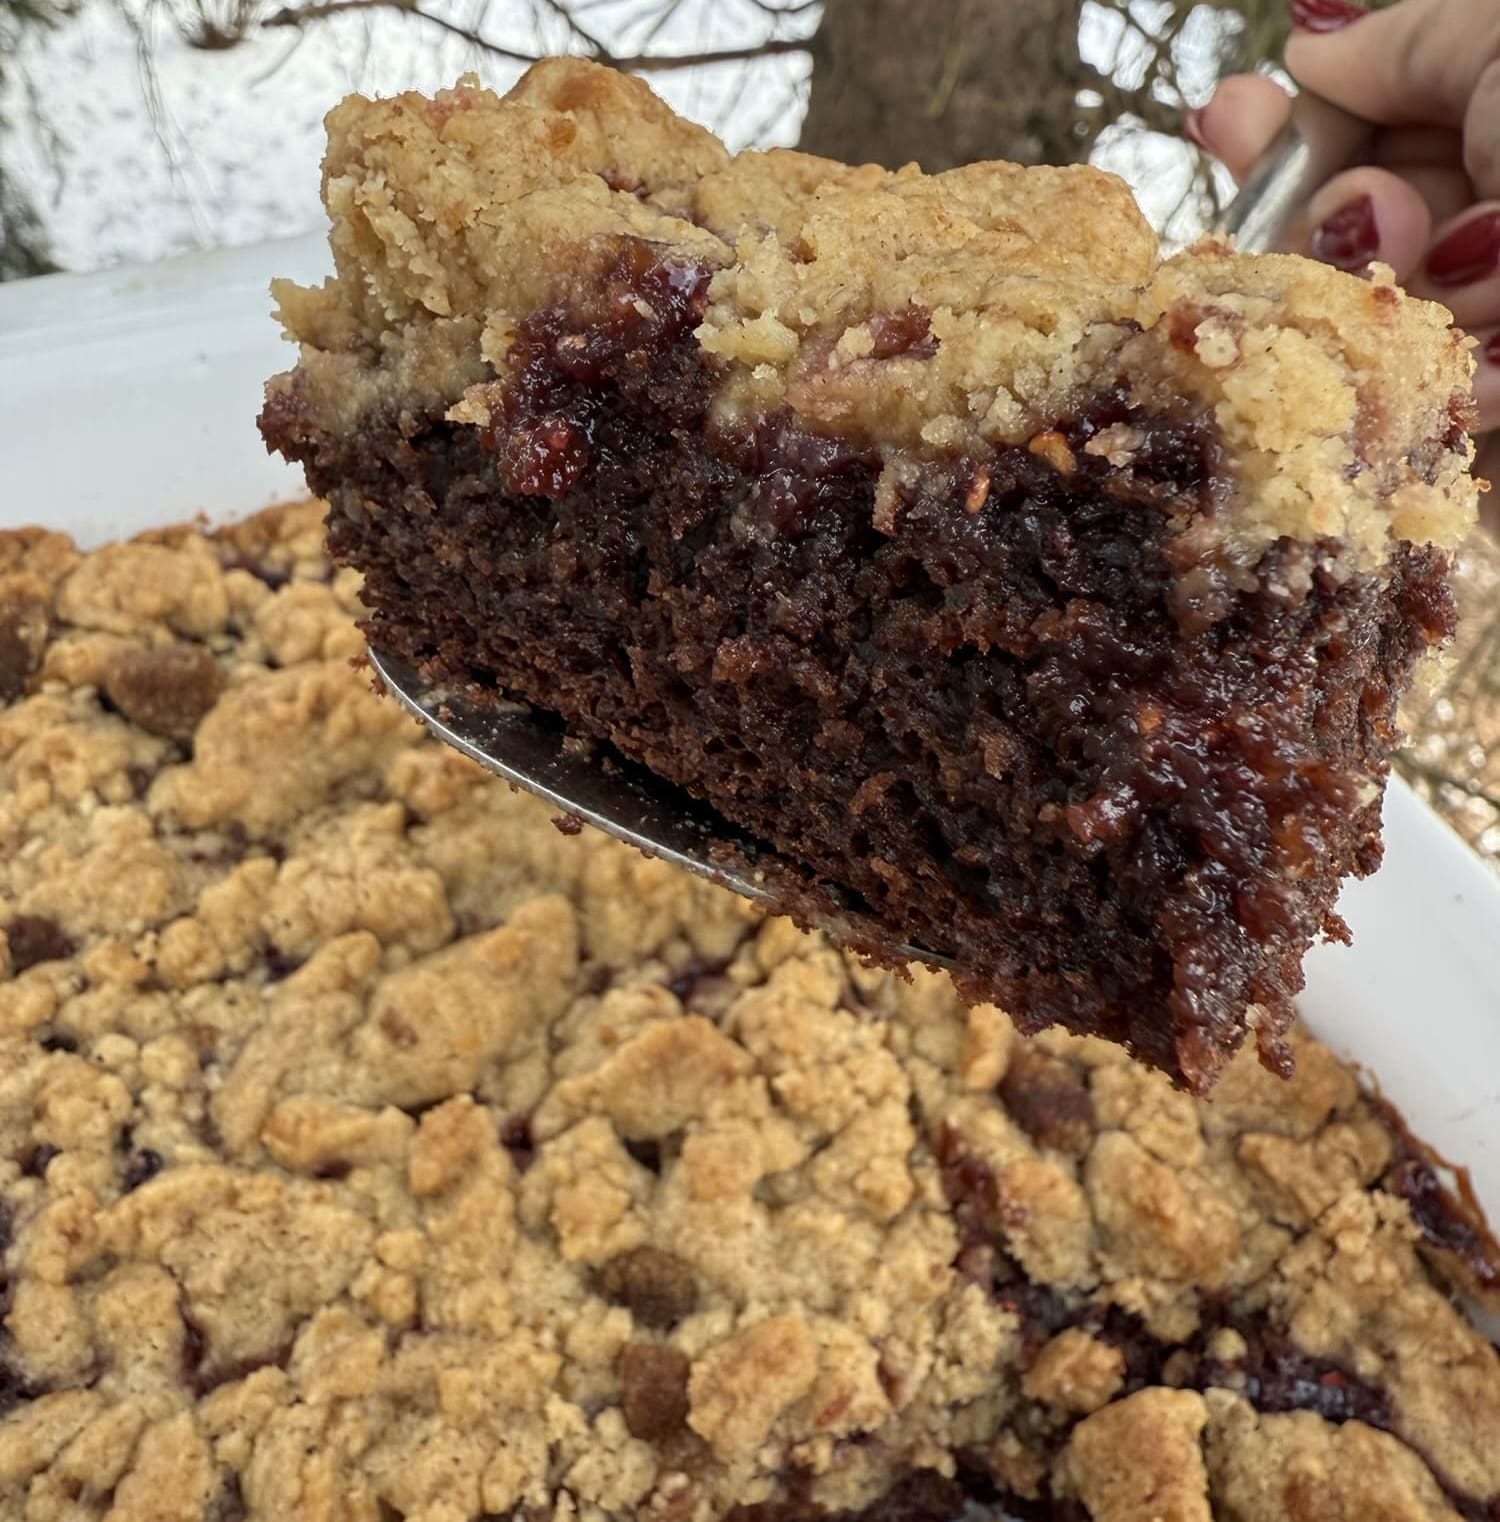
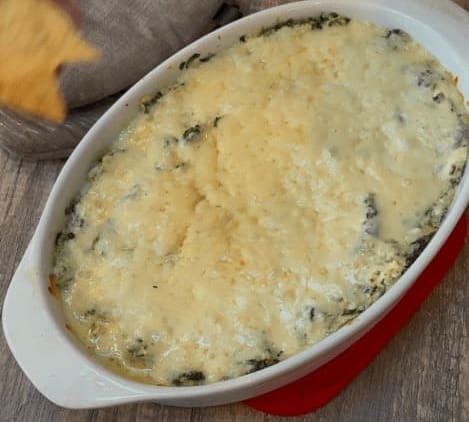
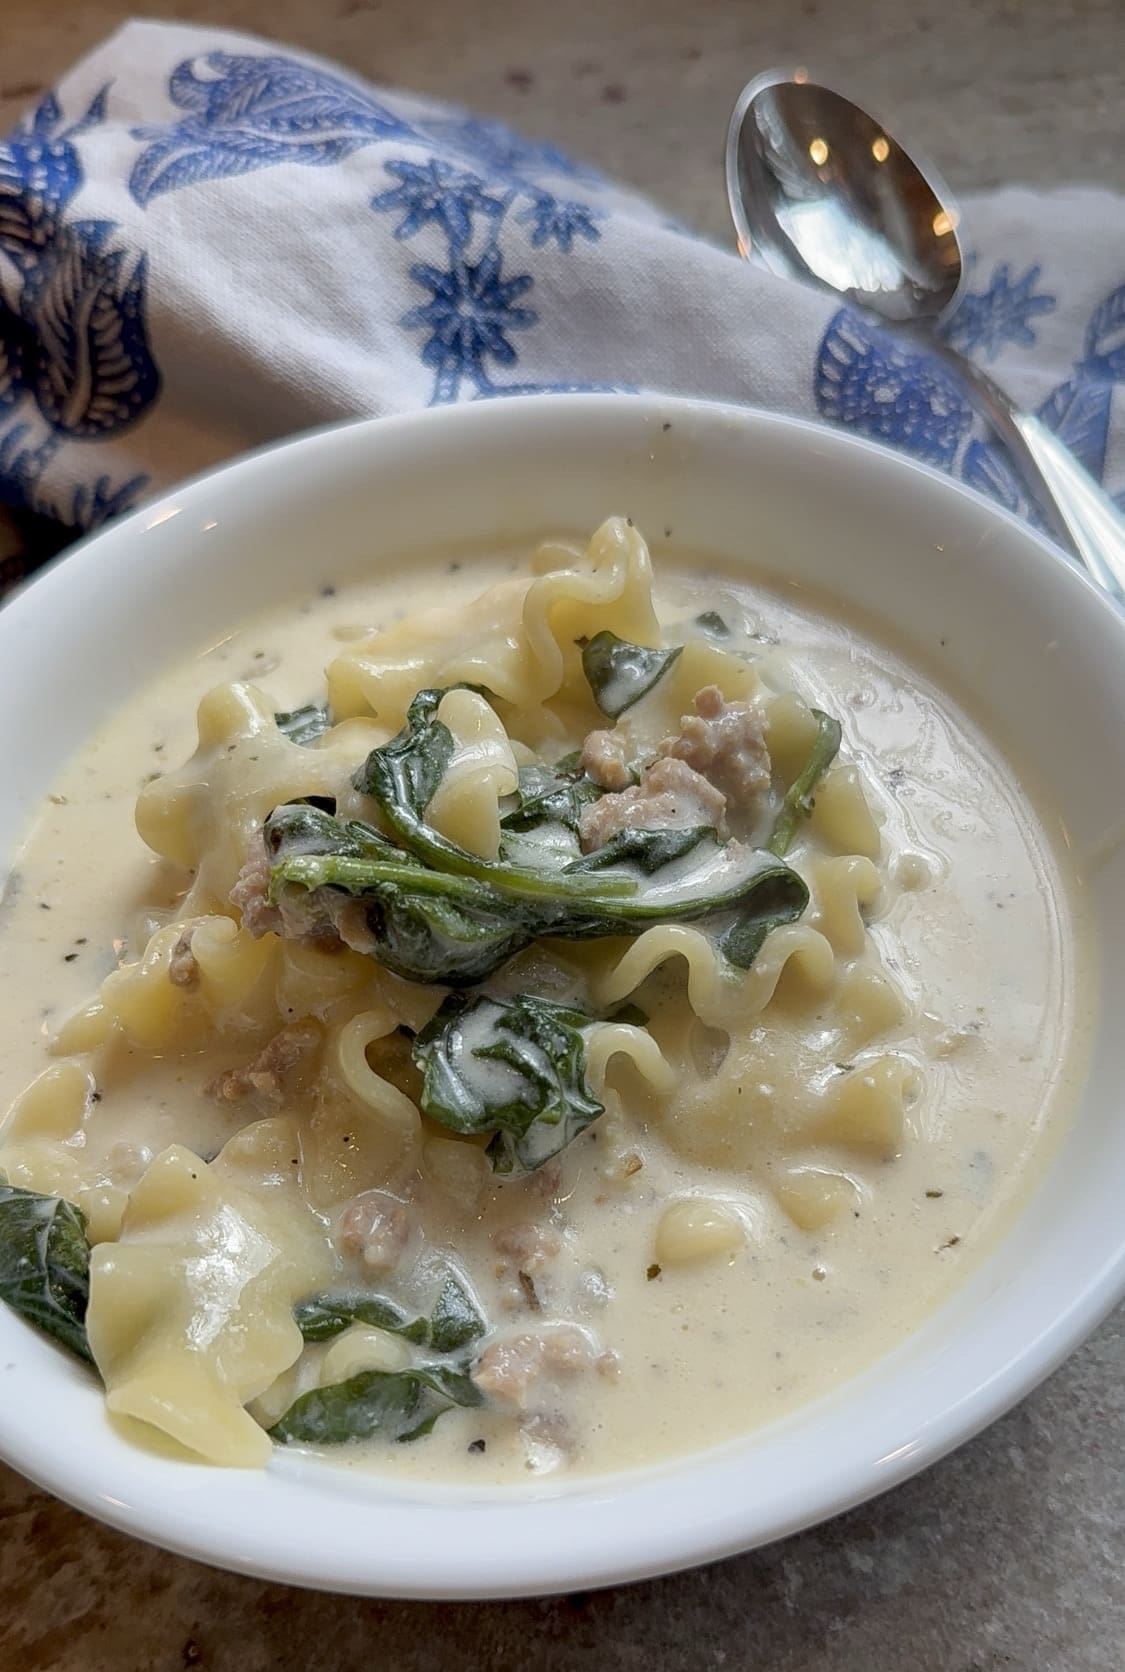
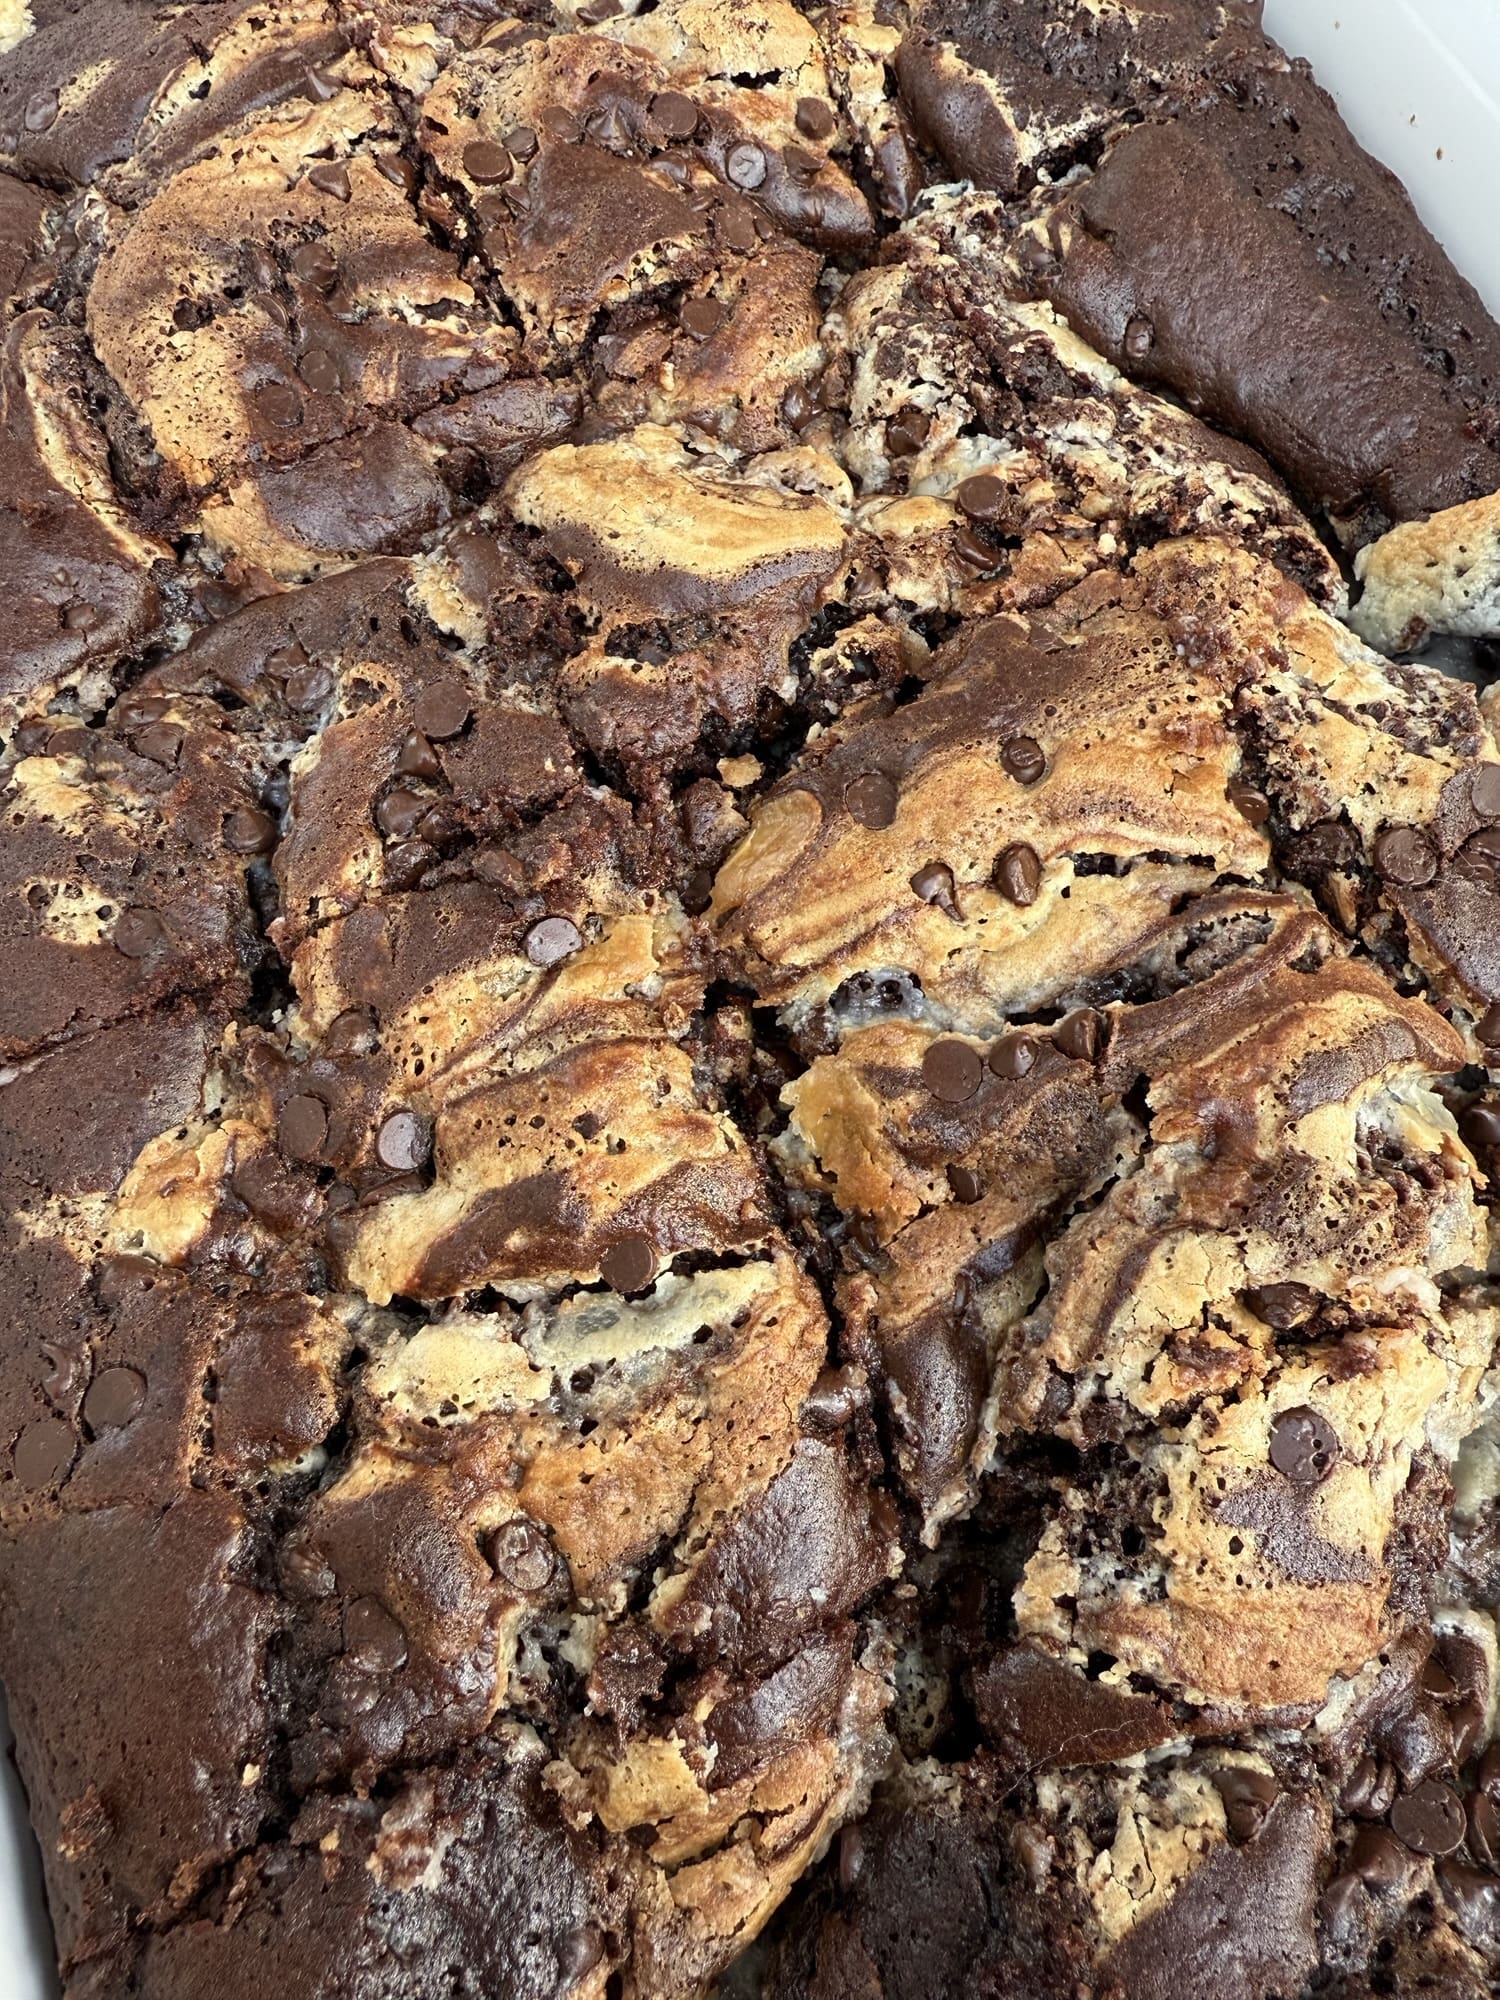
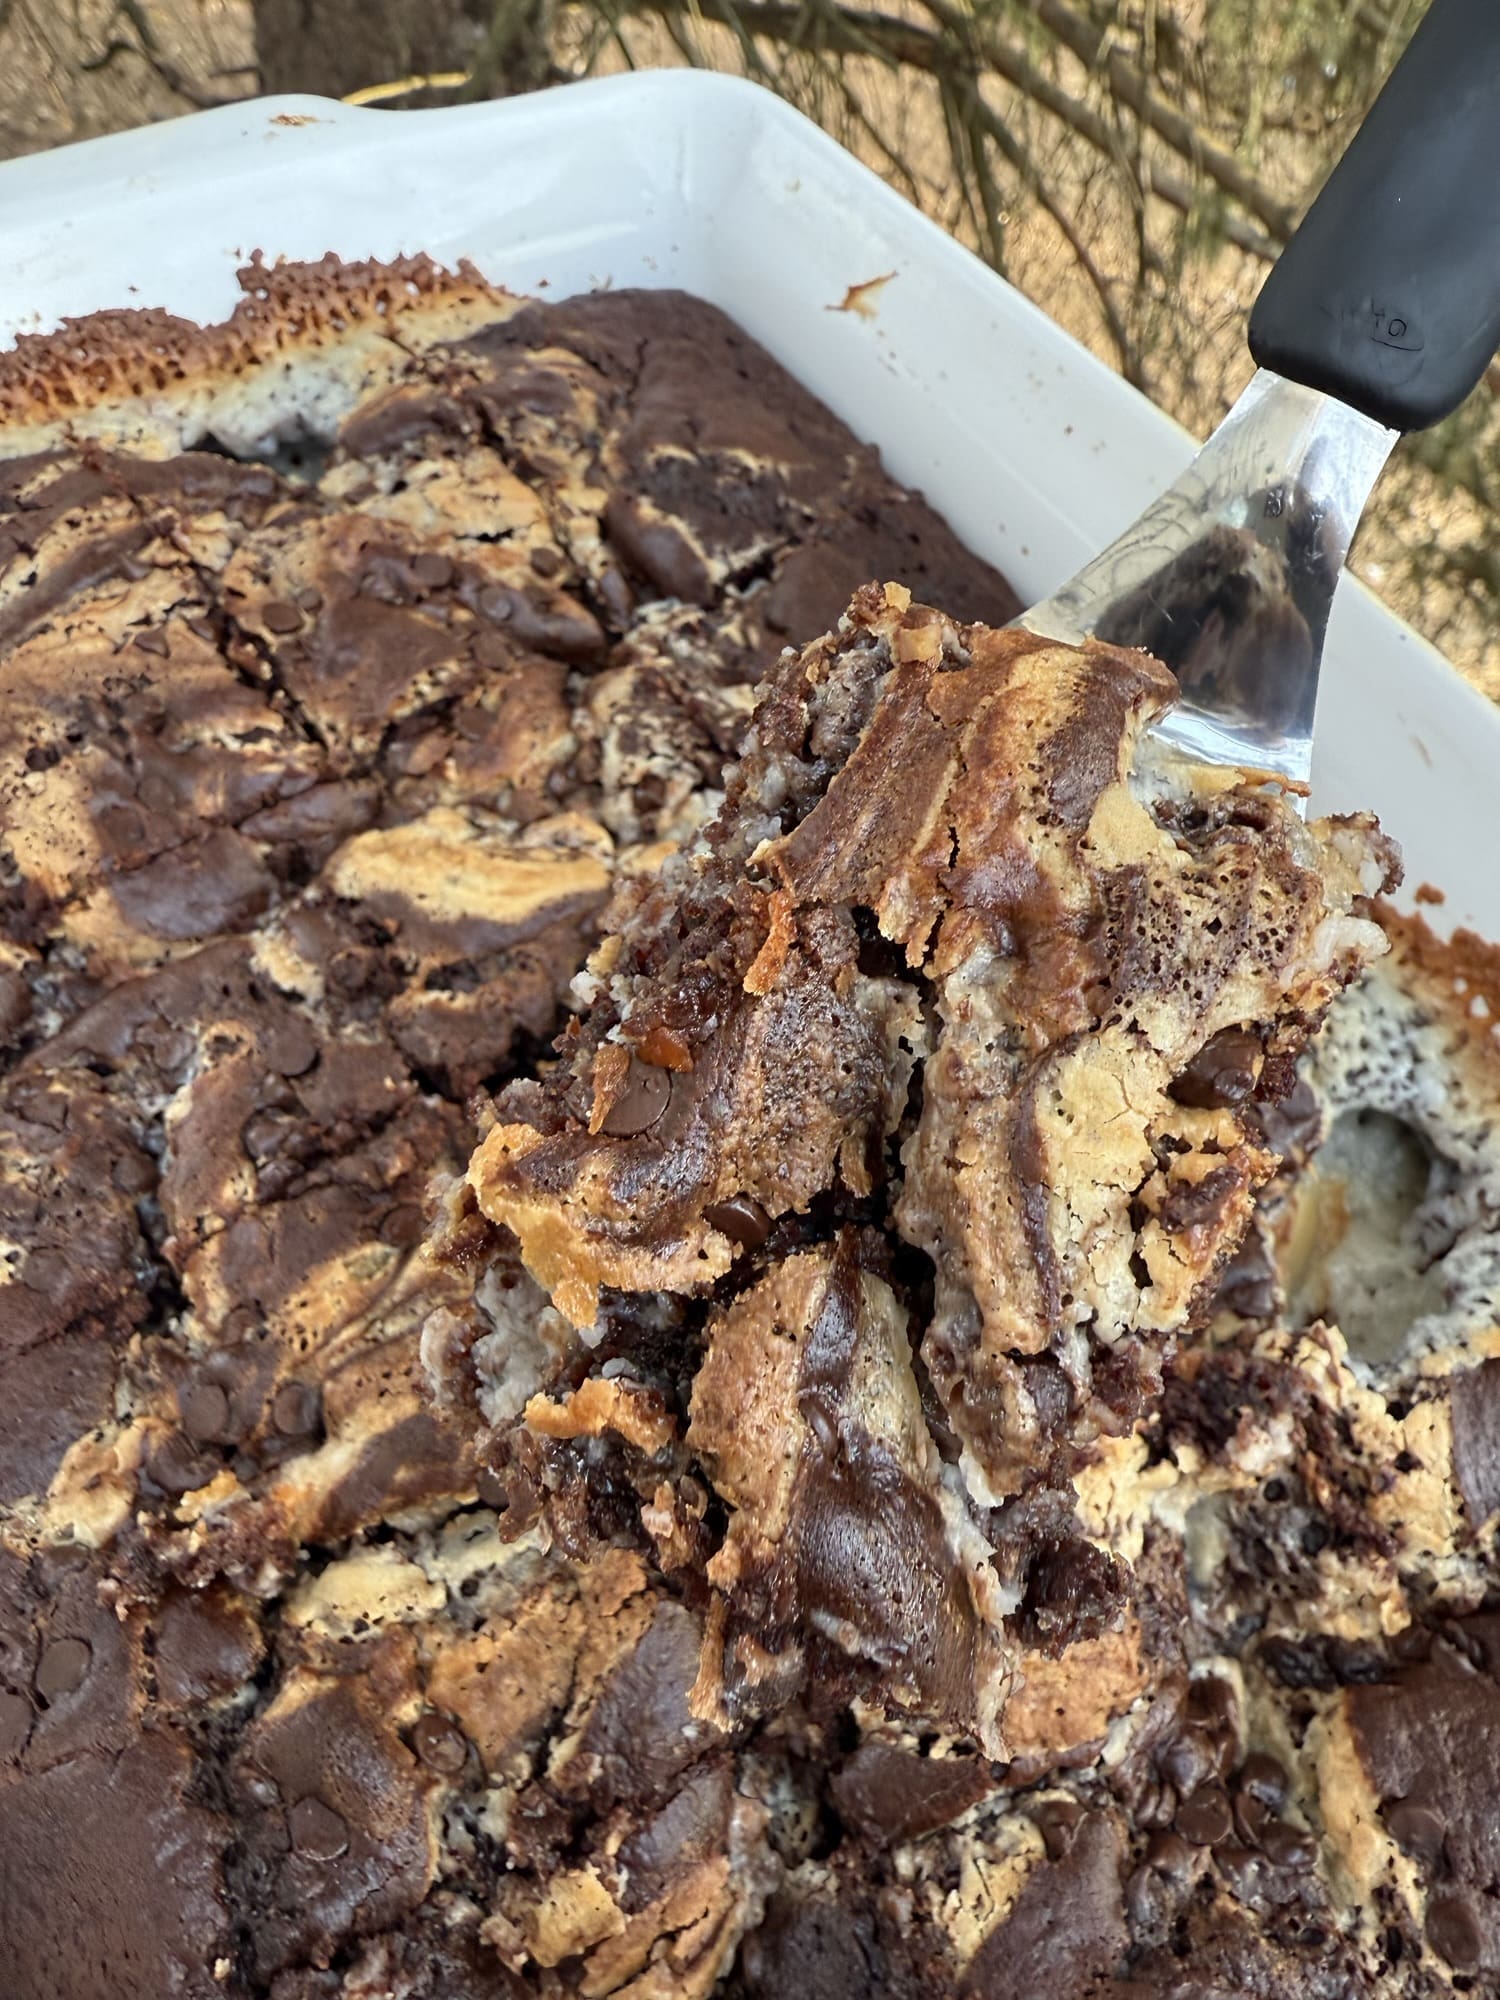
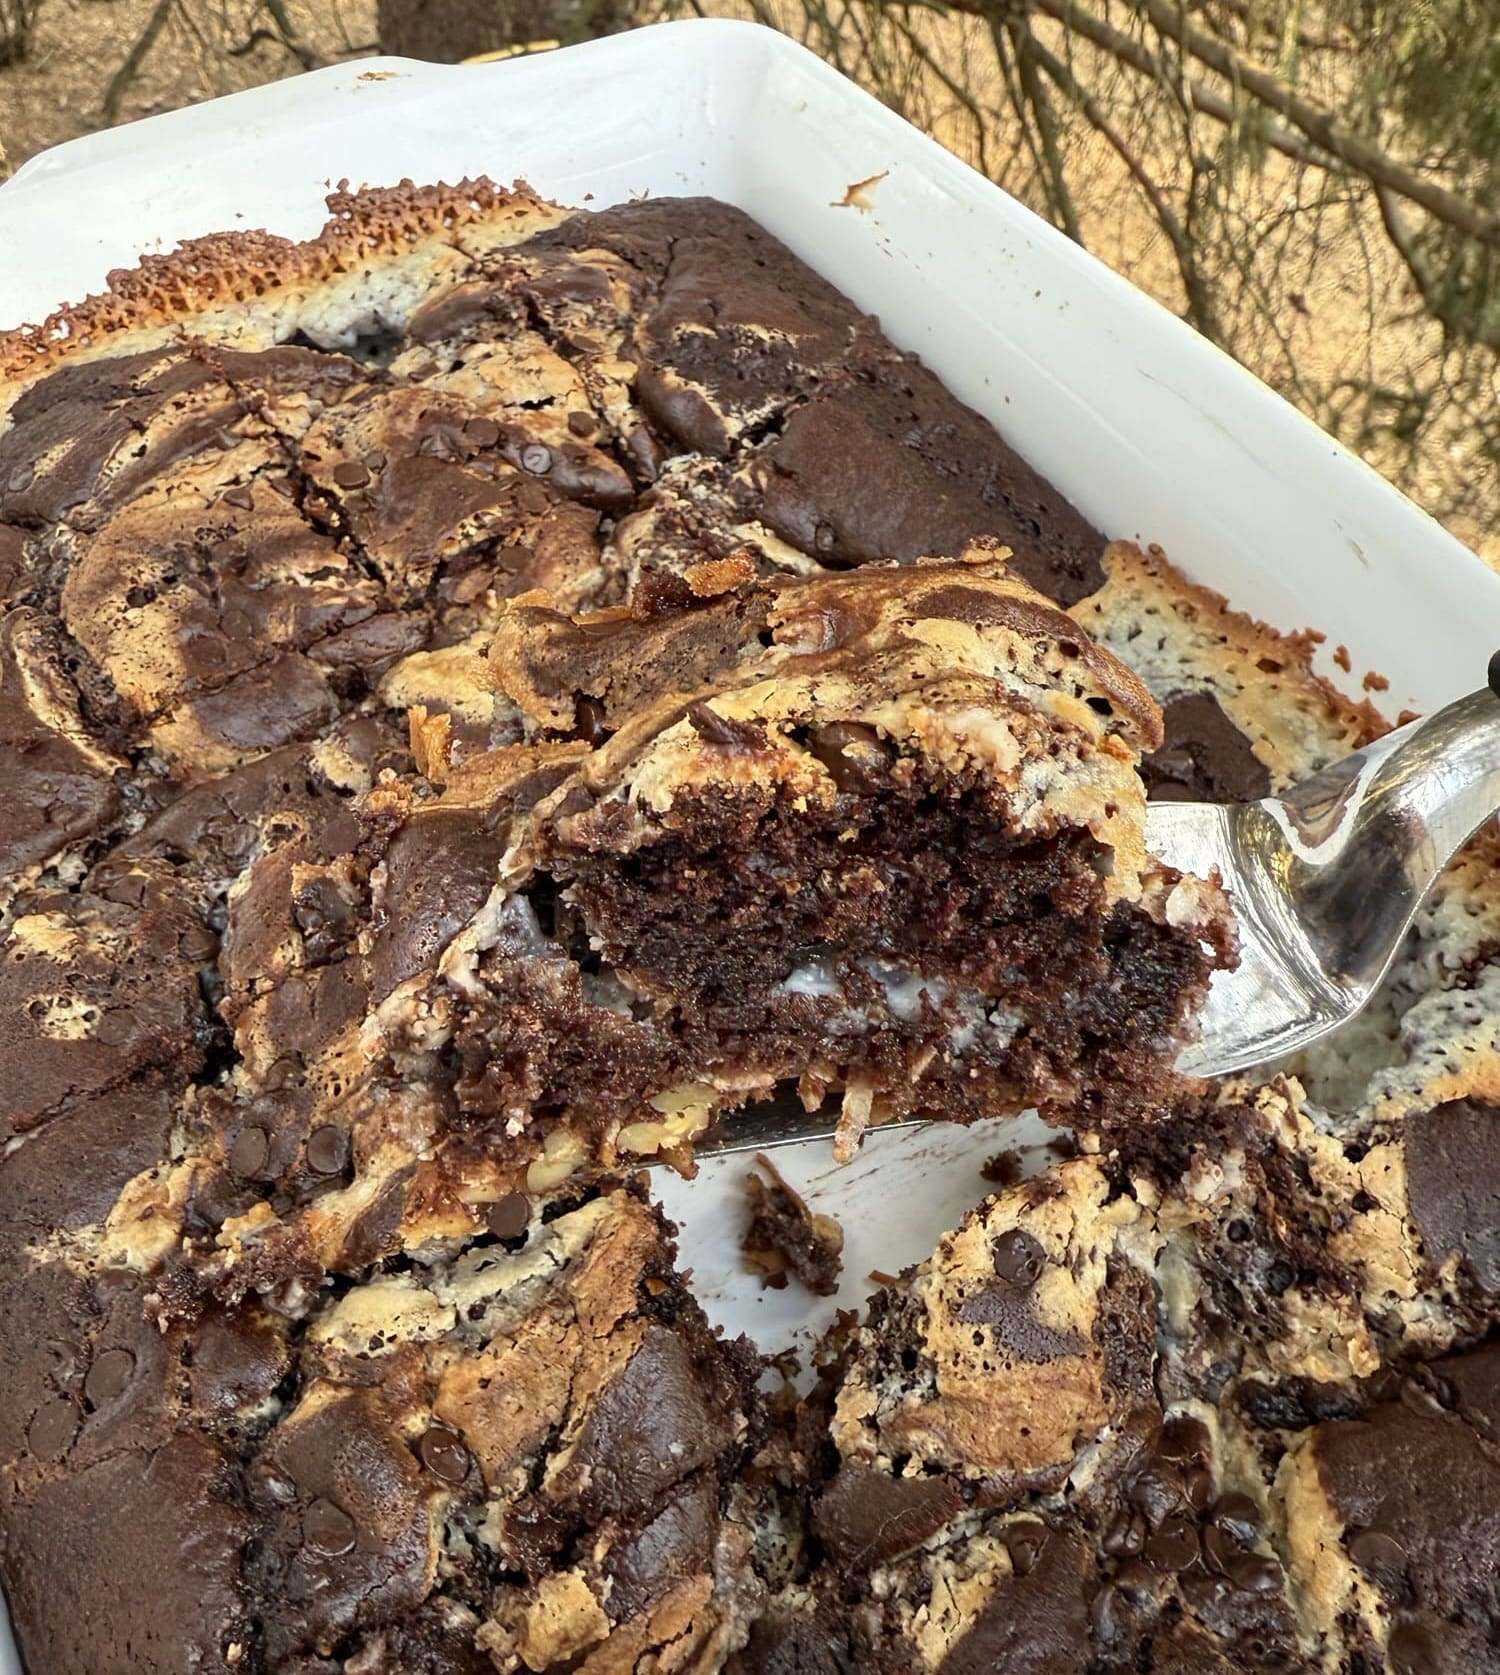
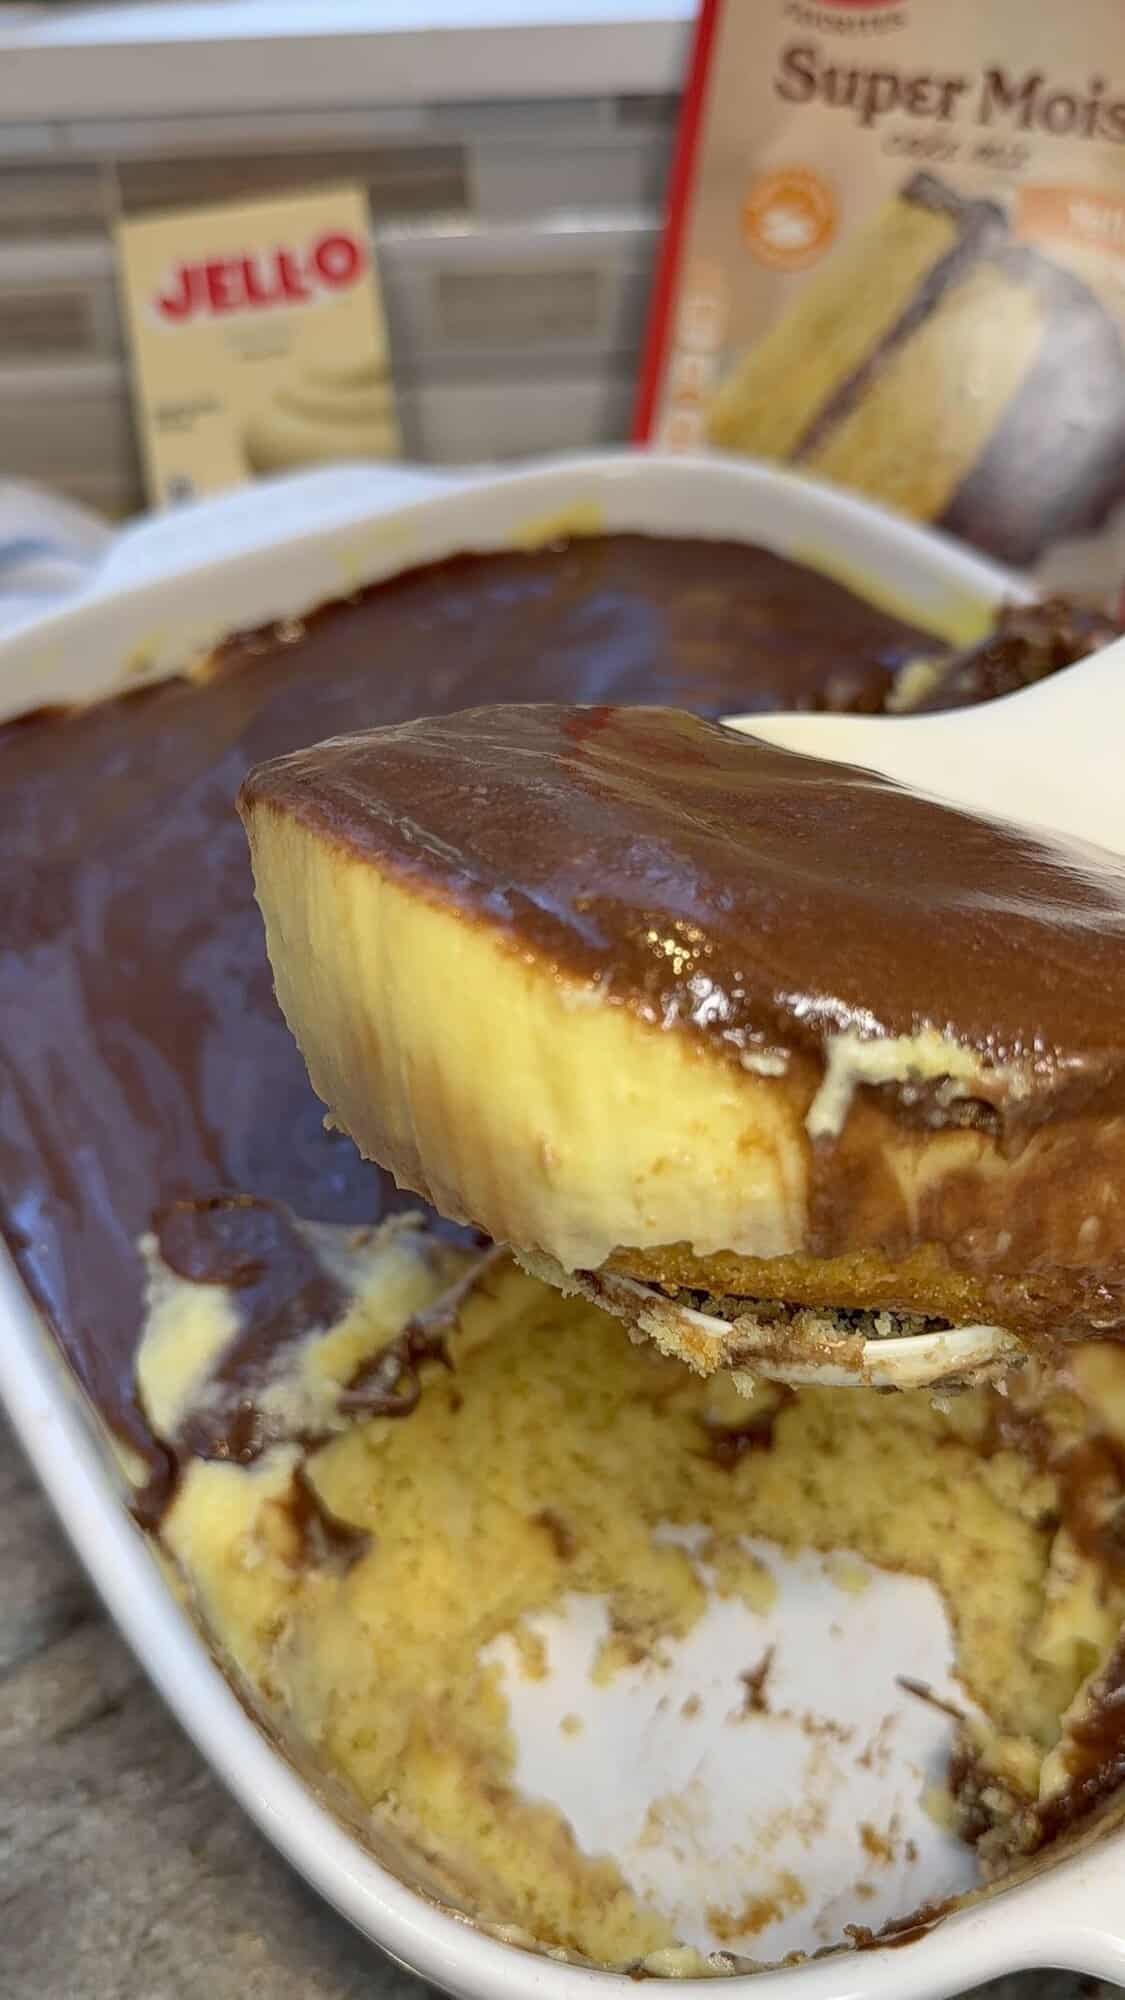
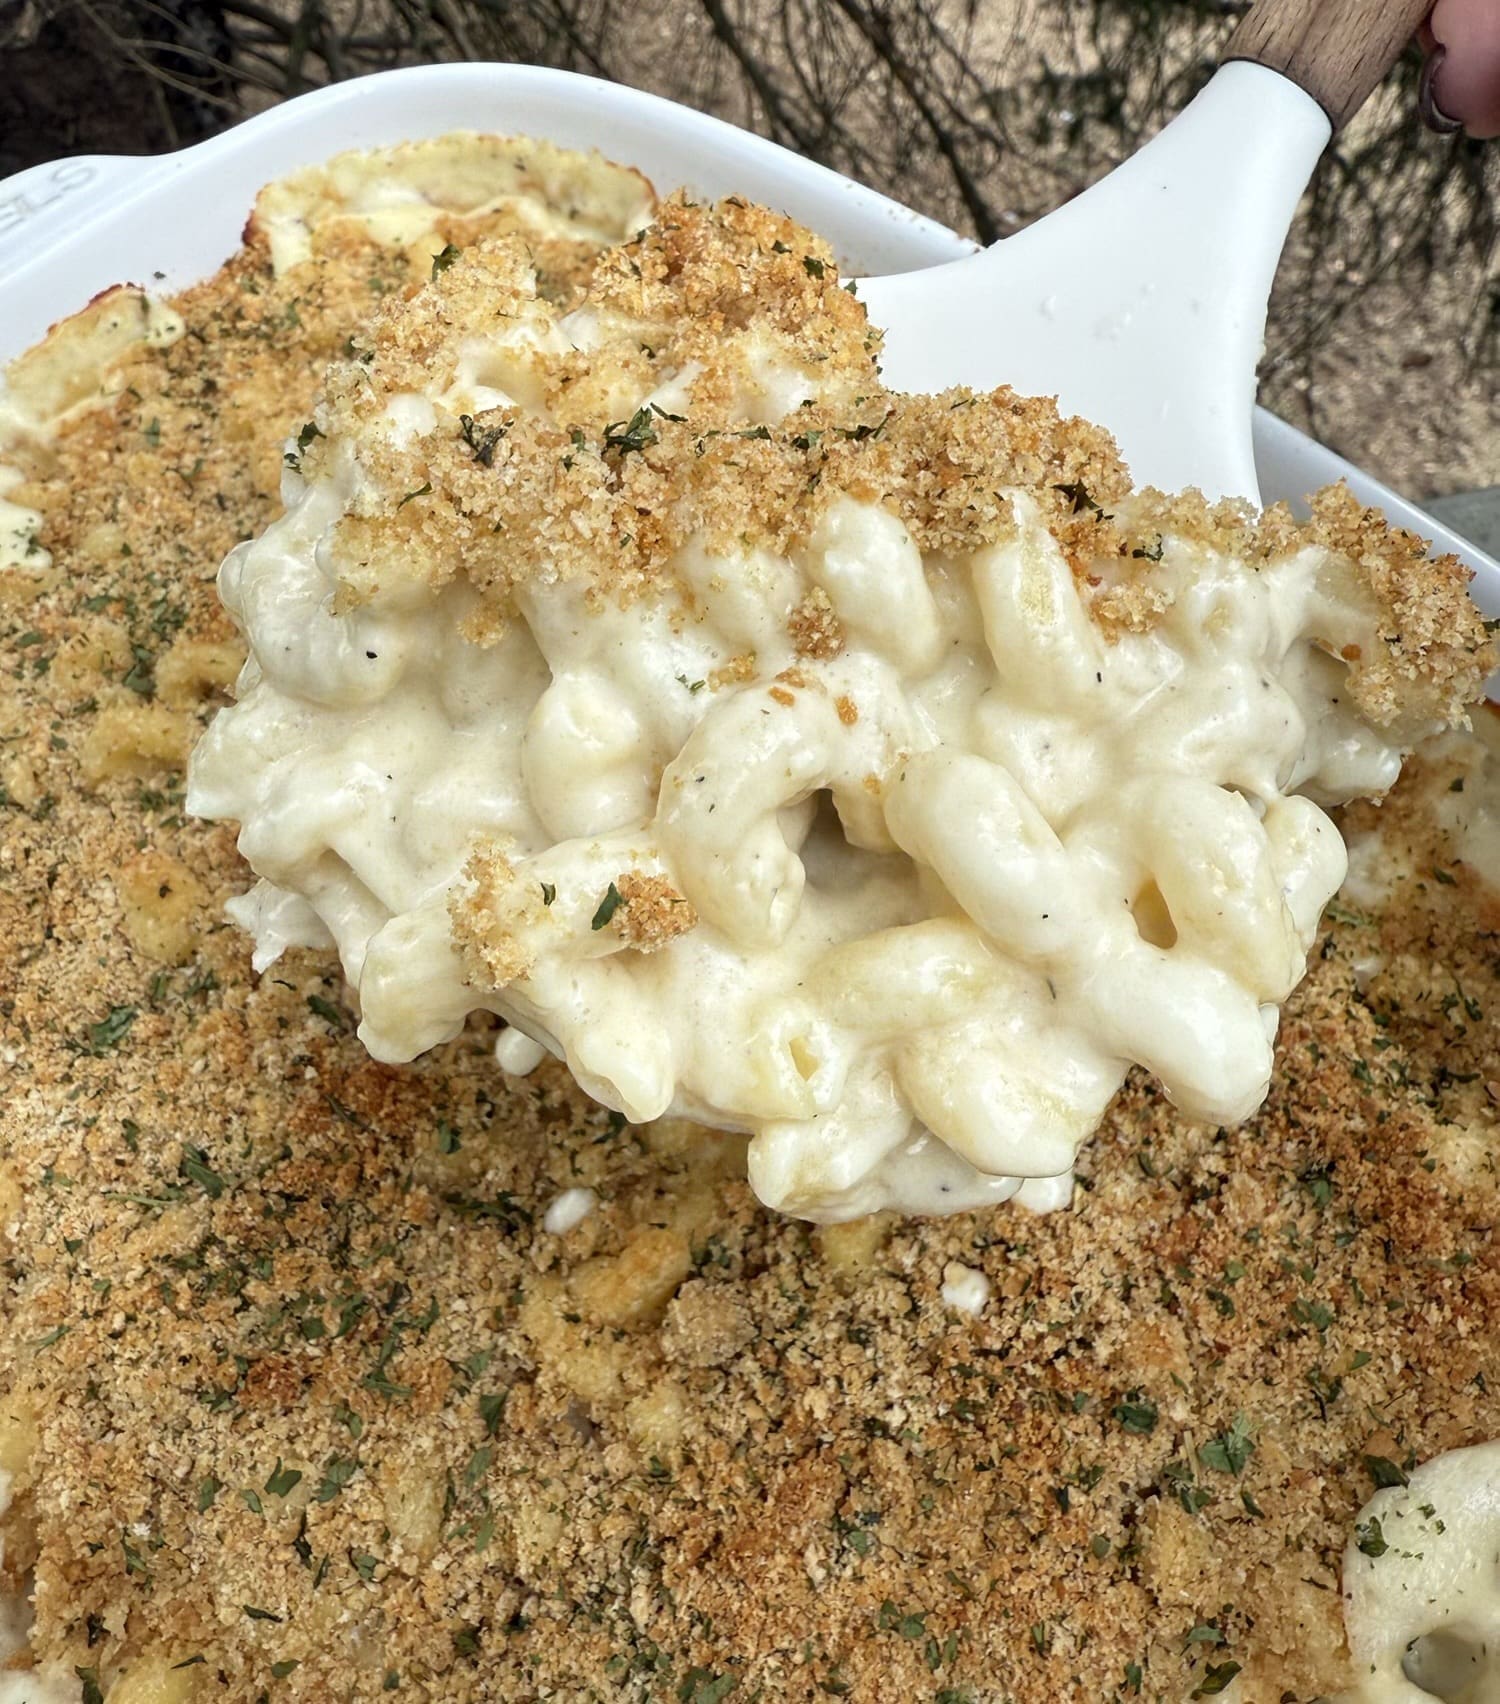
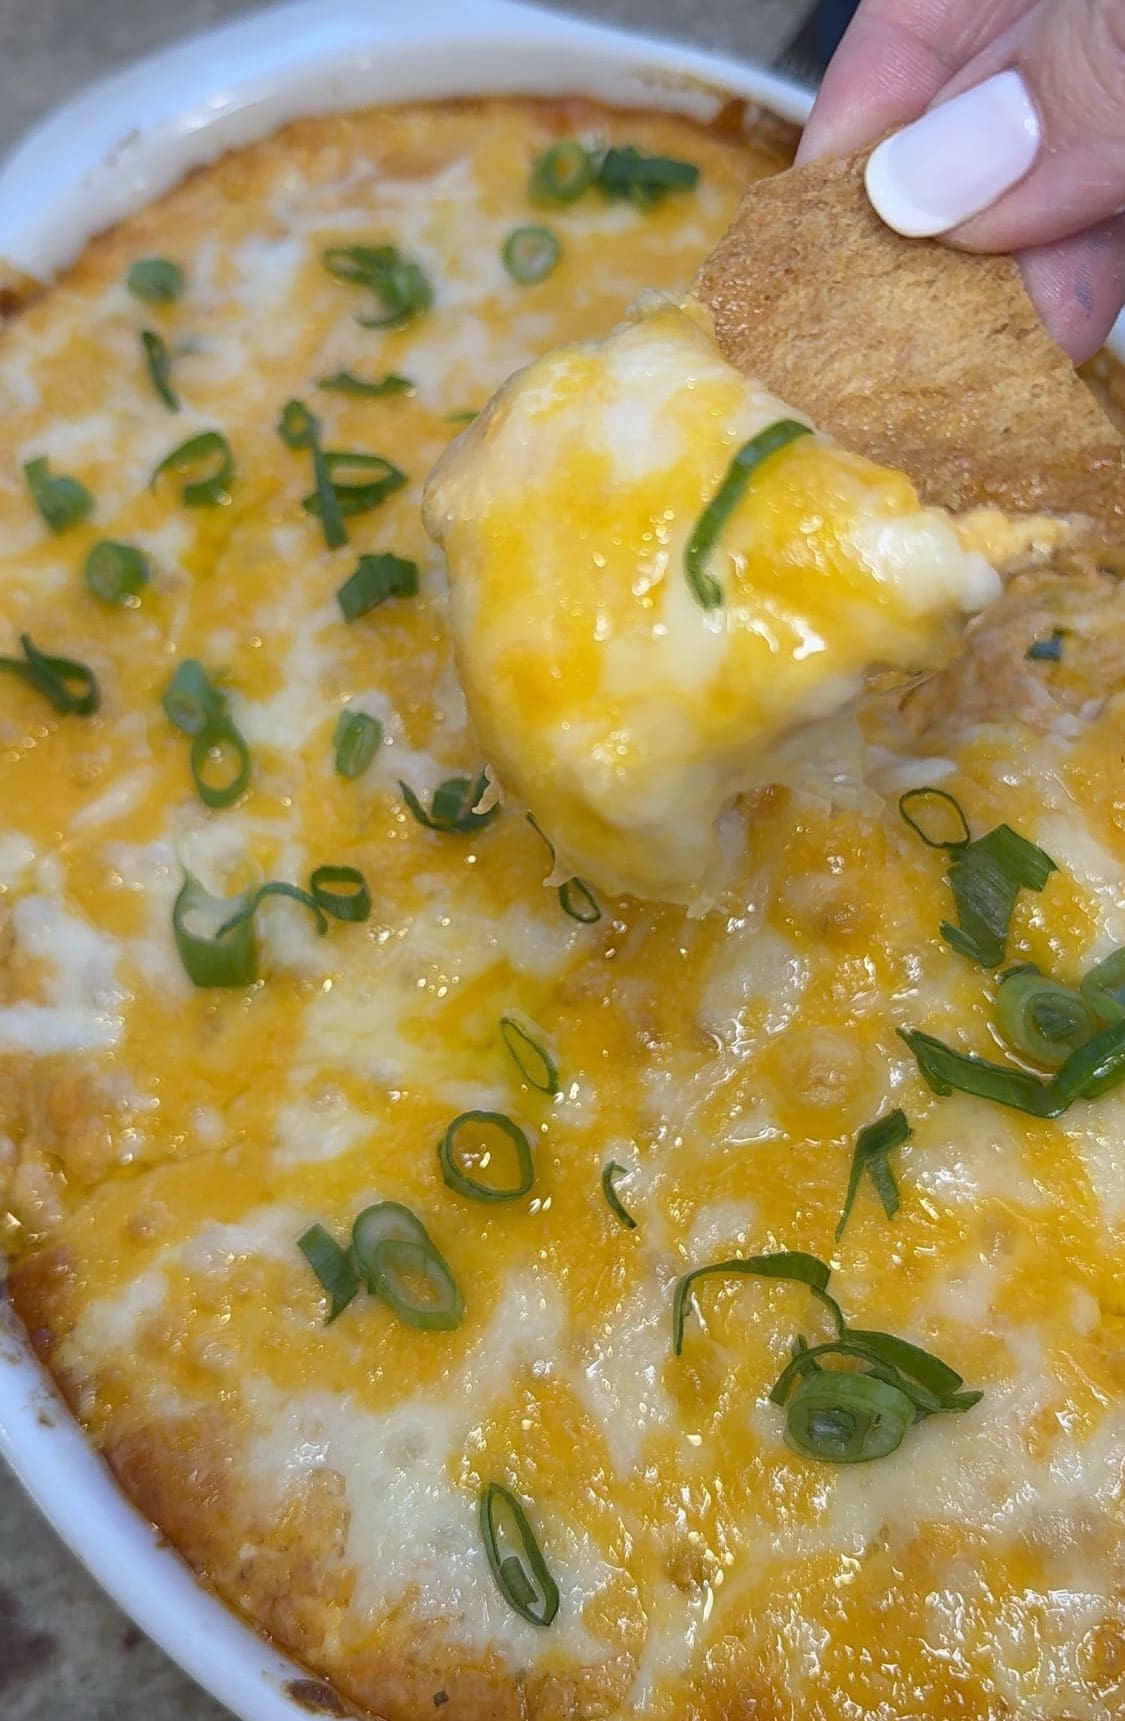
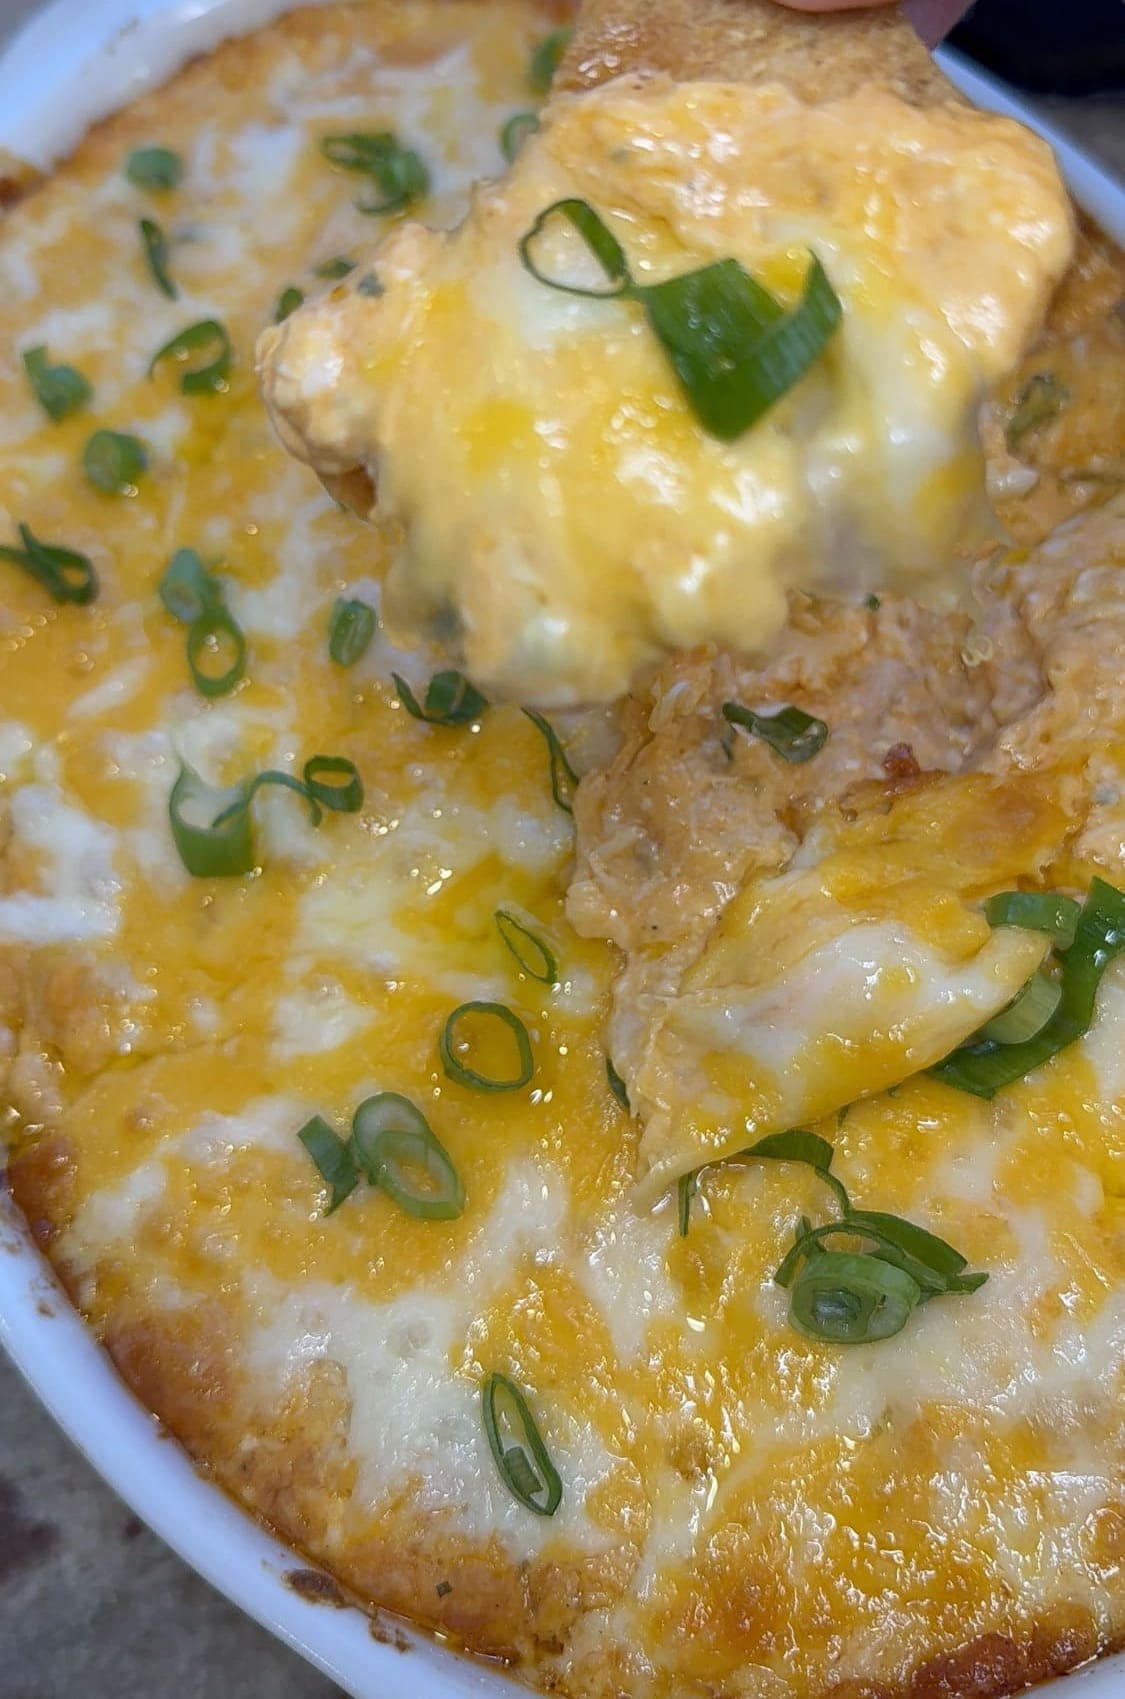
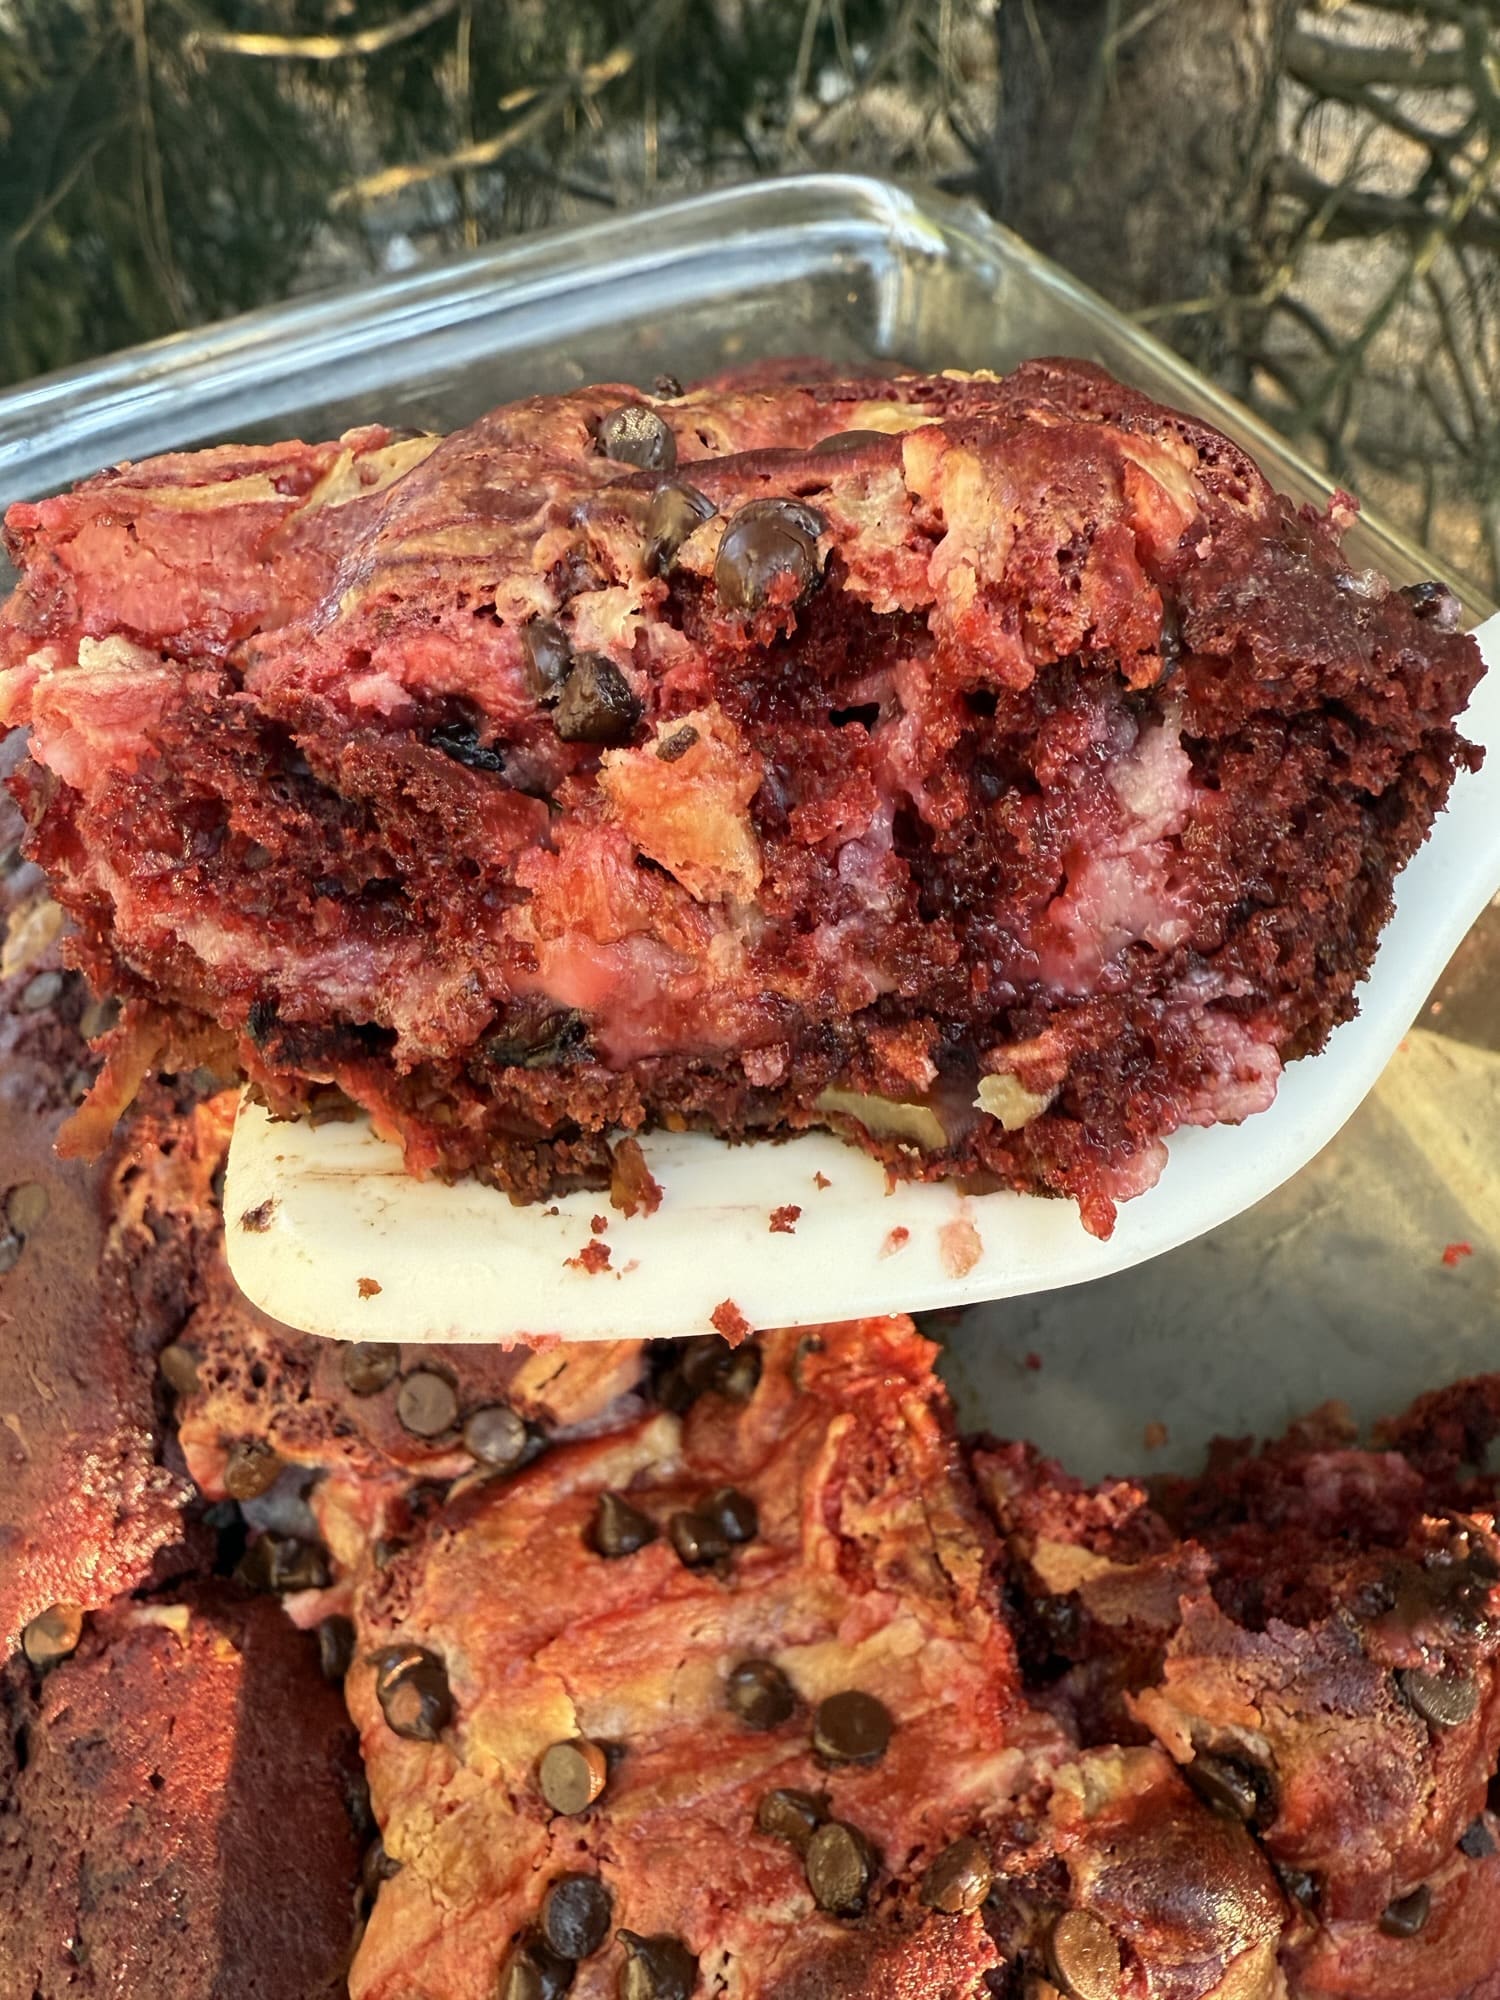
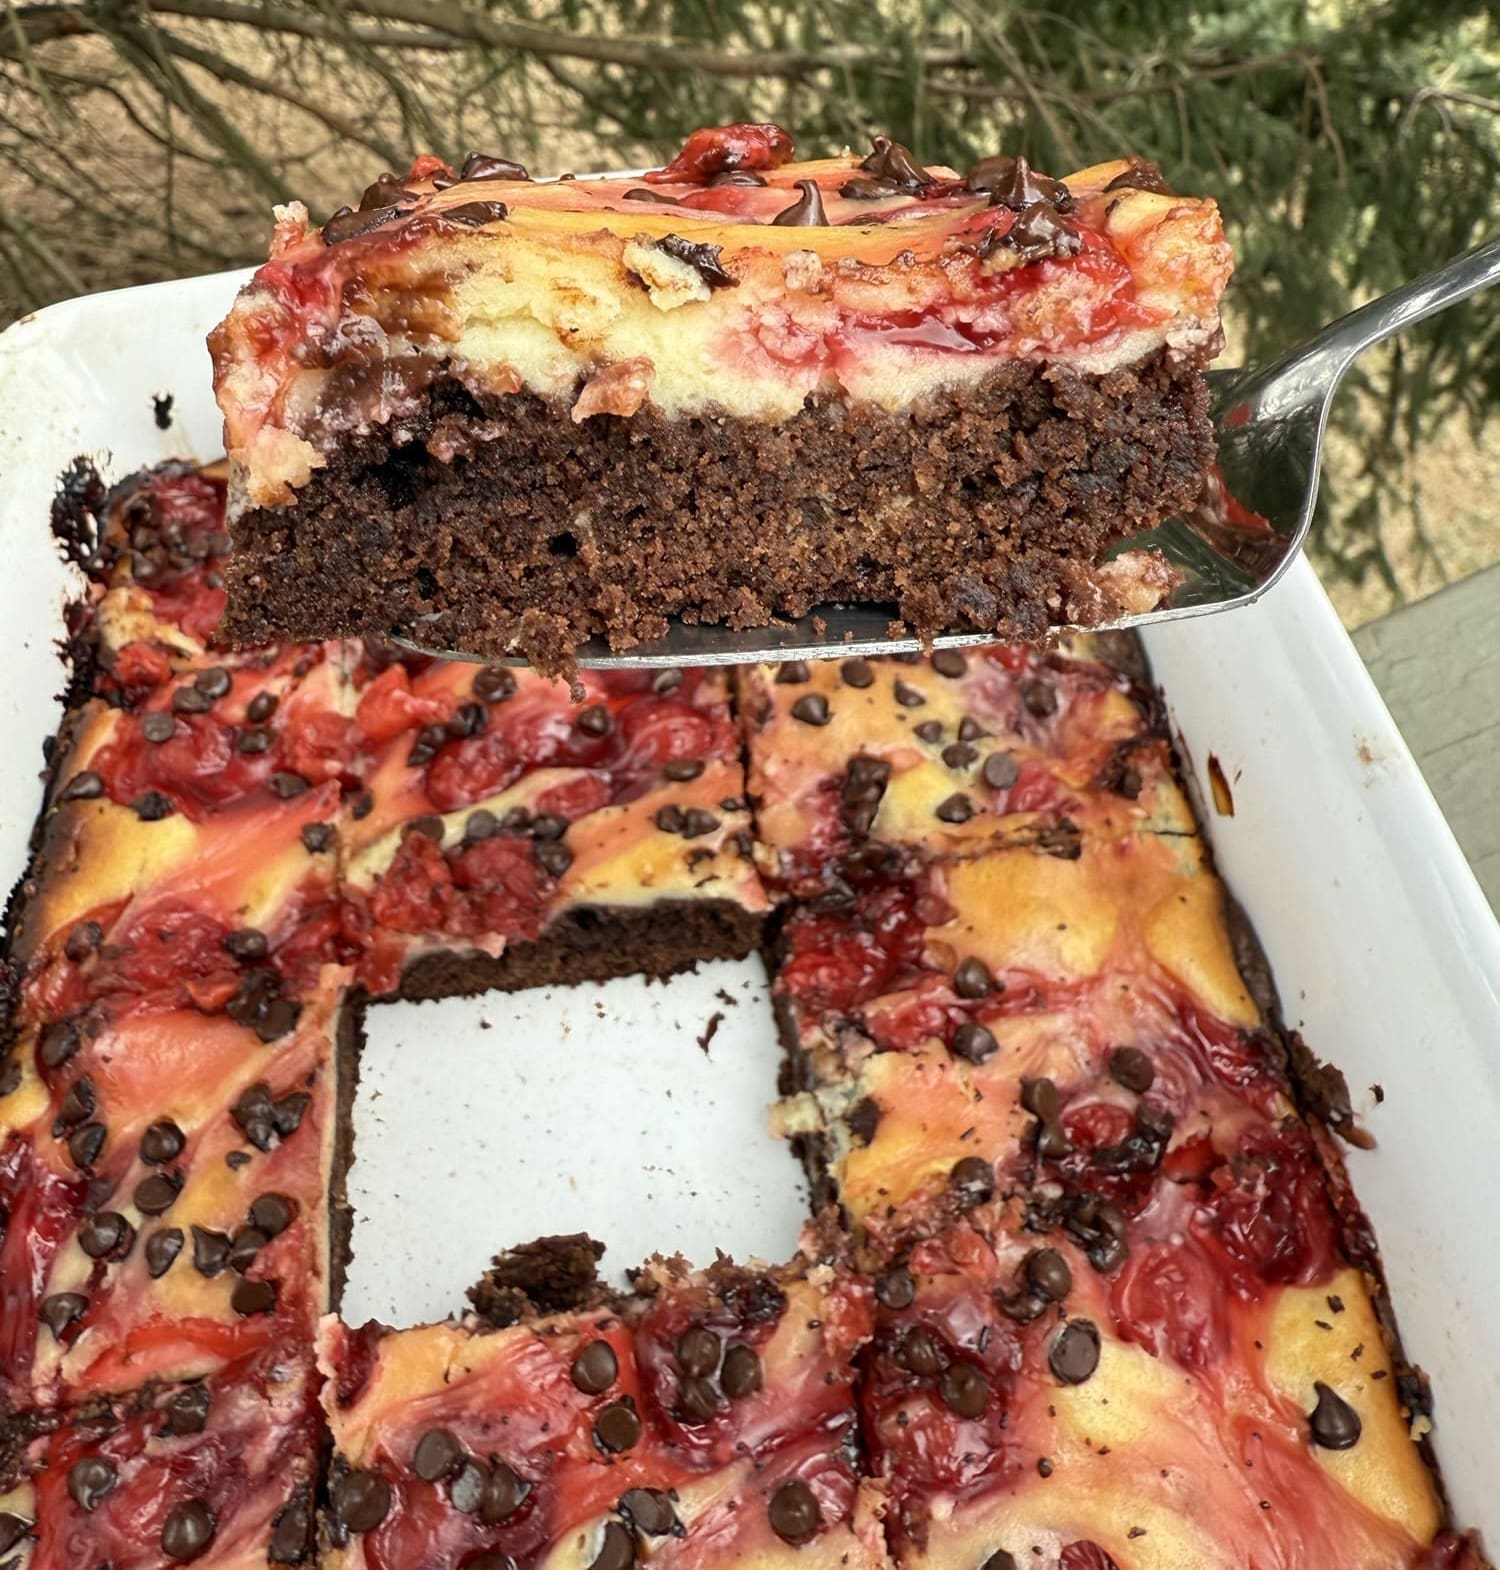
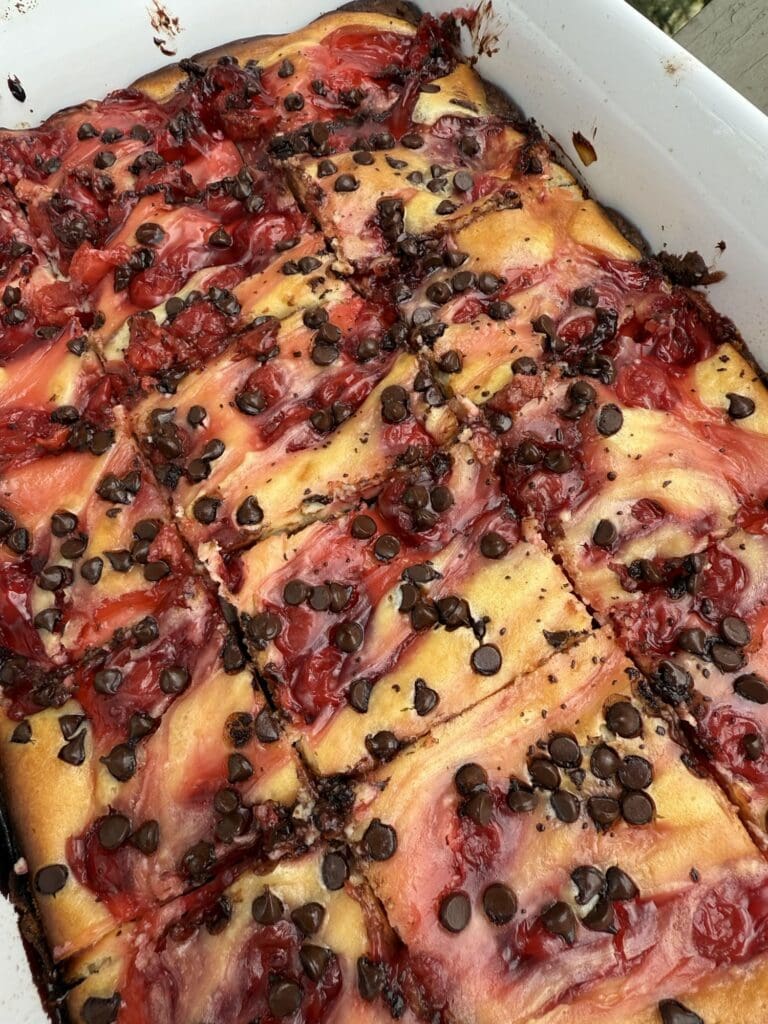
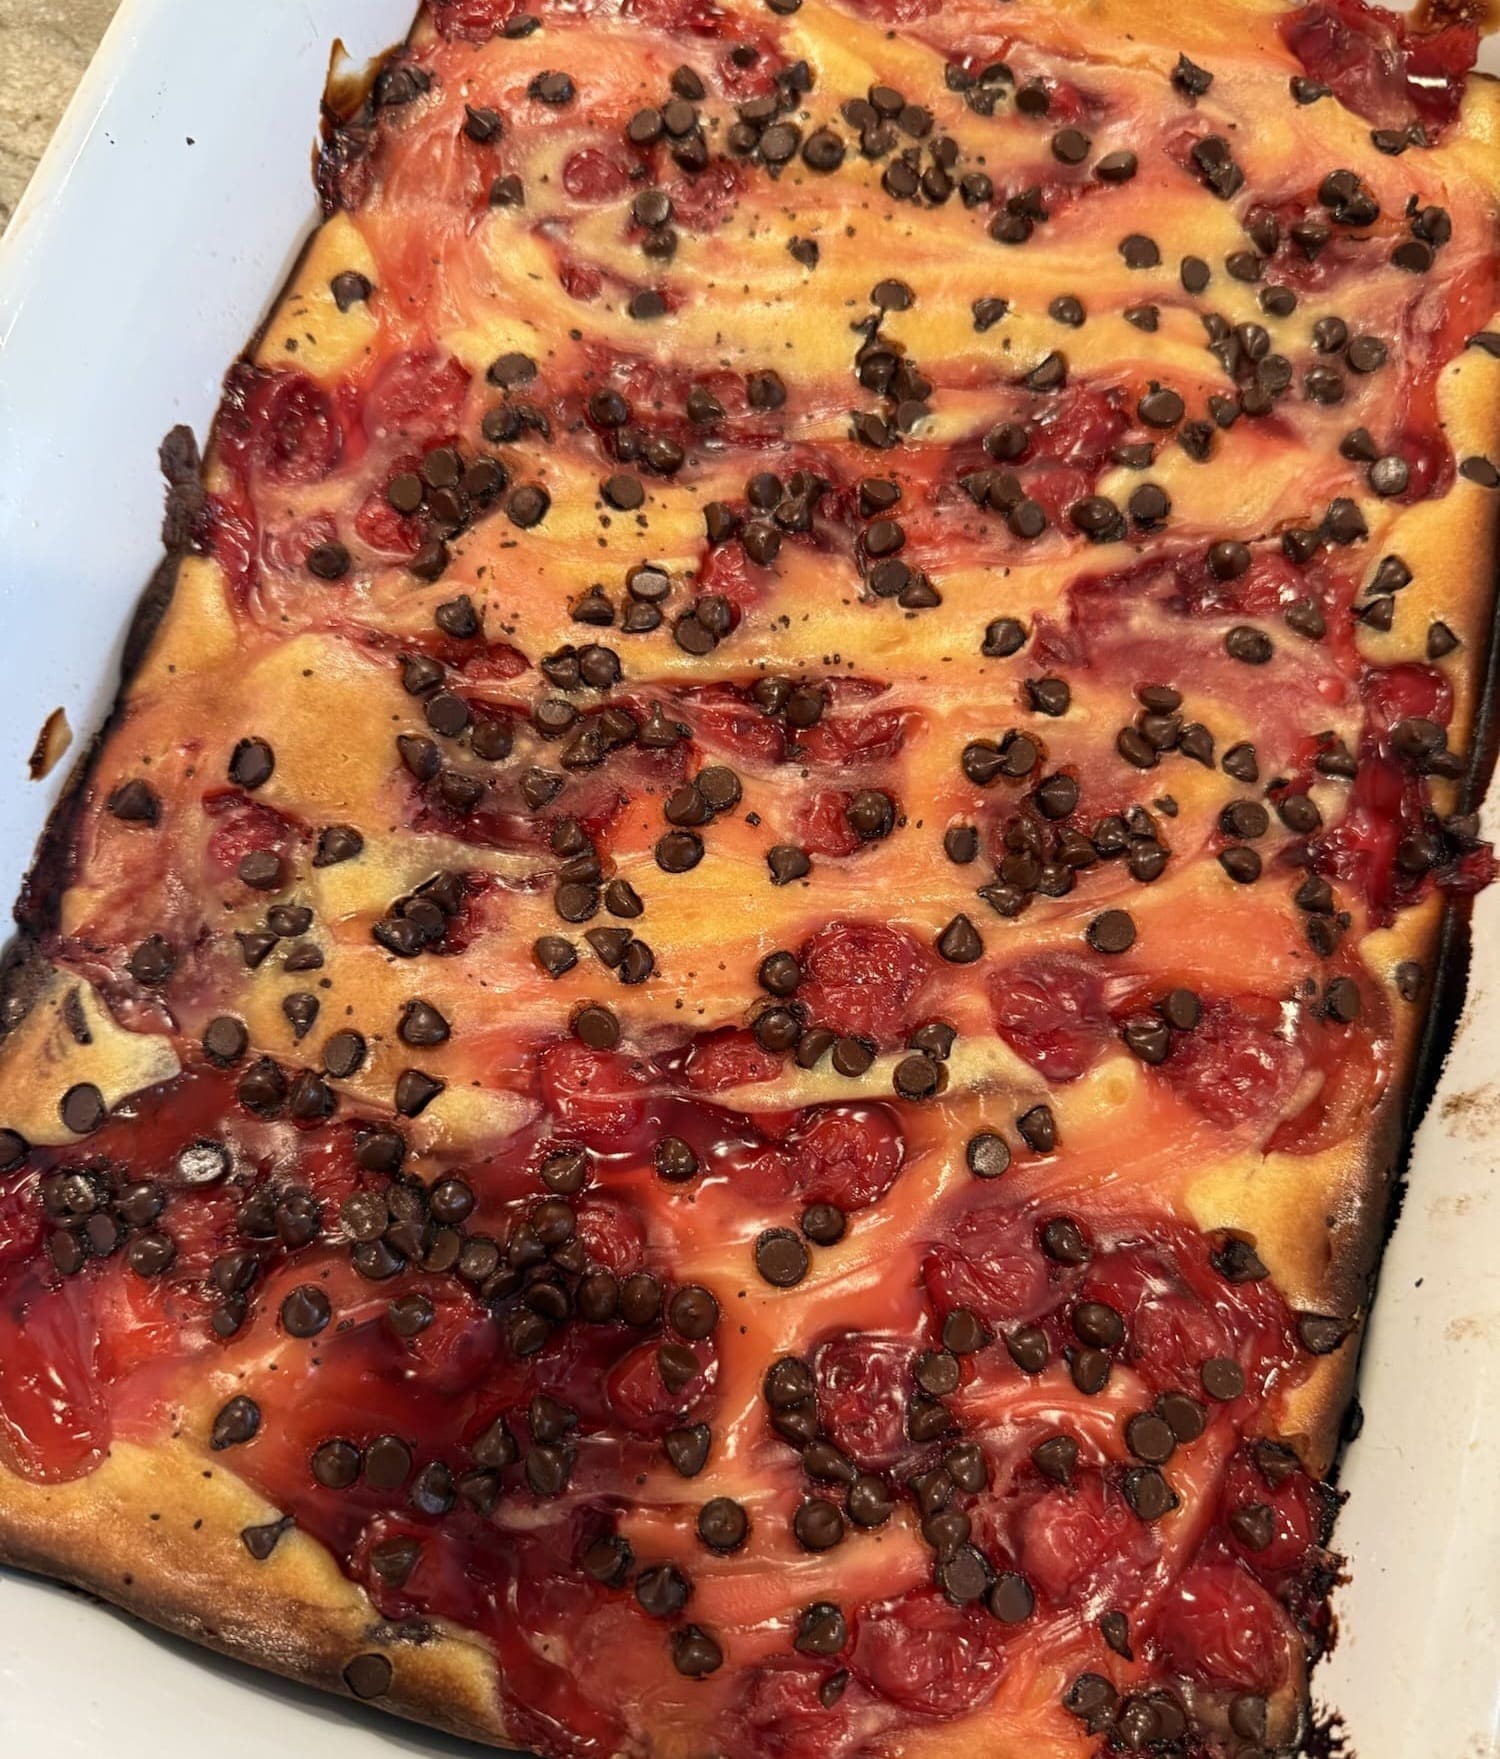
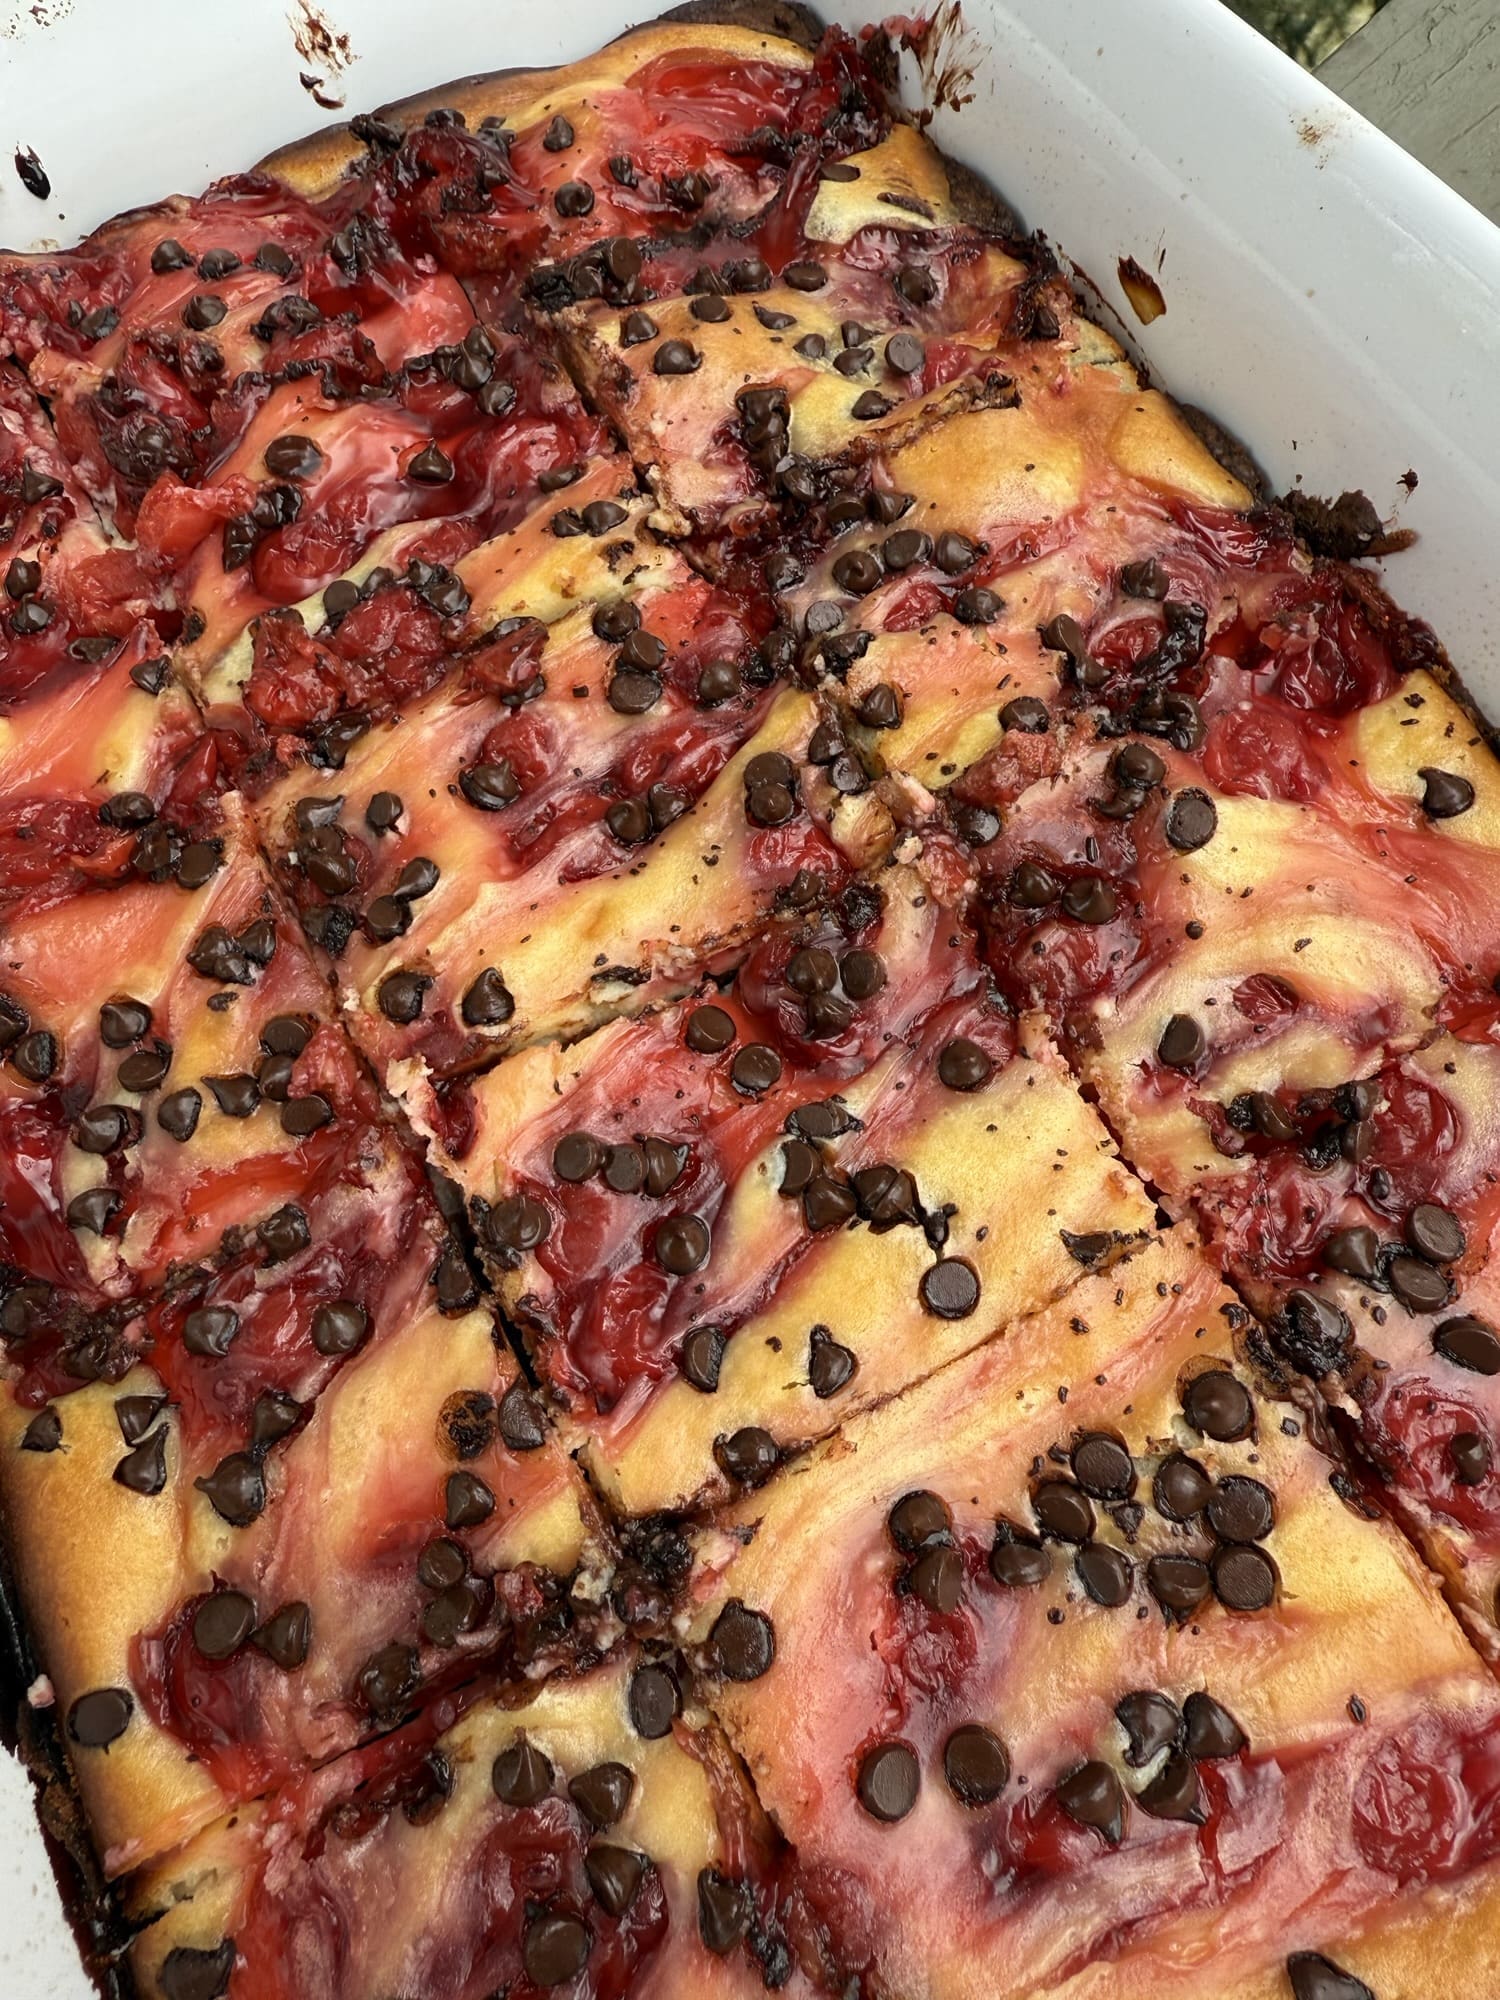
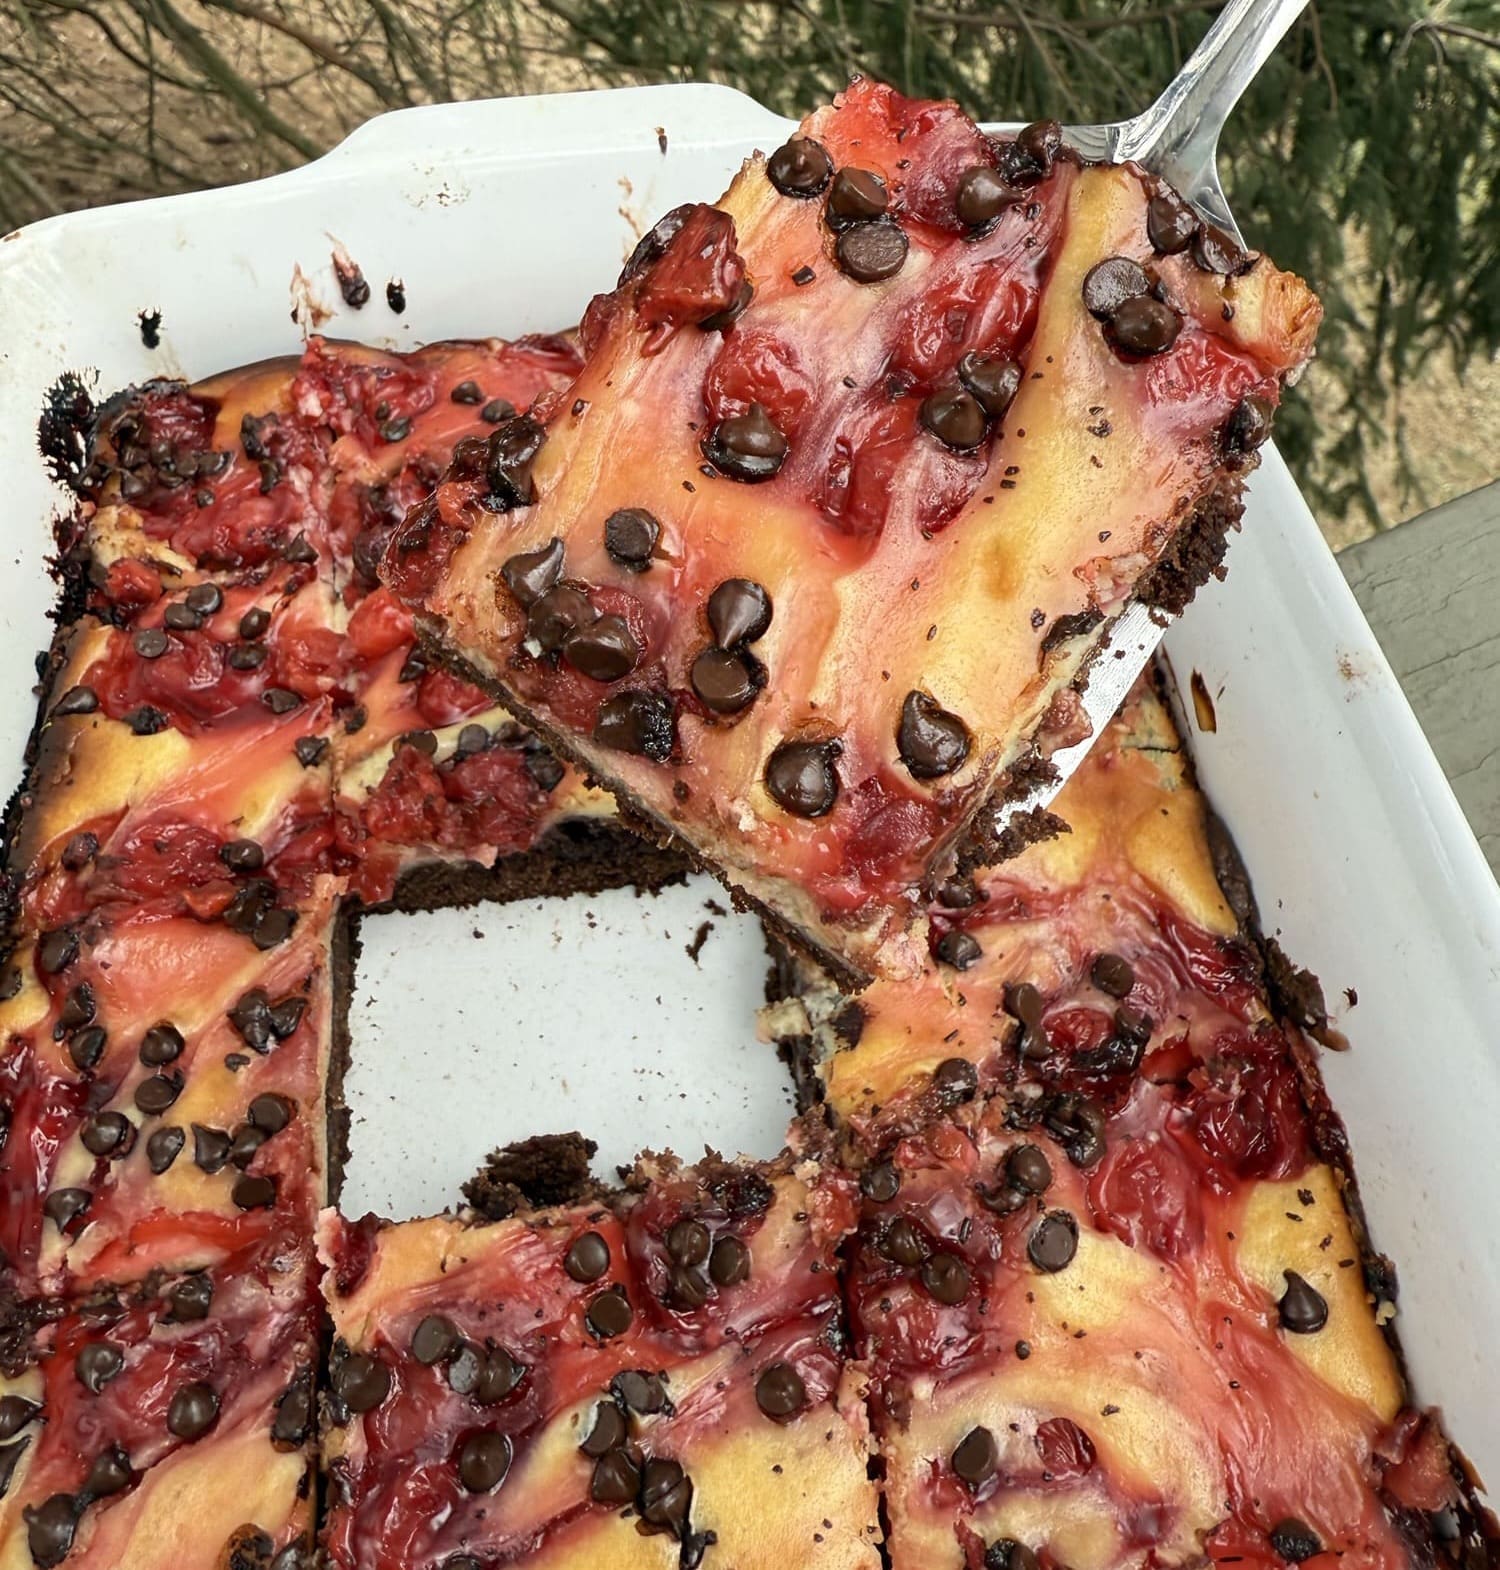
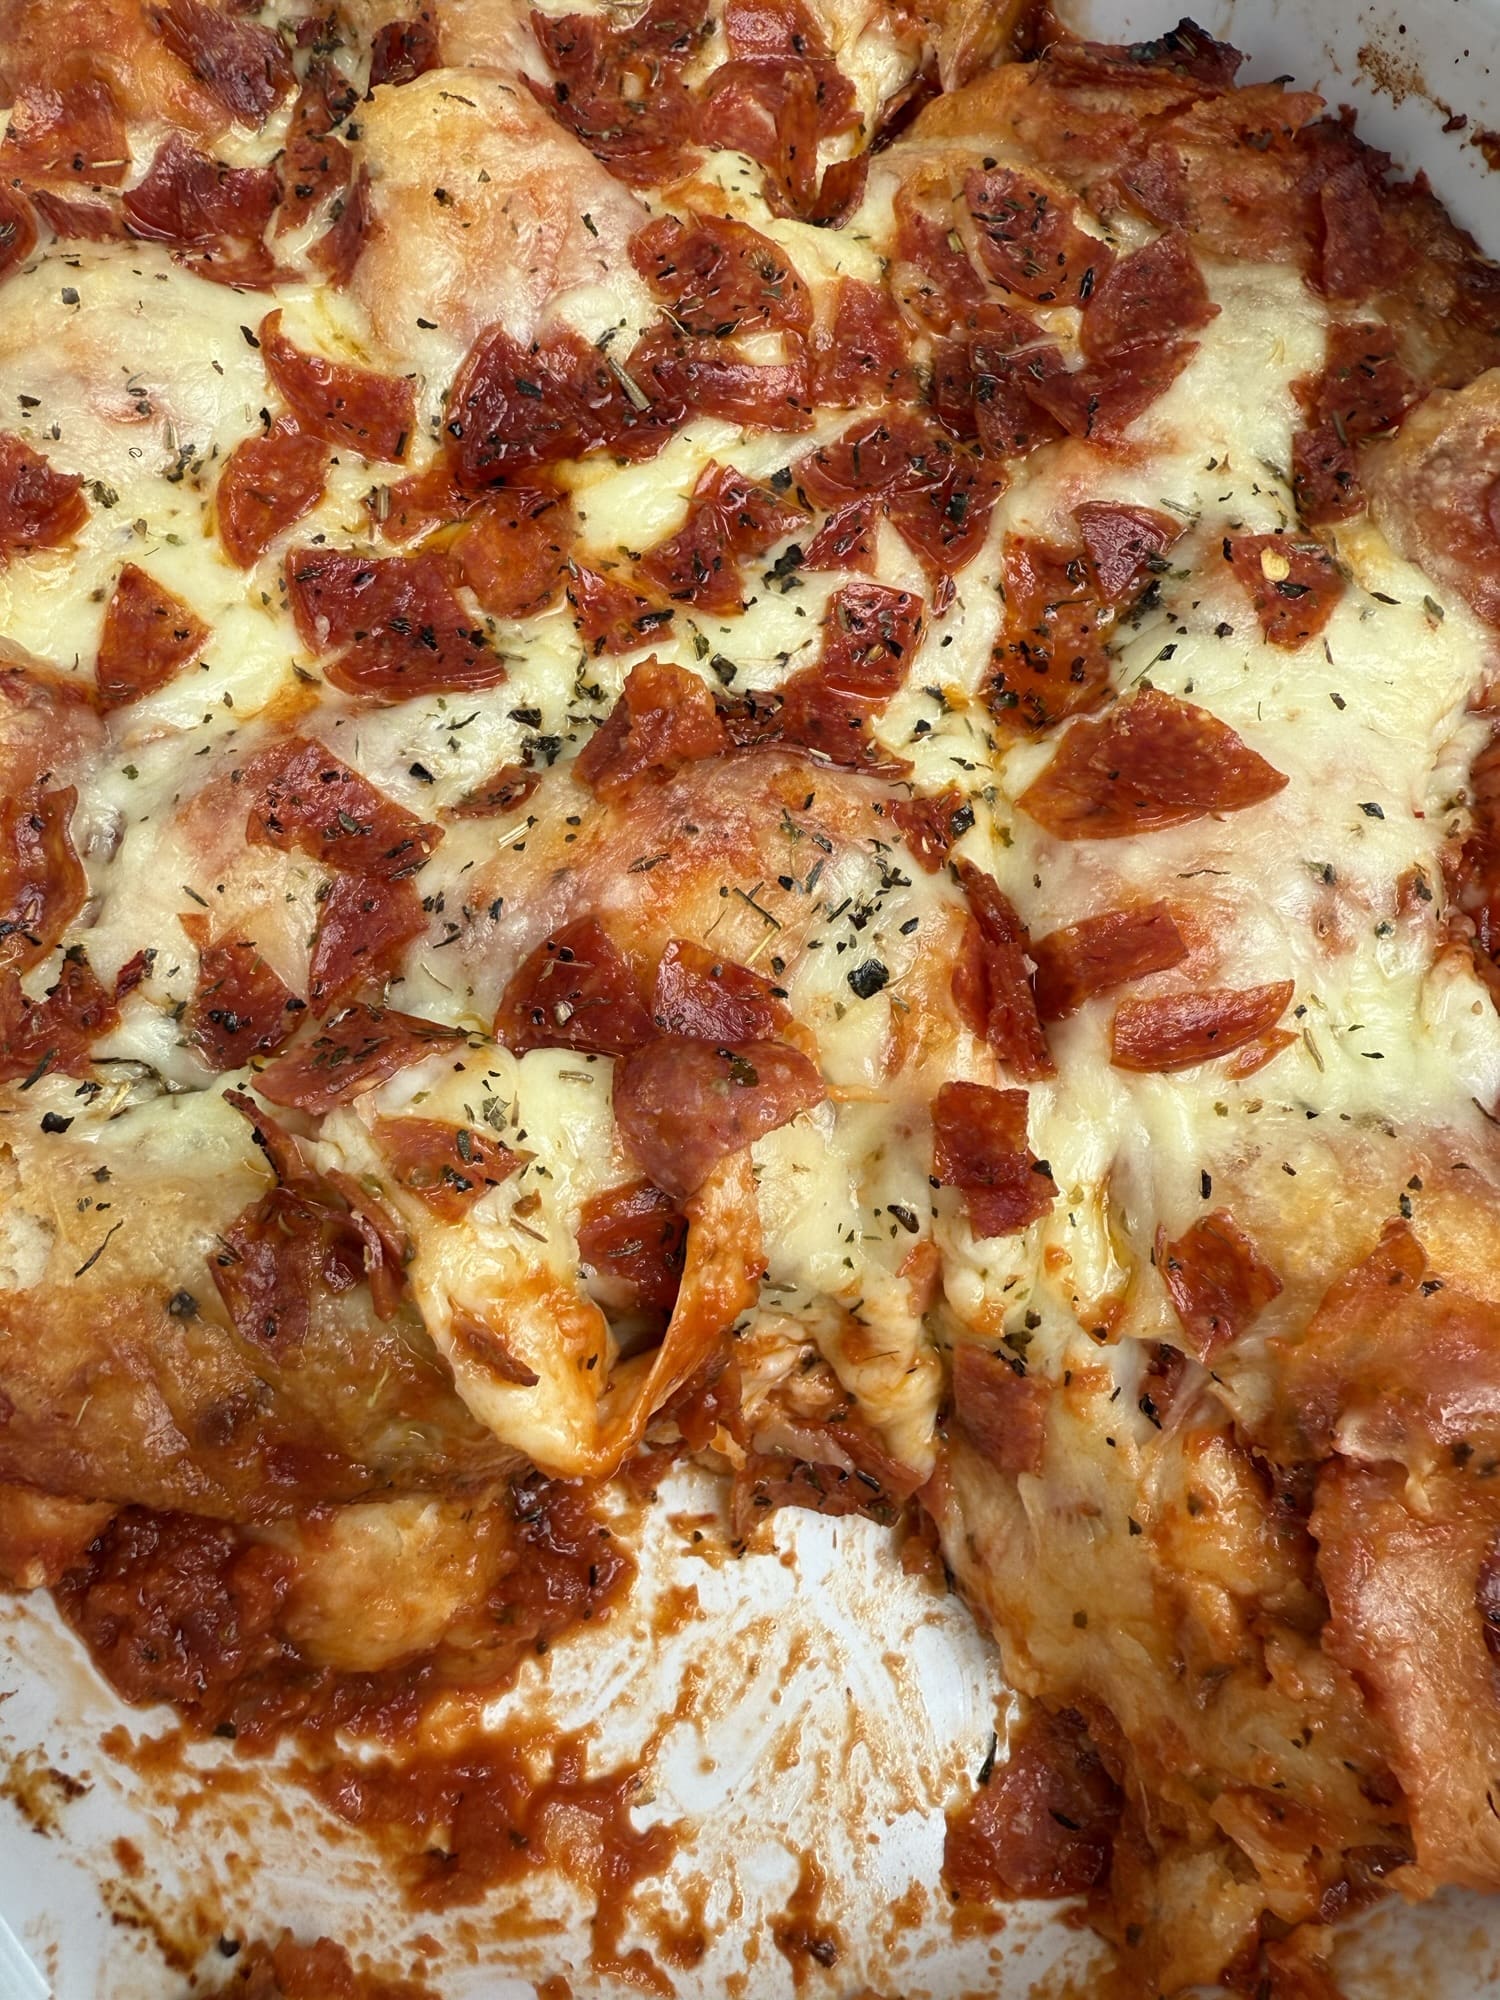
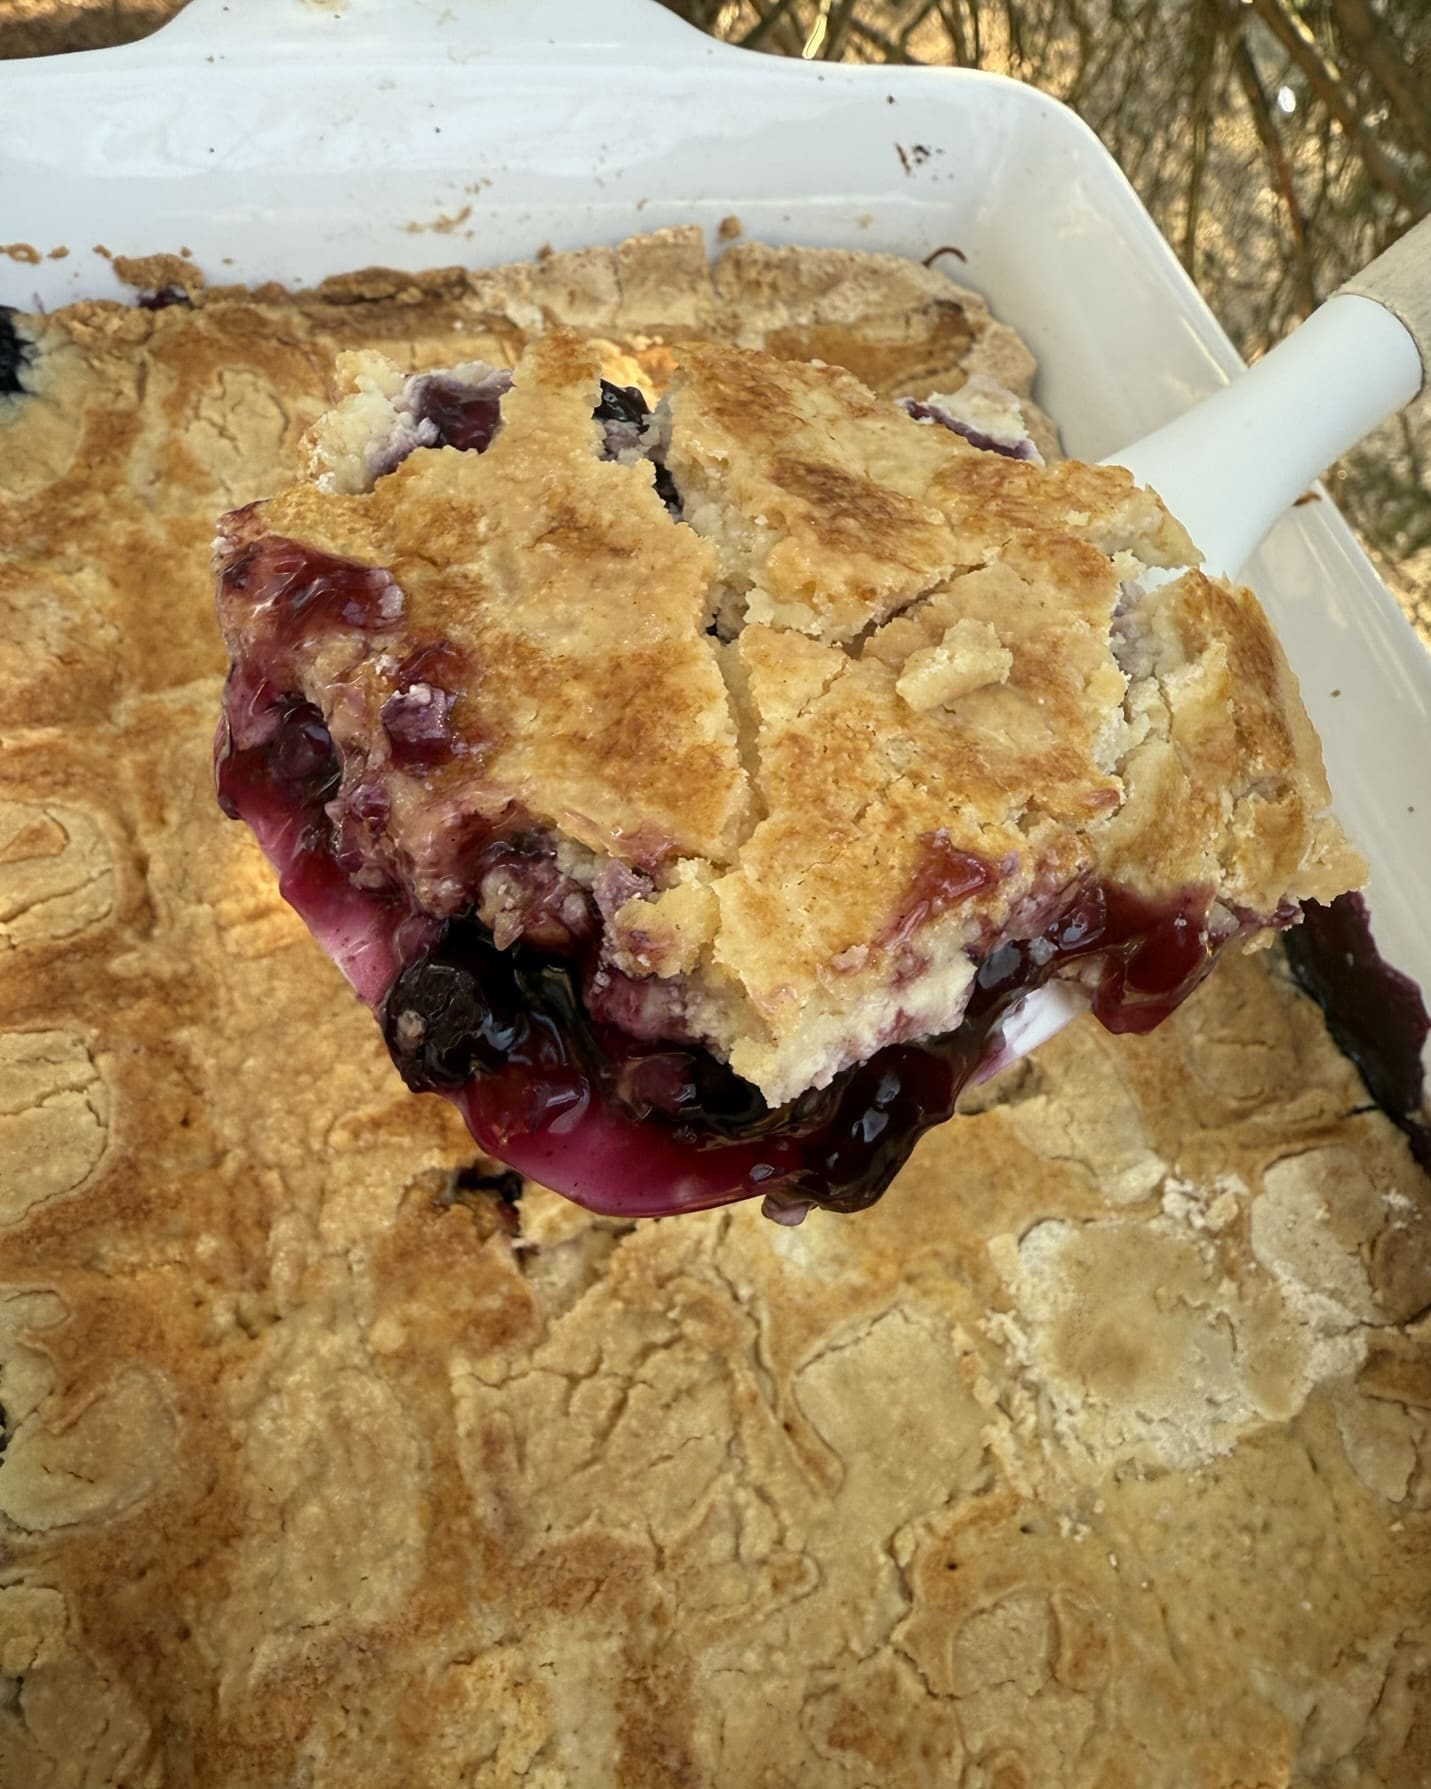
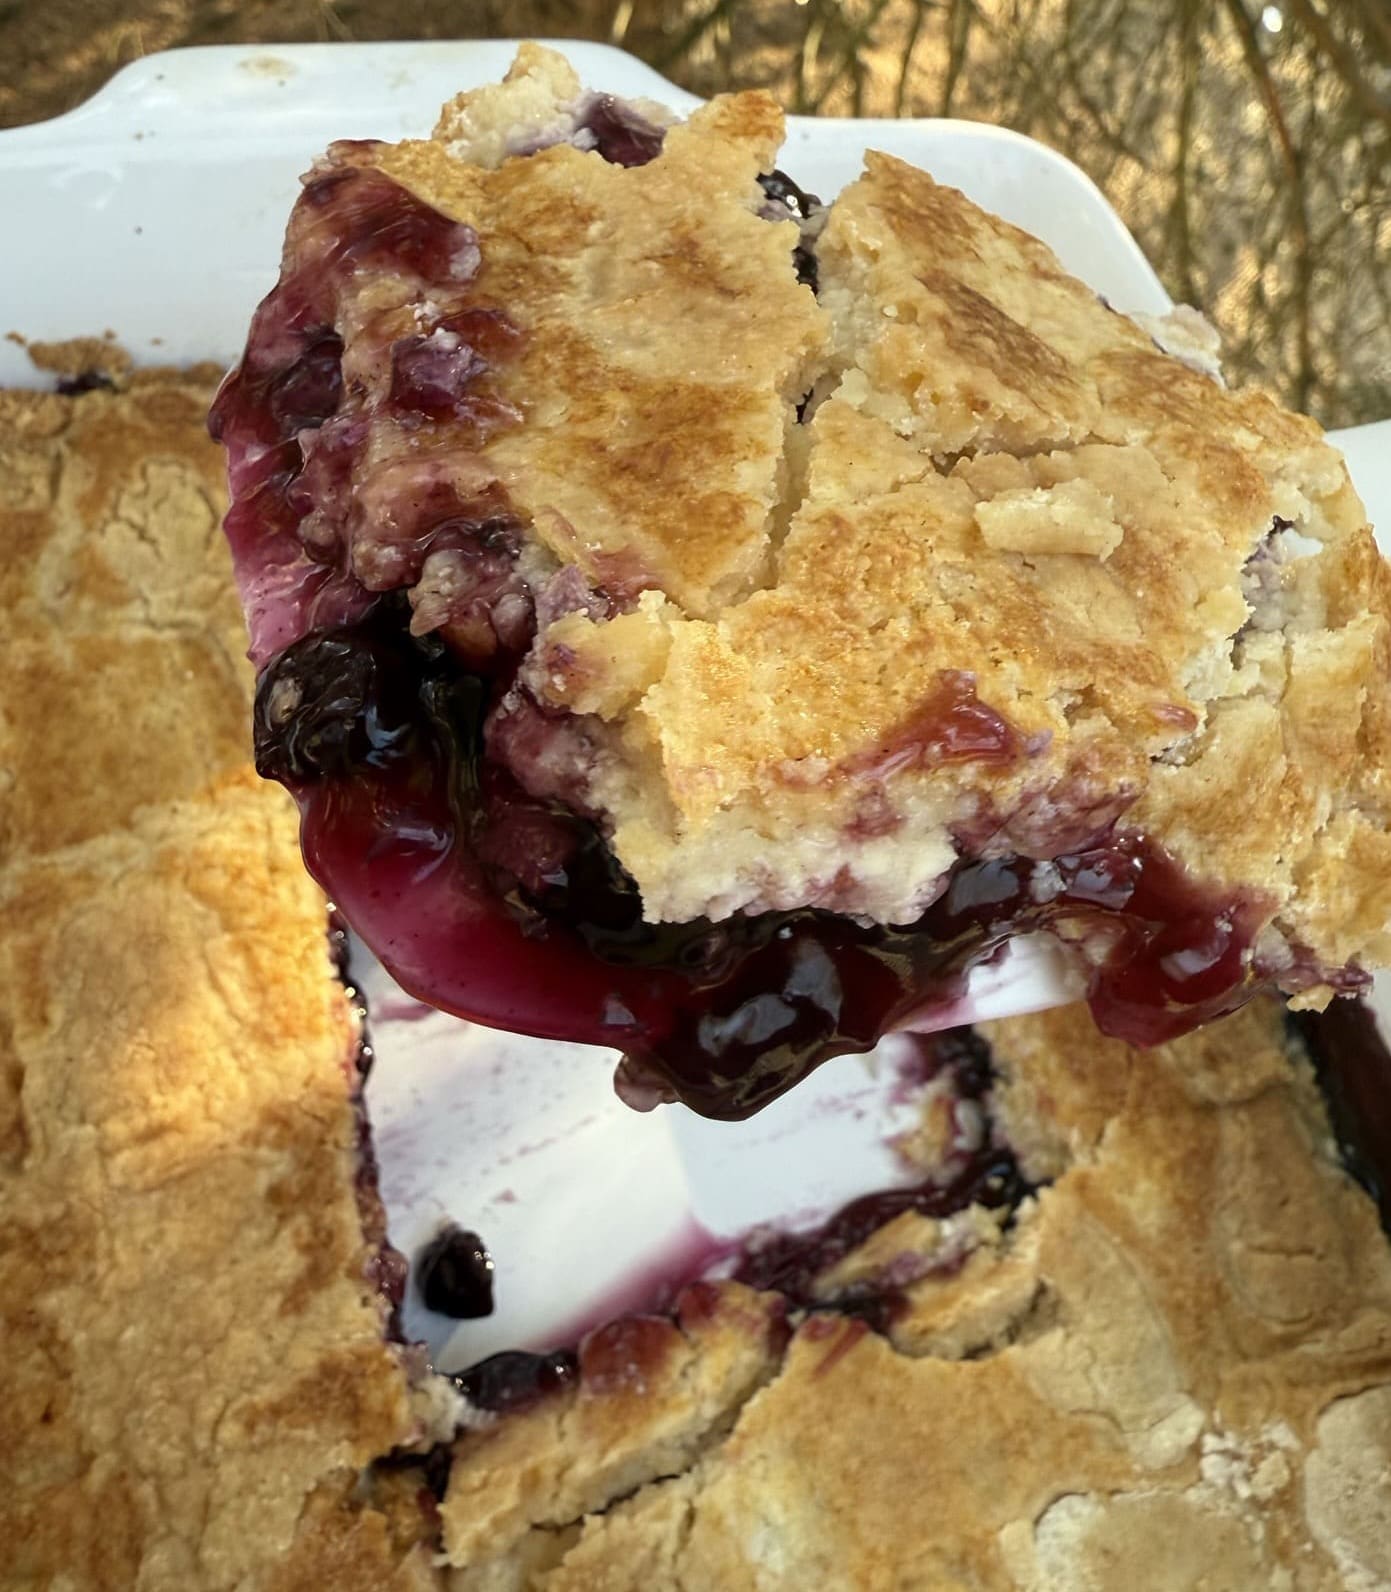
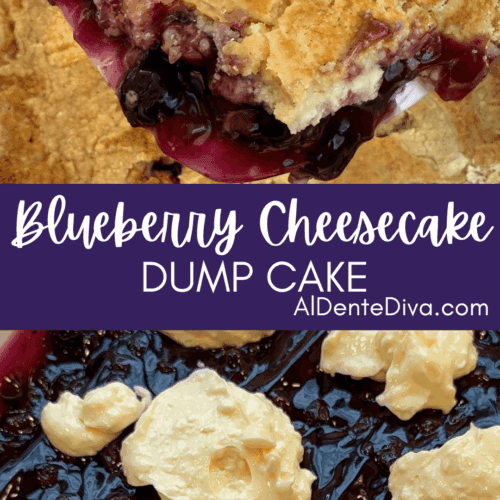
Blueberry cheesecake dump cake is an effortless dessert made with blueberry pie filling and dollops of cheesecake baked under boxed cake mix.
Blueberry Cheesecake Dump Cake
From the recipe collection of Tara Ippolito
This blueberry cheesecake dump cake is a must try for the next time you’re craving something sweet.
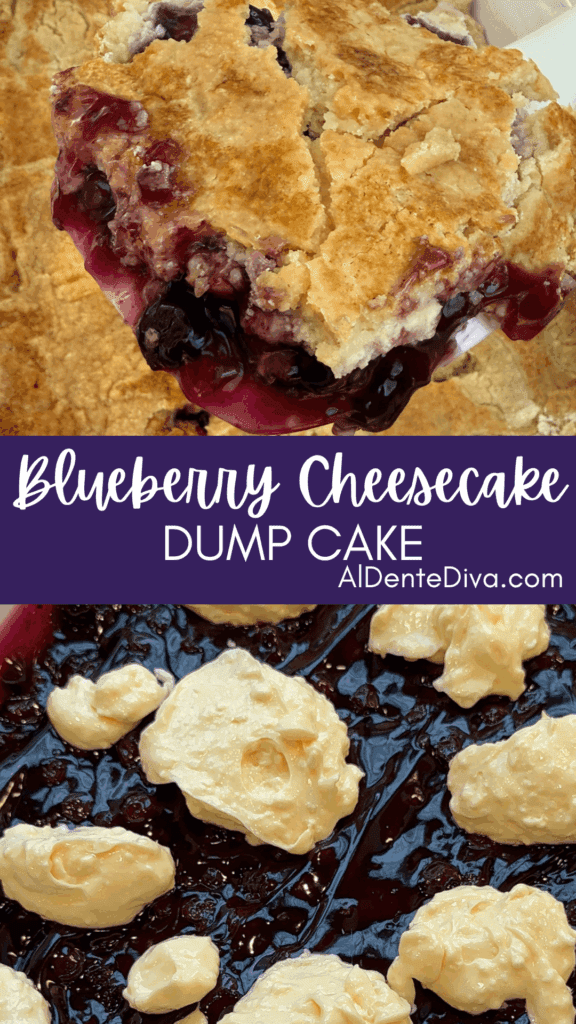
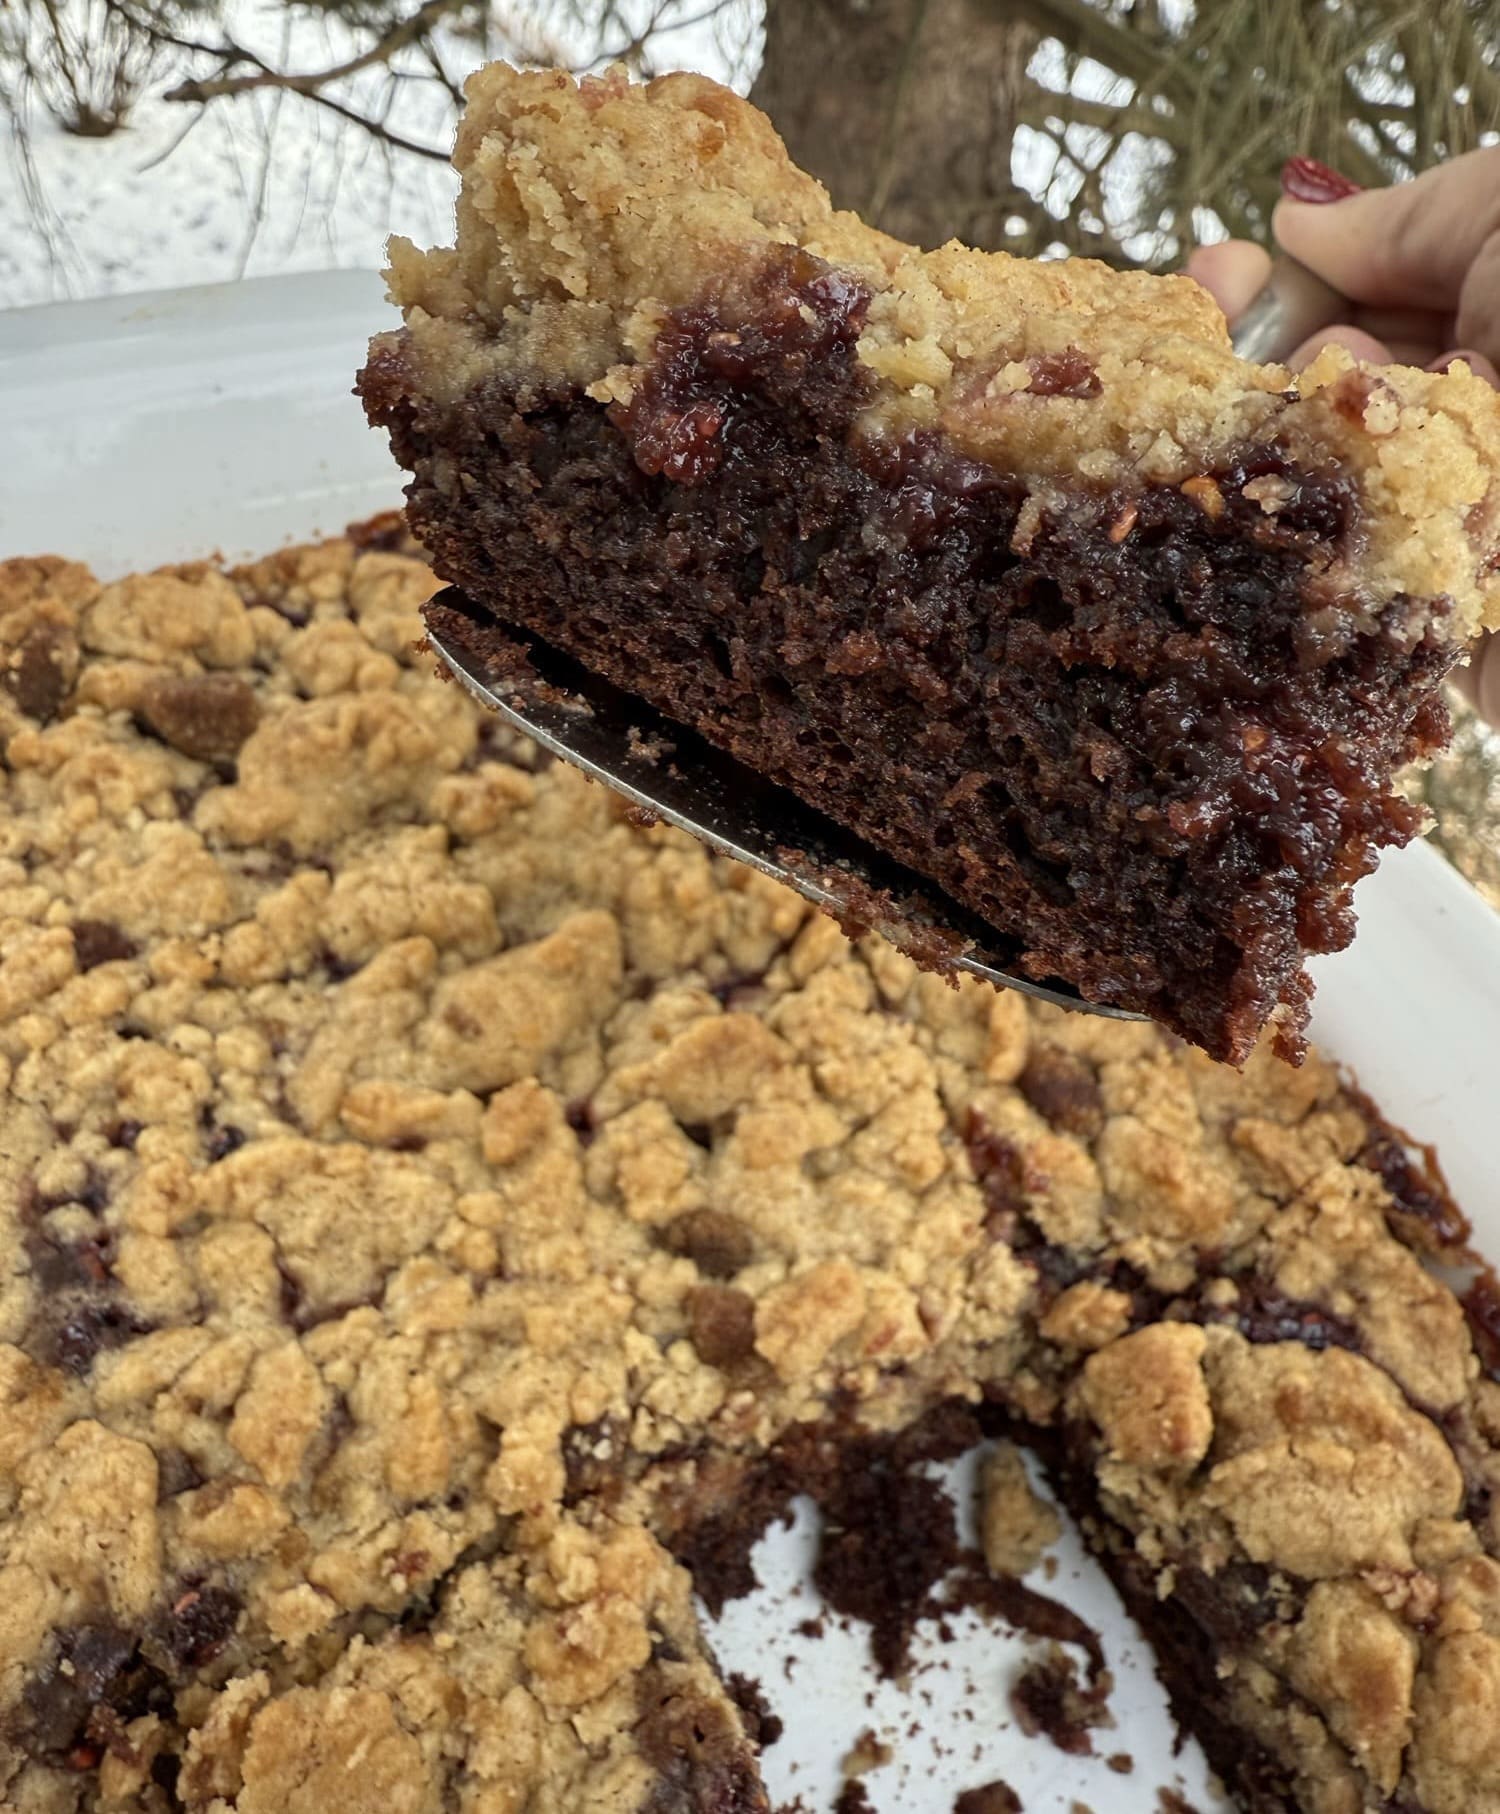
It’s the perfect combination of blueberry pie, cheesecake, and cake all mixed together in one incredible dessert.
Simple cake recipes like this one are lifesavers for people like me who aren’t great bakers but love eating desserts.
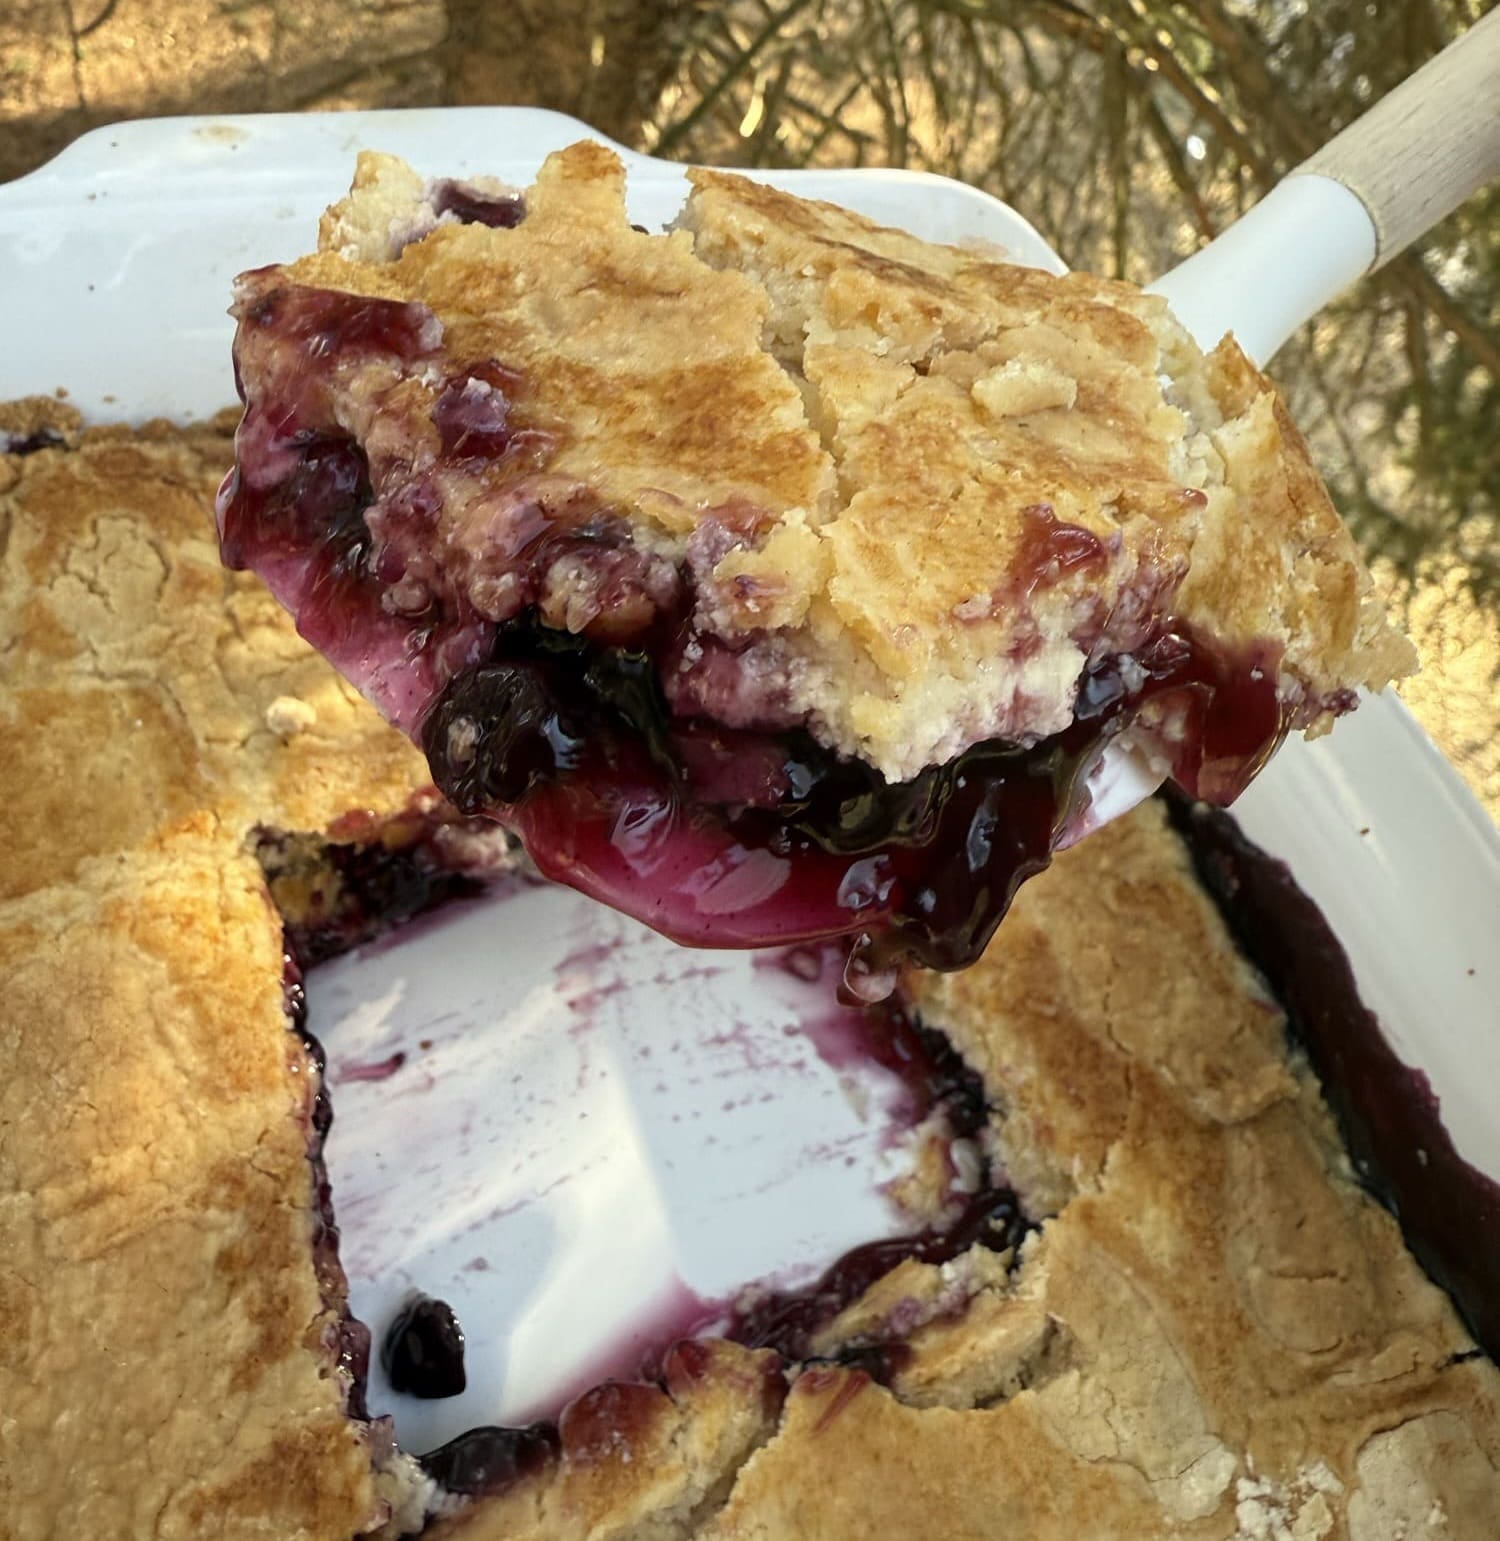
The premade pie filling and boxed cake mix let you take a major shortcut making this a breeze to put together.
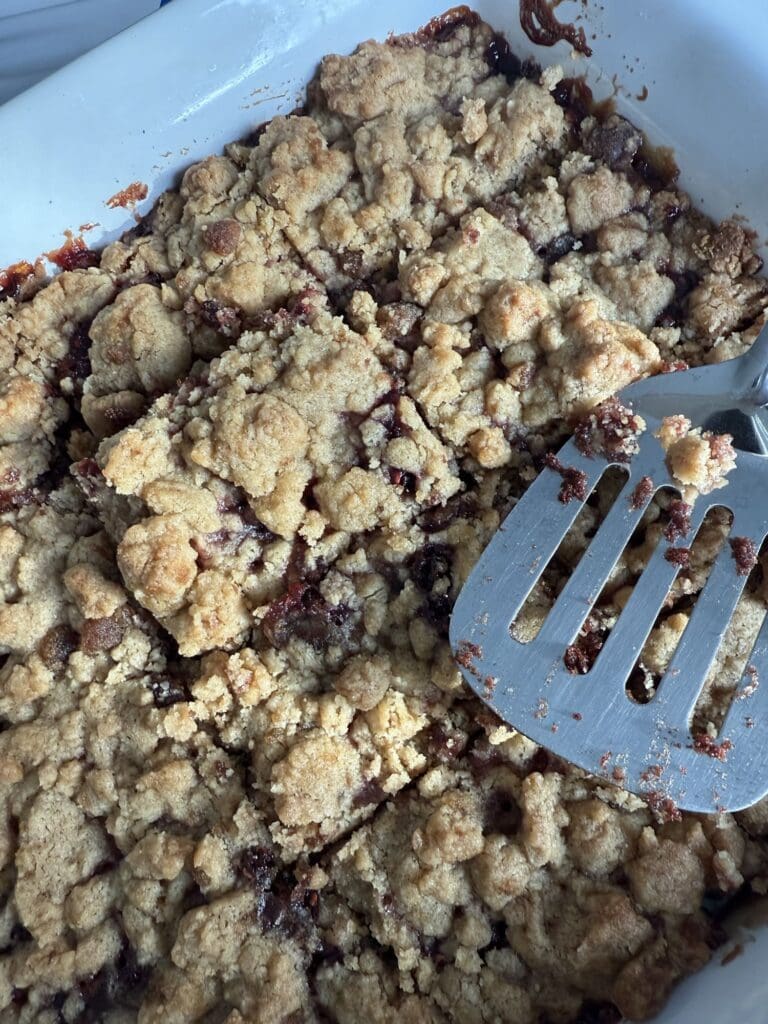
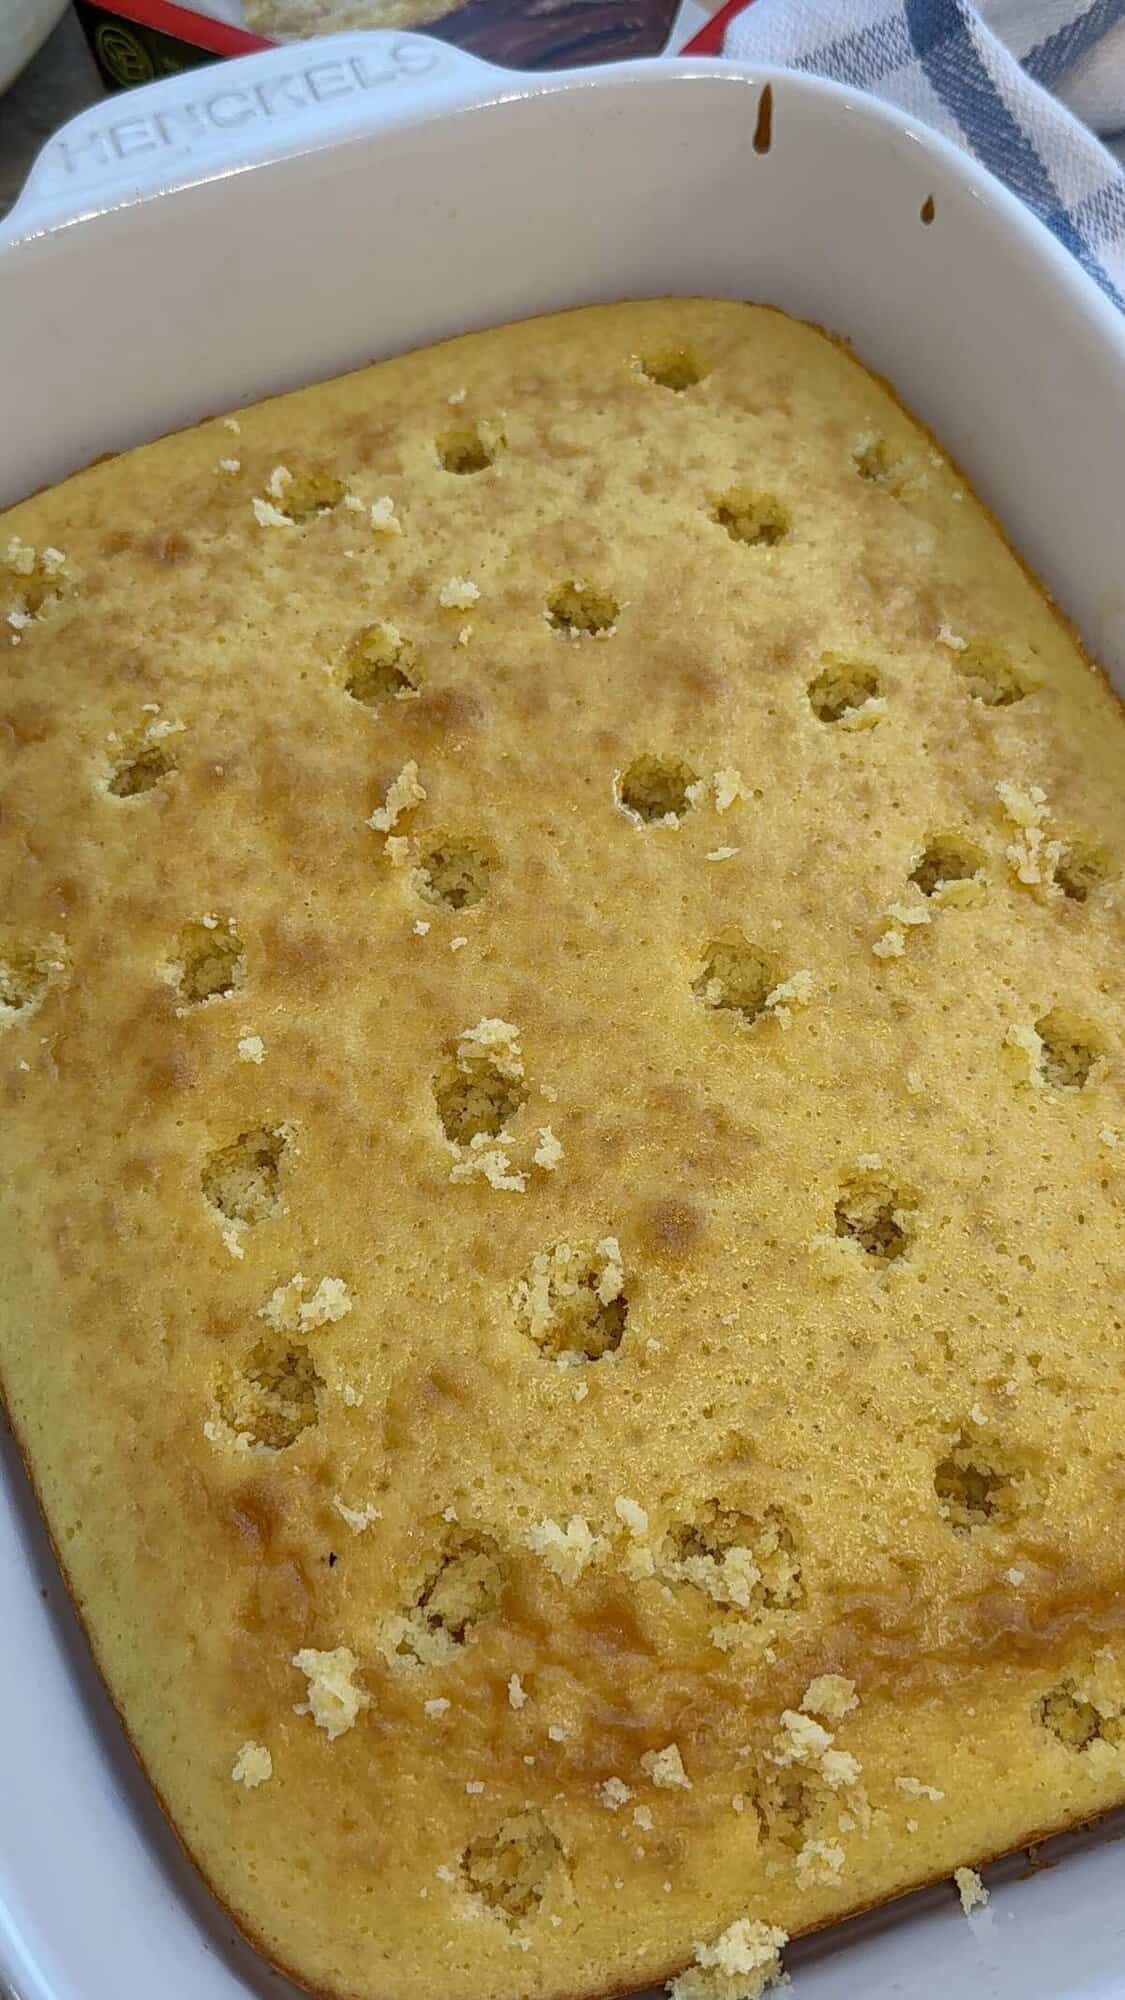
It’s called a “dump cake“ because all of the ingredients literally get dumped right into the baking dish and the oven does all the work for you.
Dump cakes have become my go to for parties, get together‘s, and after dinner desserts because of how easy they are to make.
This recipe is one of my personal favorites. I’m a huge blueberry pie fan and I absolutely love cheesecake, too. So this dessert for me is the best of both worlds. ?
Every time I make it, it’s always a huge hit with my family. Everyone just loves it.
I also love how versatile it is. You can make this with pretty much any flavor pie mix that you’d like. ?
I hope you give this recipe a try. If you do, I know you’ll love it just as much as my family and friends do.
Fast. Simple. Delicious.
Did you know that I have a cookbook called Fast Simple Delicious? It’s 60 no fuss no fail comfort food recipes perfect for busy weekday dinners.
Click HERE to order your copy or click the 3 lines in the top right corner and click “Book”. Thank you for the support.
Blueberry Cheesecake Dump Cake Variations
I like this dump cake recipe made just the way it is, but here are some ways to switch it up if you’d like to.
- Pie Filling- Any flavor pie filling works for this recipe. Try strawberry or cherry next time.
- Cake Mix- White or Yellow cake mix work best for this recipe.
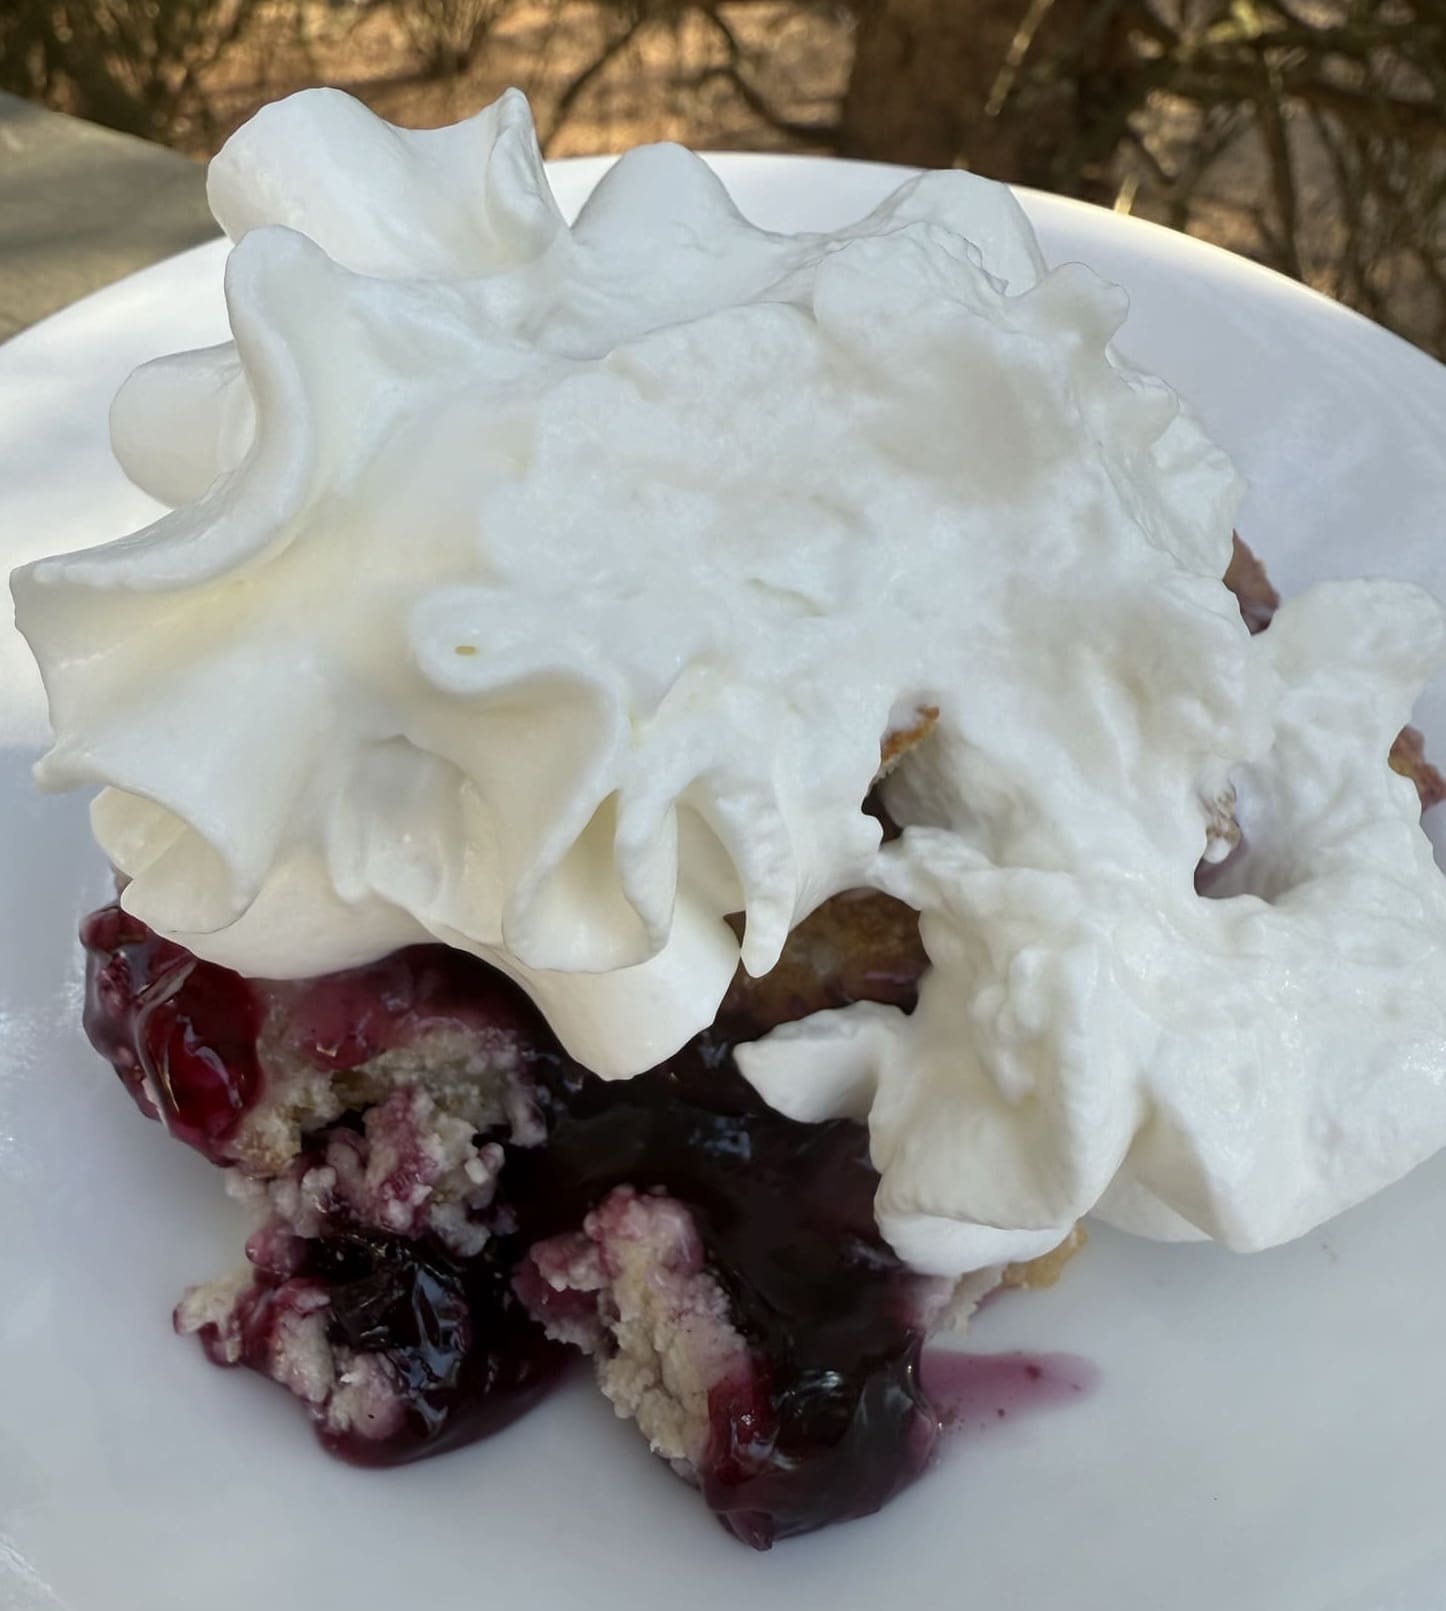
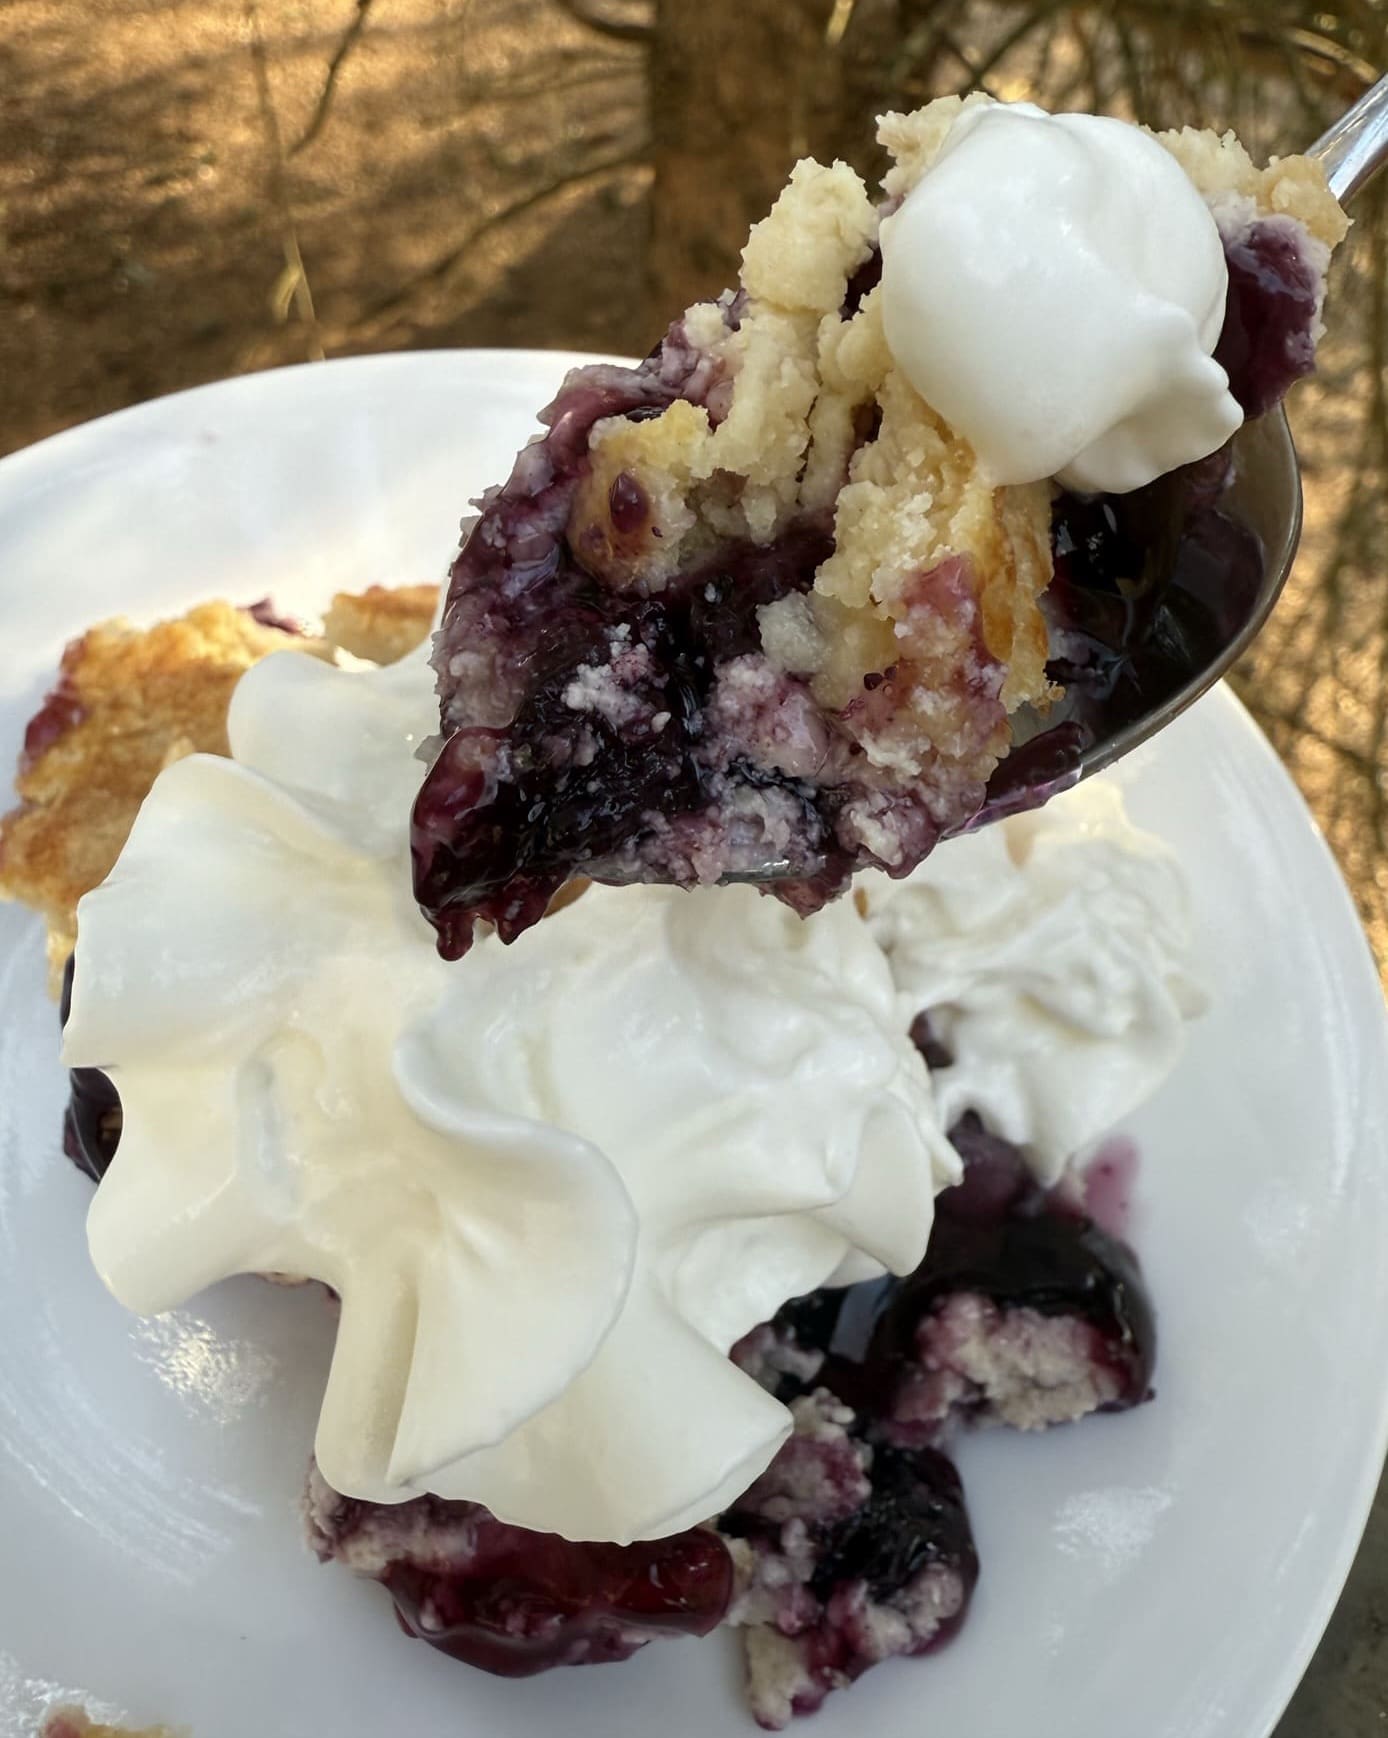
- Toppings- Top the finished dump cake with some fresh blueberries and whipped cream.
Other Easy Cake Recipes
If you like, super easy to make cake recipes like this one, here are some others that I know you’ll love, too.
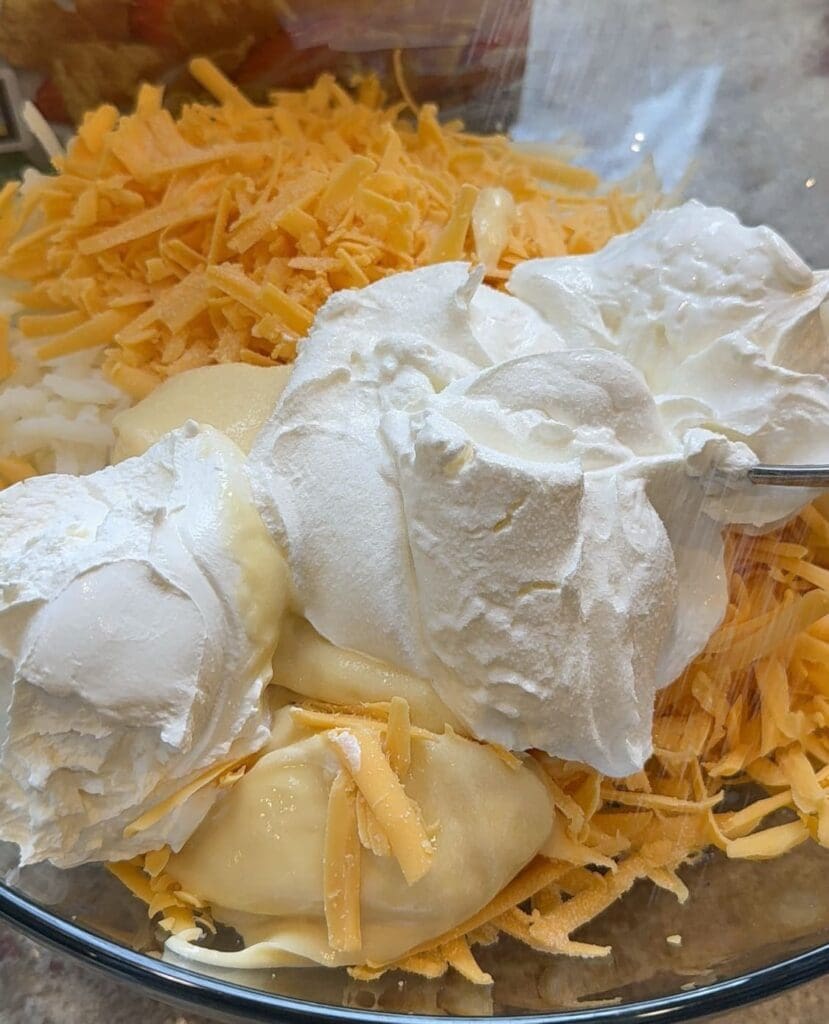
Blueberry Cheesecake Dump Cake Ingredients
- Blueberry Pie Filling
- Cream Cheese, softened
- White Cake Mix
- Sugar
- Salted Butter, cold
- Egg
Instructions
Preheat the oven to 350°
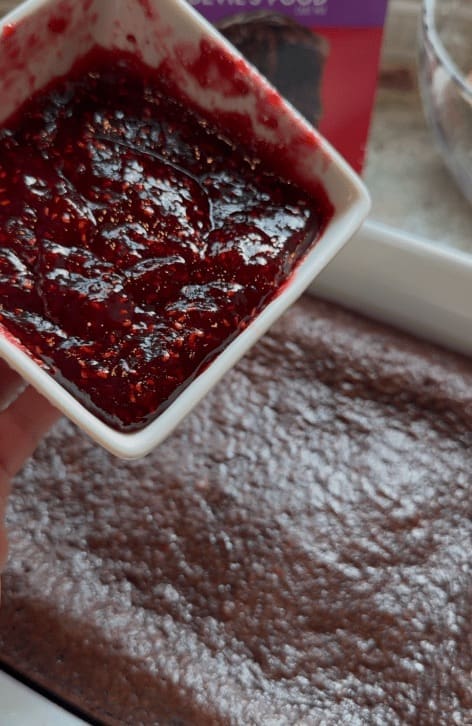
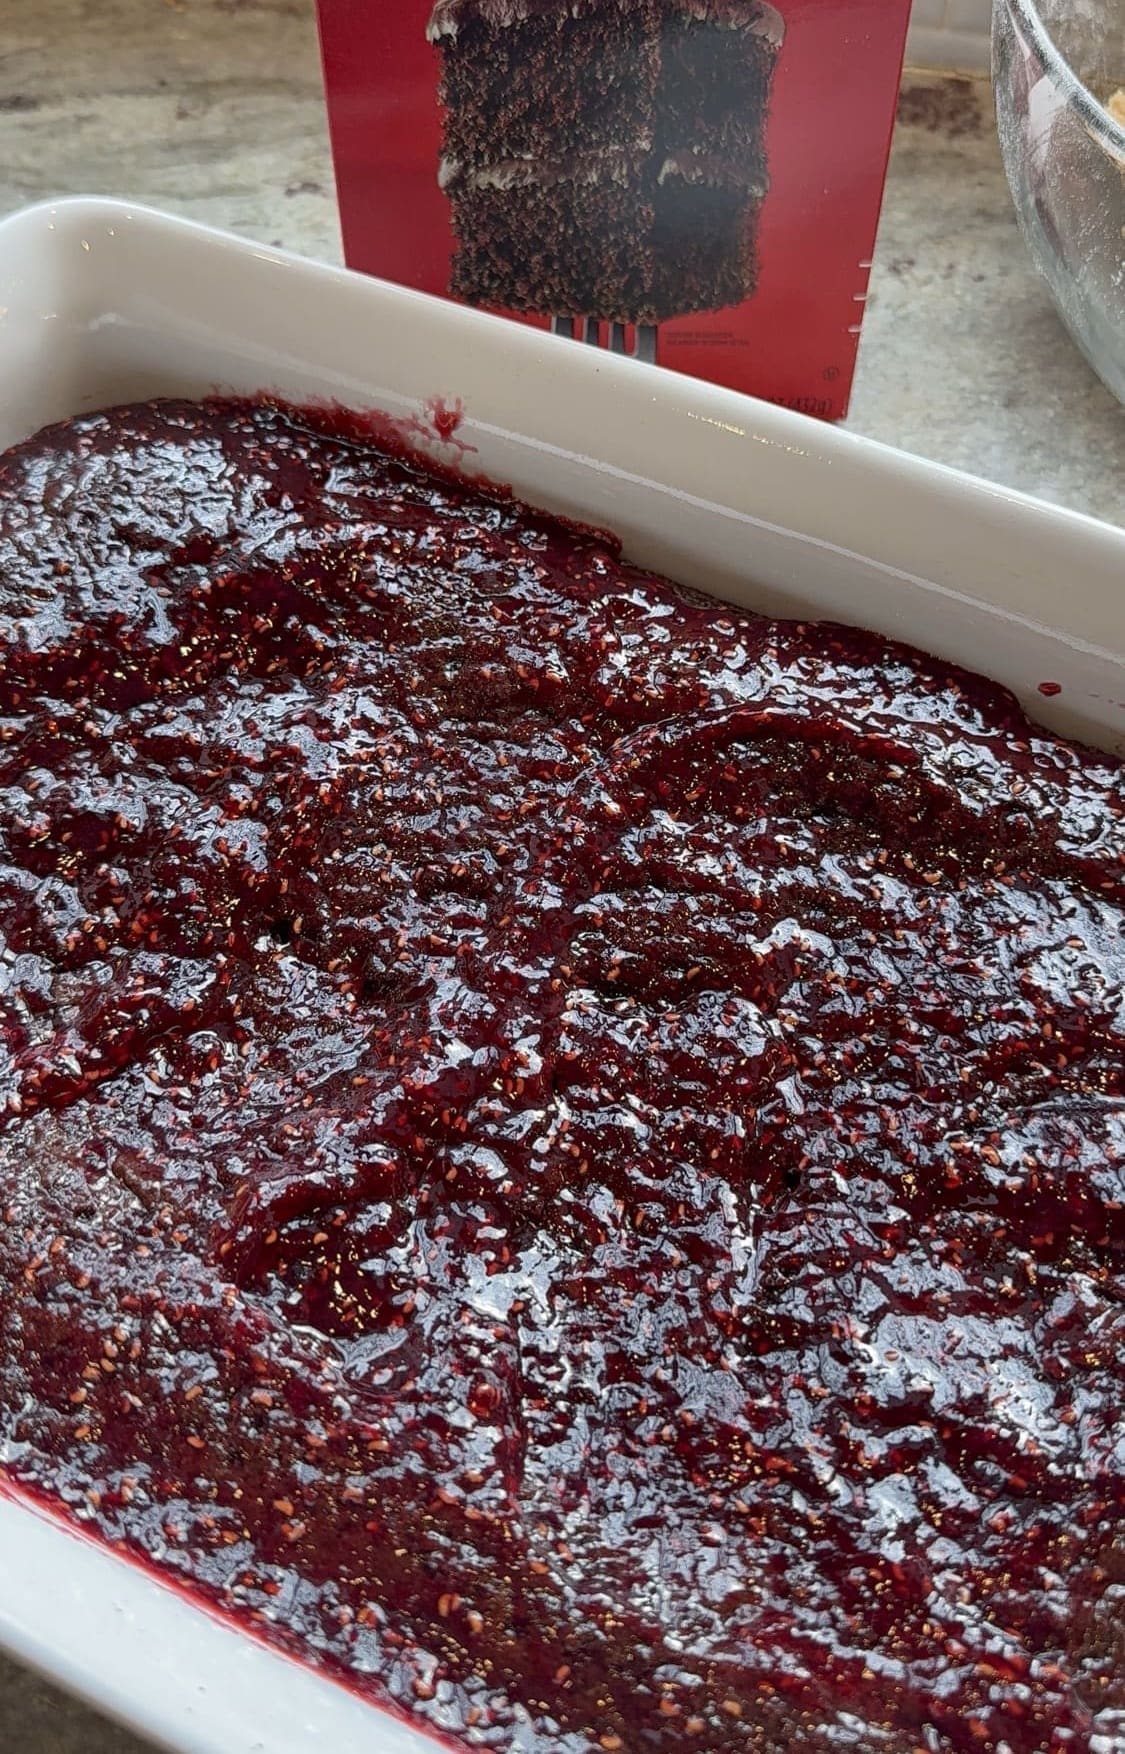
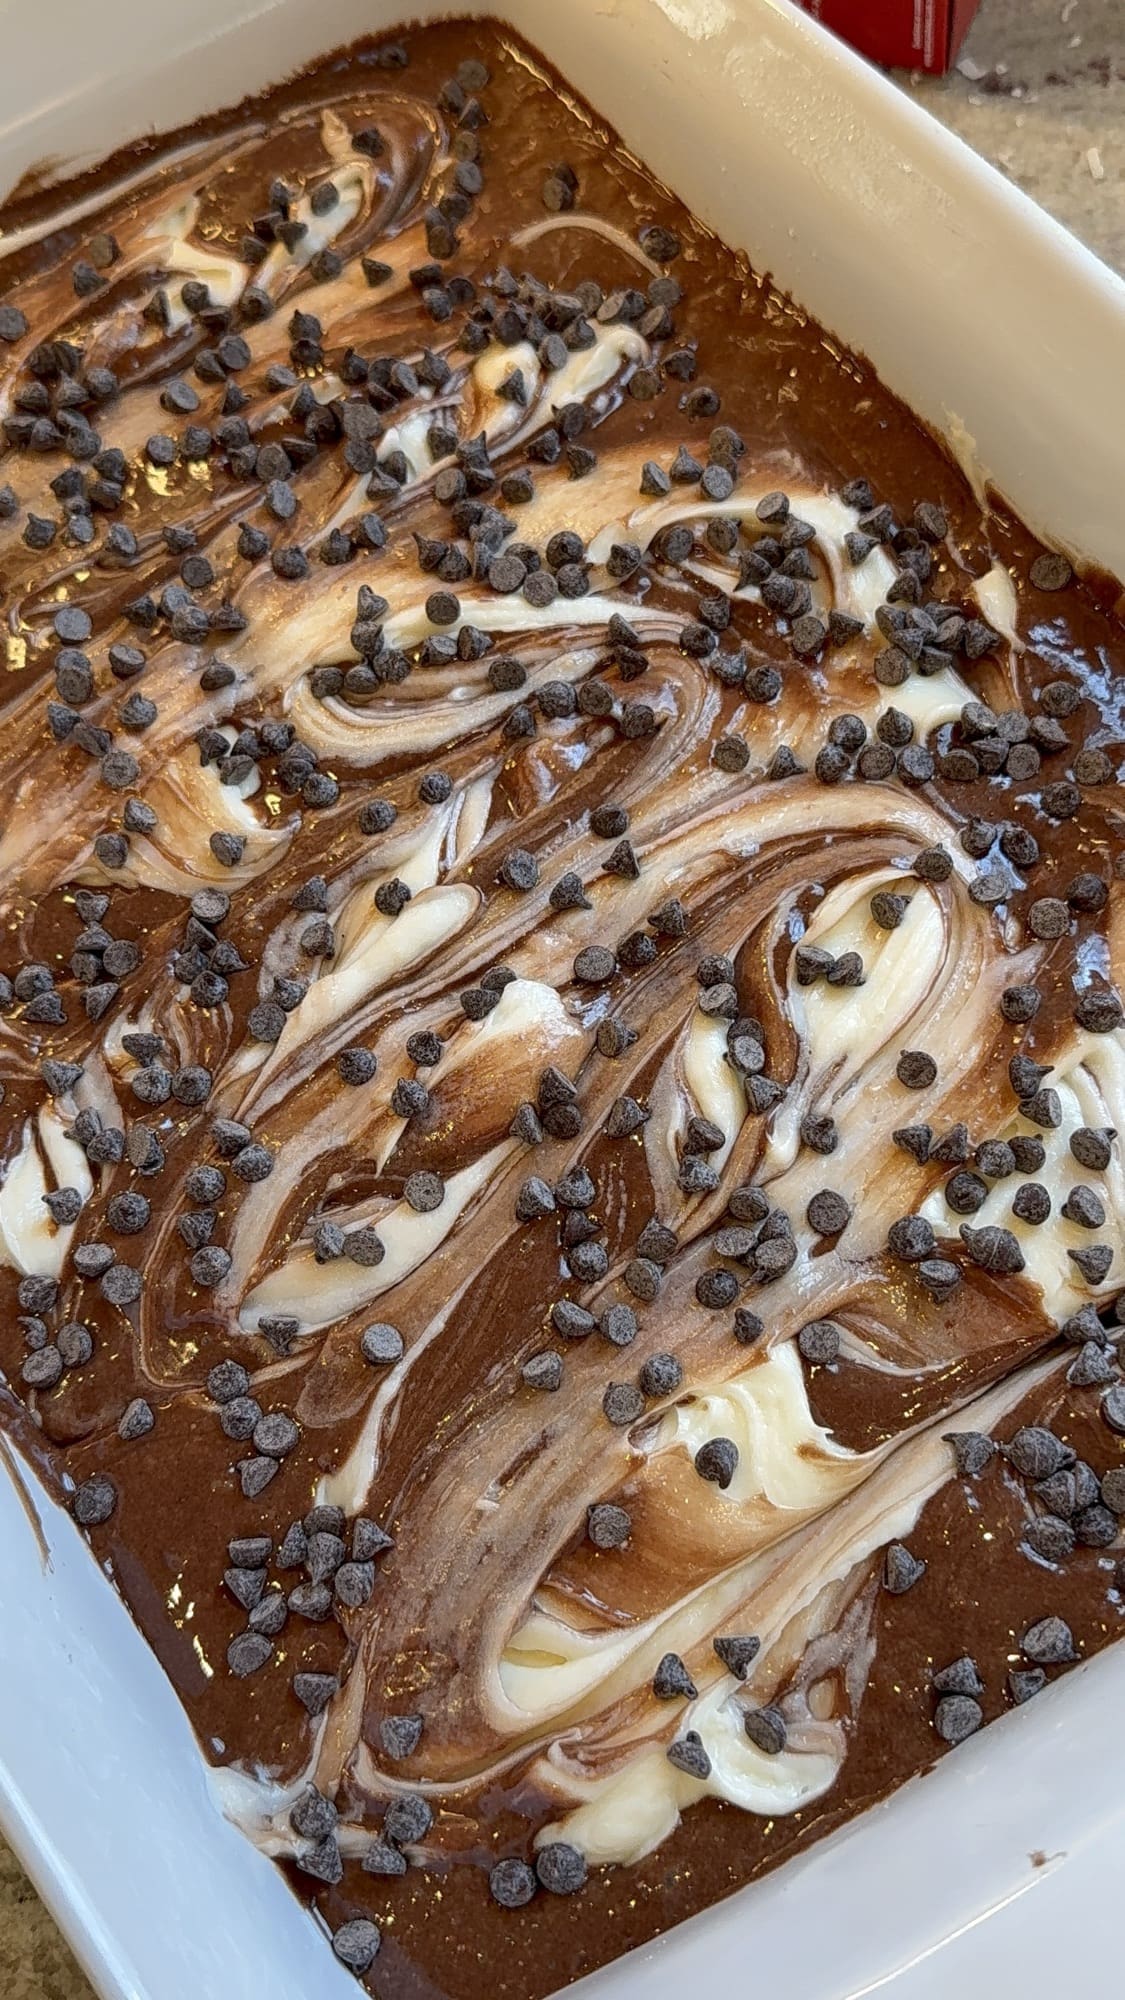
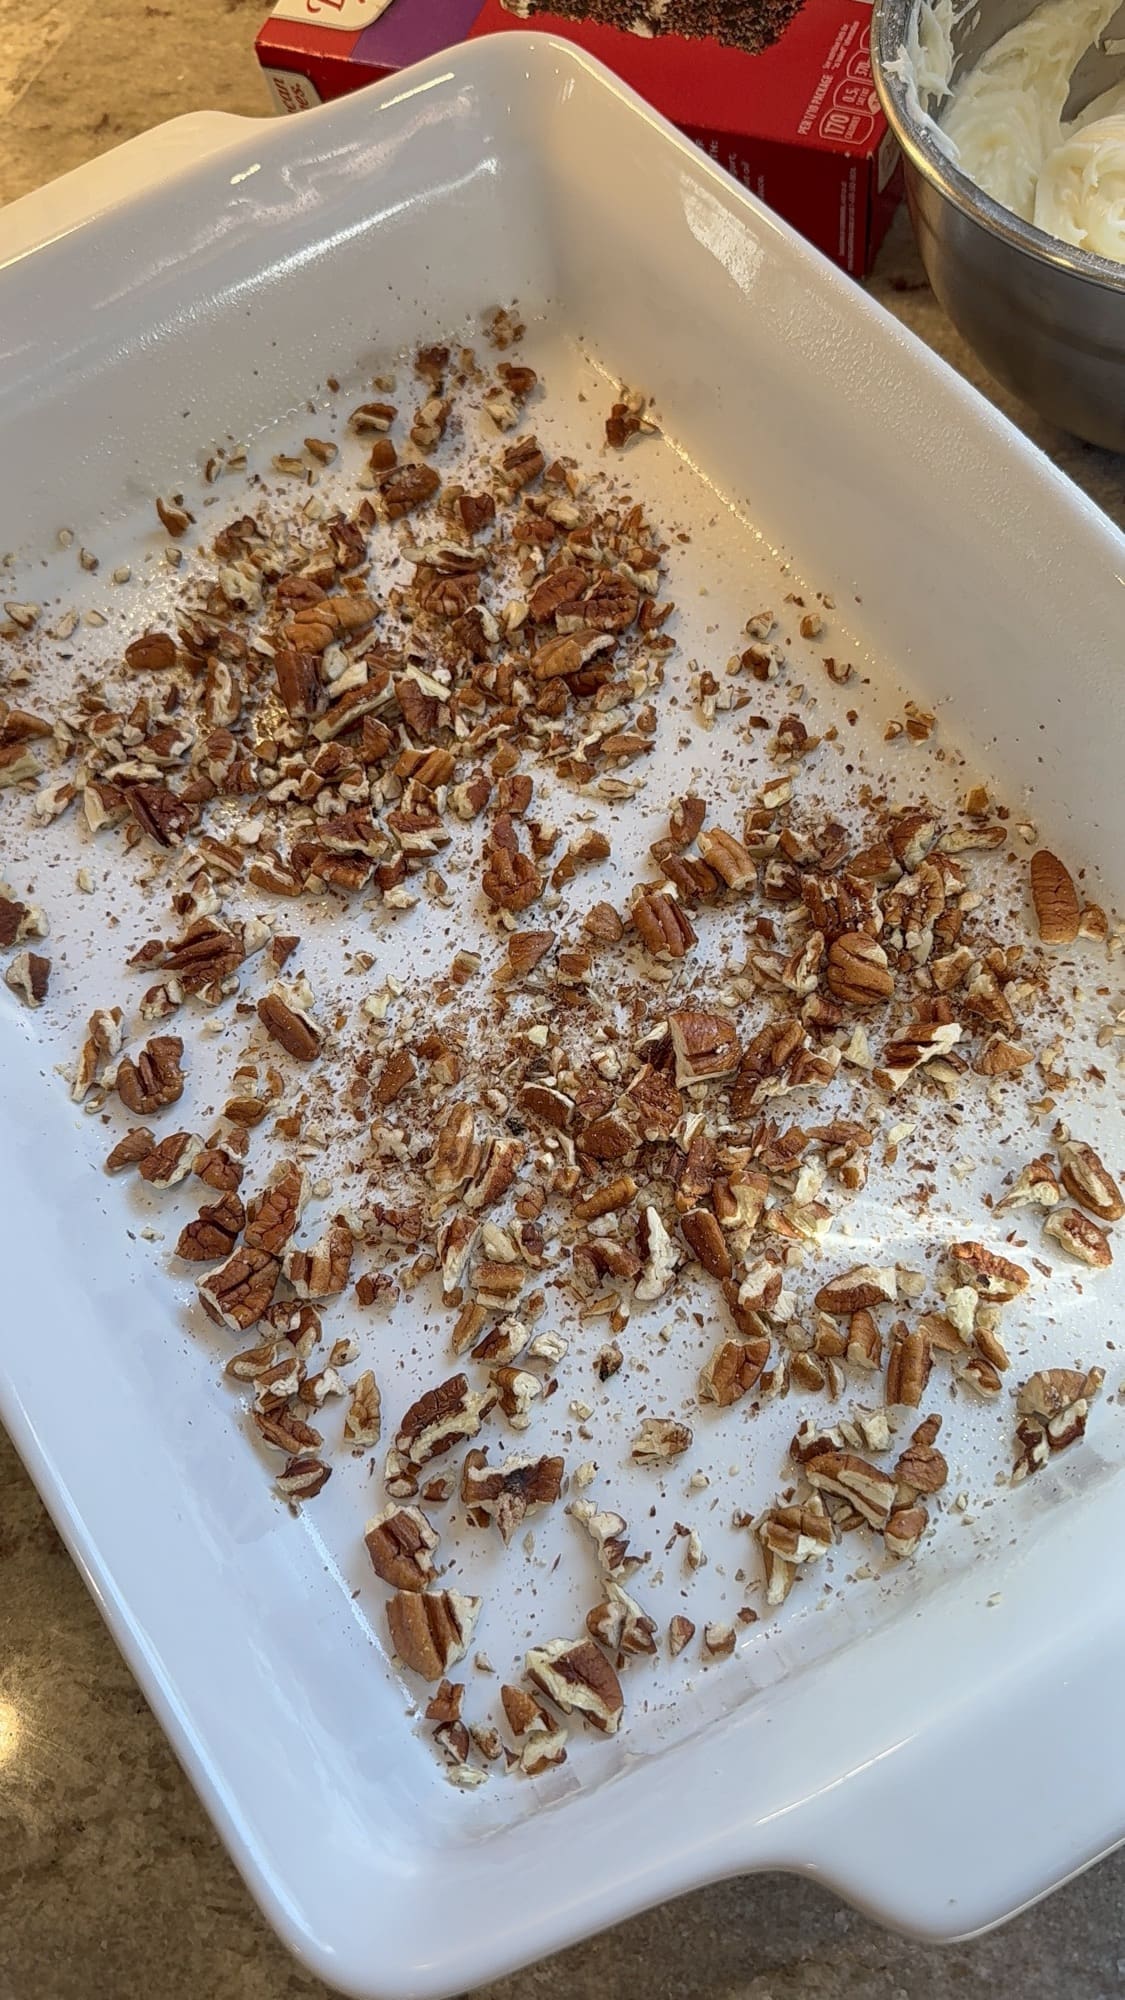
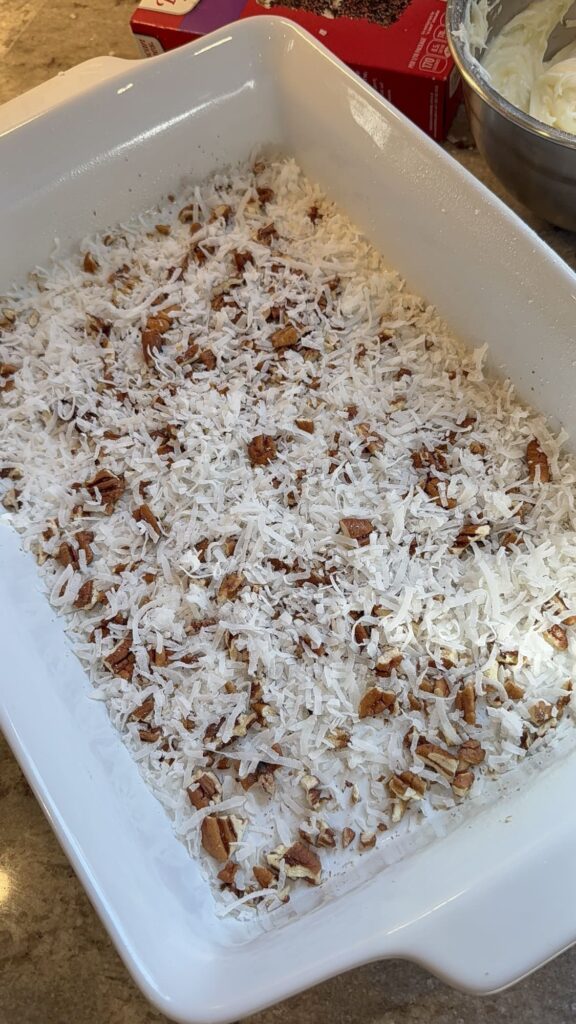
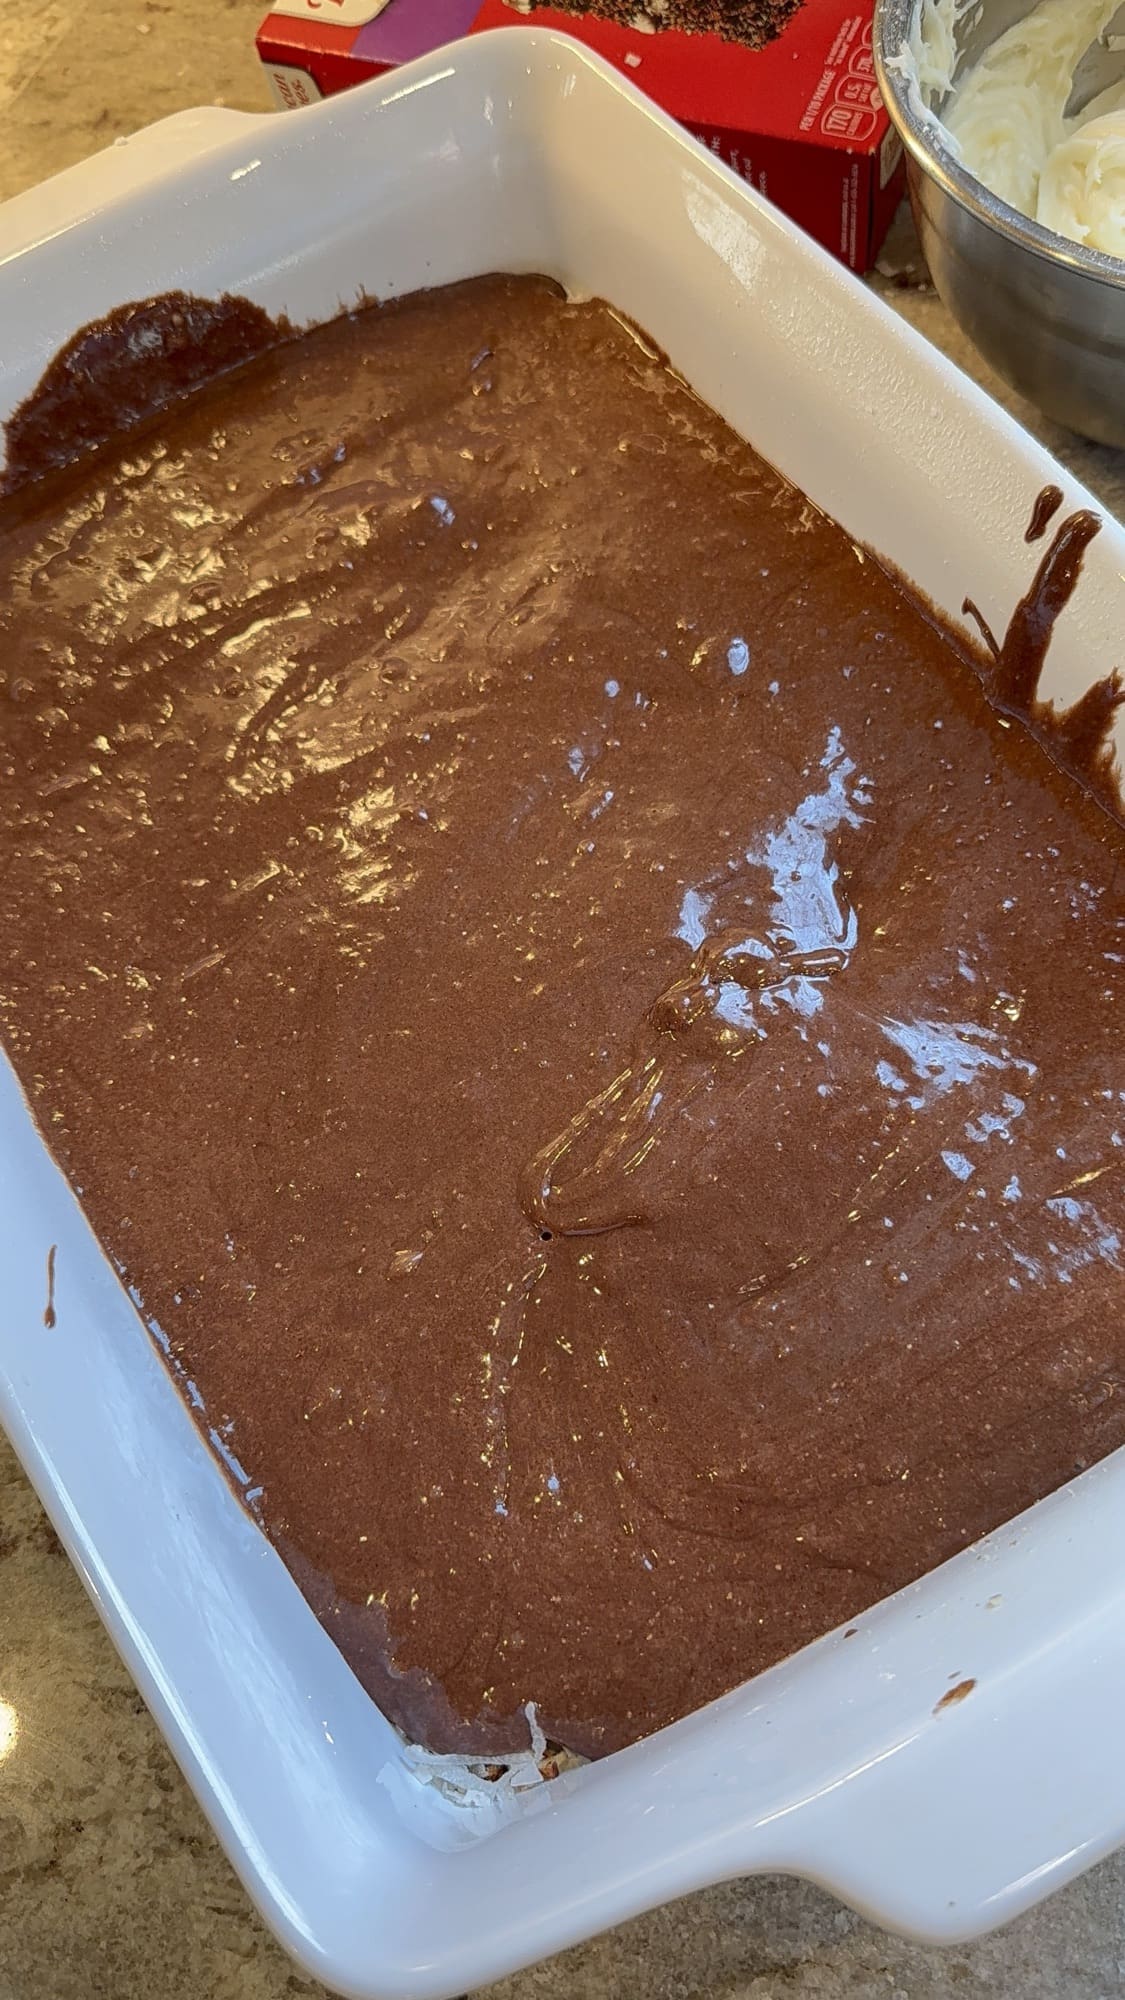
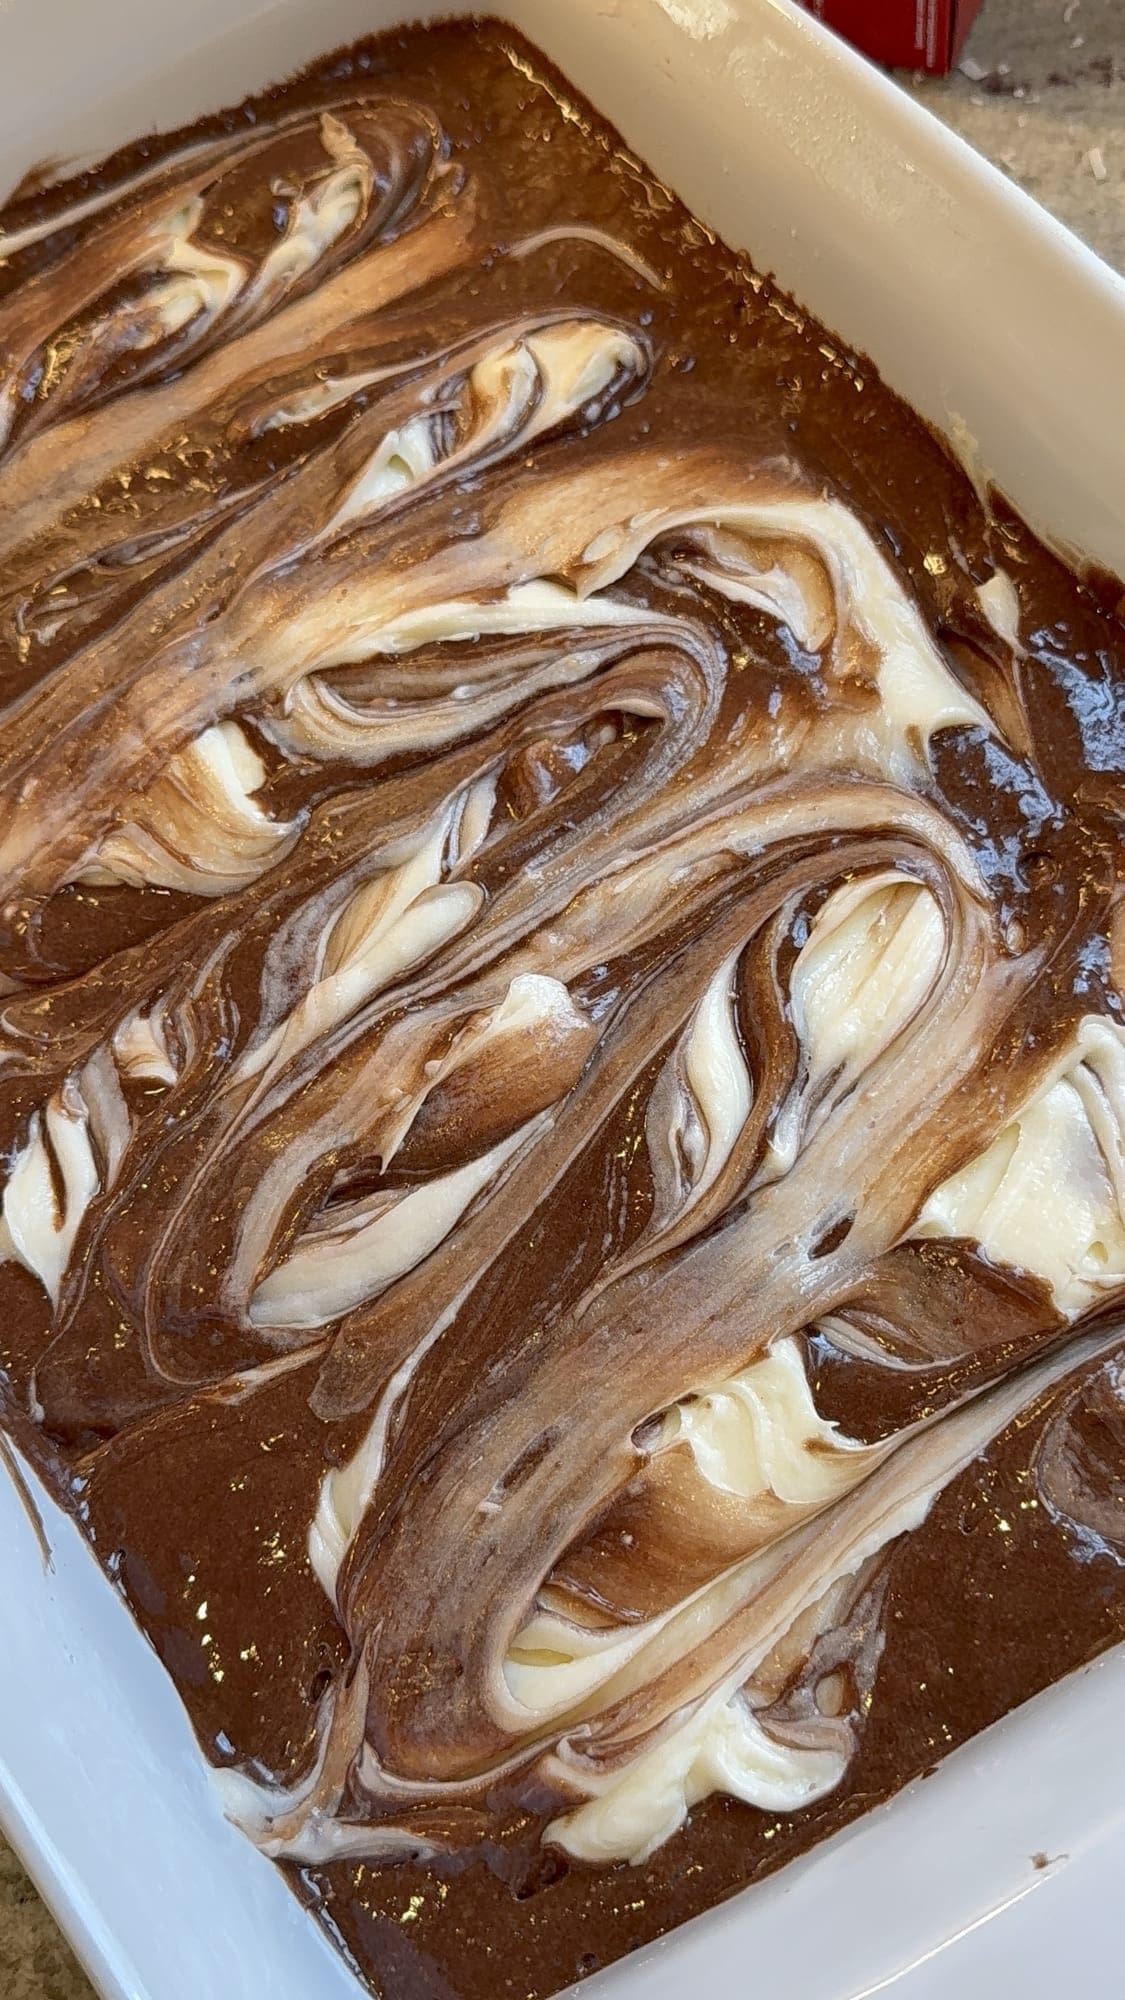
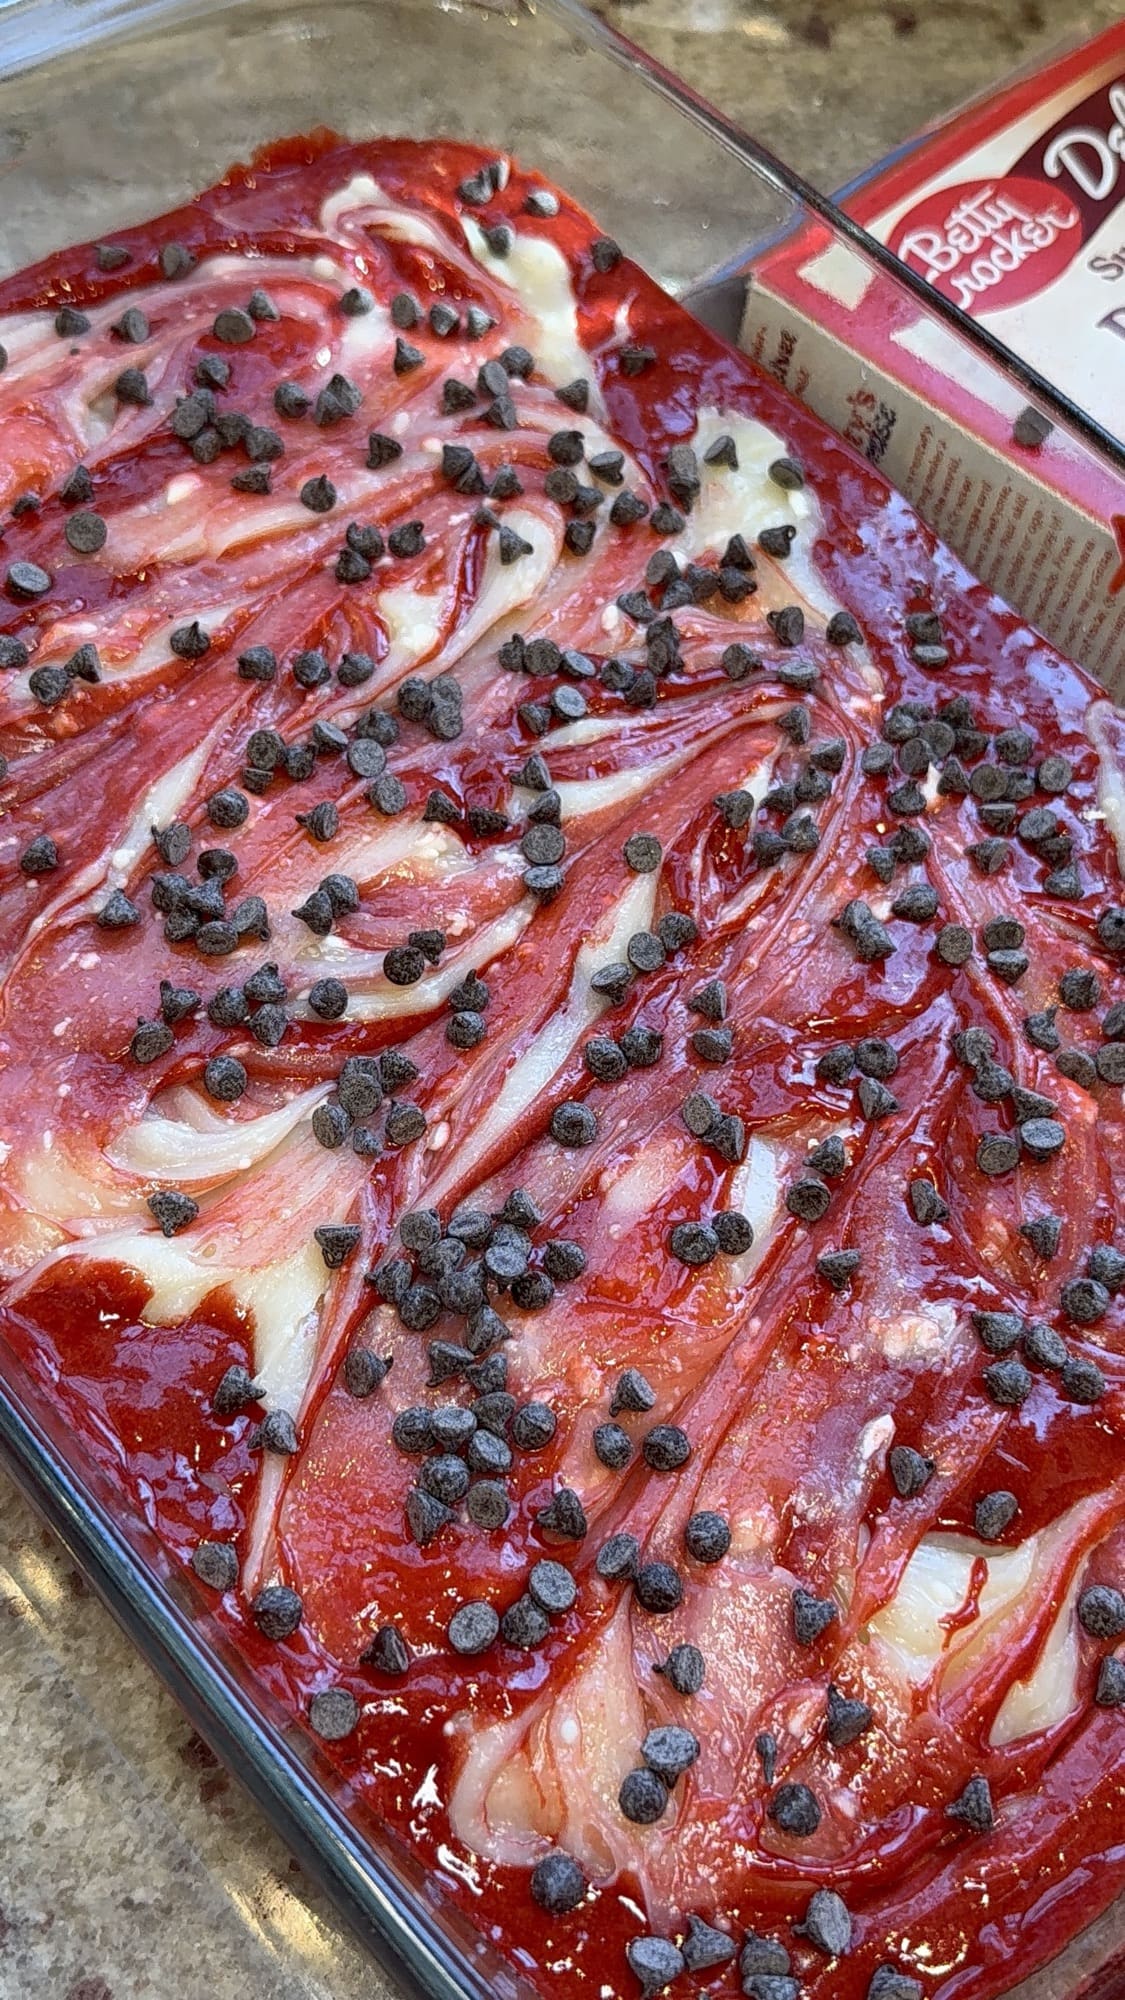
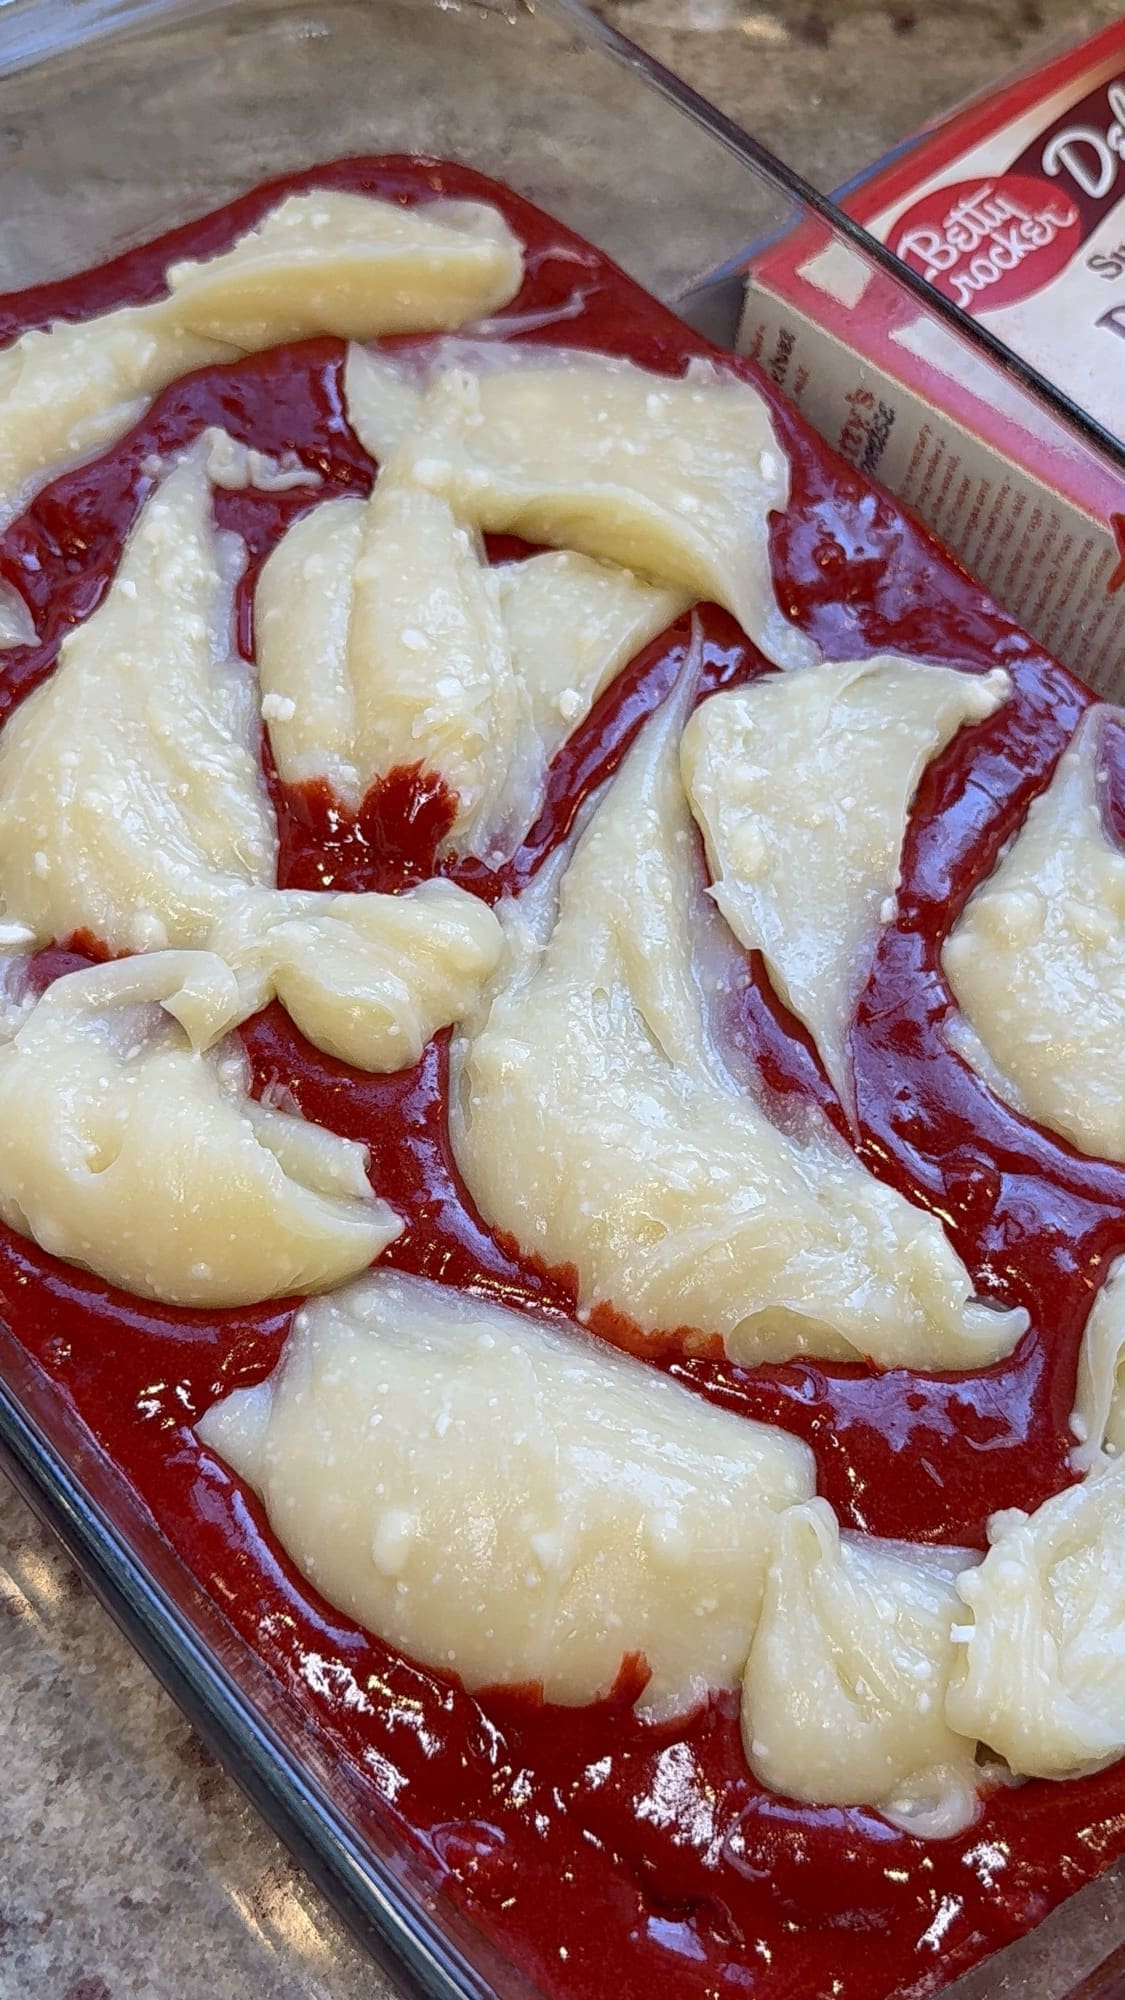
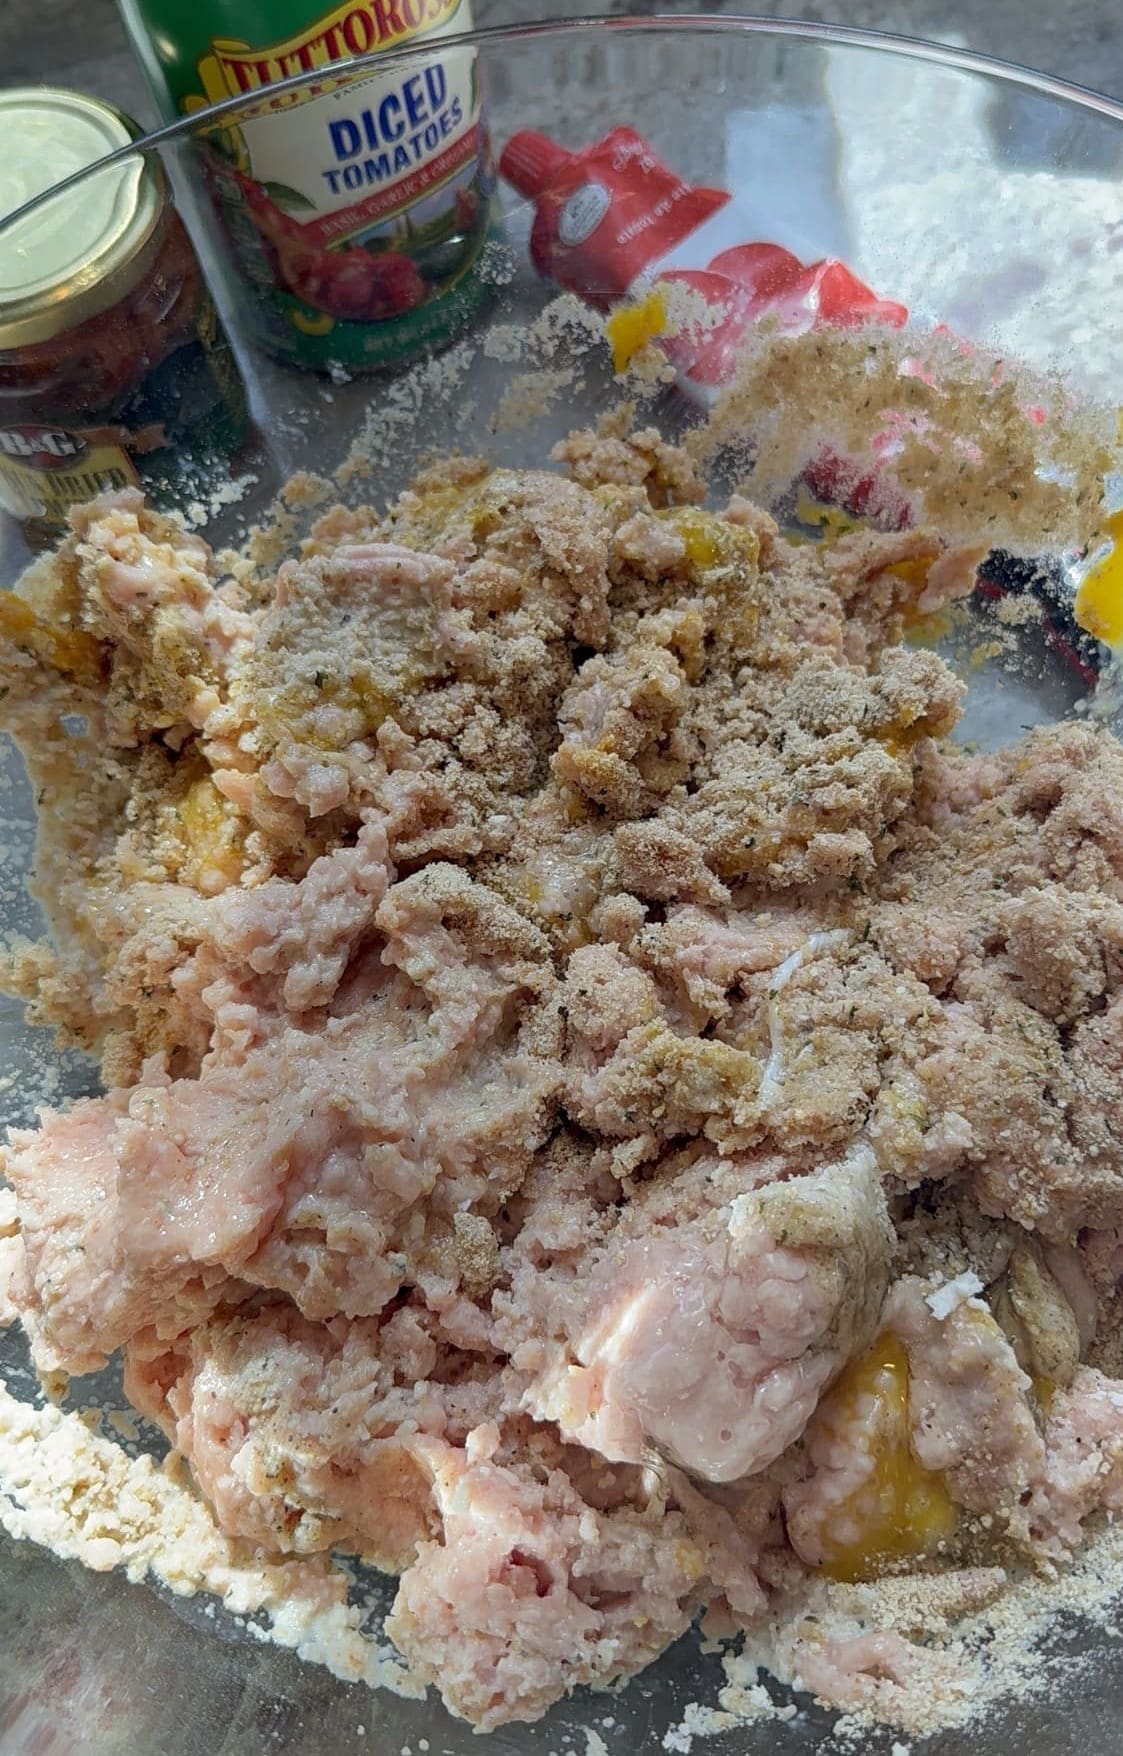
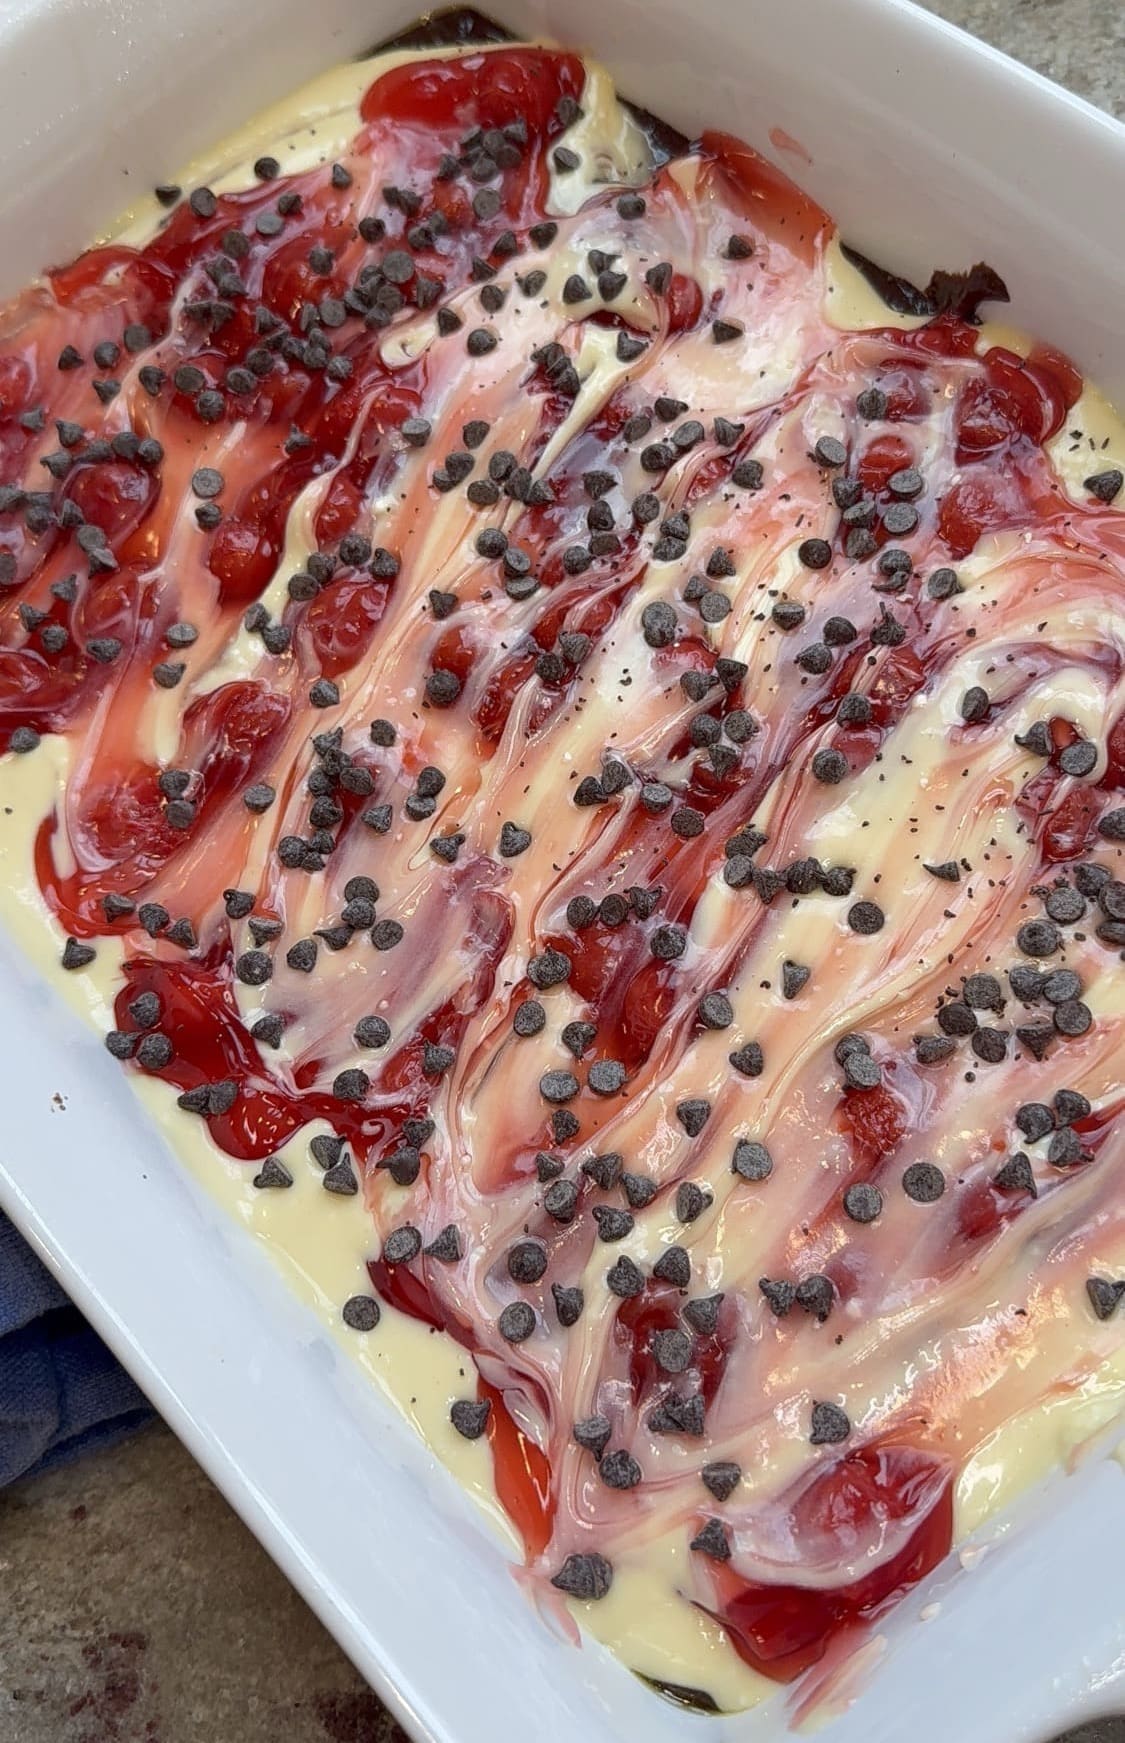
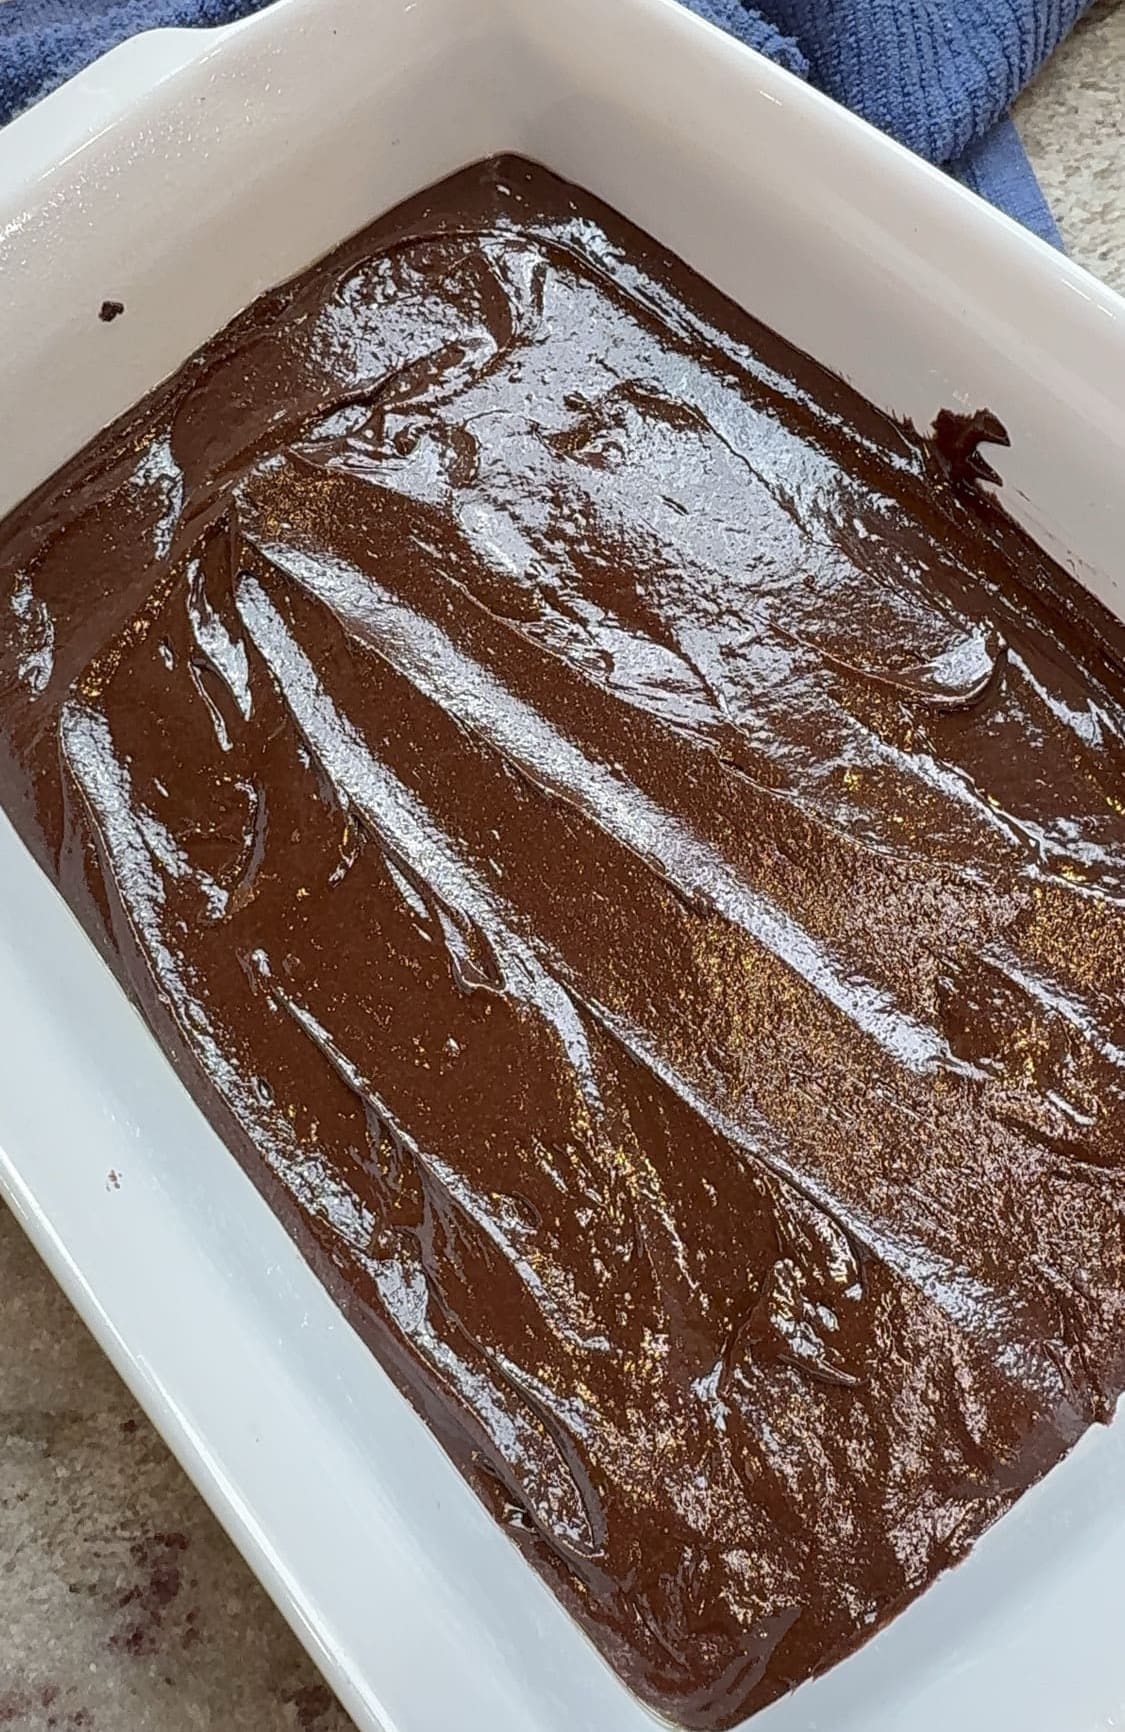
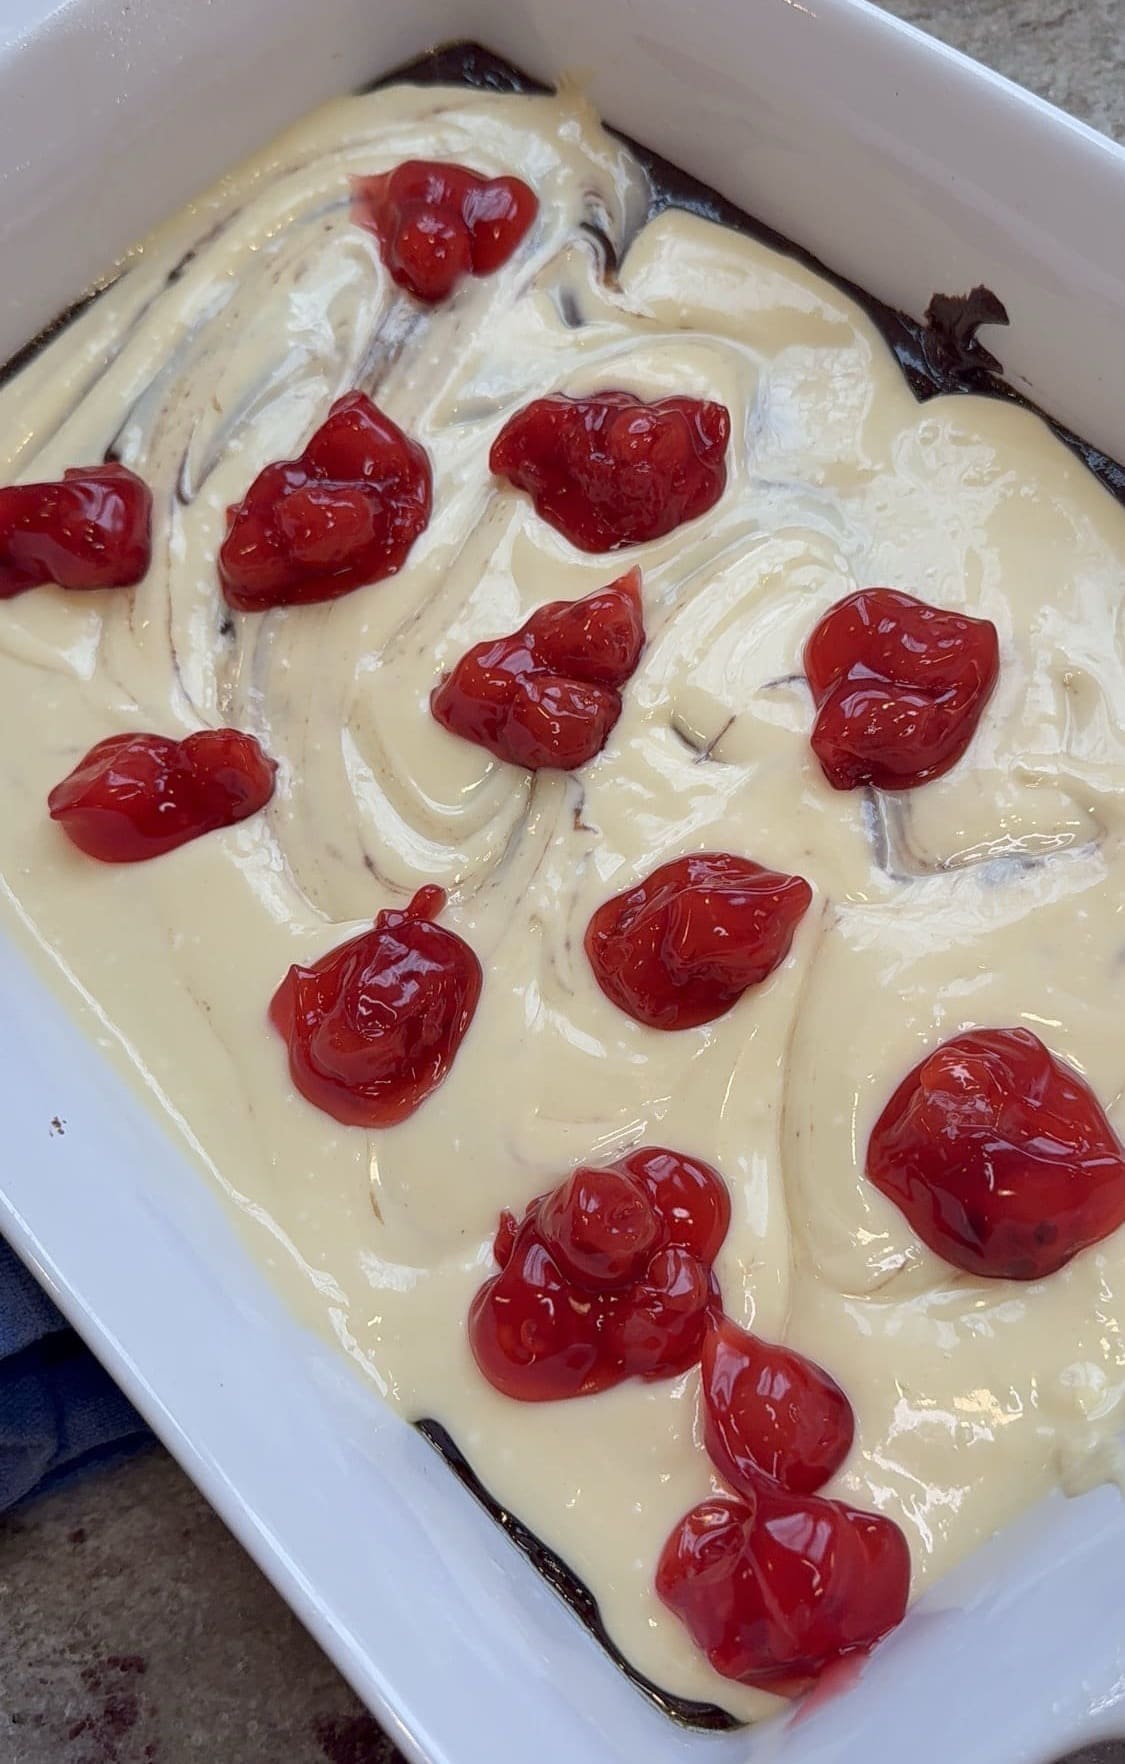
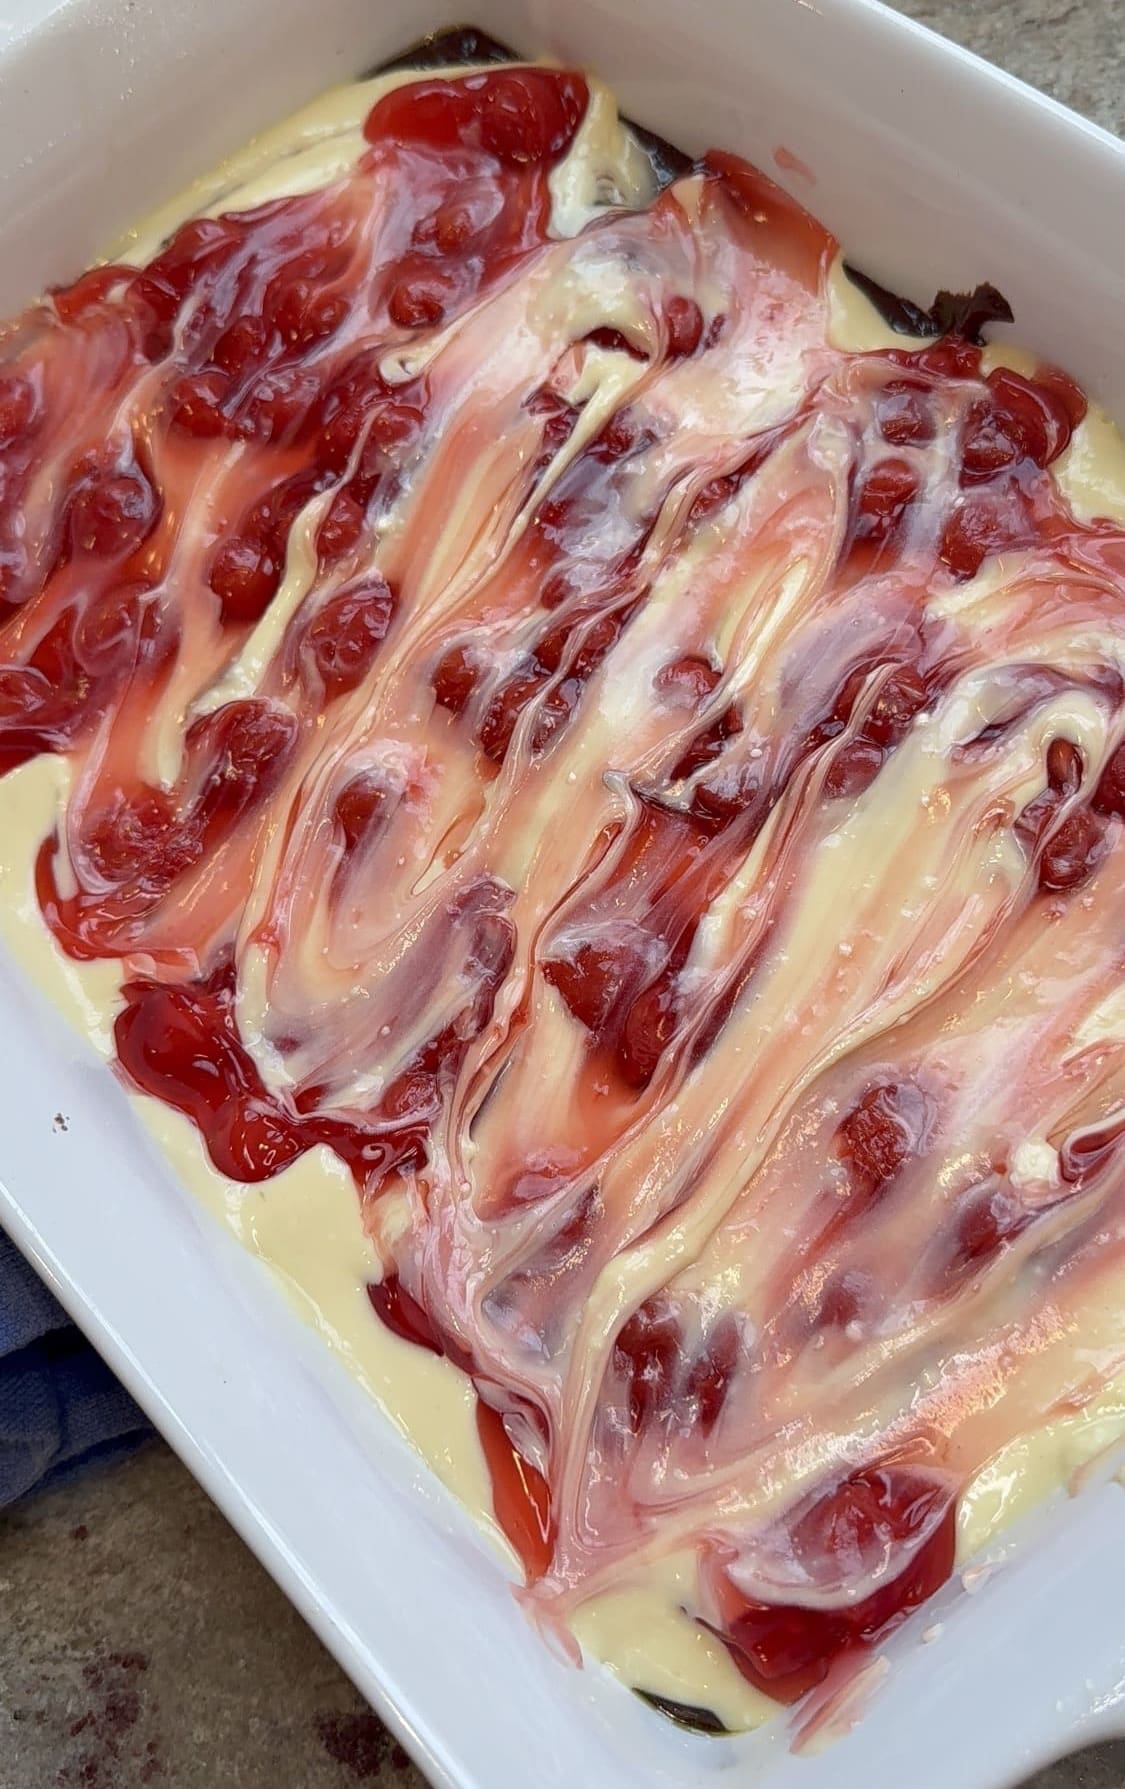
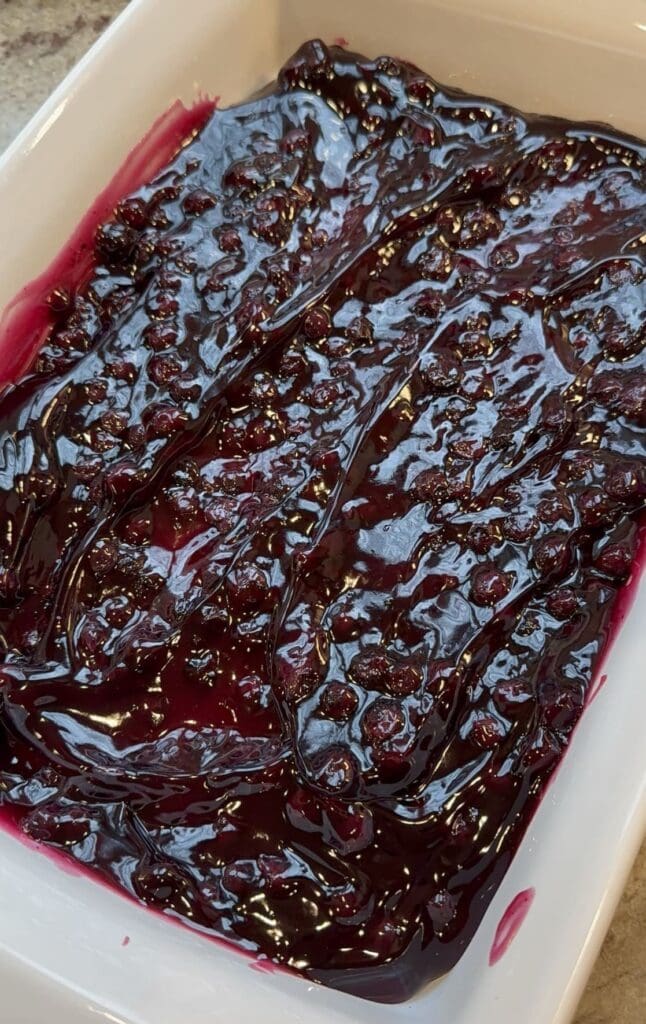
First, spread the blueberry pie filling down onto a 9 x 13” baking dish.
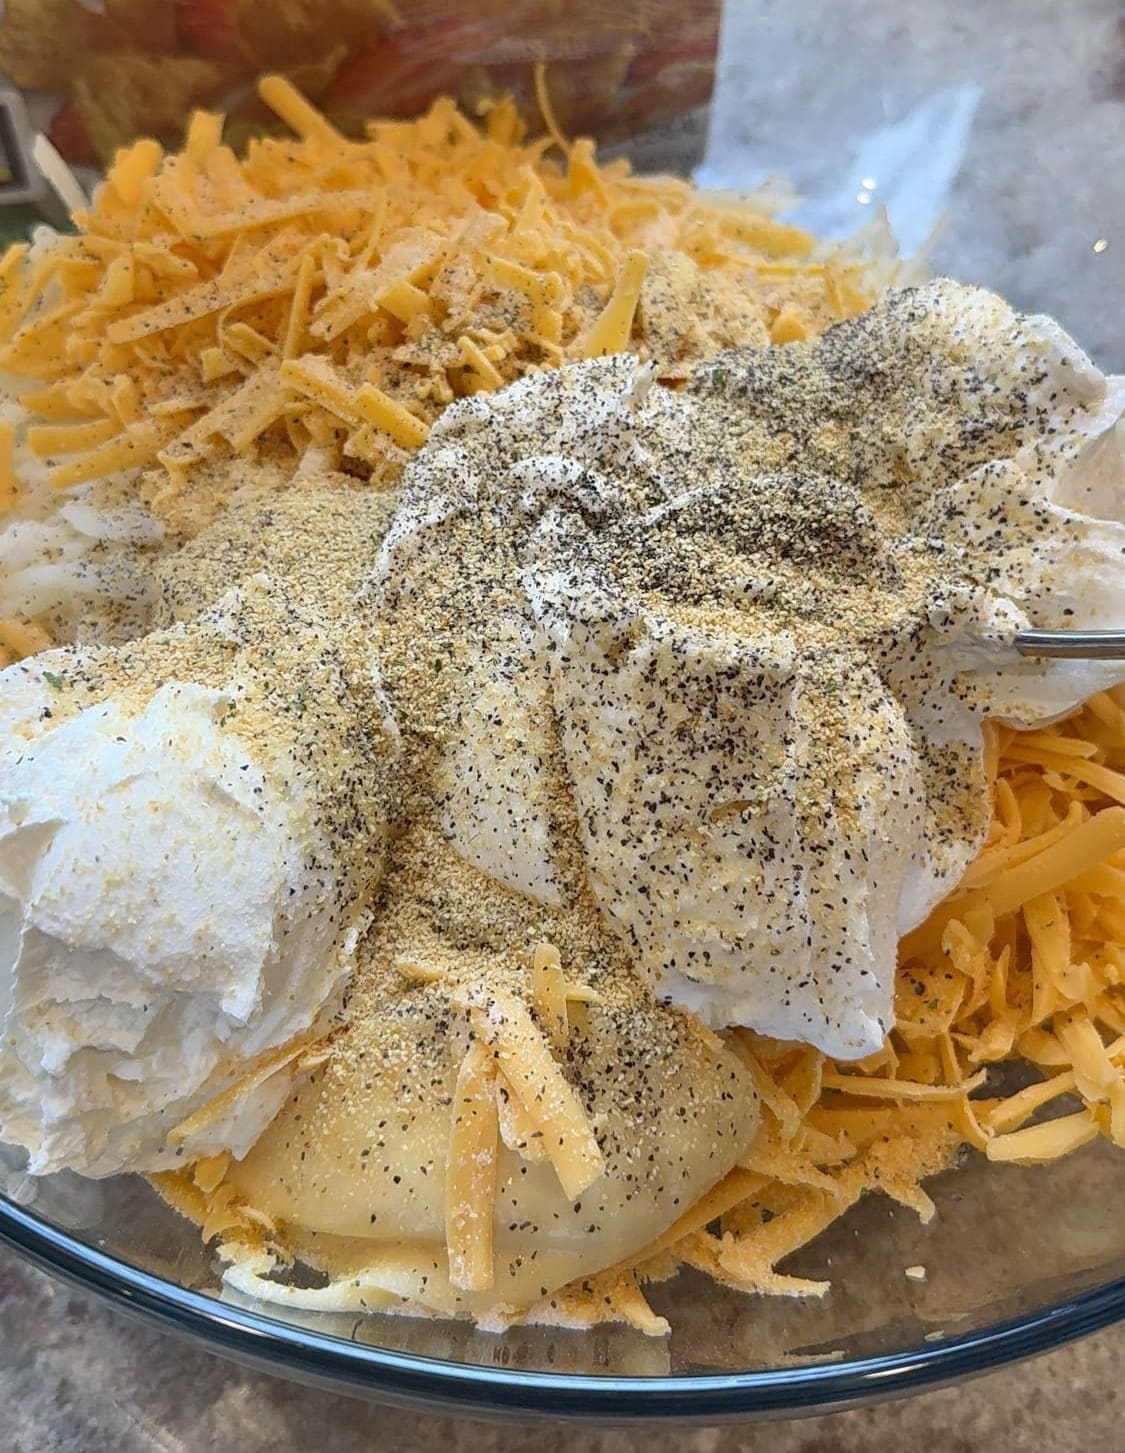
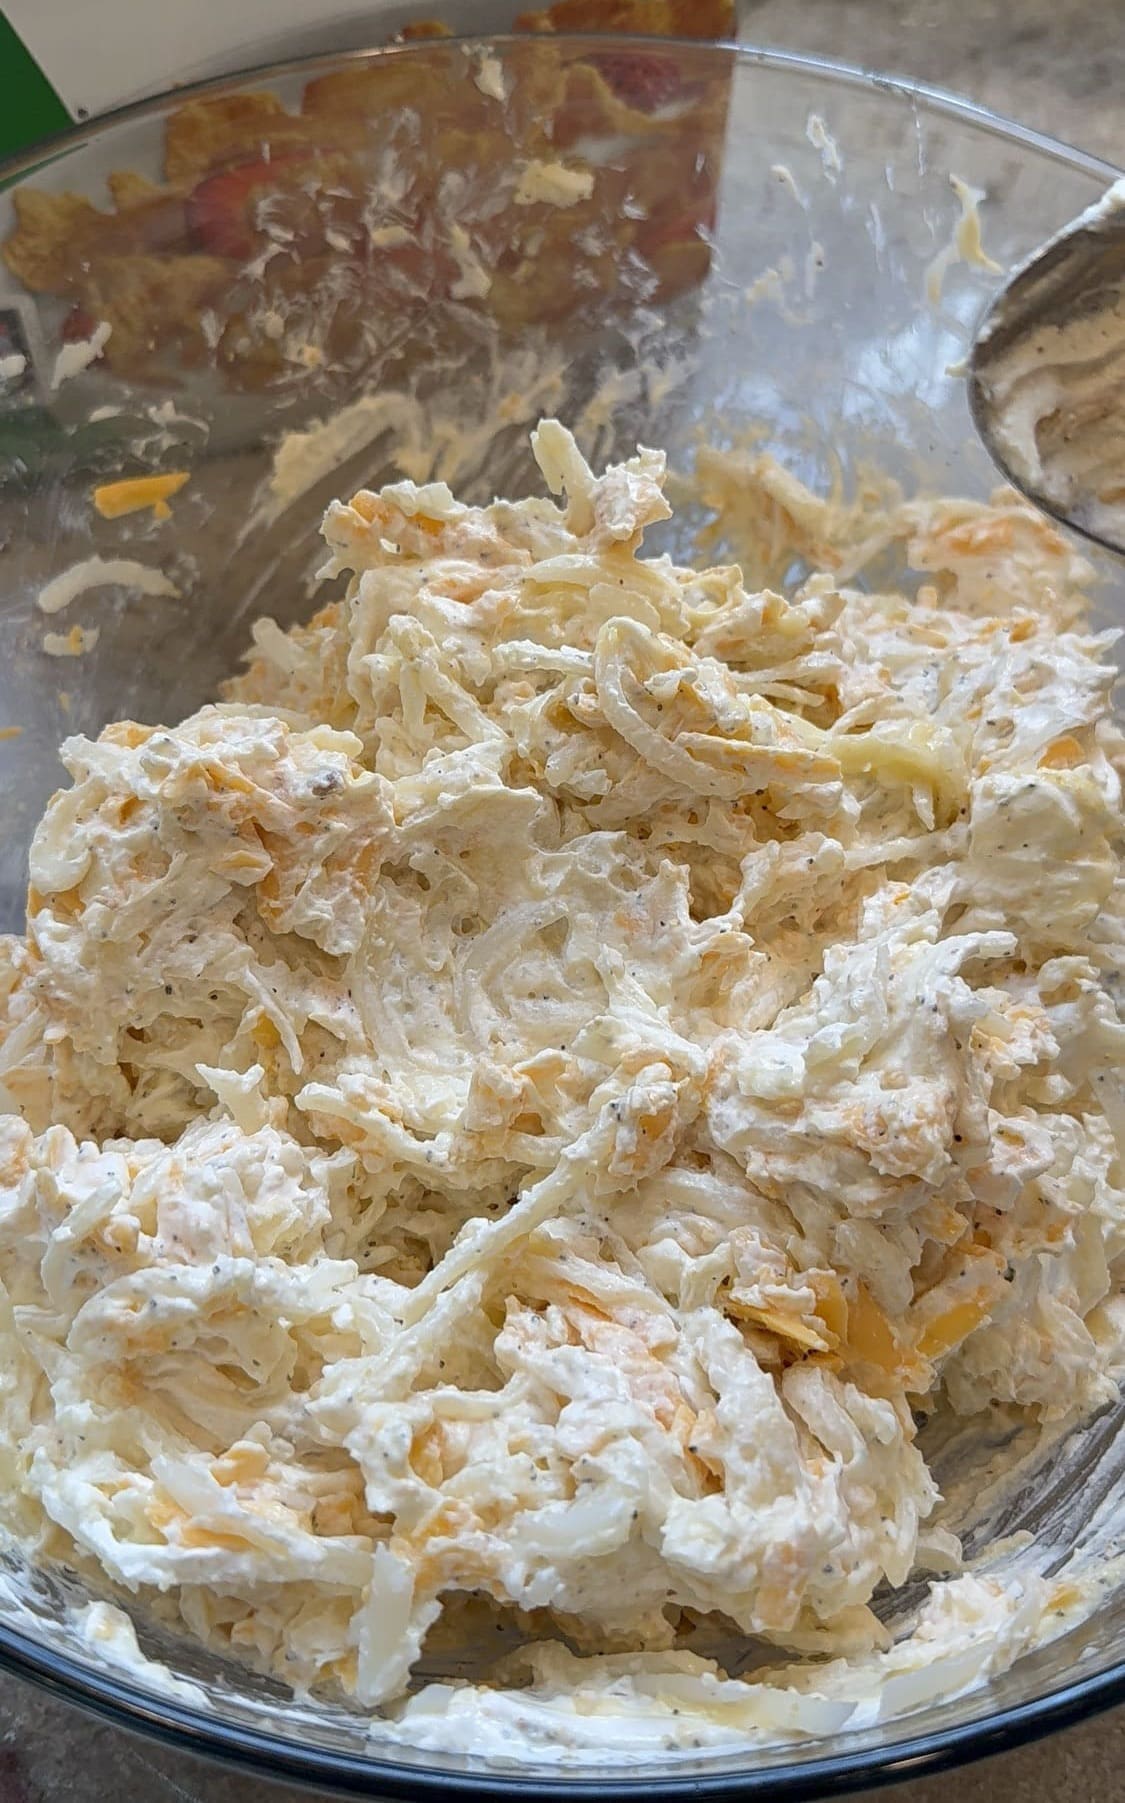
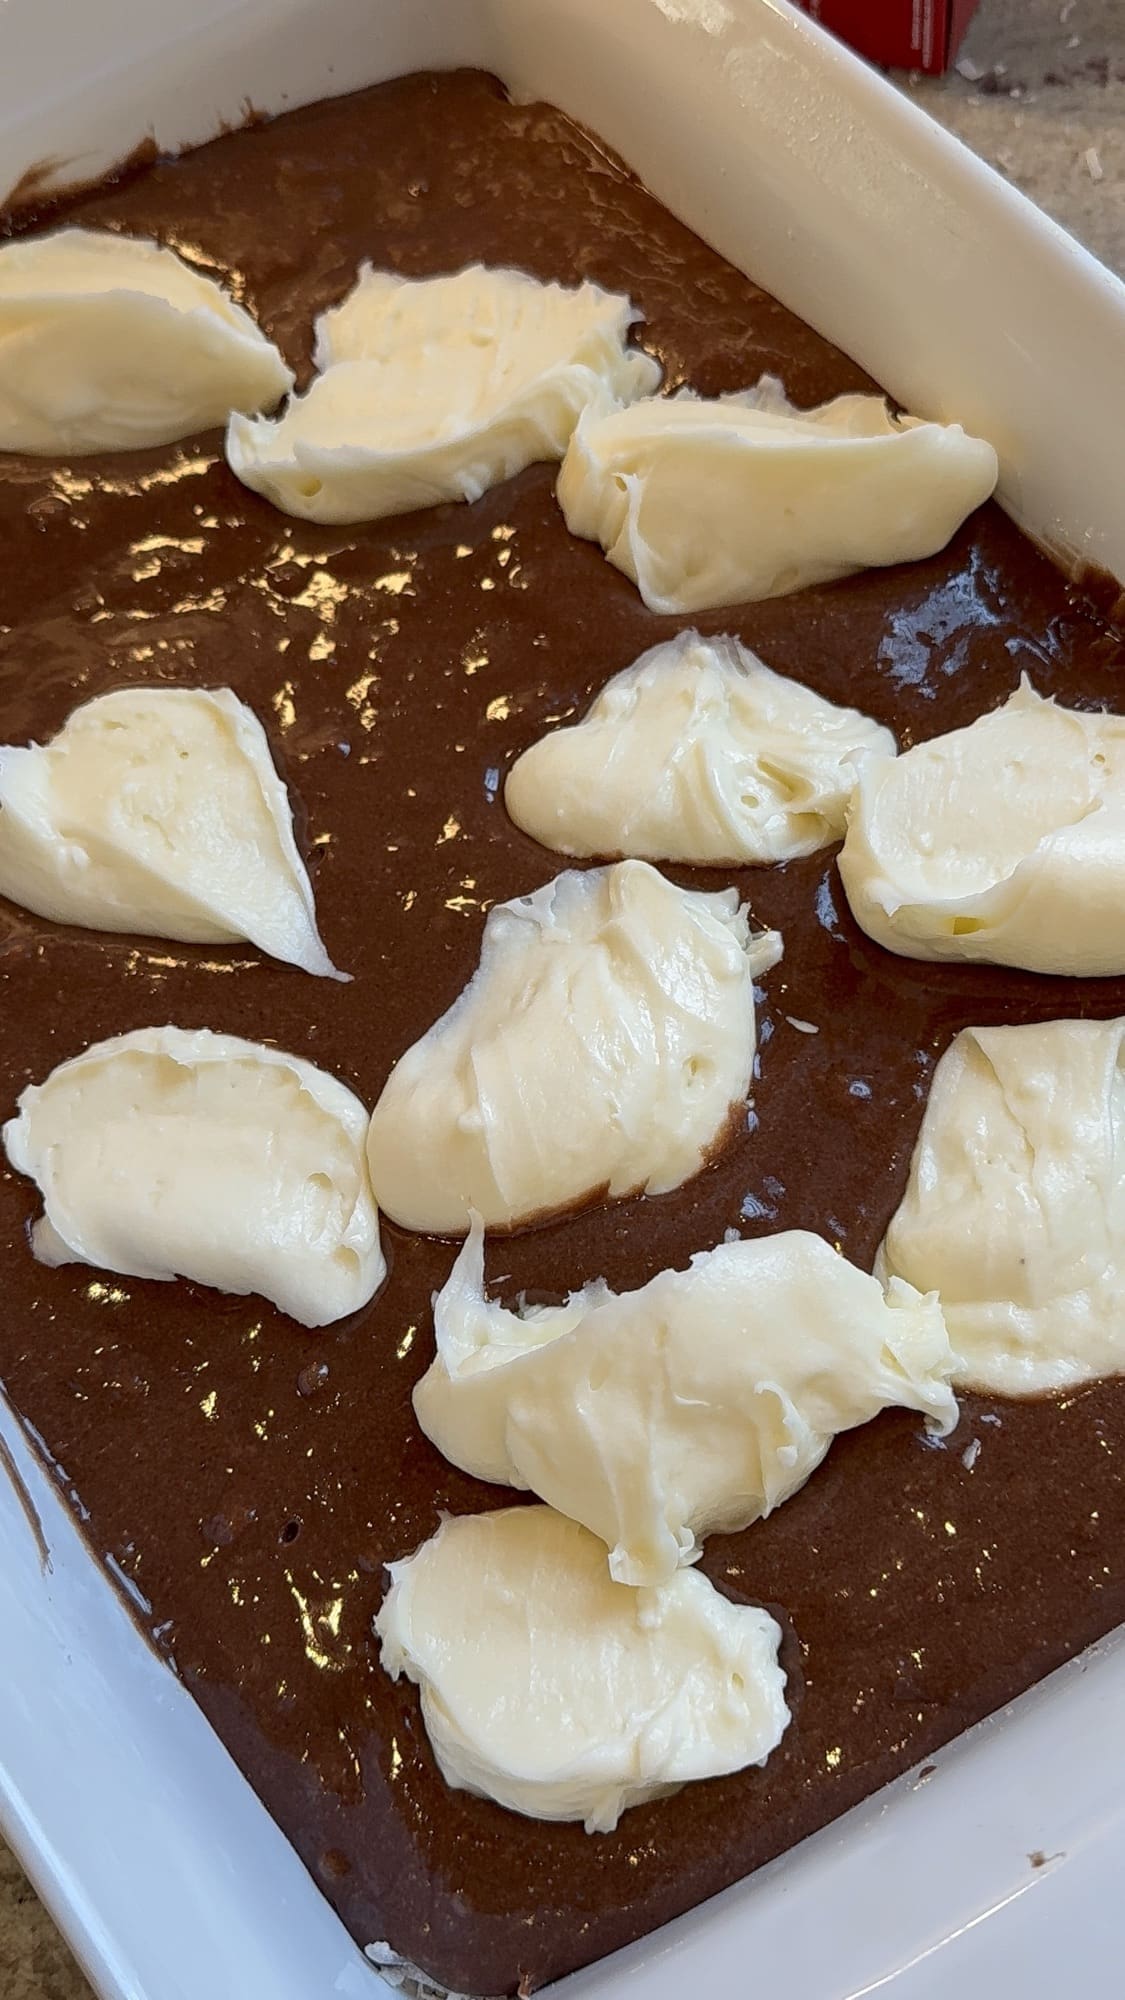
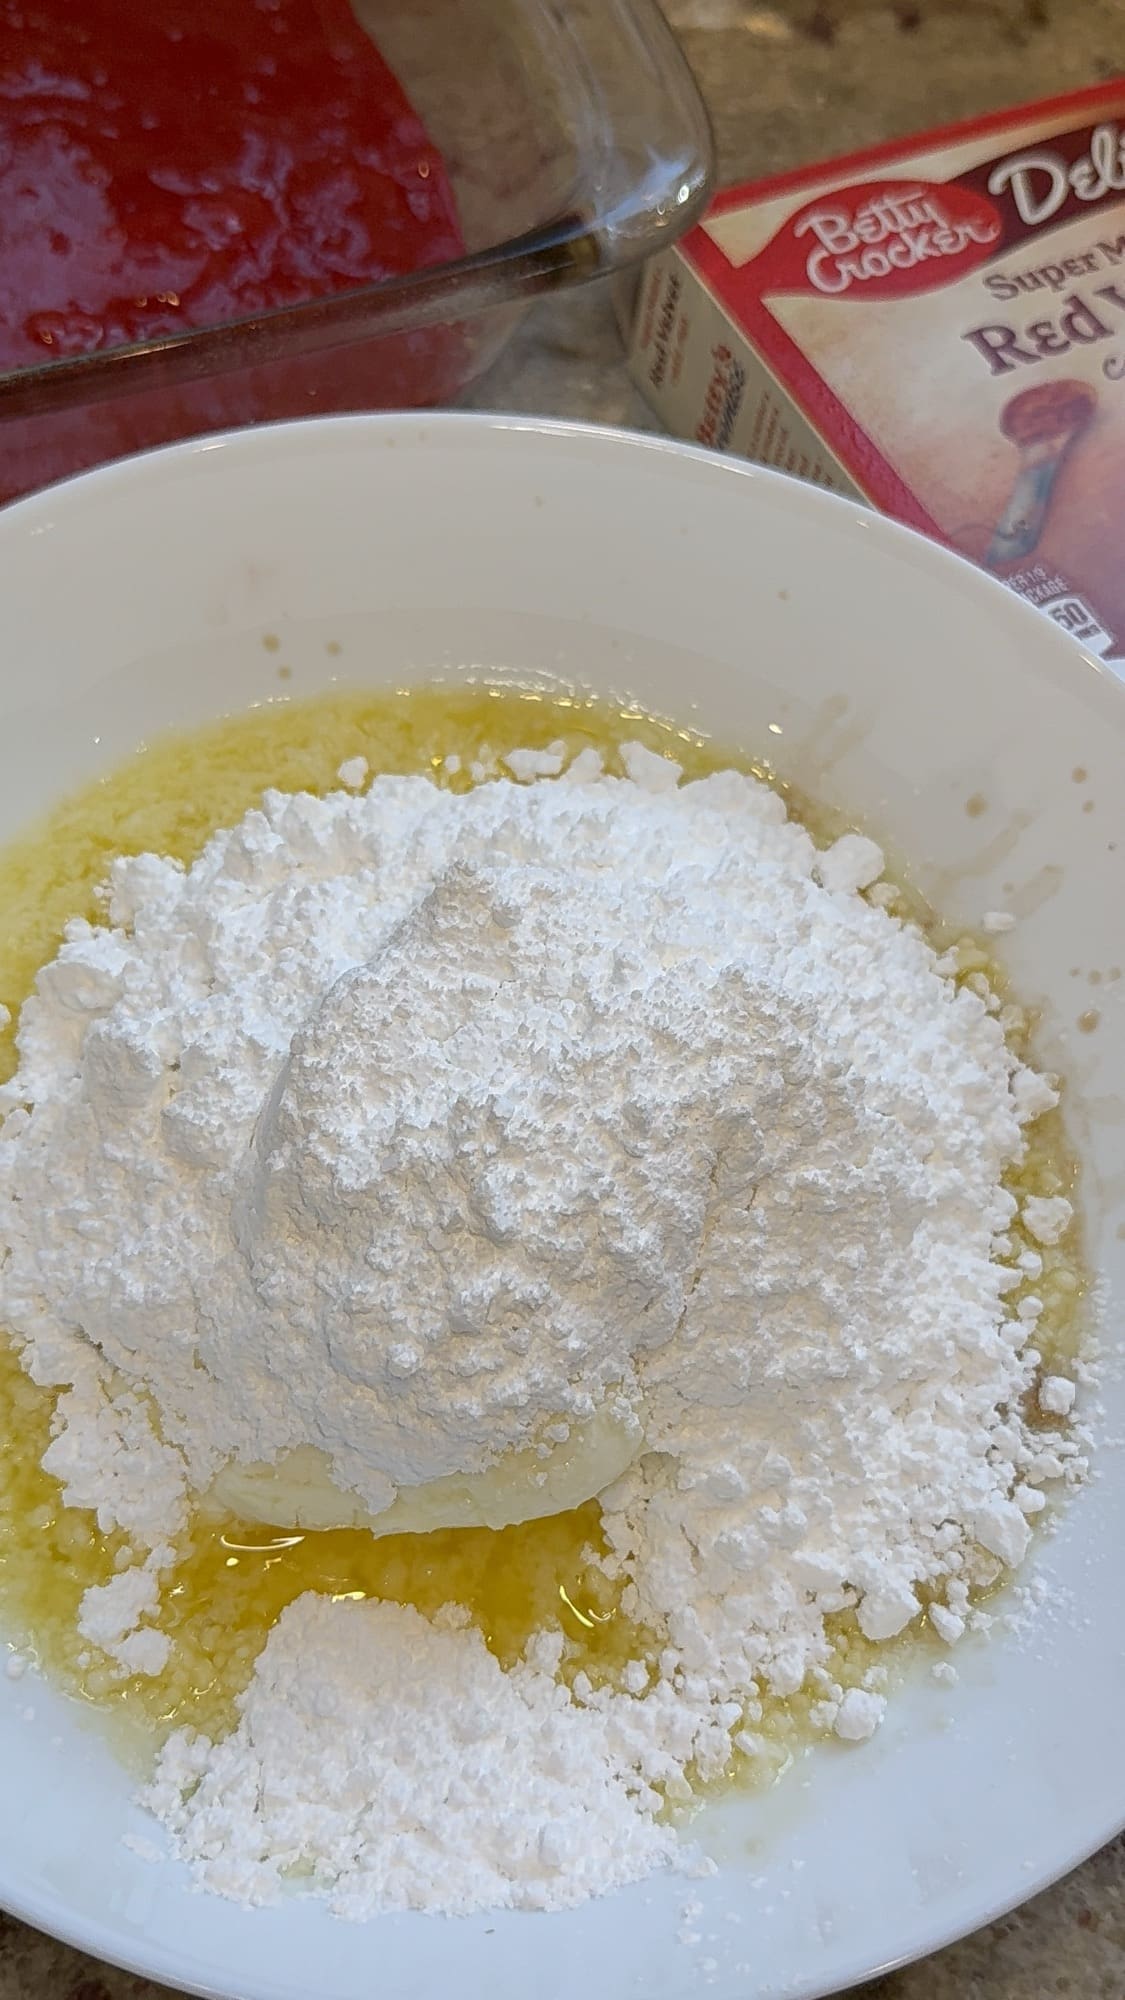
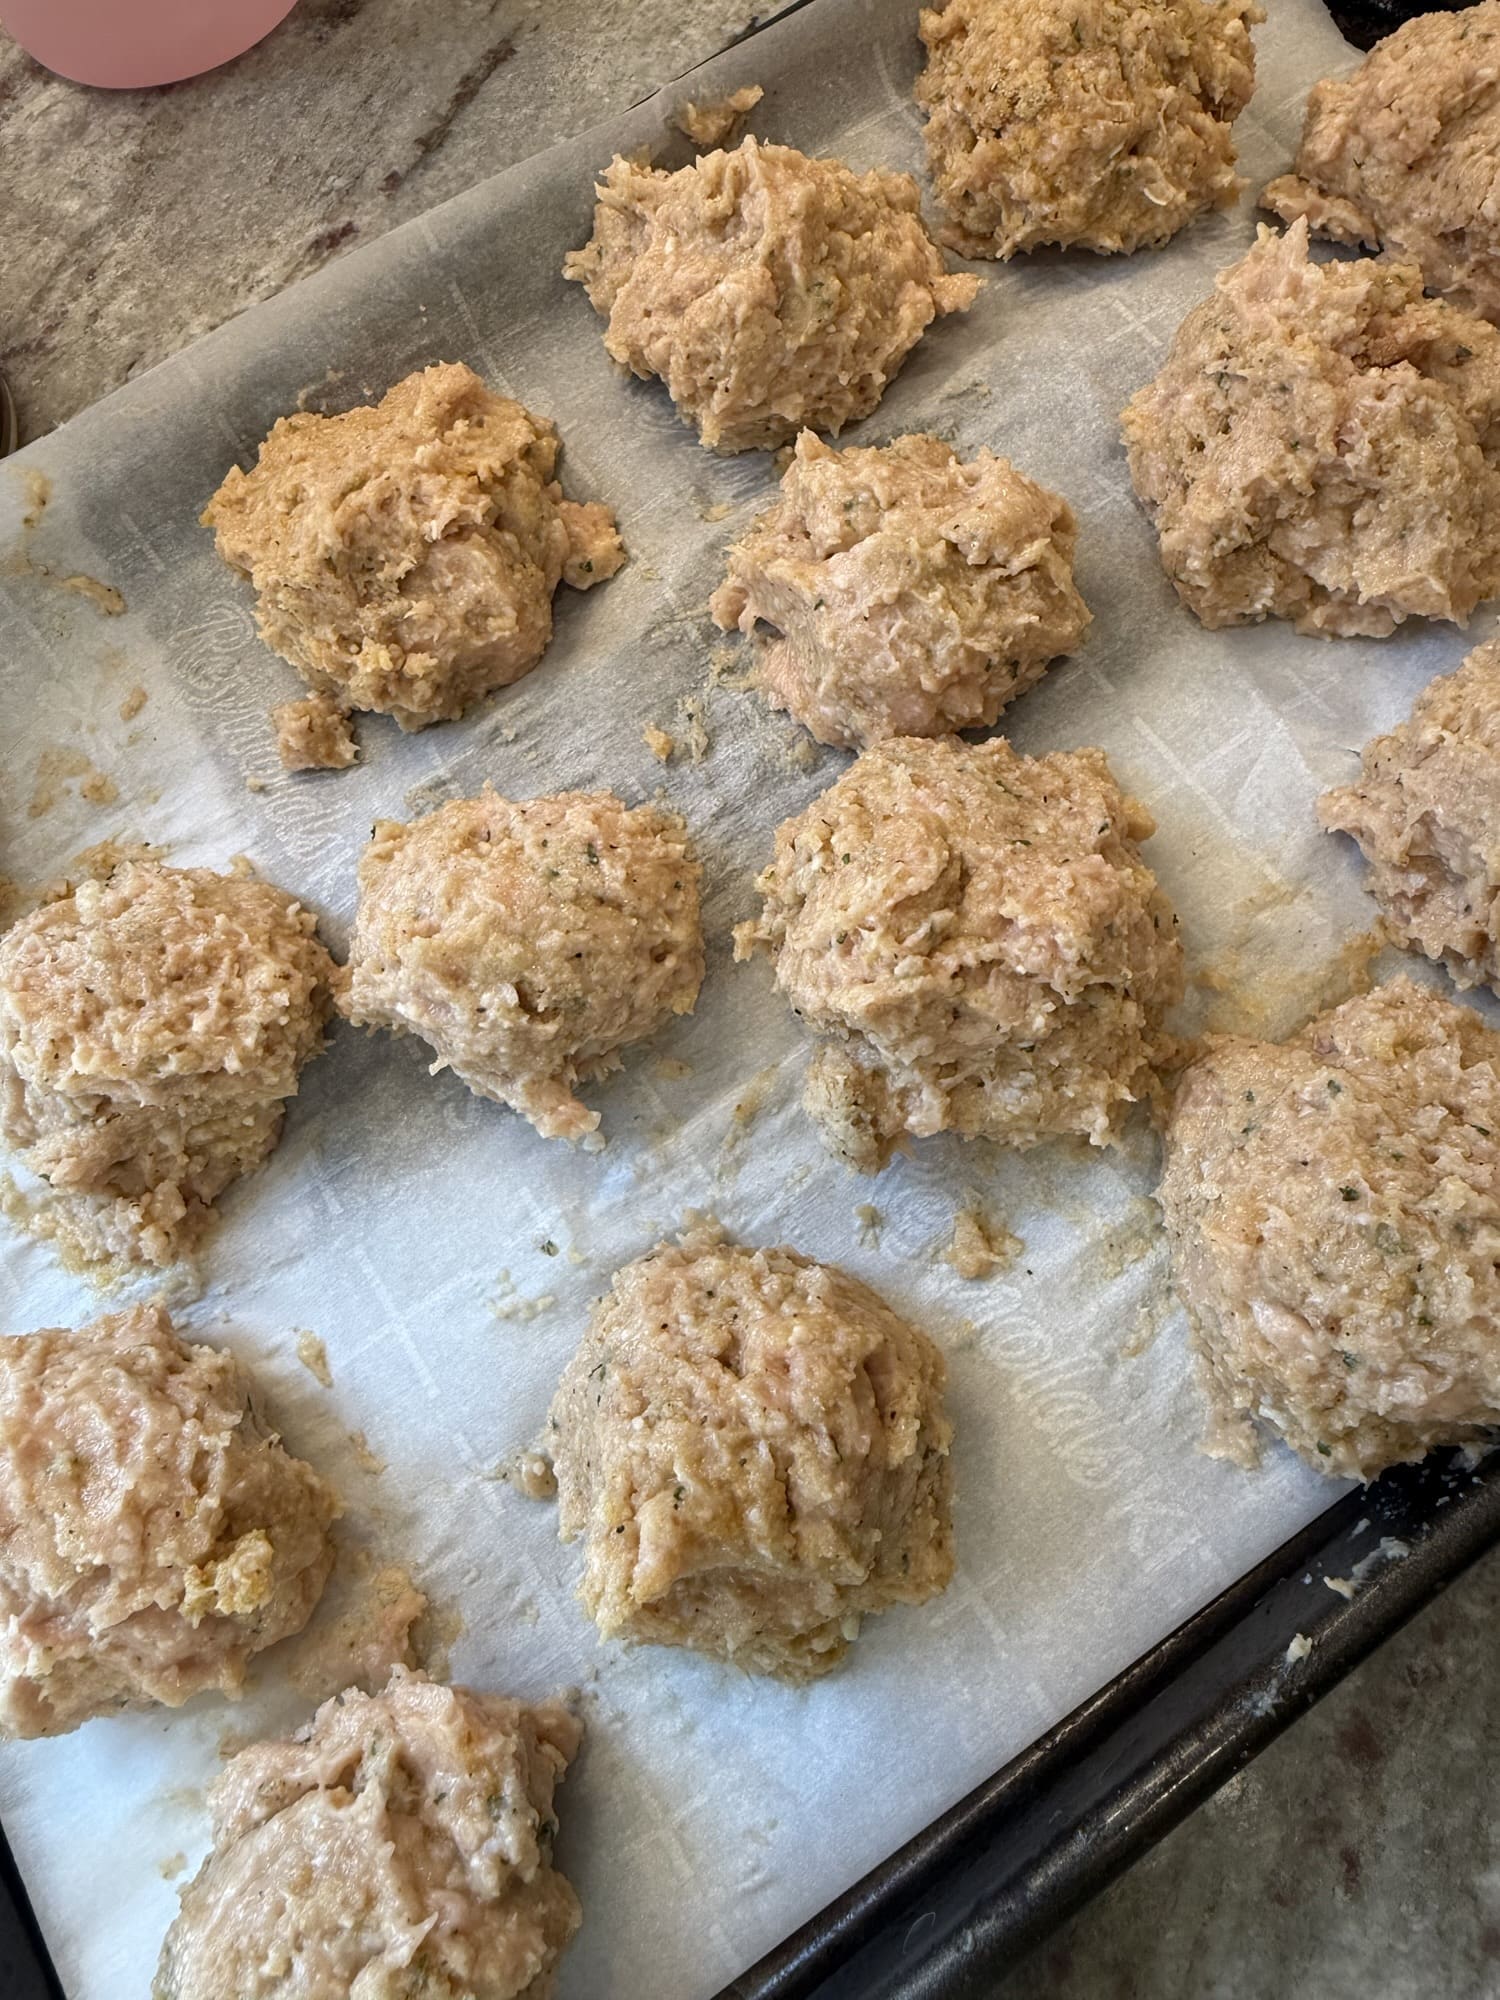
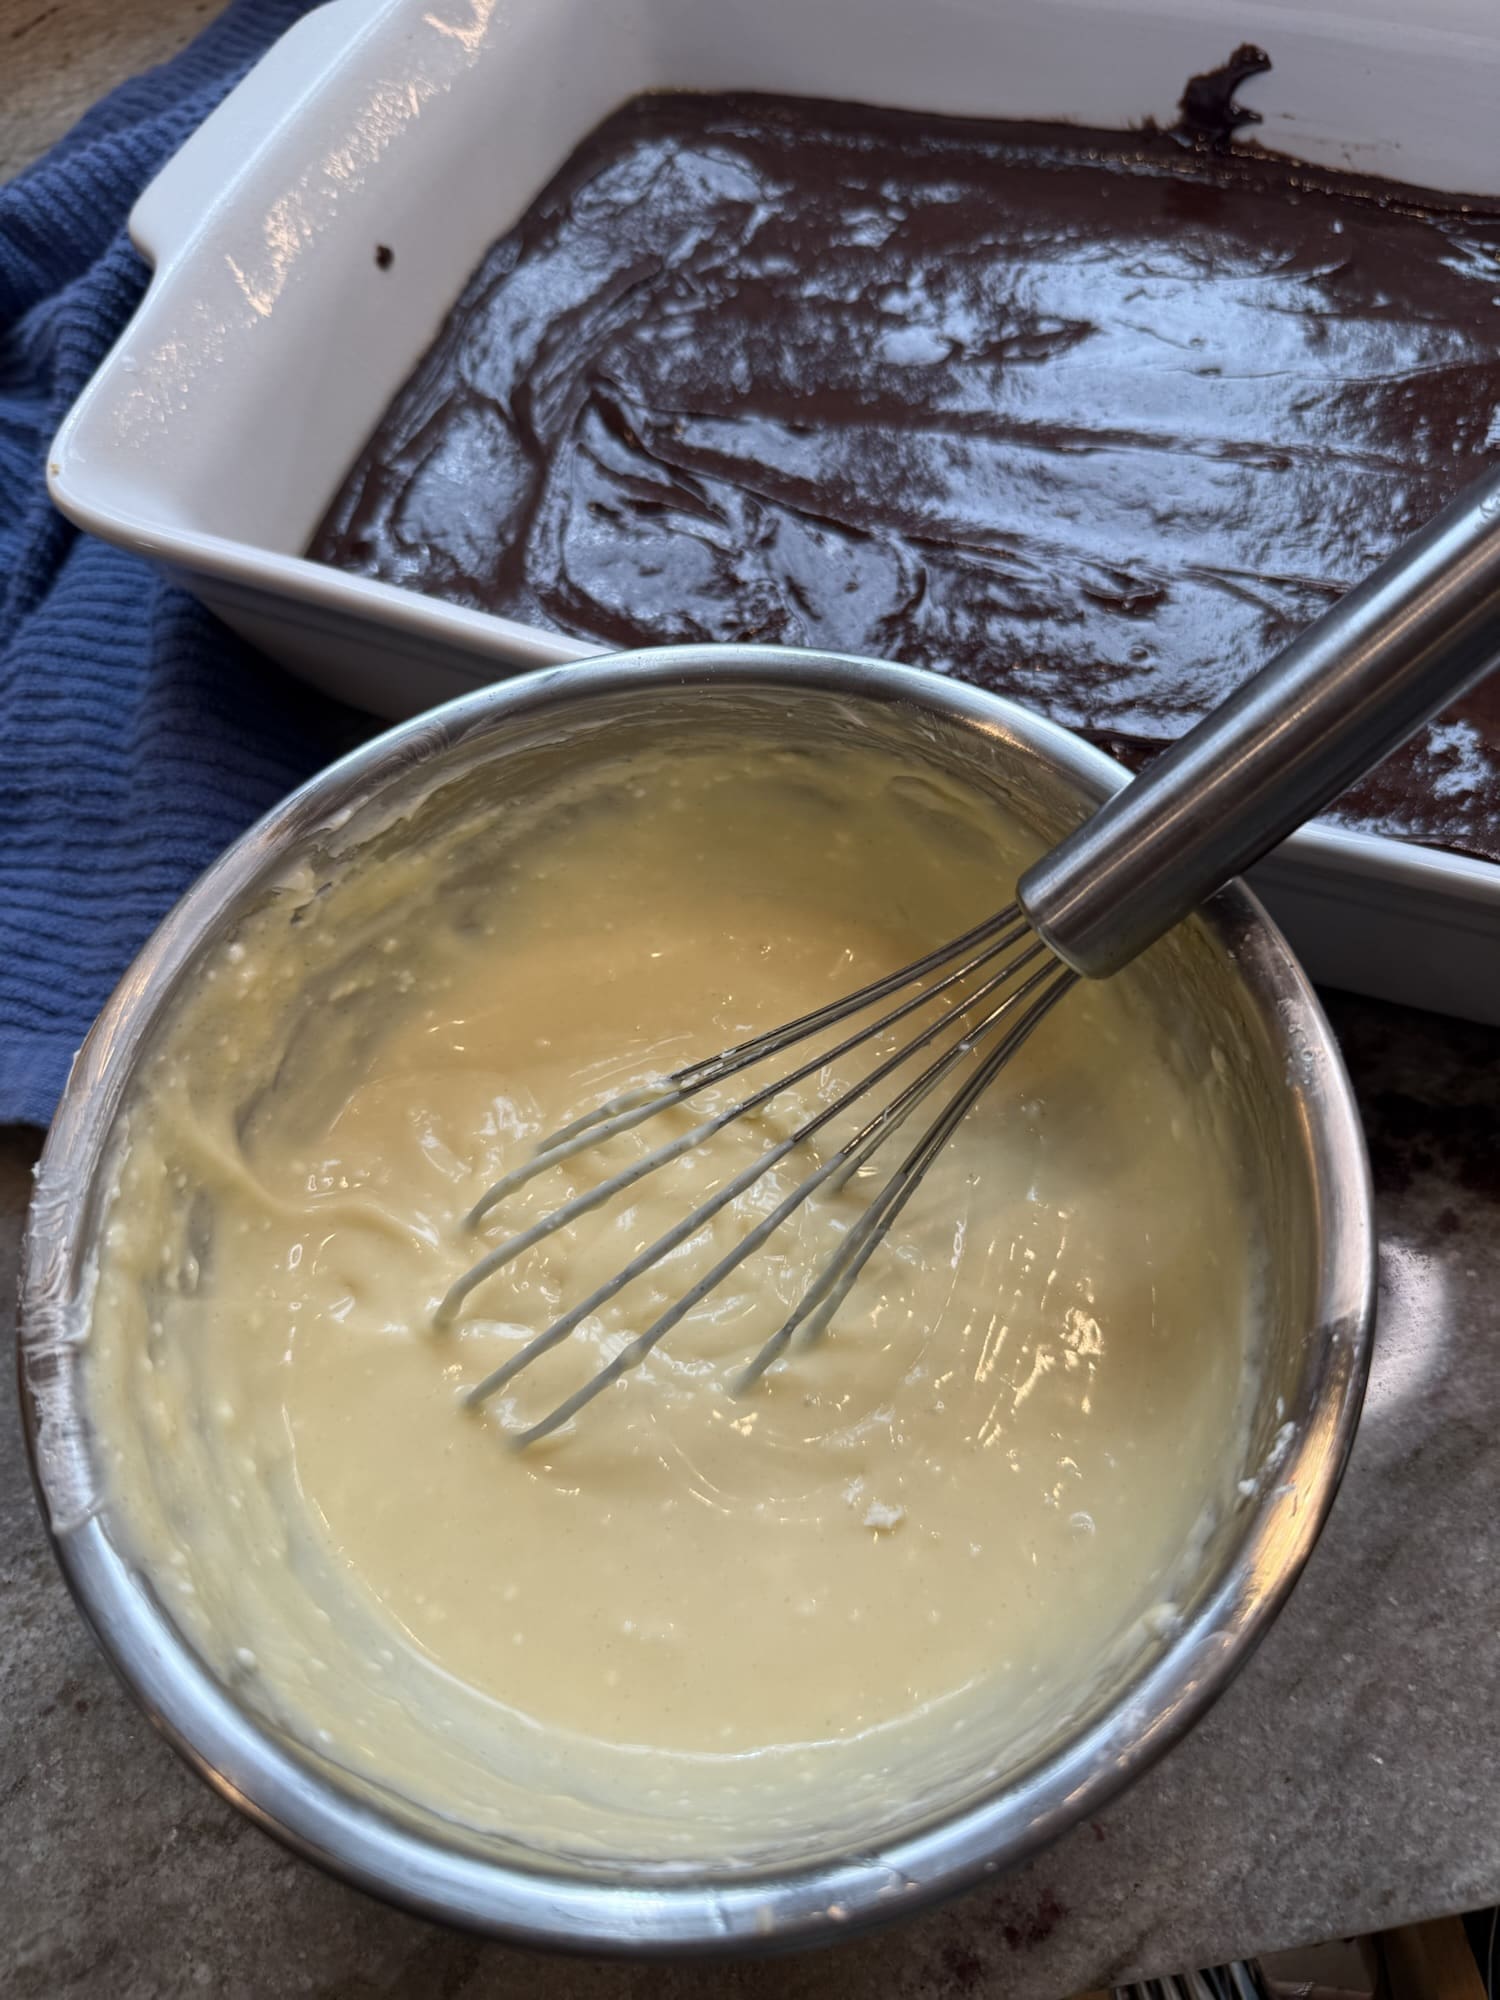
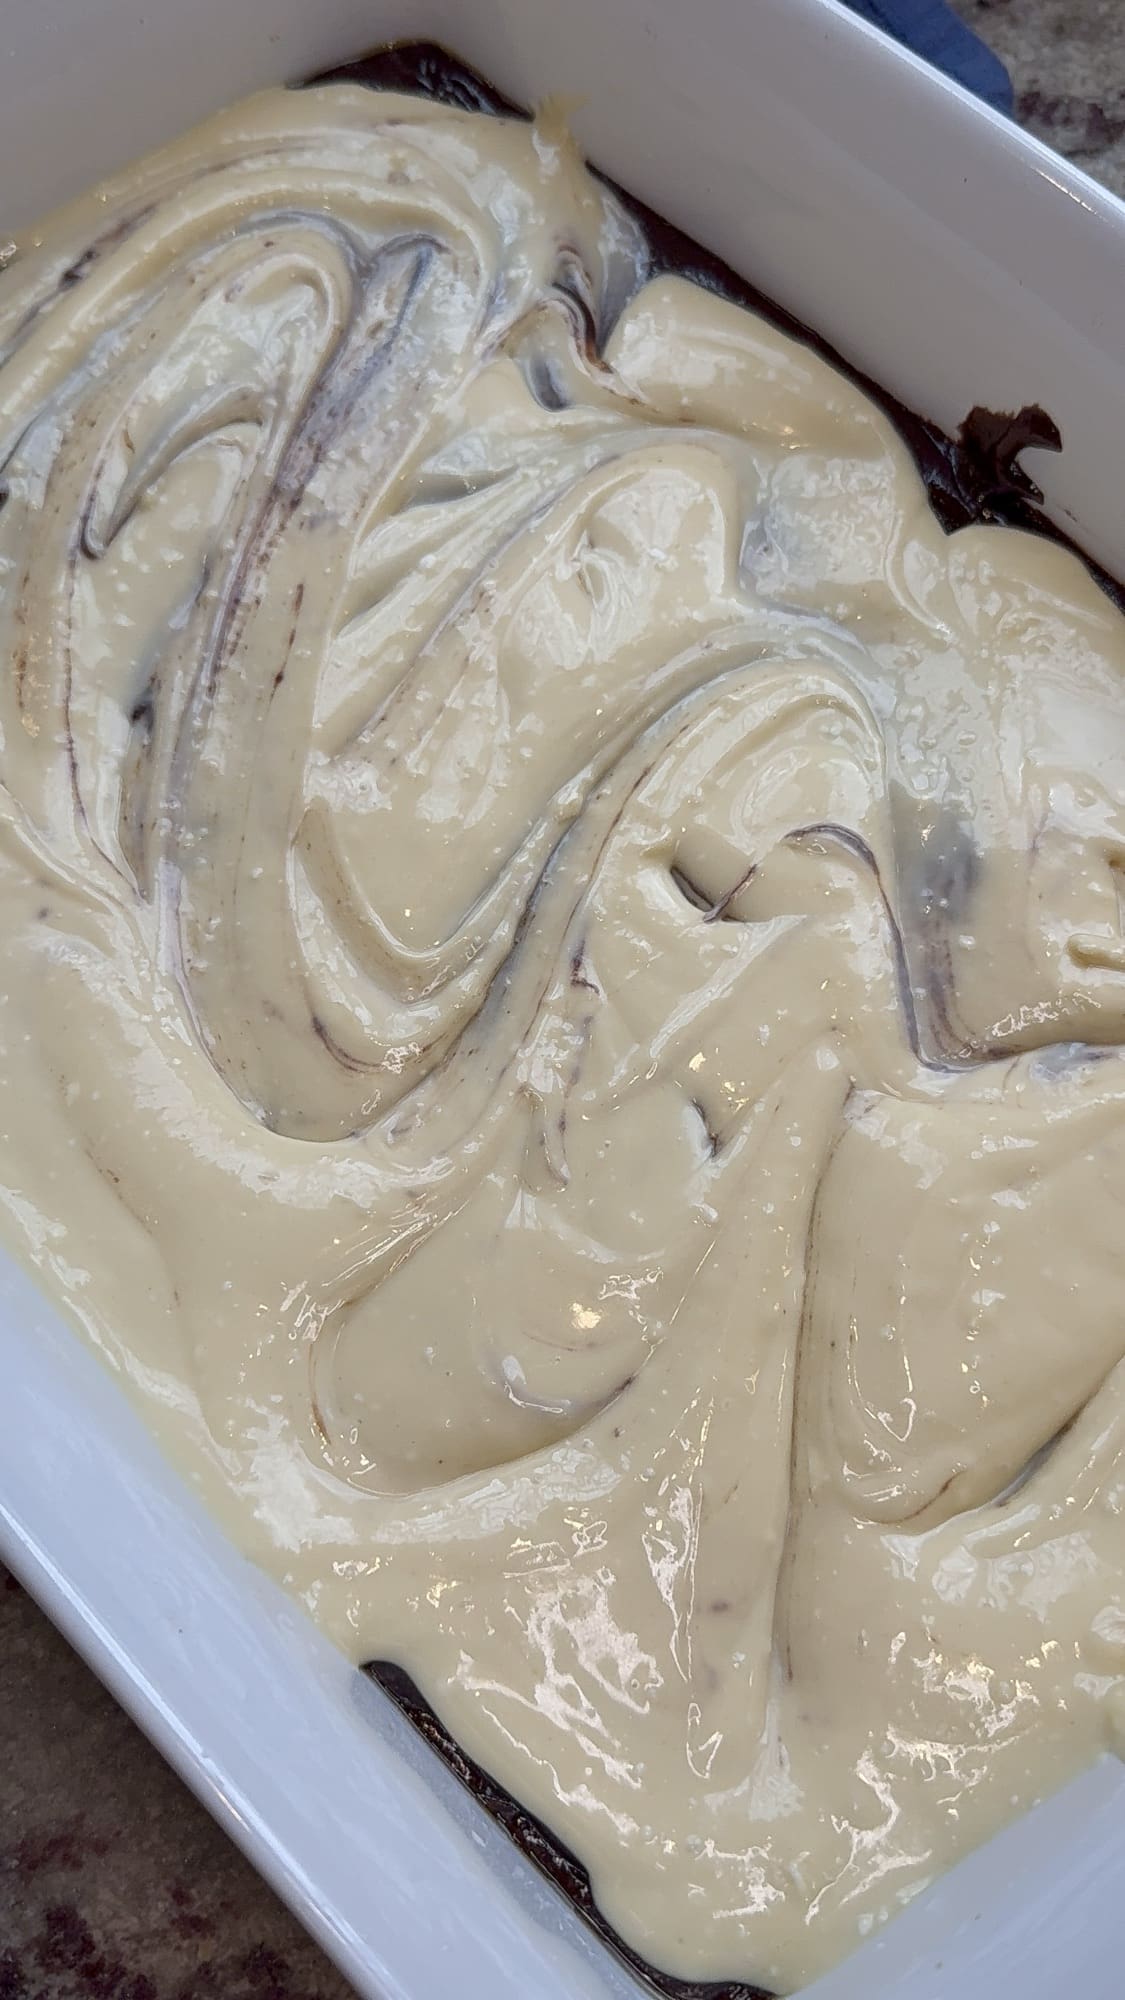
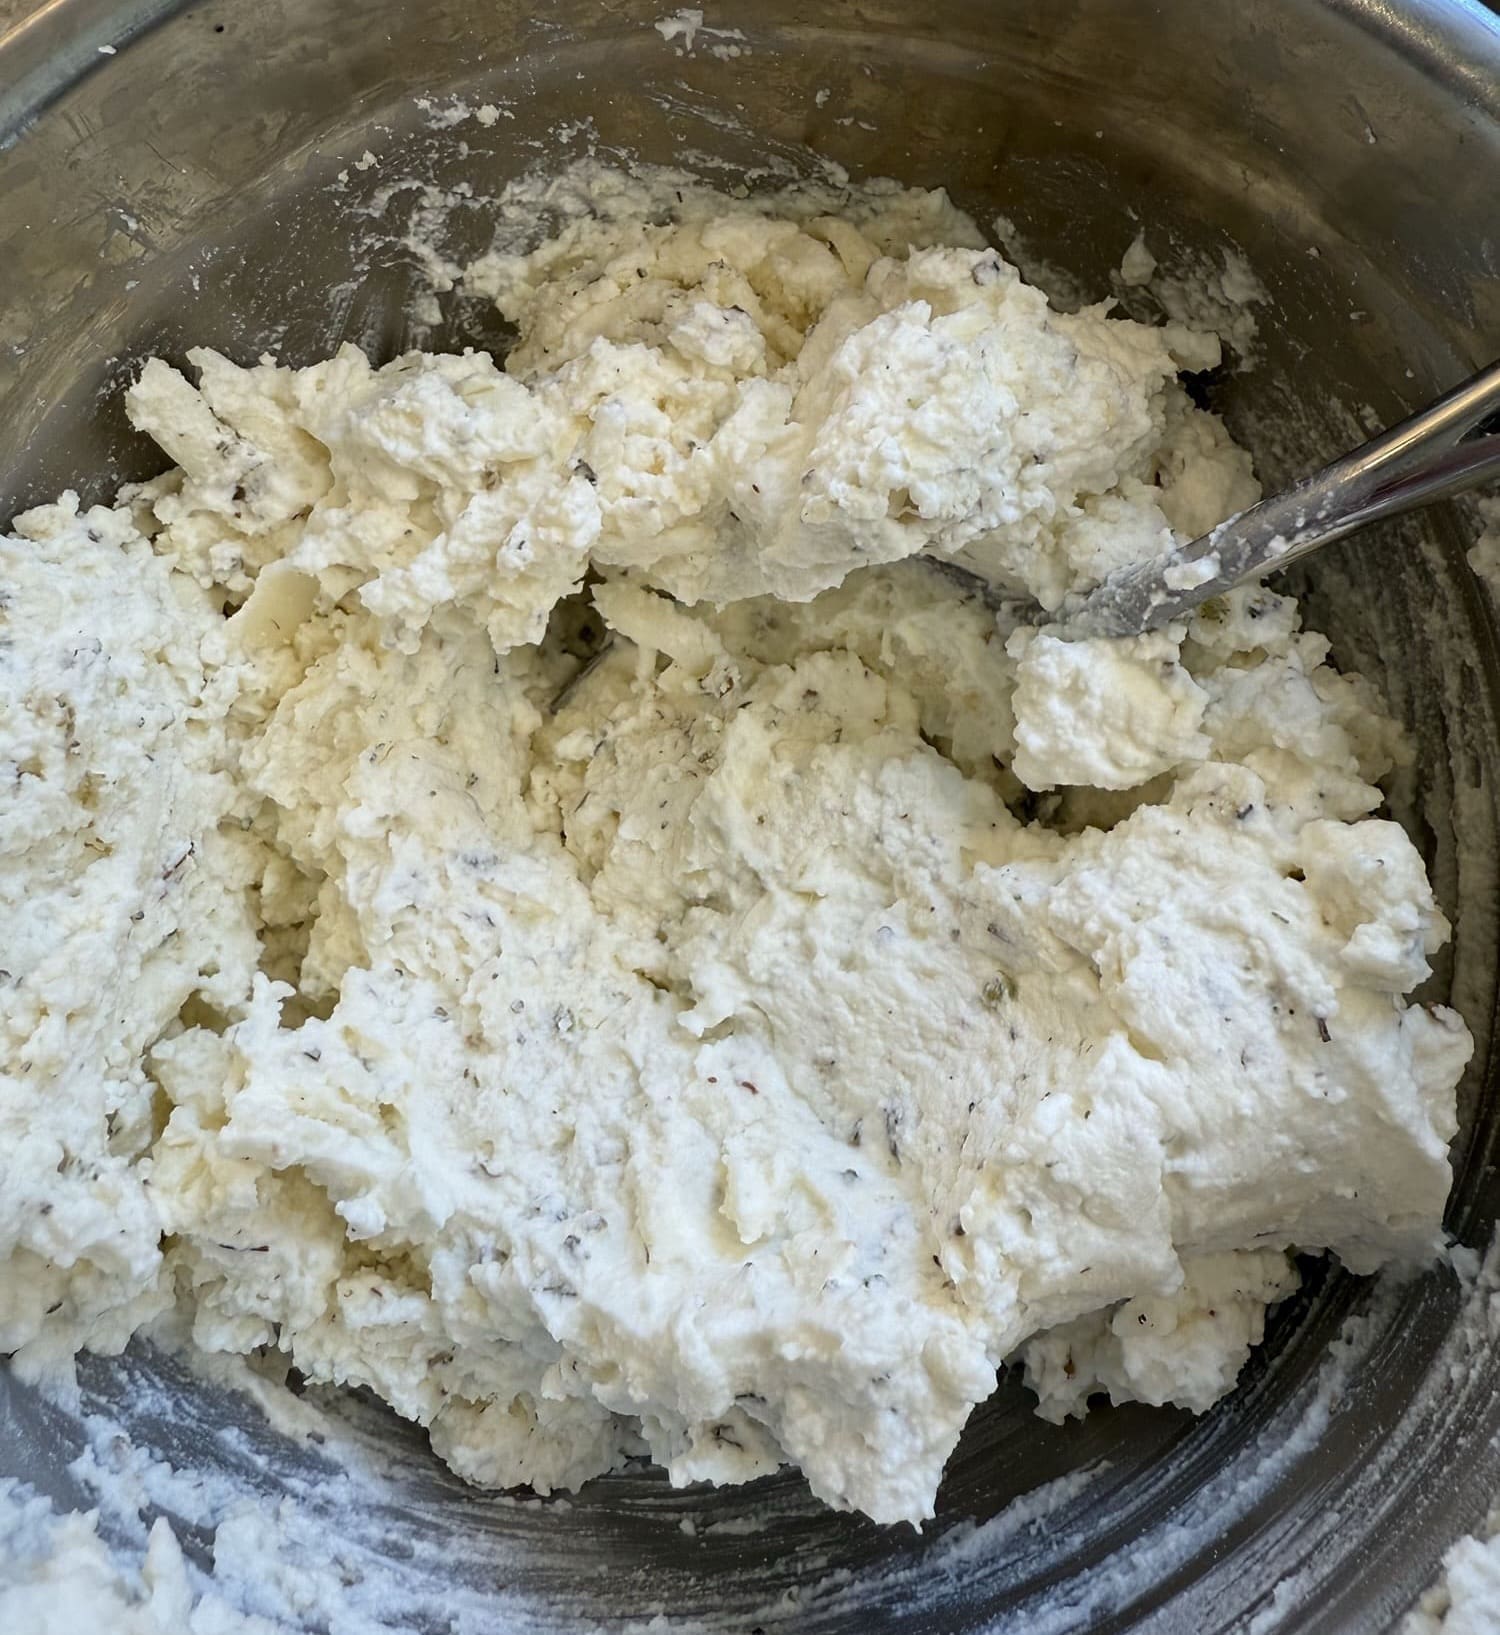
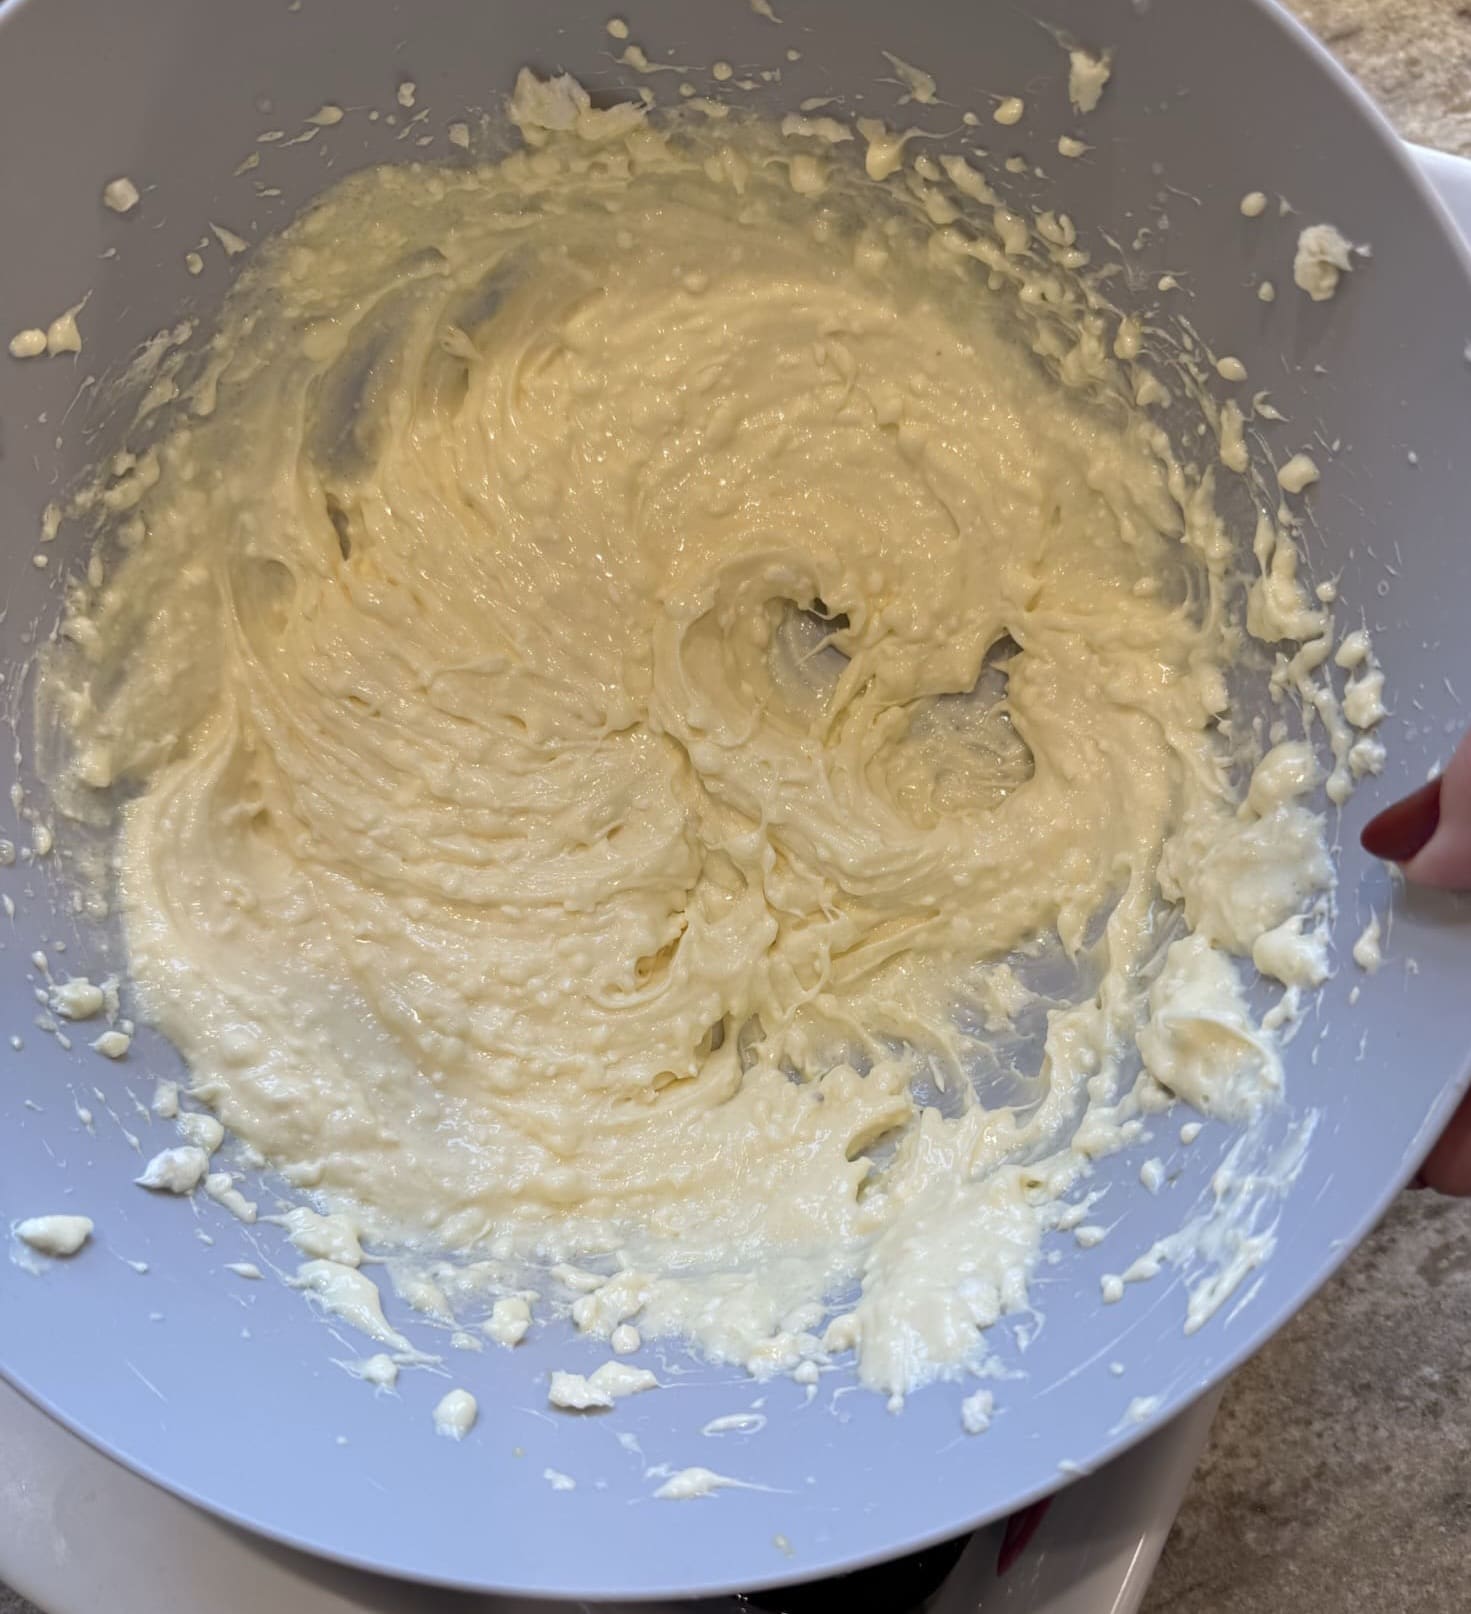
Next, in a medium sized bowl, beat together the cream cheese, egg, and sugar until it’s smooth.
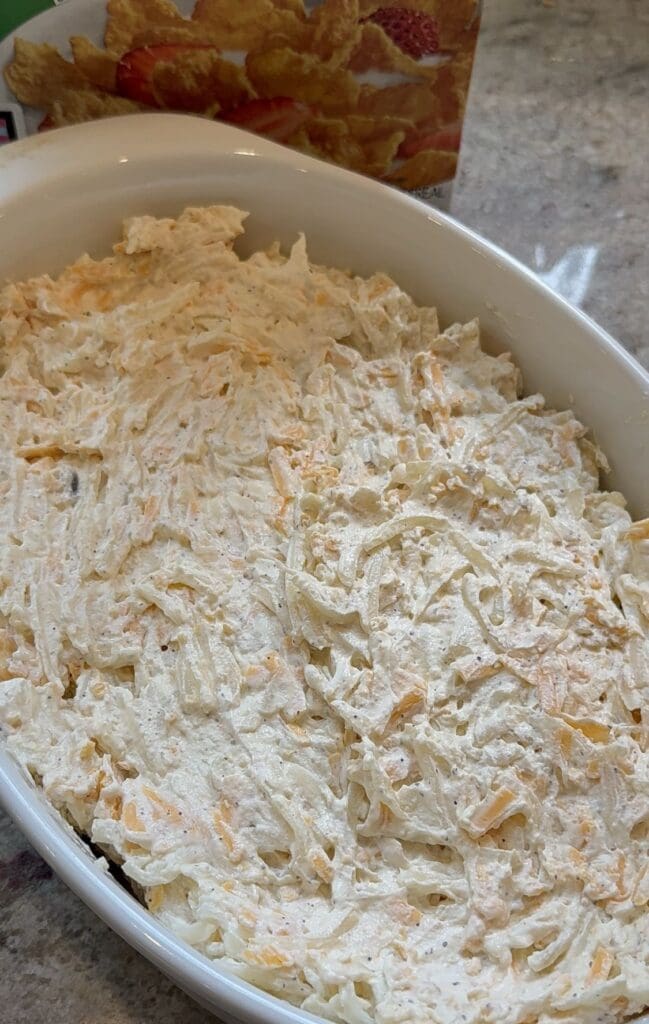
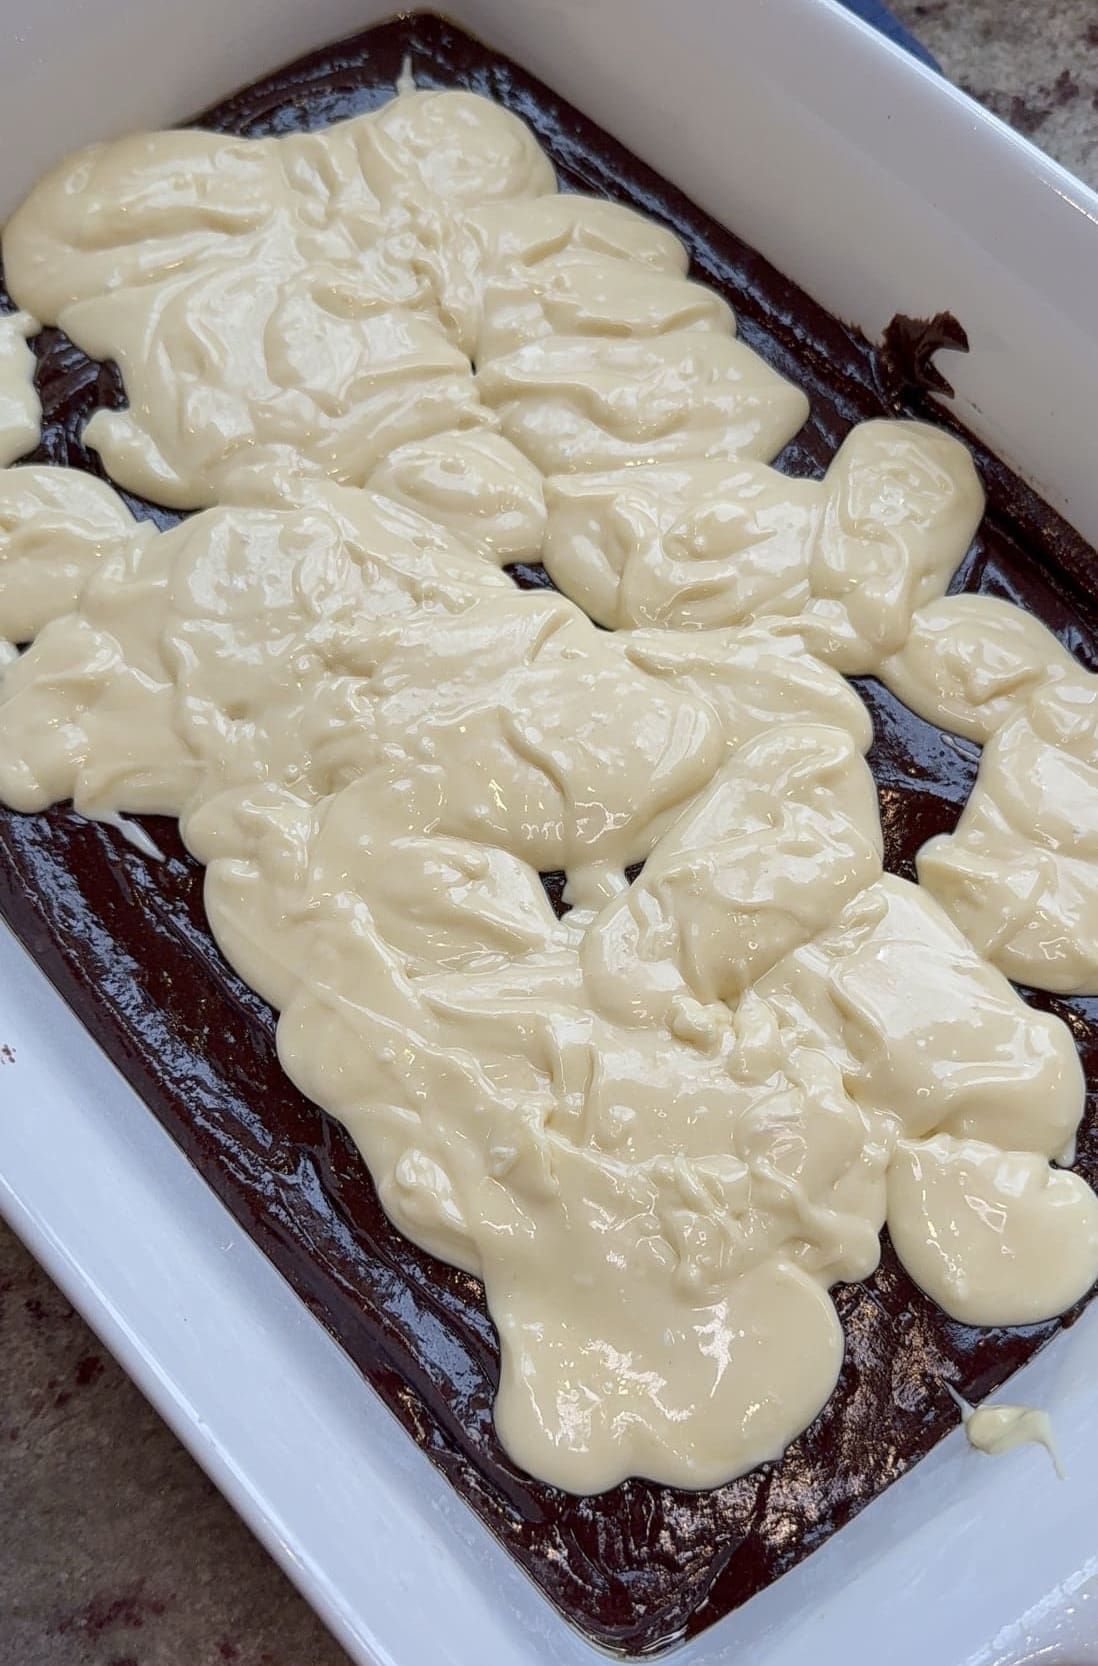
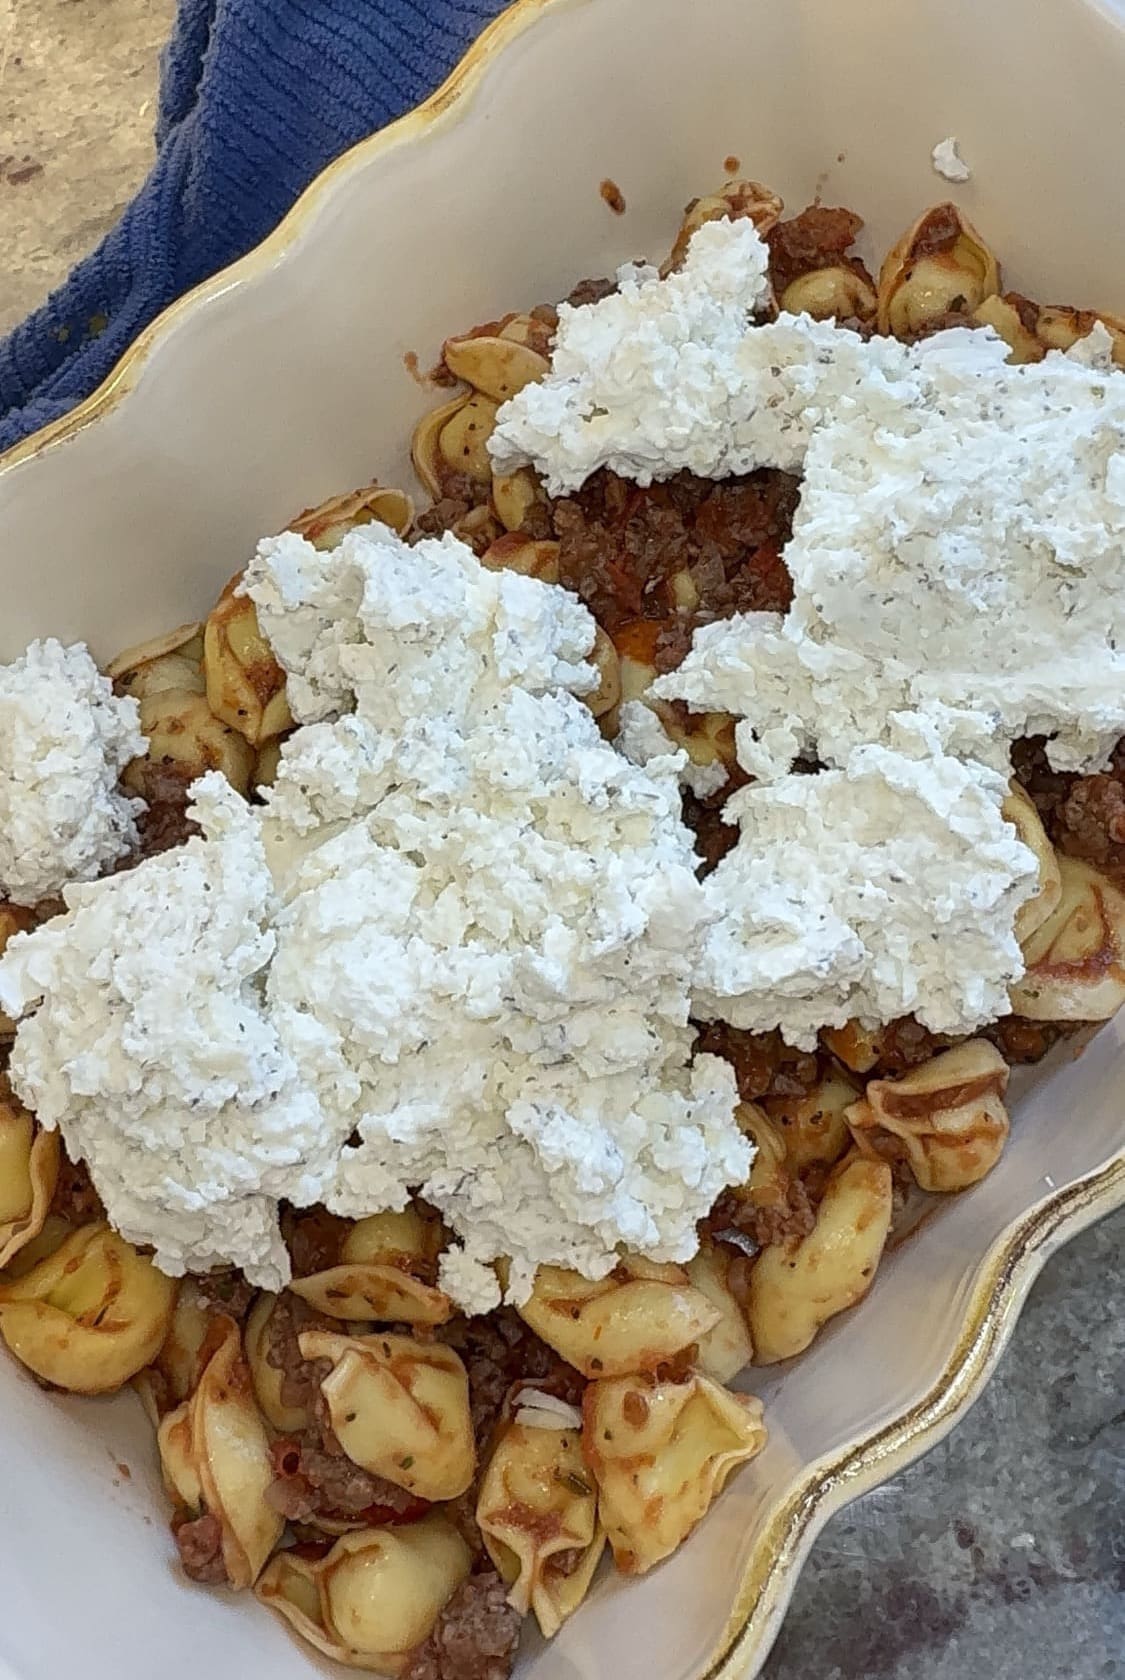
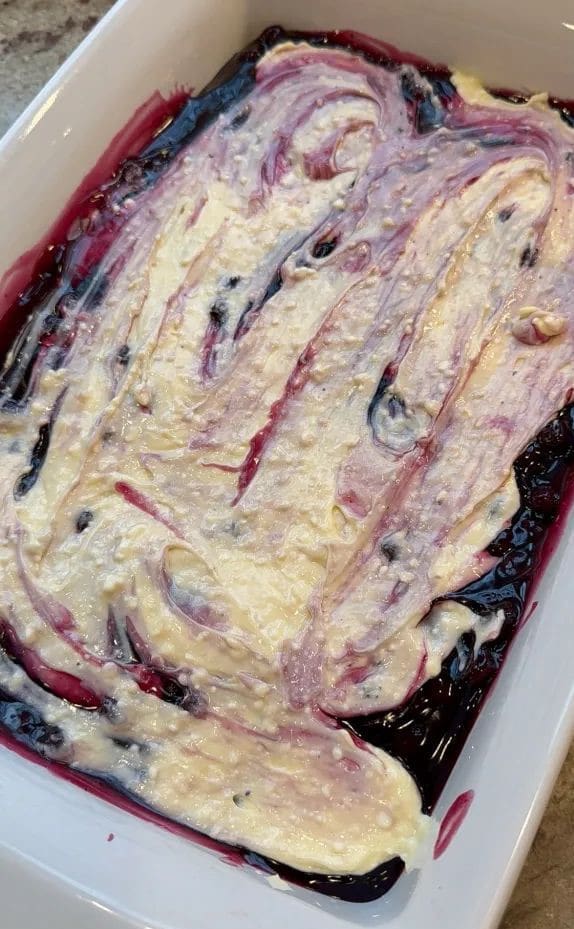
Now, using a spoon, place dollops of the cream cheese mixture spread out evenly onto the top of the pie filling.

Then, carefully spread the cheesecake dollops over the pie filling with the back of a spoon. Try not to disturb the pie filling too much if you can help it.
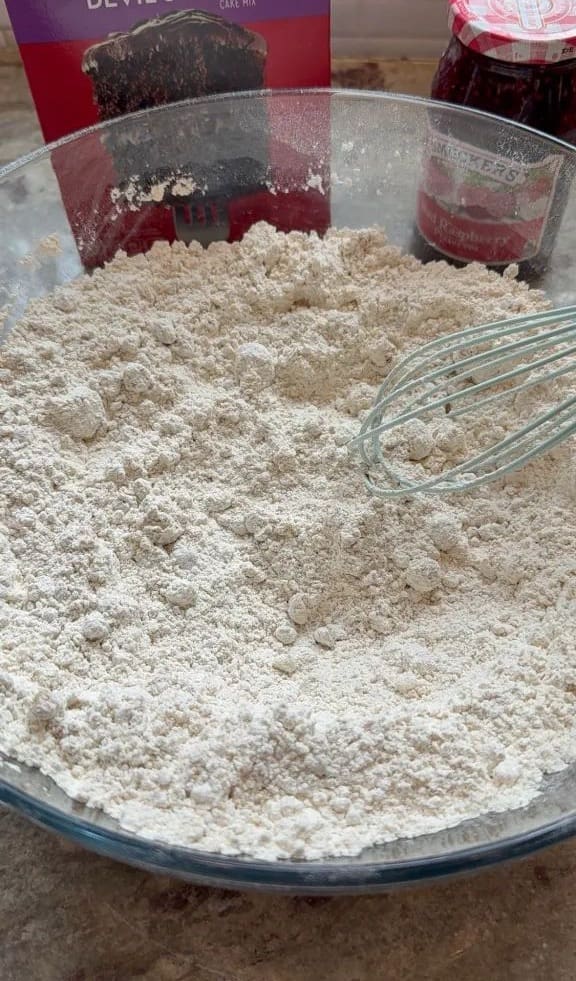
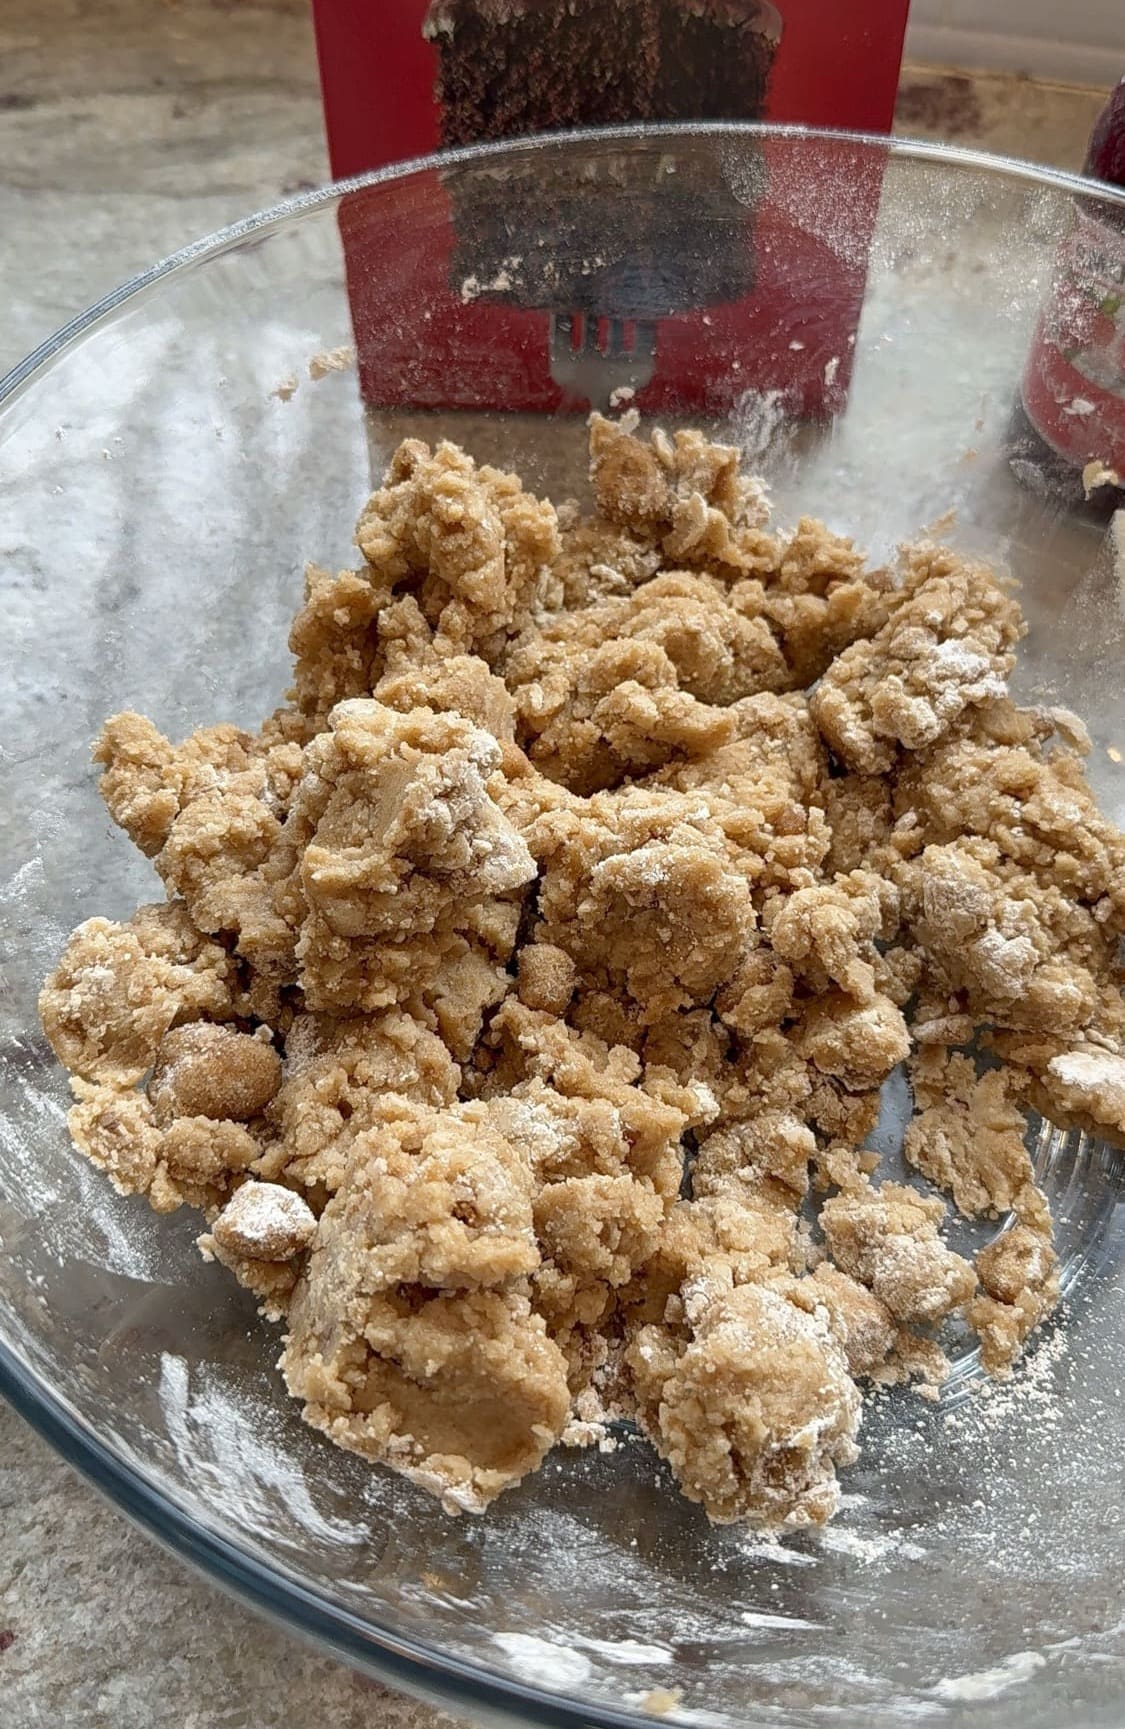
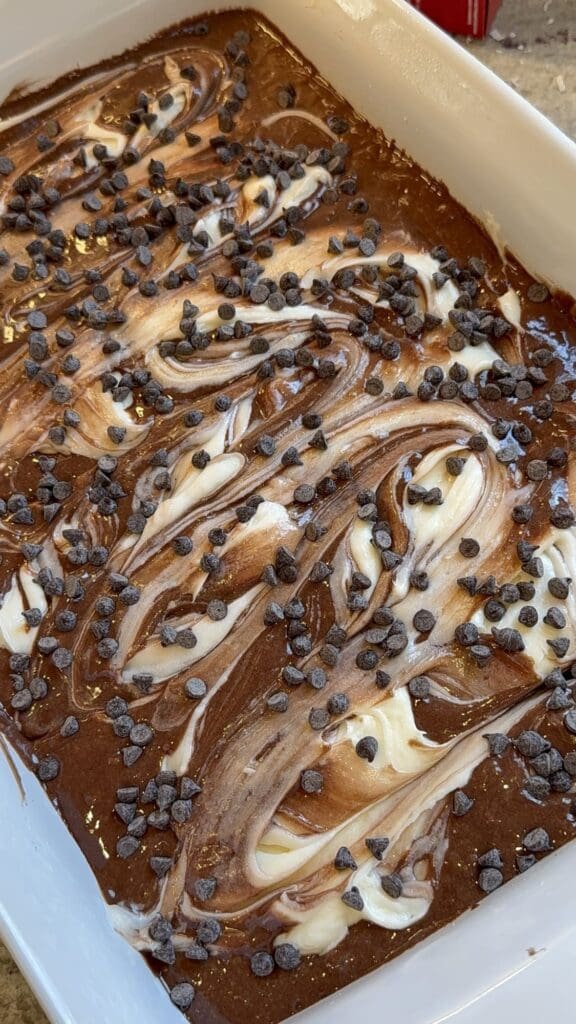
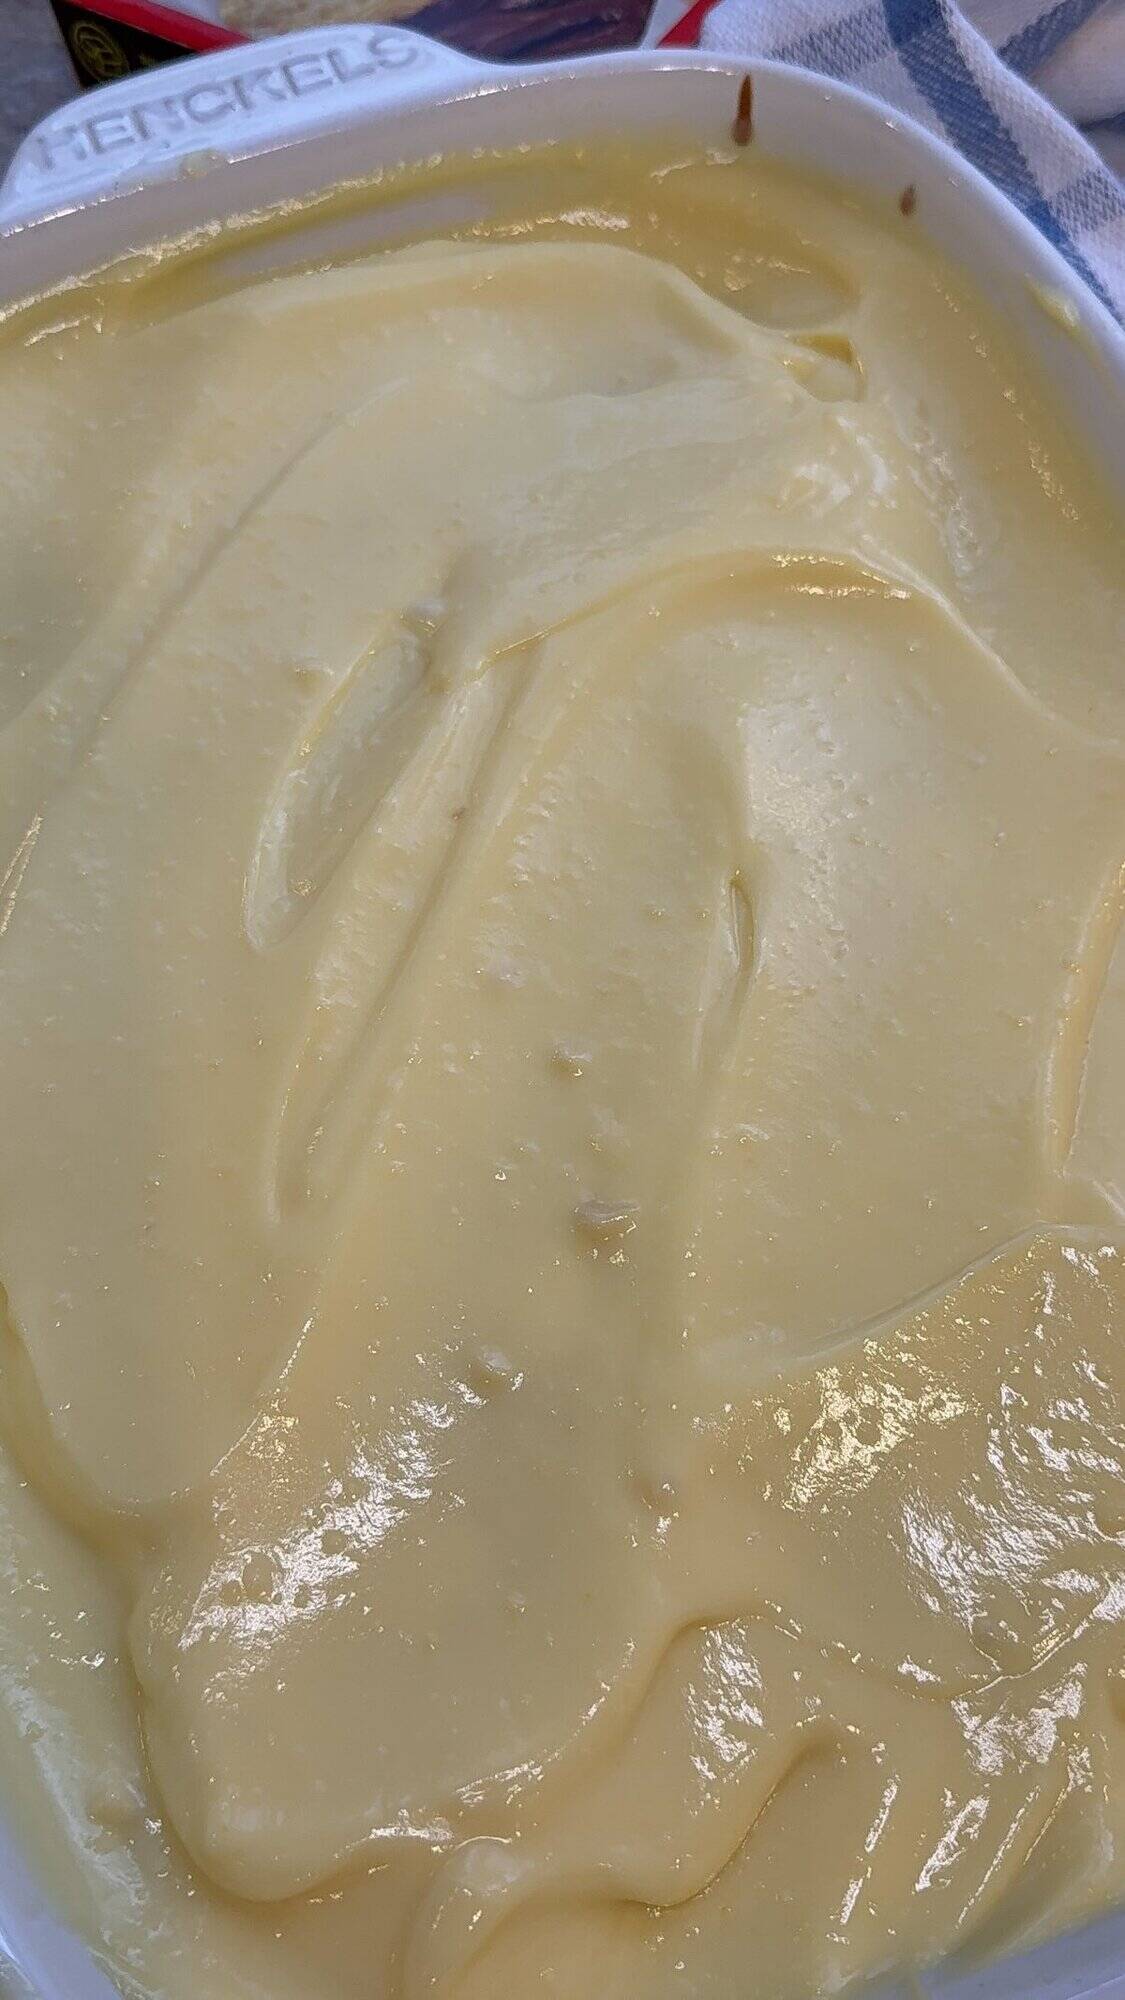
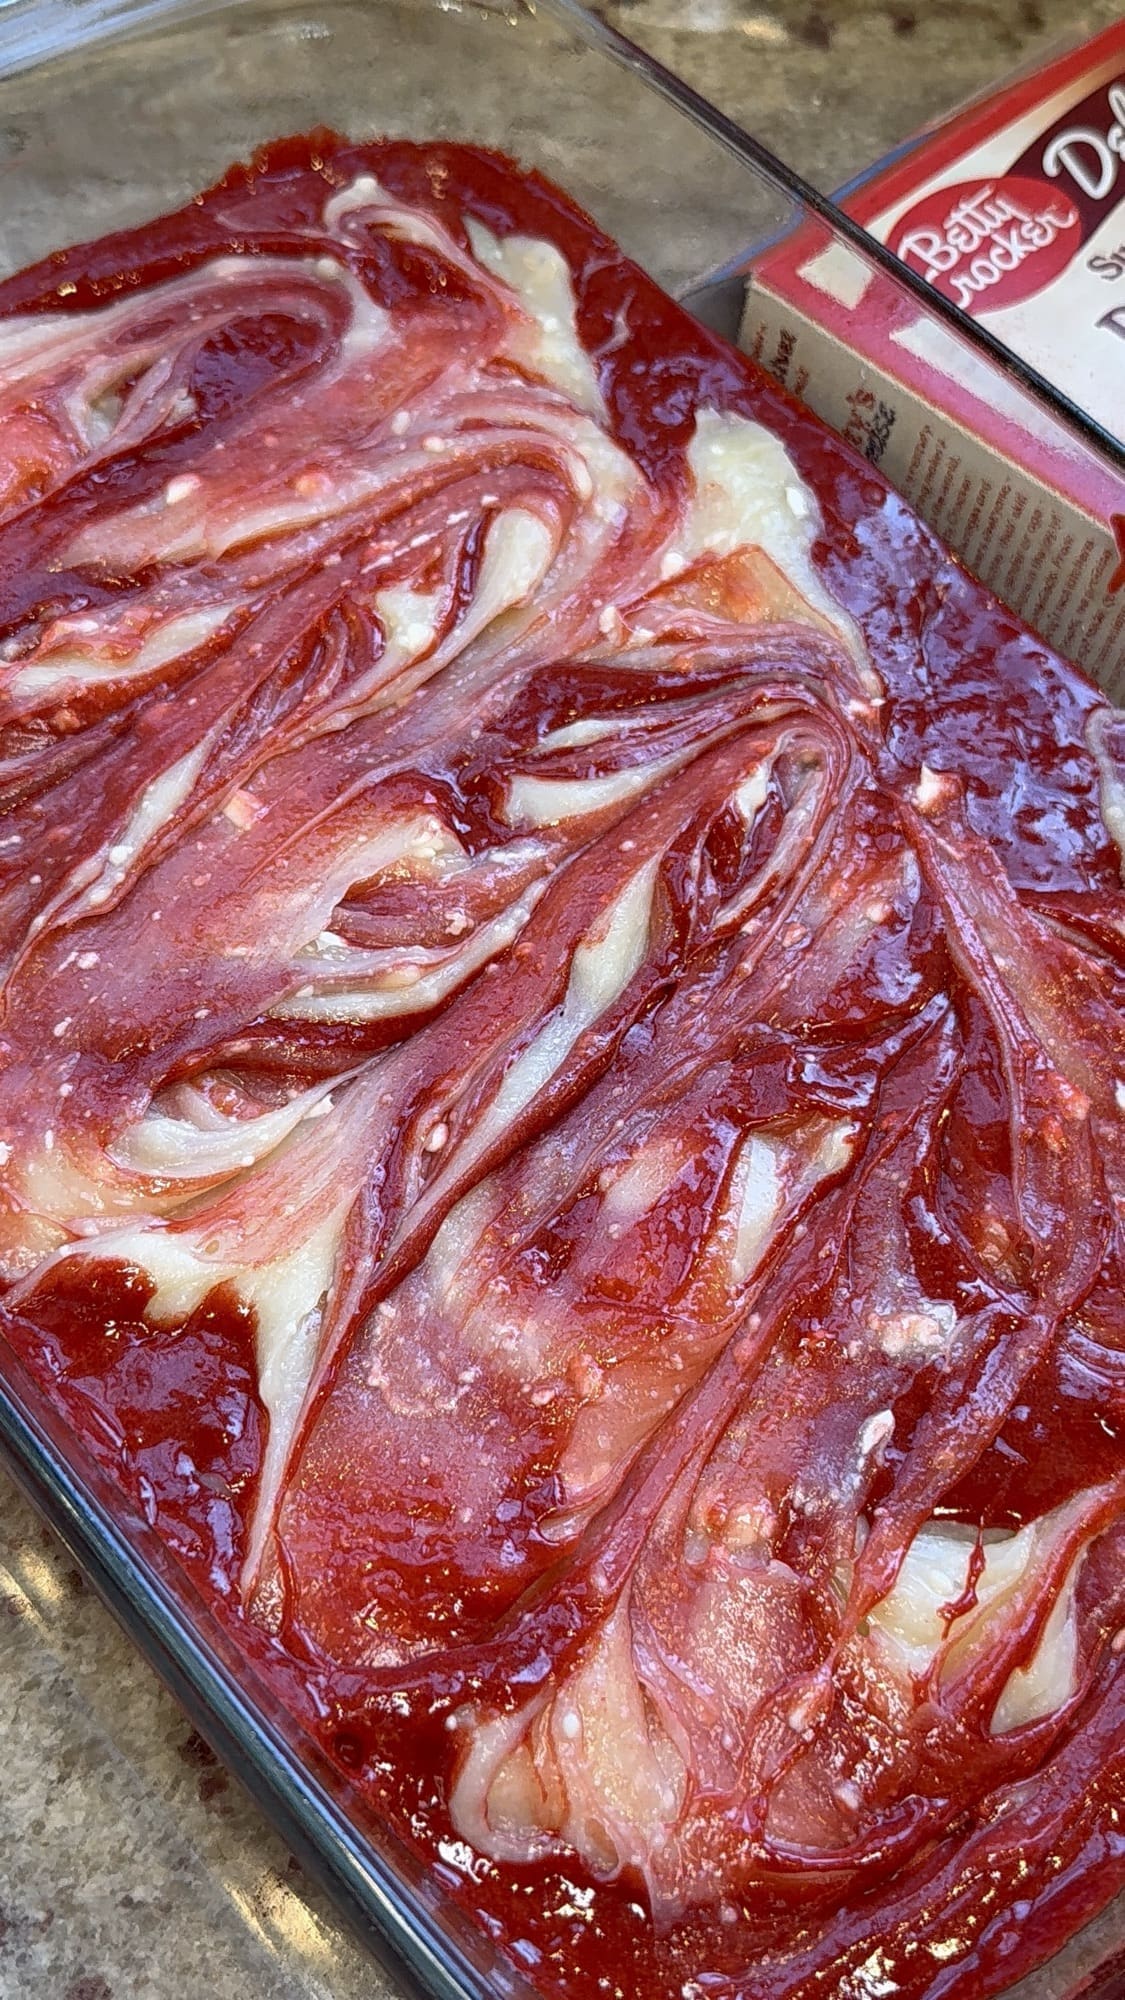
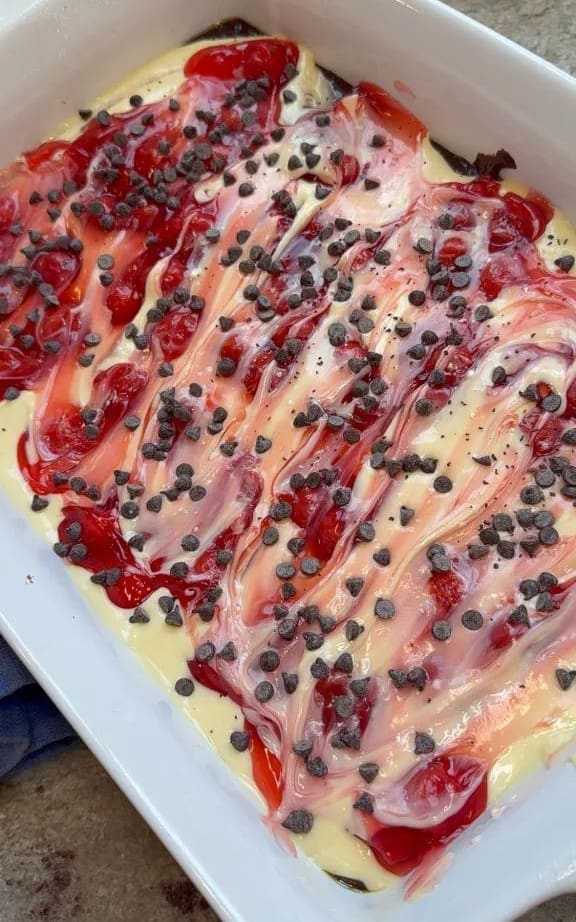
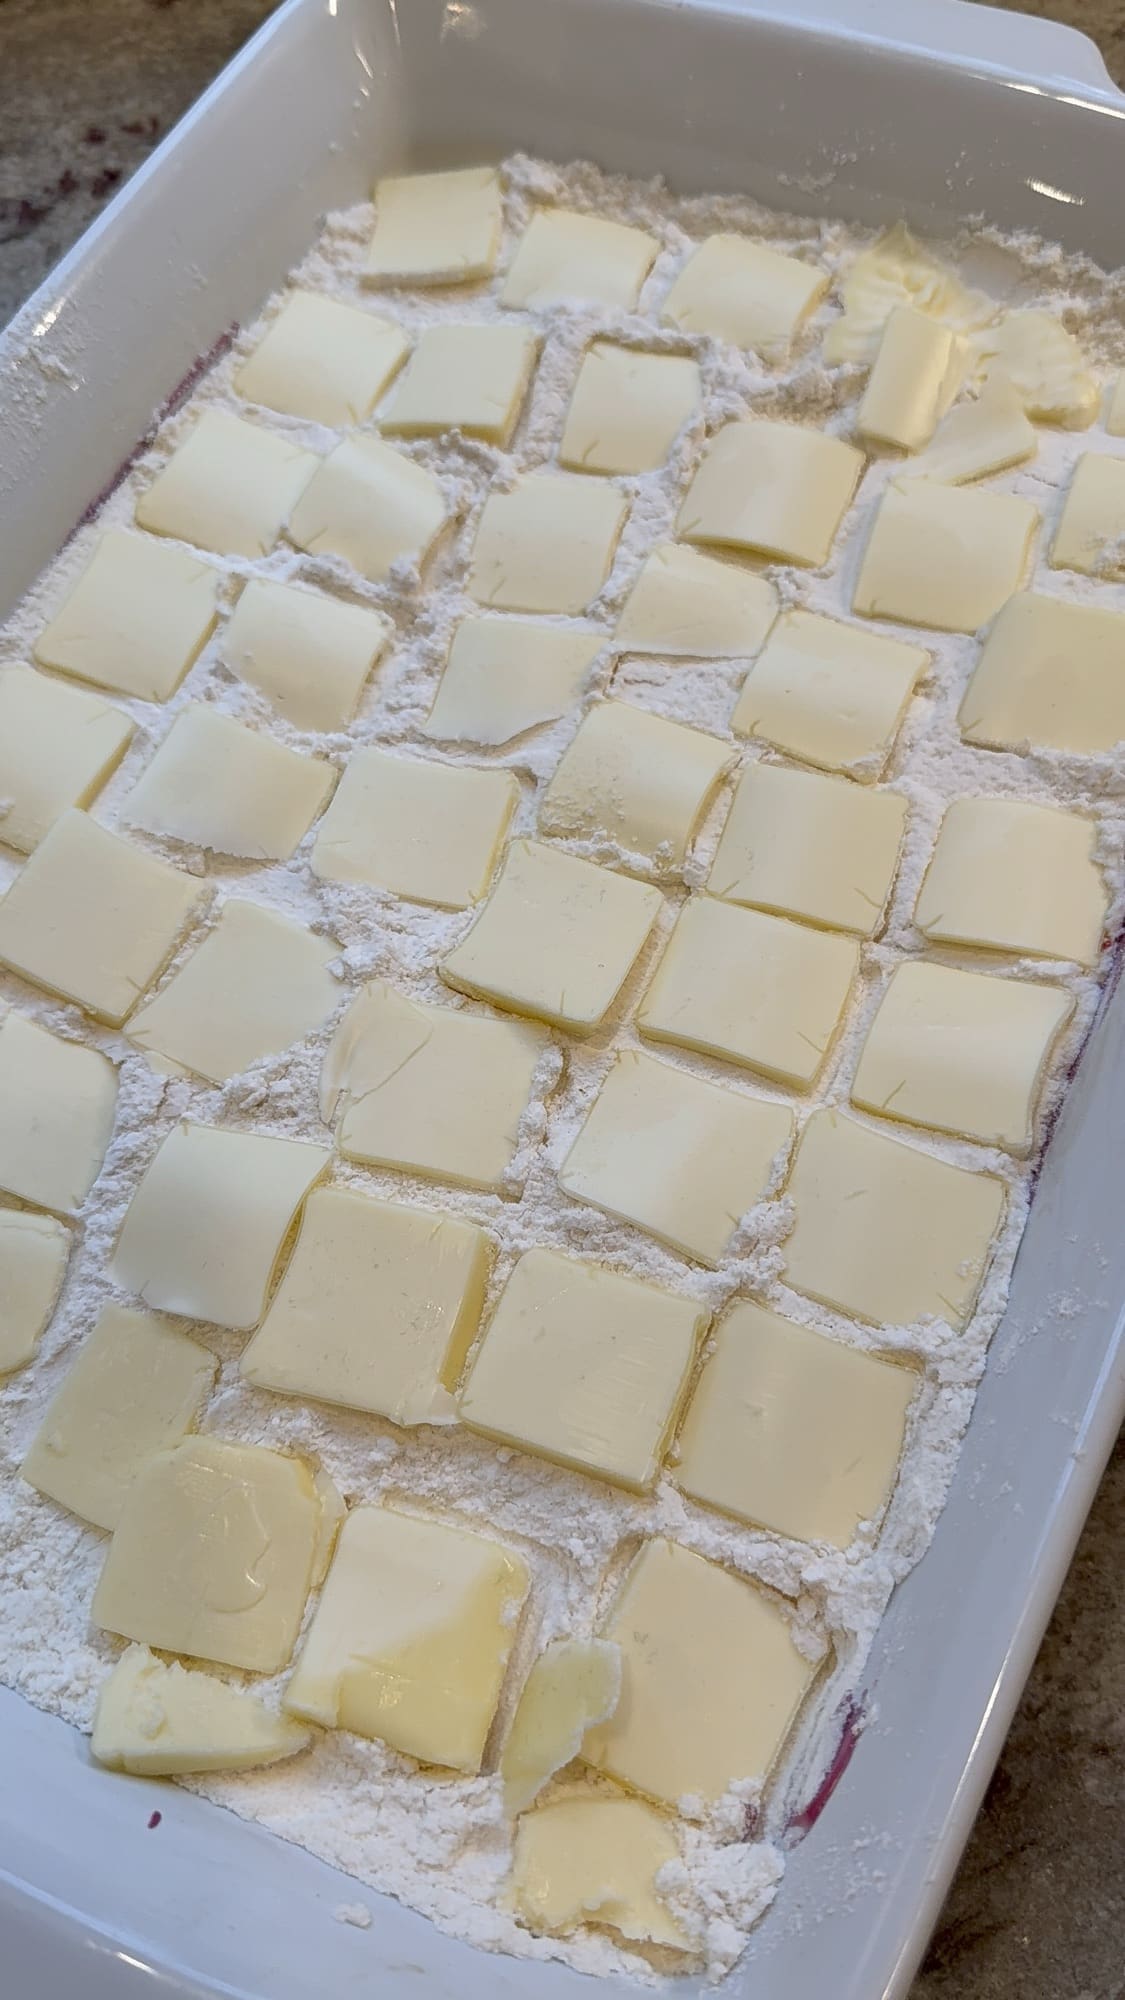
Next, sprinkle the cake mix evenly onto top.

Now, slice the butter into thin pats and place them evenly, side by side, onto the top of the cake mix until it’s covered in the butter.
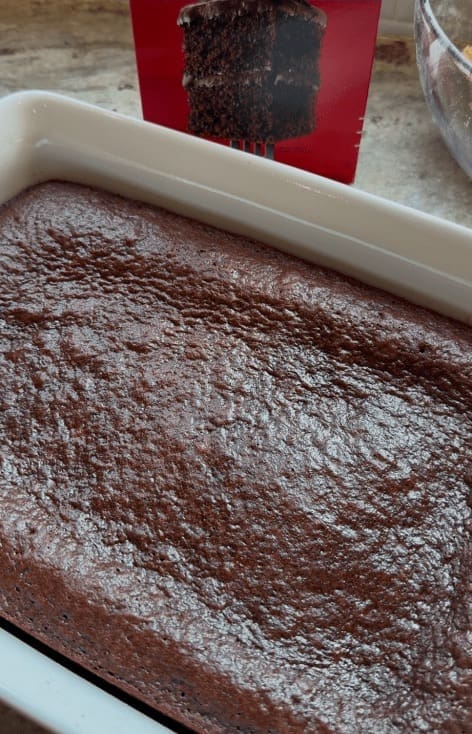
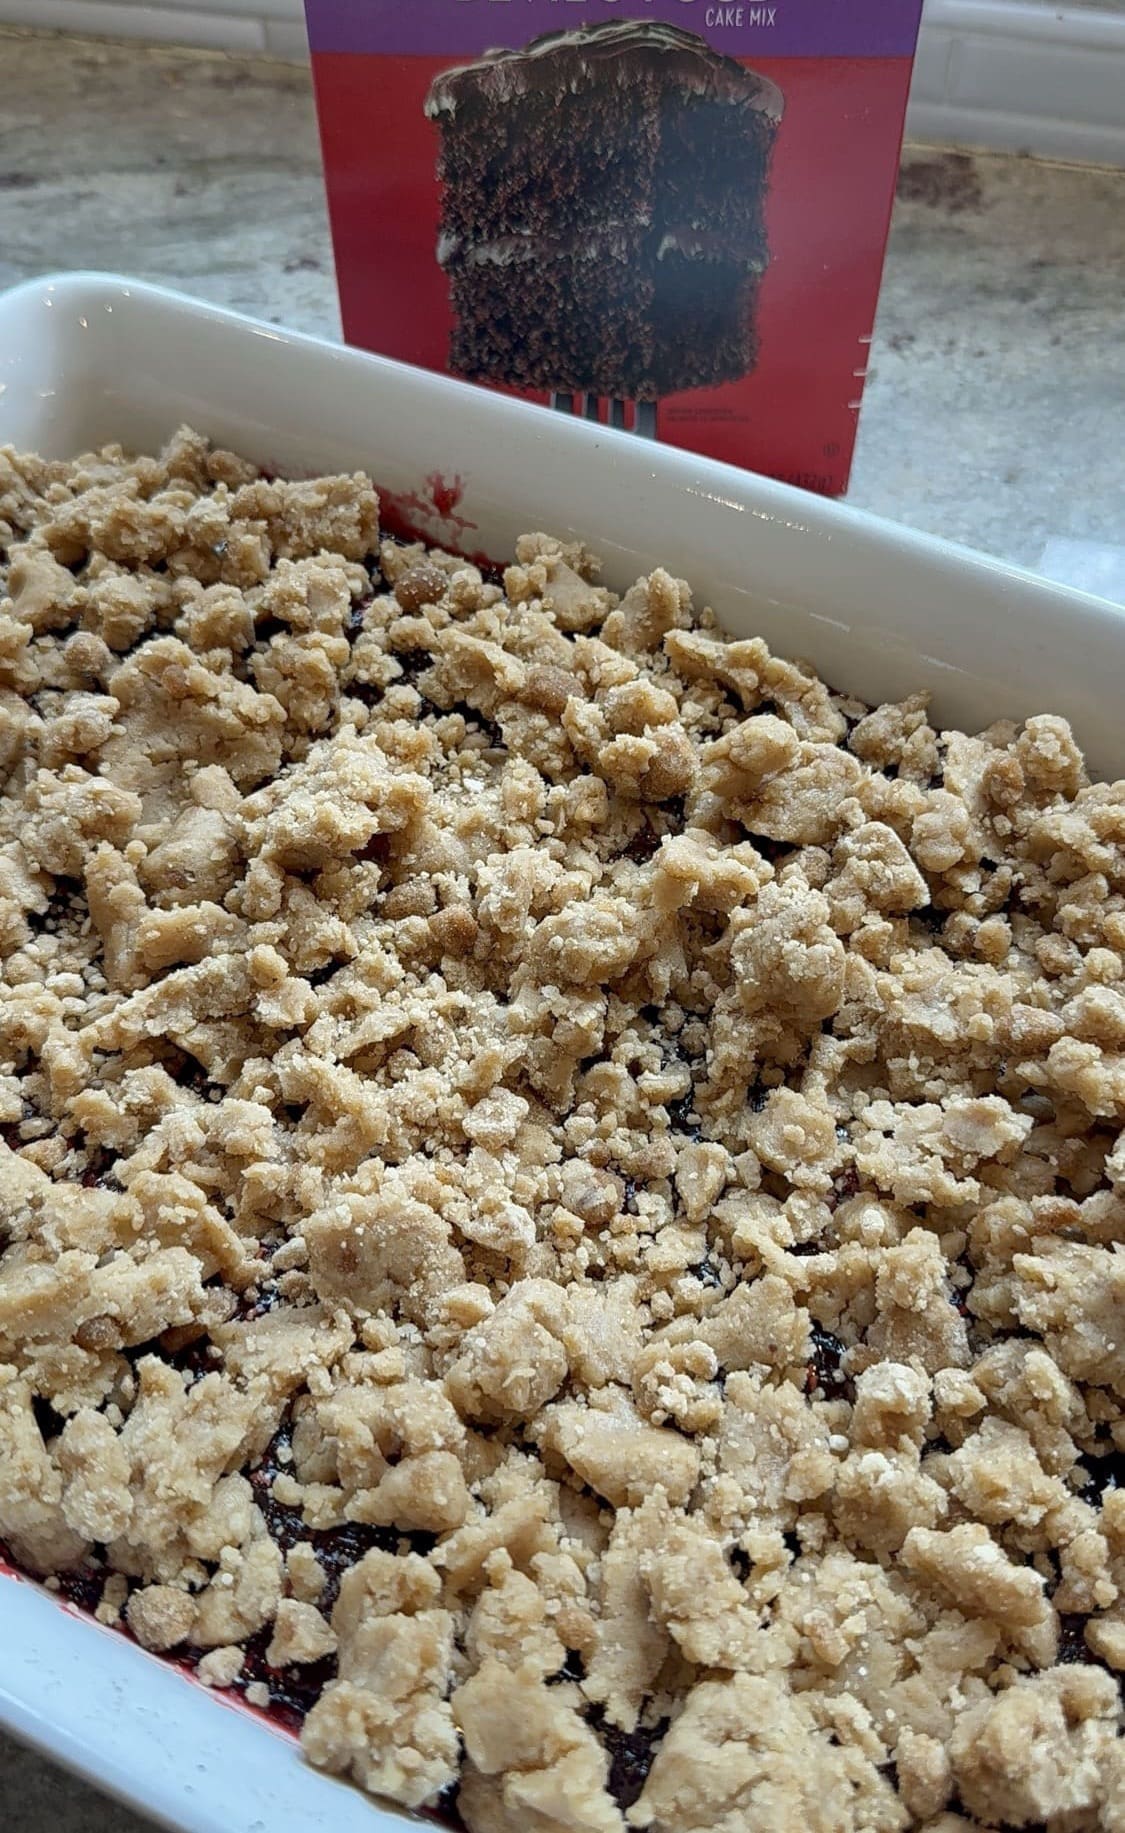
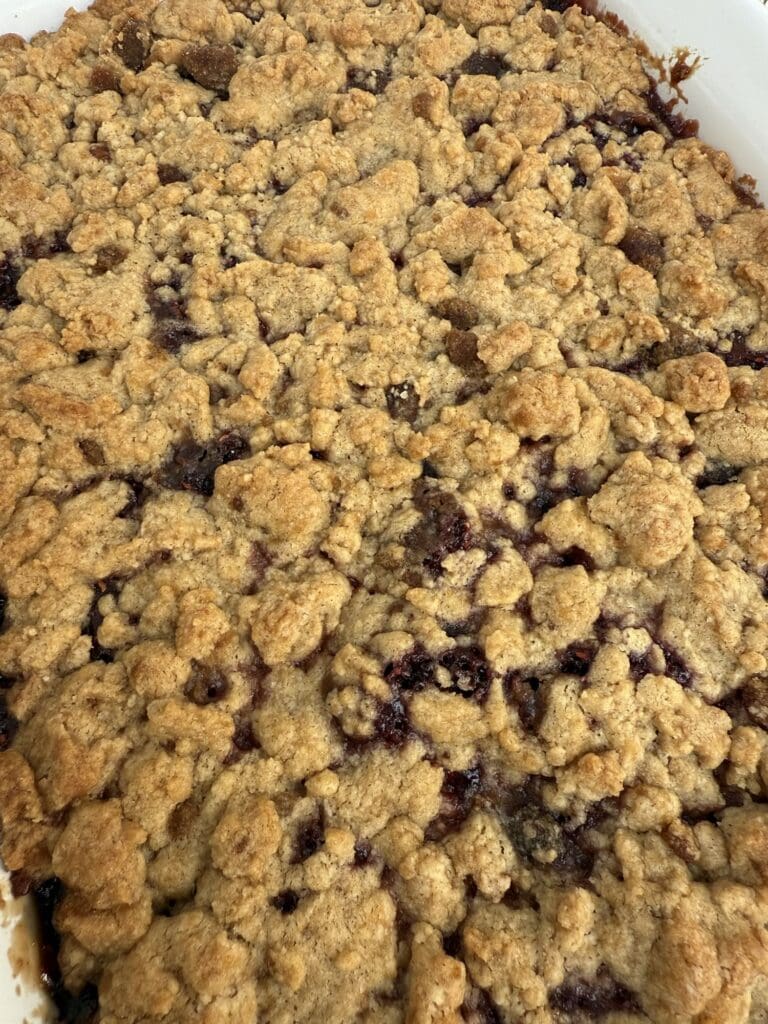
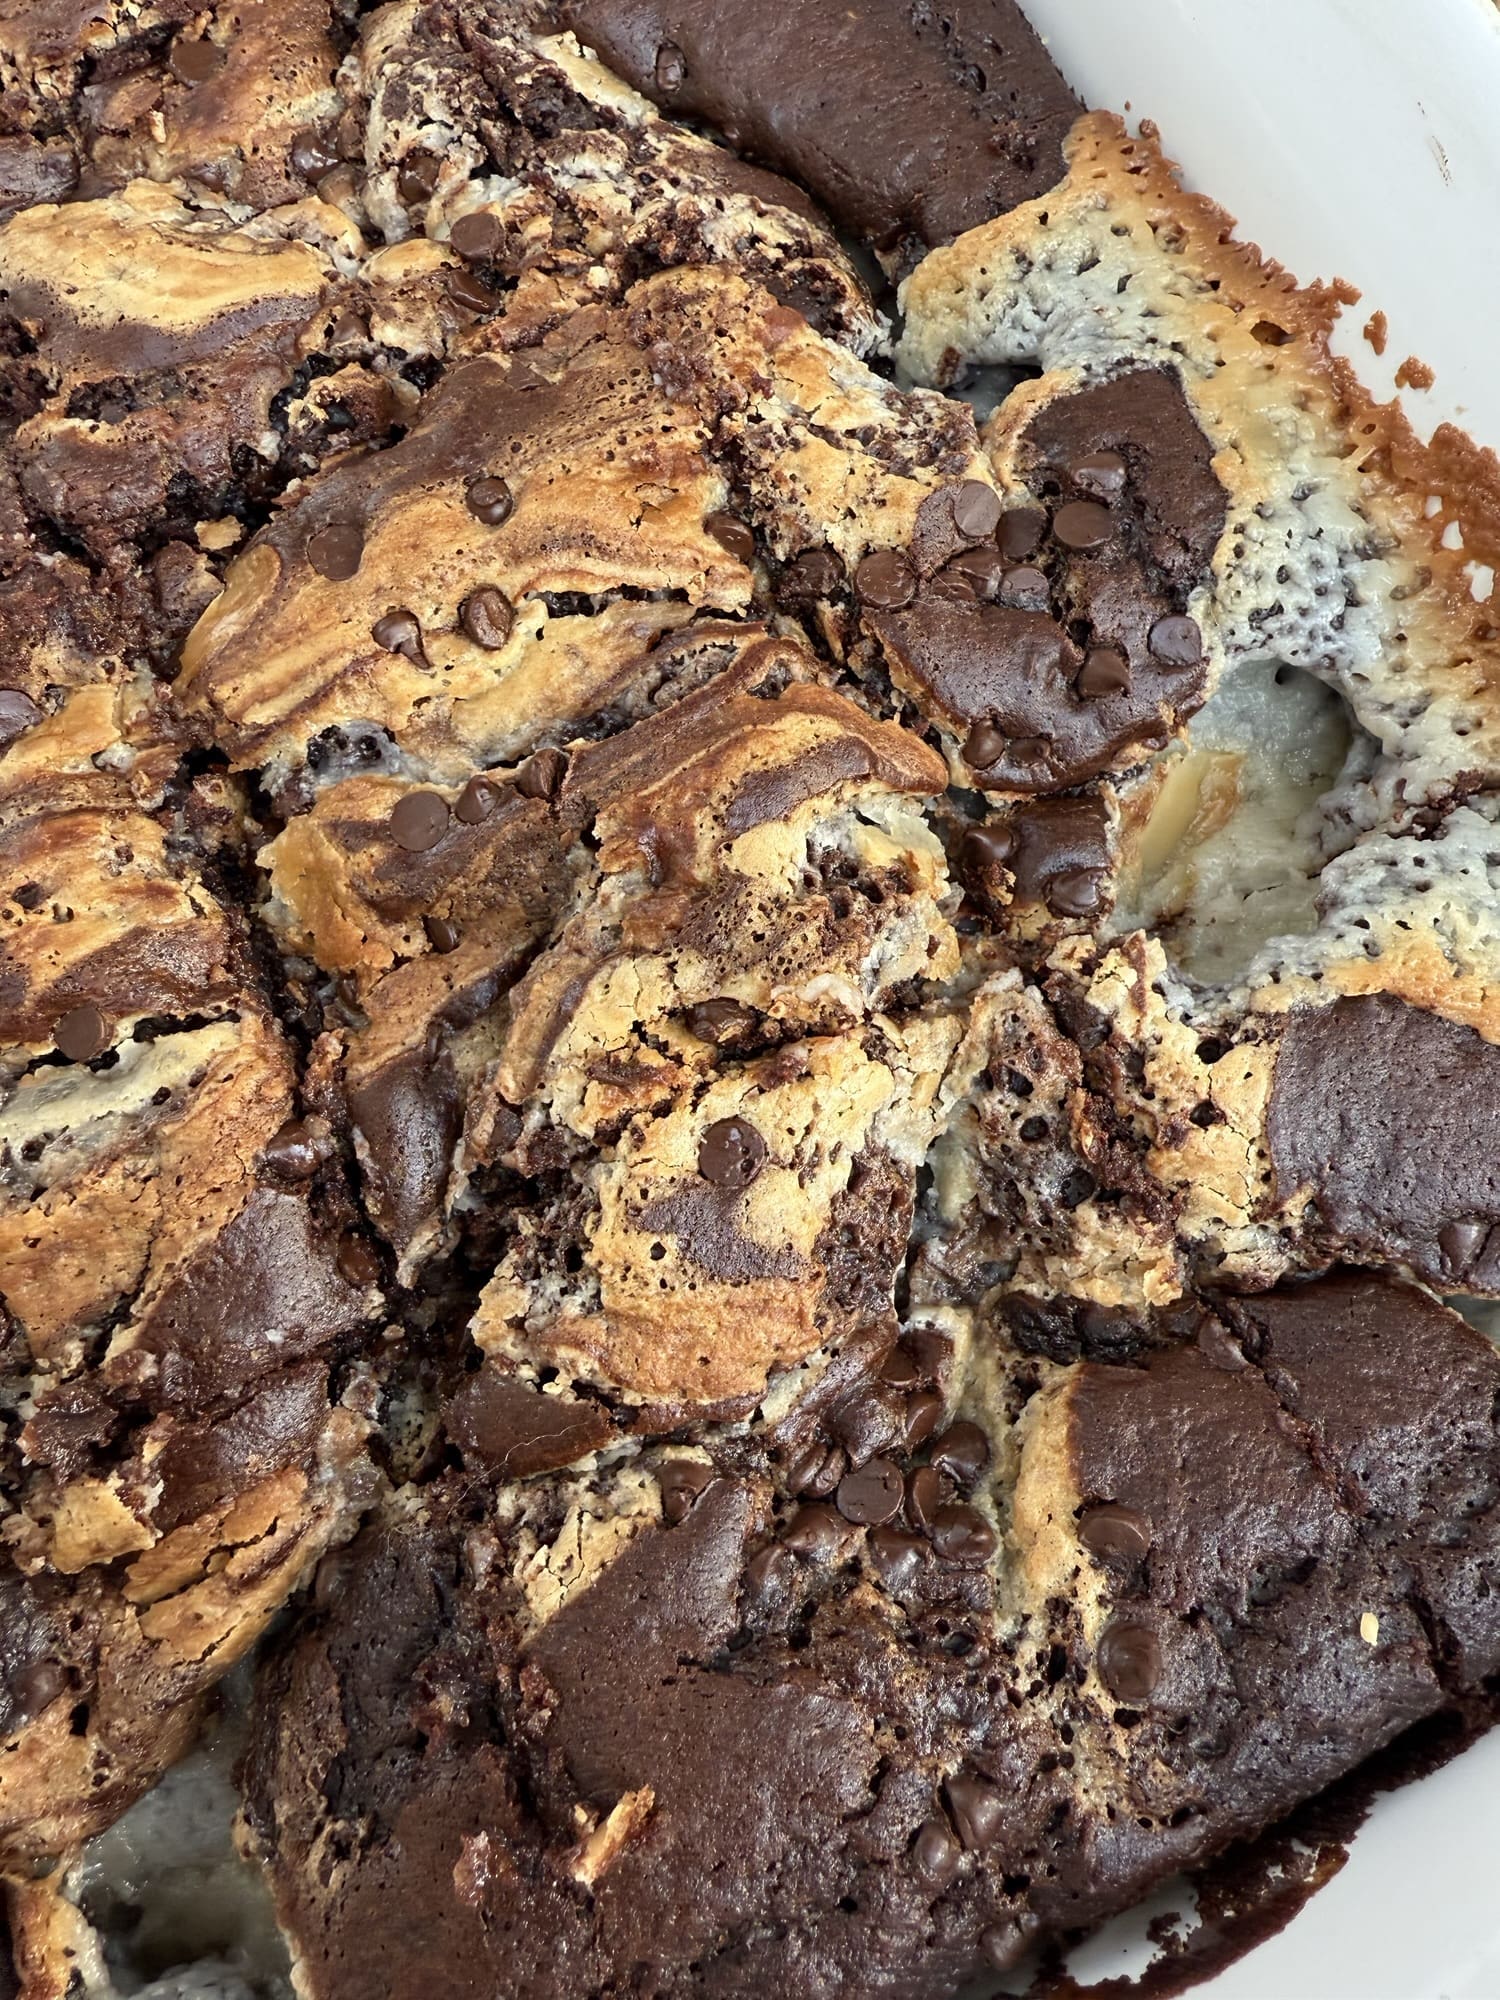
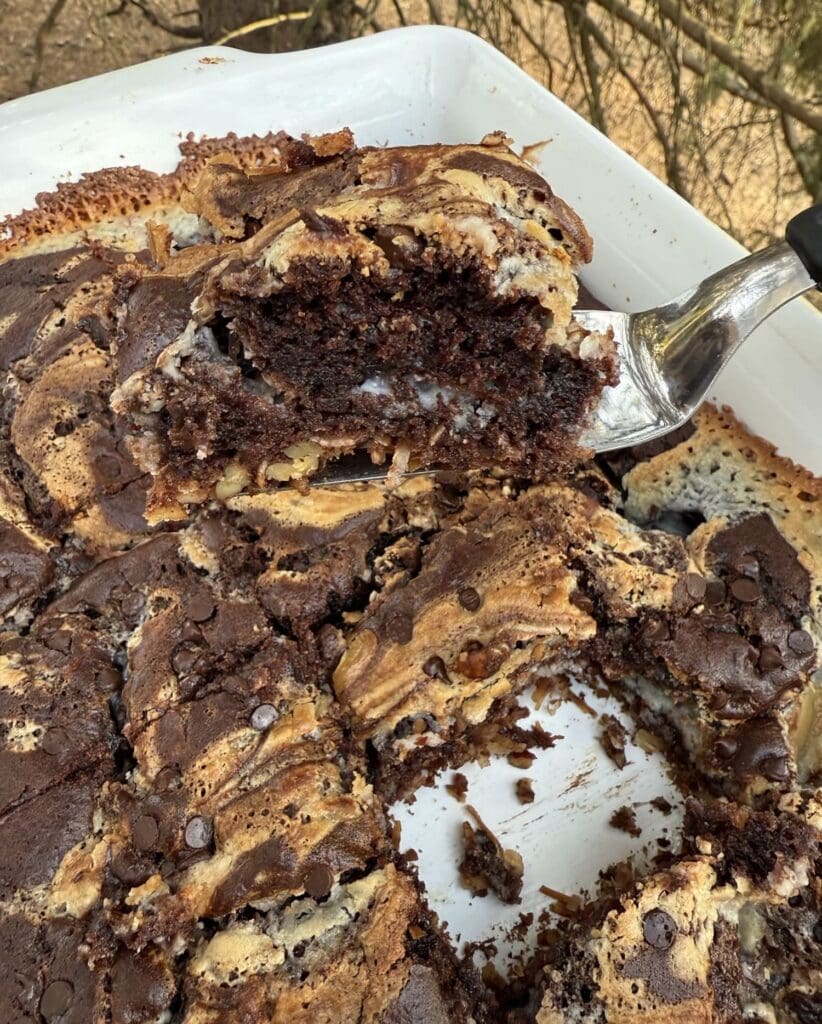
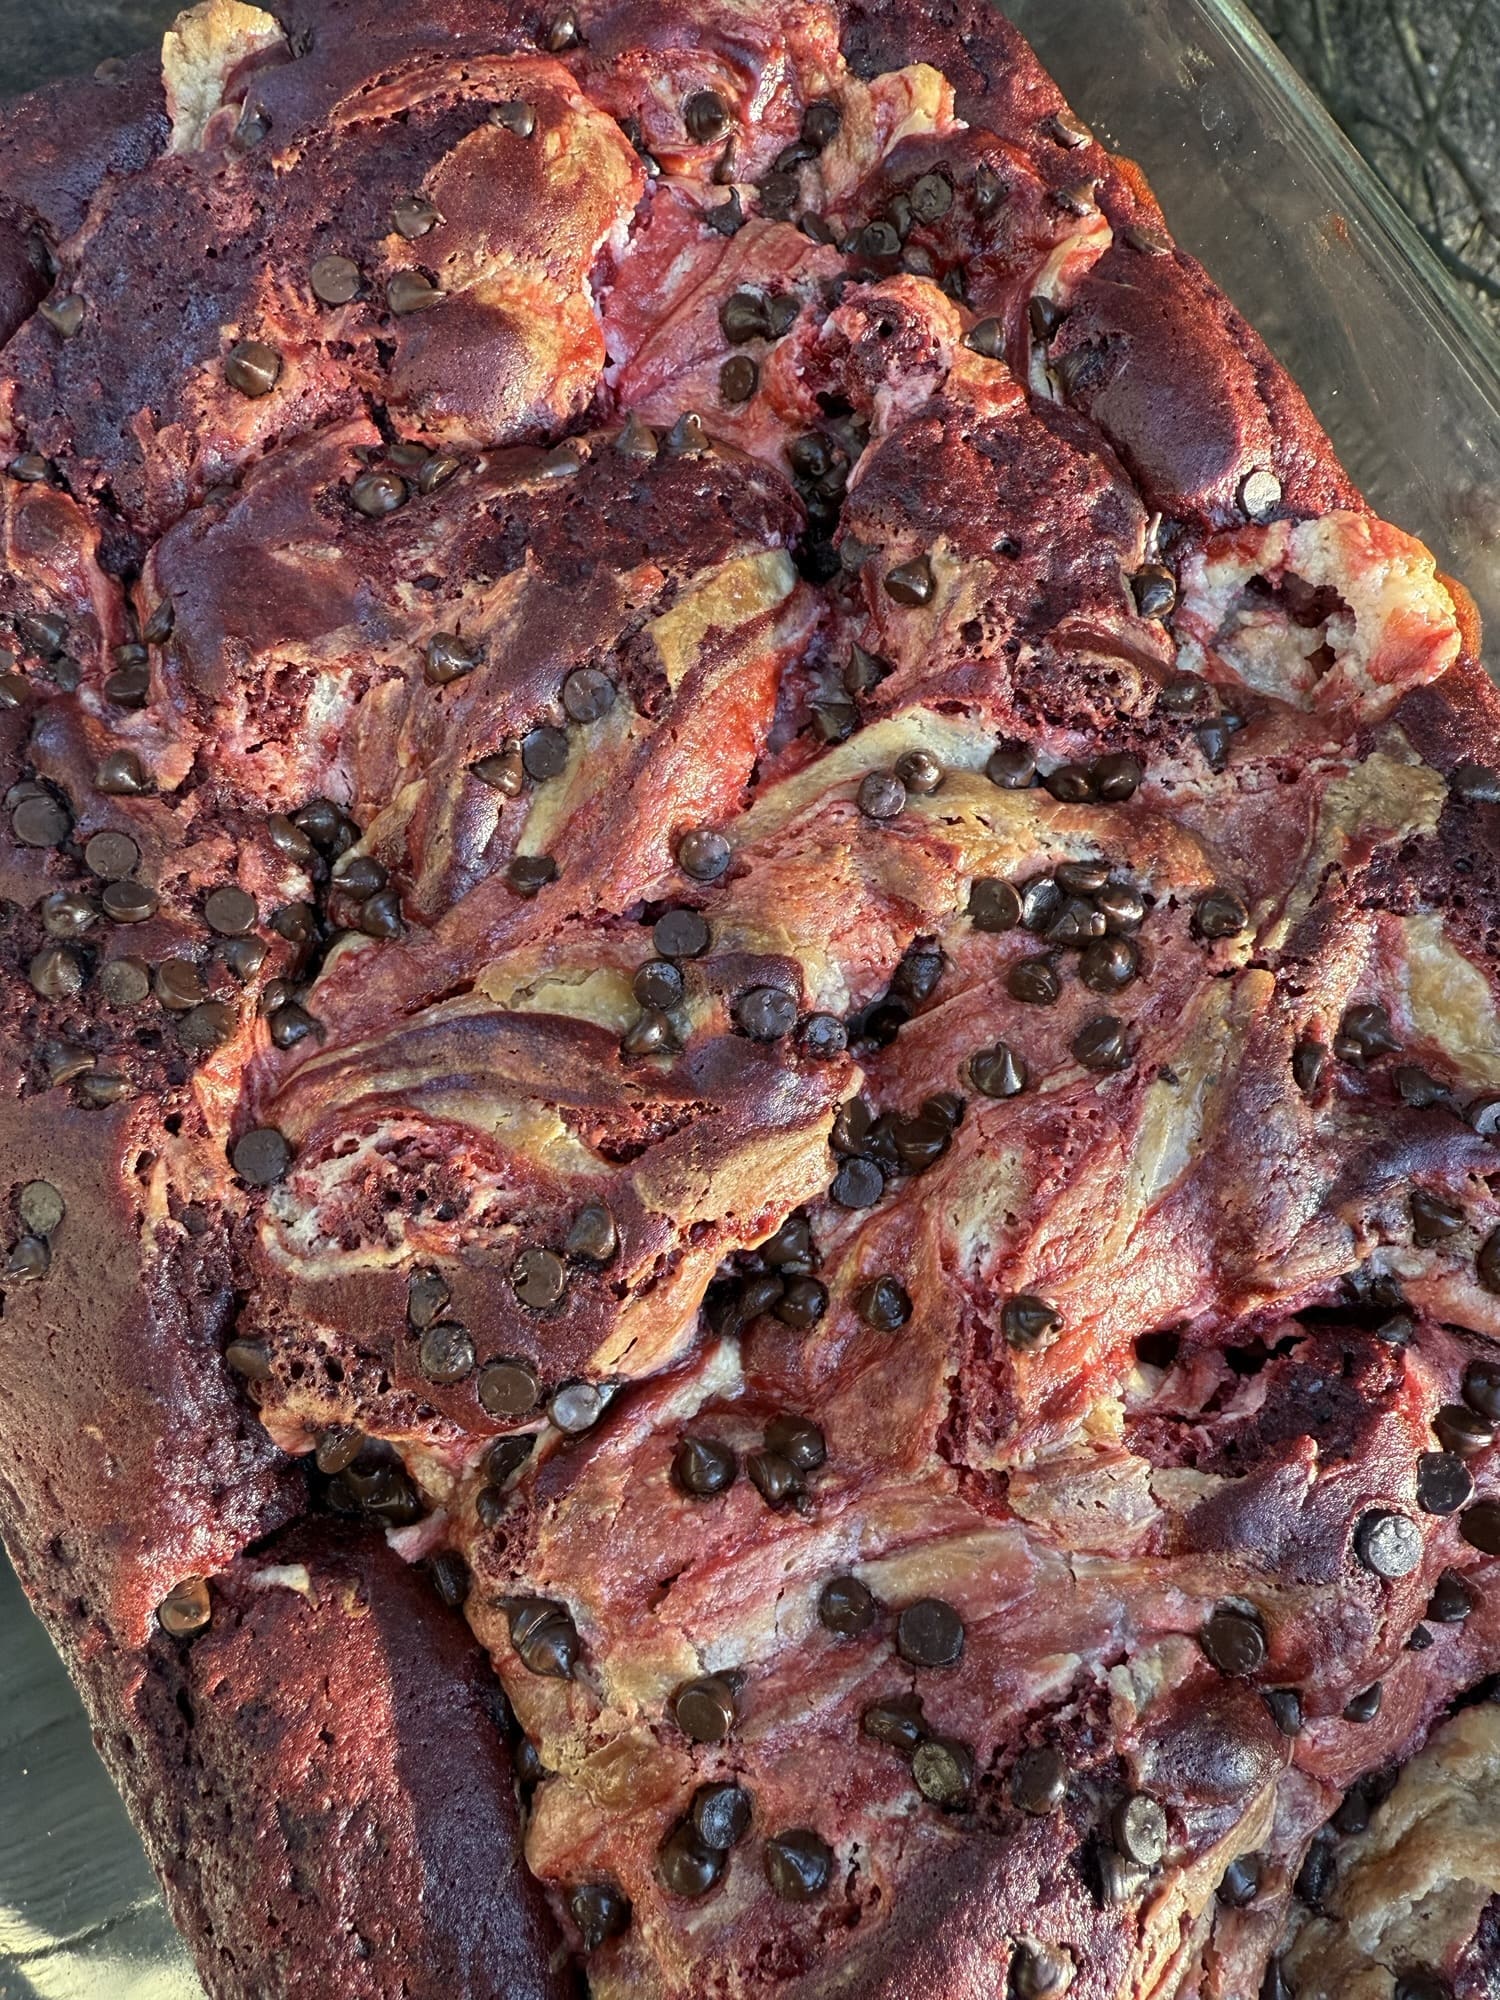
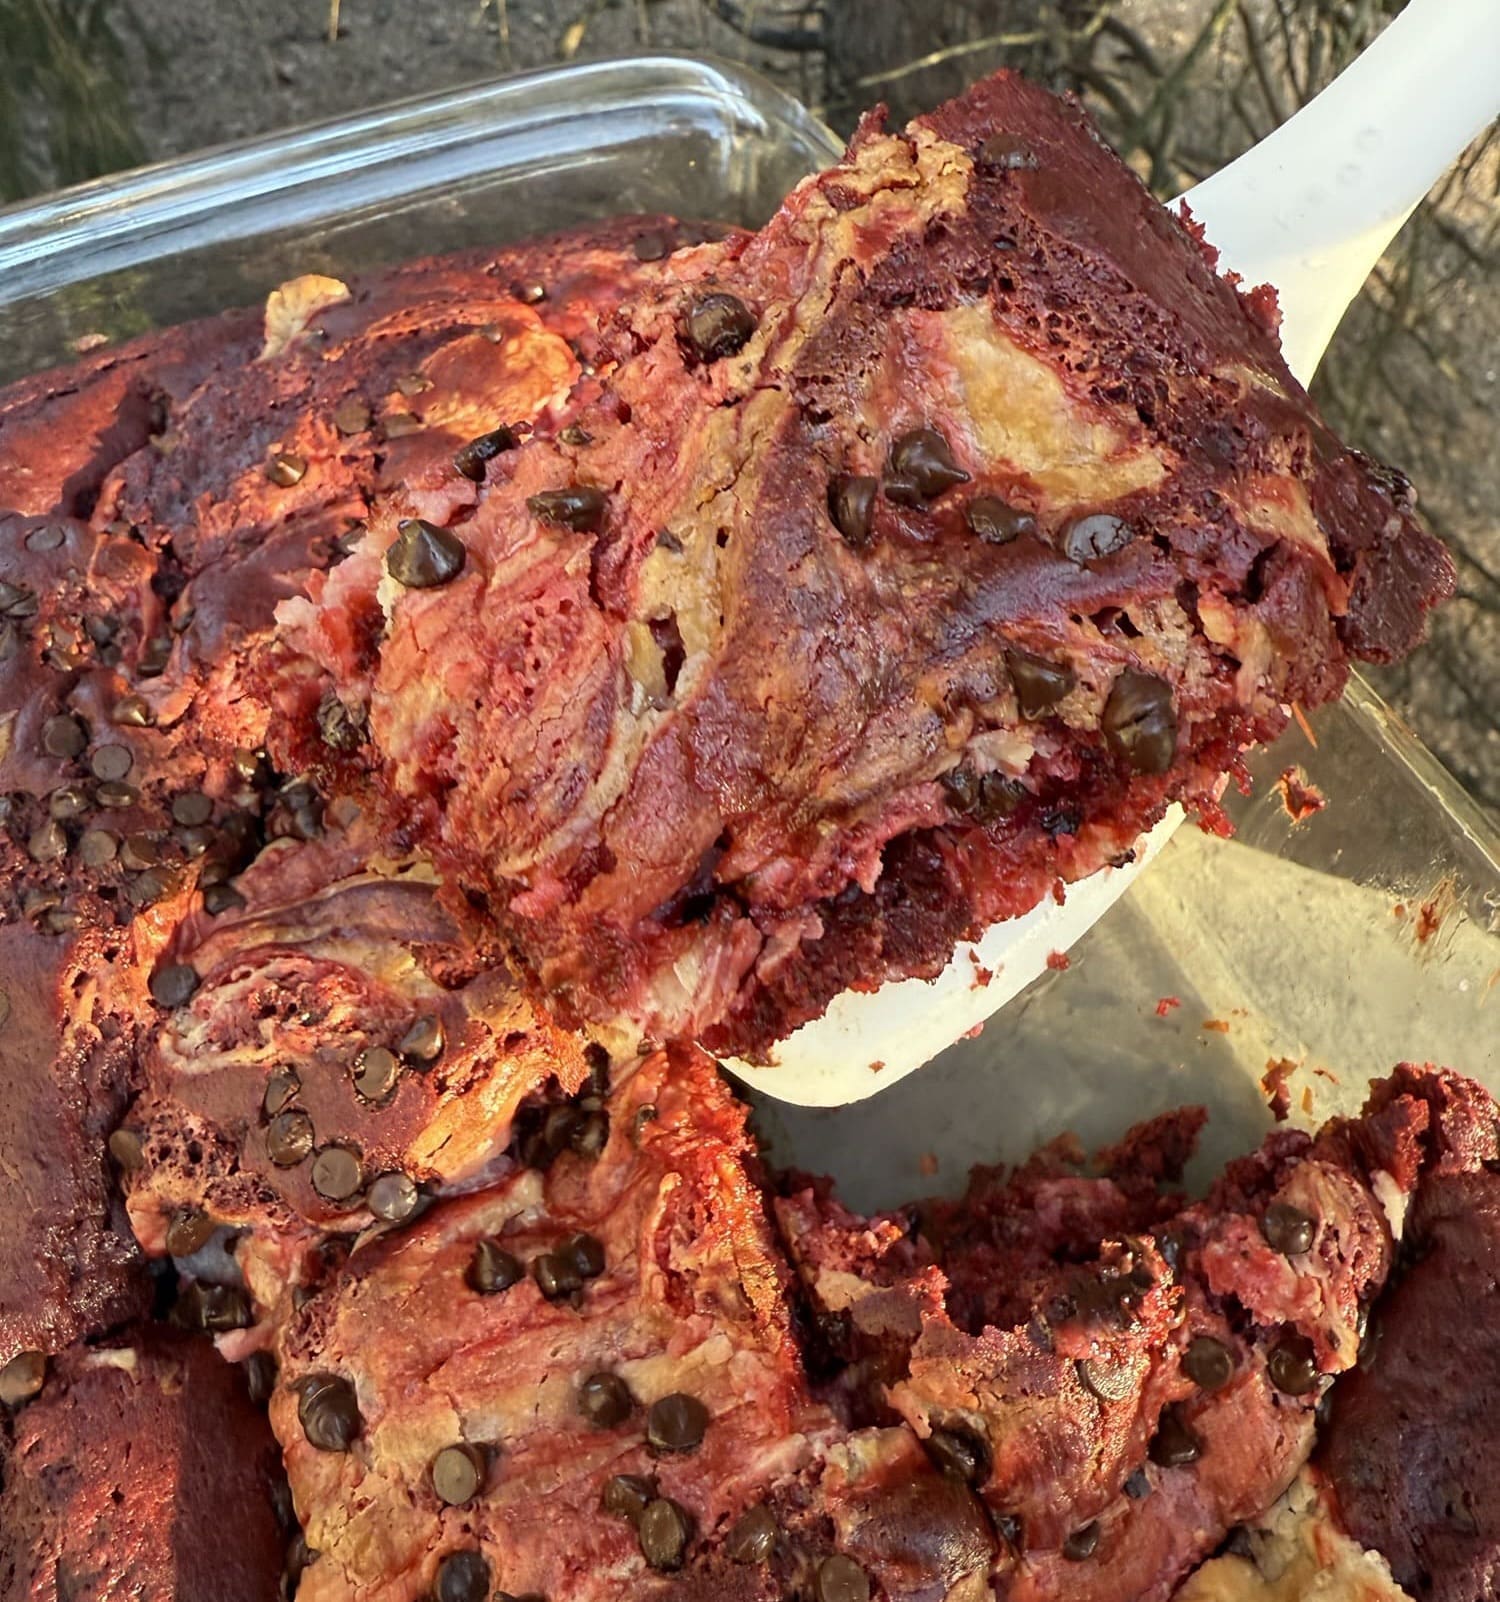
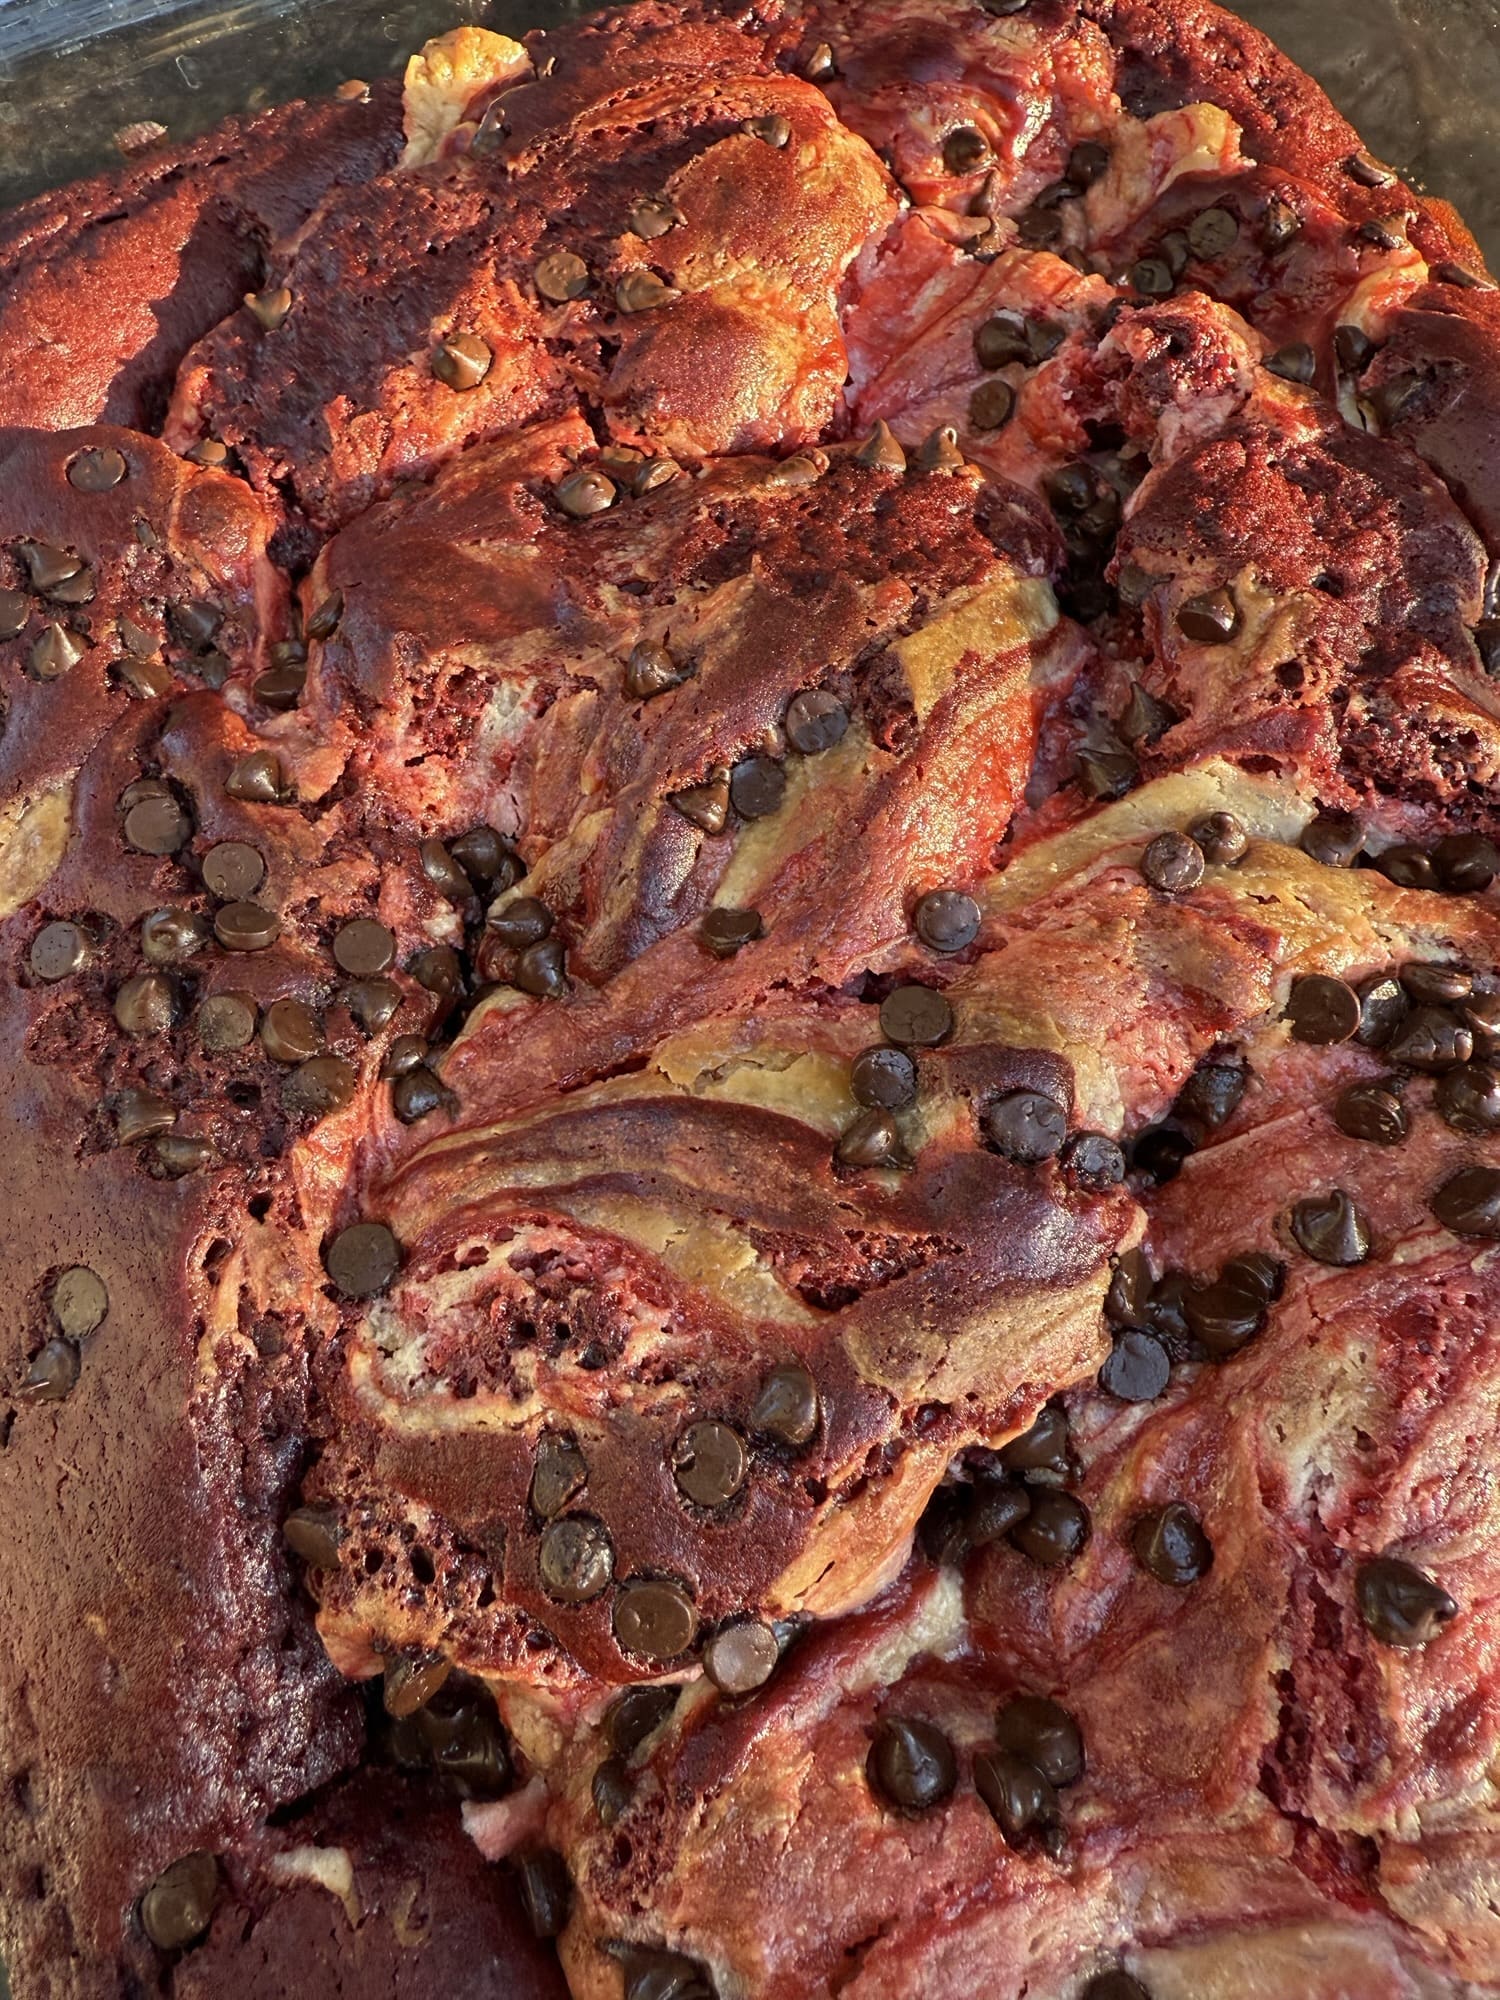
Then, place it into the oven for 40 minutes.

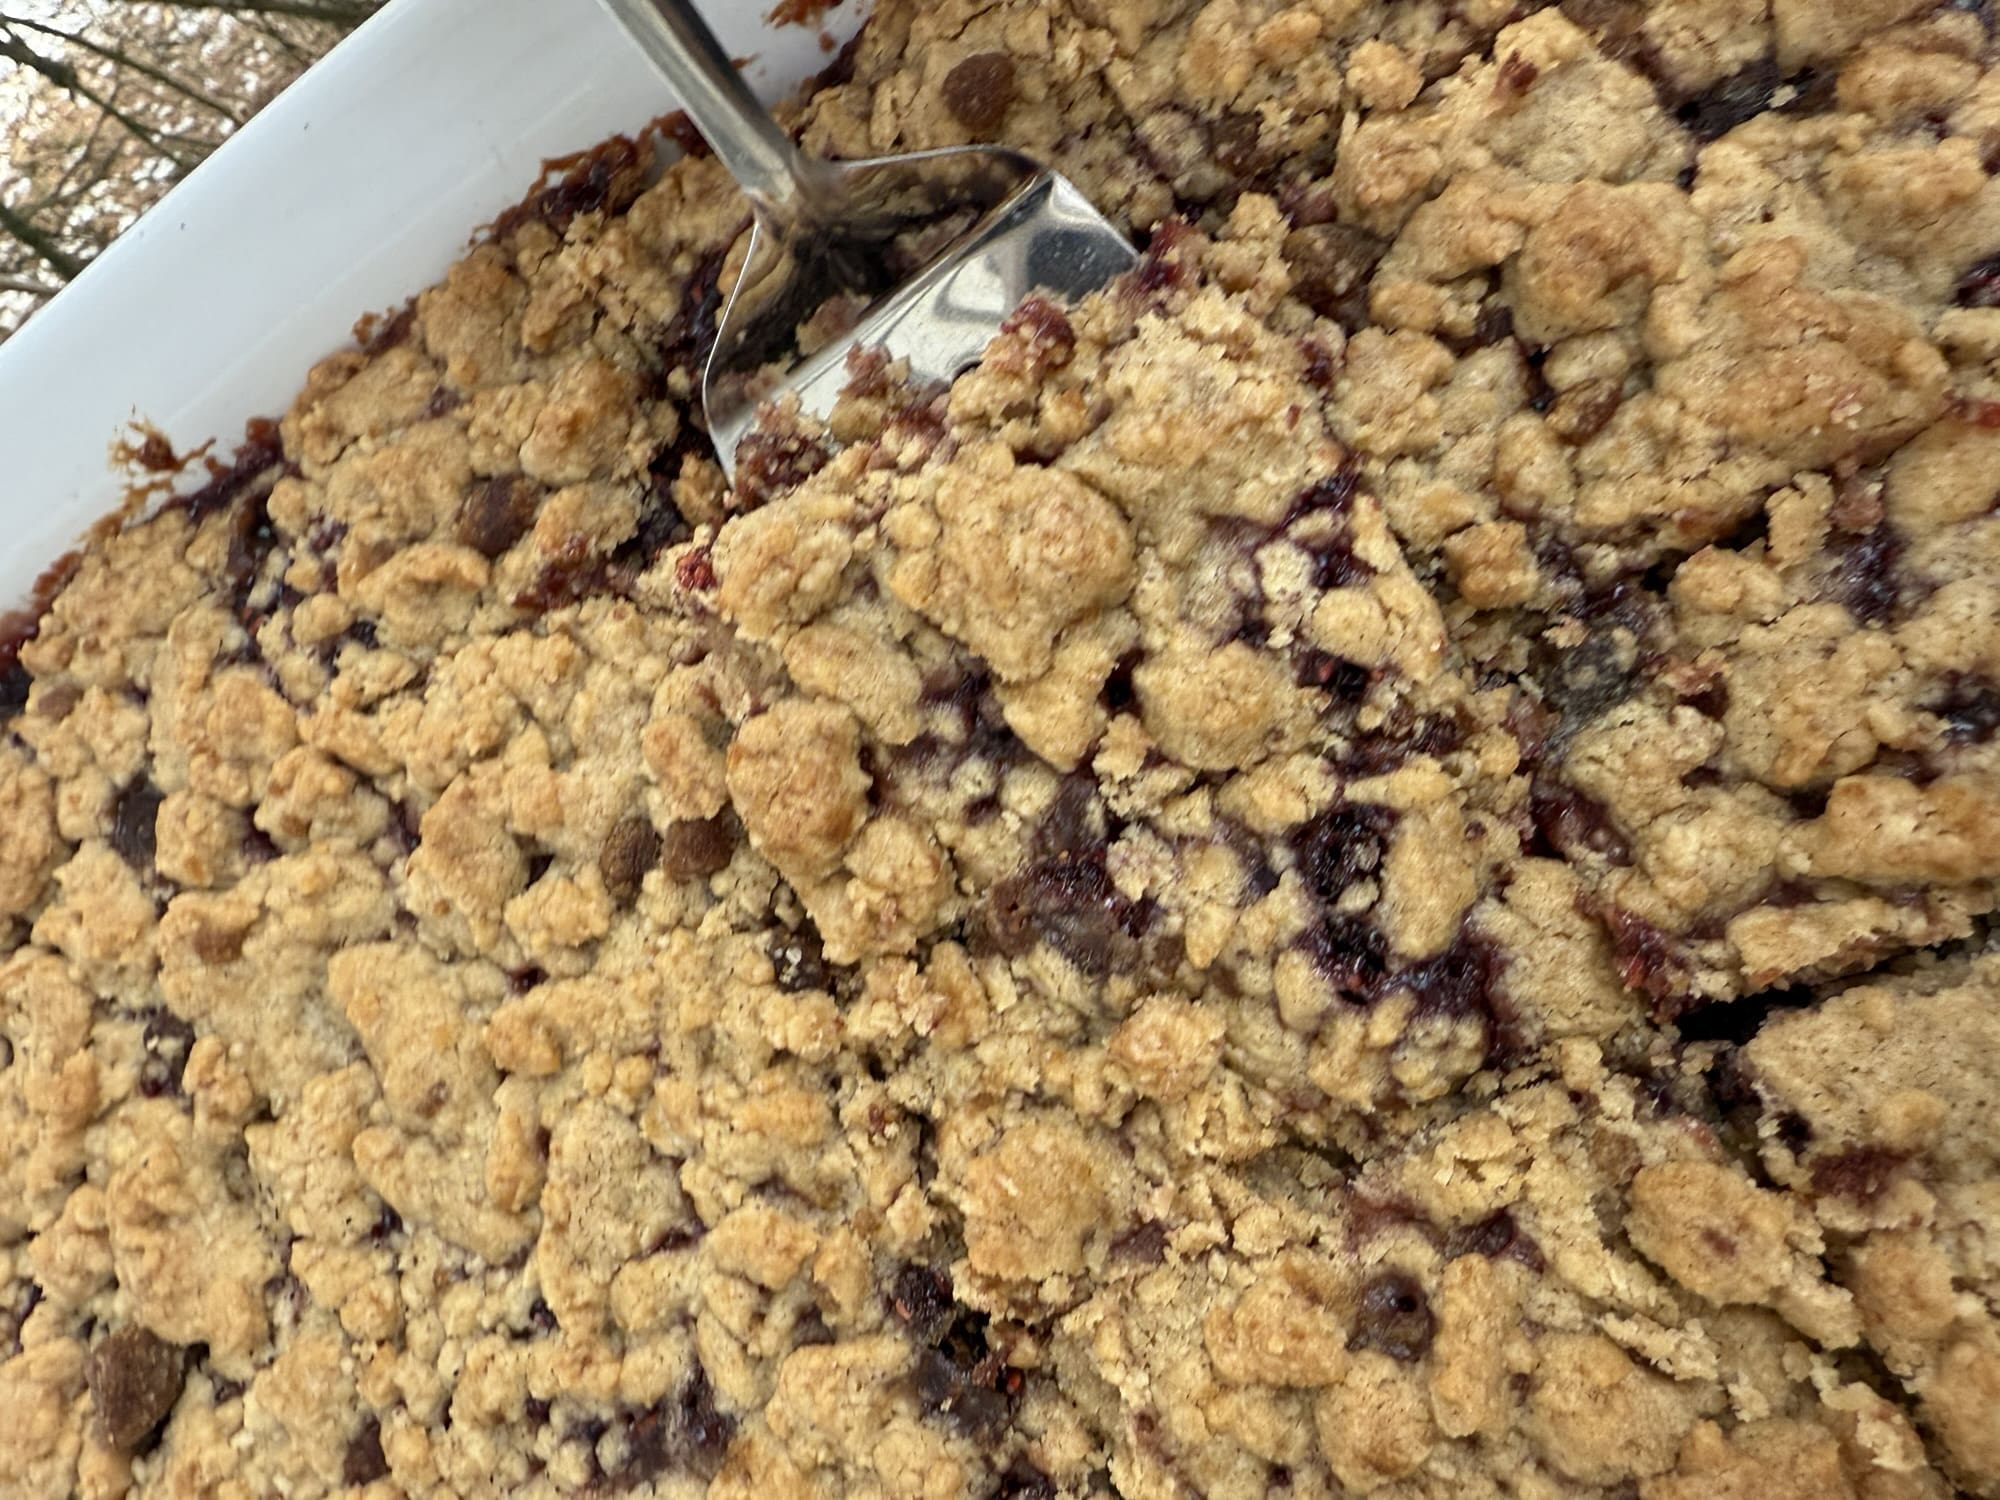
Finally, let it cool, serve with whipped cream (optional) and enjoy.
Blueberry Cheesecake Dump Cake
Ingredients
- 30 oz can Blueberry Pie Filling
- 1 box White Cake MIx
- 8 oz Cream Cheese, softened
- 1 large Egg
- ¼ cup Sugar
- 1 stick Salted Butter, cold
Instructions
- Preheat the oven to 350°
- Spread the blueberry pie filling down onto a 9 x 13” baking dish.
- In a medium sized bowl, beat together the cream cheese, egg, and sugar until it’s smooth.
- Using a spoon, place dollops of the cream cheese mixture spread out evenly onto the top of the pie filling.
- Carefully spread the cheesecake dollops over the pie filling with the back of a spoon. Try not to disturb the pie filling too much if you can help it.
- Sprinkle the cake mix evenly onto top.
- Slice the butter into thin pats and place them evenly, side by side, onto the top of the cake mix until it’s covered in the butter.
- Place it into the oven for 40 minutes.
- Let it cool, serve with whipped cream (optional) and enjoy.