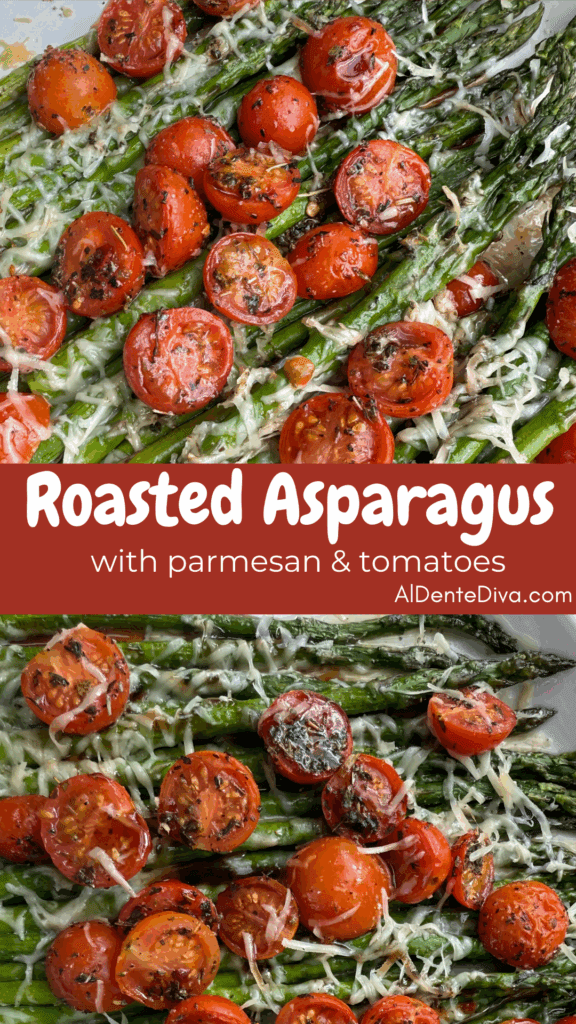
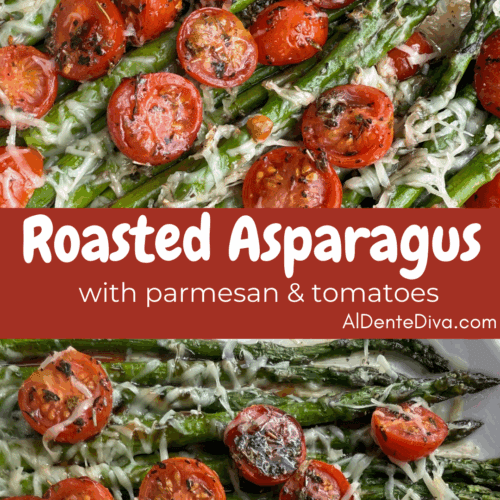
Roasted asparagus with parmesan and tomatoes is a flavorful and impressive side dish that’s perfect for every occasion.
Roasted Asparagus With Parmesan And Tomatoes
From the recipe collection of Tara Ippolito
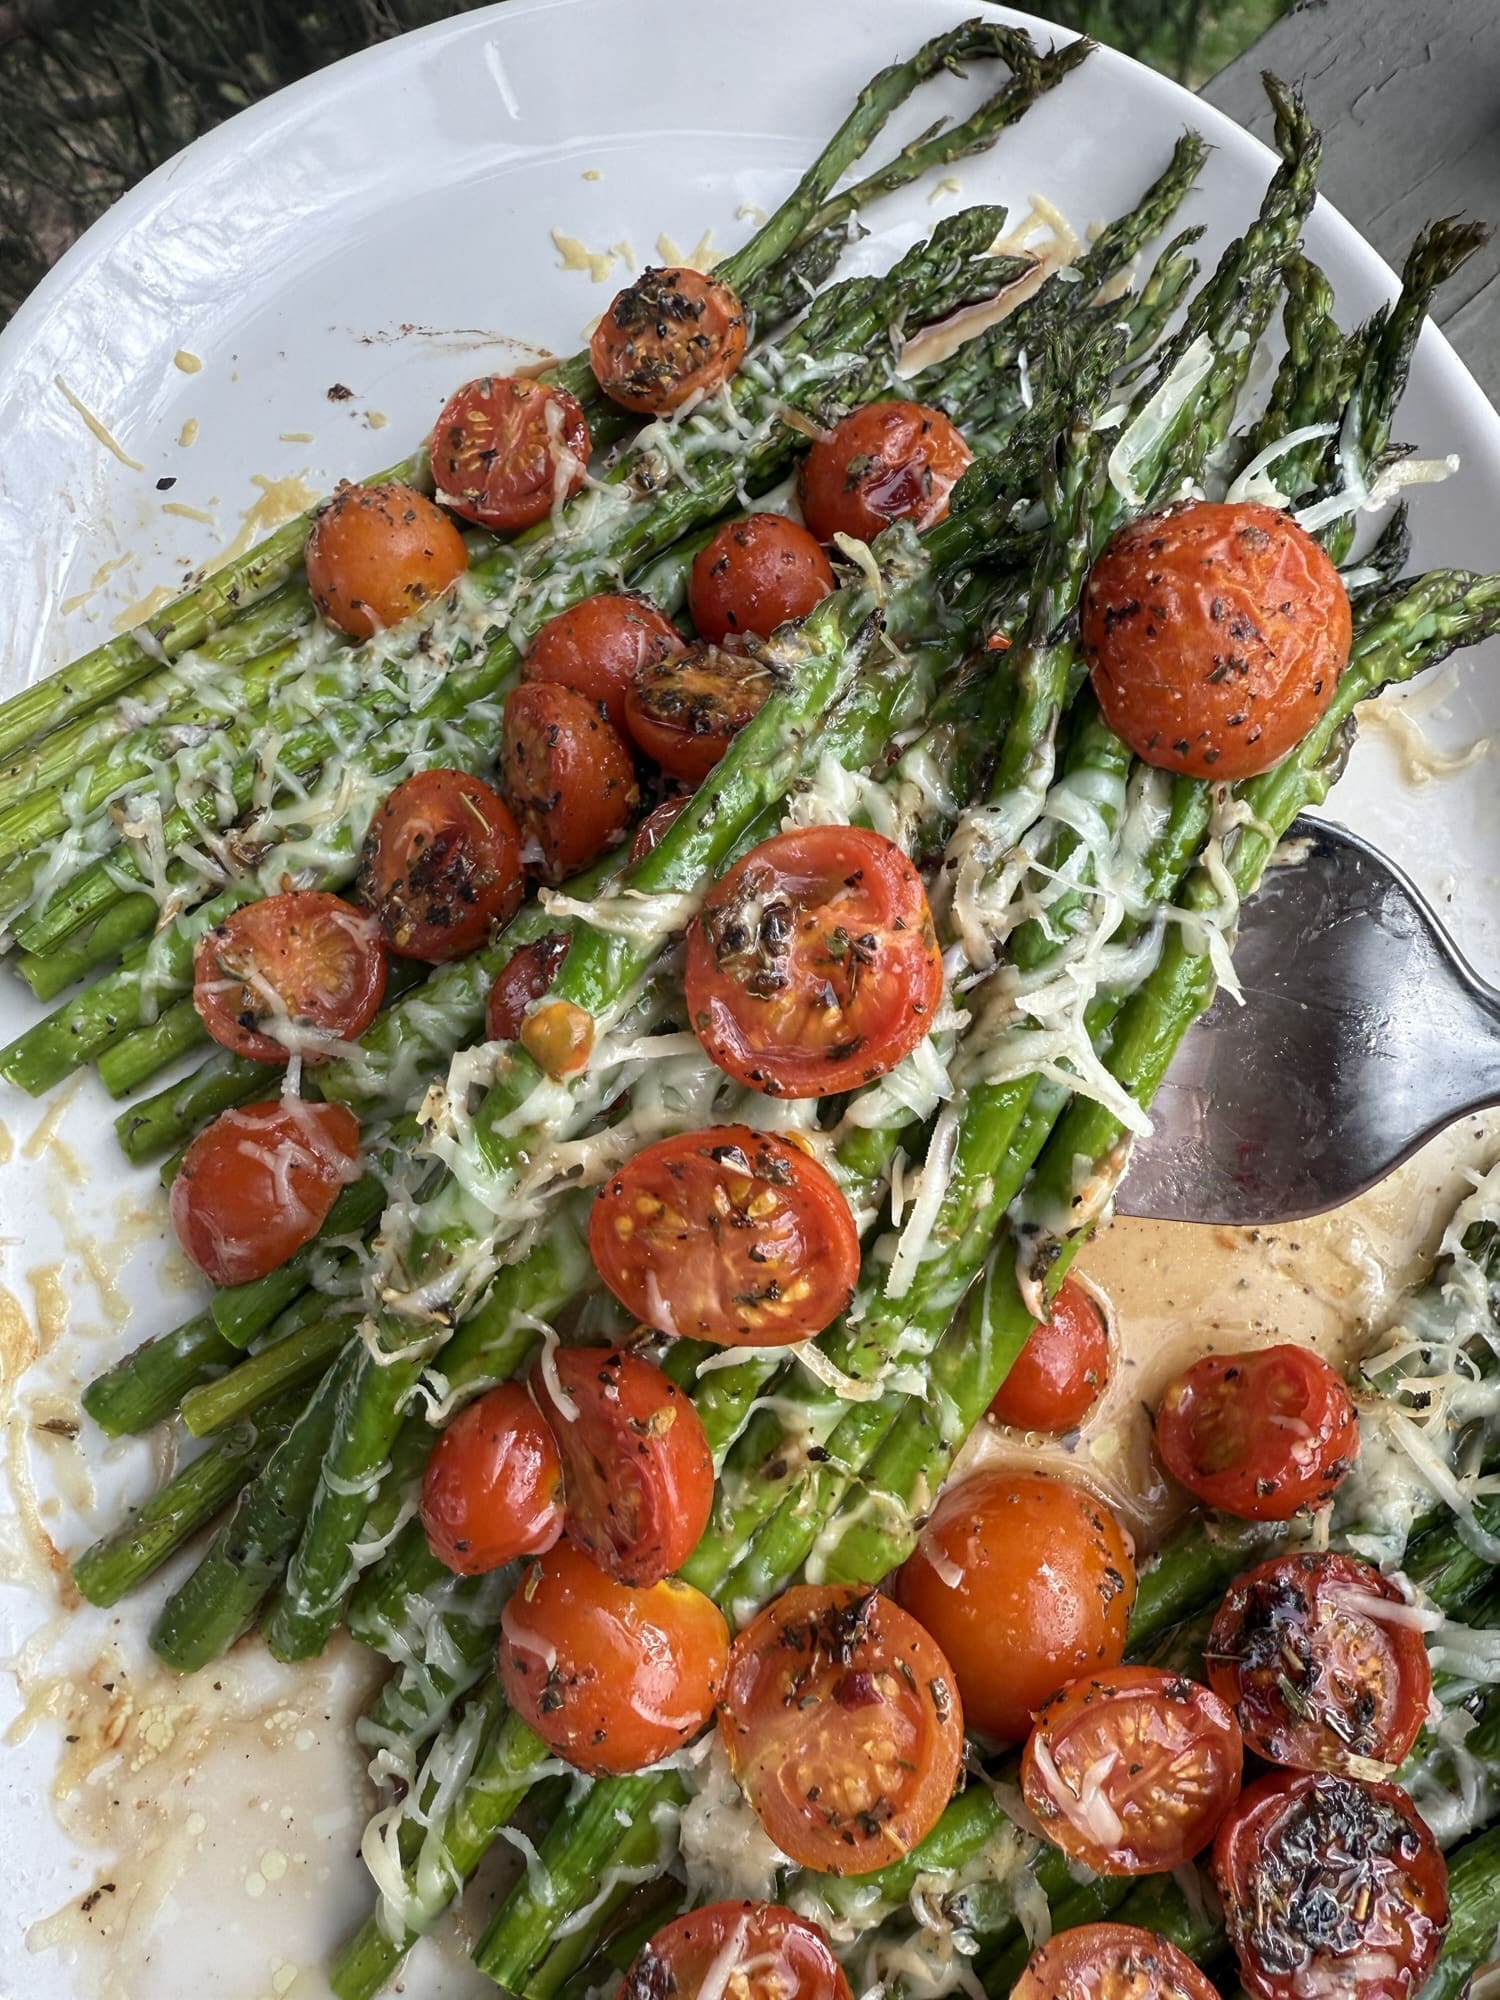
This roasted asparagus with parmesan and tomatoes is a super impressive and delicious side dish that’s perfect for any occasion.
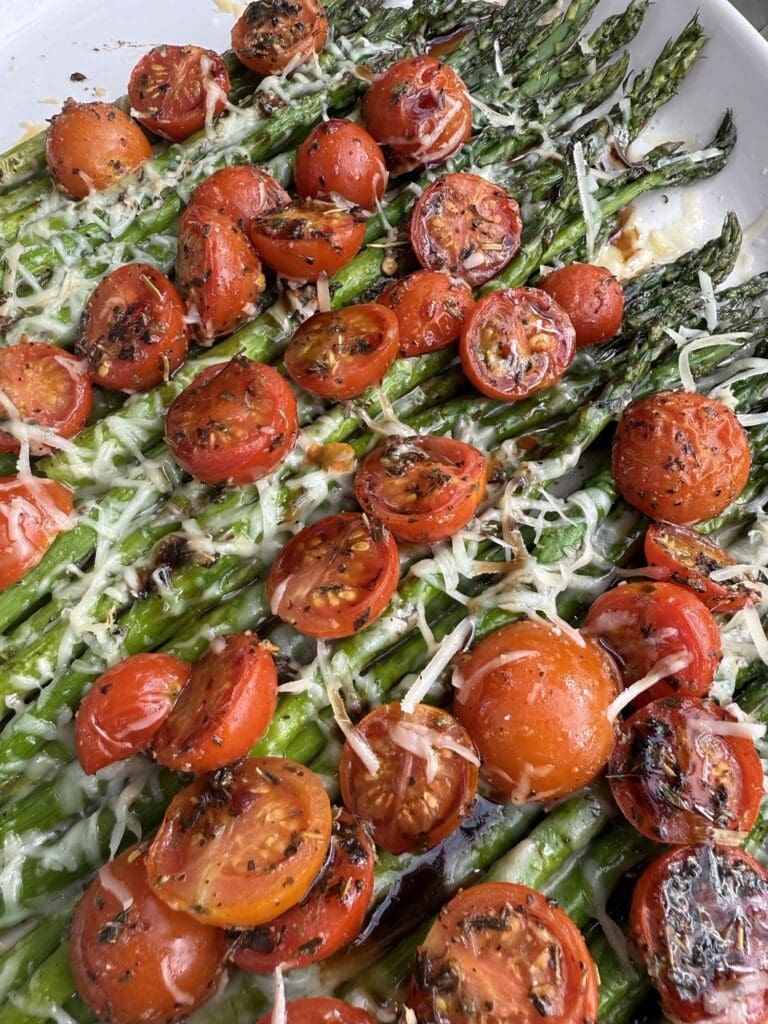
The colors and flavors in this recipe complement each other so well. I love the taste of the asparagus, blistered tomatoes and salty Parmesan cheese together.
Drizzle this with that balsamic glaze and you’ll have a side dish that everyone will truly any.
I’ve made this recipe for almost every occasion that you could think of. From casual dinners at home to important holidays like Christmas, Thanksgiving and Easter.

Not only does it look beautiful, but it’s super easy to make, too. I can have this prepared and on the table in under 30 minutes.
I love roasting vegetables and roasted asparagus is one of my favorites. This is a nice way to make it a little more interesting and add some delicious flavors and textures to it, too.

Serve this for your next dinner party, holiday or casual night at home and it’s sure to be a guaranteed hit!
I hope you give this recipe a try. I know if you do you’ll love it just as much as my family and friends do. ?
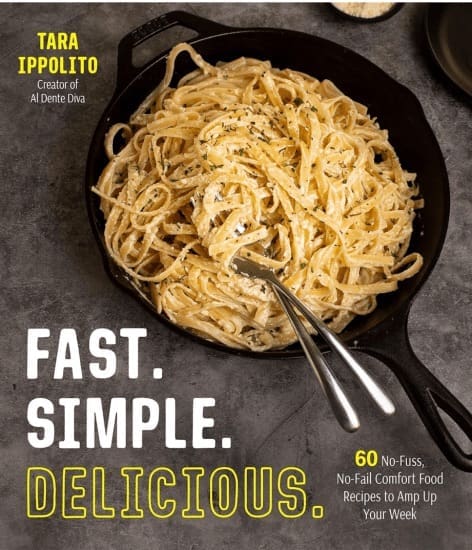
Fast. Simple. Delicious.
Did you know that I have a cookbook called Fast Simple Delicious? It’s 60 out no fuss no fail comfort food recipes perfect for busy weekday dinners.
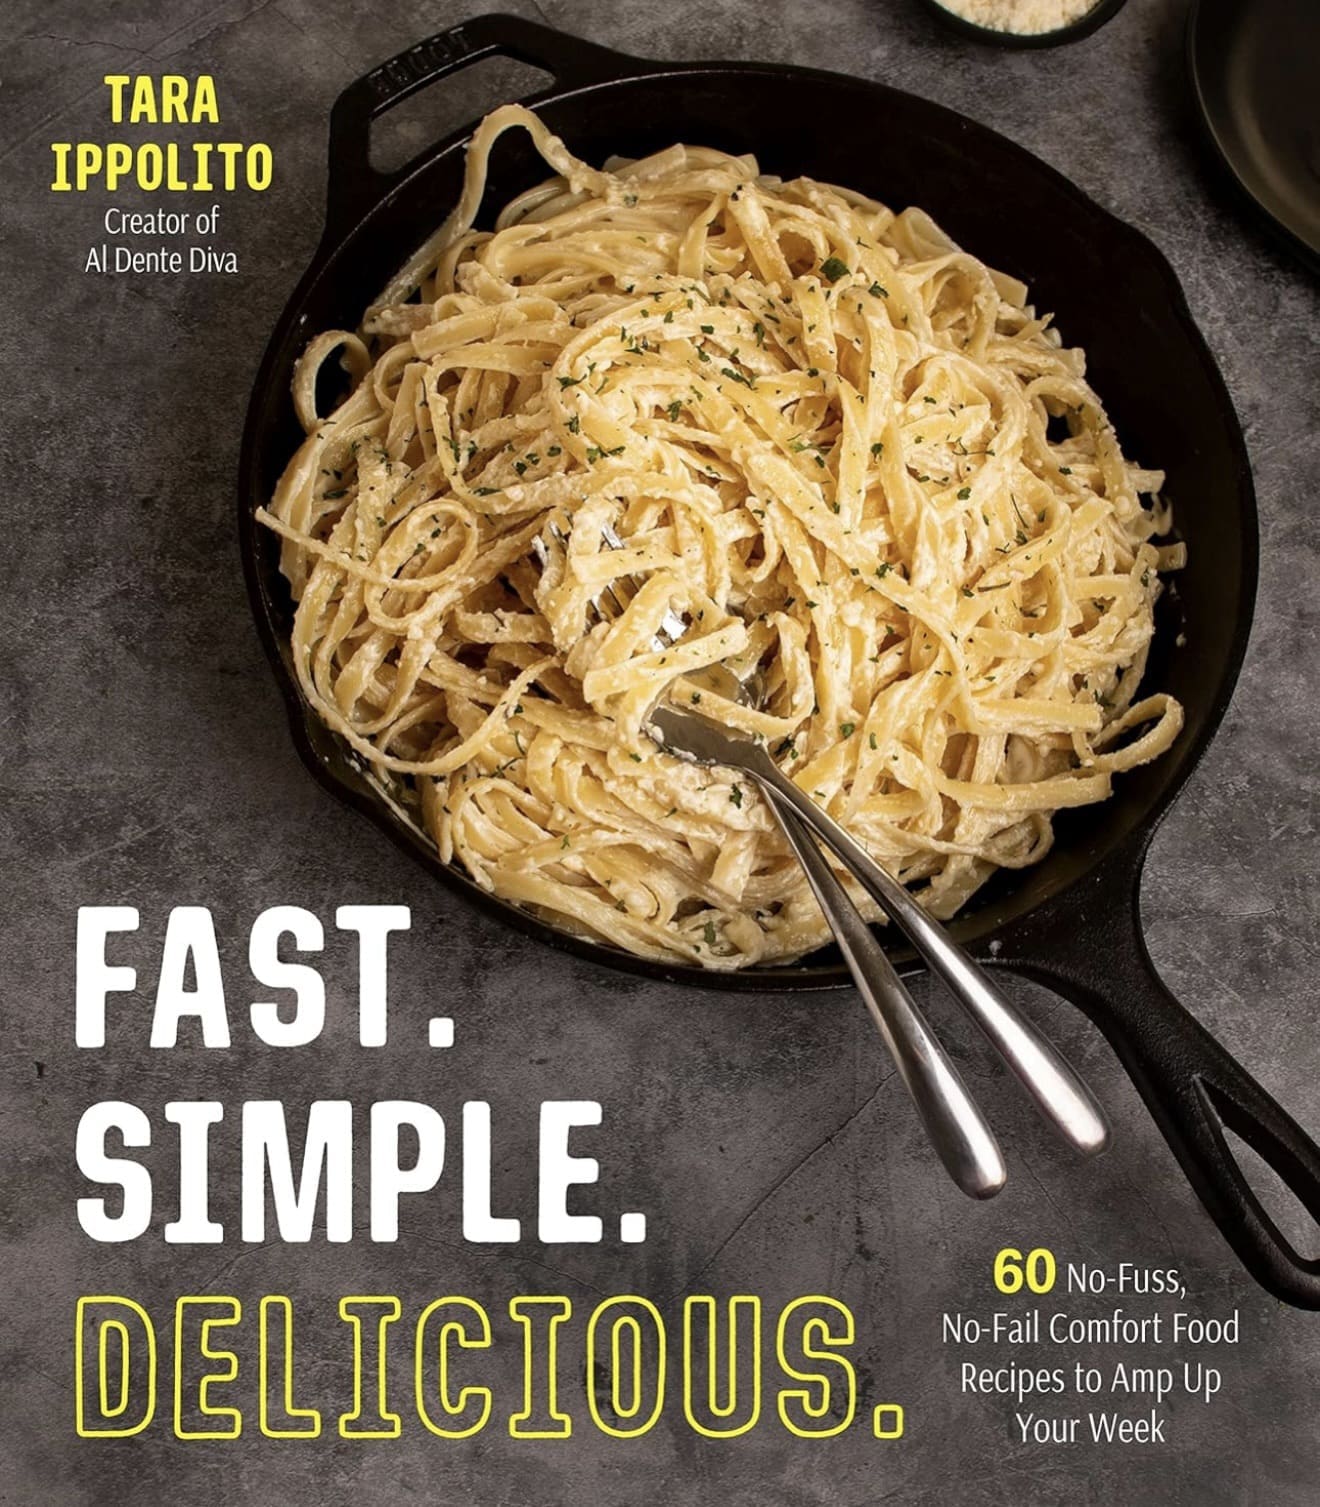
Click HERE to order your copy or click the 3 lines in the top right corner and click “Book”. Thank you for the support.
Roasted Asparagus With Parmesan And Tomatoes Variations
I like this asparagus recipe made just rhetorical way it is but here are some ways to change it up if you’d like to.
- Asparagus- fresh is best but frozen and thawed asparagus would be ok to use if needed.
- Tomatoes- use cherry or grape tomatoes for this recipe. Cherry tomatoes still on the vine make for a super impressive presentation, too. ?
- Parmesan Cheese- grated or shaved Parmesan can both be used for this recipe. The cheese tends to almost melt and disappear when it’s being baked. So if you want more of a cheesy appearance use shave Parmesan, but for a milder flavor, use the grated. ?
Other Easy Vegetable Side Dishes
If you like super easy to make side dish recipes like this one, here are some others that I know you’ll love, too.

- Hot Honey Skillet Corn
- Classic Broccoli Salad
- Creamy Brussels Sprouts With Bacon Casserole
- Cheesy Spinach Gratin
Roasted Asparagus With Parmesan And Tomatoes Ingredients
- Asparagus, cleaned and trimmed
- Parmesan Cheese, grated or shaved
- Cherry Tomatoes, halved
- Olive Oil
- Balsamic Glaze (any brand)
- Salt, Pepper, Garlic Powder and Italian Seasoning
Instructions
Preheat the oven to 350°
First, drizzle the asparagus with olive oil and season it with salt, pepper and garlic powder. Spread it out onto an oven safe baking dish.

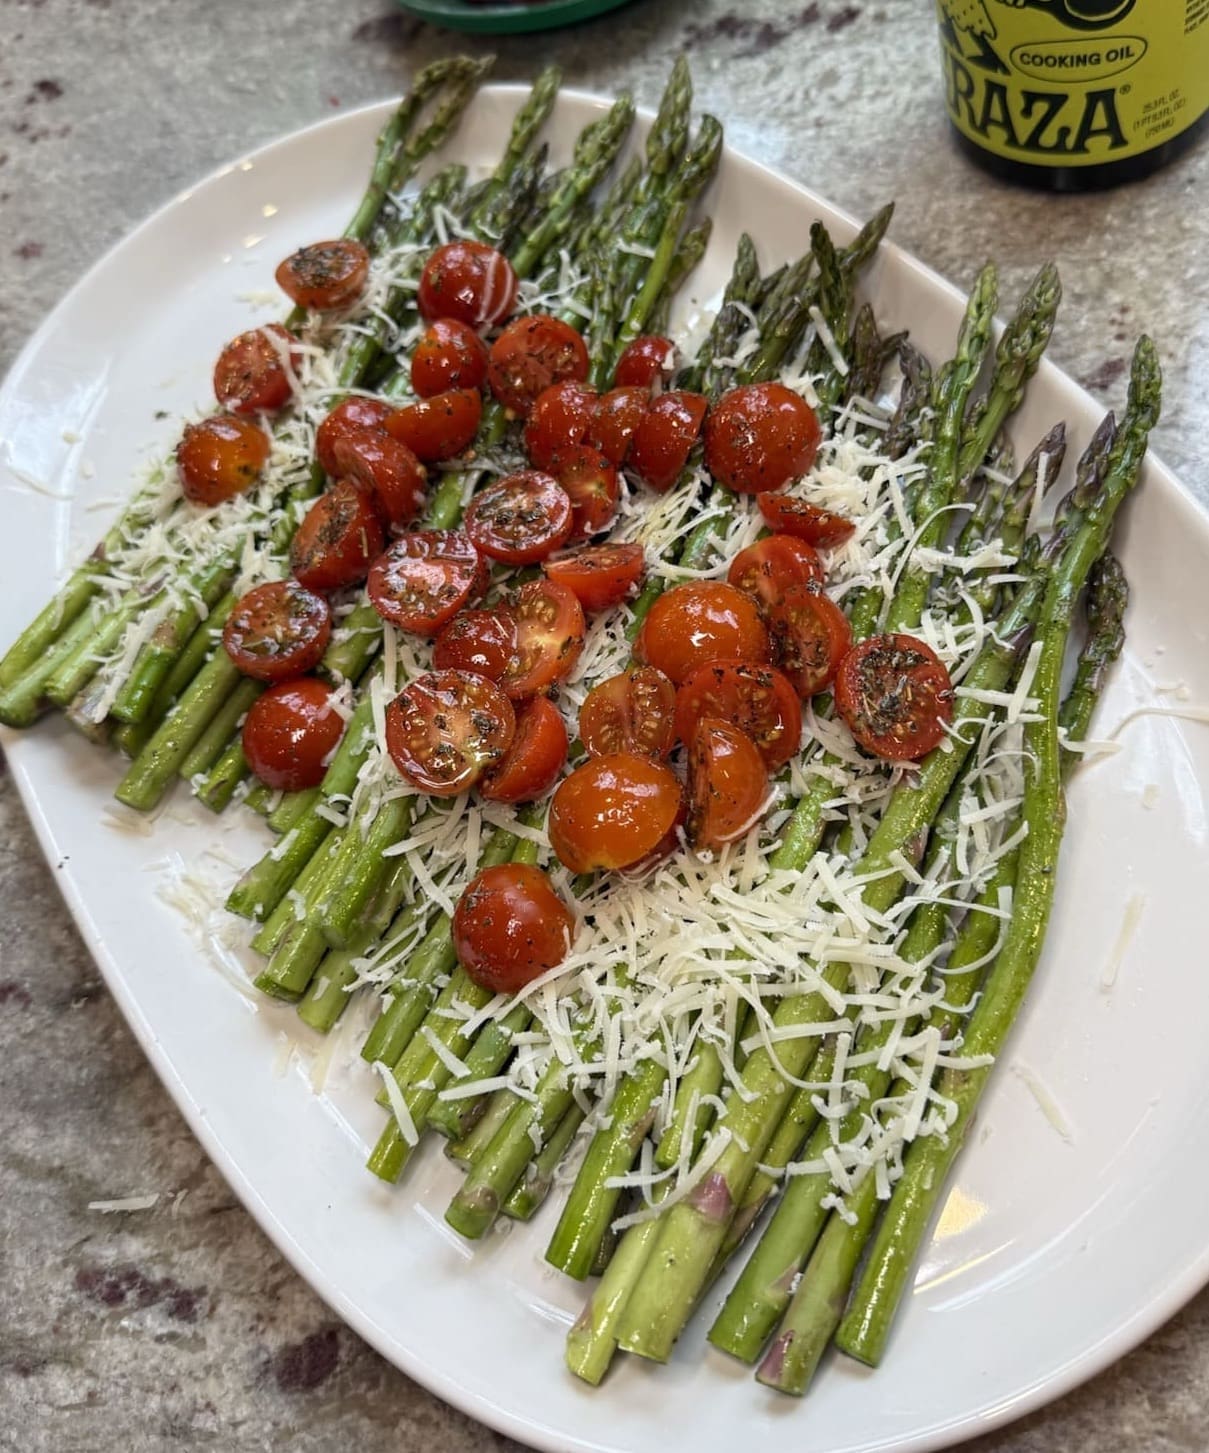
Next, add the grated or shaved Parmesan cheese along the center of the asparagus. If you’d like the cheese to be more present, use shaved Parmesan. But, if you prefer a more mild look and flavor, use the grated Parmesan.

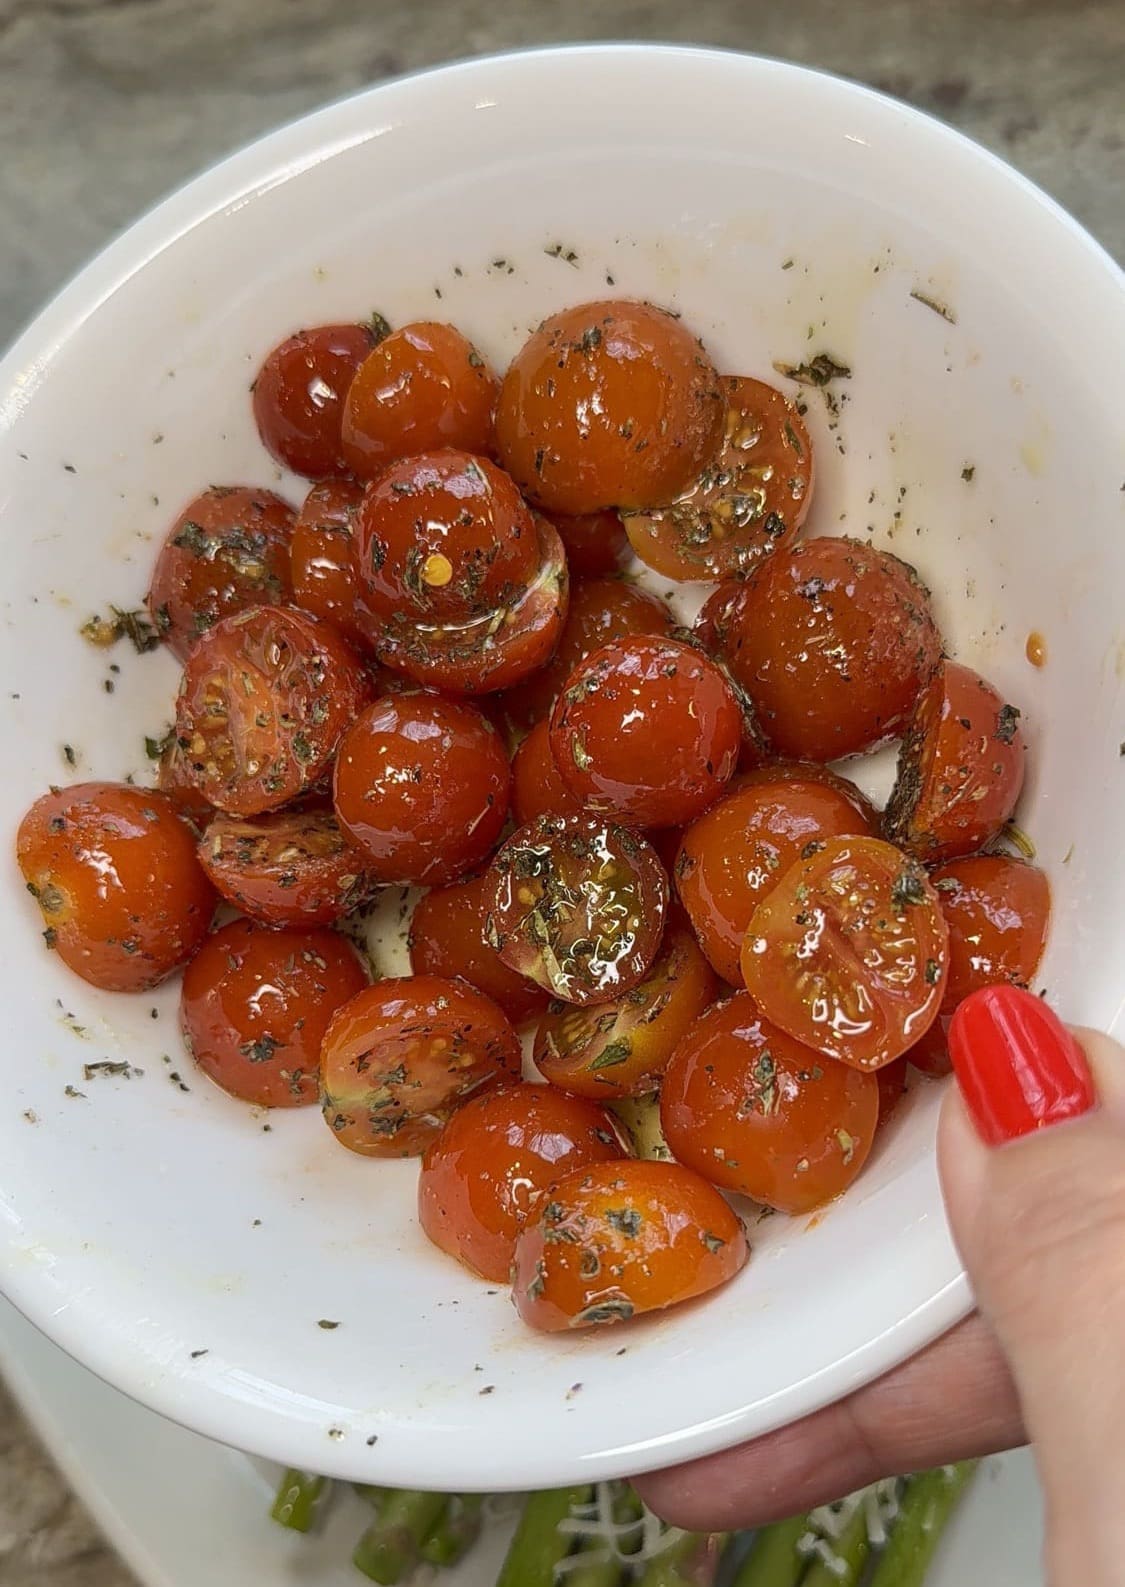
Then, in a small bowl, stir the cherry tomatoes in with a little olive oil, salt, pepper, garlic powder, and Italian seasoning.
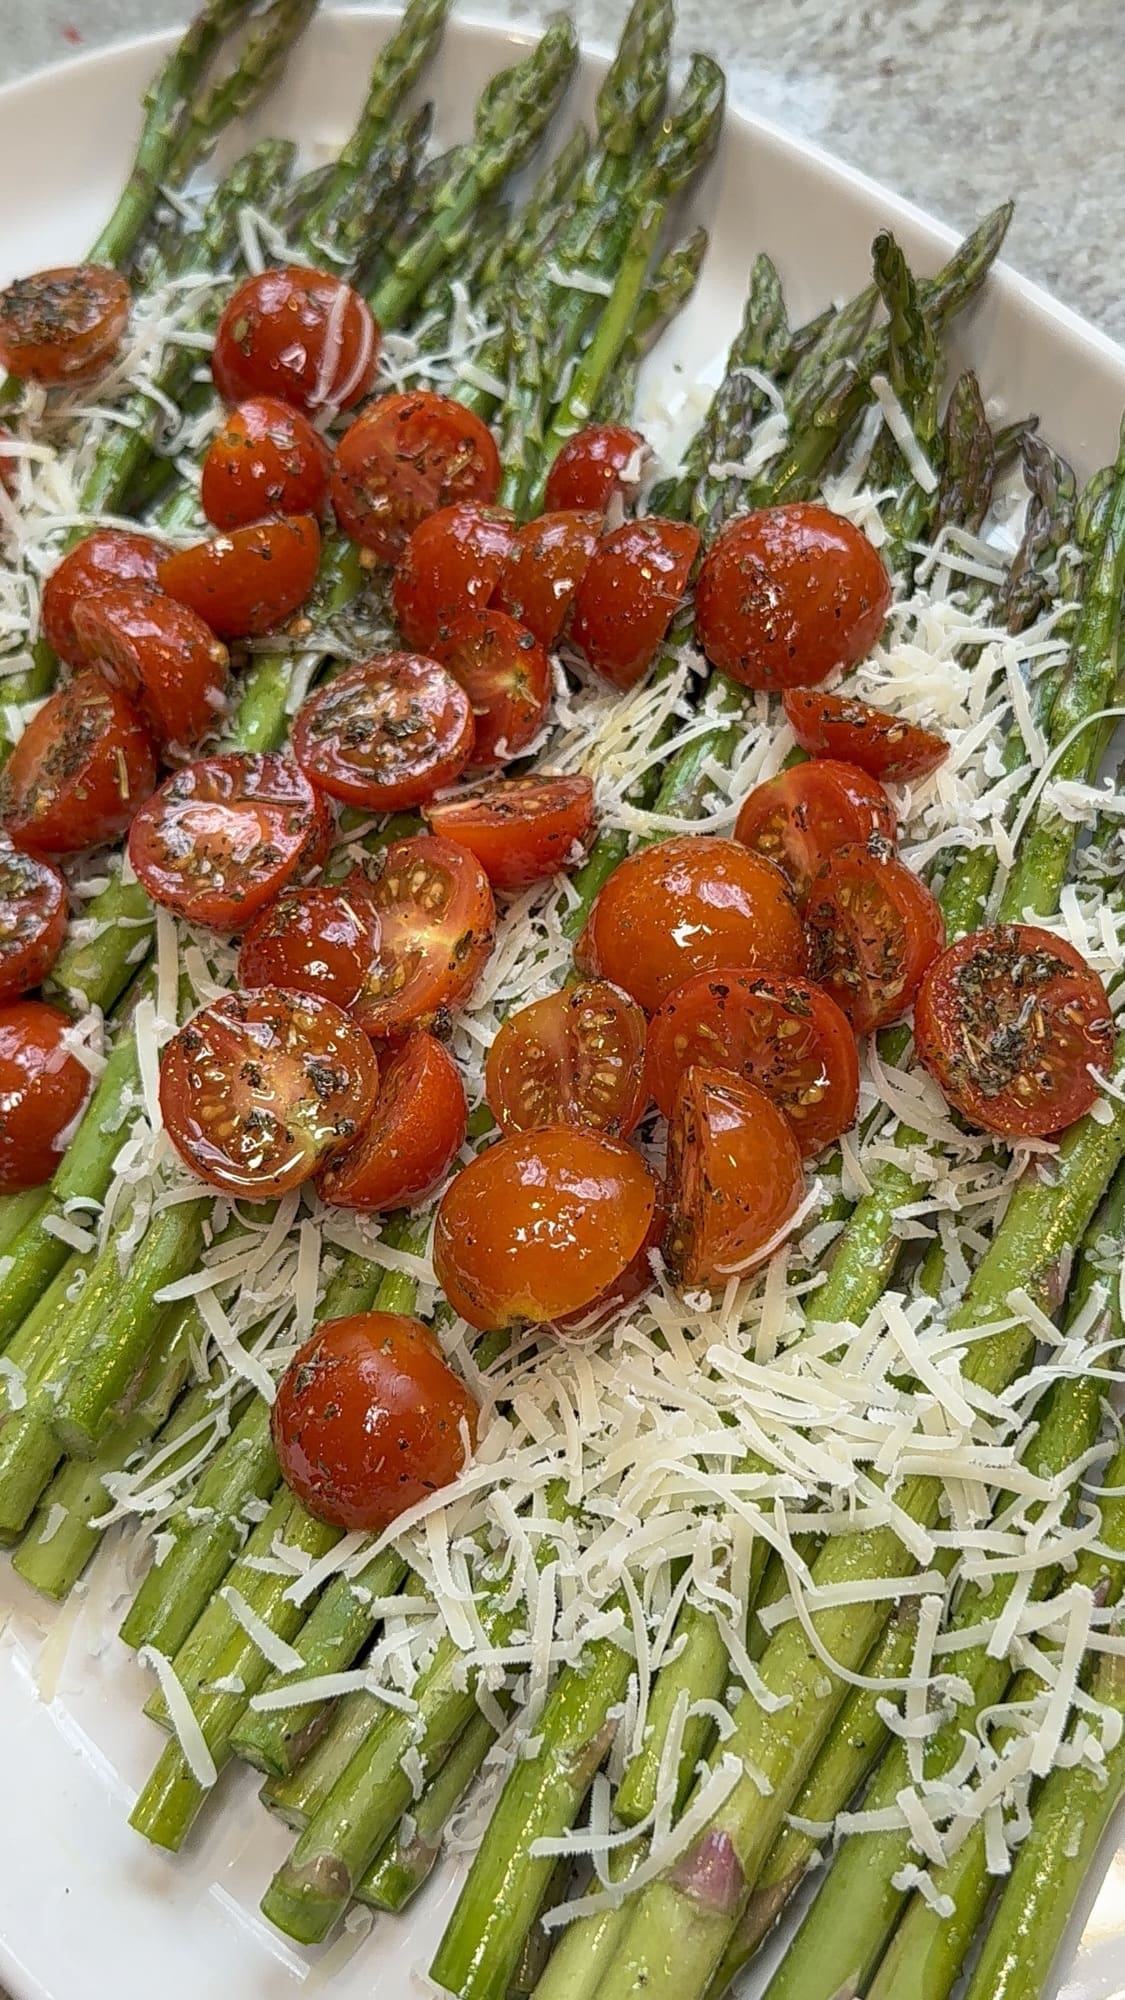
Now, place the tomatoes on top of the Parmesan cheese.
Next, place the baking sheet in the center rack of the oven for 20 to 25 minutes.
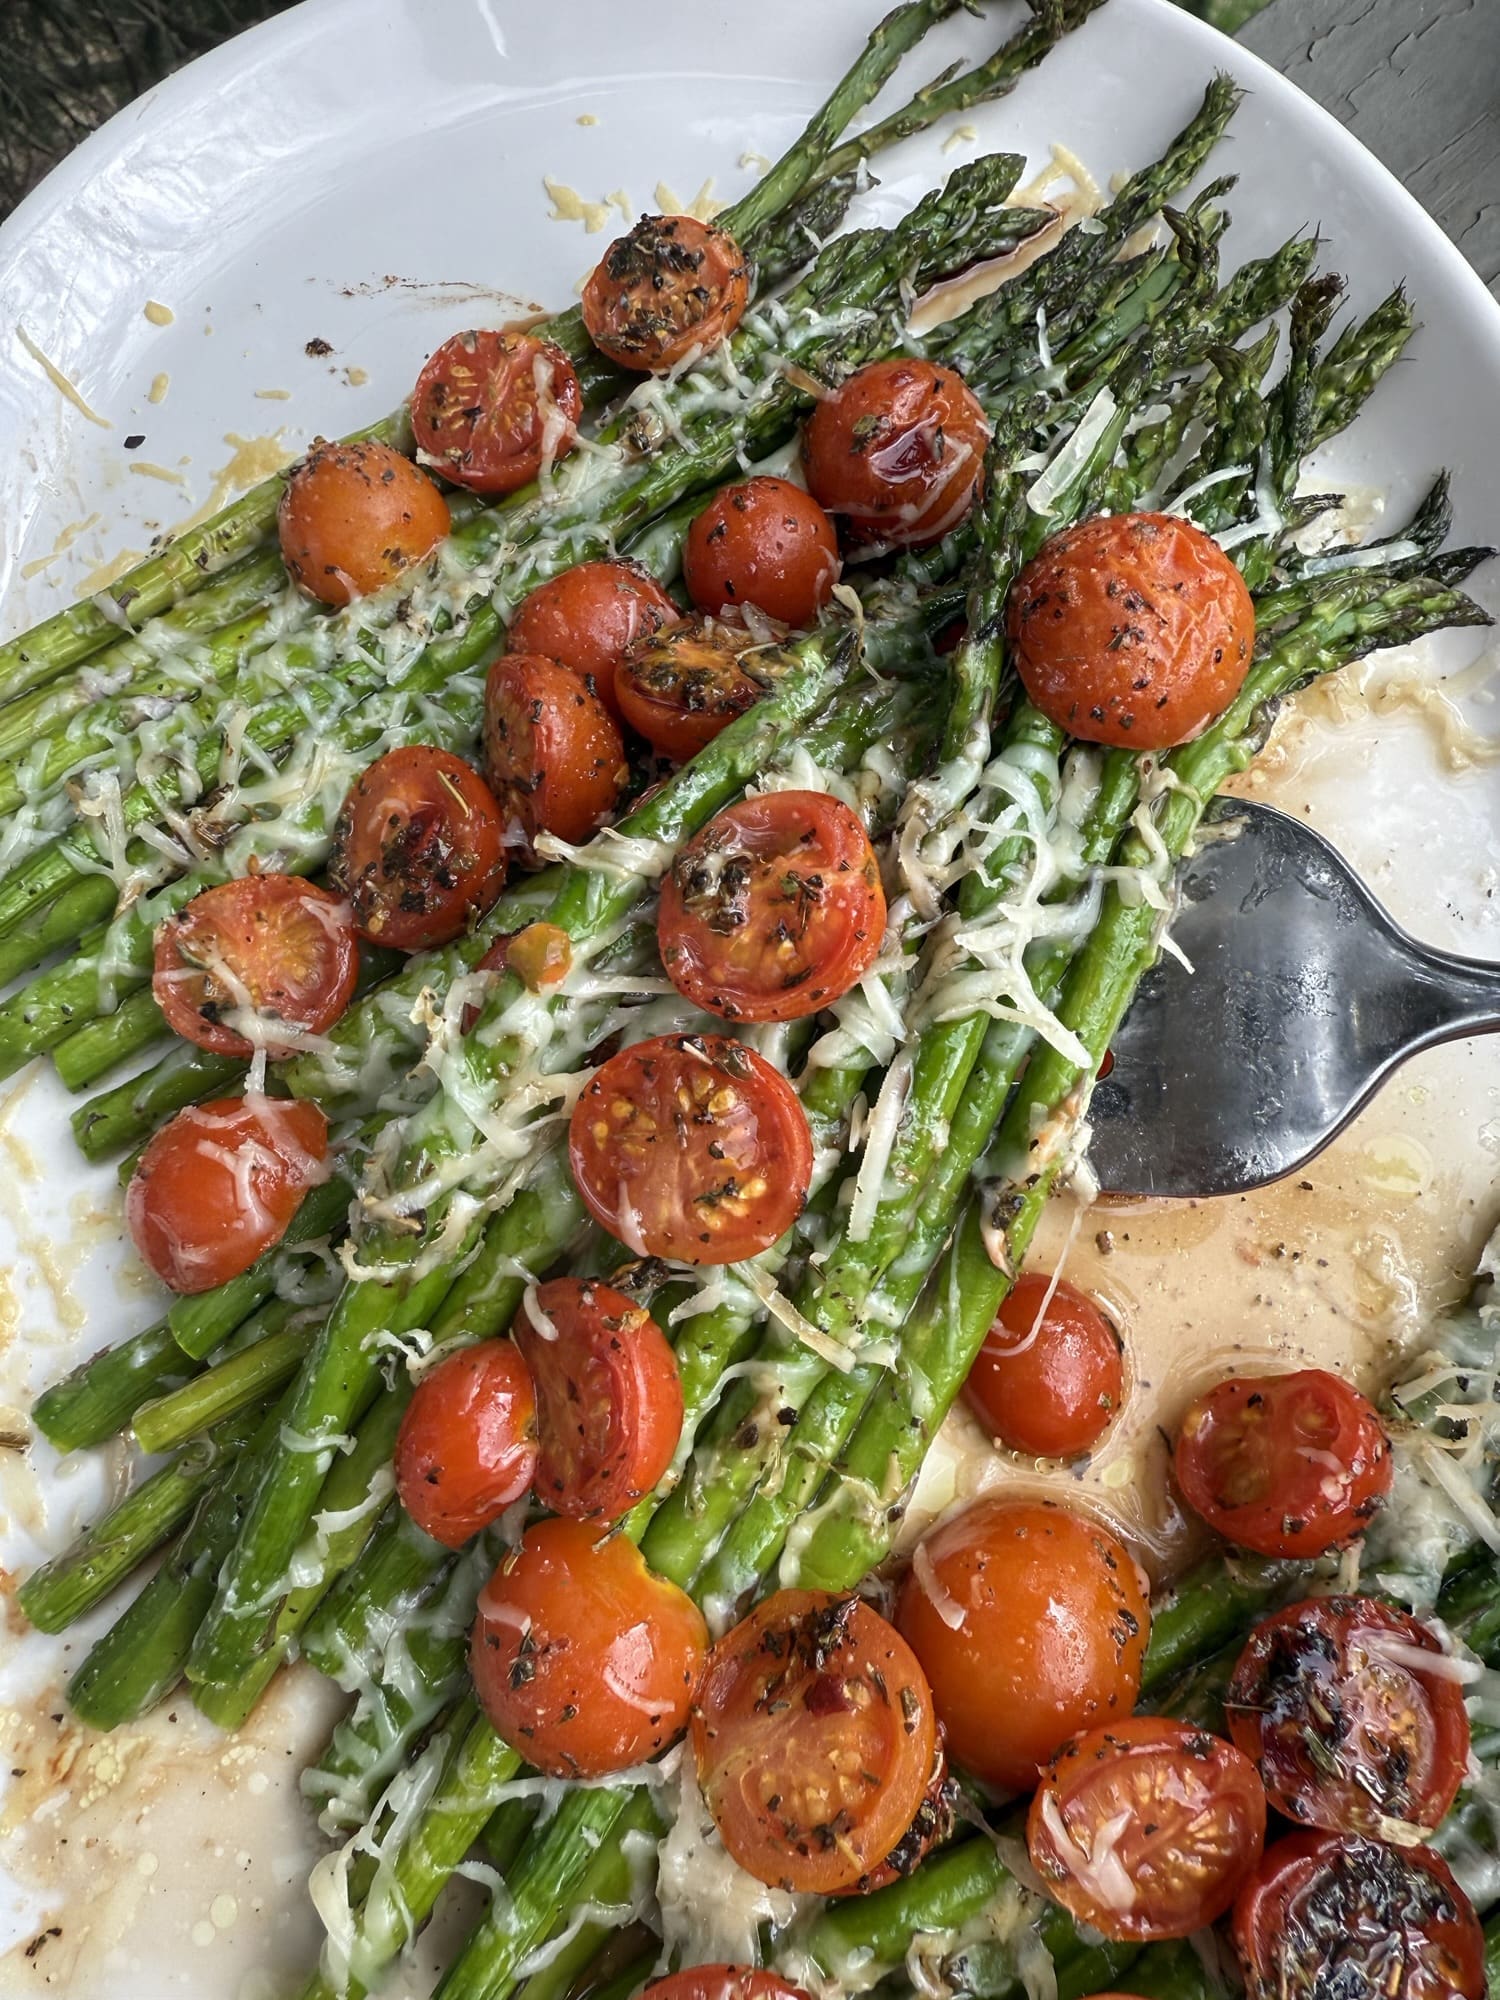
Then, drizzle the asparagus, tomatoes, and Parmesan cheese with the balsamic glaze.
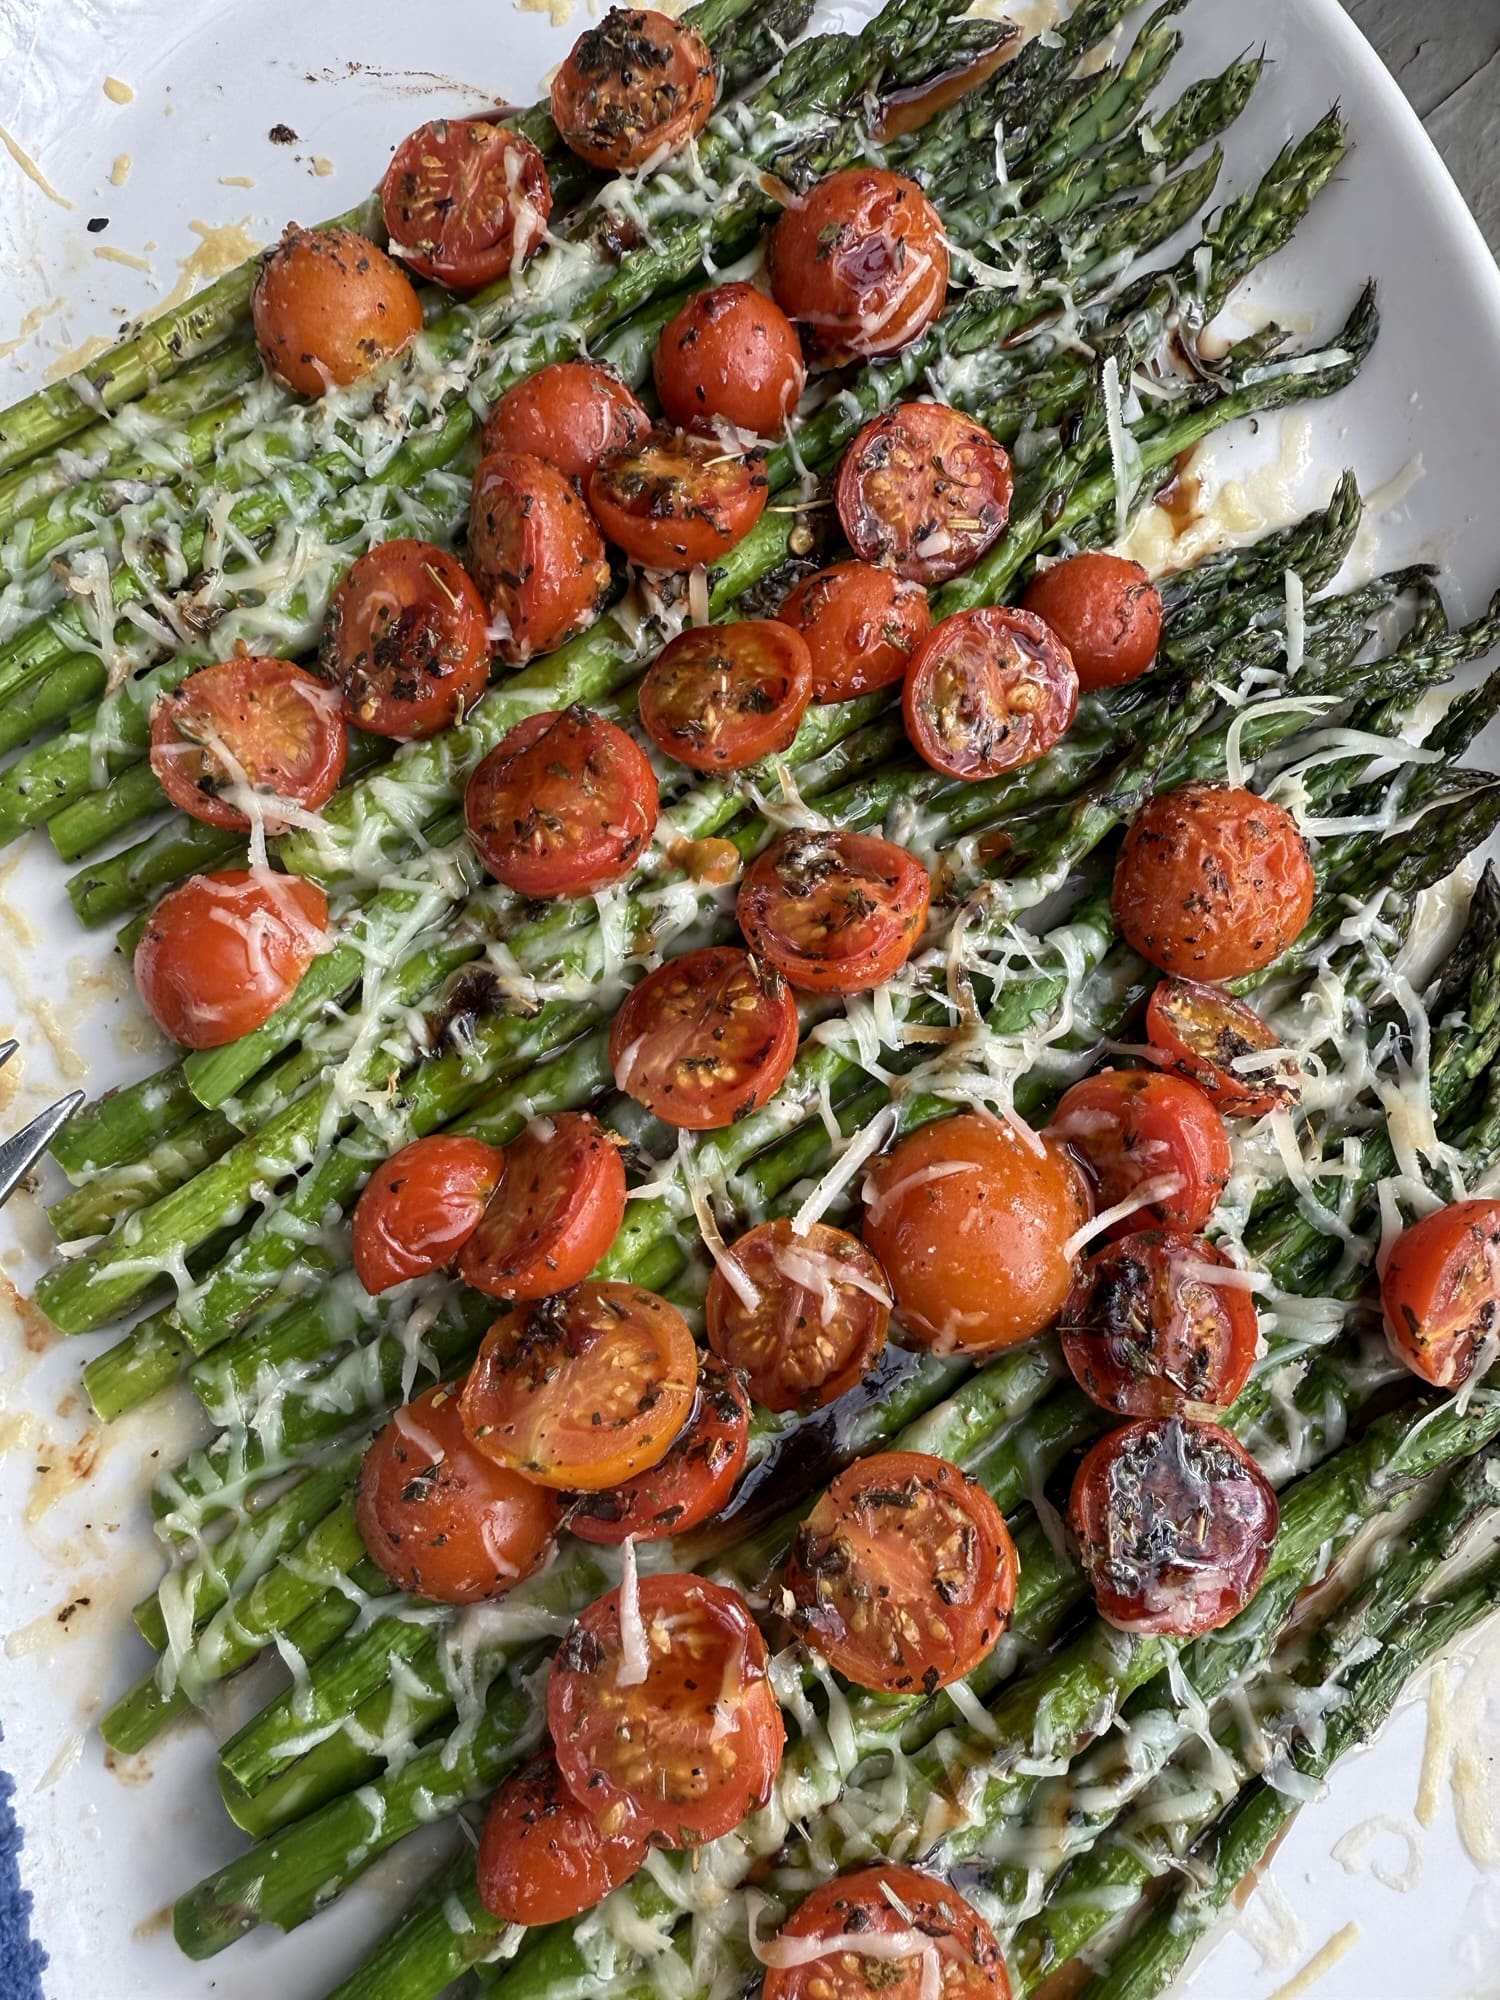
Finally, serve warm and enjoy!
Roasted Asparagus With Parmesan And Tomatoes
Ingredients
- 1 Bundle Asparagus, cleaned and trimmed
- ½ Cup Parmesan Cheese, grated or shaved
- ½ Cup Cherry Tomatoes, halved
- 3 Tbs Olive Oil
- 2-3 Tbs Balsamic Glaze (any brand)
- Salt and Pepper, to taste
- 1 ½ teaspoon Garlic Powder
- 1 teaspoon Italian Seasoning
Instructions
- Preheat the oven to 350°
- Drizzle the asparagus with 2 tbs olive oil and season it with salt, pepper and 1 teaspoon garlic powder. Spread it out onto an oven safe baking dish.
- Add the grated or shaved Parmesan cheese along the center of the asparagus. If you’d like the cheese to be more present, use shaved Parmesan. But, if you prefer a more mild look and flavor, use the grated Parmesan.
- In a small bowl, stir the cherry tomatoes in with 1 tbs of olive oil, salt, pepper, ½ teaspoon garlic powder, and Italian seasoning and place the tomatoes on top of the Parmesan cheese.
- Place the baking sheet in the center rack of the oven for 20 to 25 minutes.
- Drizzle the asparagus, tomatoes, and Parmesan cheese with the balsamic glaze. Serve warm and enjoy!