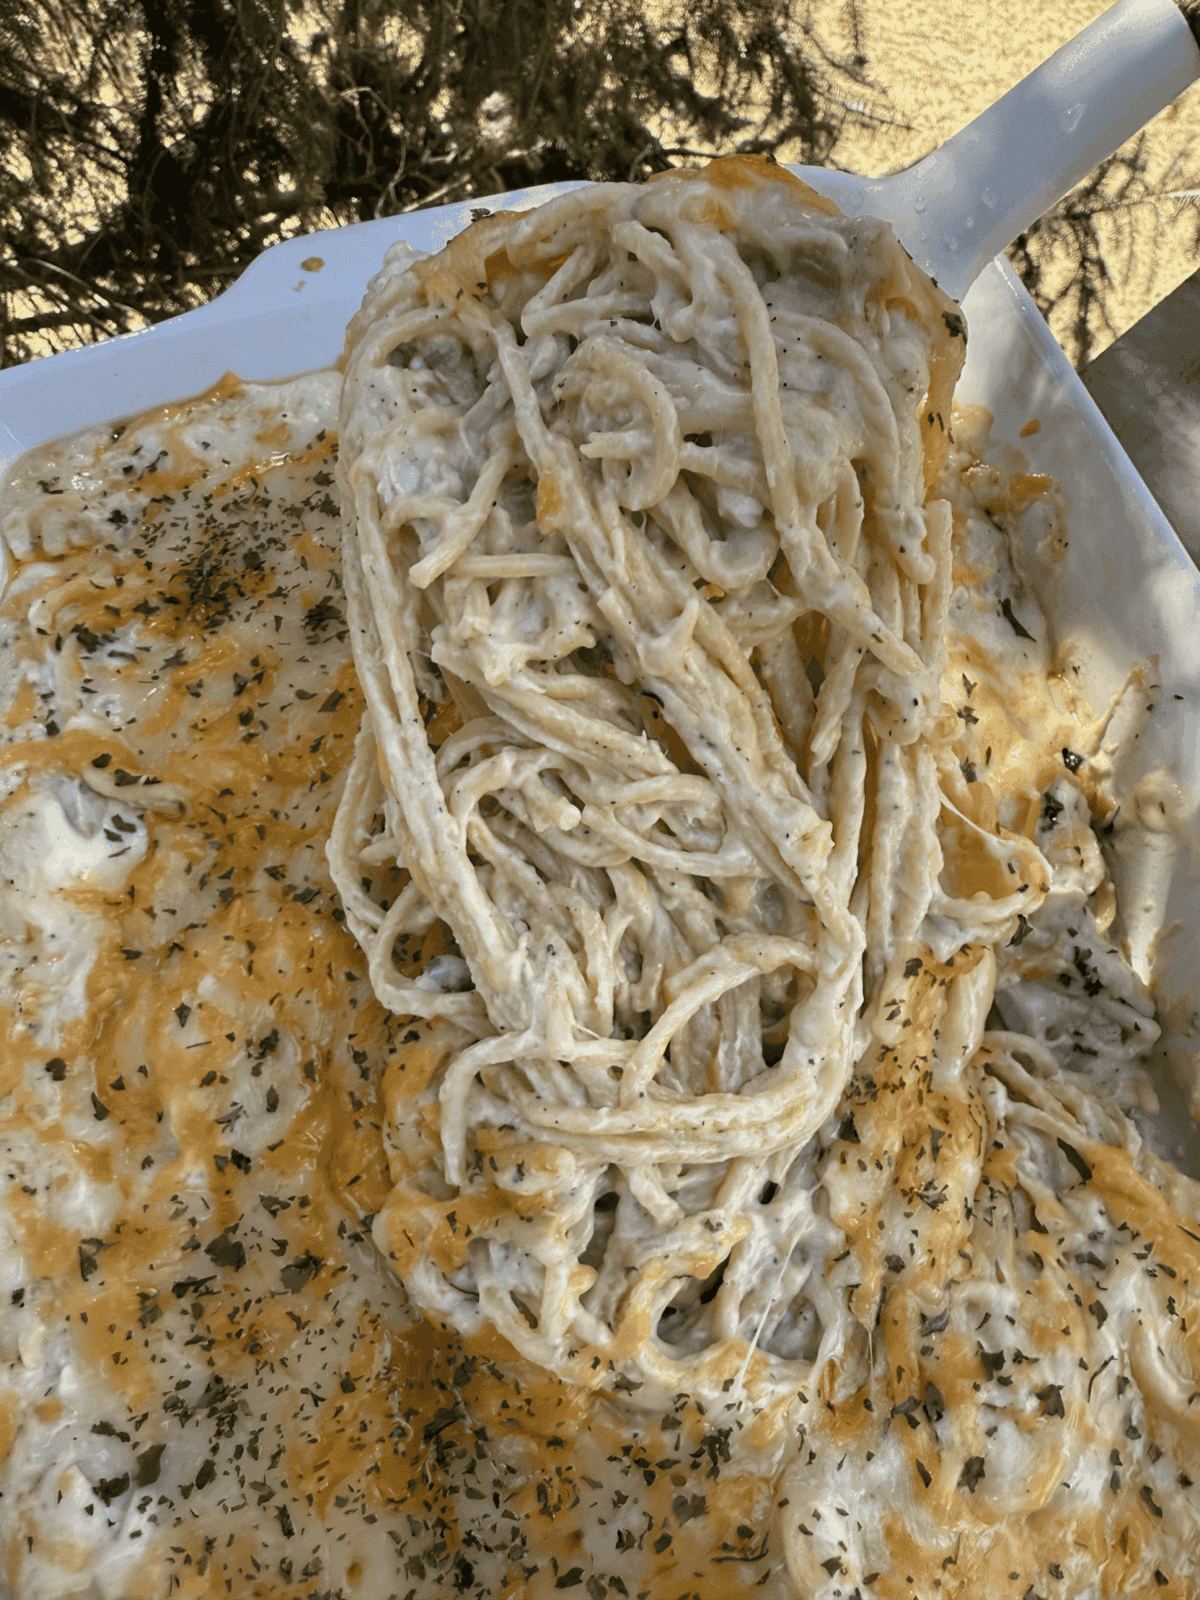
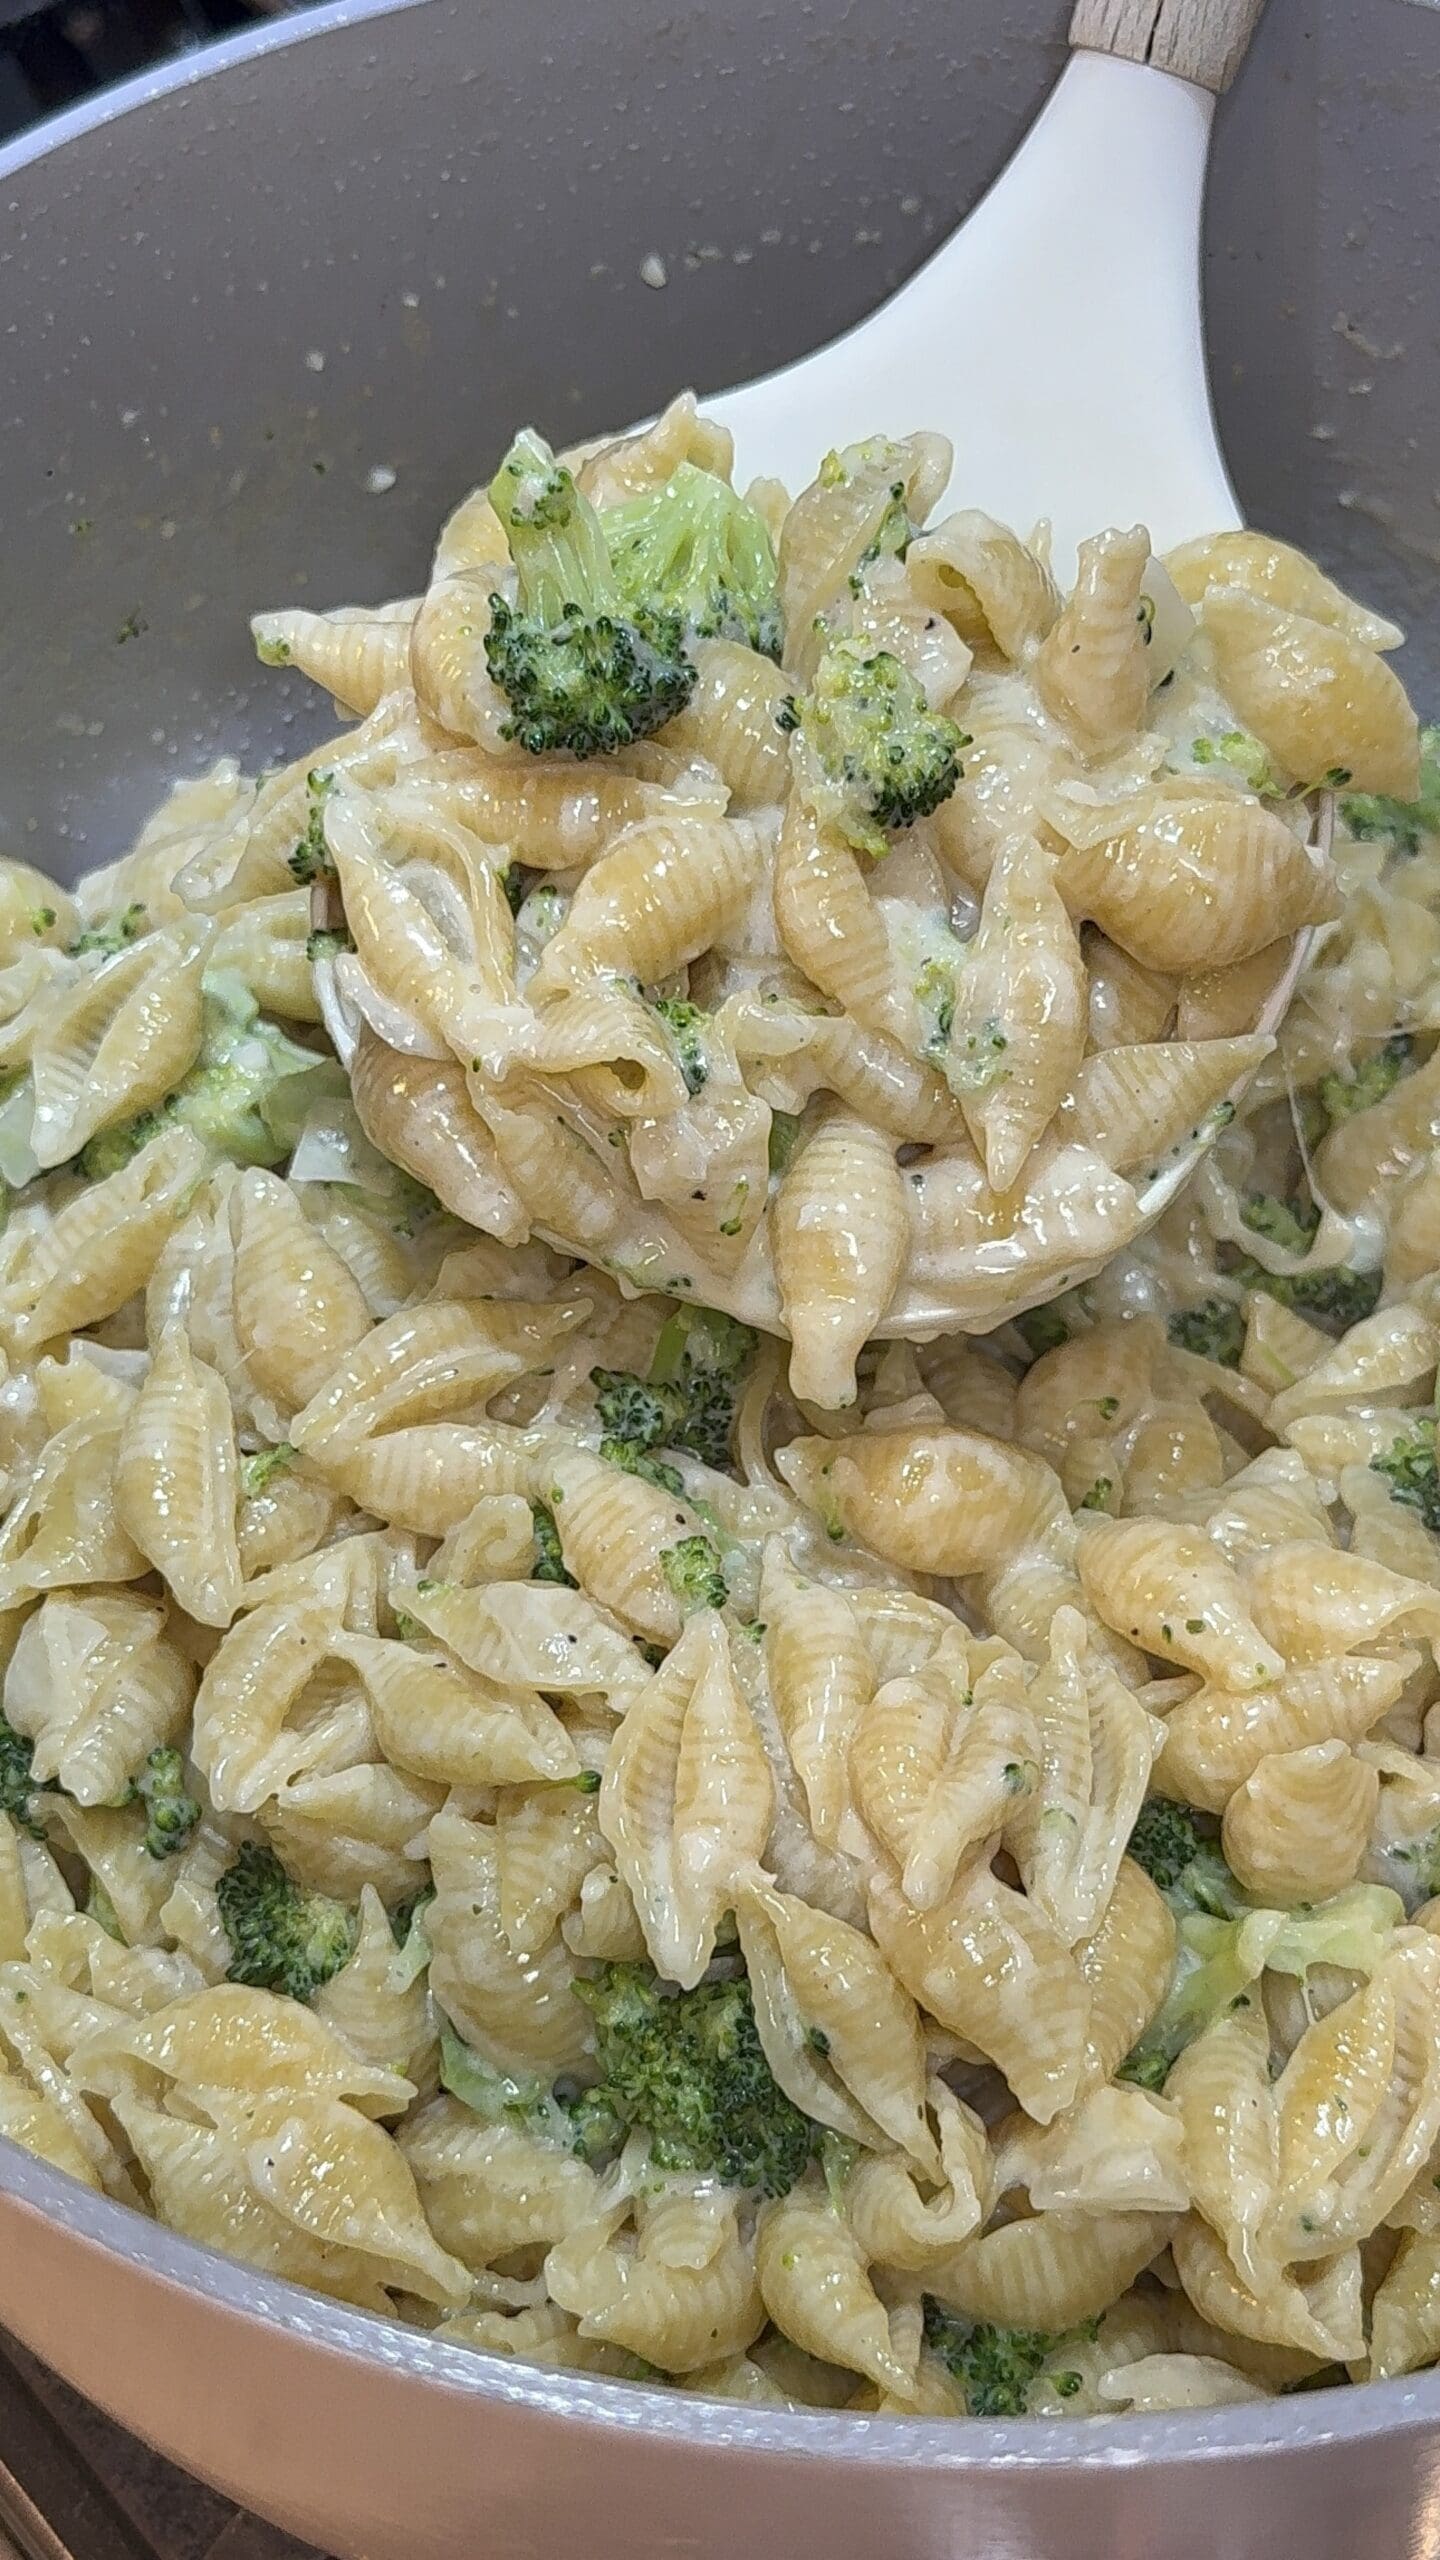
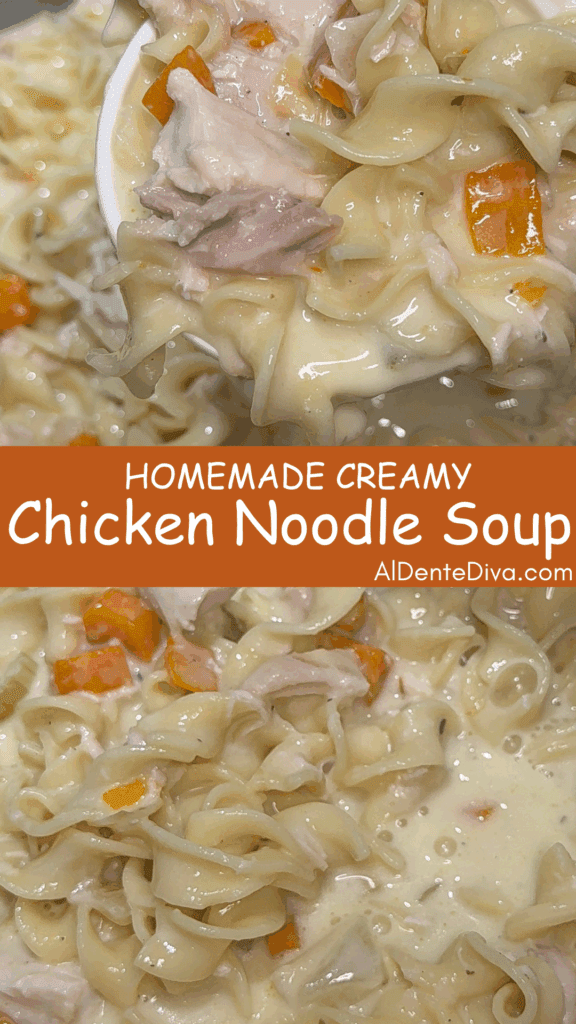
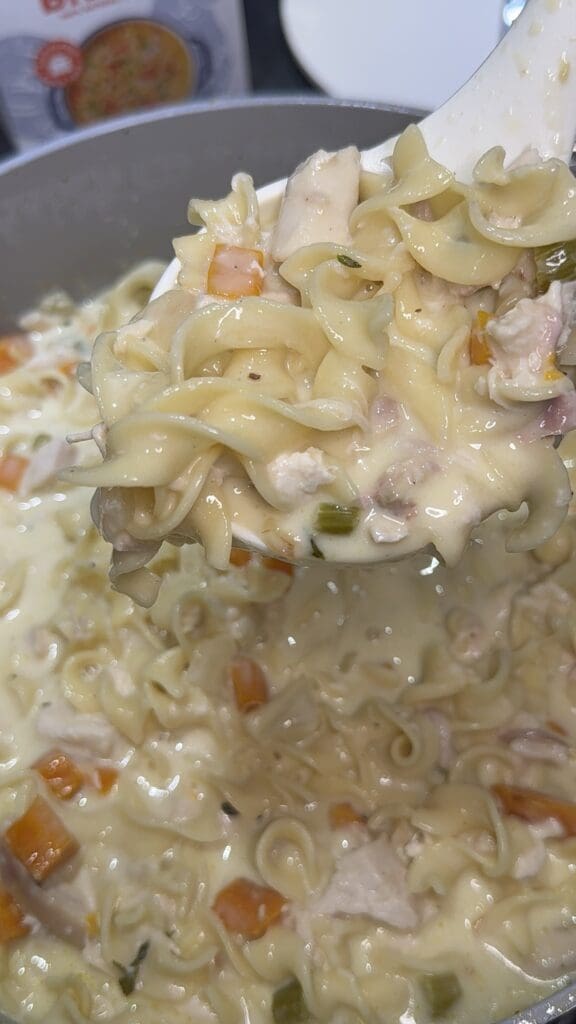
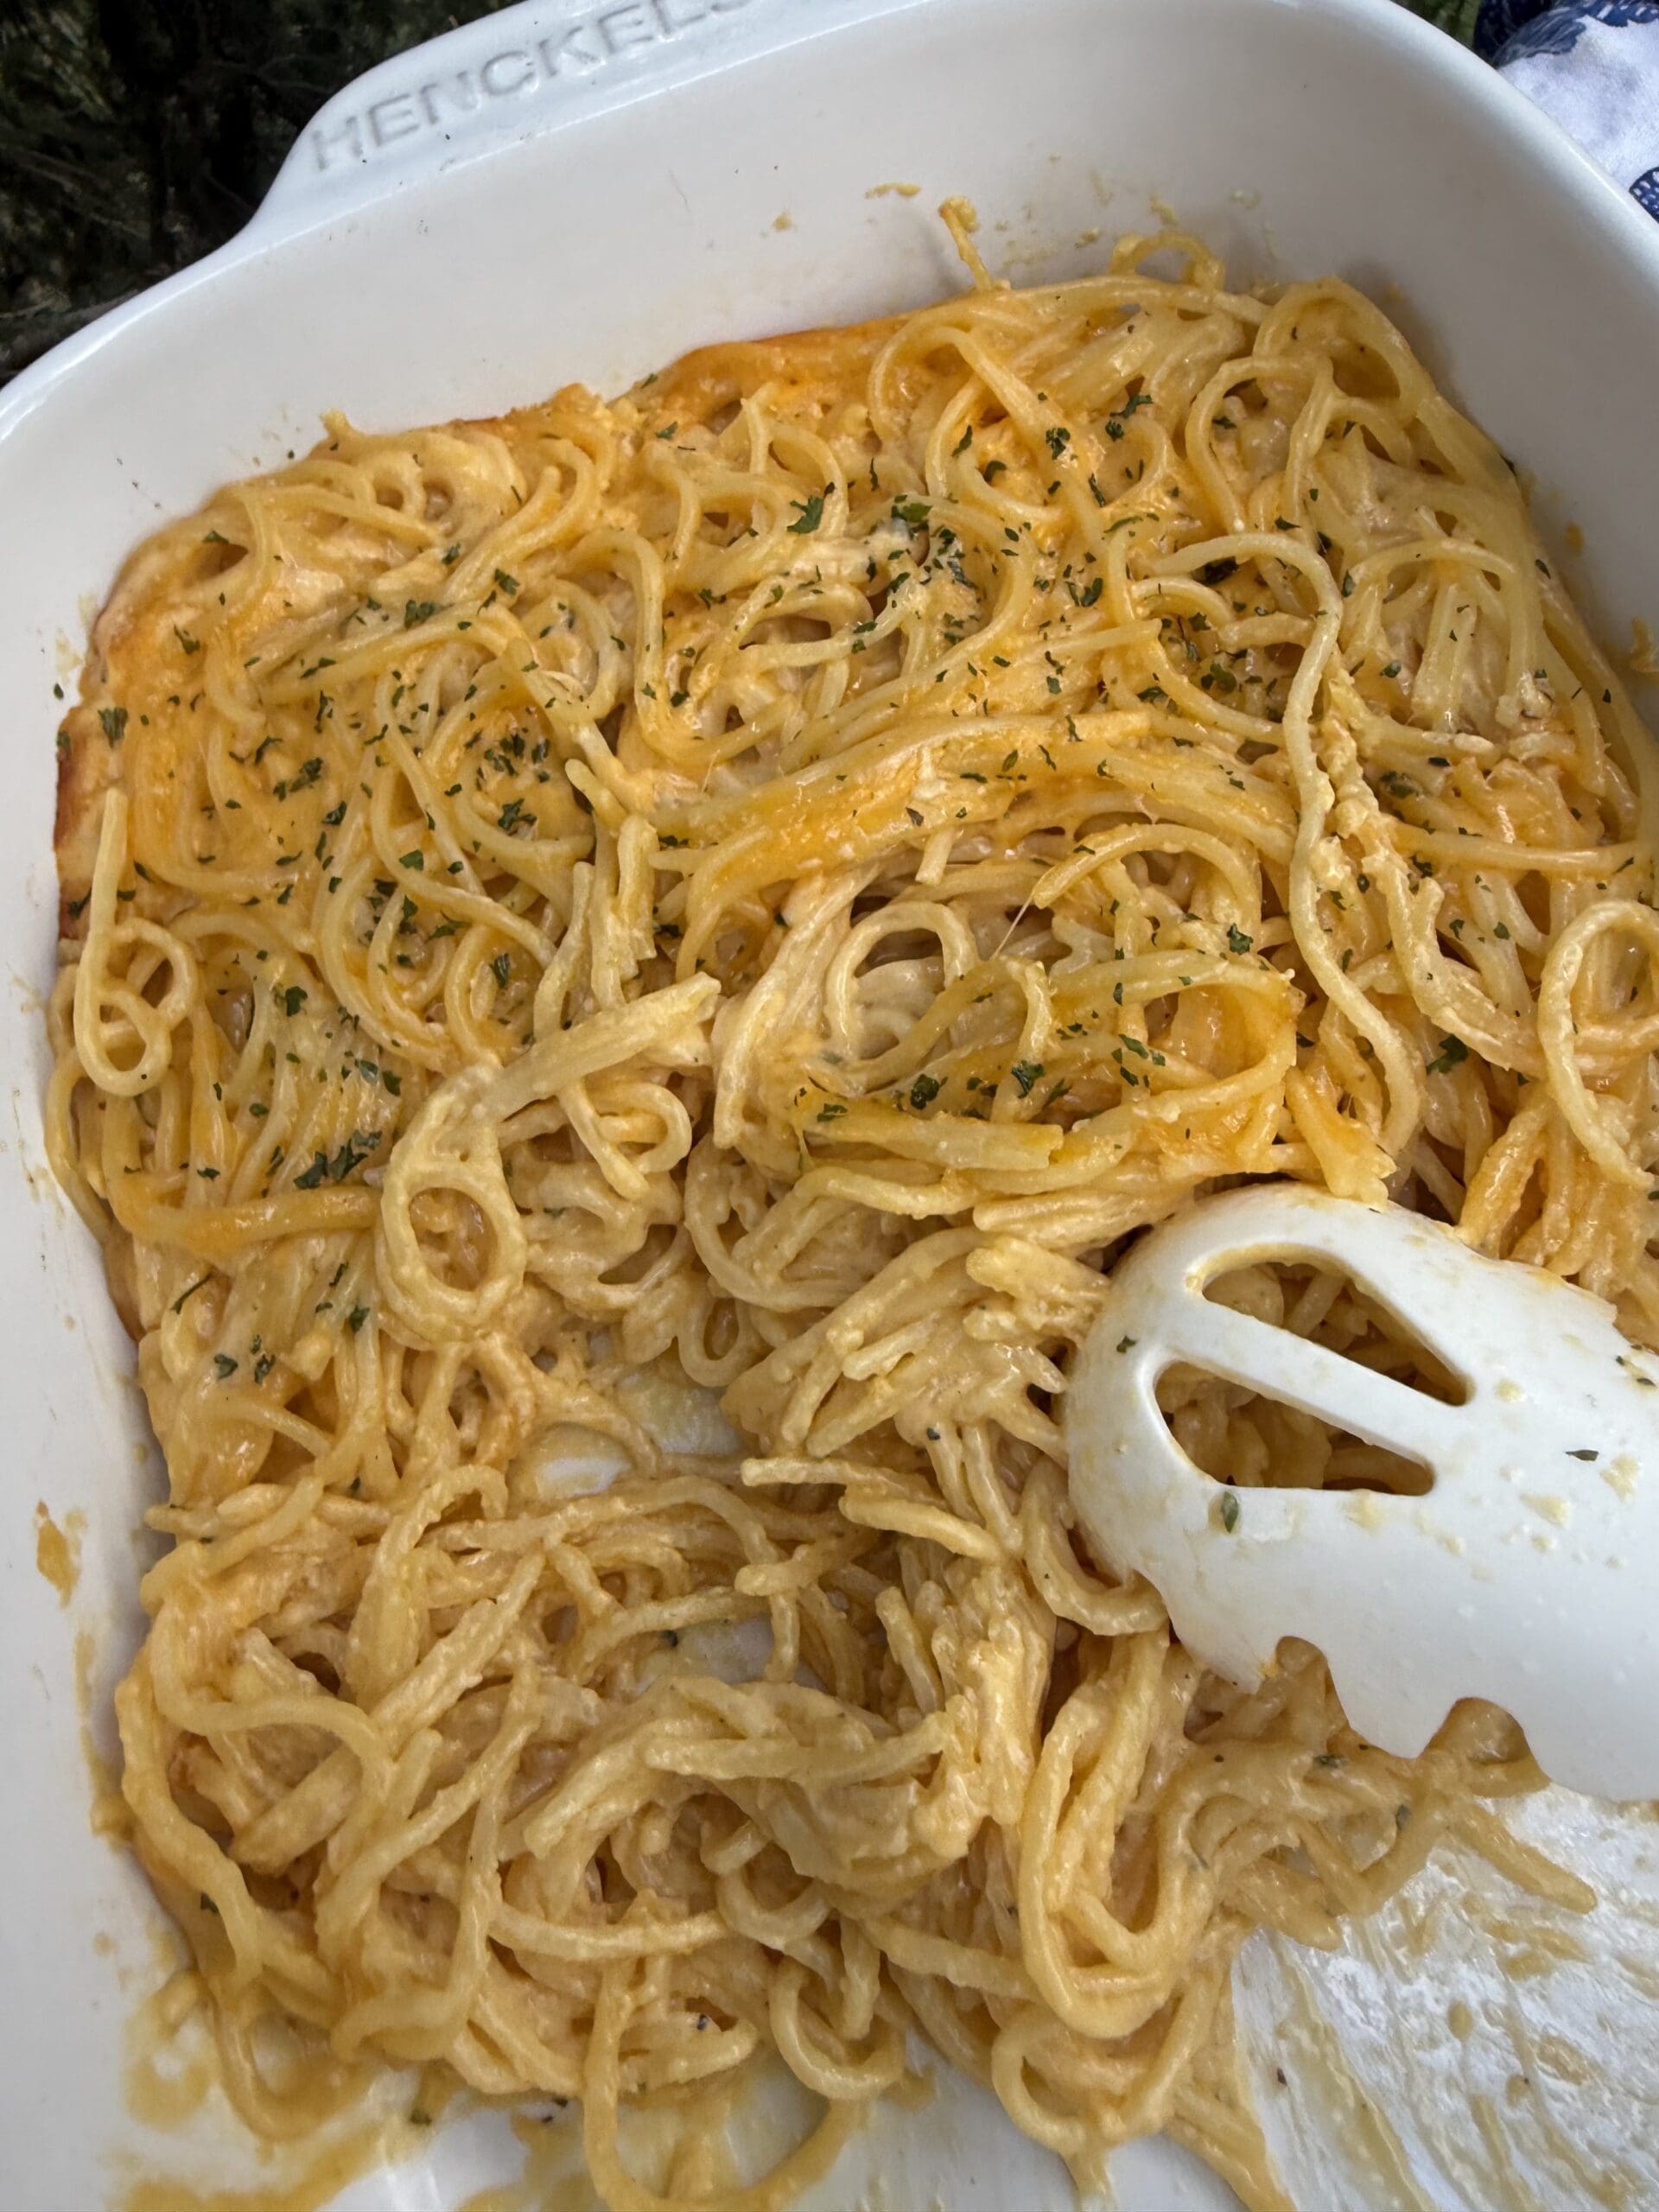
These creamy cafeteria noodles are a classic side dish using egg noodles cooked in broth, cream of chicken soup, and butter.
From the recipe collection of Tara Ippolito
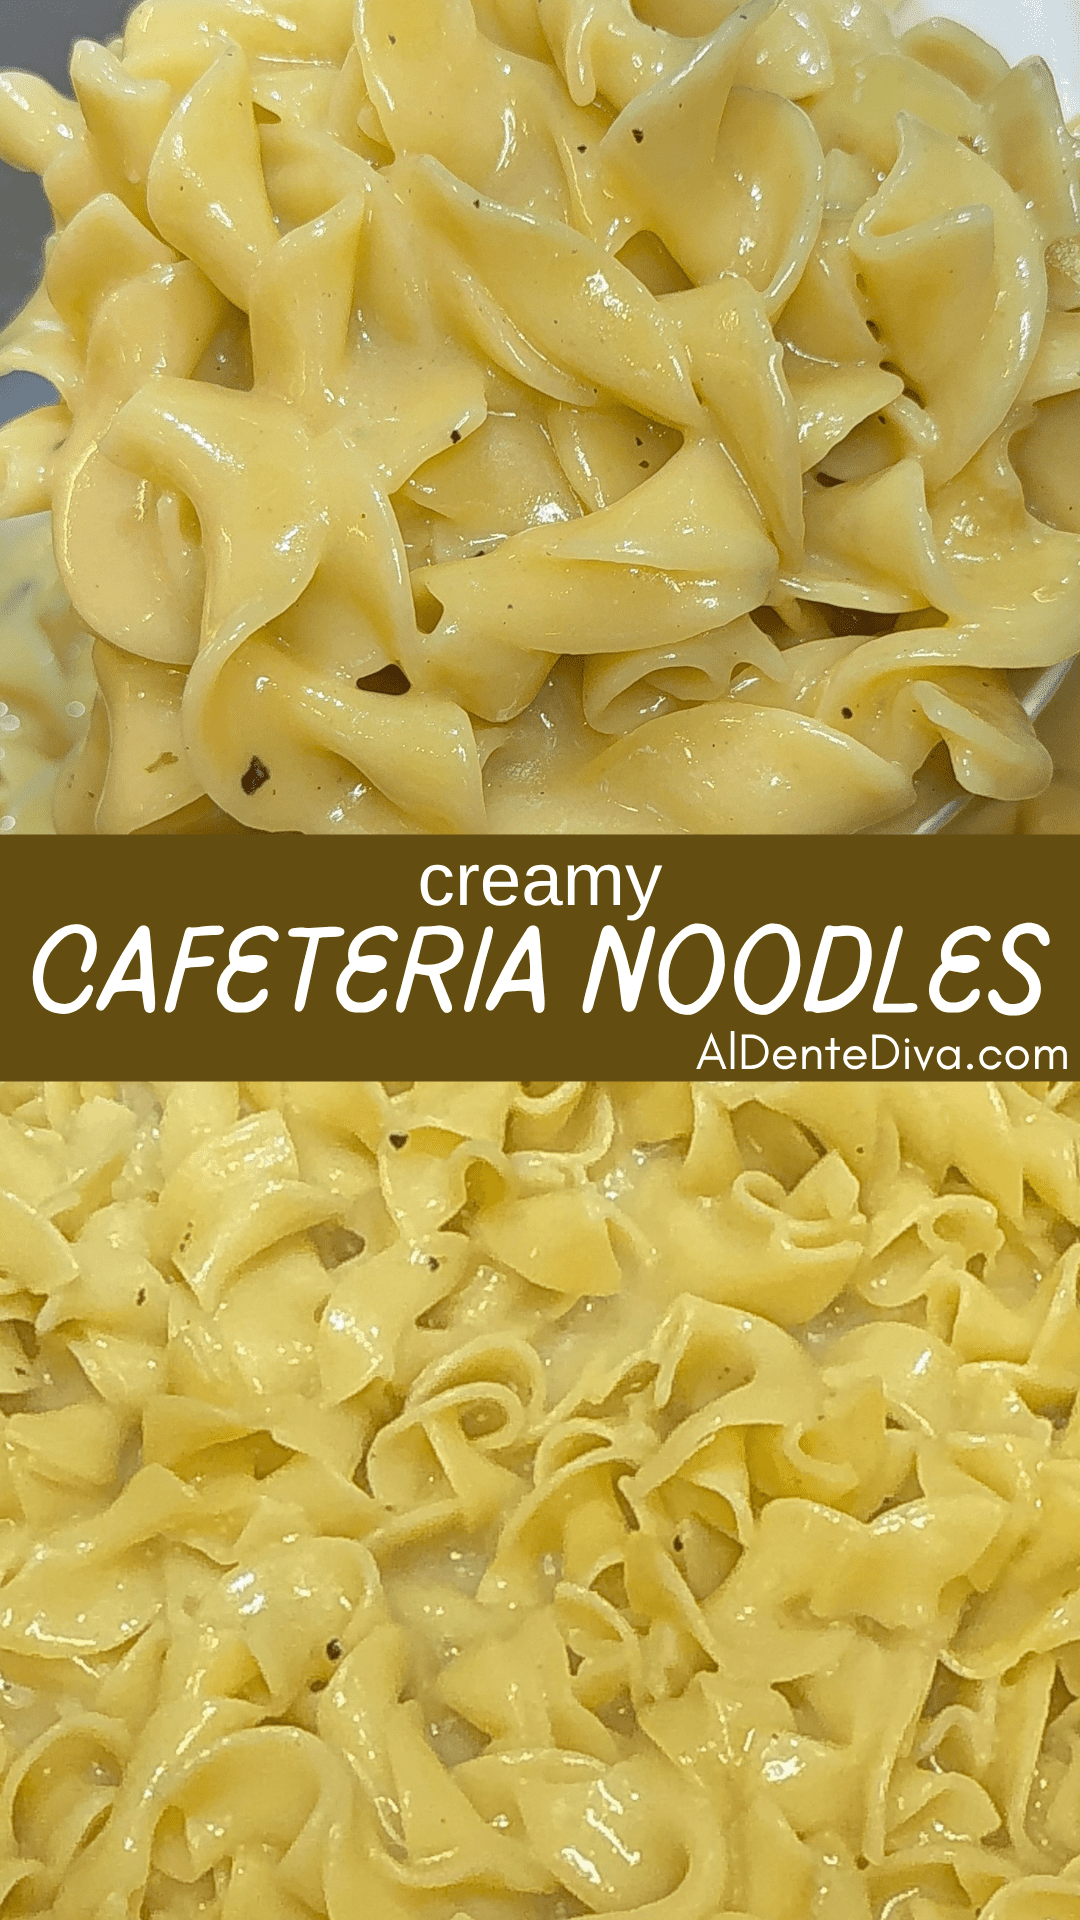
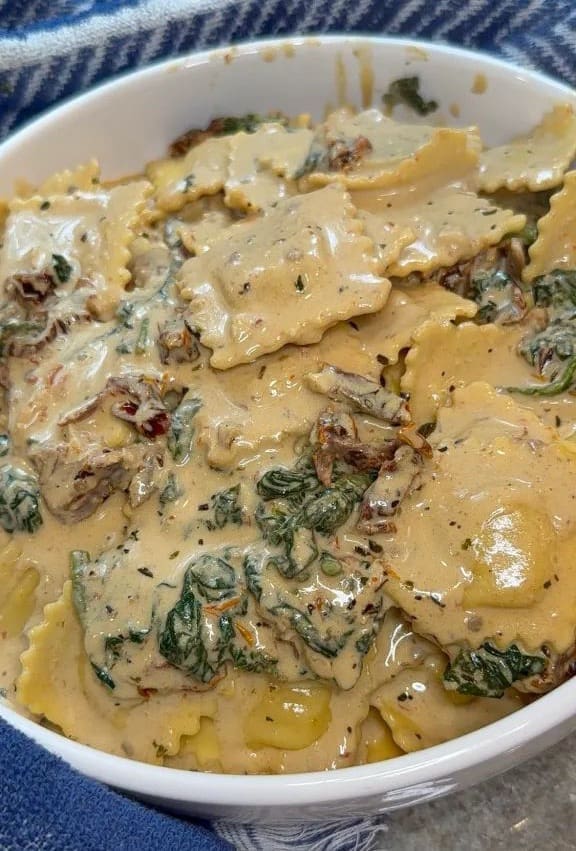
Creamy cafeteria noodles are the ultimate comfort food. They're simple, nostalgic, and packed with rich, creamy flavor. They're the kind of dish that instantly brings back memories of cozy lunches and homestyle cooking. With tender egg noodles coated in a buttery, savory sauce, this recipe is both easy to make and irresistibly satisfying. It's the perfect side dish or main meal when you're craving something warm, creamy, and comforting.
This recipe is special because it's the one my mom used to make for my siblings and I all the time when we were kids. It's pure comfort in a bowl. I've perfected it just the way she did, with that rich, buttery flavor and nostalgic, home-cooked taste you can't find anywhere else. If you want the real deal, this is the recipe you want and you'll only find it right here.
Ingredients
Here are the ingredients needed to make these deicious cafeteria noodles. For the full list of ingredients and instructions, please see the recipe card below.
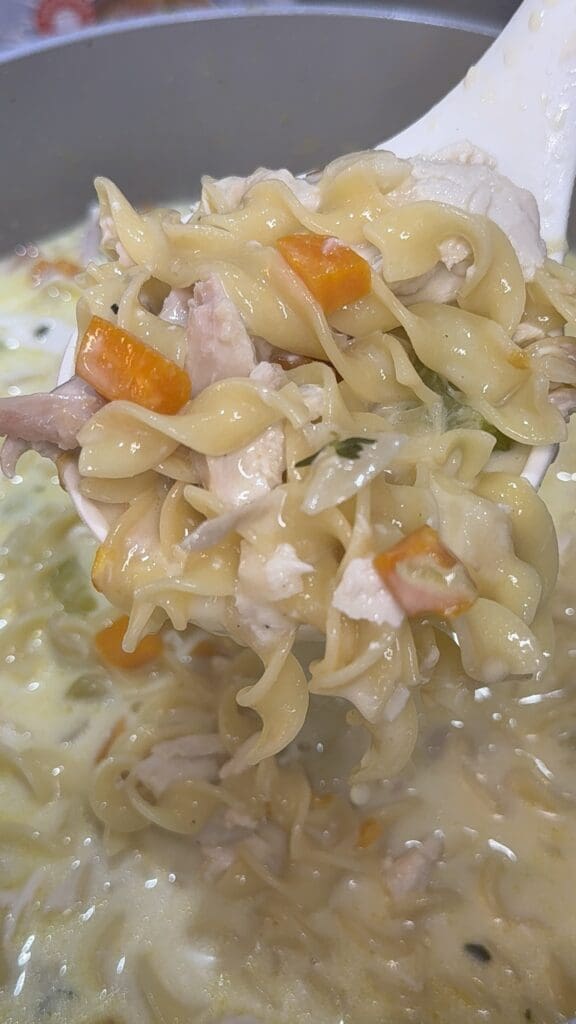
- Egg Noodles- Any size or shape of egg noodles would be great to use for this recipe. They will soak up all the delicious broth perfectly.
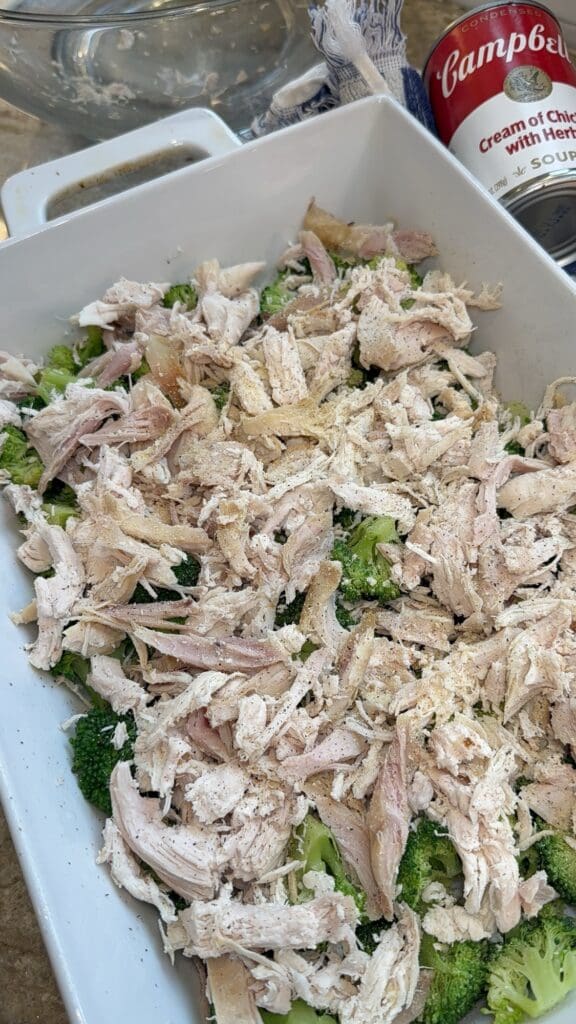
- Cream Of Chicken Soup- Regular Cream Of Chicken Soup or Cream Of Chicken Soup With Herbs are great to use here.
- Chicken Broth- Low sodium chicken broth would be great to use if you're watching your salt intake.
- Chicken Bullion- Just a little bit of this seasoning will give the broth so much flavor.
- Black Pepper
- Butter- Adds a richness and creaminess to the noodles.
- Dried Parsley (optional)- A
- tiny bit on the top for garnish will give these noodles a little pop of color.
How To Make Them
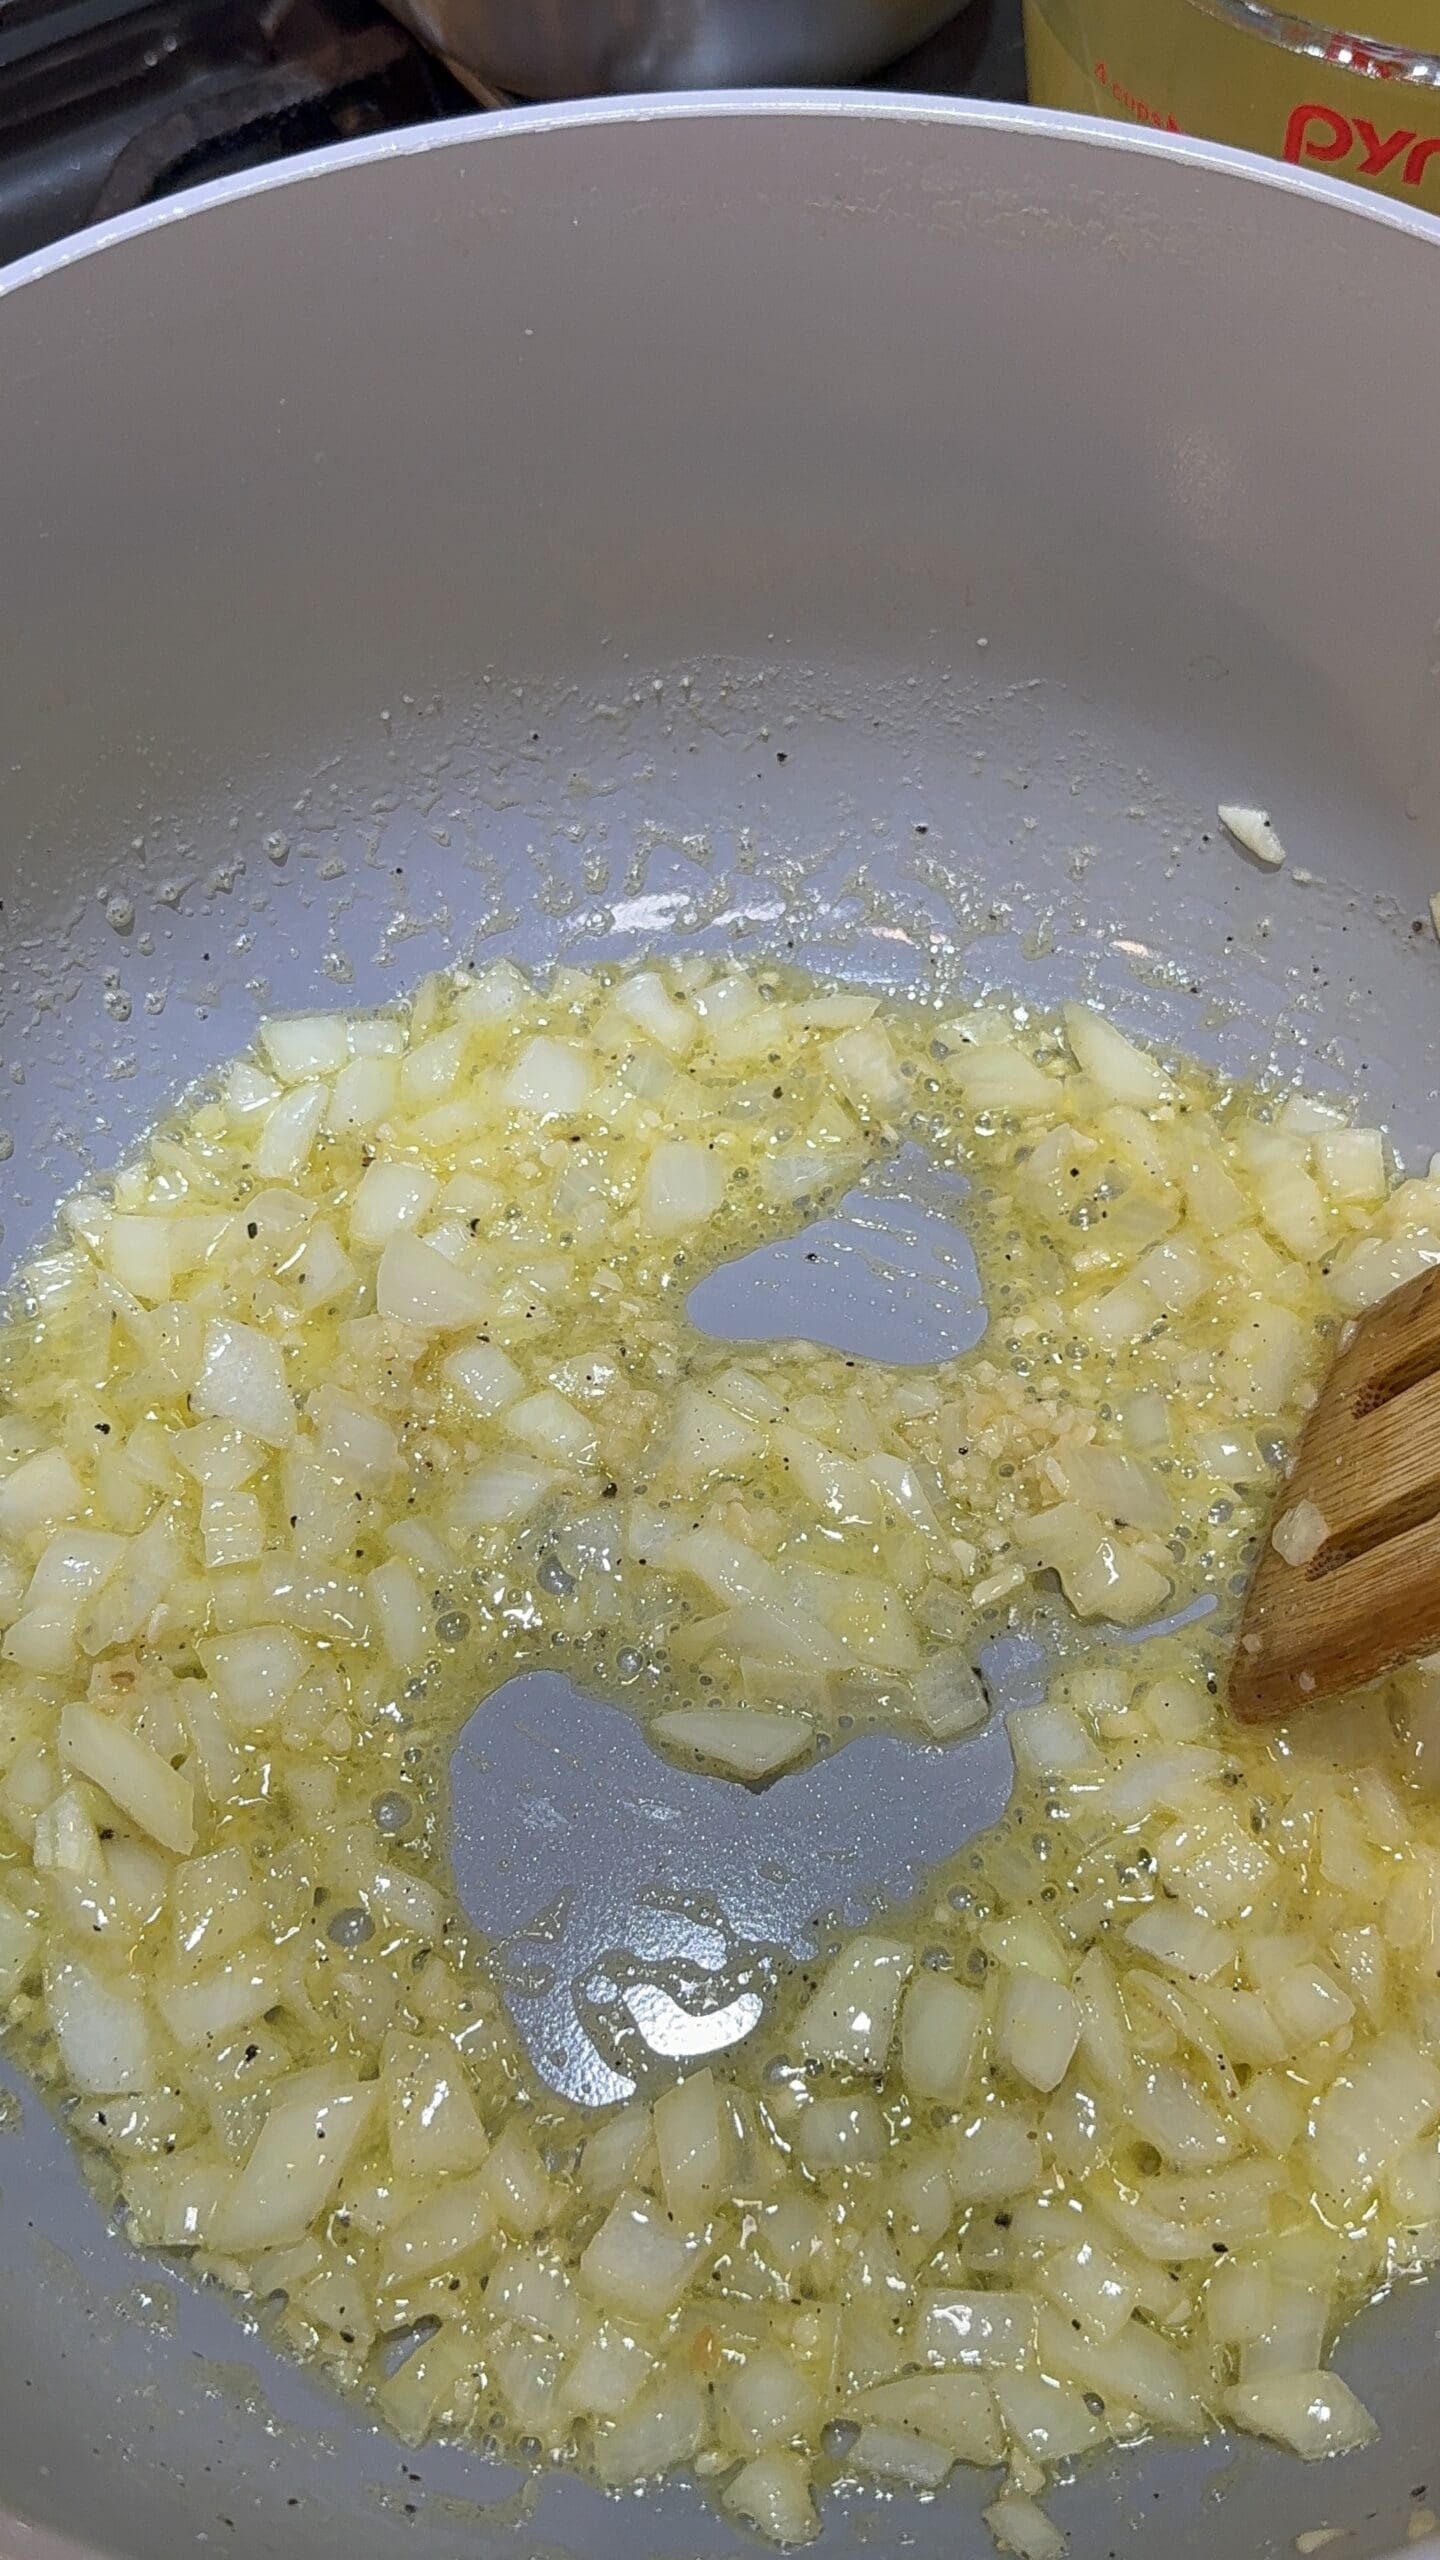
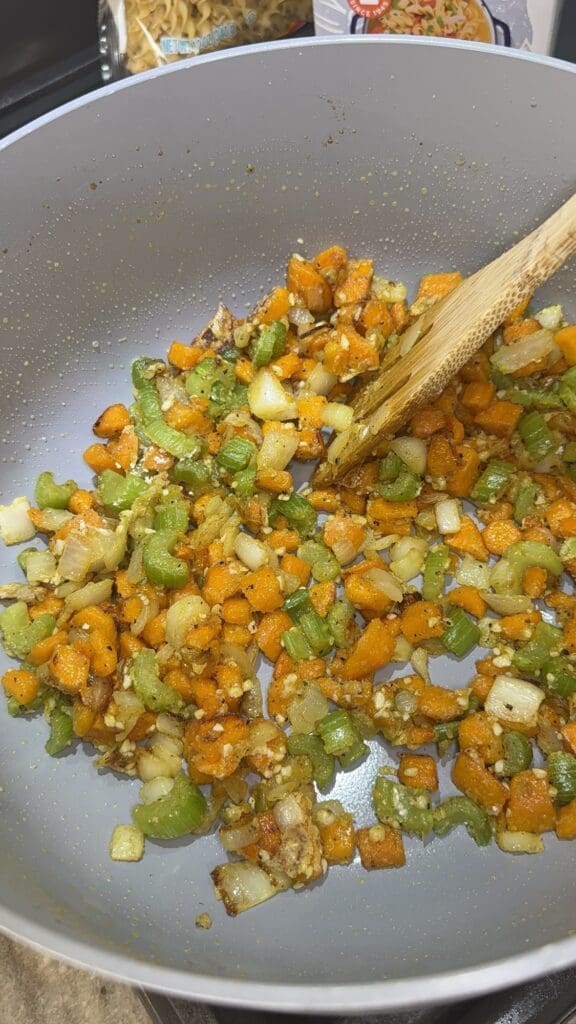
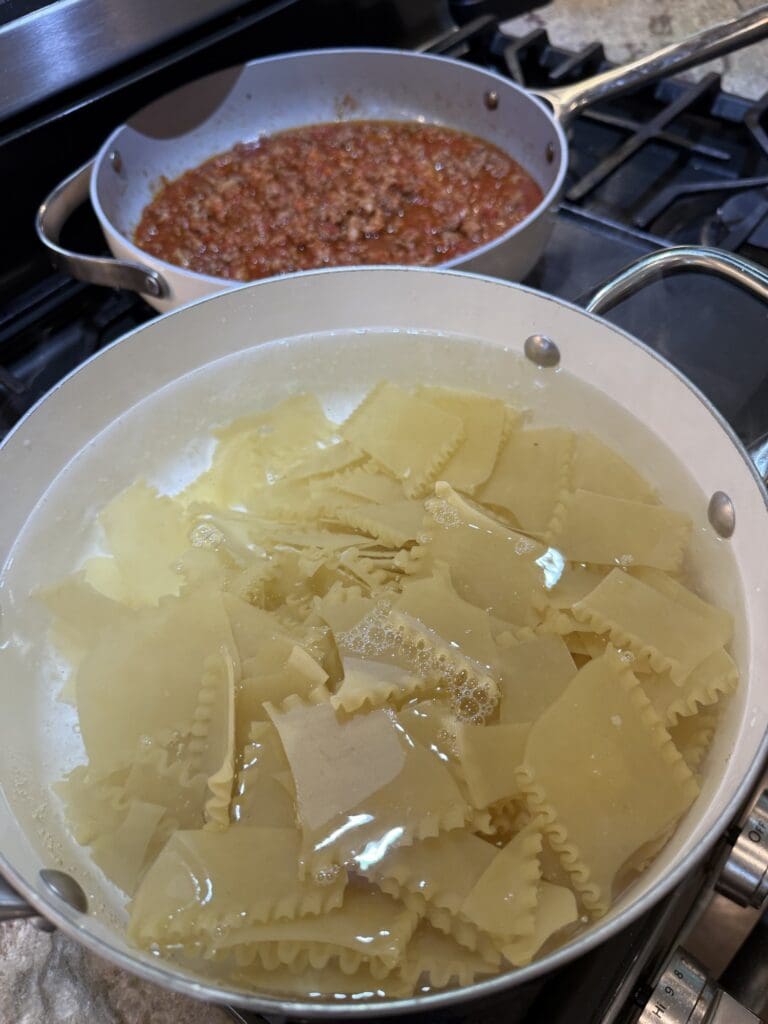
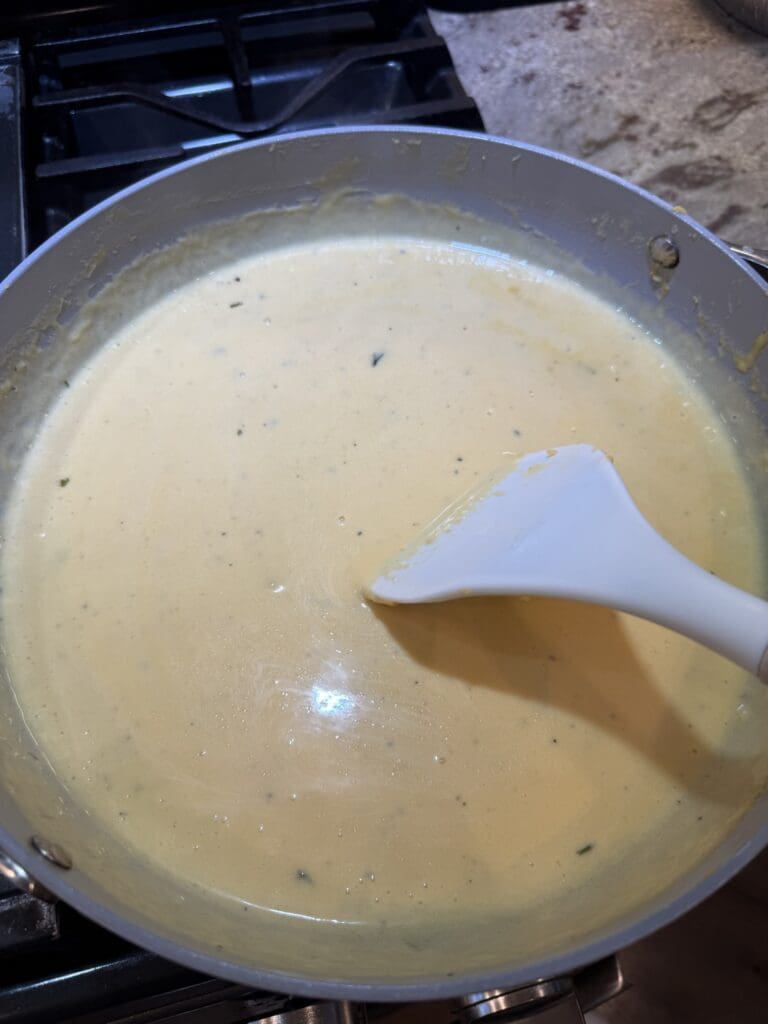
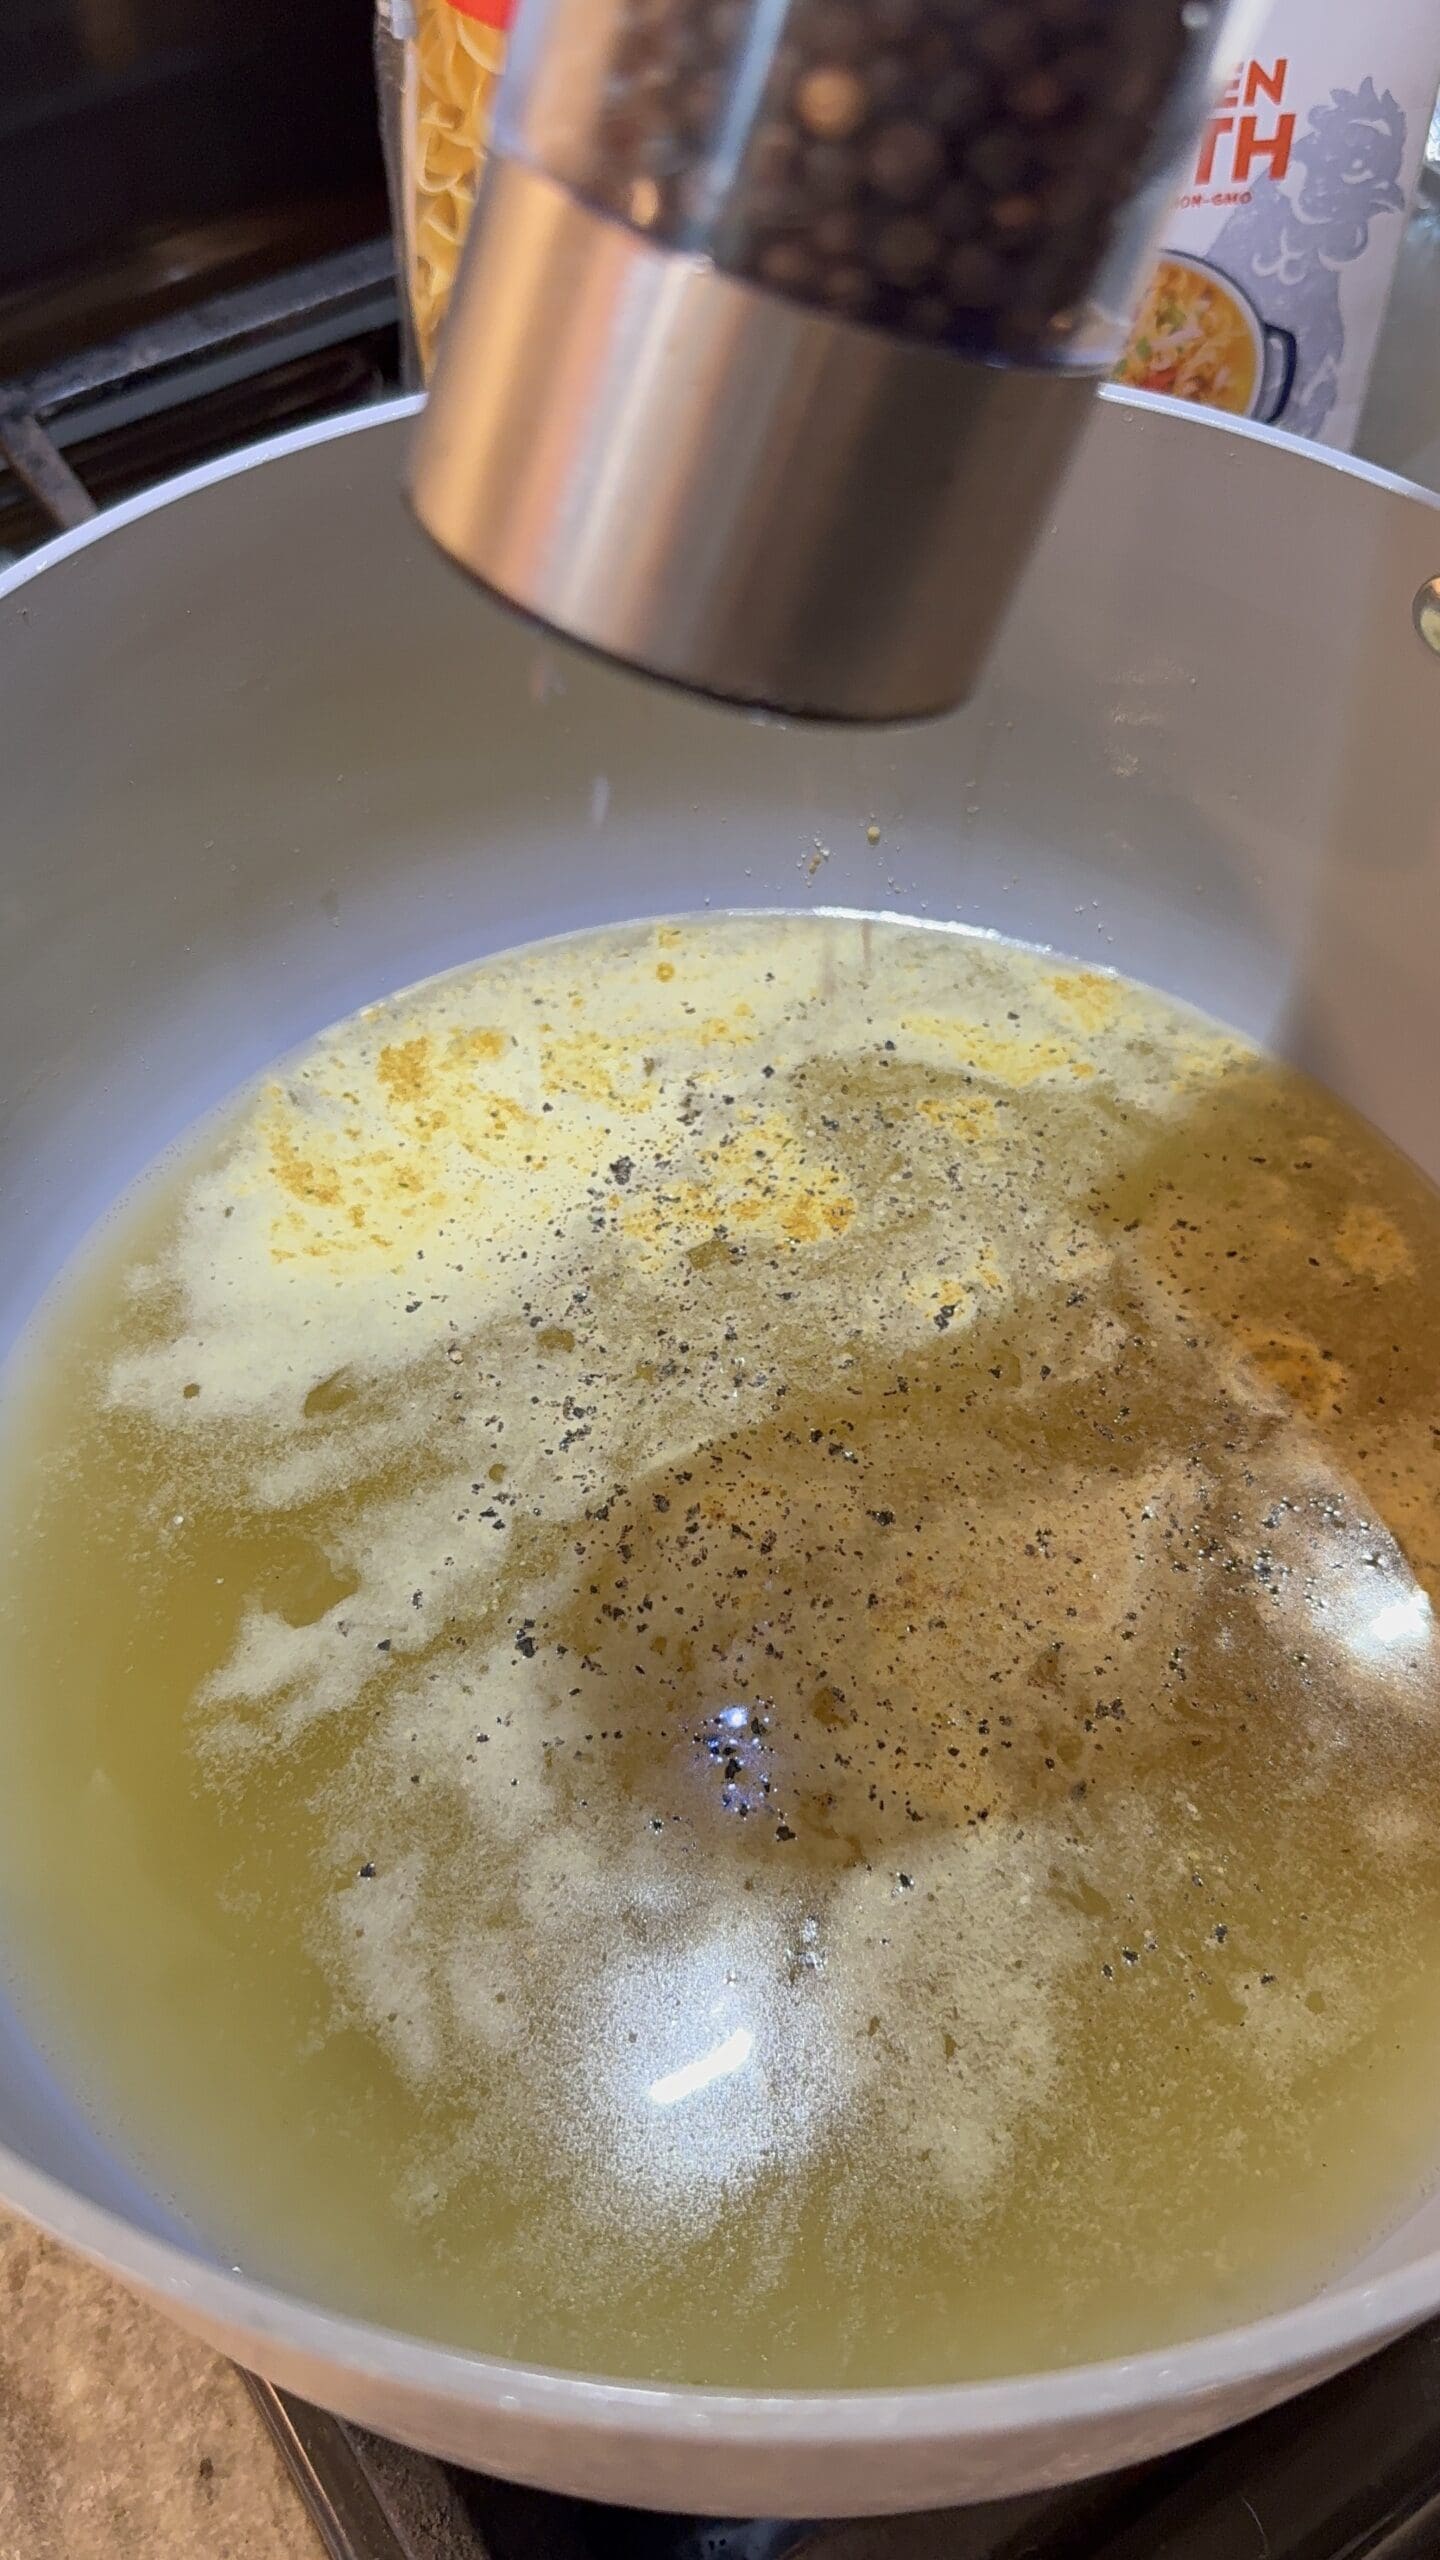
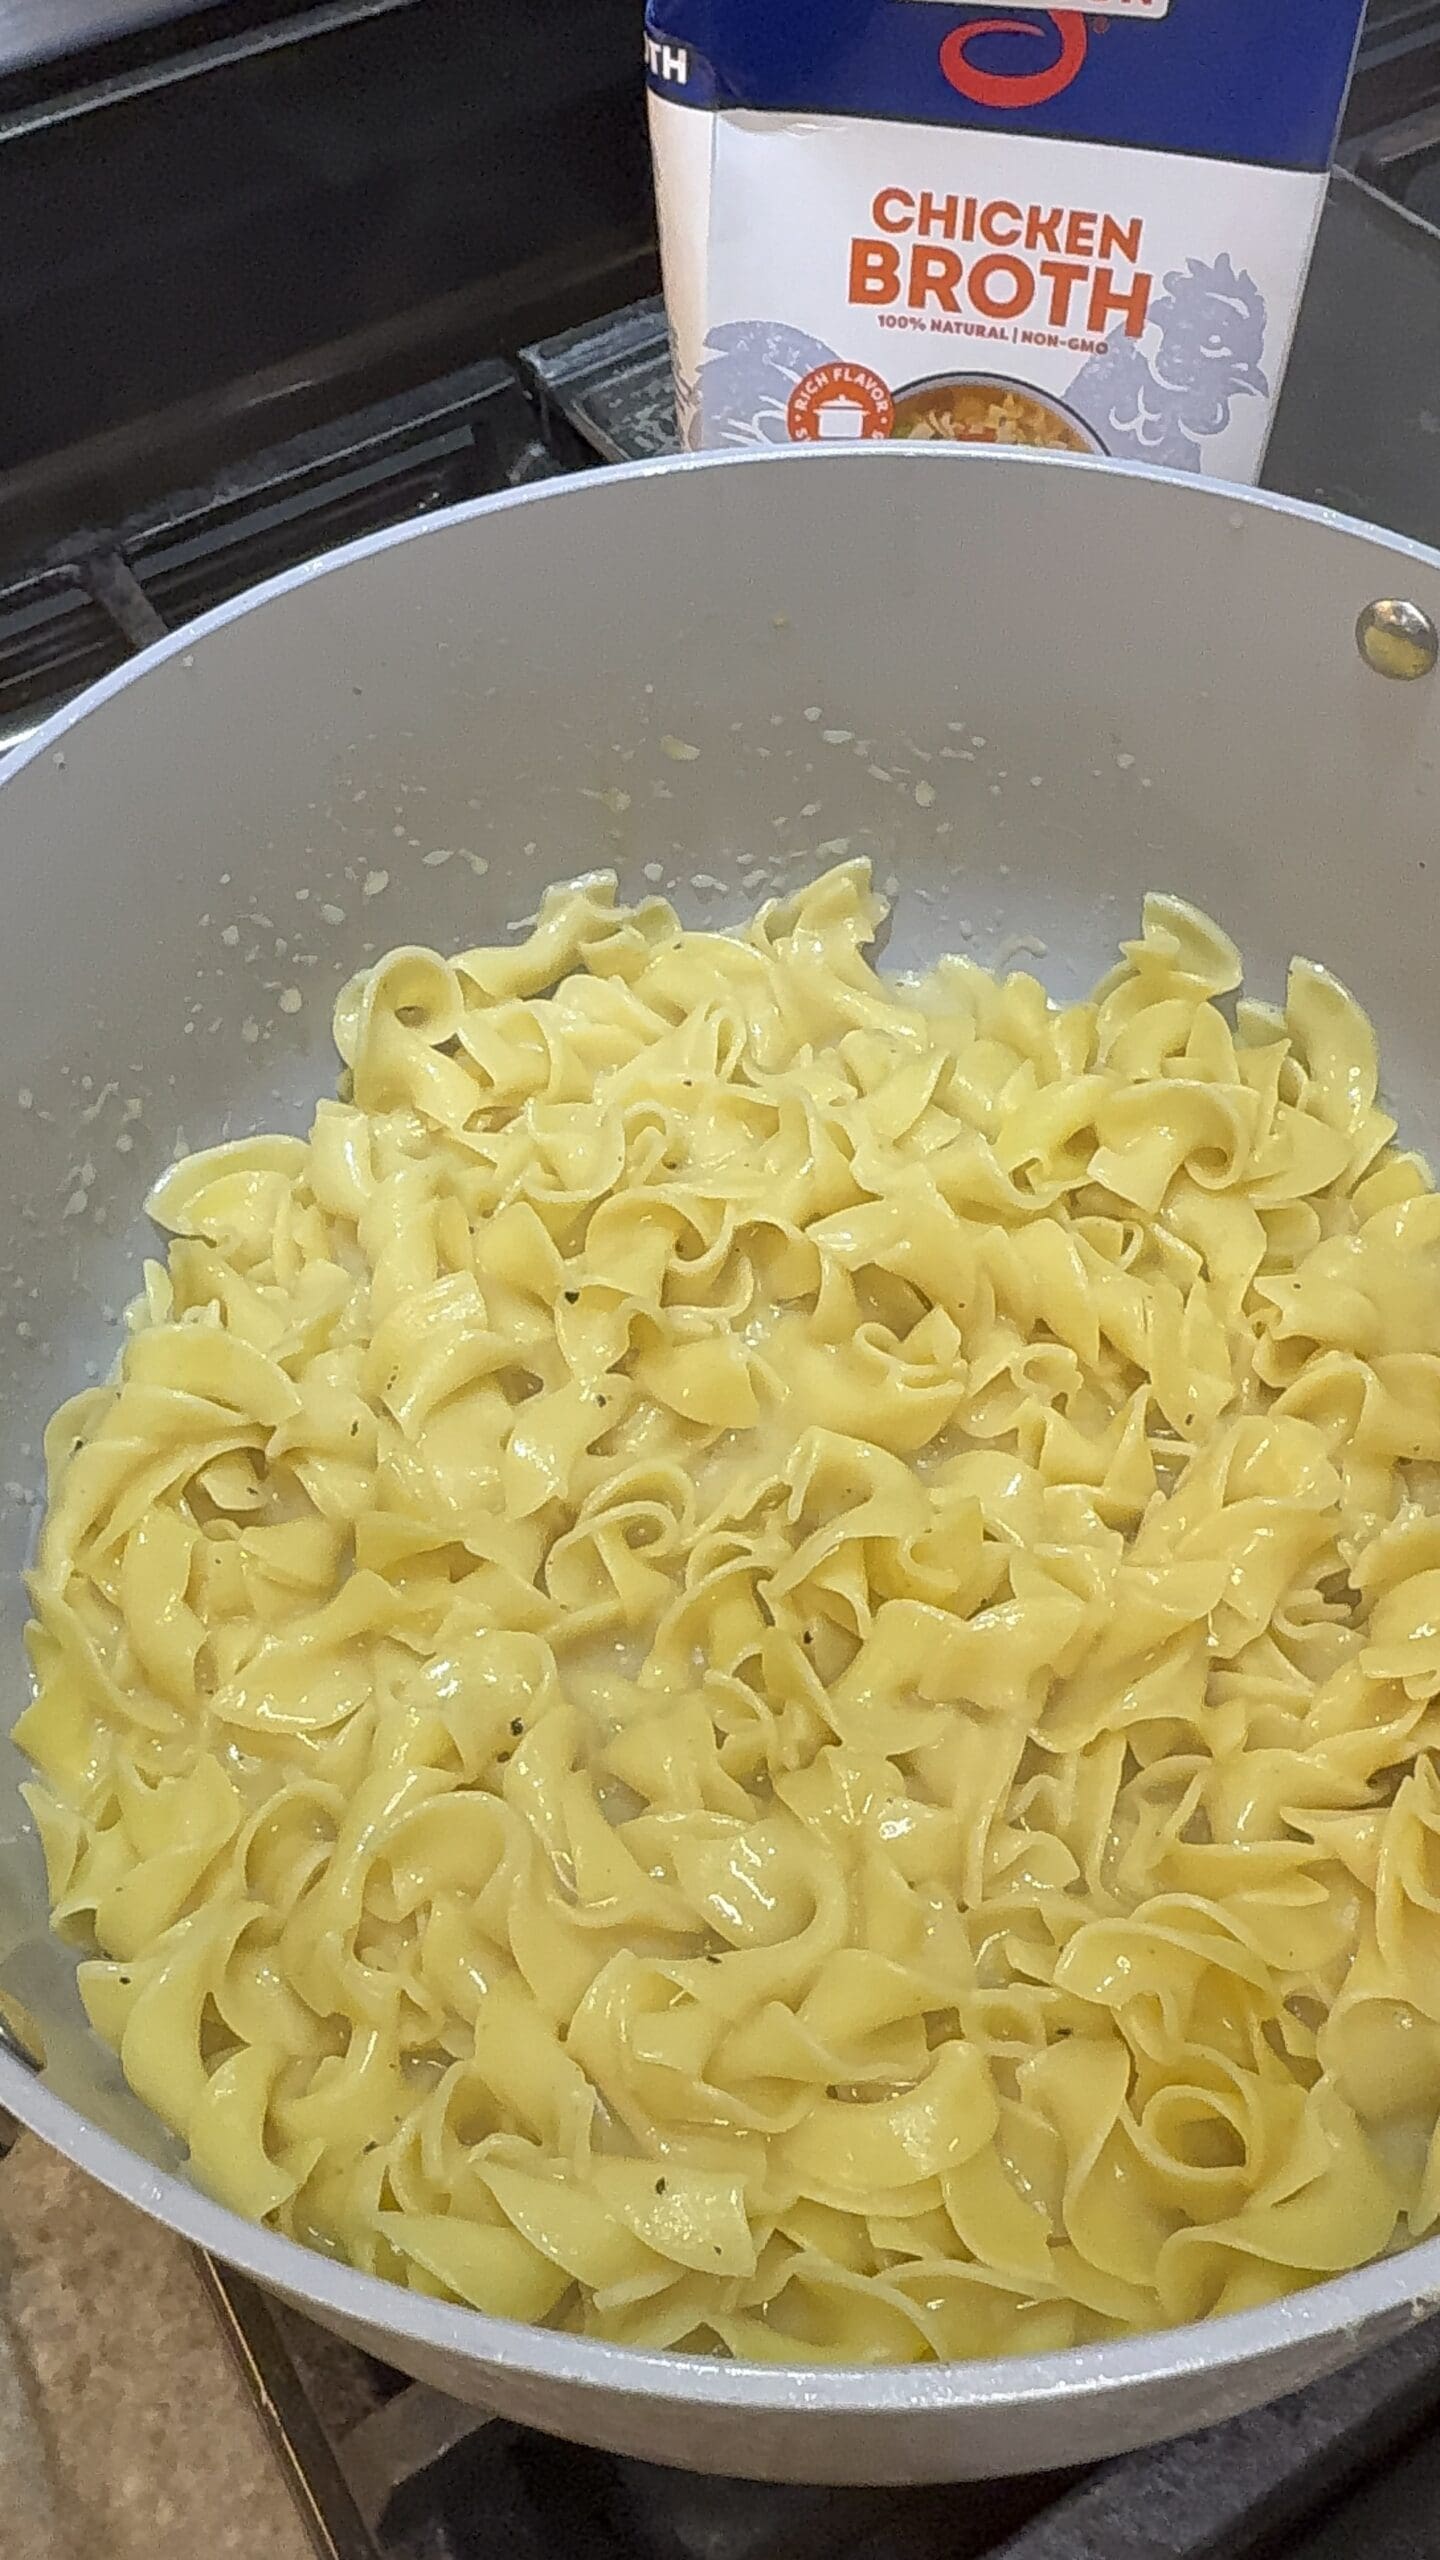
First, in a large pot with a lid (or dutch oven), add the chicken broth and heat it over medium-high heat. Season it with chicken bullion and pepper.
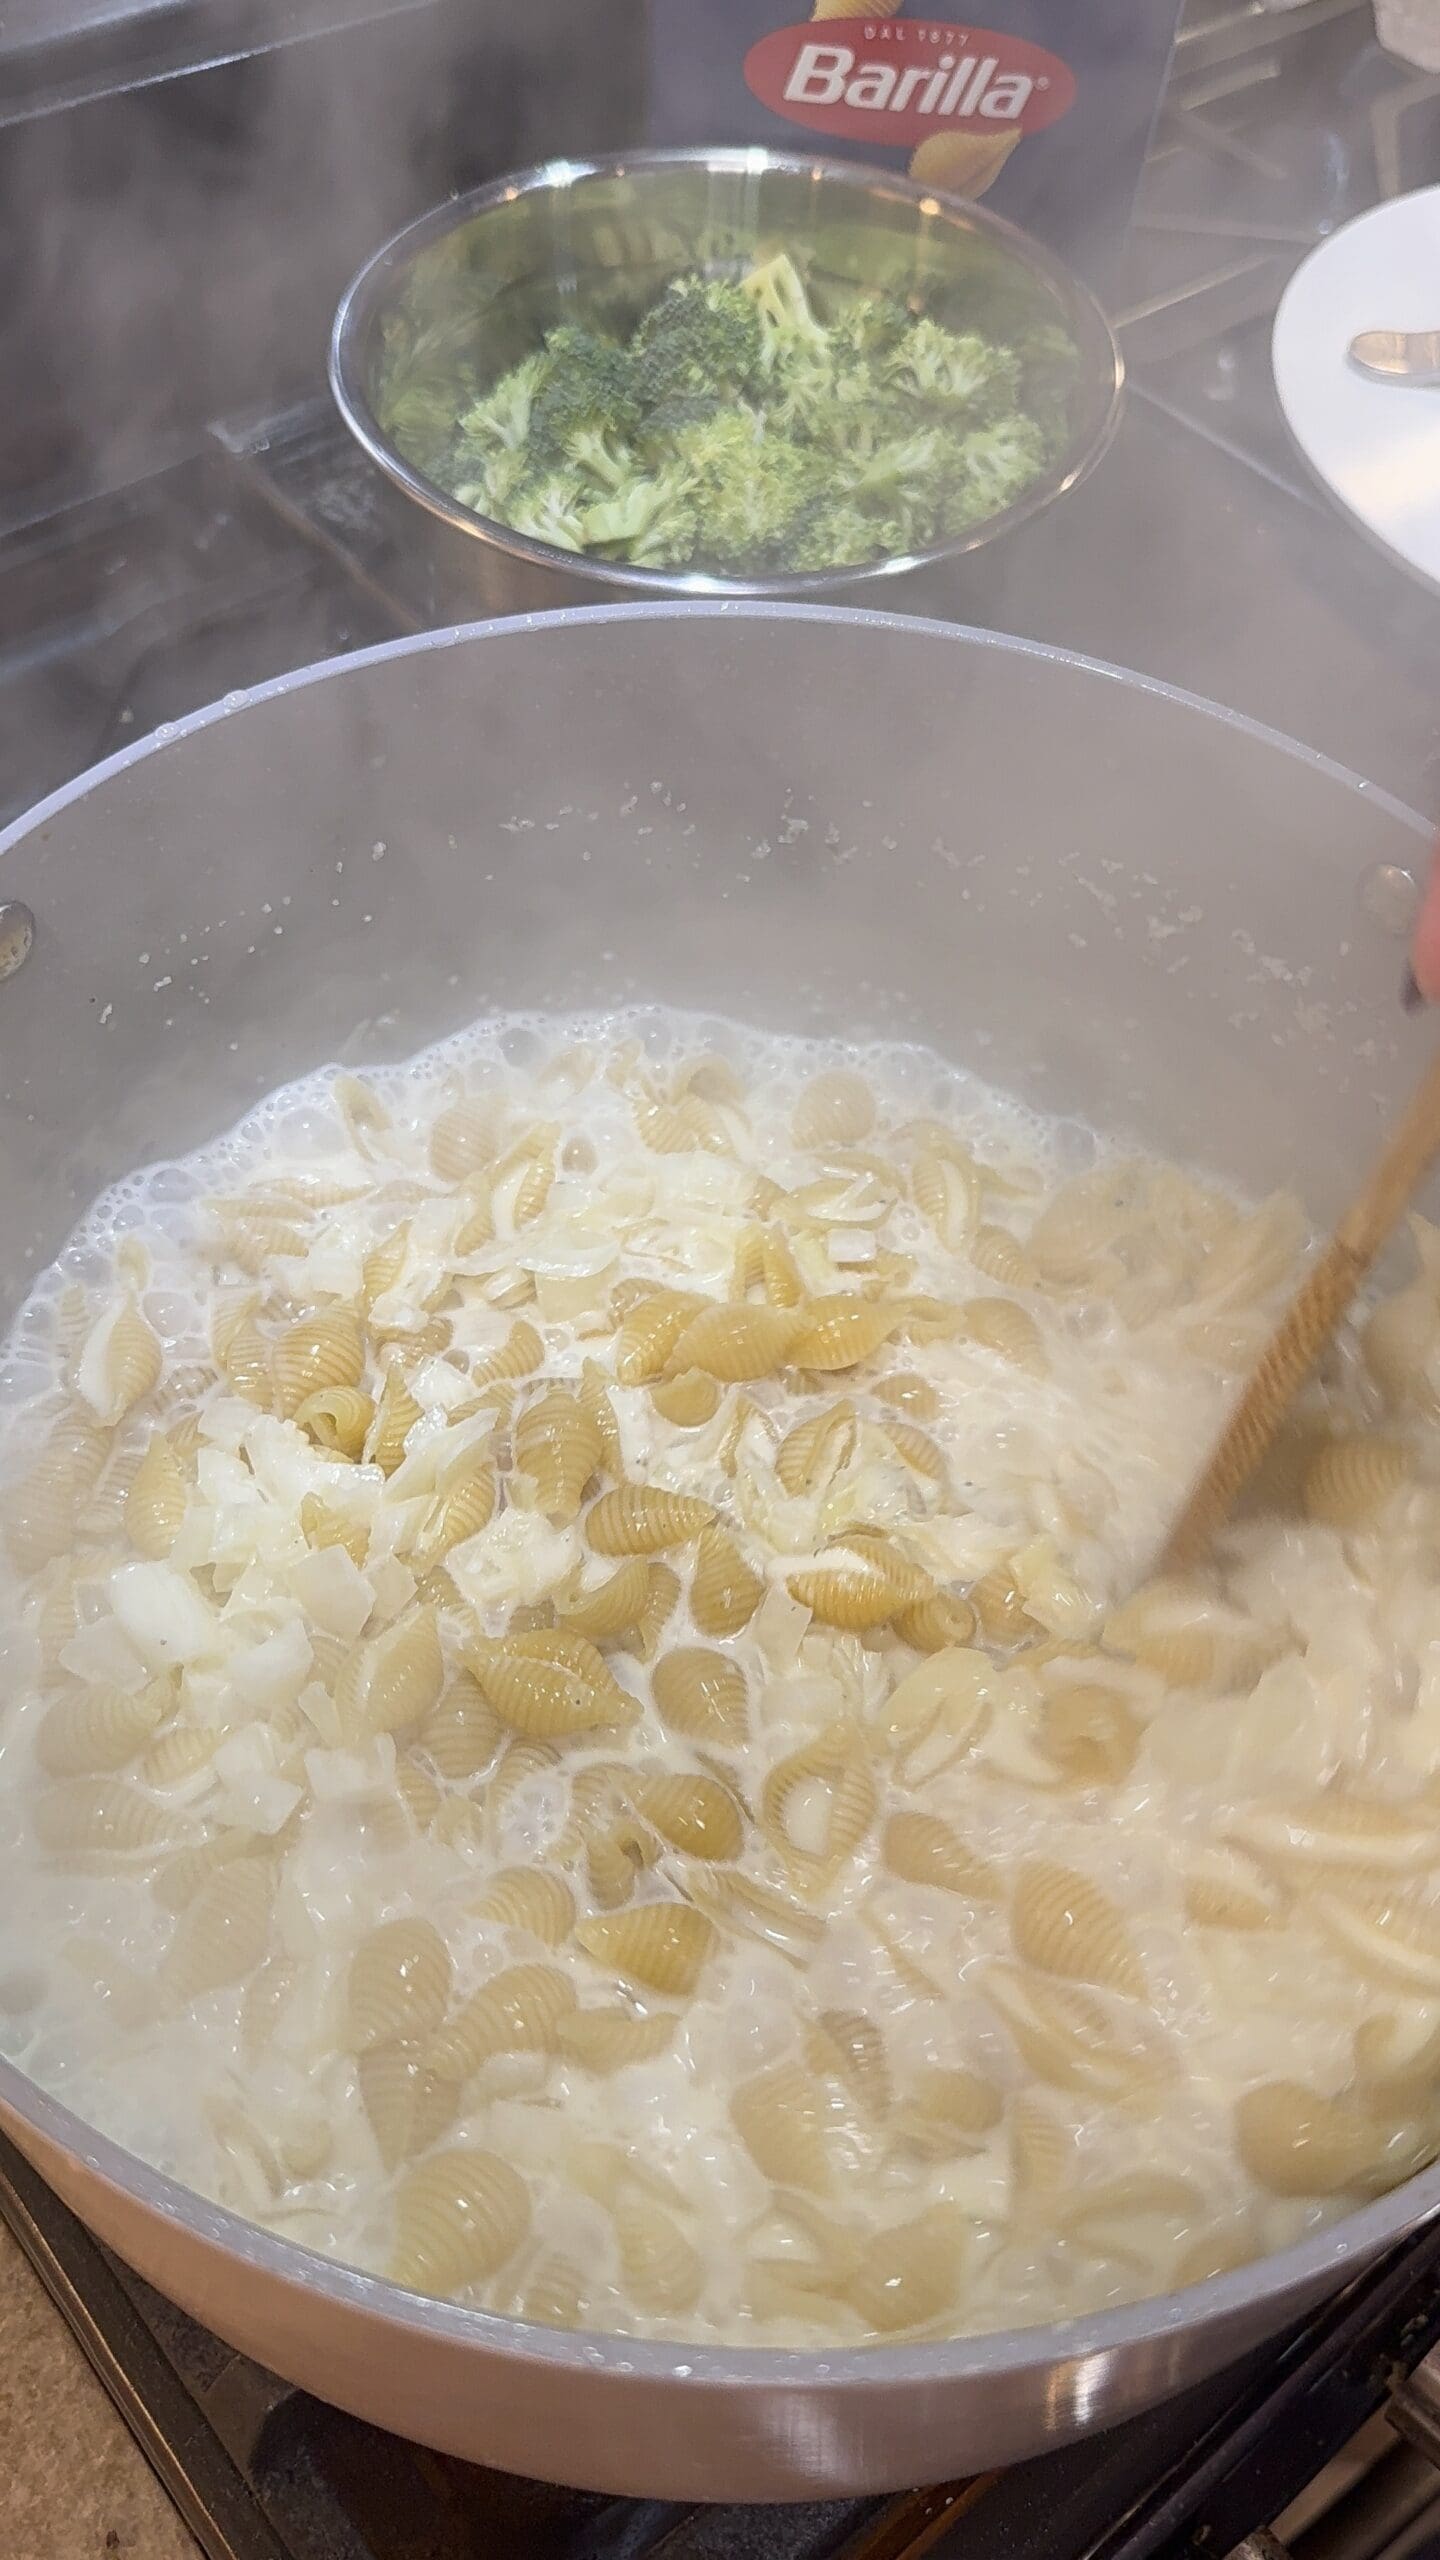
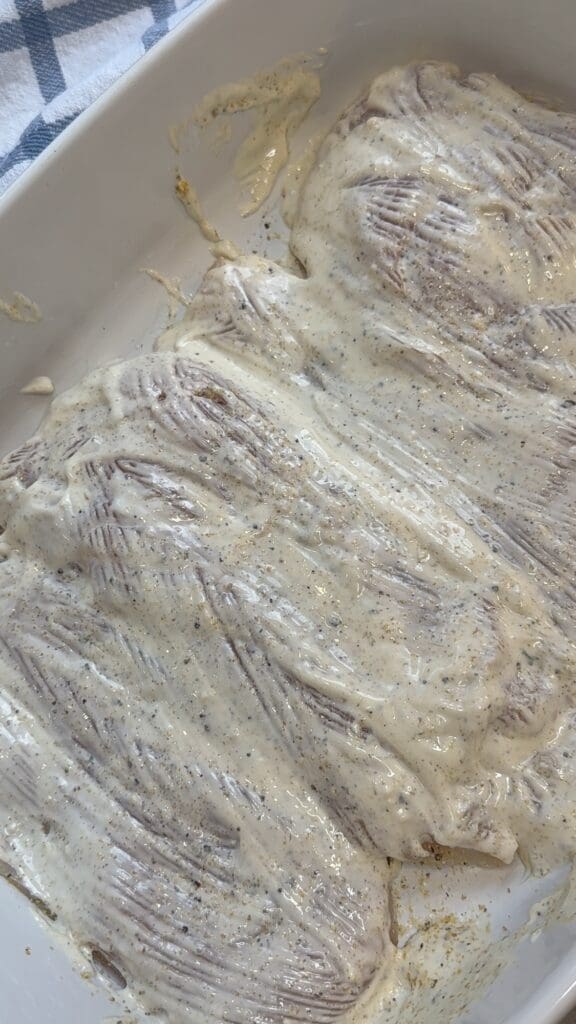
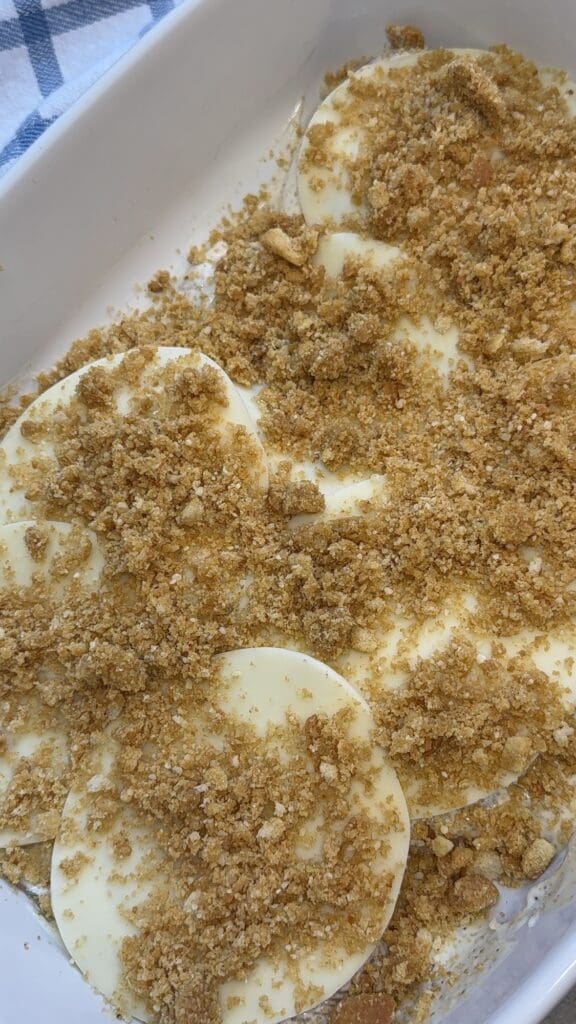
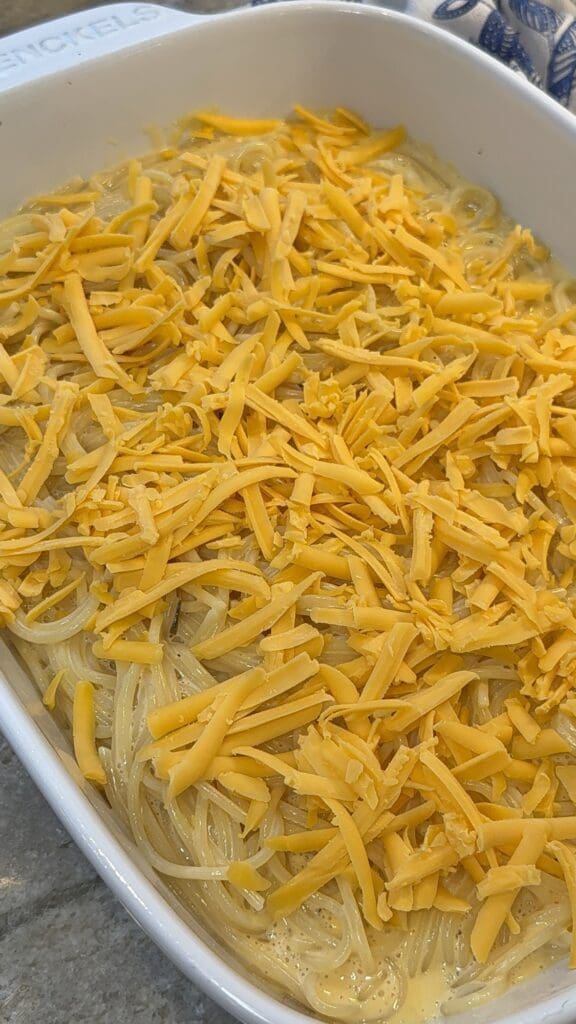
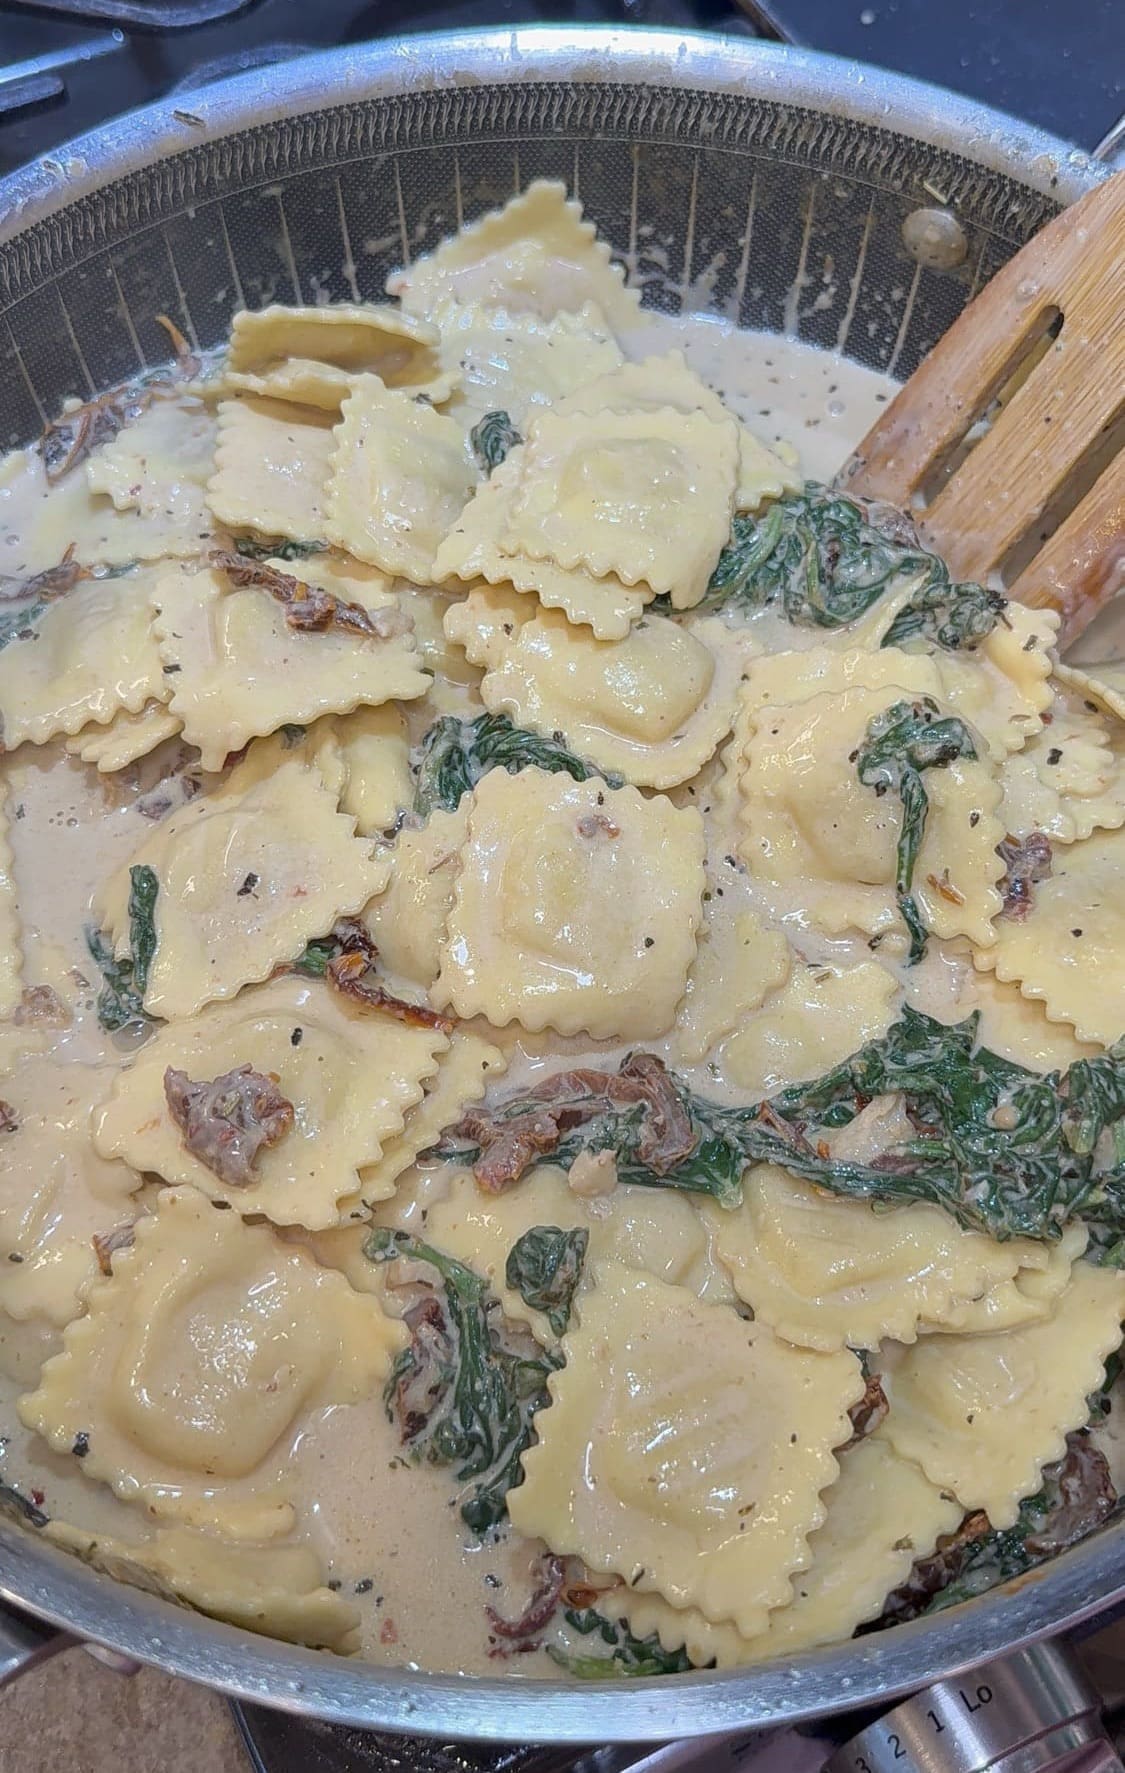
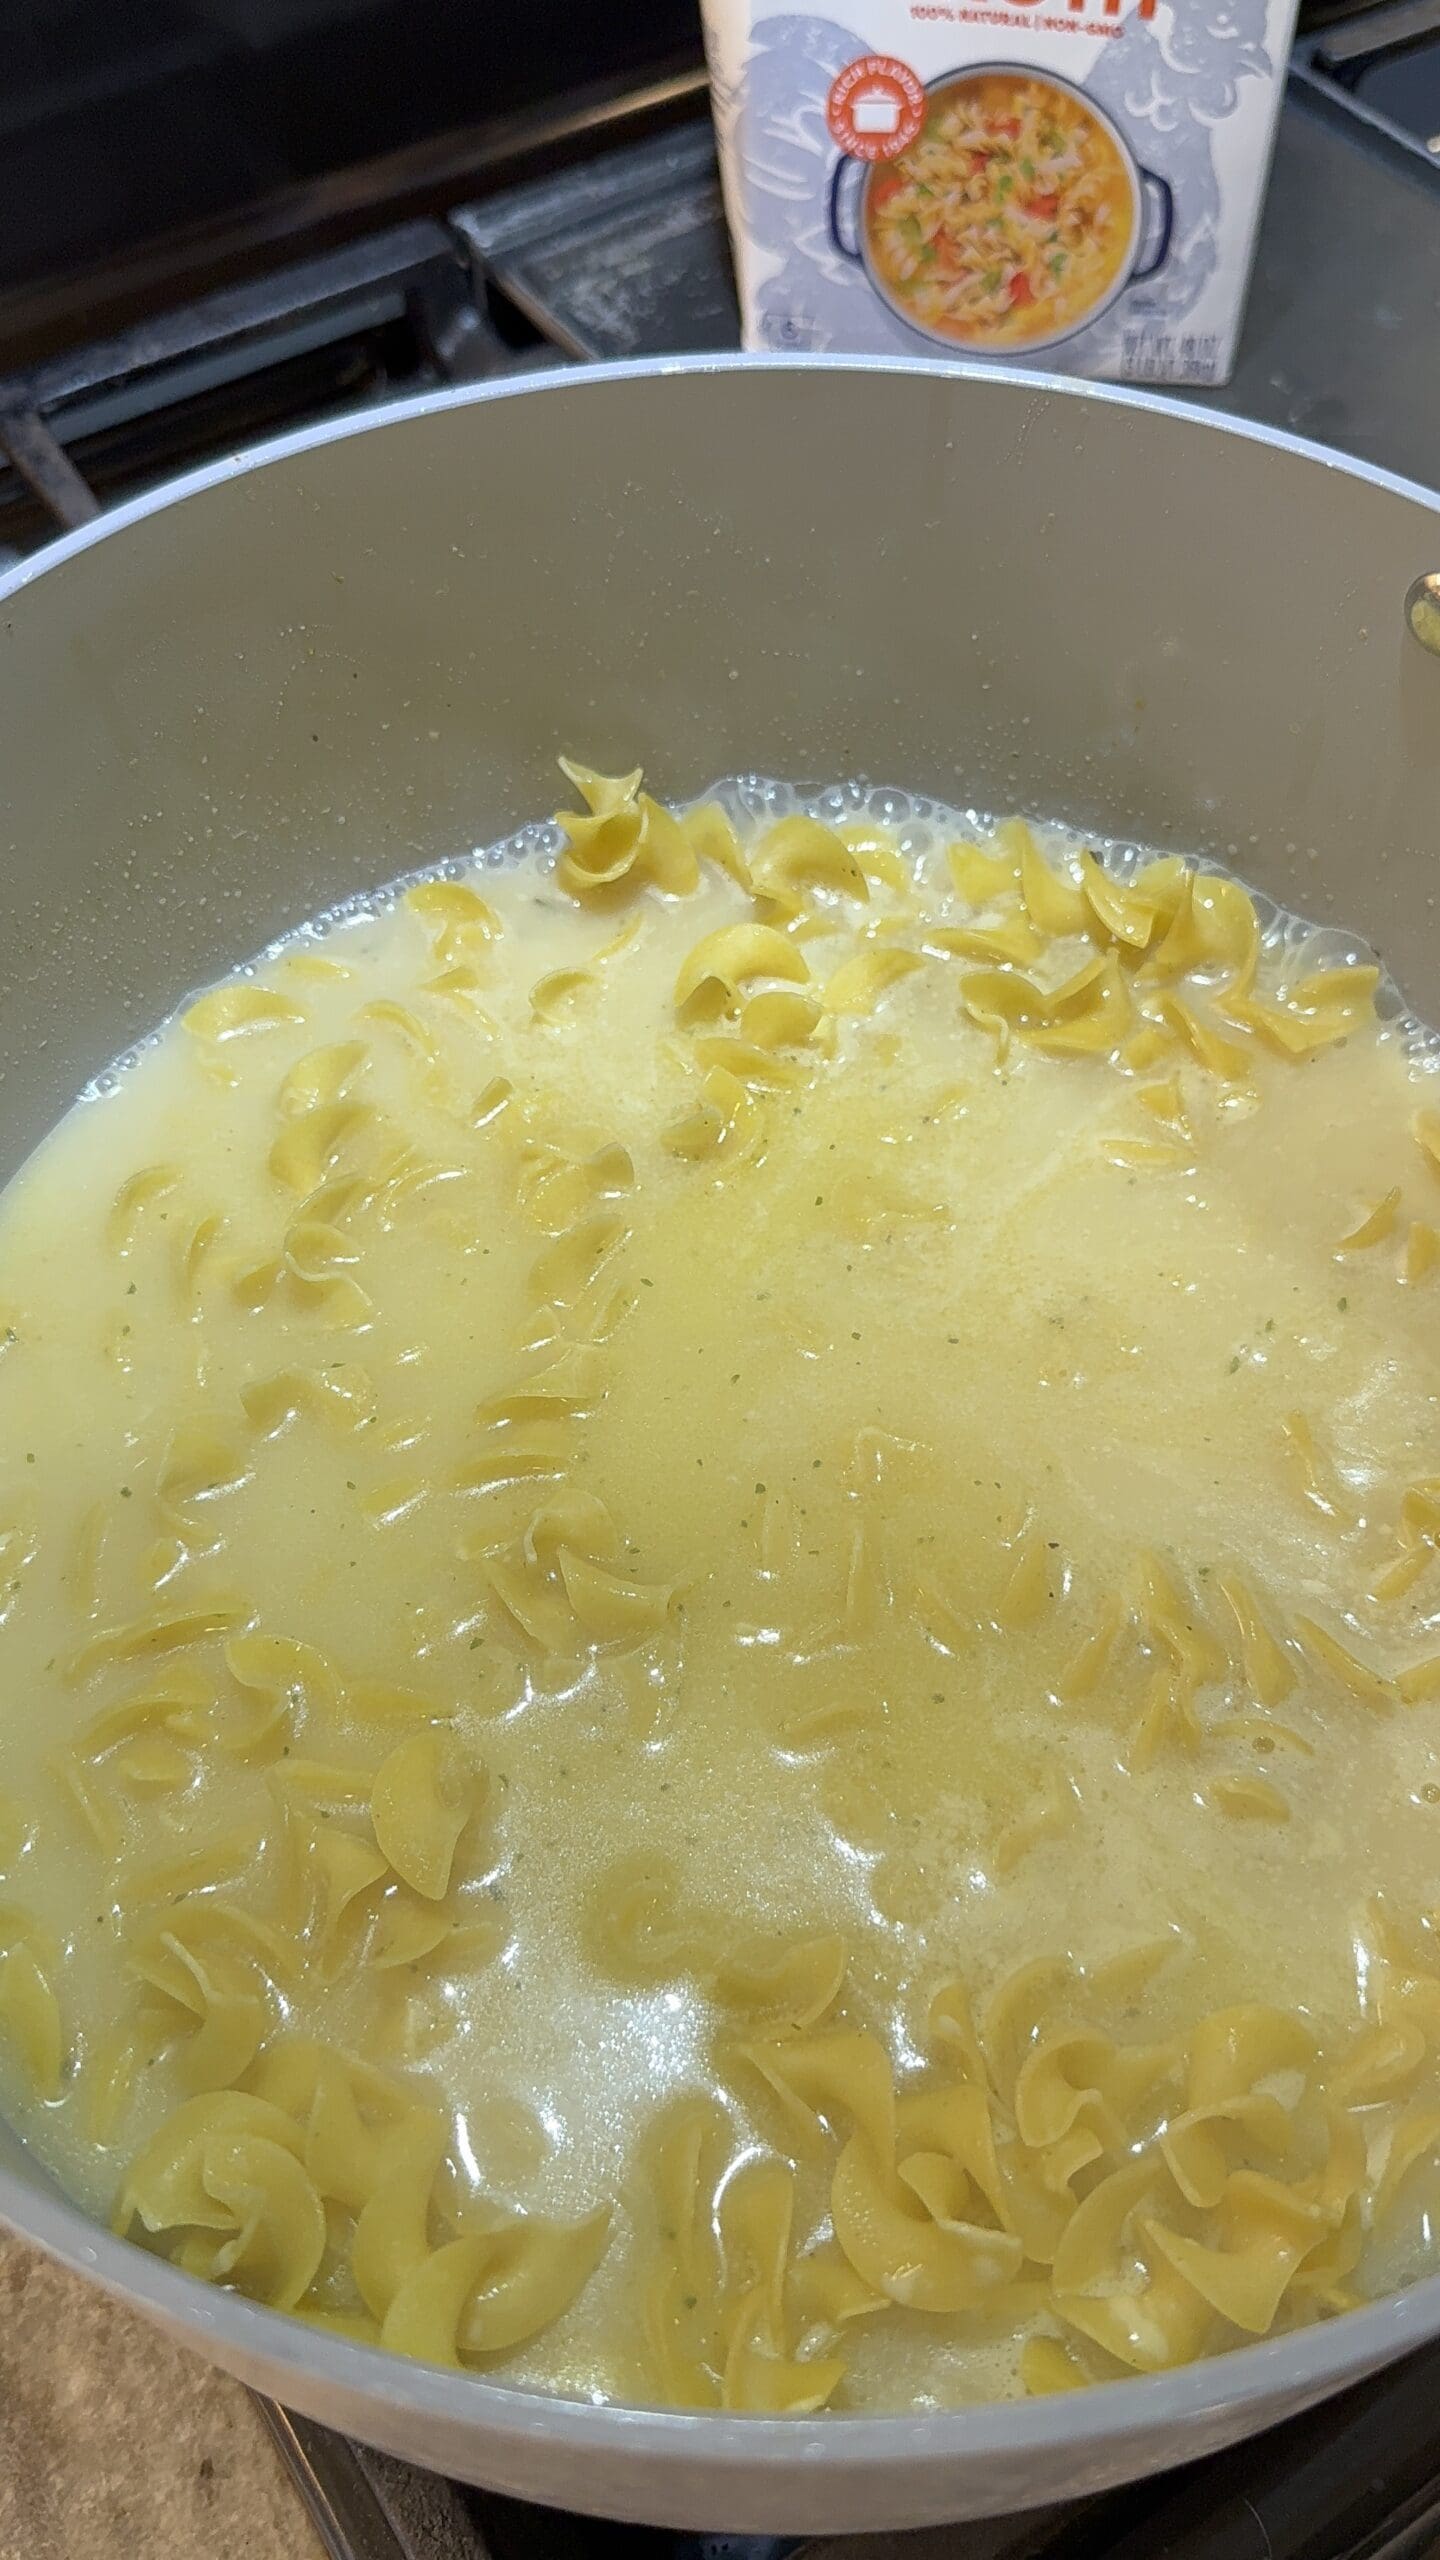
Then add the cream of chicken soup and butter. Stir everything together until the butter is melted and the ingredients are evenly combined. Add the egg noodles and spread them around until they’re evenly submerged in the liquid.
Now, let them boil for two minutes and place the lid on top of the pot. Turn off the heat and let it sit on the stove (over the same burner) for 10 minutes to let the noodles cook fully.
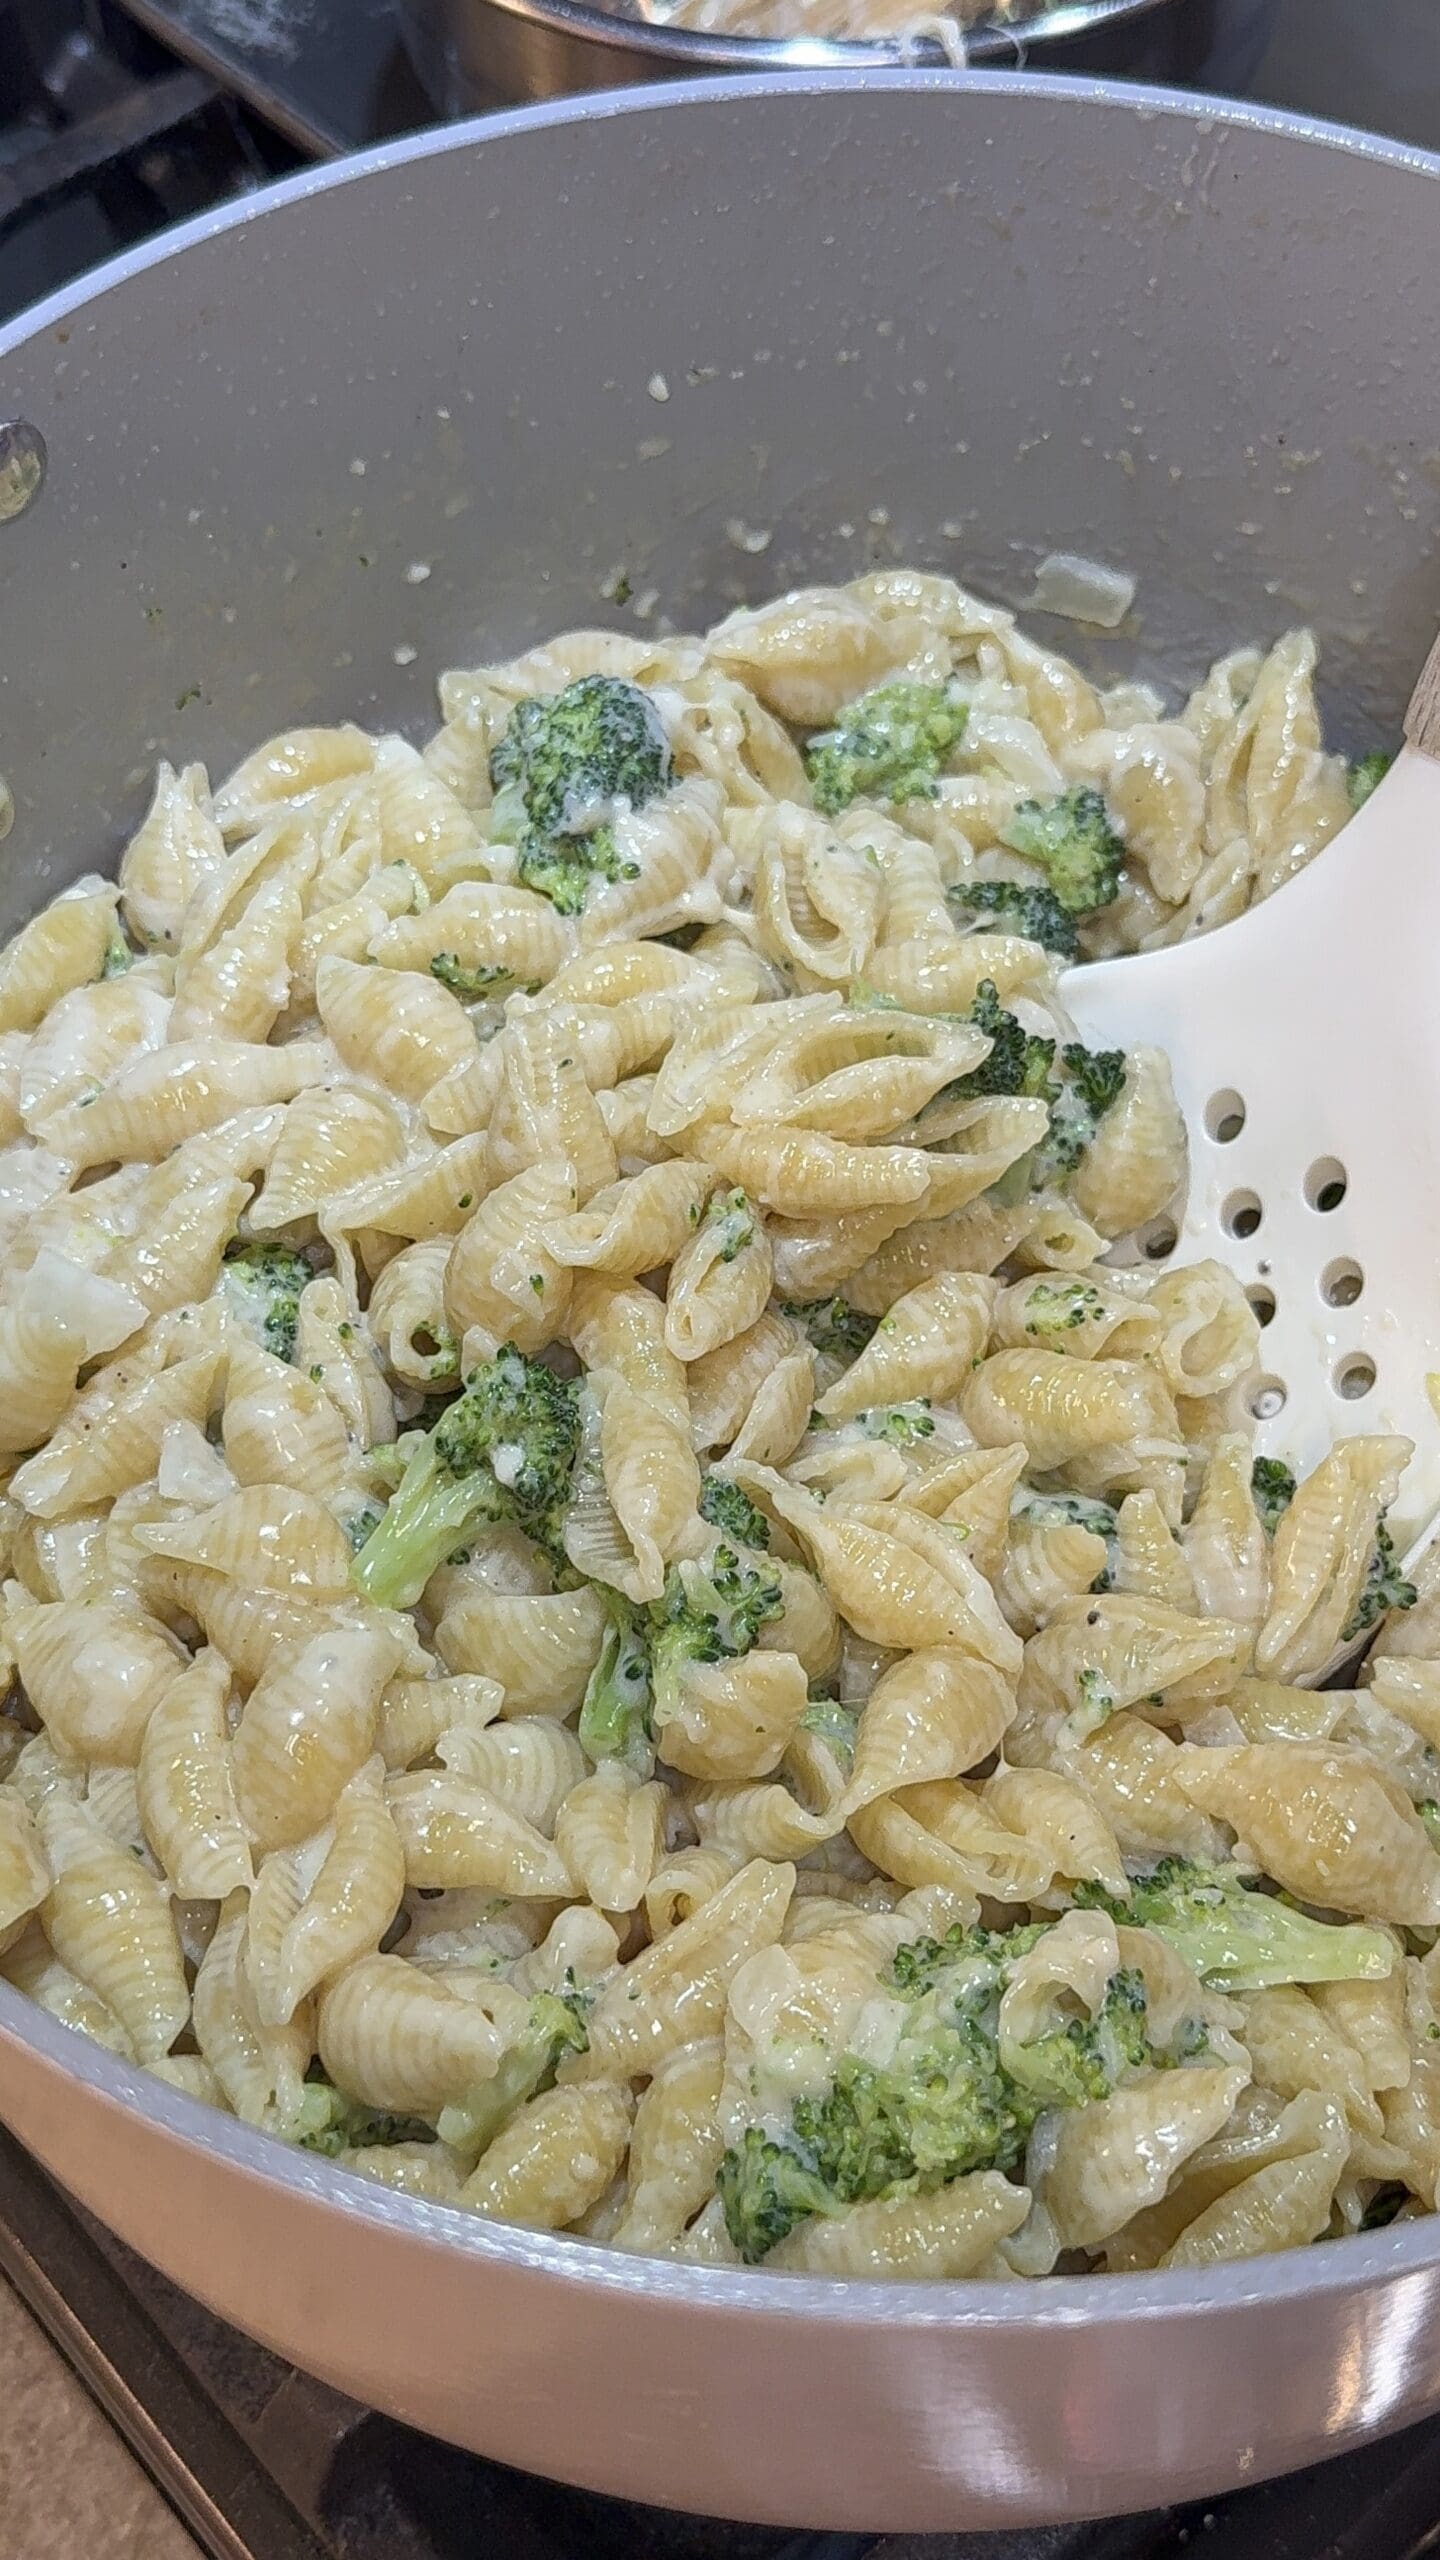
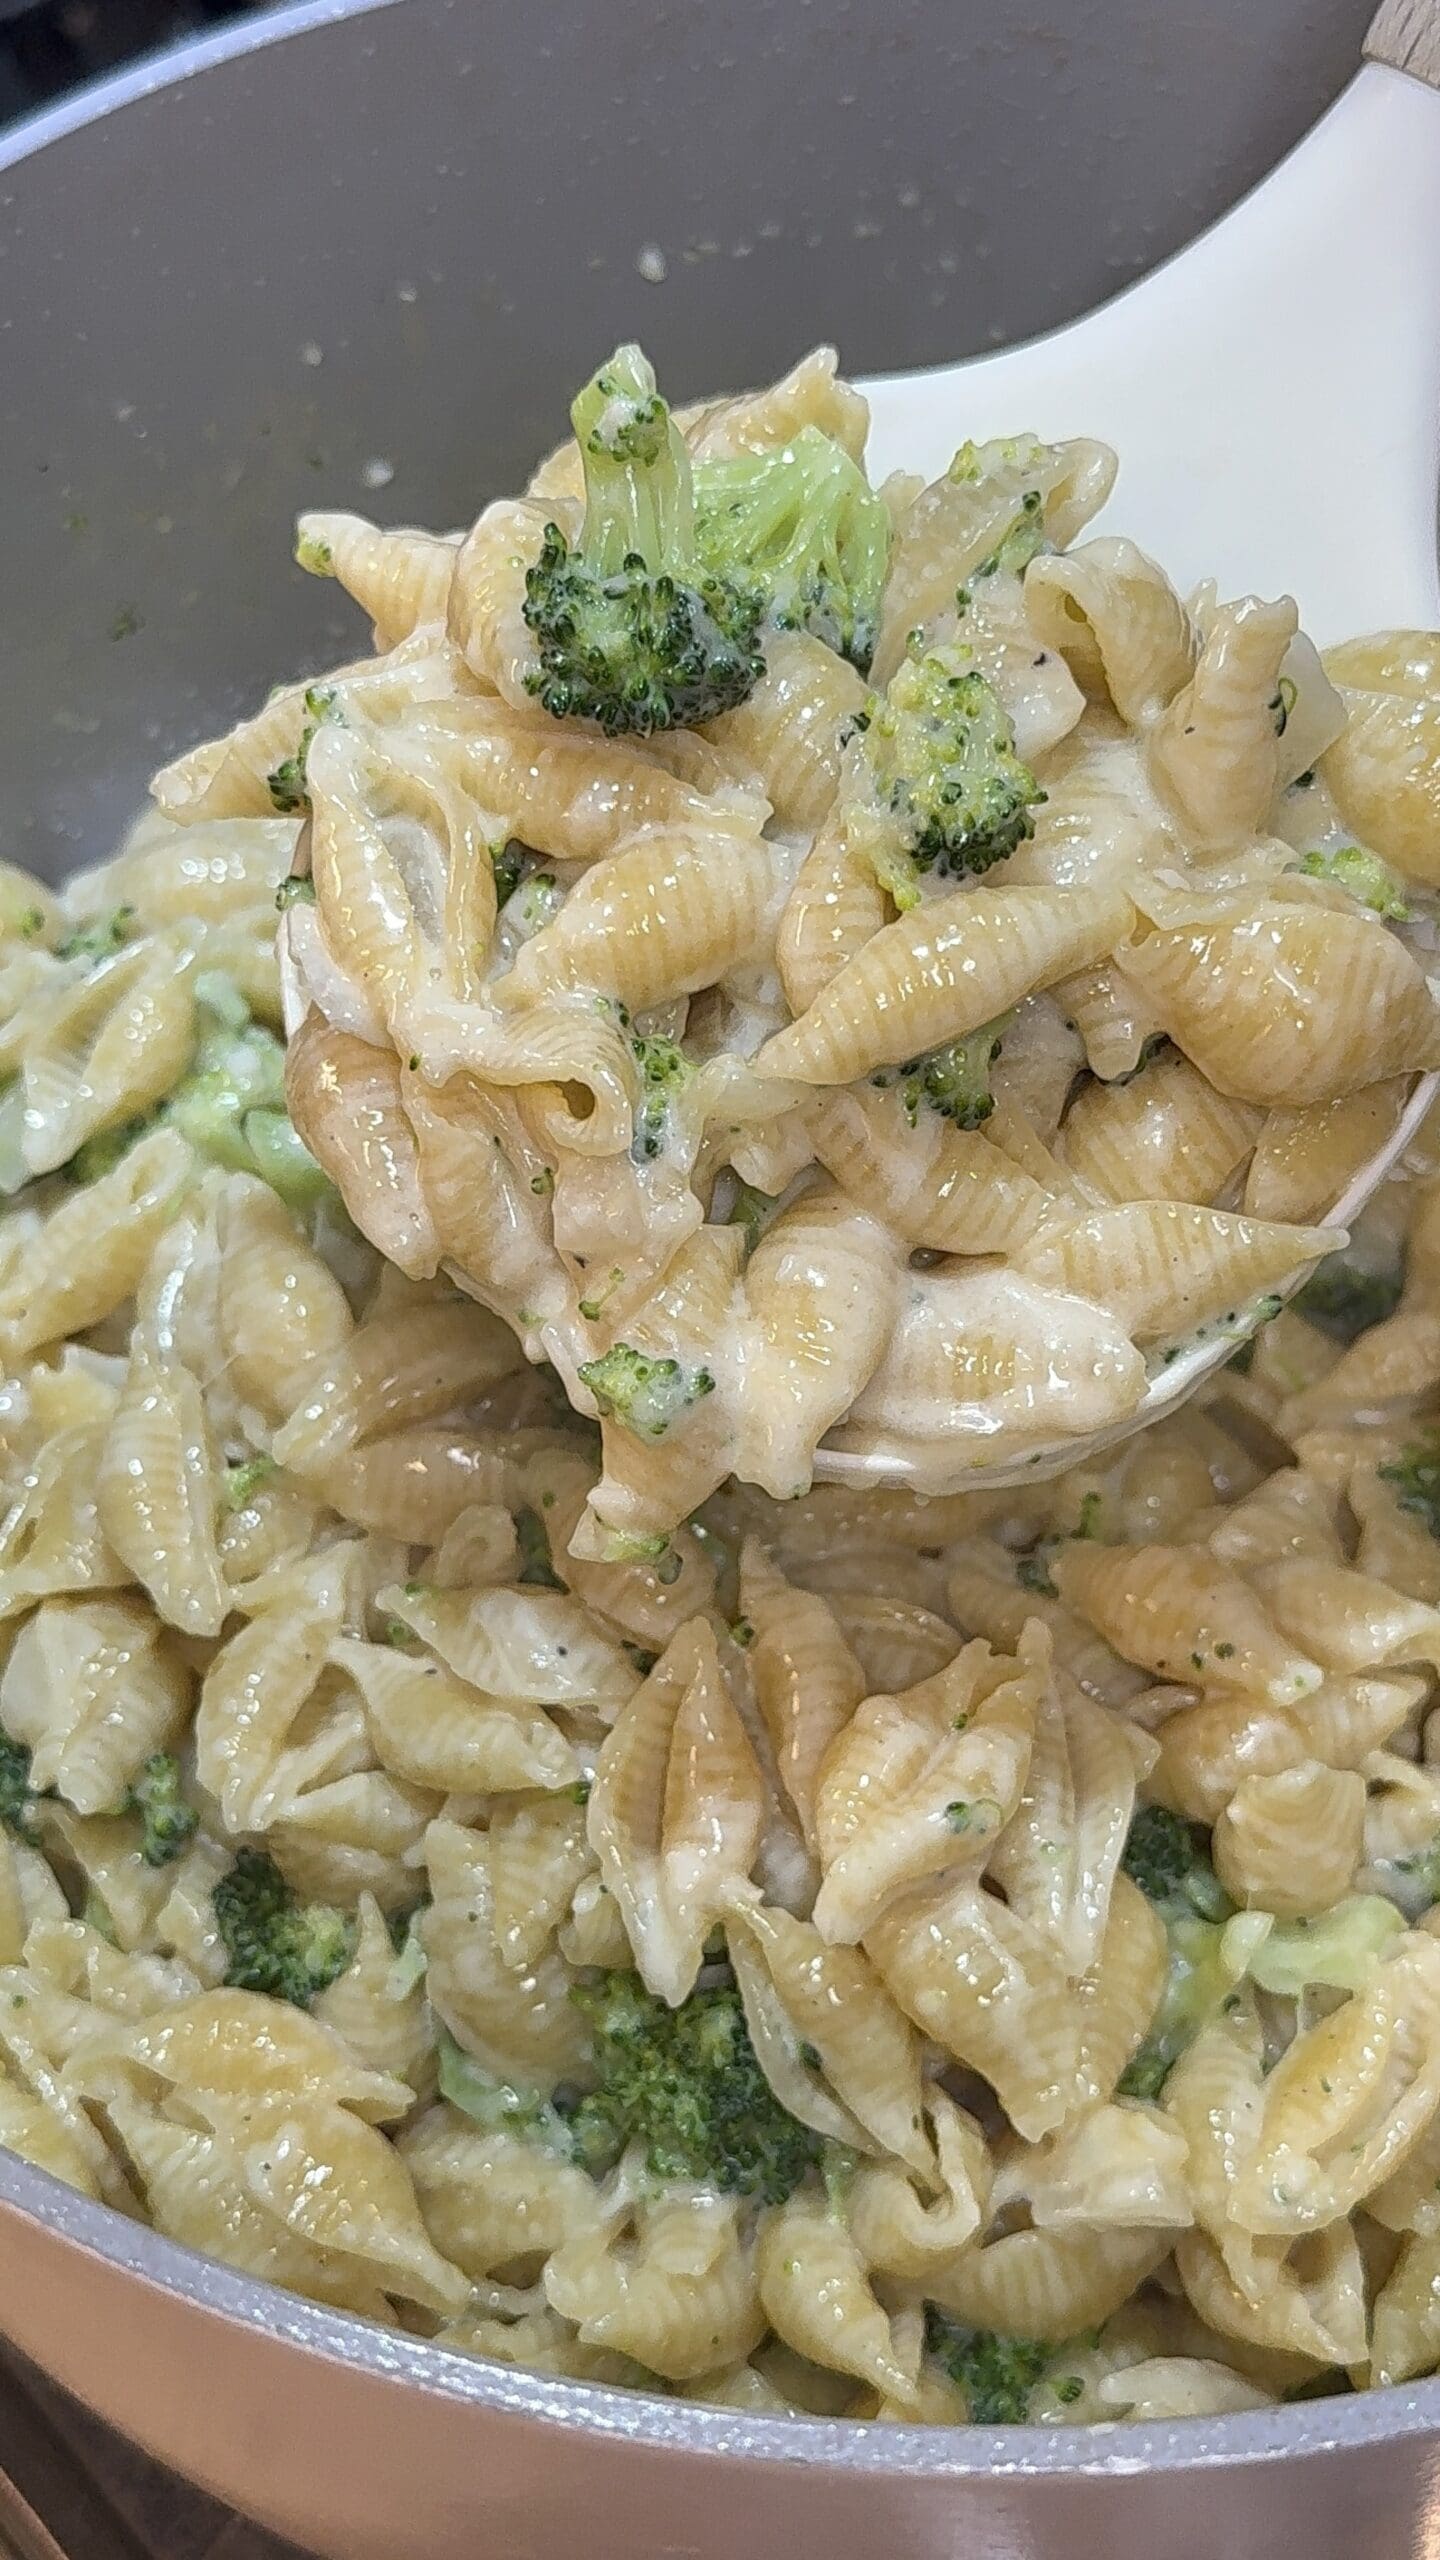
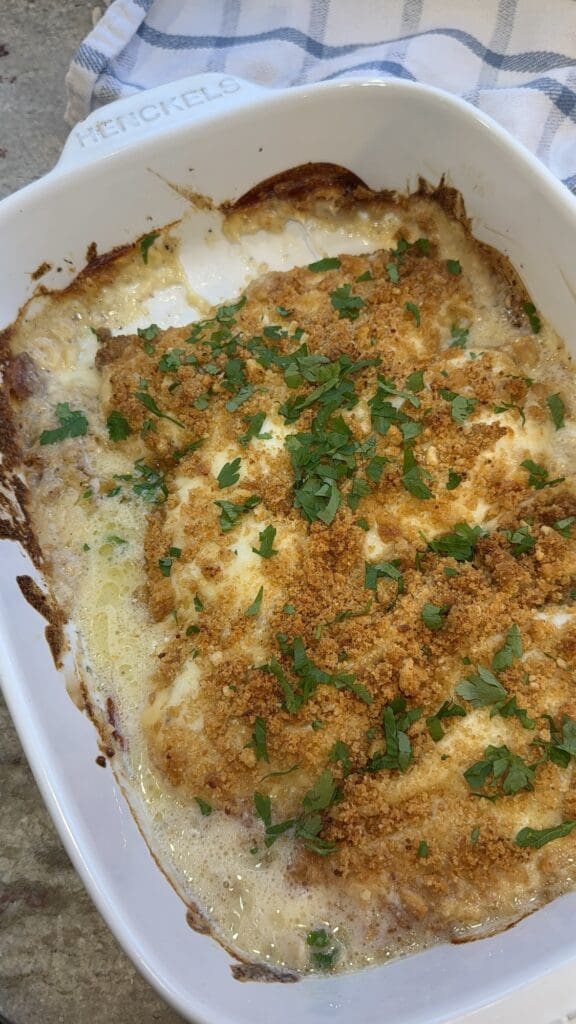
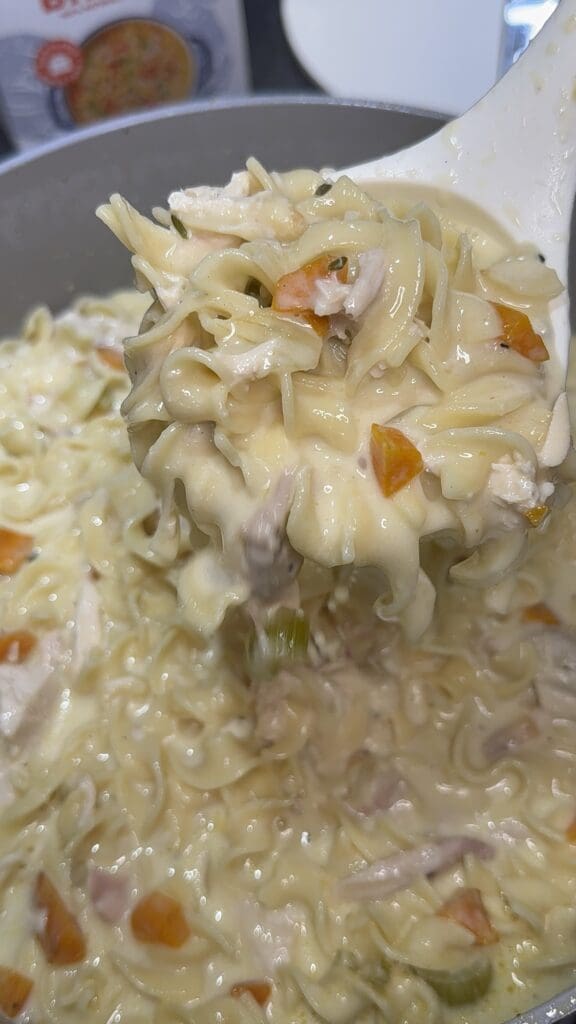
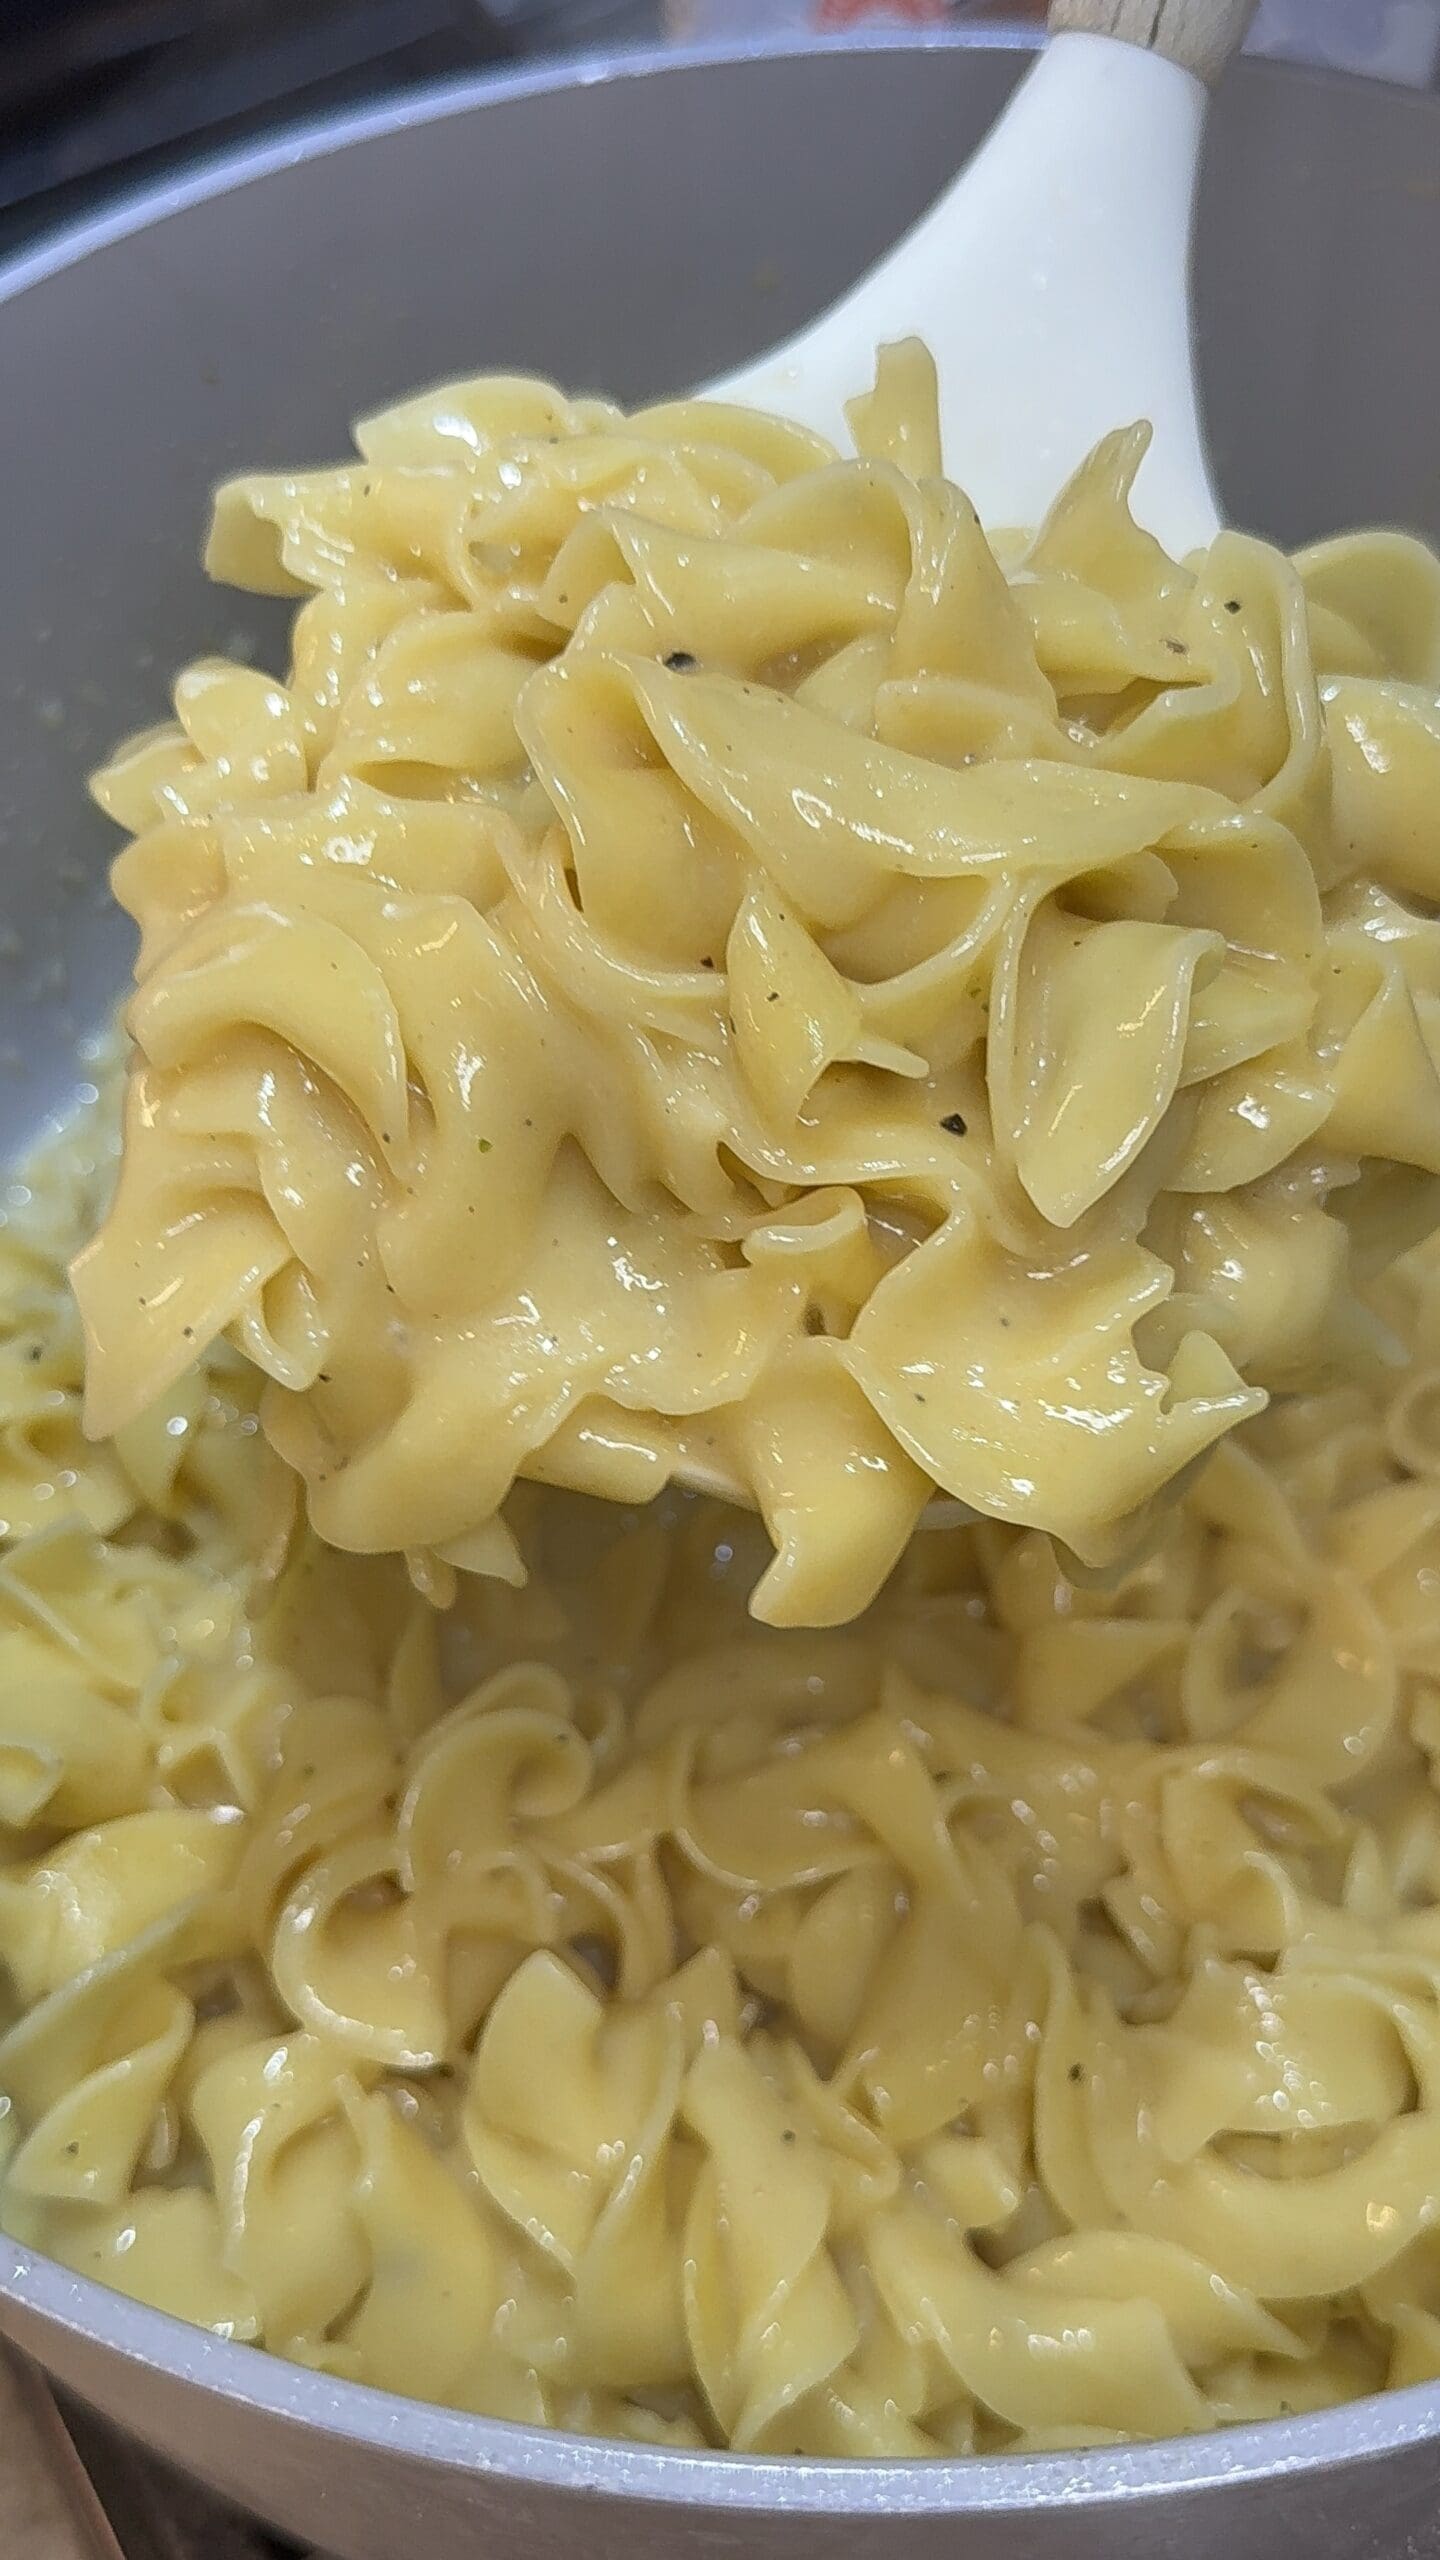
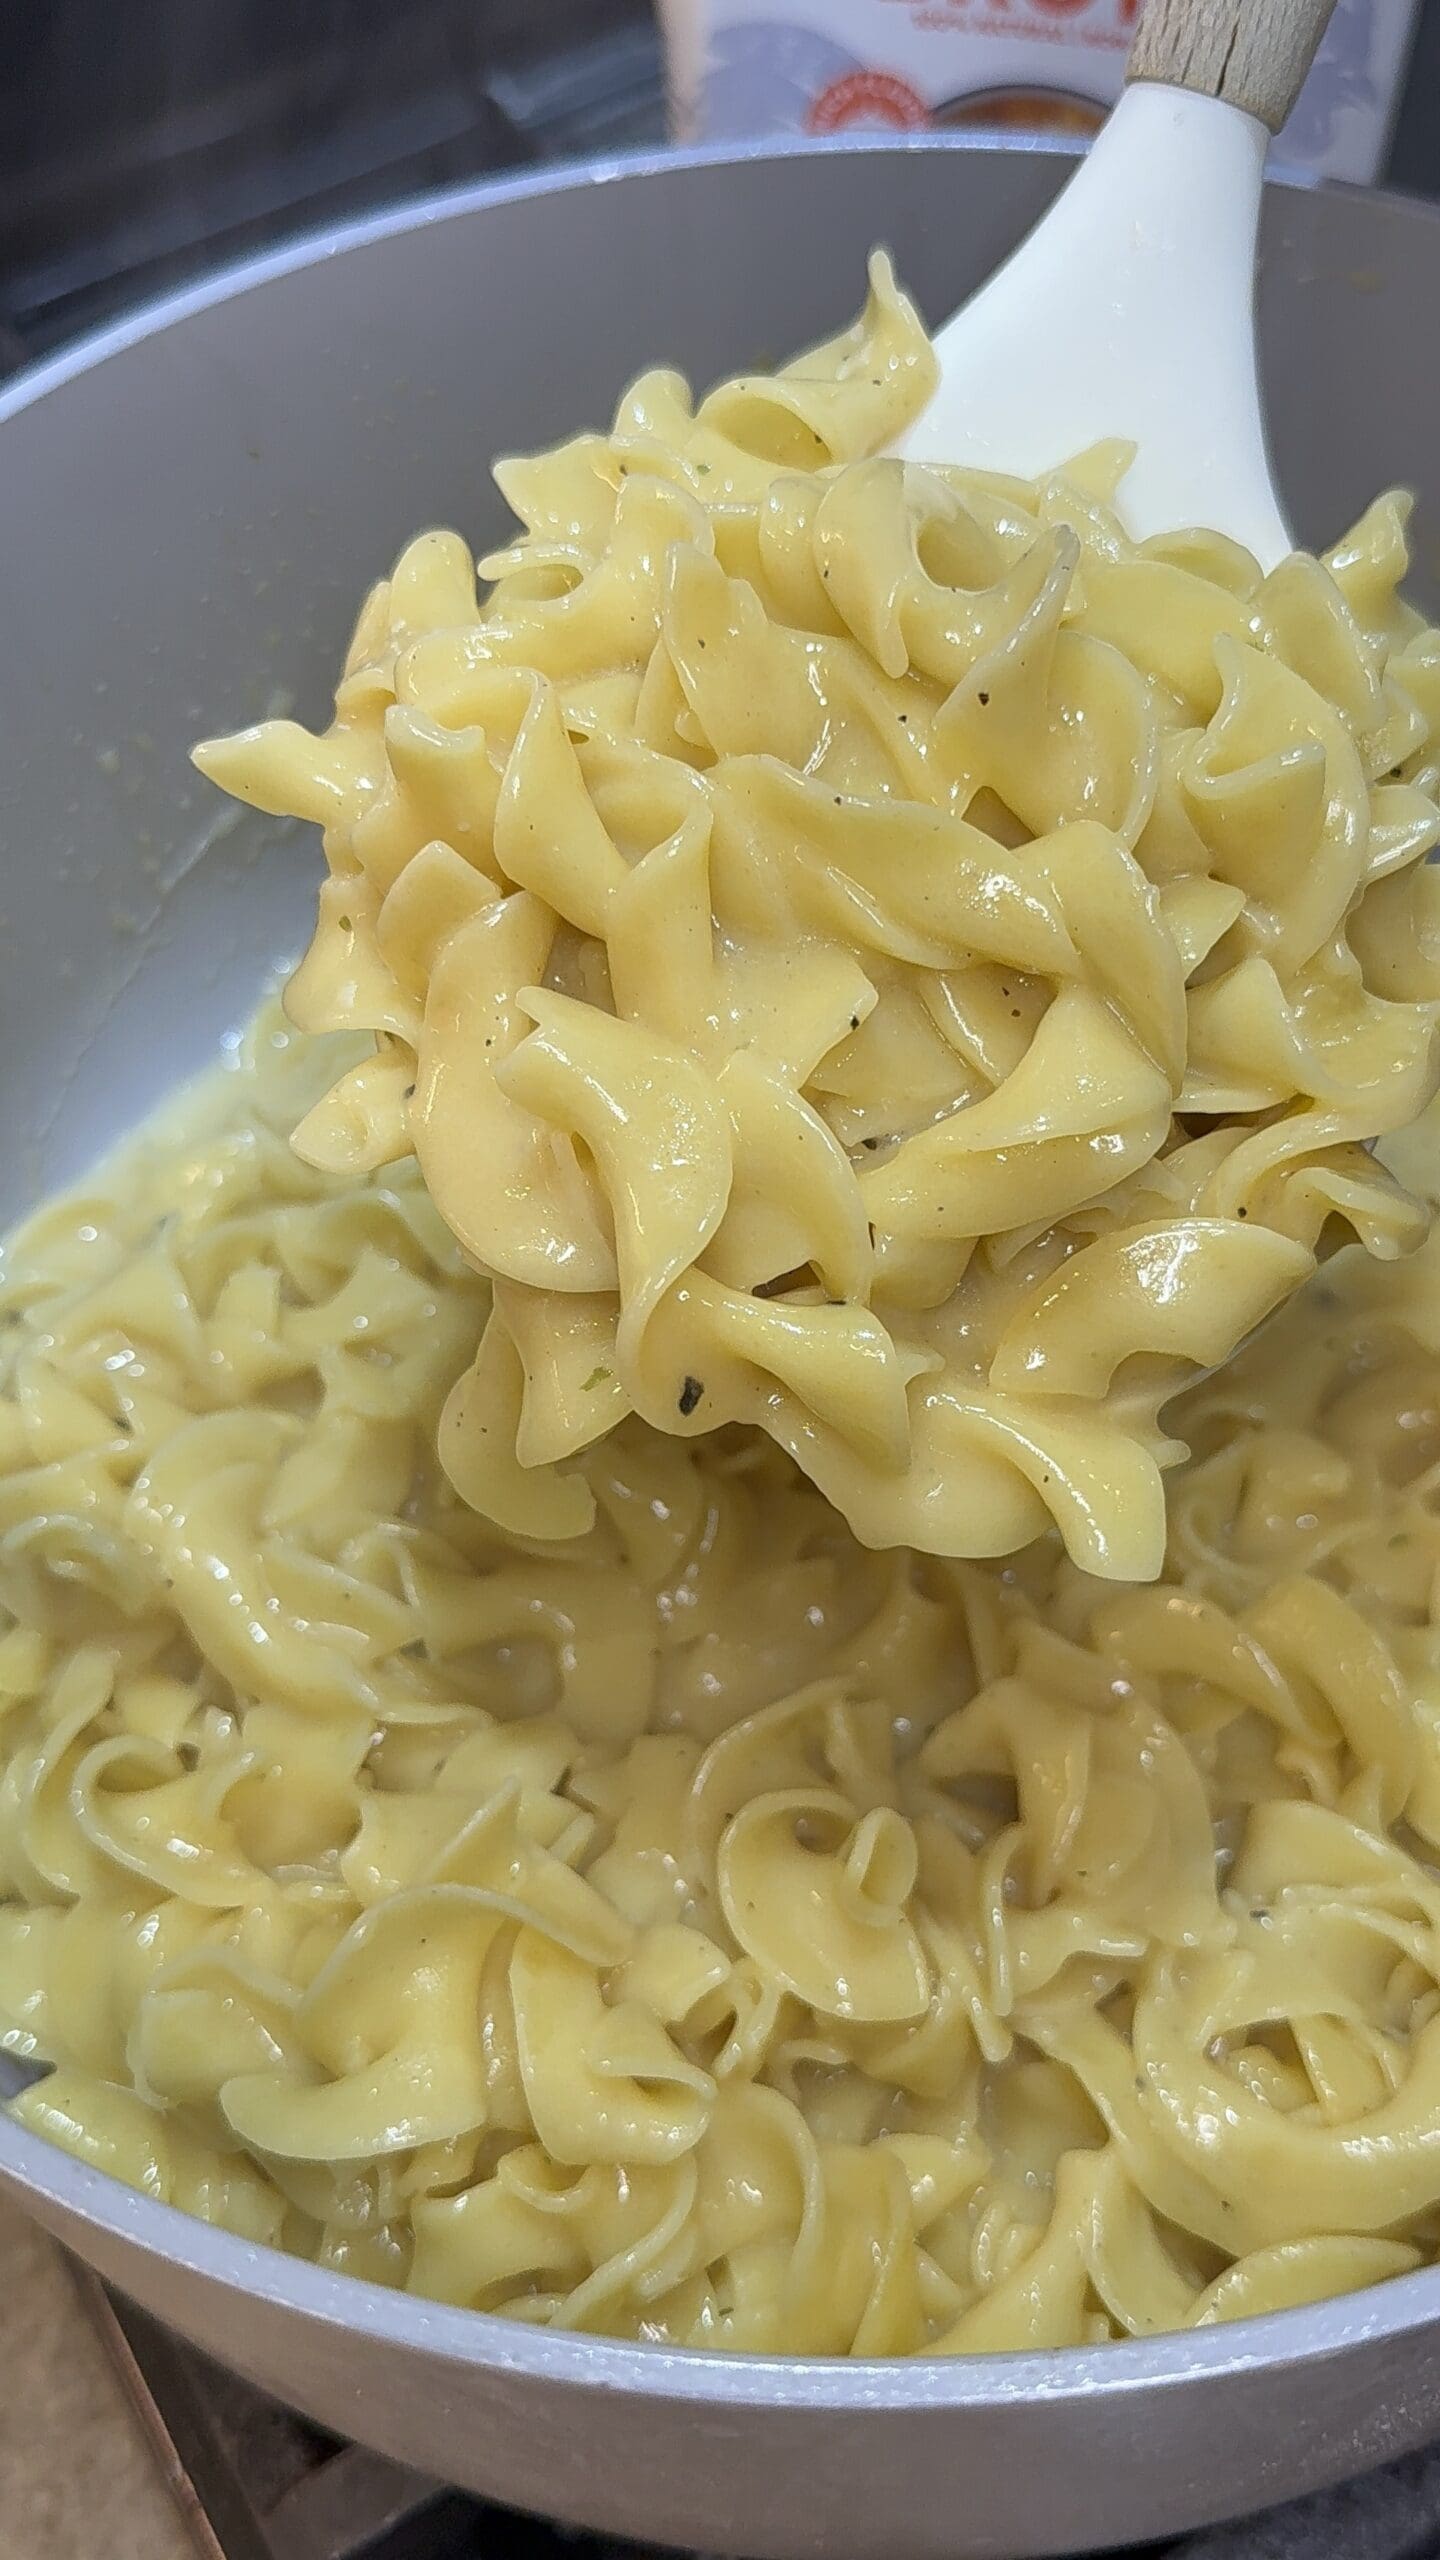
Finally, remove the lid and give the noodles one last big stir before serving. Garnish with parsley (optional), let them cool slightly to thicken up a bit, and enjoy!
Can You Add A Protein?
Yes, you absolutely can add a protein like chicken, beef or shrimp. Just be sure that the meat is cooked all of the way through before stirring it into the finished noodles before serving.
What To Serve Them With
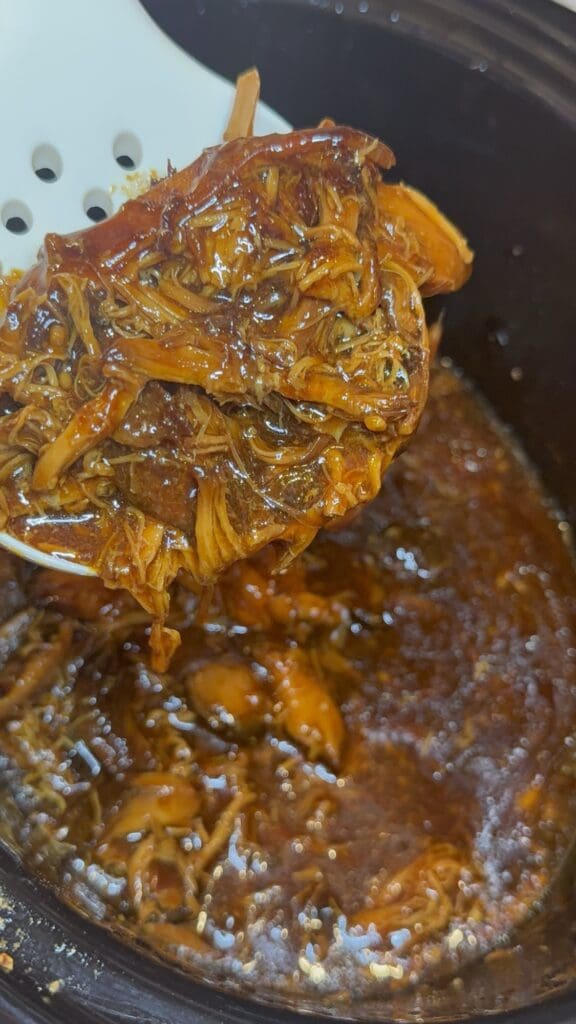
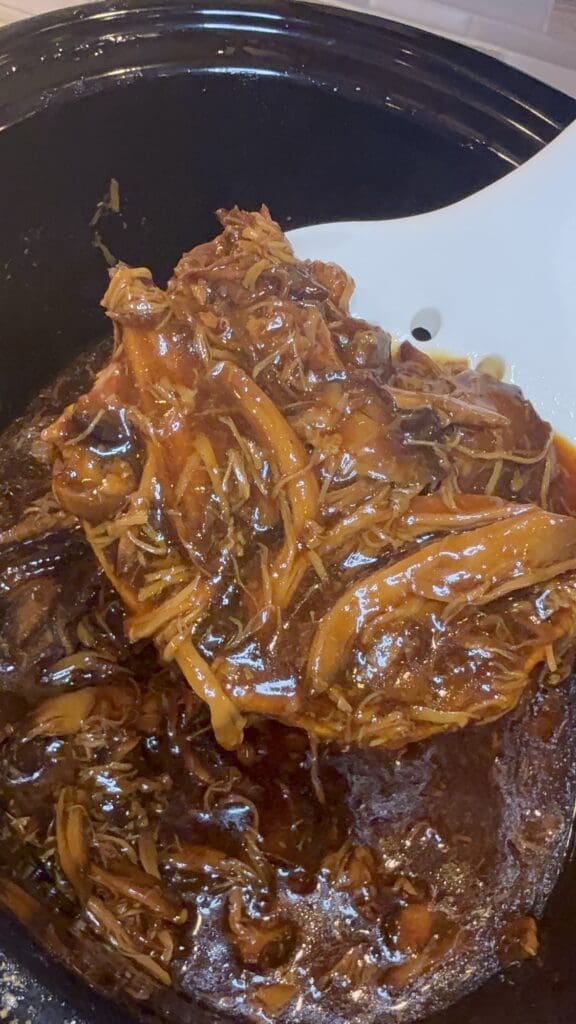
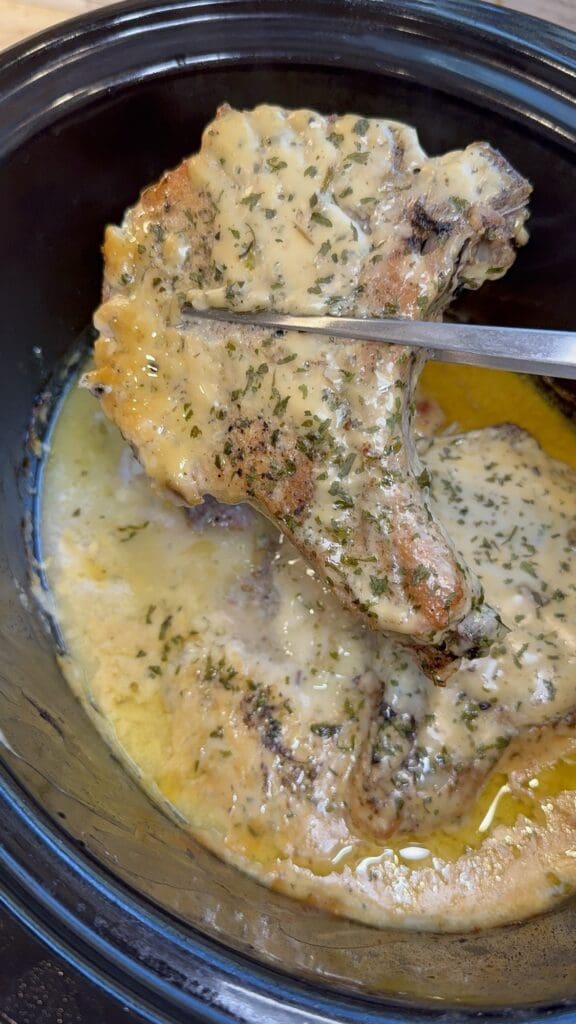
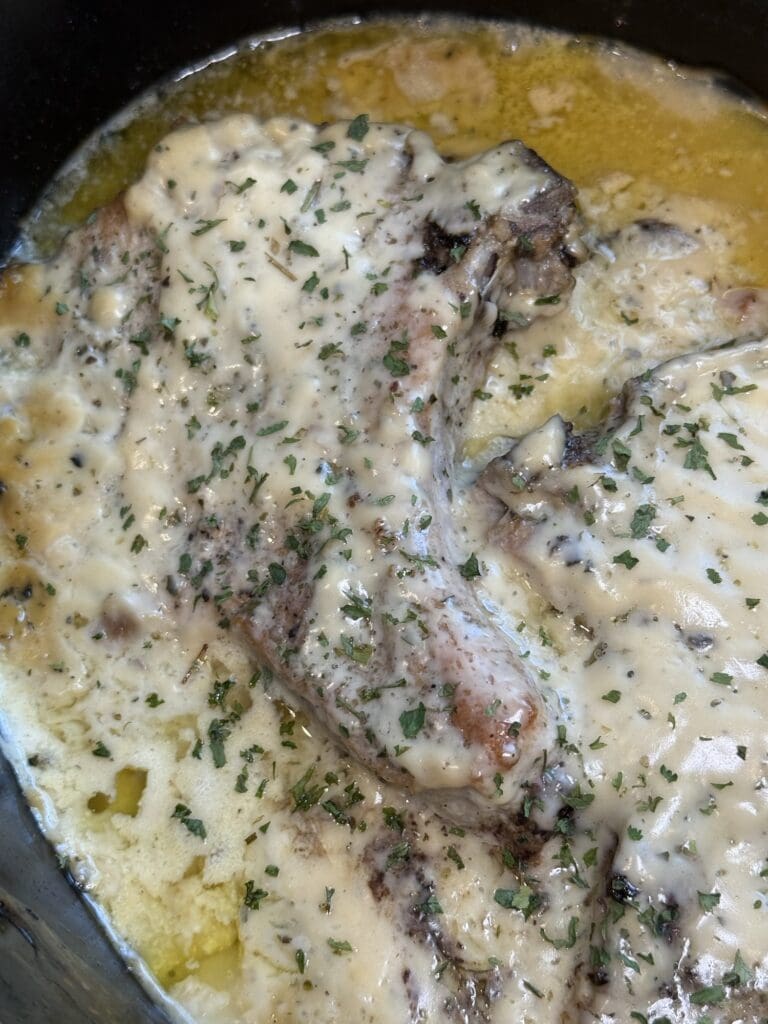
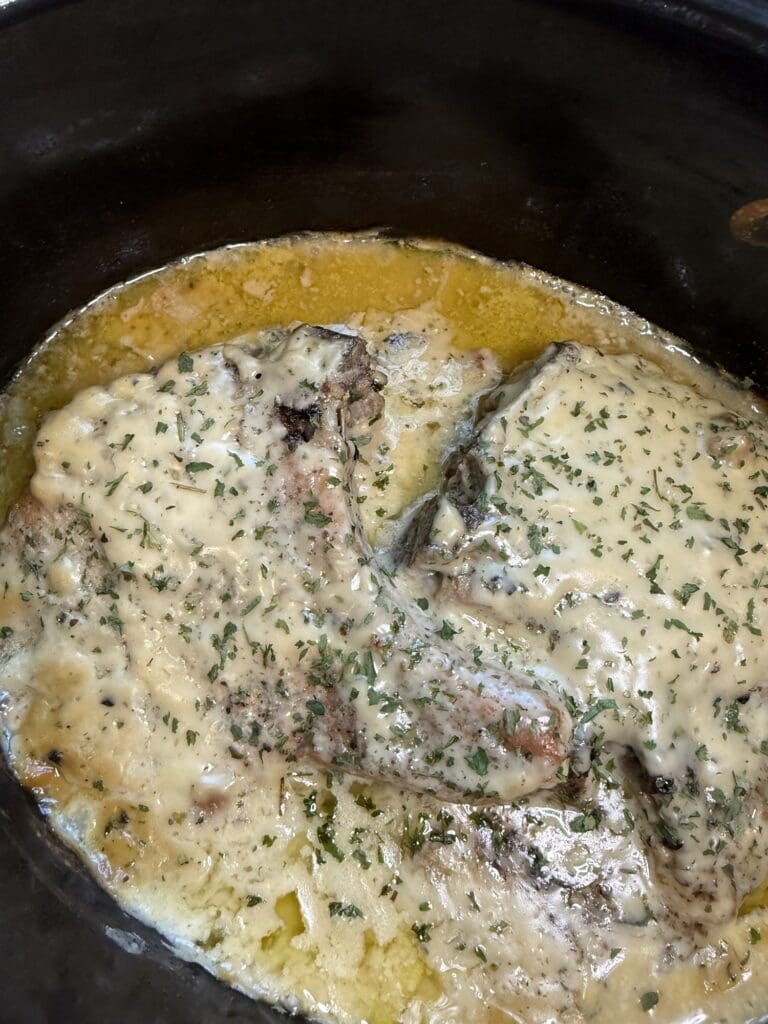
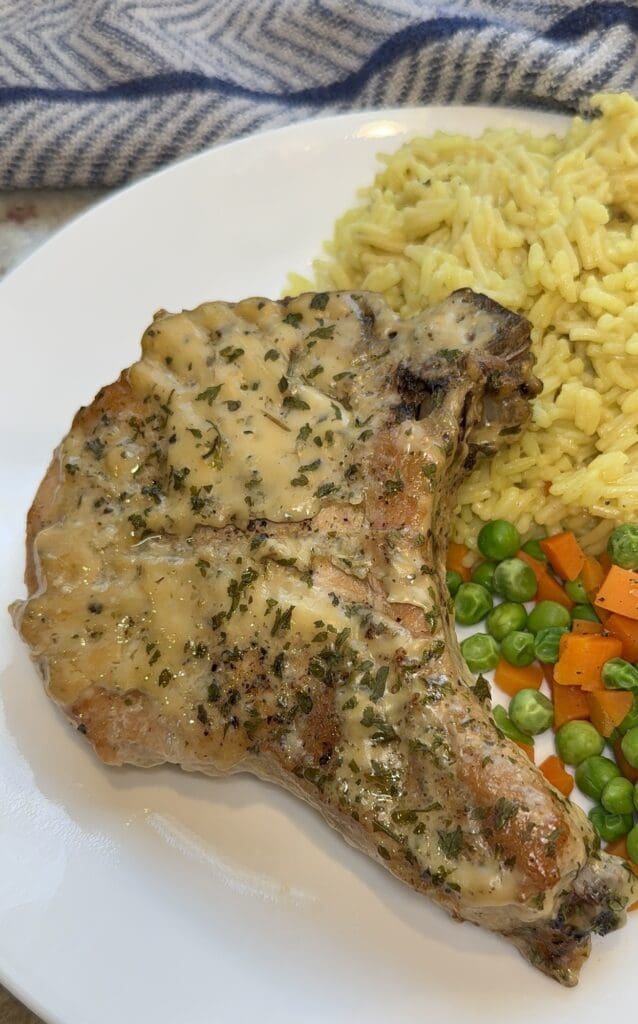
Made the way the recipe is intended to be made, its a side dish that can be served along side practically any main protein and vegetable. So, choose your favorite. We've always loved them served with some Crockpot Smothered Chicken Legs and Frozen Roasted Green Beans.
Storage
Wait until the noodles cool then place them into a lidded air tight storage container. They will last in the refrigerator for up to 3-4 days.
Featured Products
Check out the products that I used in this recipe tutorial on my Amazon Store.
- Cast Iron Dutch Oven- 7.5 Quart Enameled Cast Iron Dutch Oven with Lid - Dual Handles - Oven Safe up to 500° F or on Stovetop.
- Chicken Bullion- Perfect flavor enhancer for soups, sauces or stews.
- Storage Containers- These are my favorite. They're the perfect size for storing leftovers, BPA free and dishwasher safe.
Creamy Cafeteria Noodles Recipe
Equipment
- 1 large pot with a lid
Ingredients
- 12 Oz Egg Noodles
- 32 Oz Chicken Broth (low sodium)
- 2 teaspoon Chicken Bullion
- 10.5 Oz Cream of Chicken Soup
- Pepper to taste
- ½ stick Butter
- Parsley for garnish (optional)
Instructions
- In a large pot with a lid, add the chicken broth over medium high heat.
- Stir in the chicken bullion and pepper.
- Add the cream of chicken soup and butter and stir everything together until the butter is melted and the ingredients are evenly combined.
- Add the egg noodles and spread them around until they’re evenly submerged in the liquid.
- Let the noodles boil for two minutes then place the lid on top of the pot and turn off heat. (Keep the pot on the same burner)
- Now, leave the lid closed for 10 minutes and let the noodles cook fully.
- Finally, remove the lid and give the noodles one last stir before serving. Garnish with parsley (optional), let them cool slightly to thicken up a bit and enjoy.