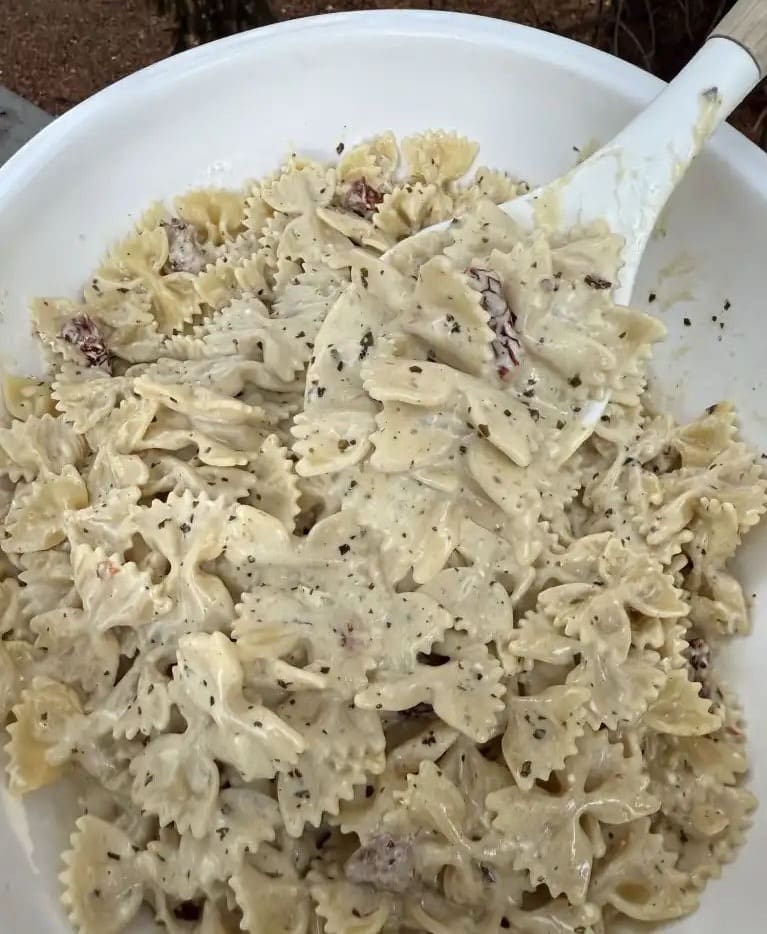
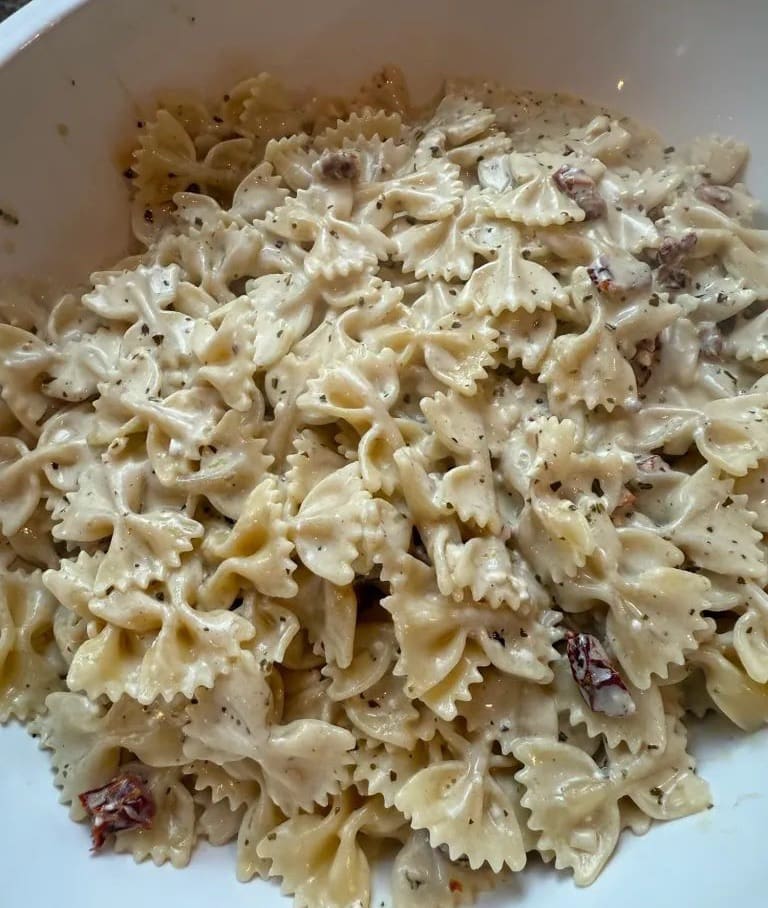
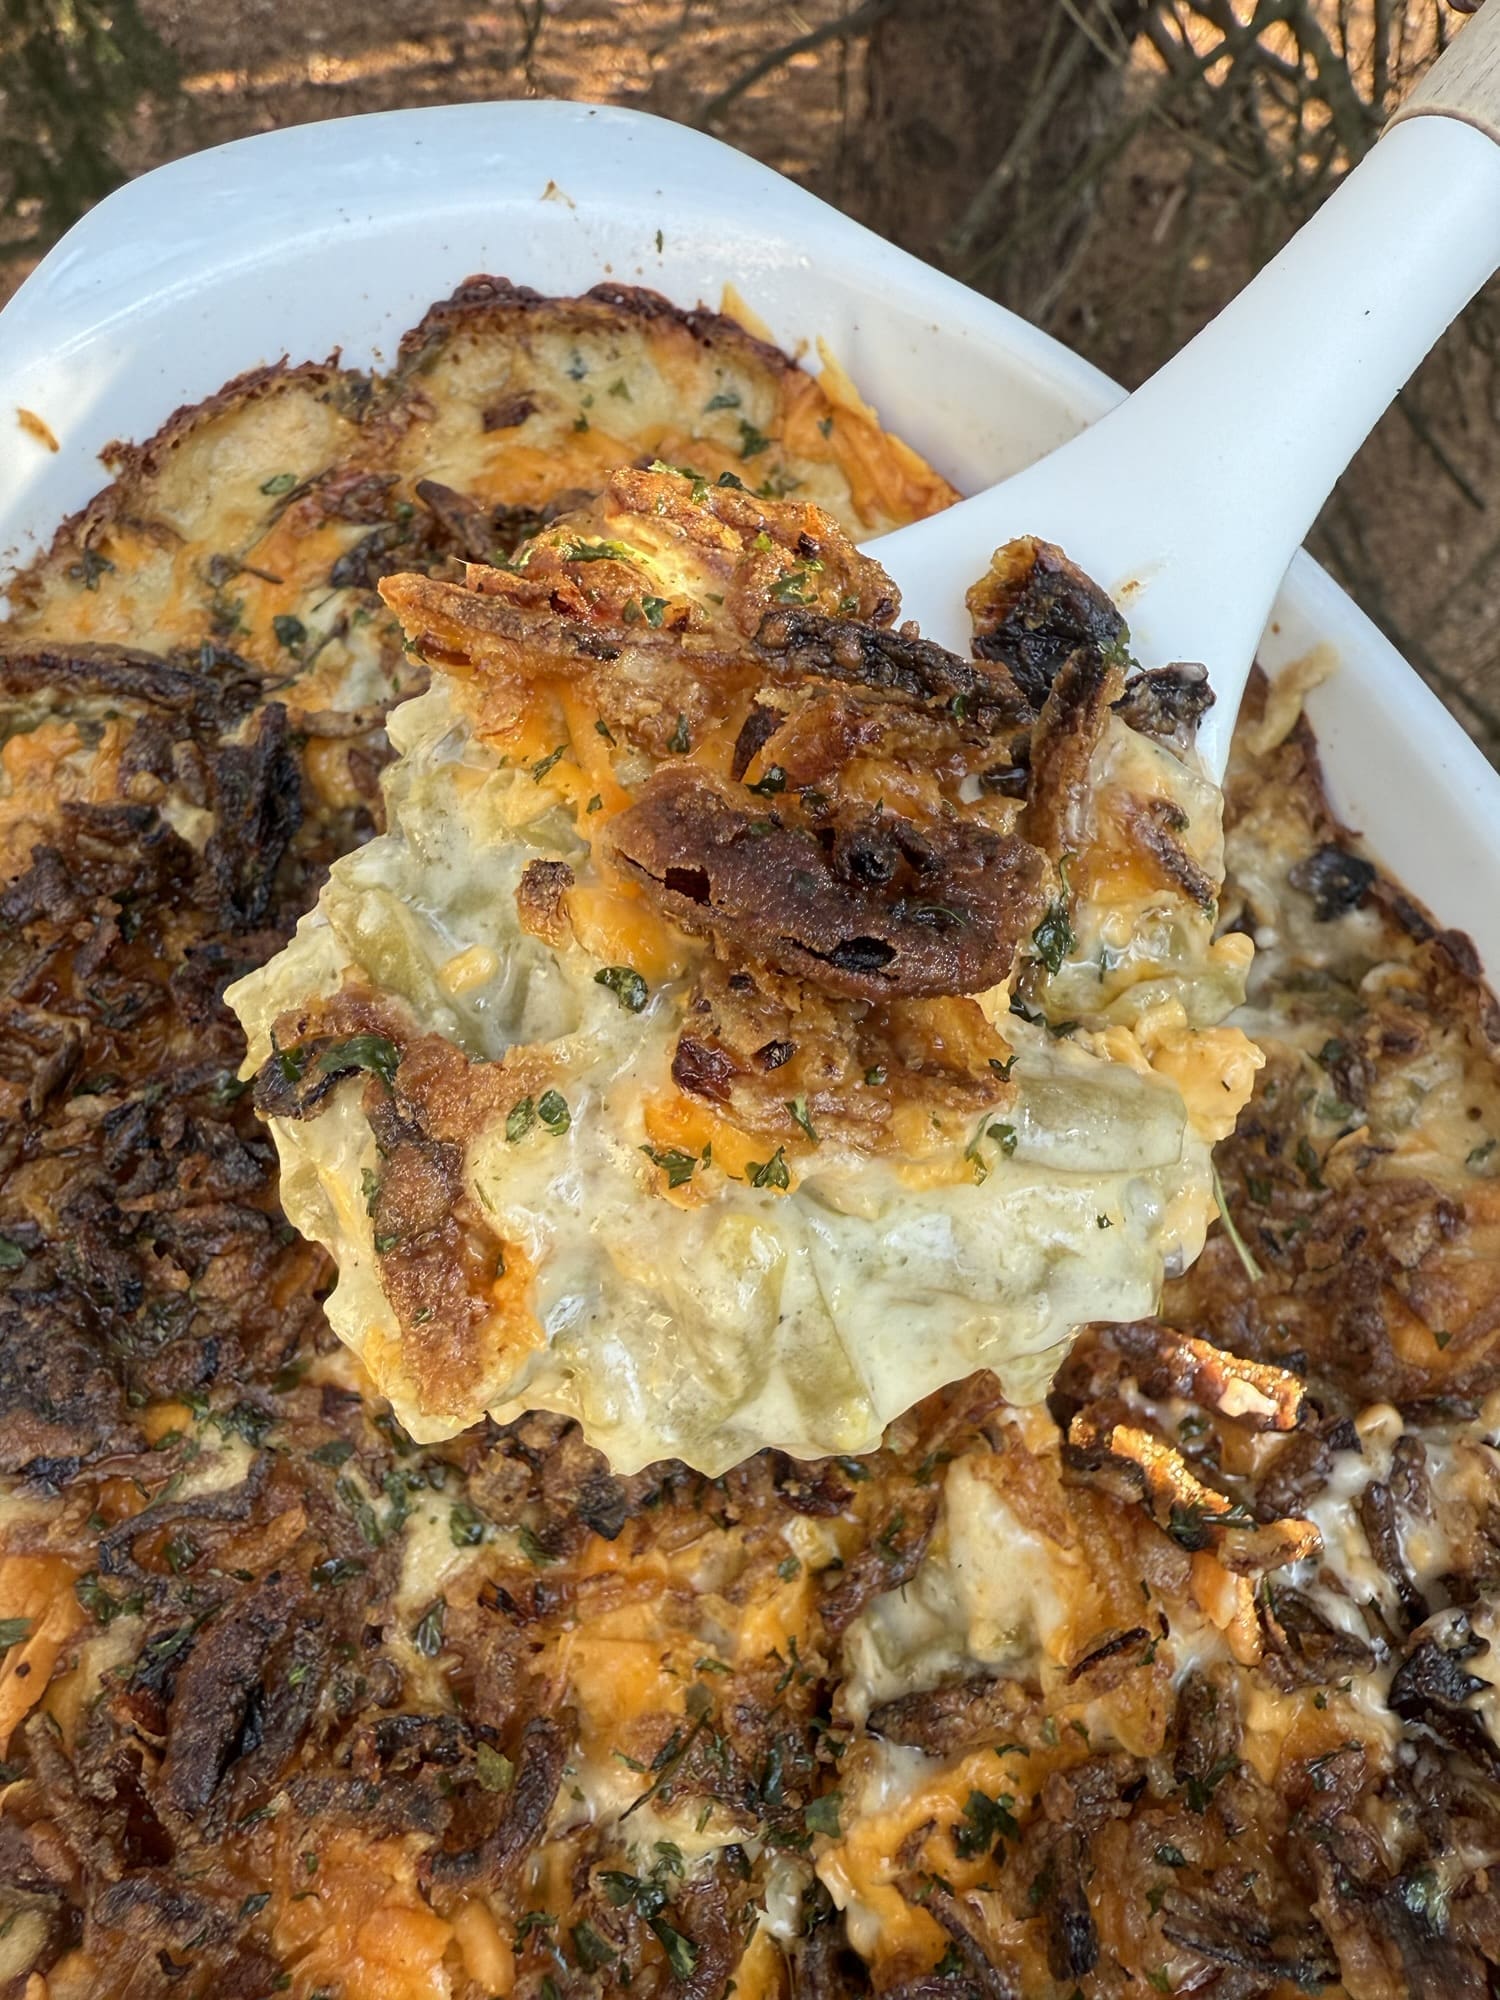
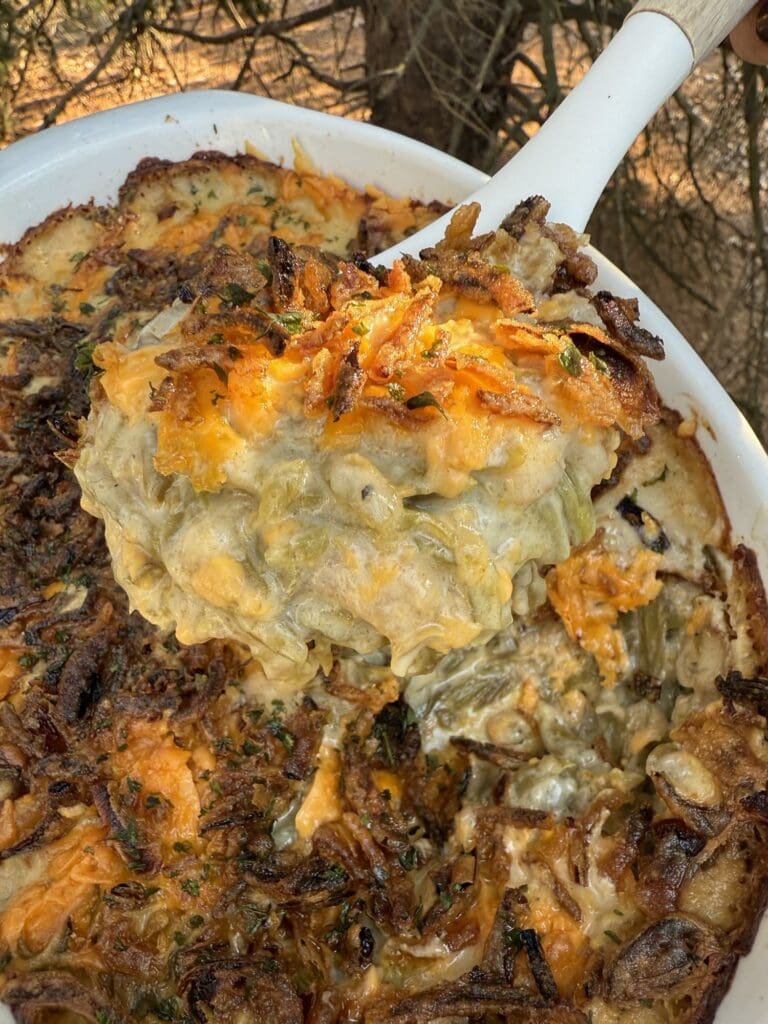
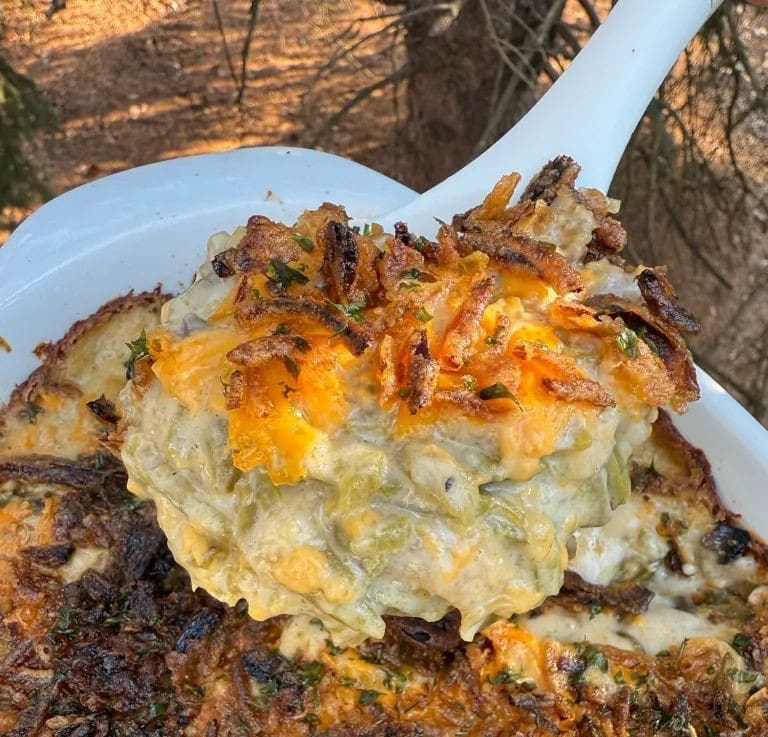
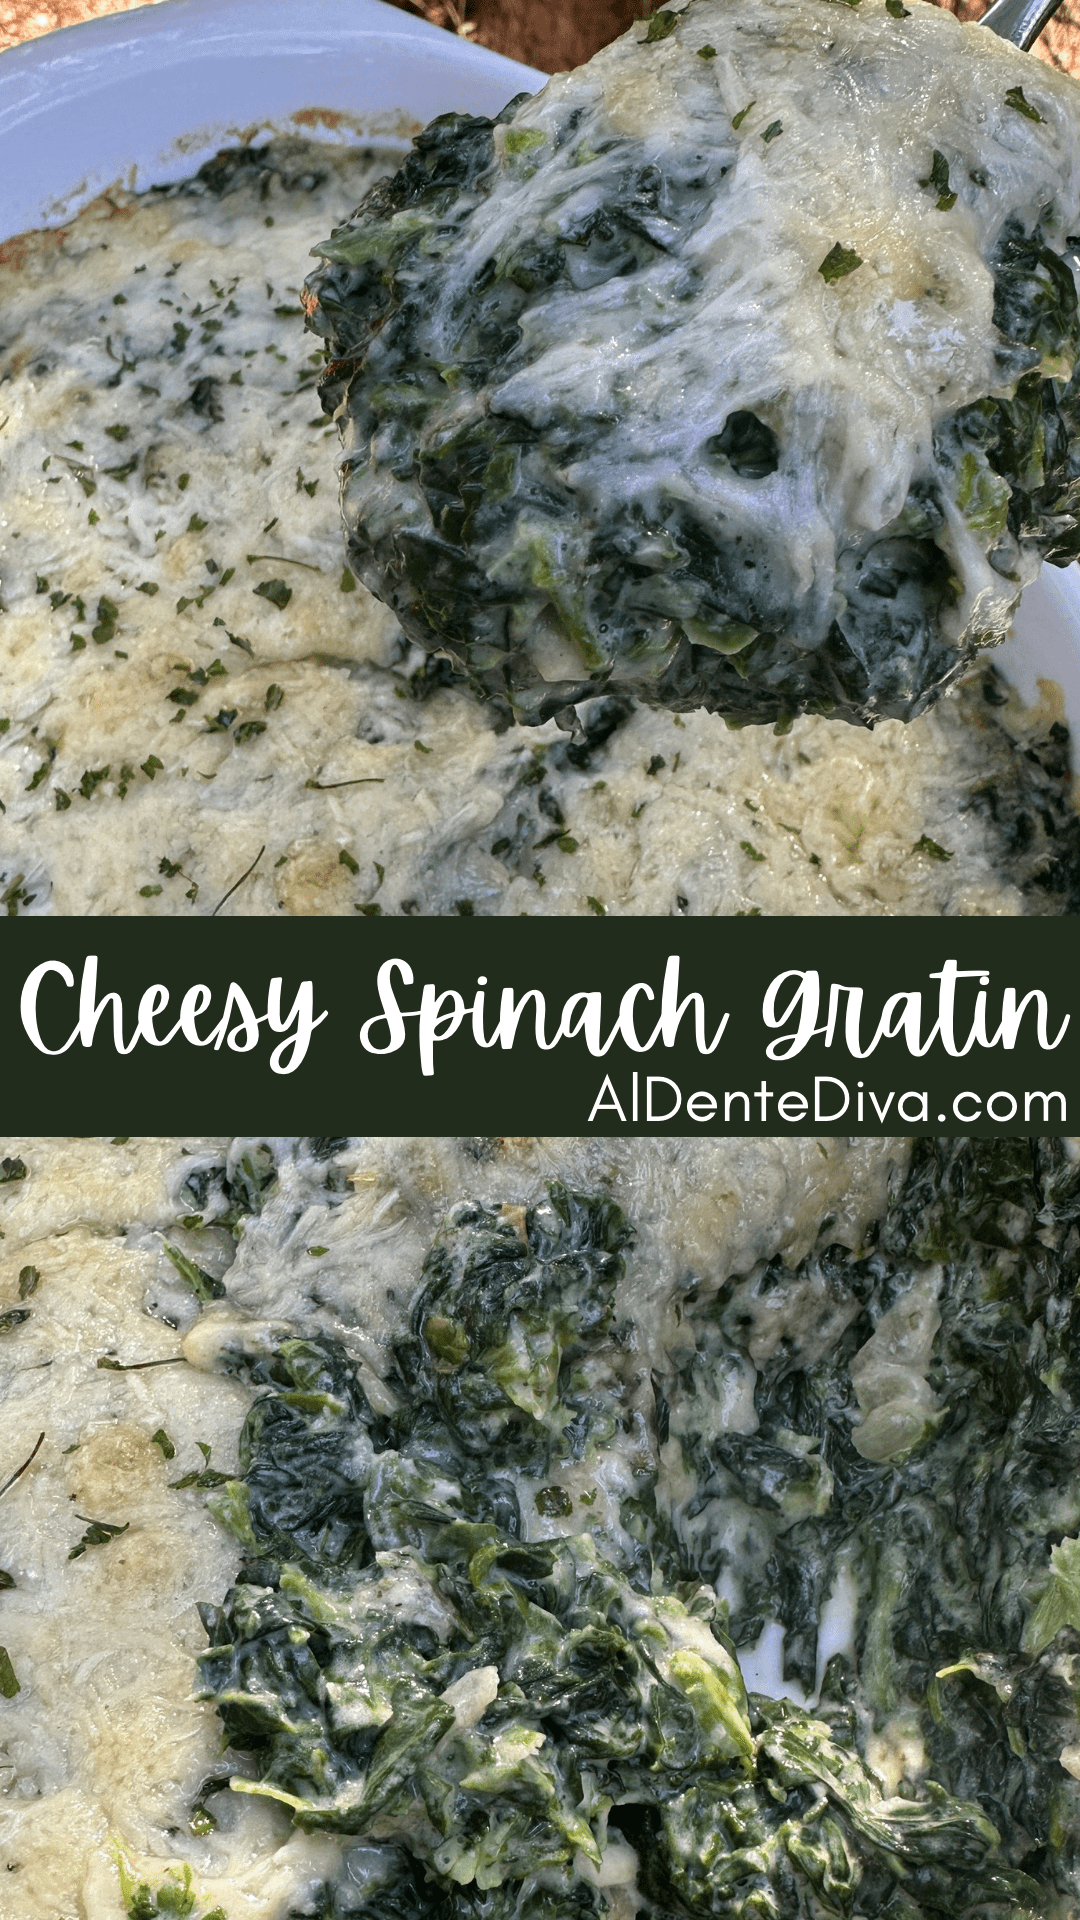
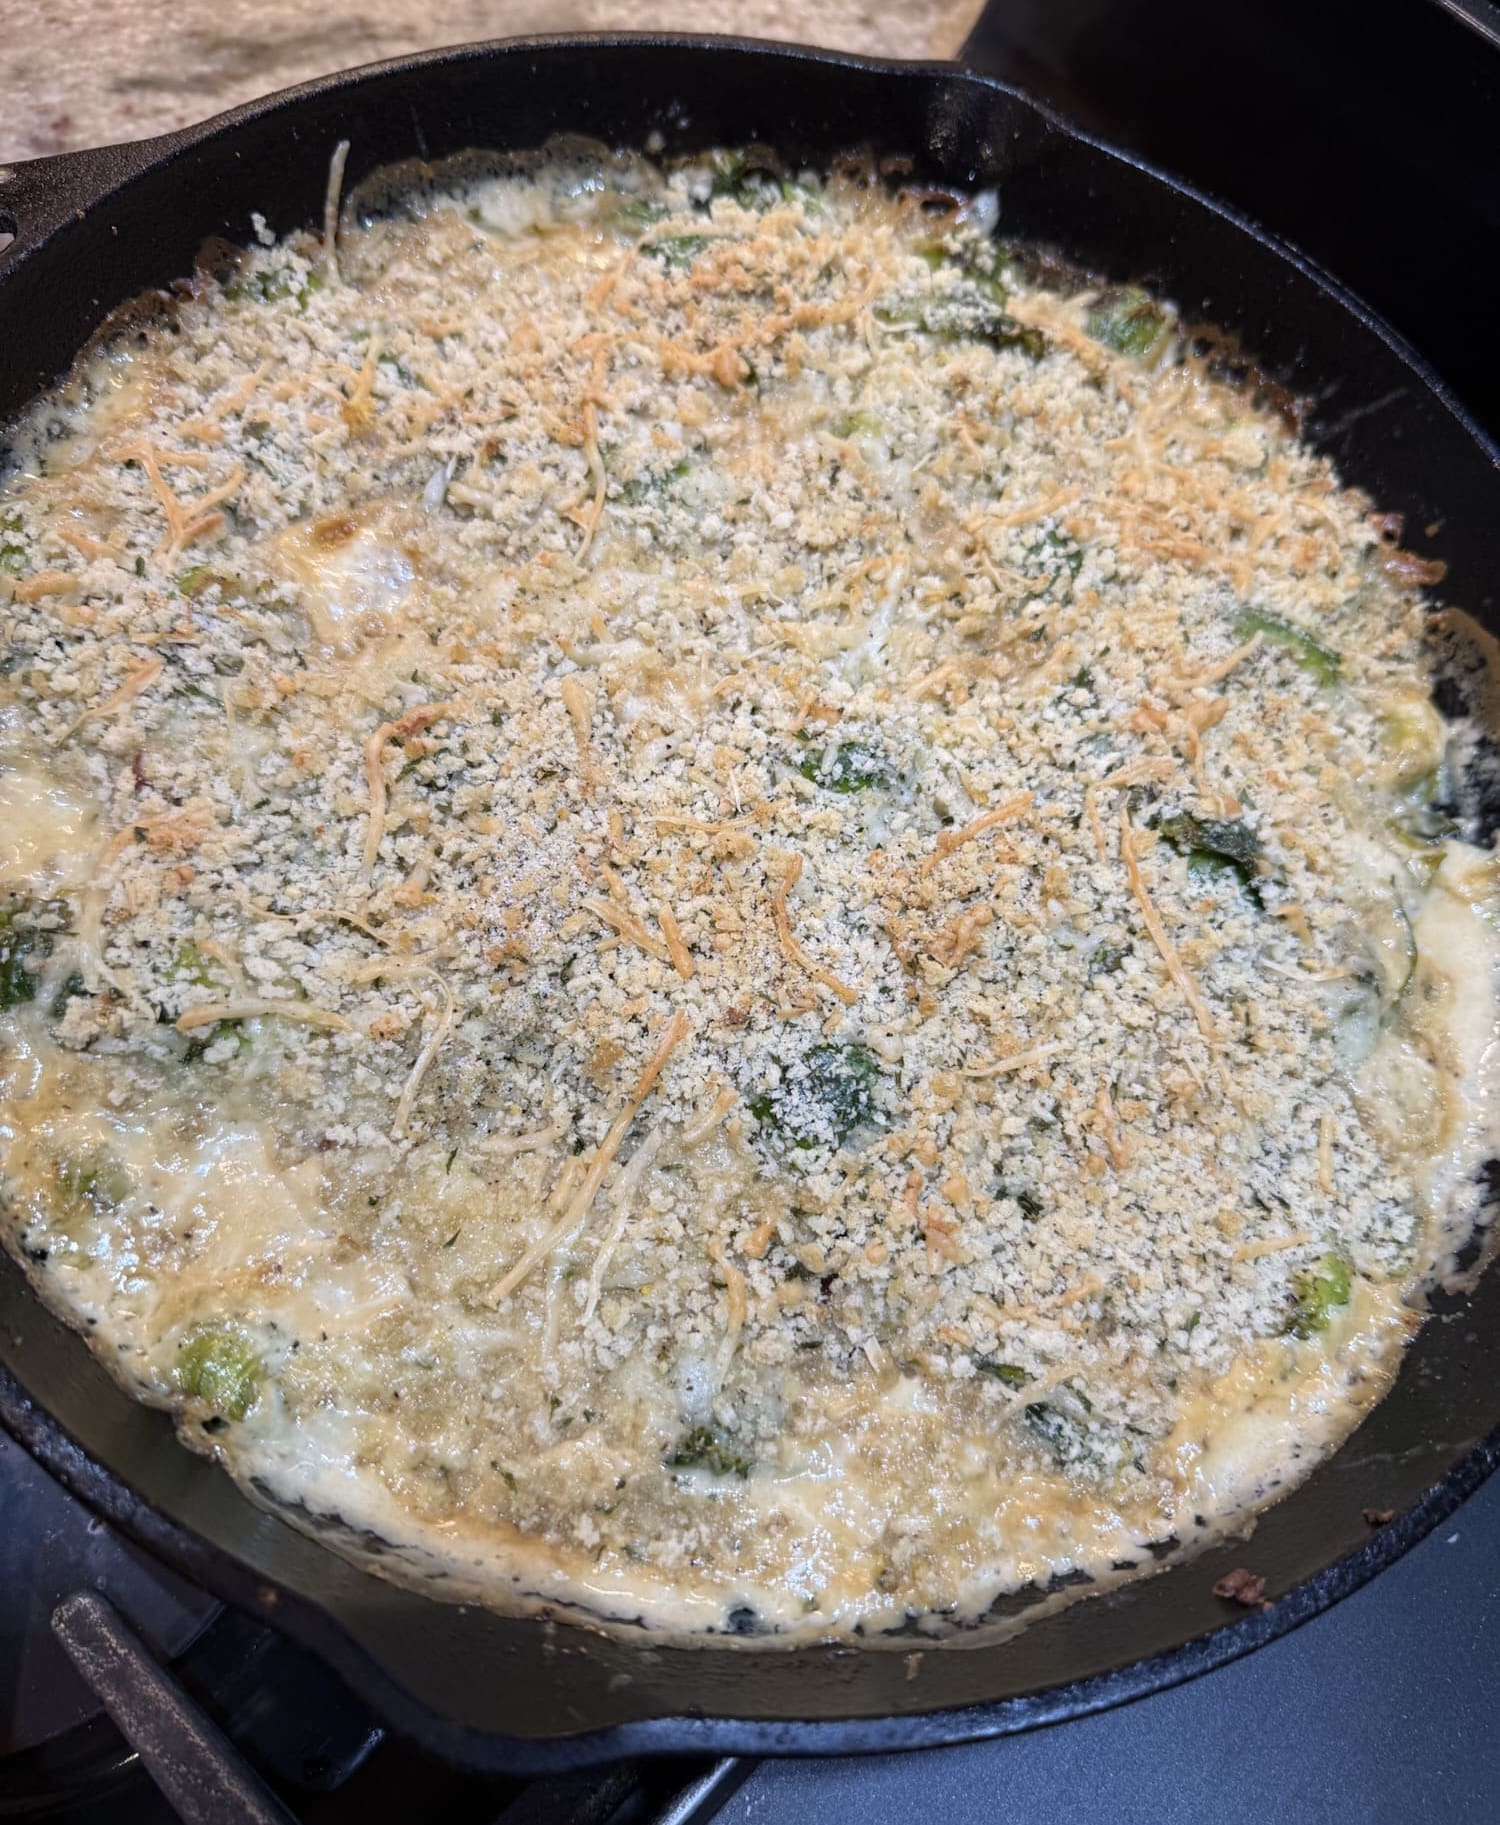
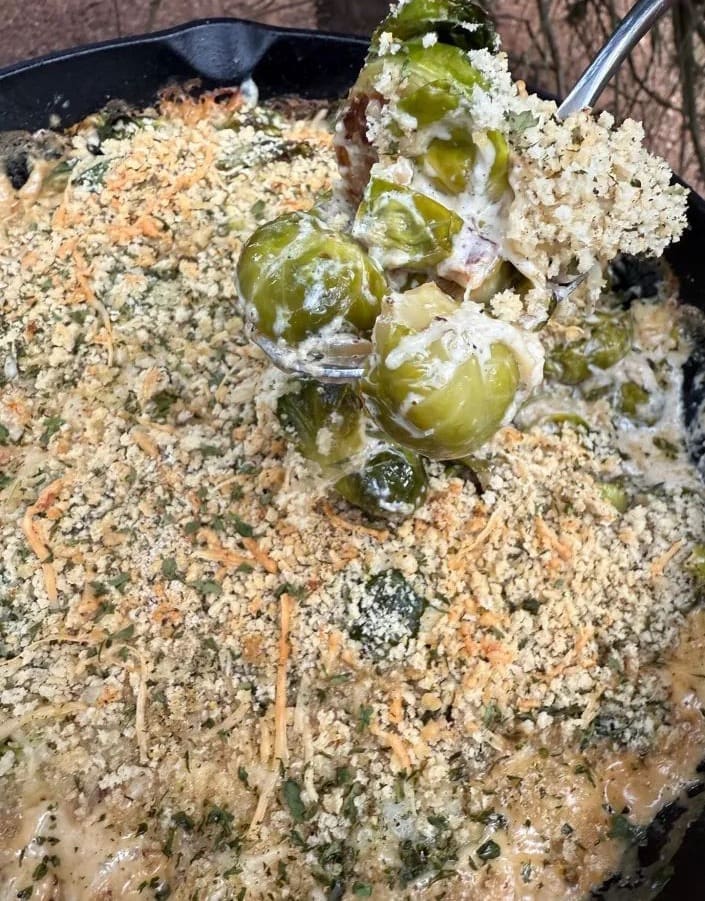
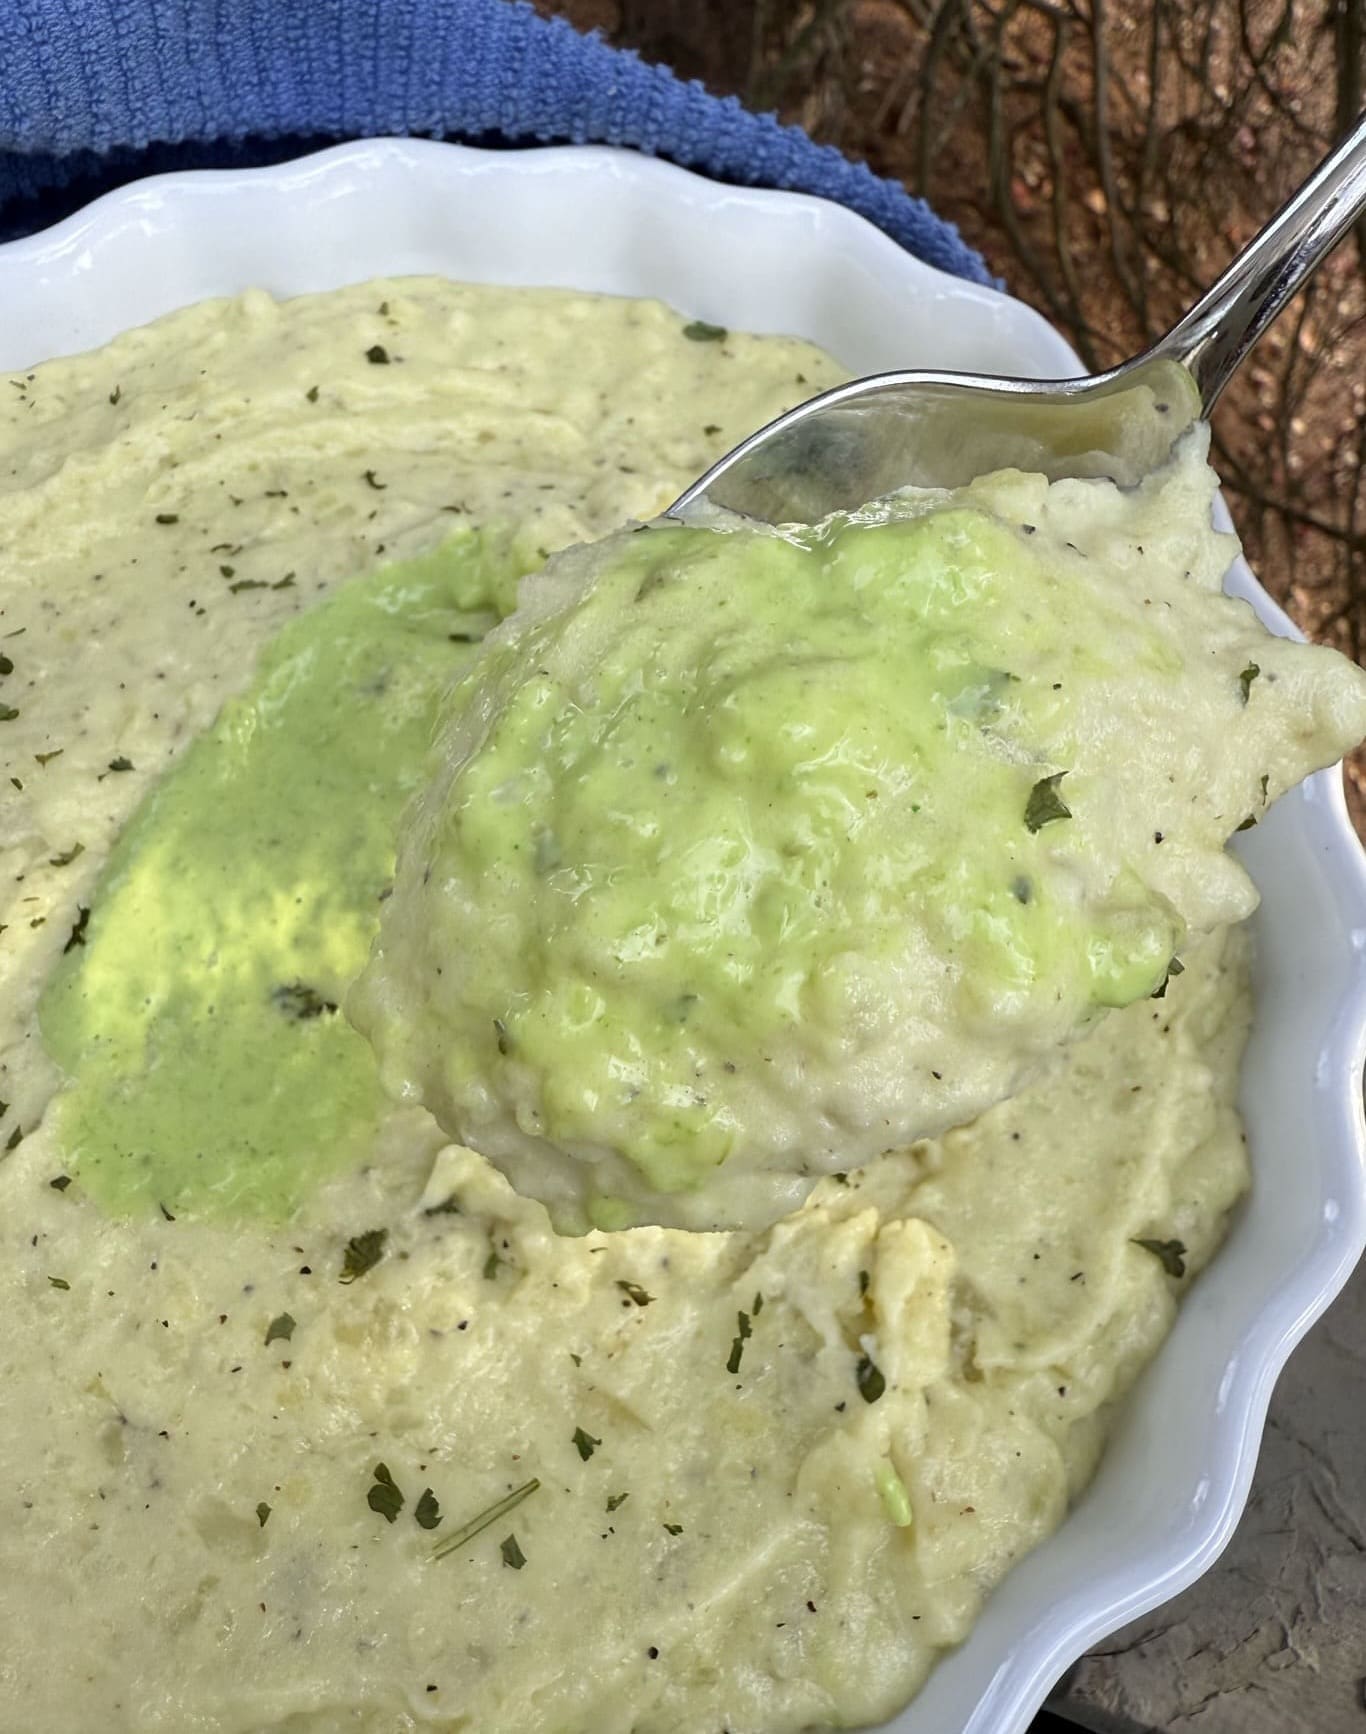
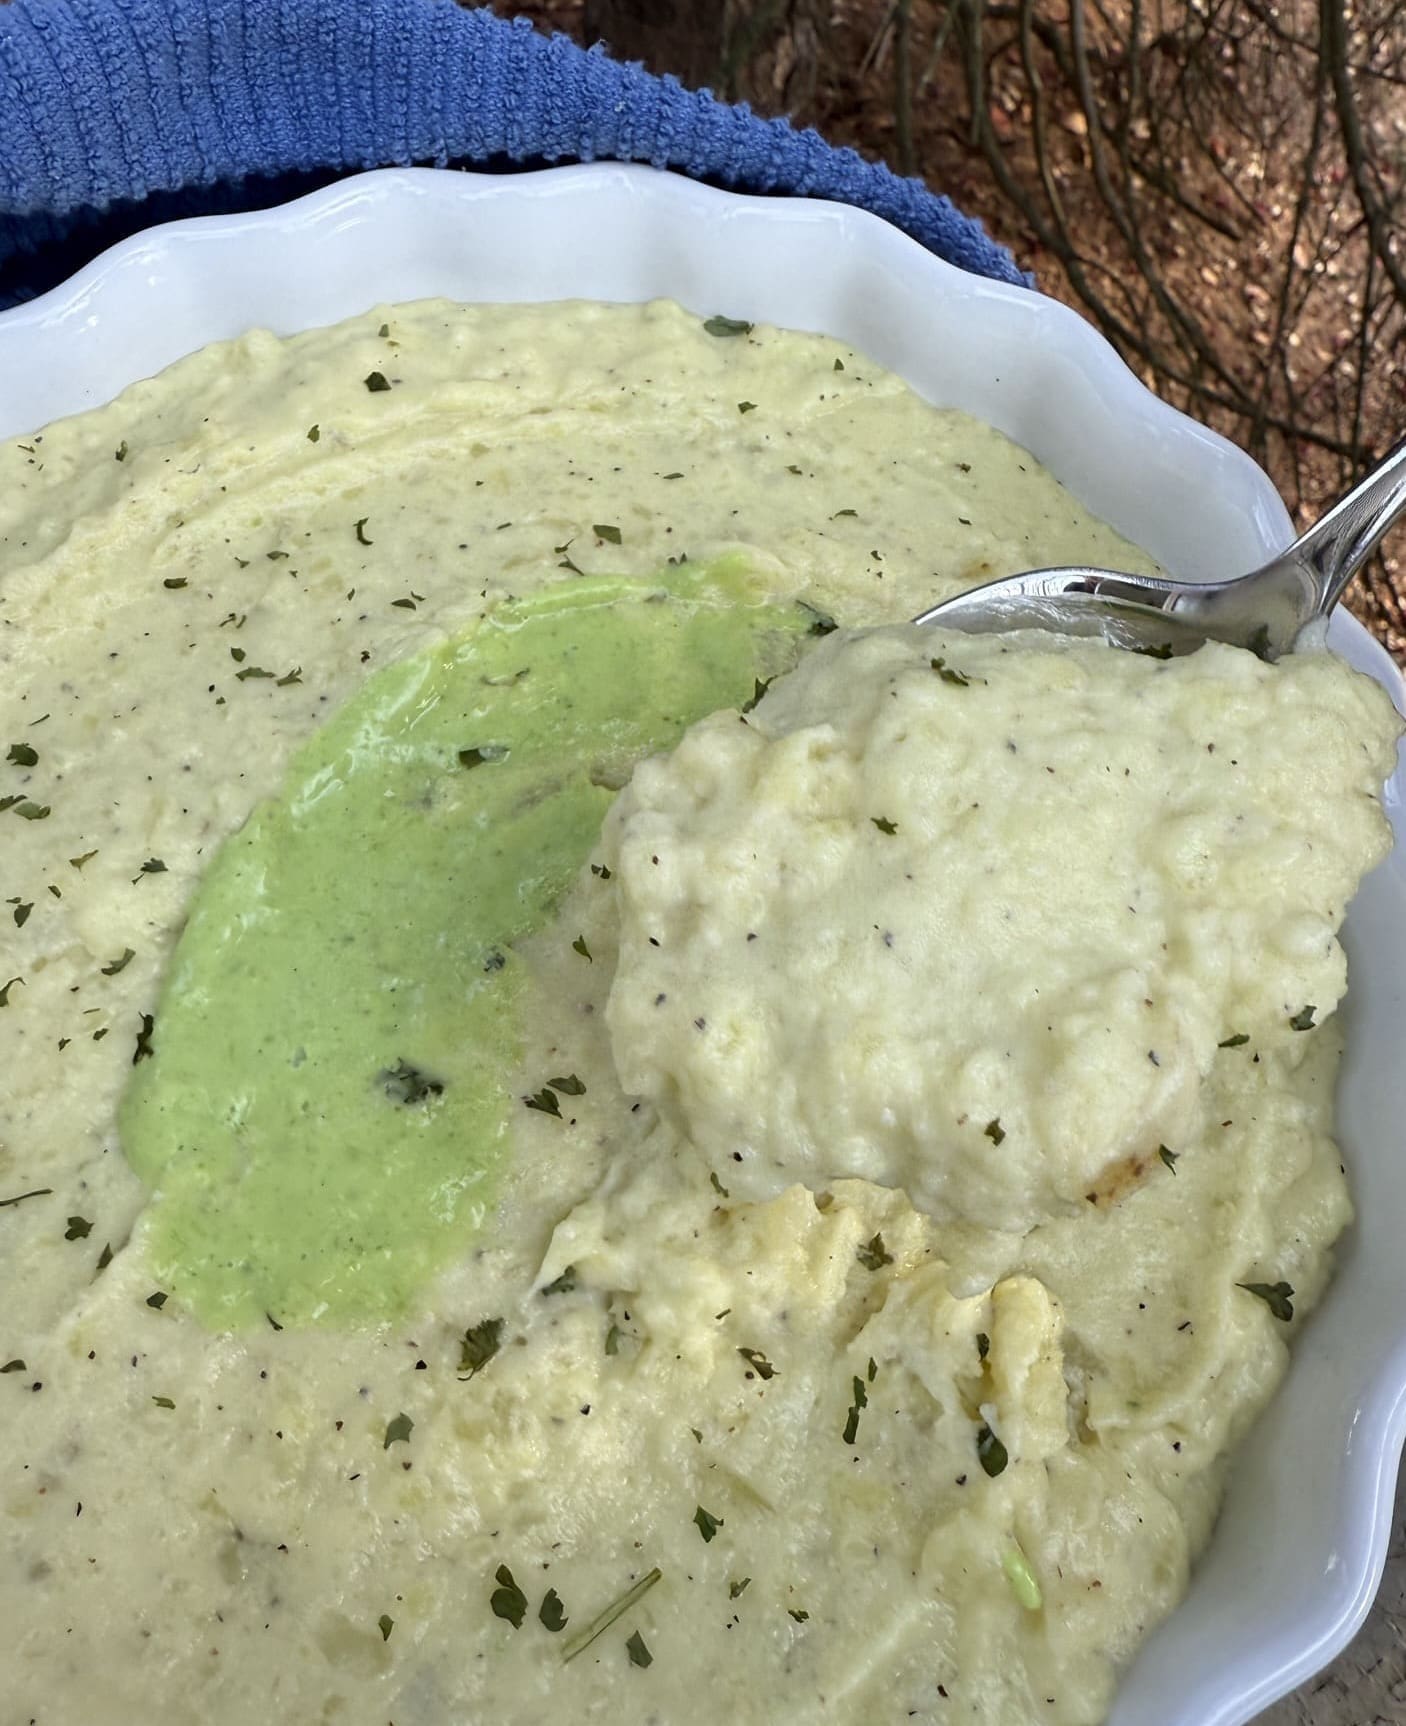
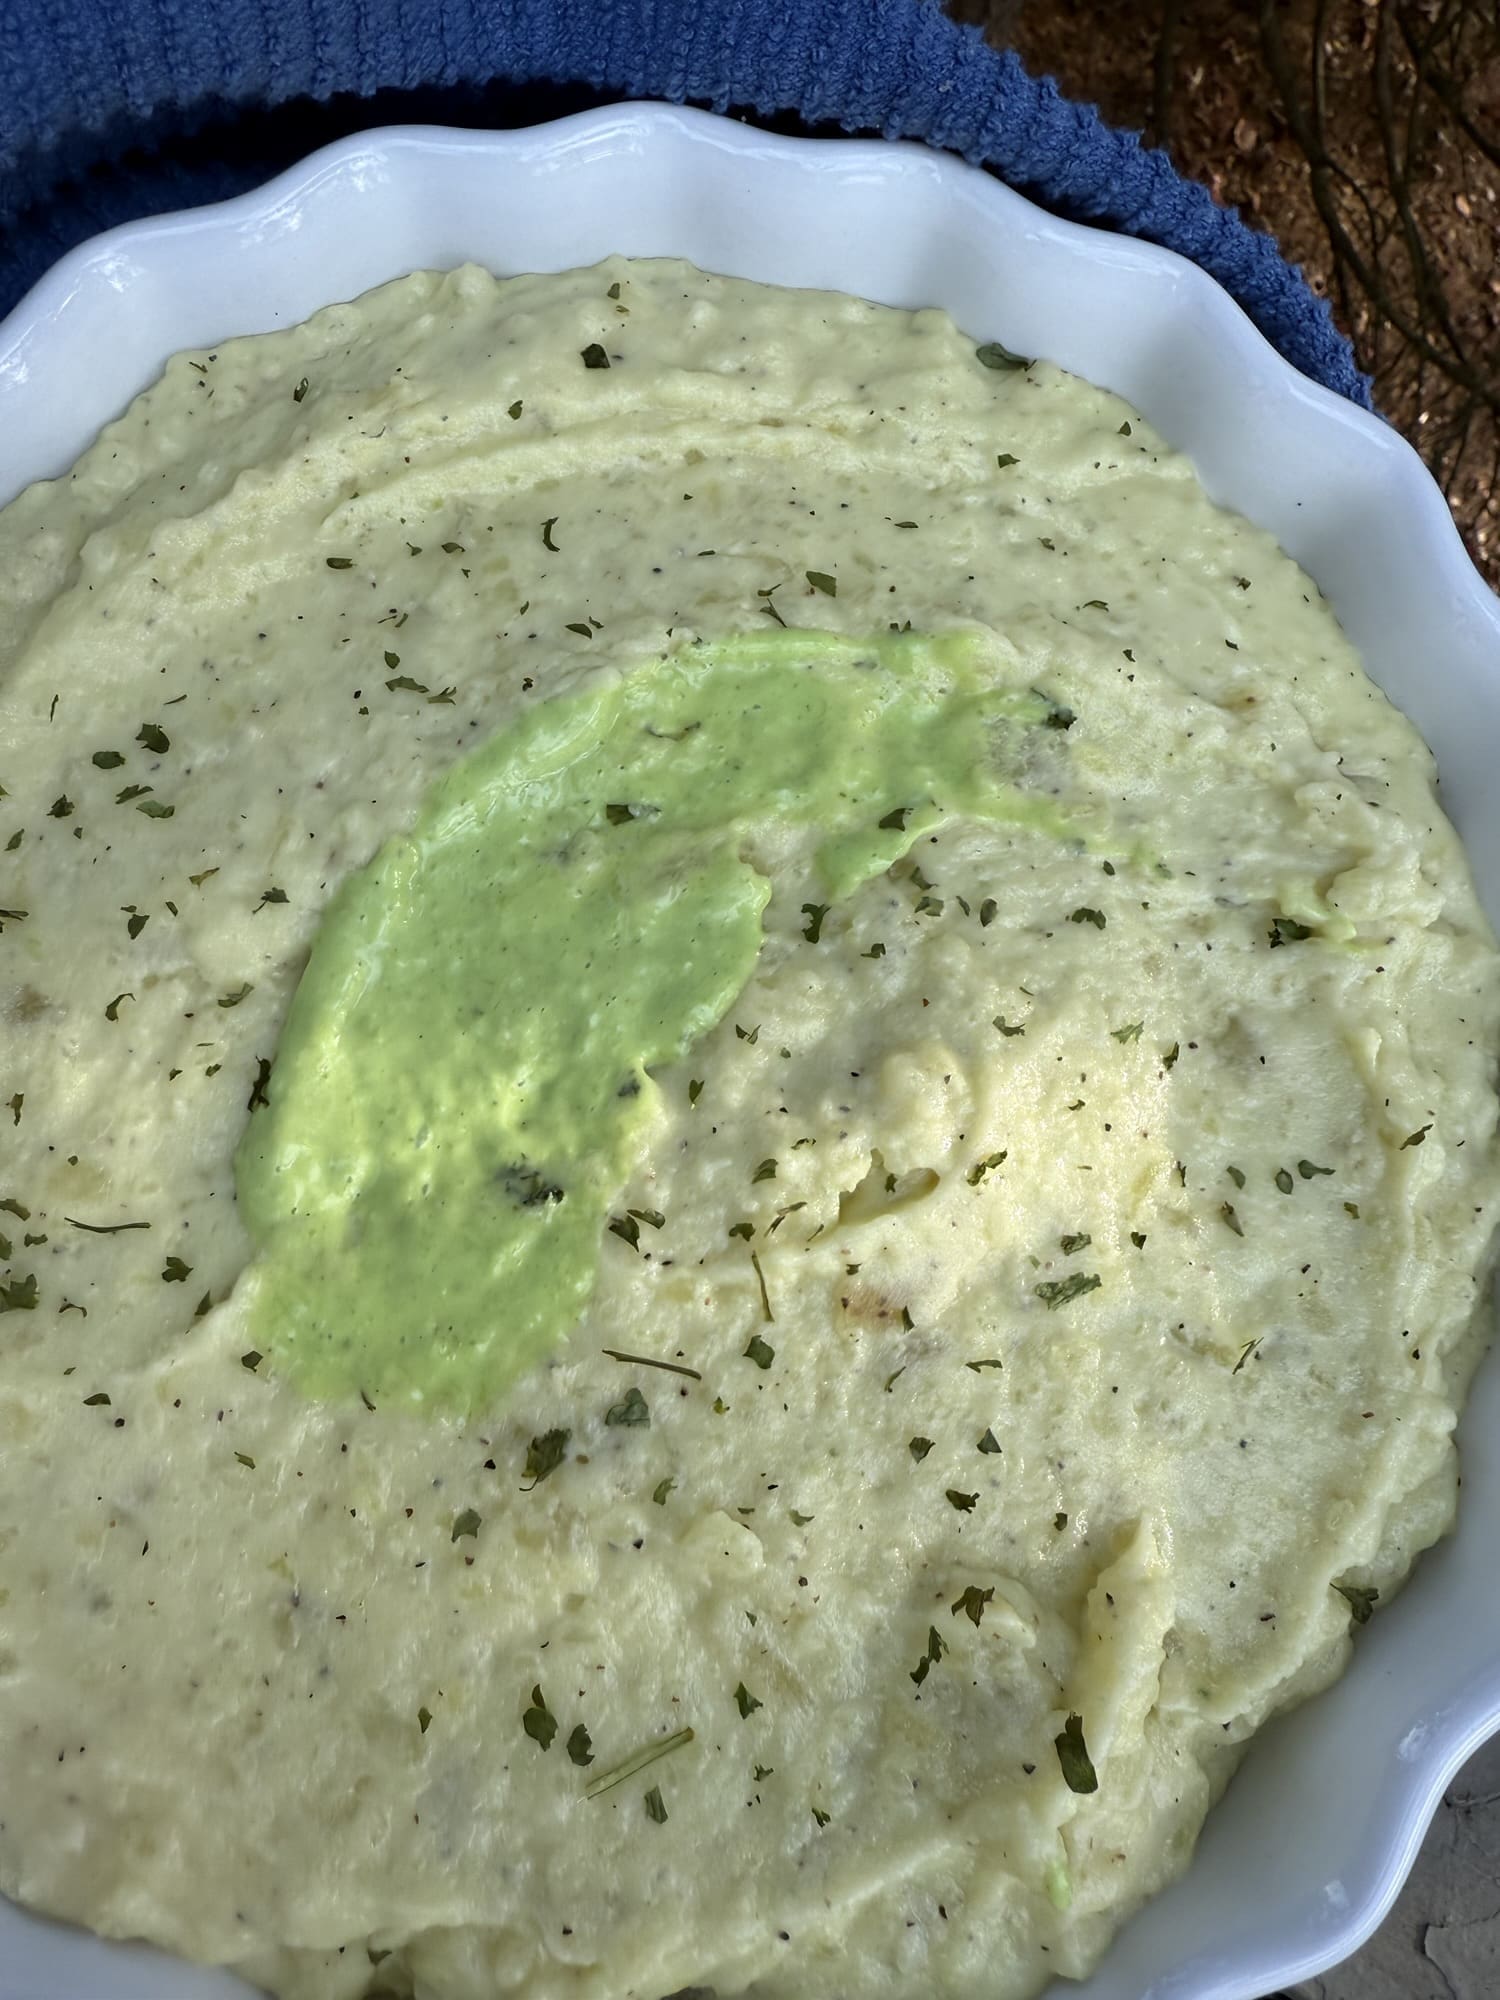
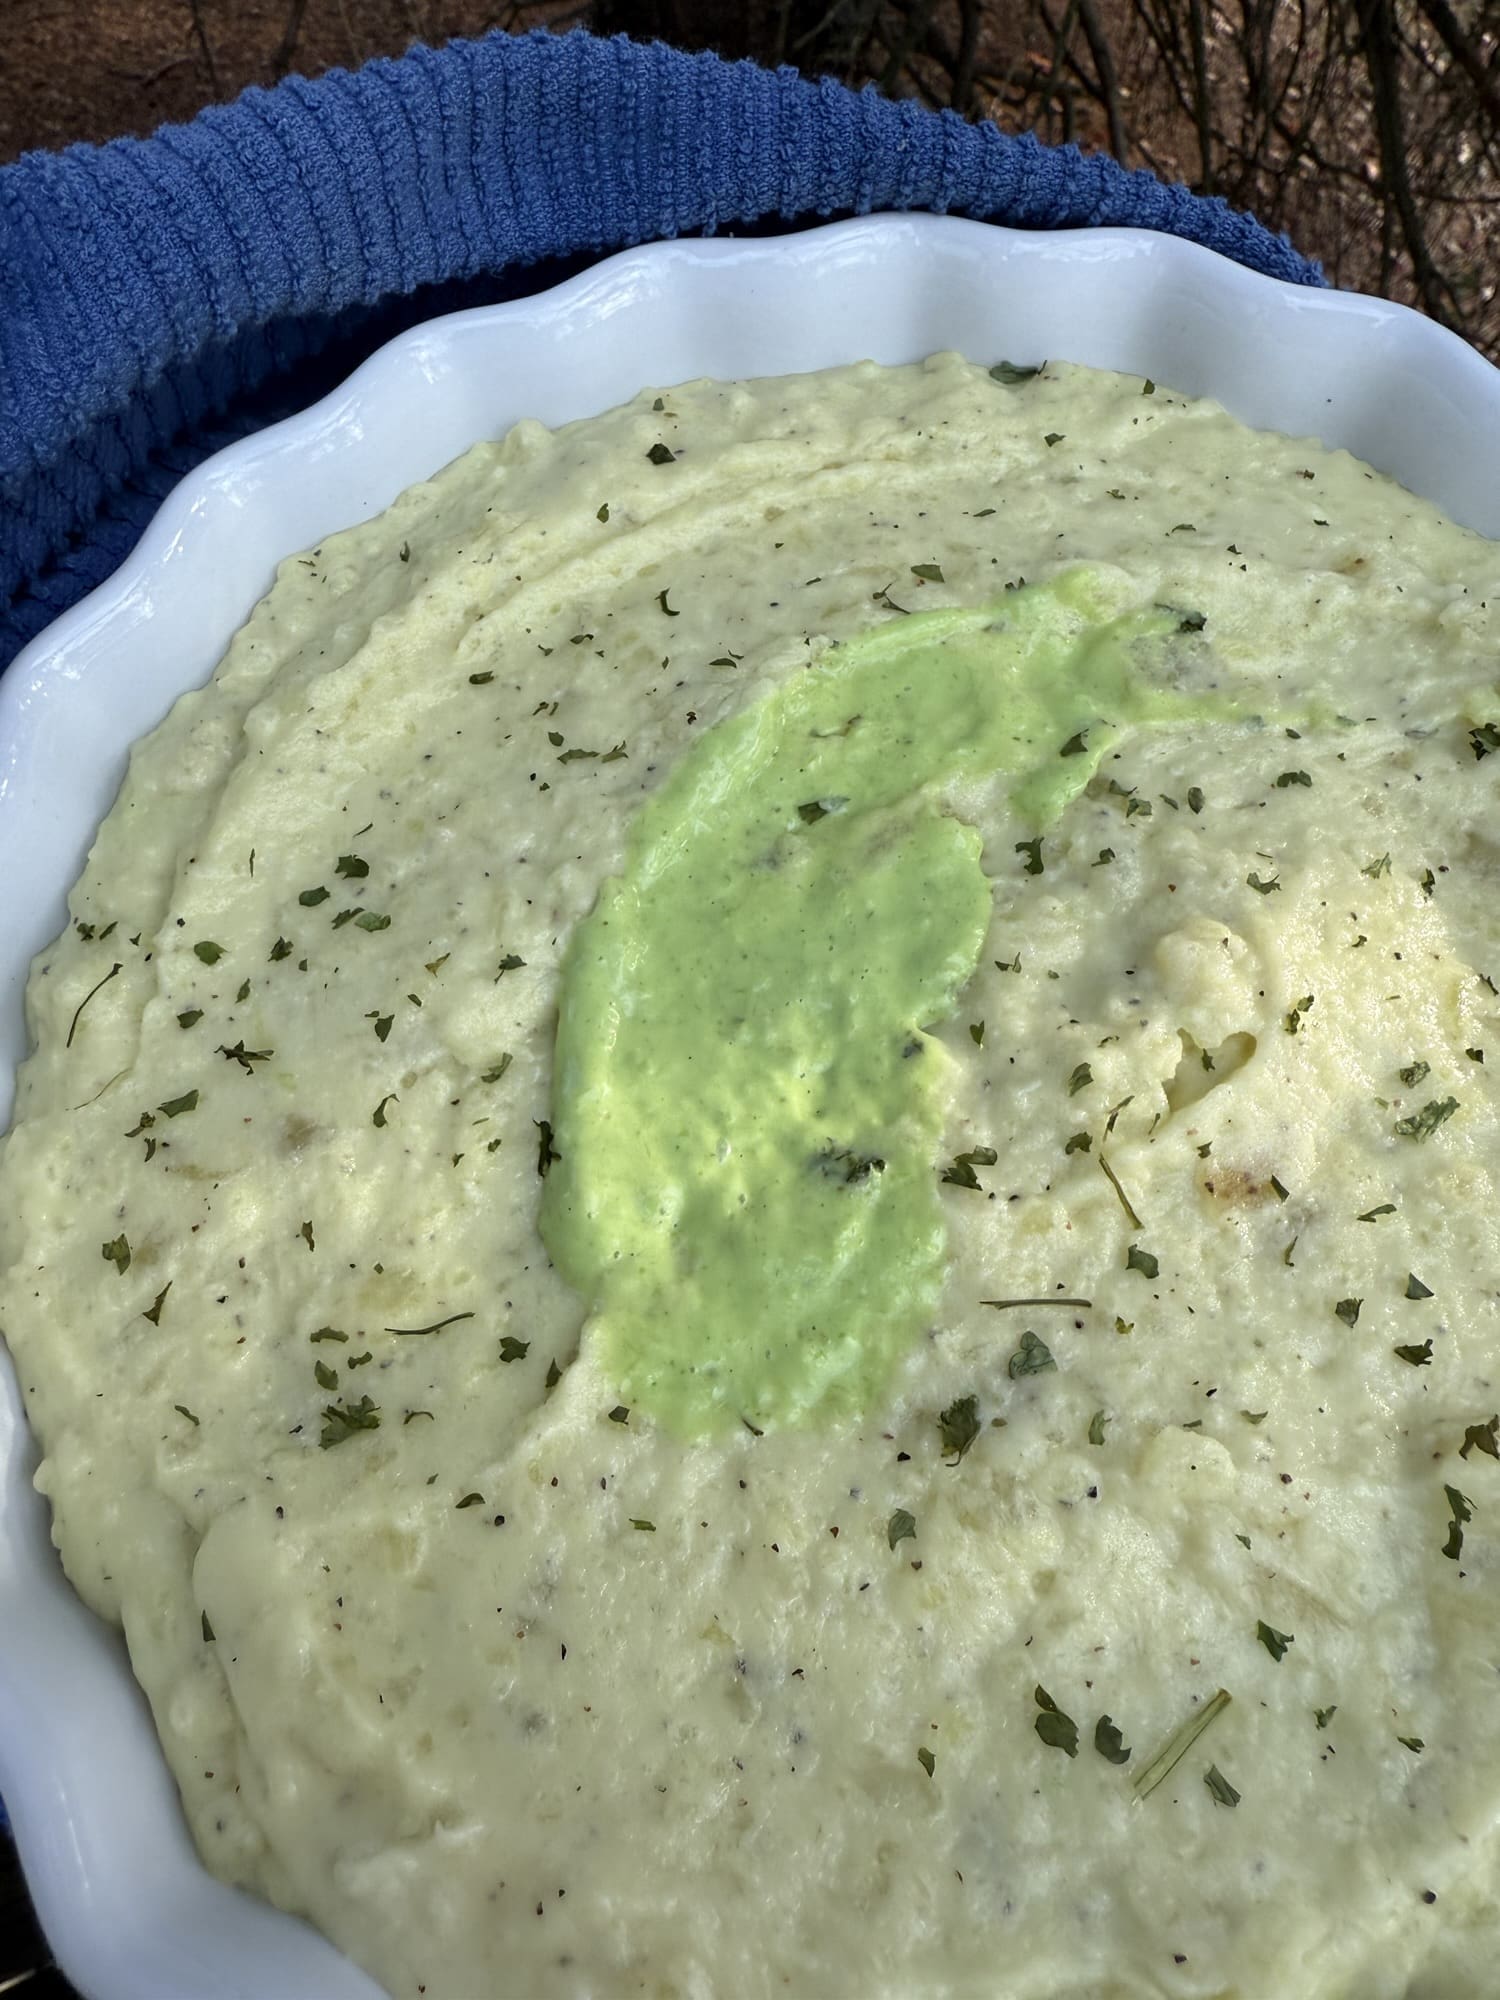
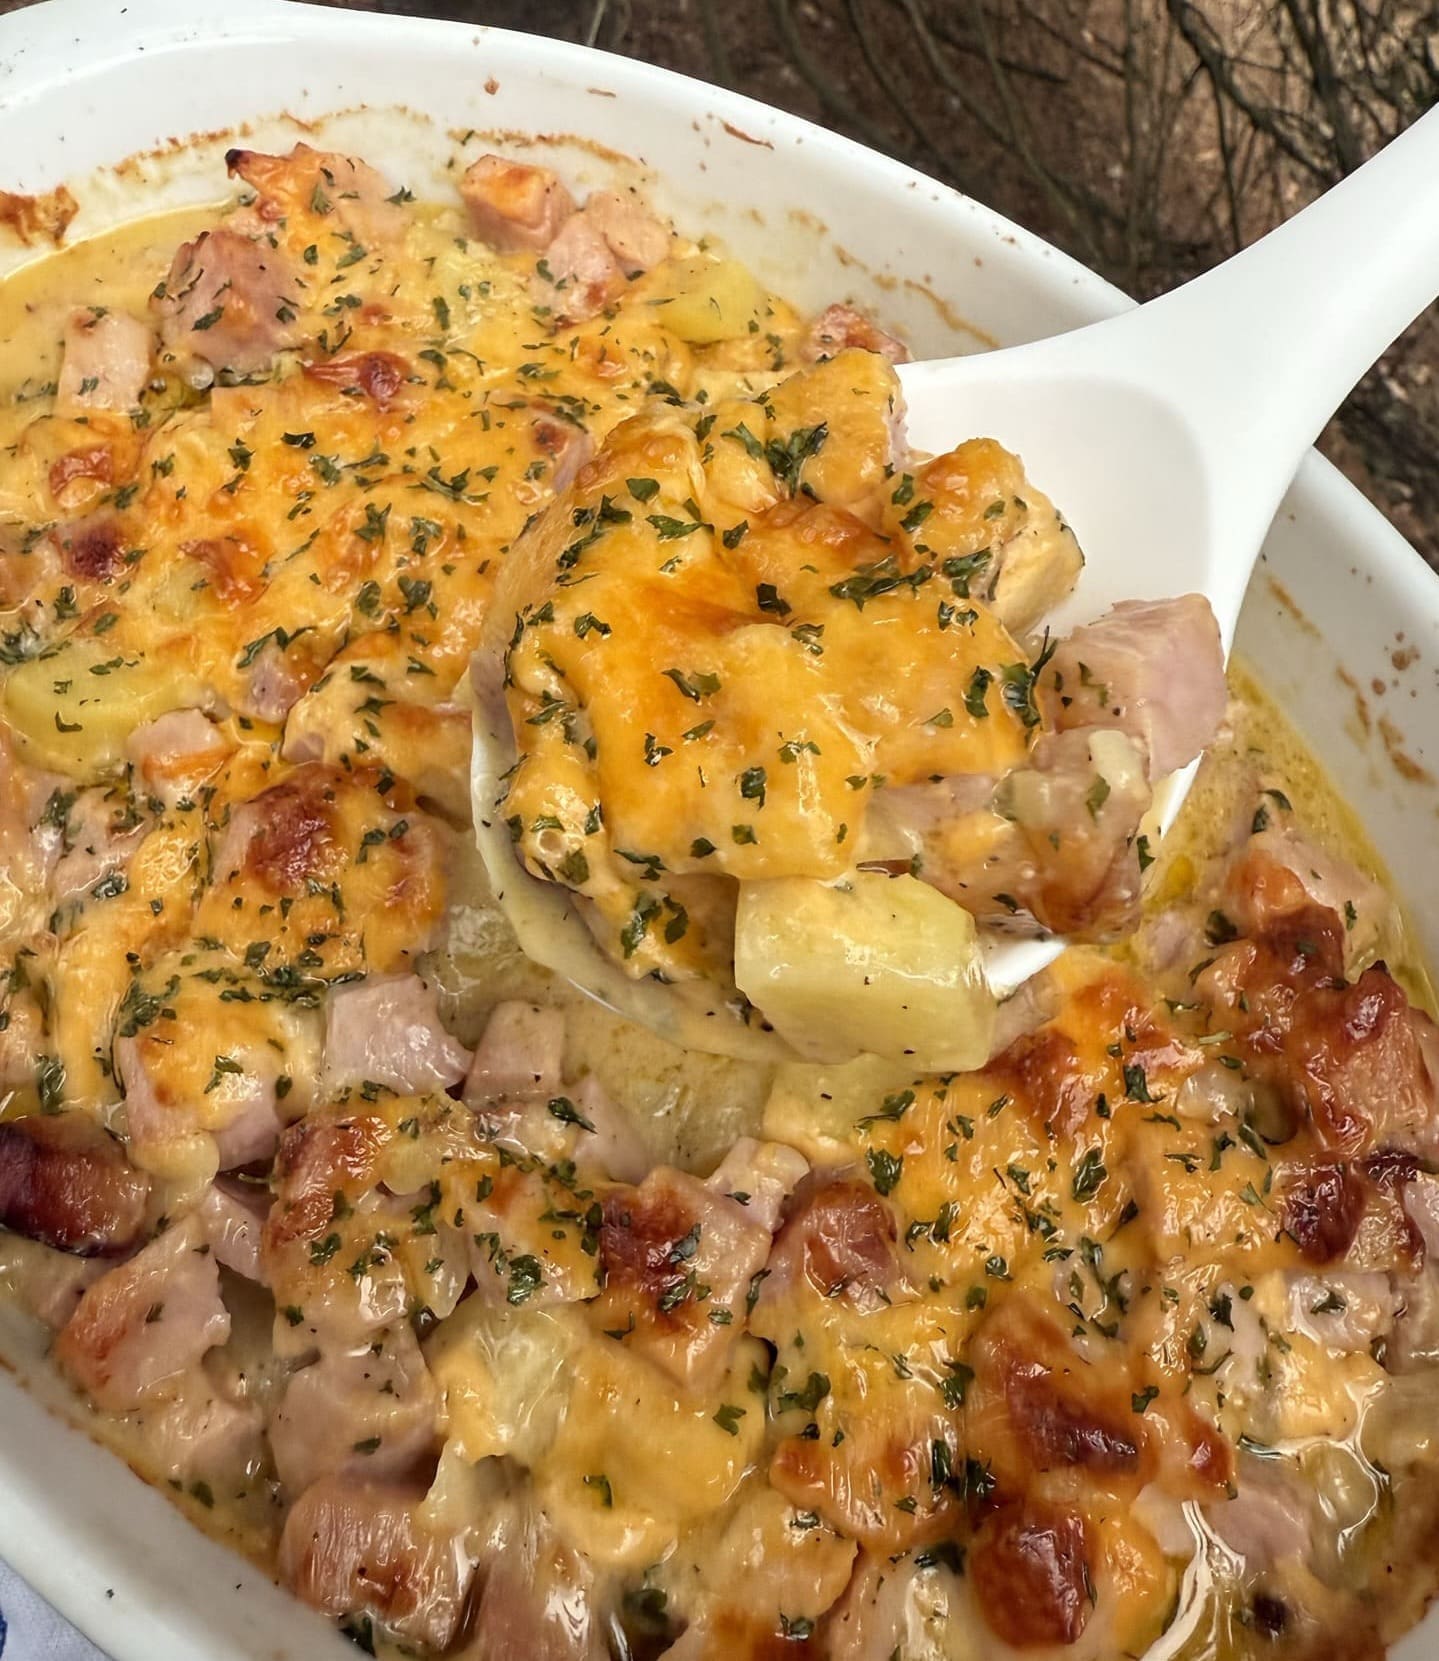
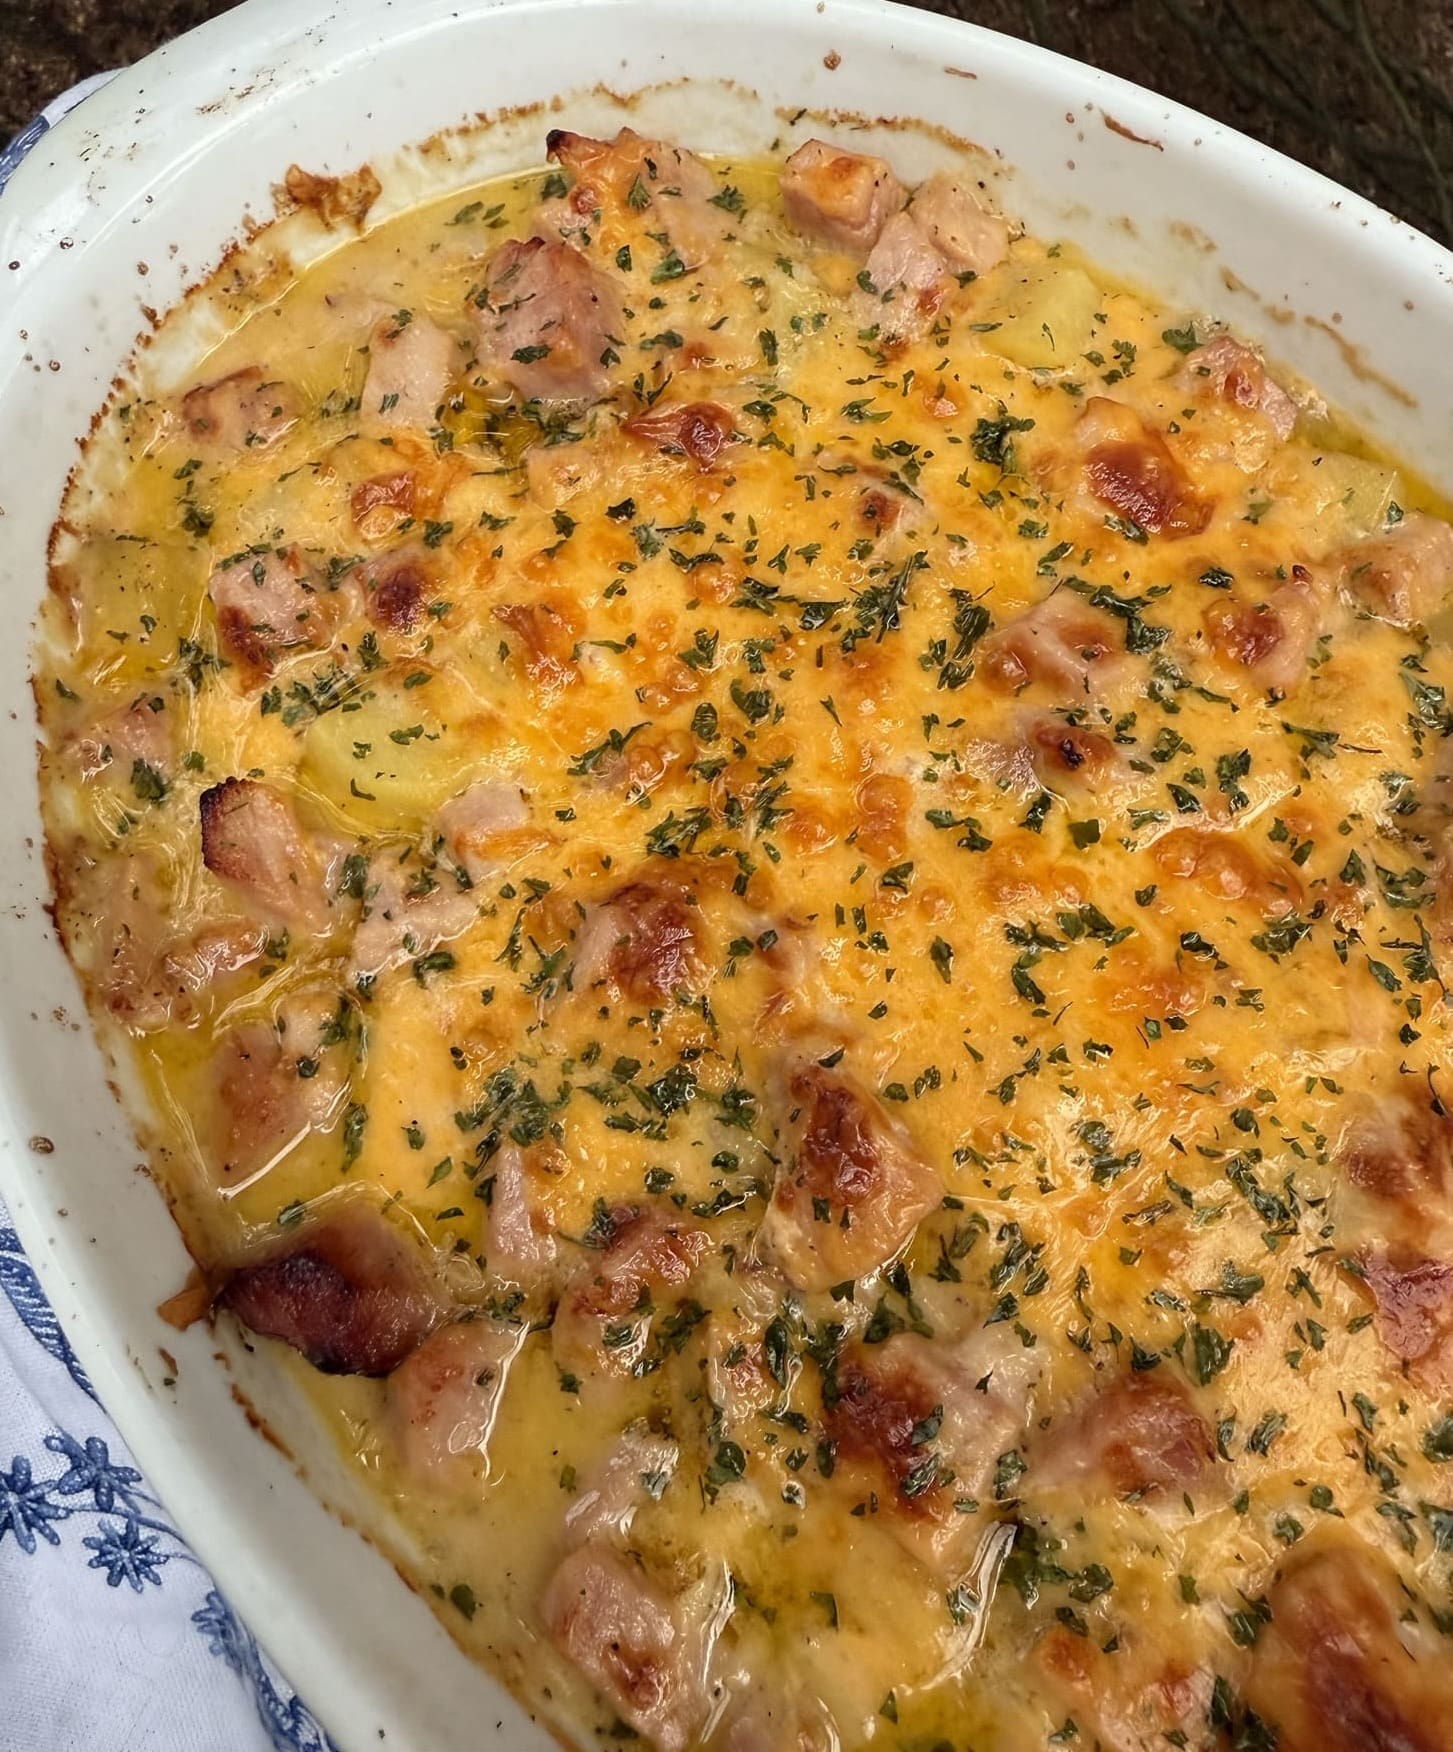
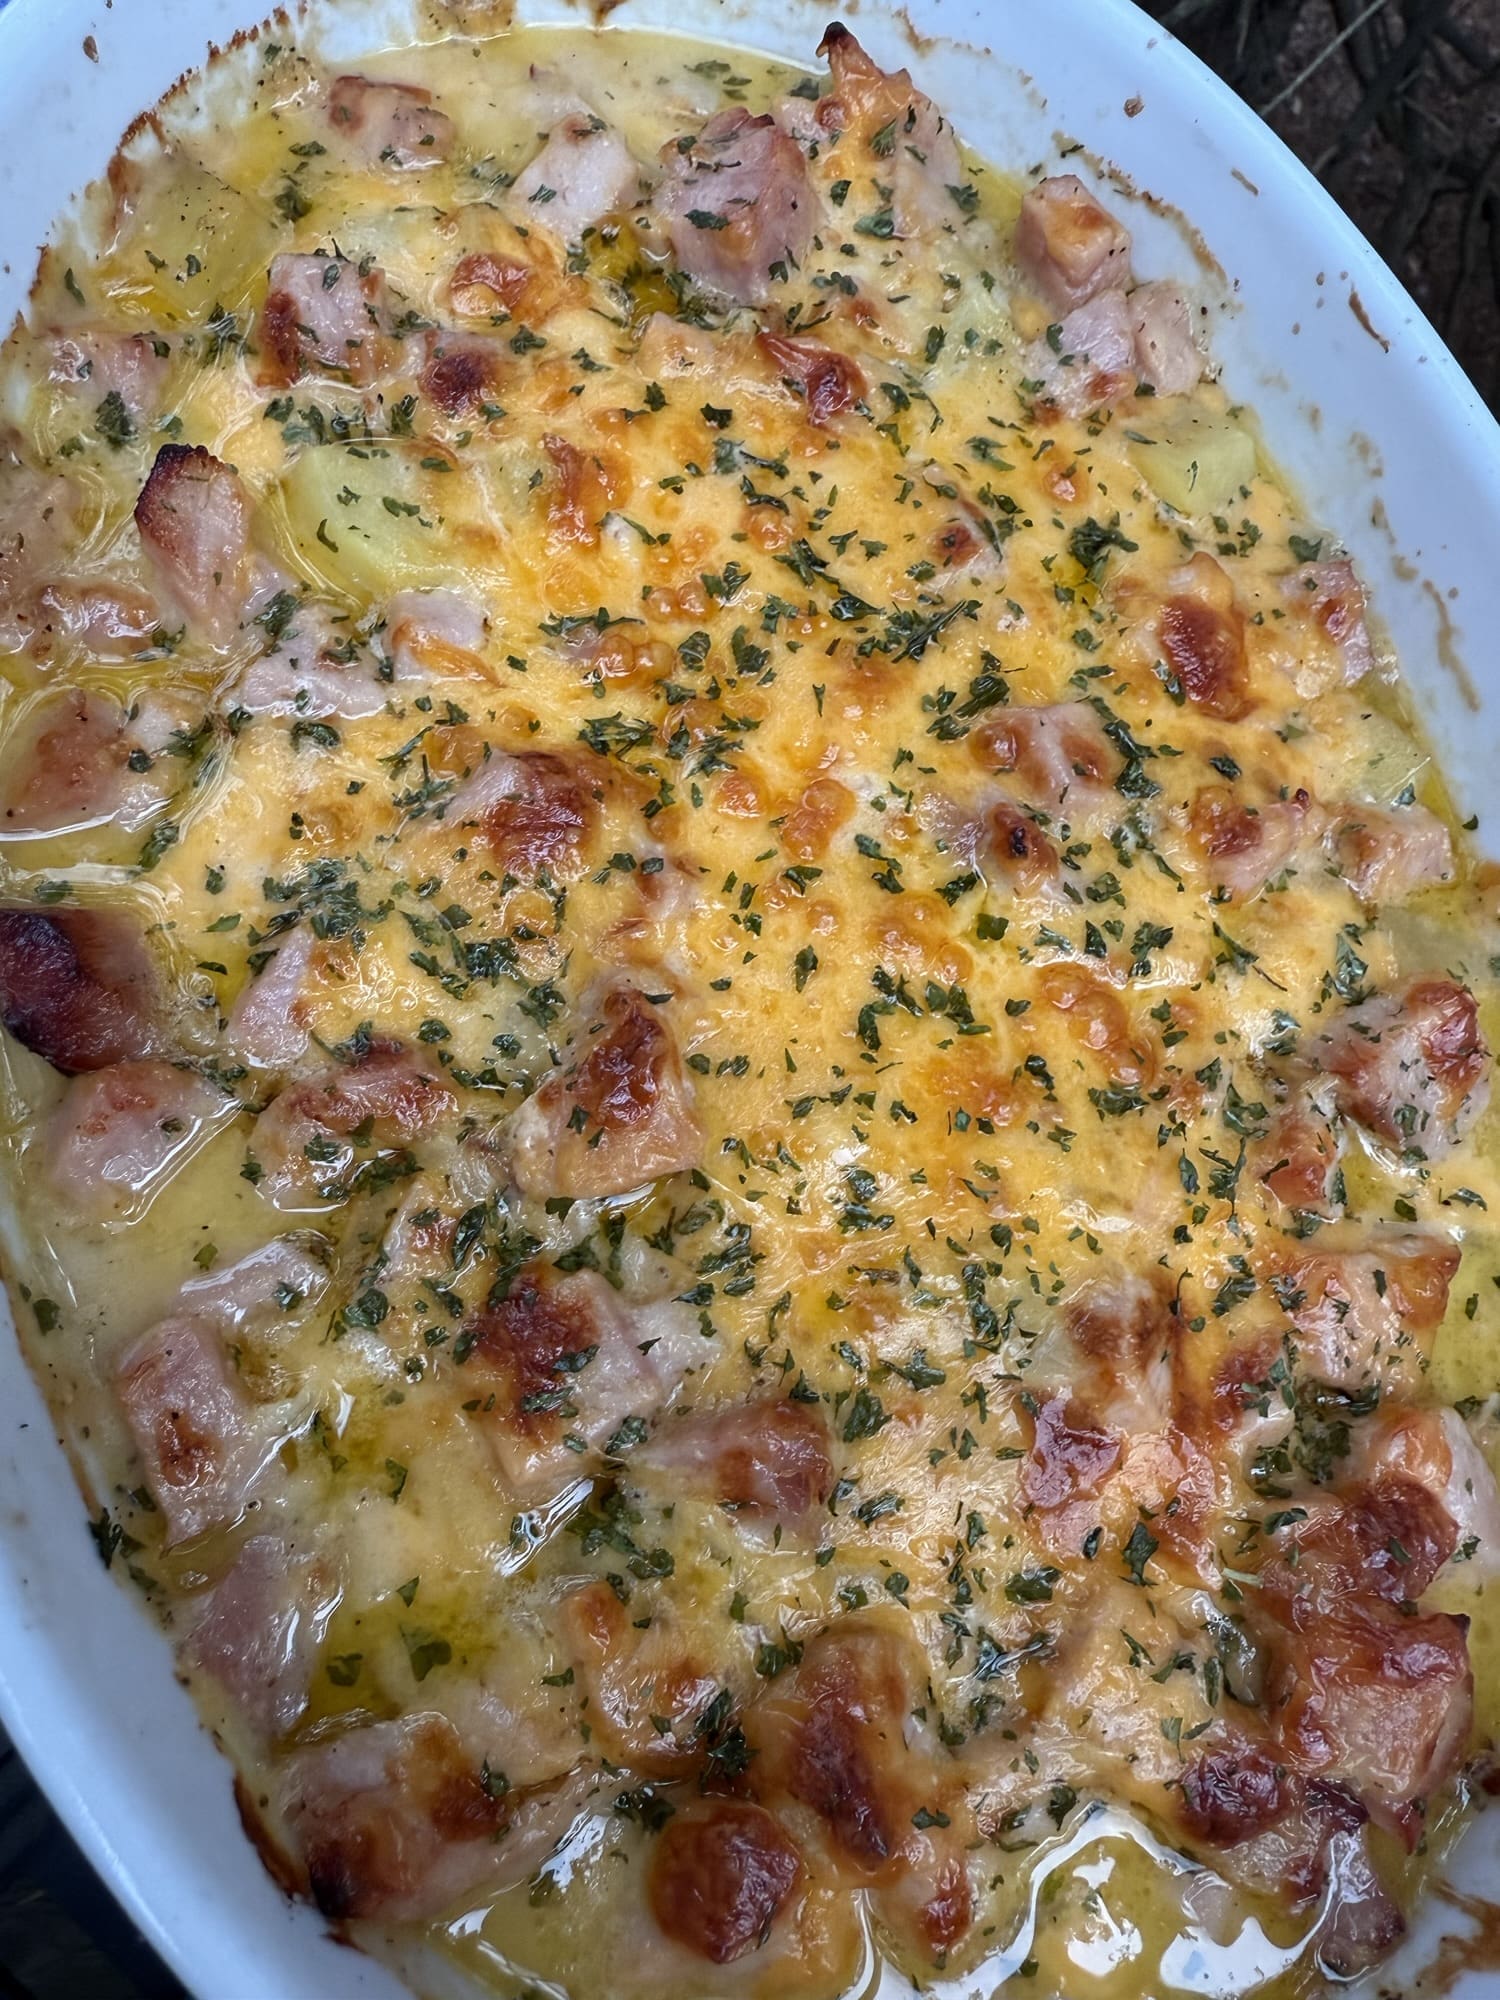
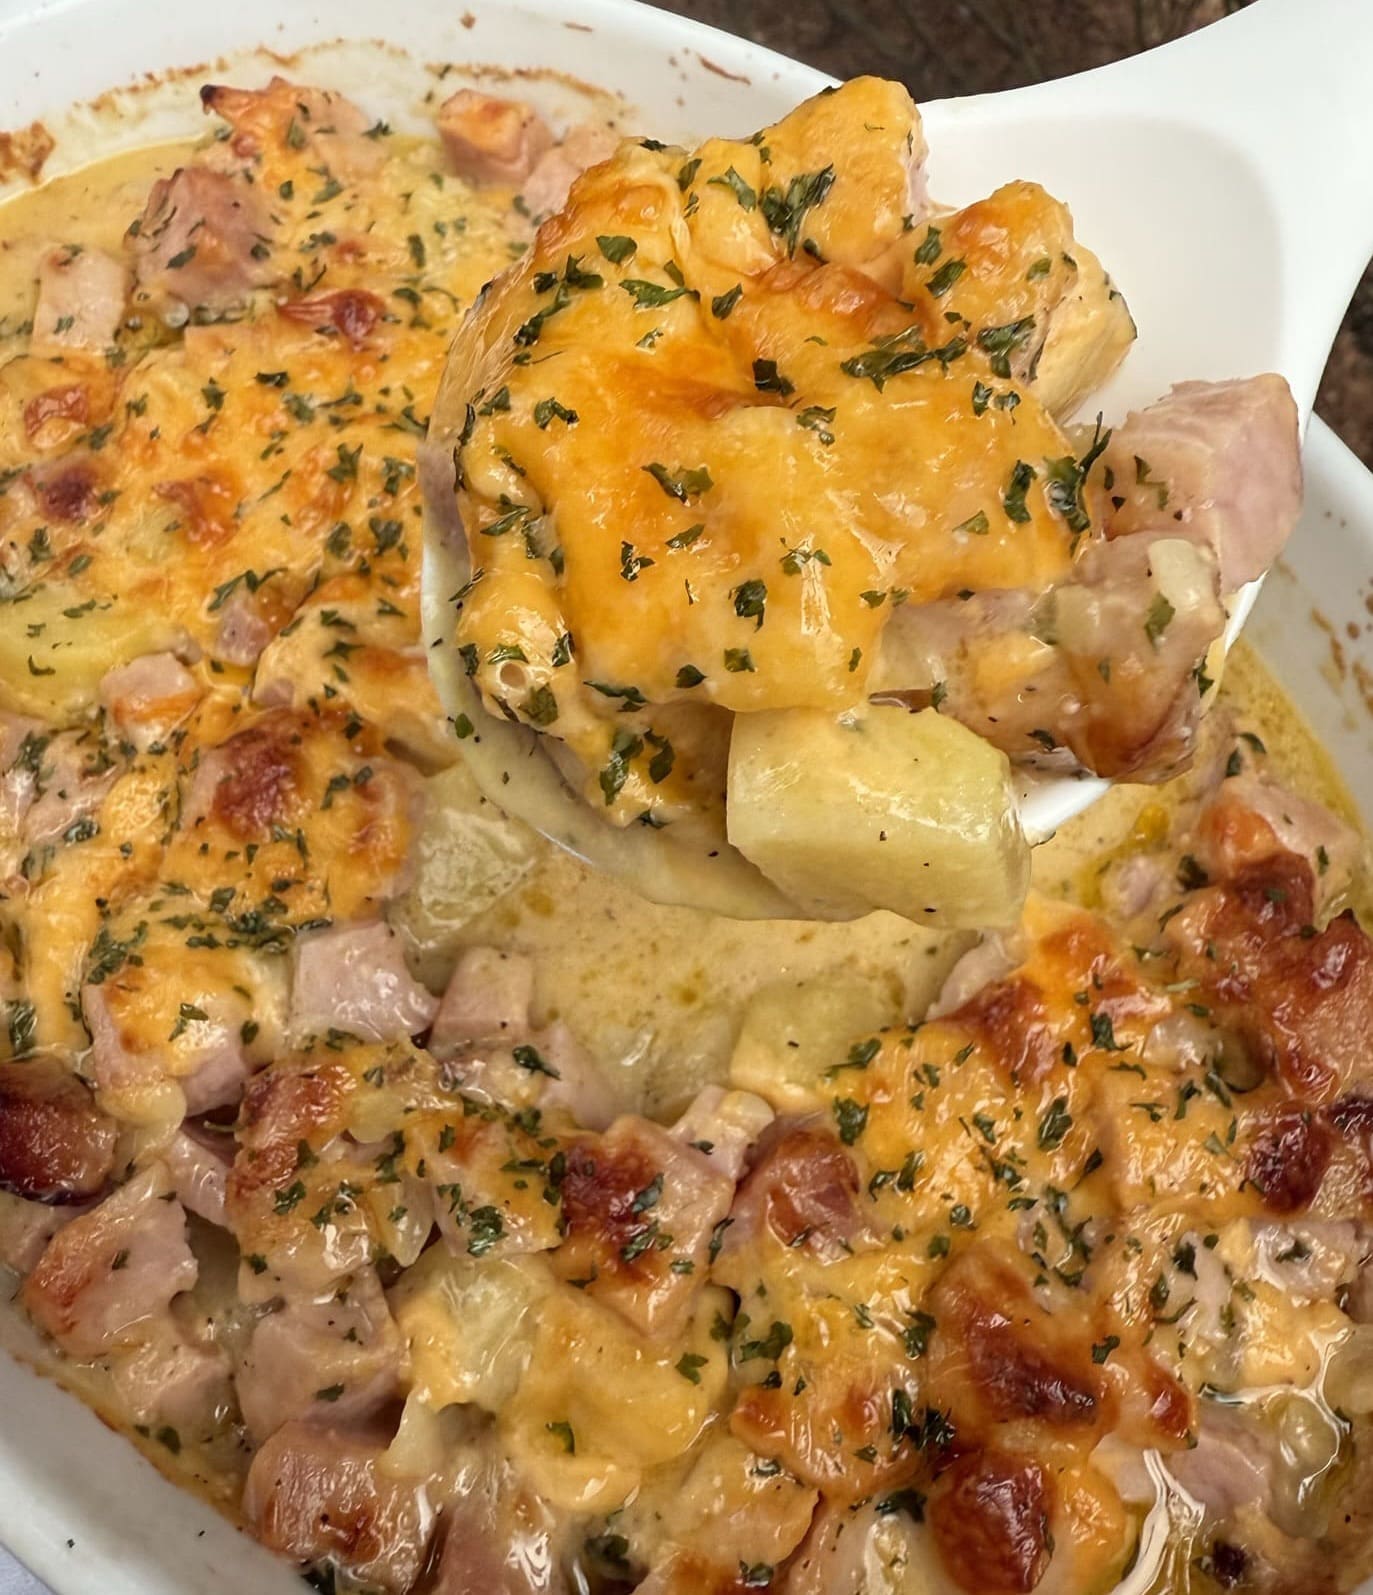
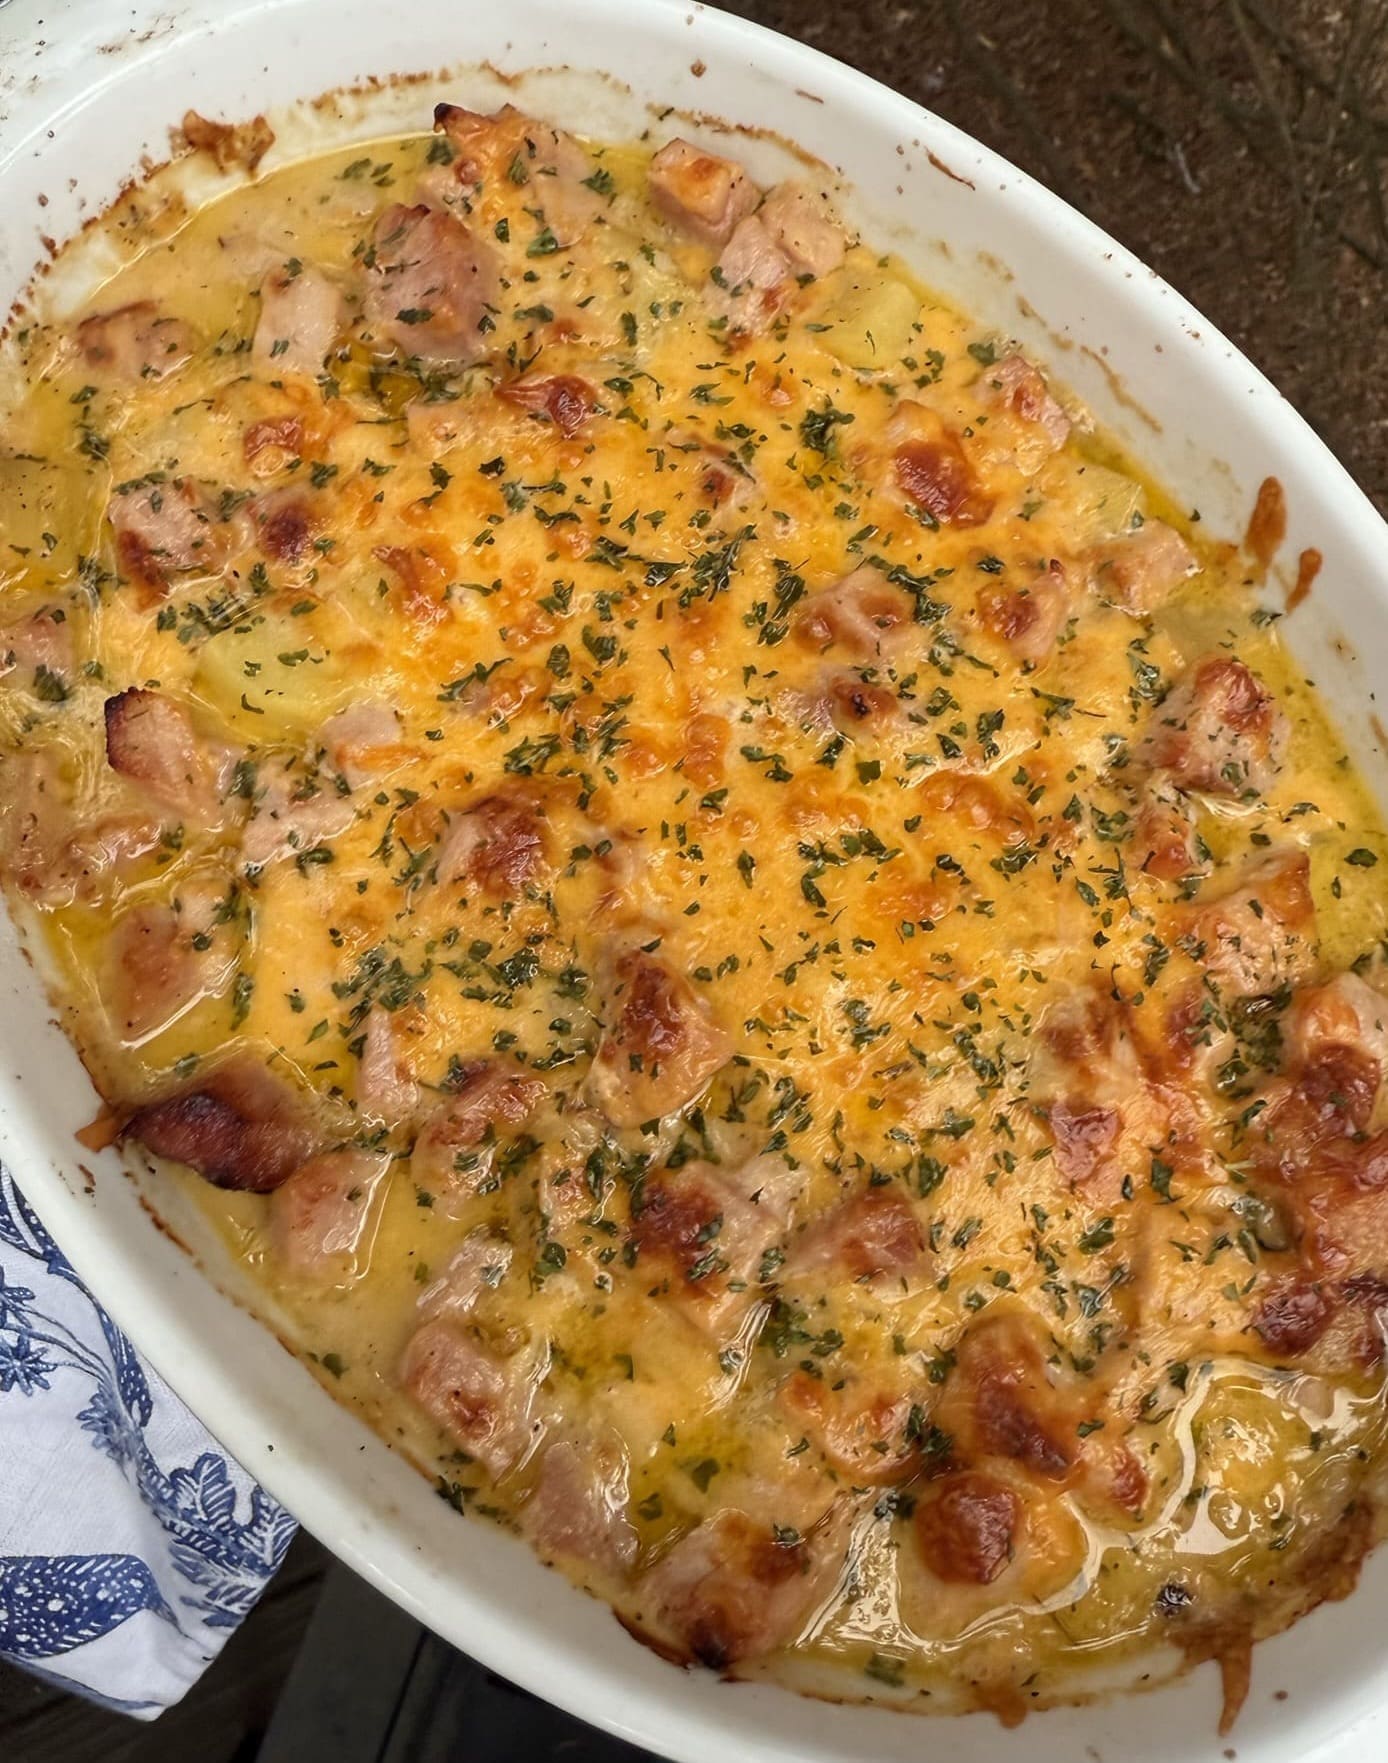
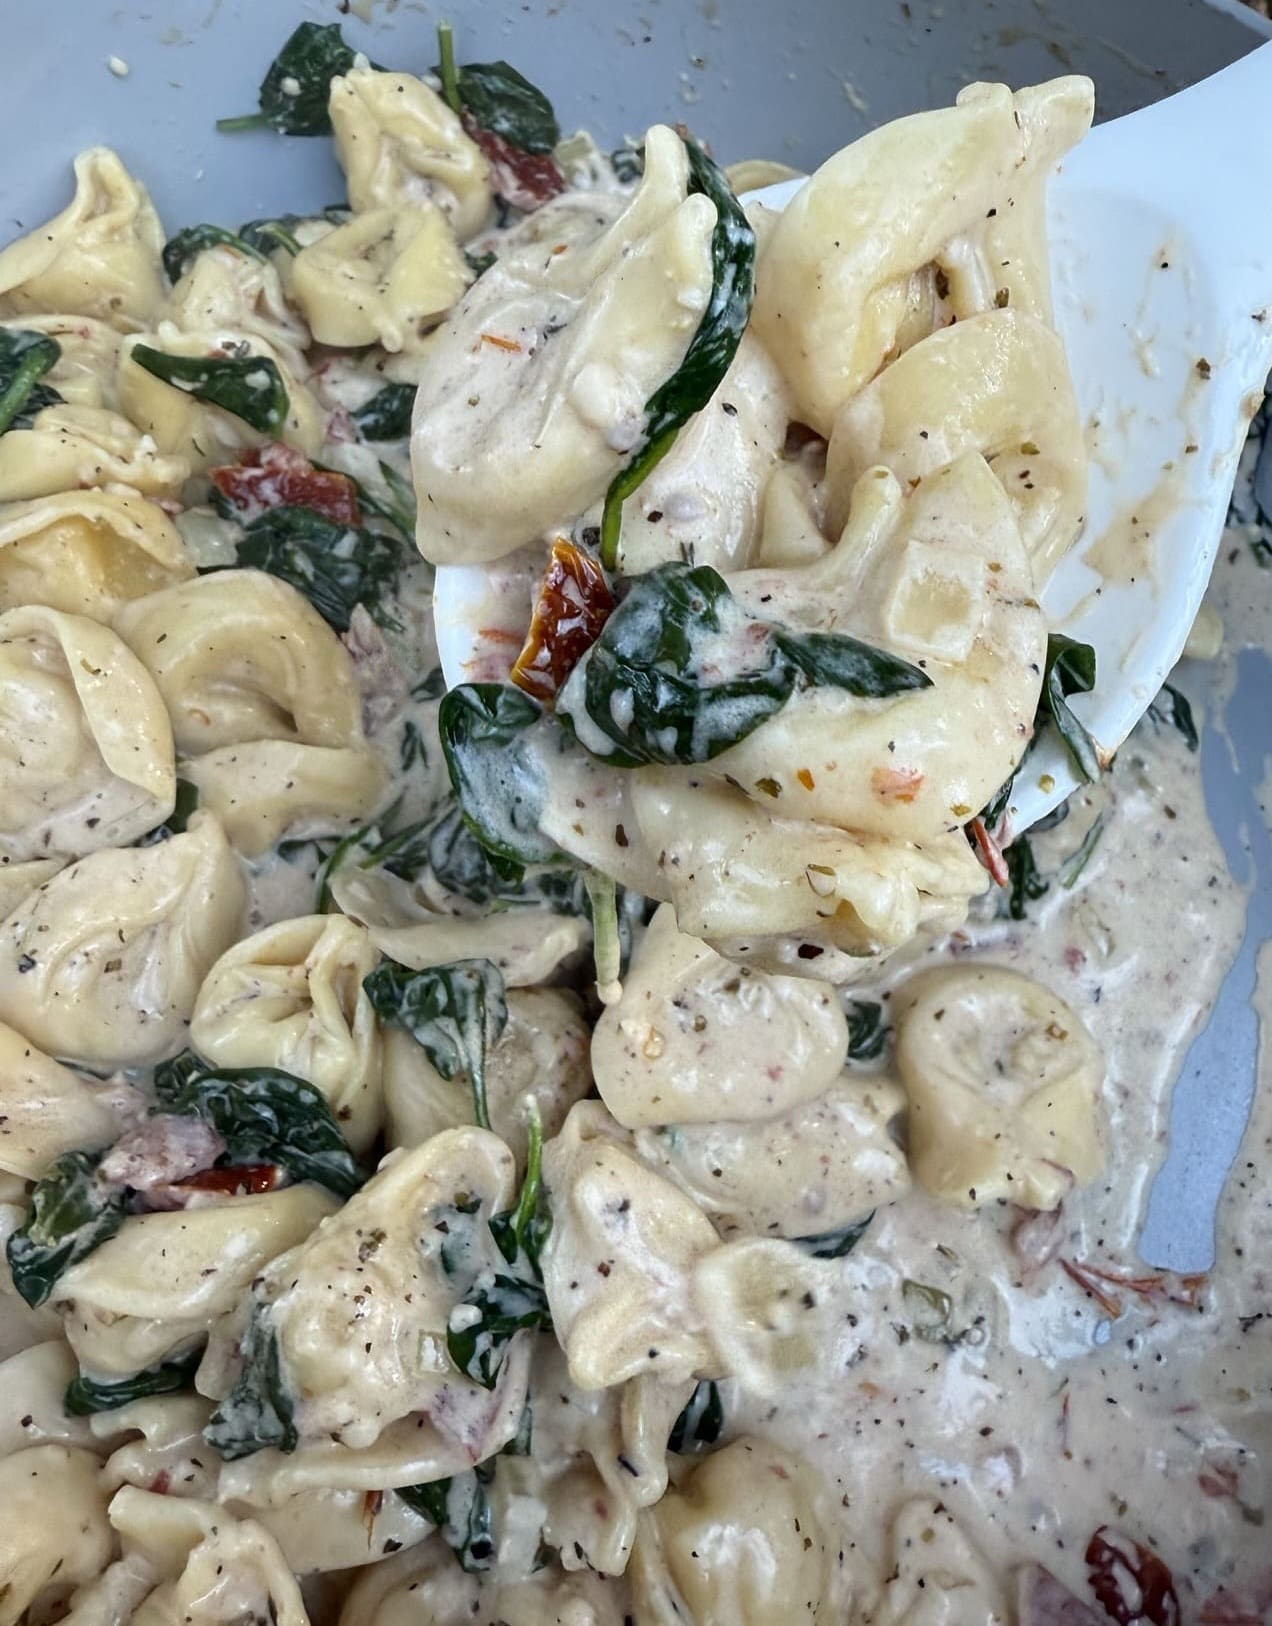
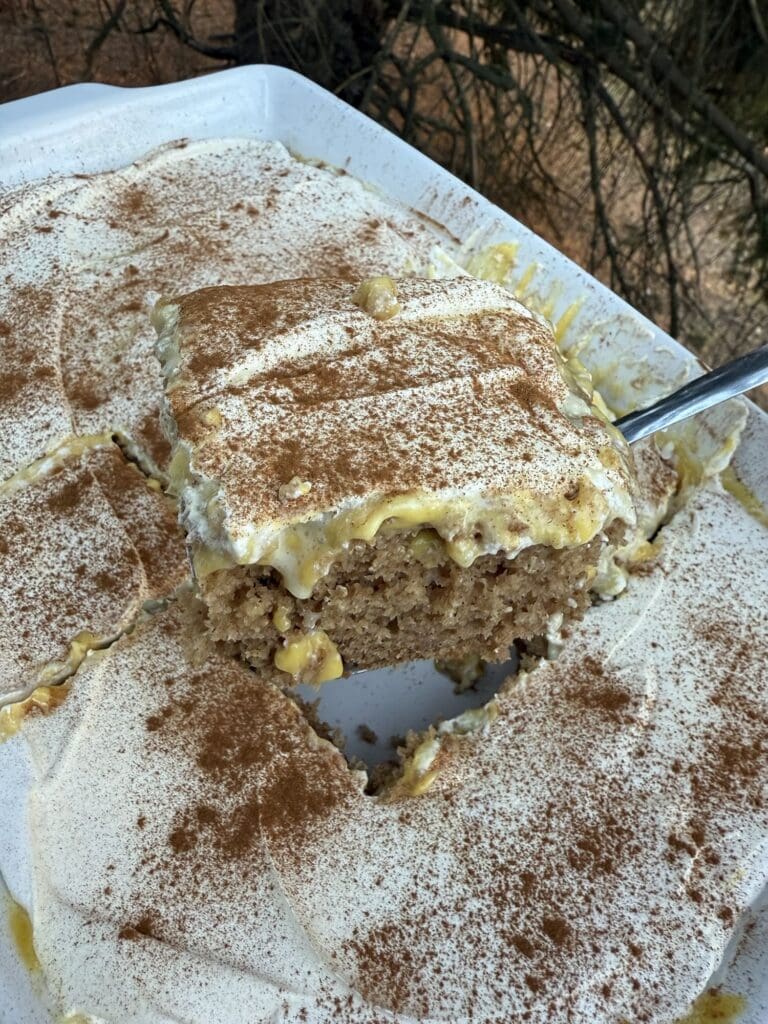
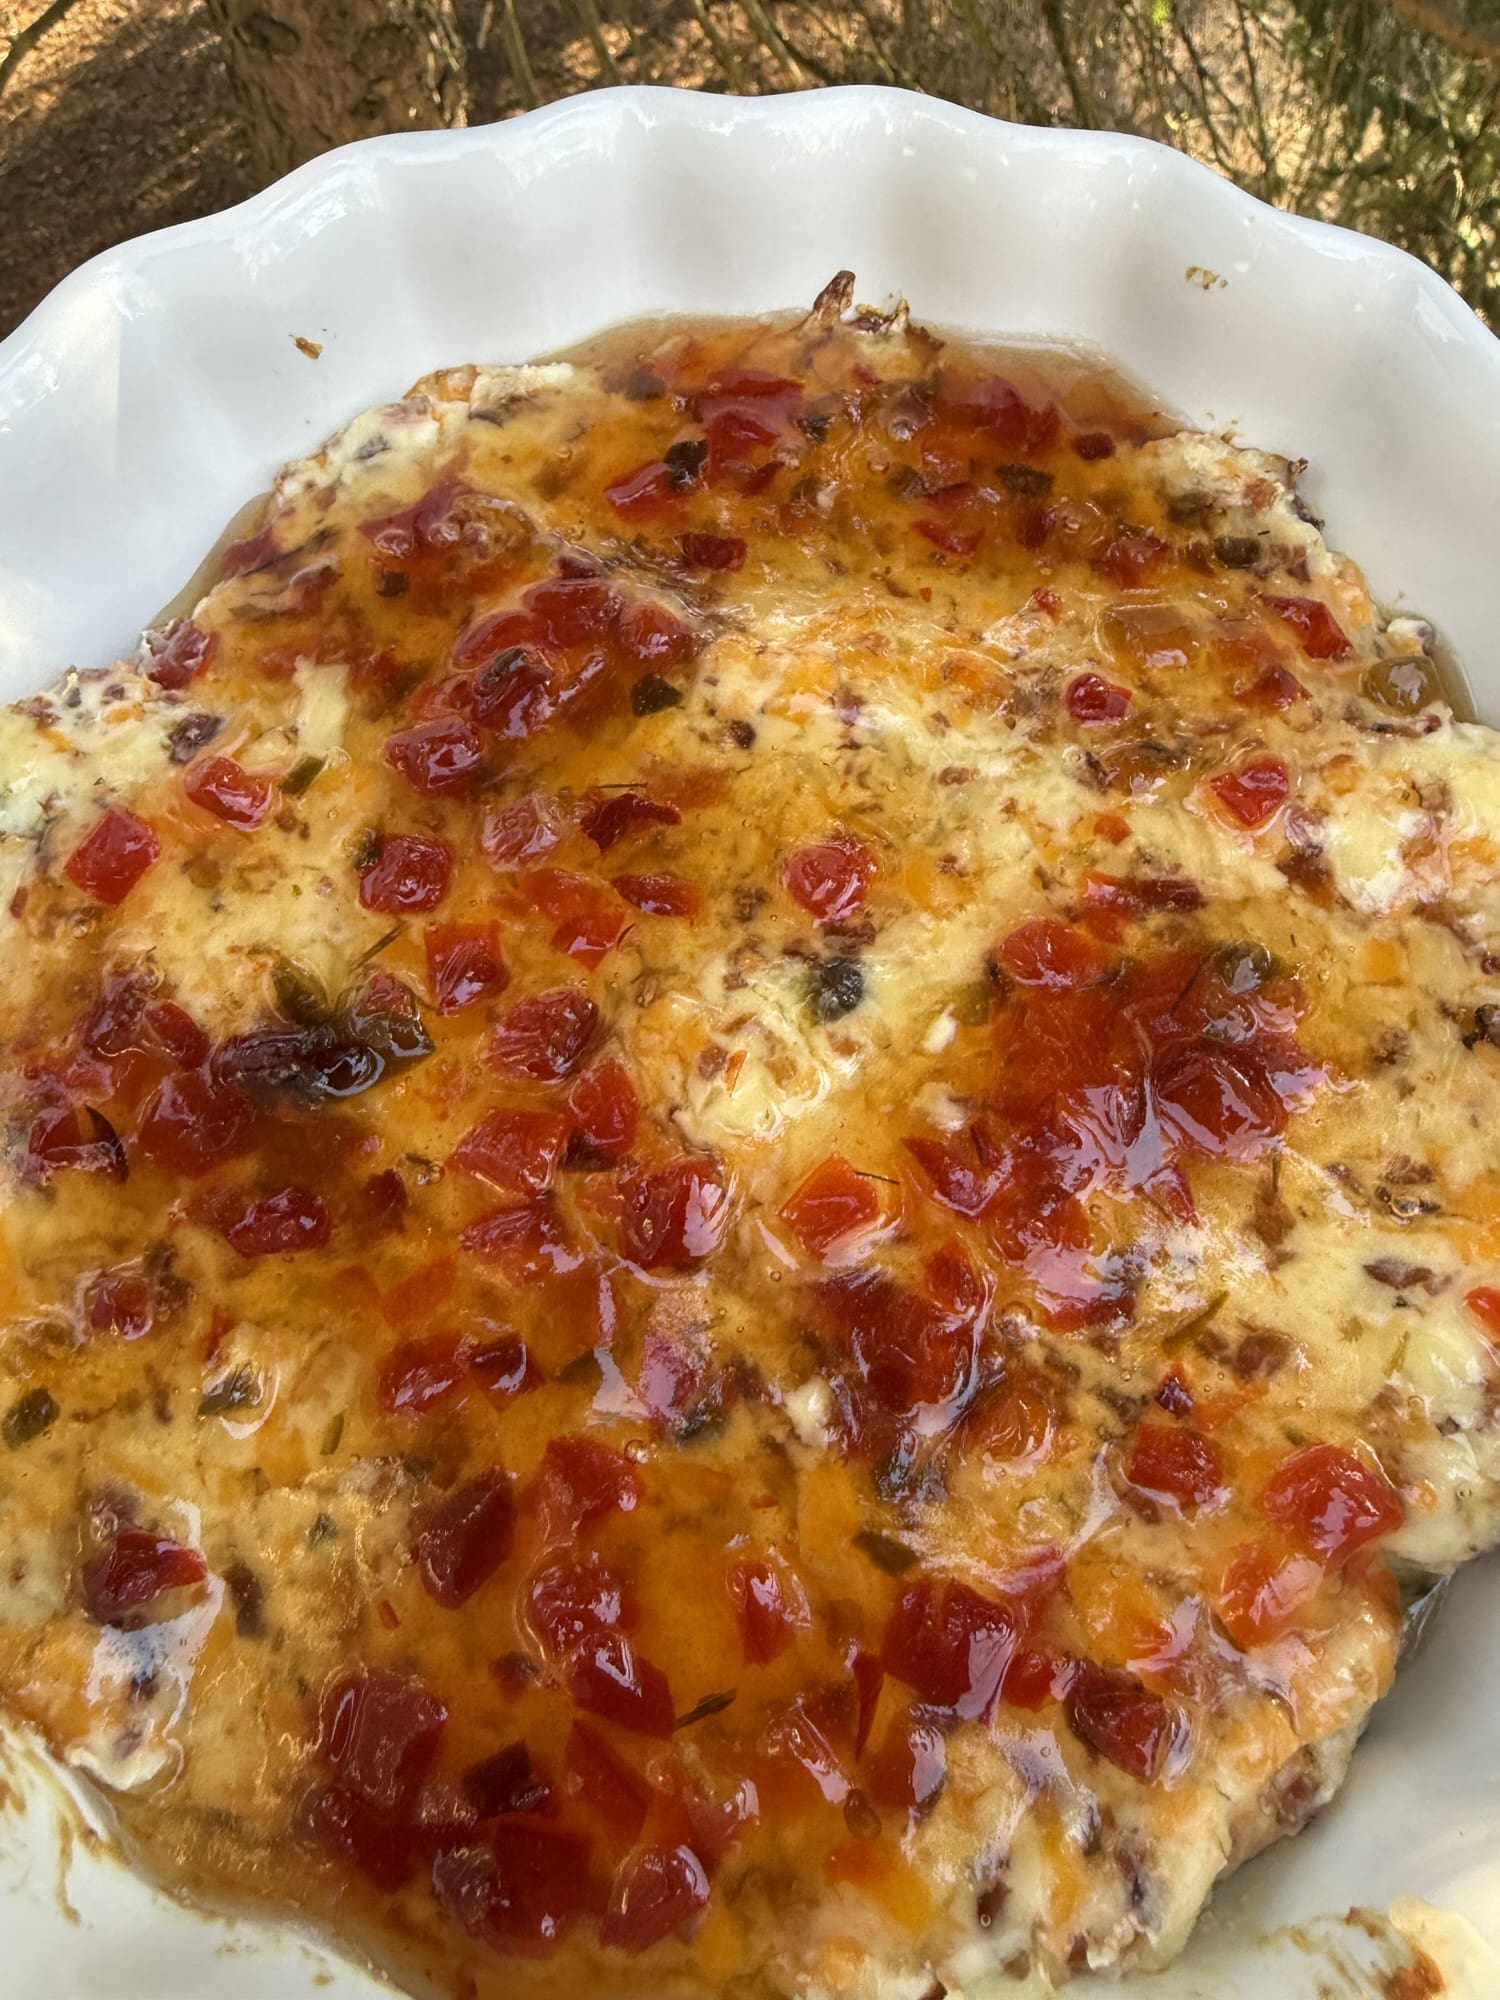
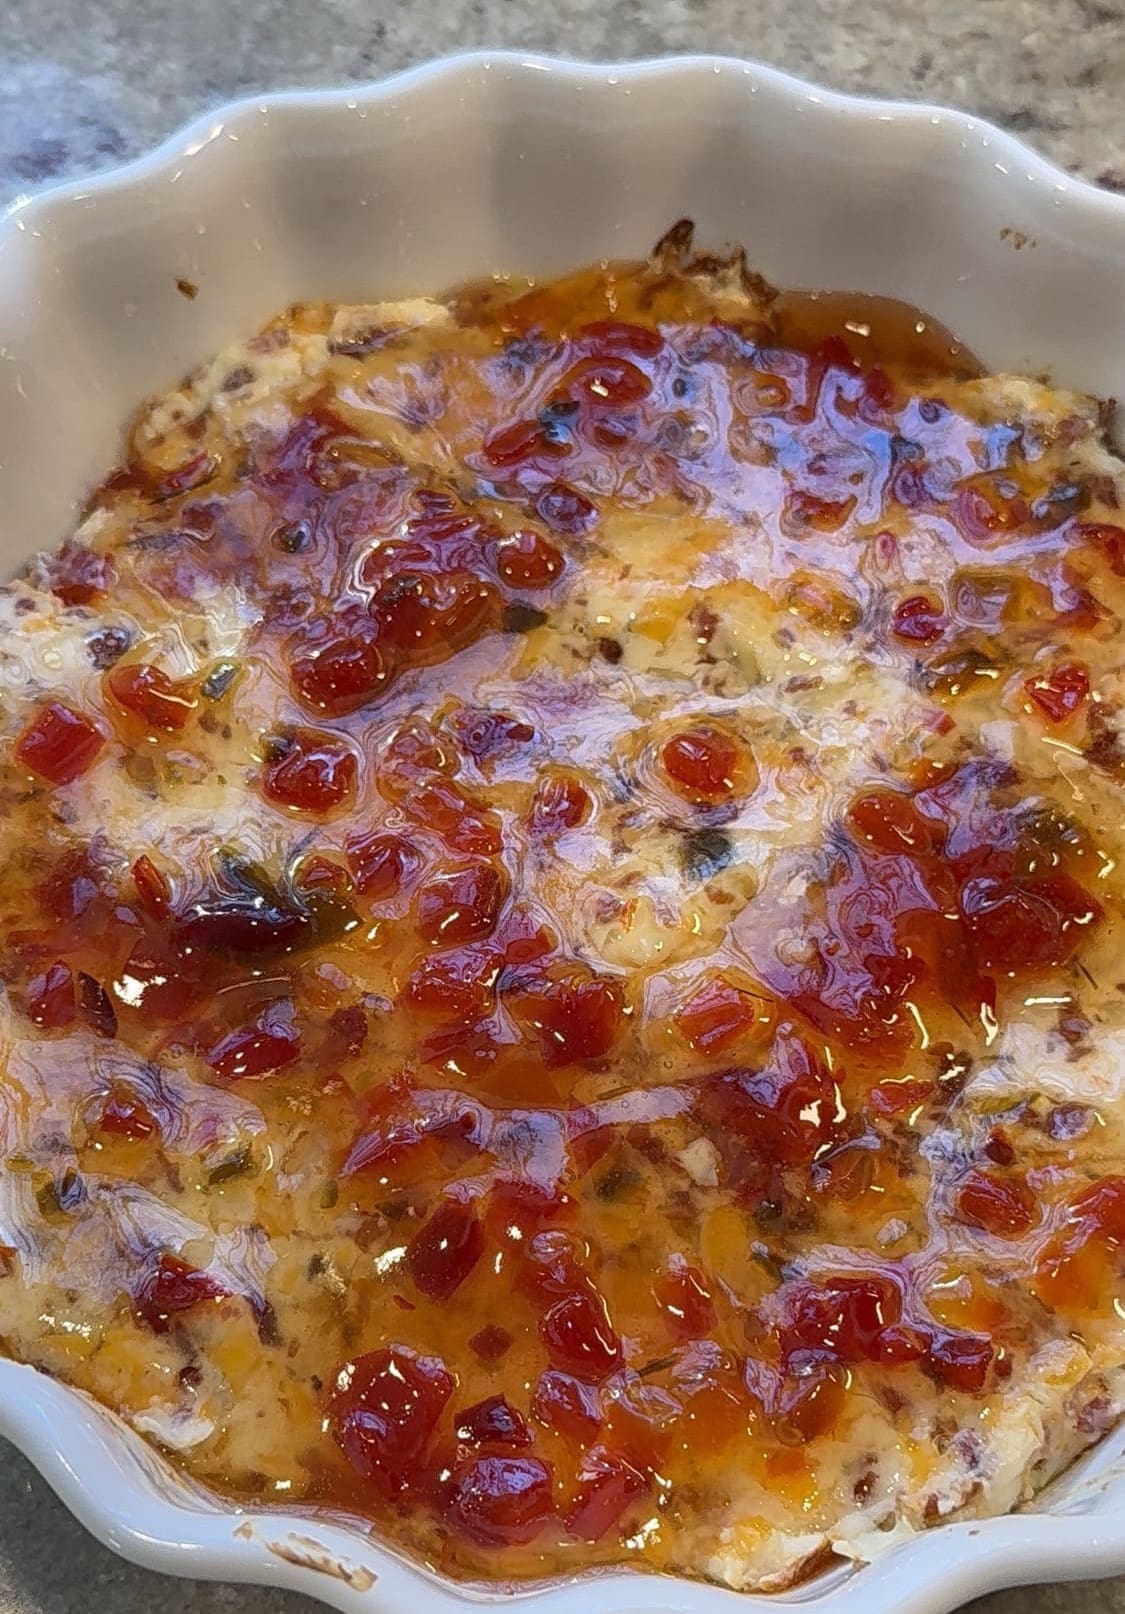
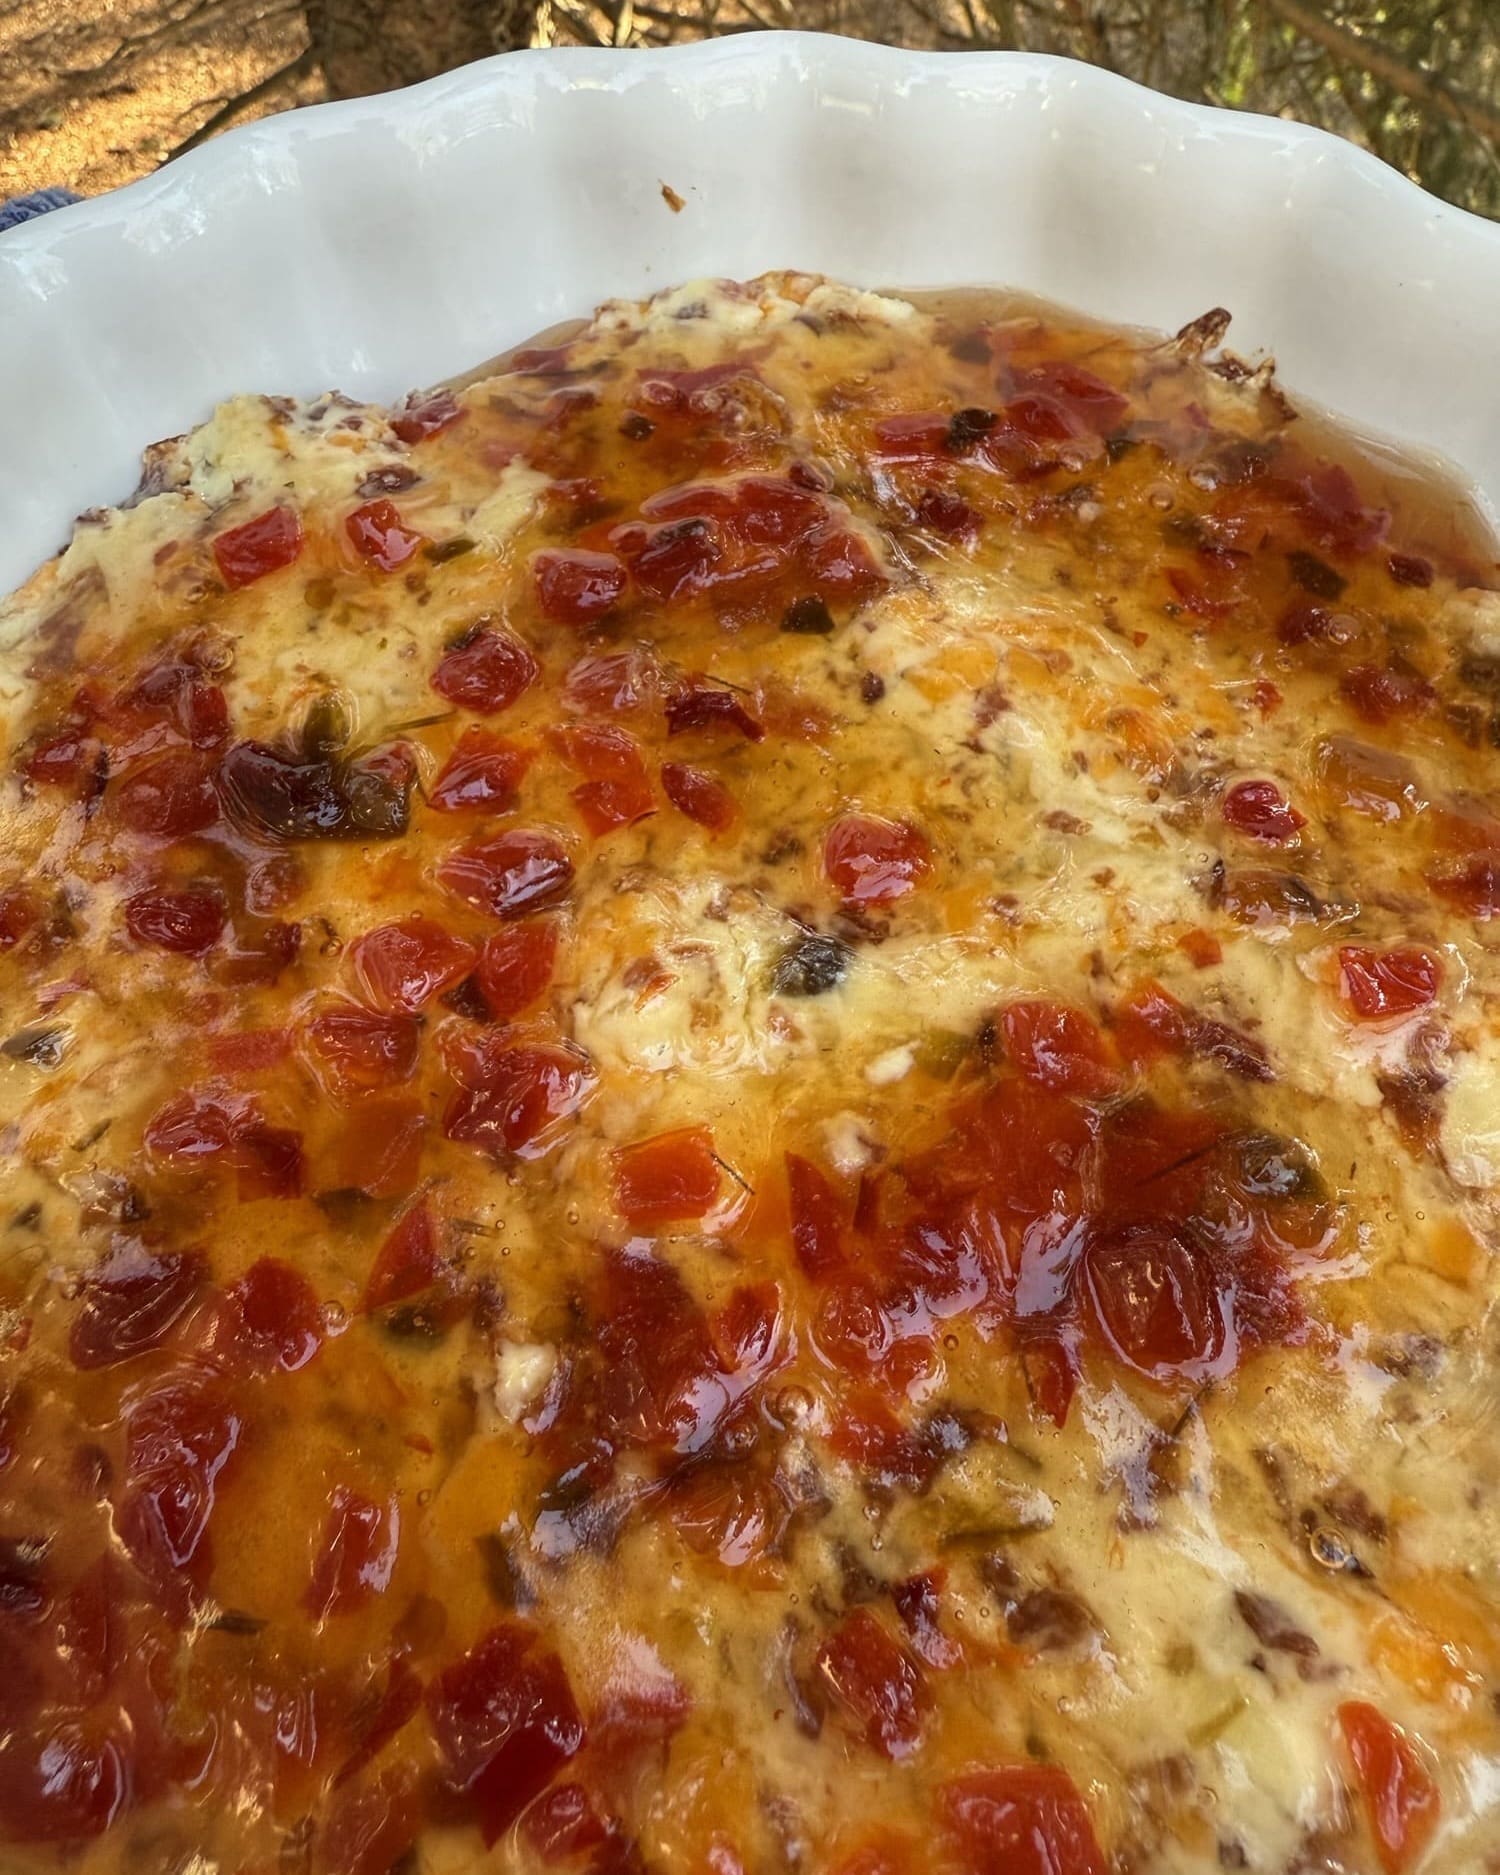
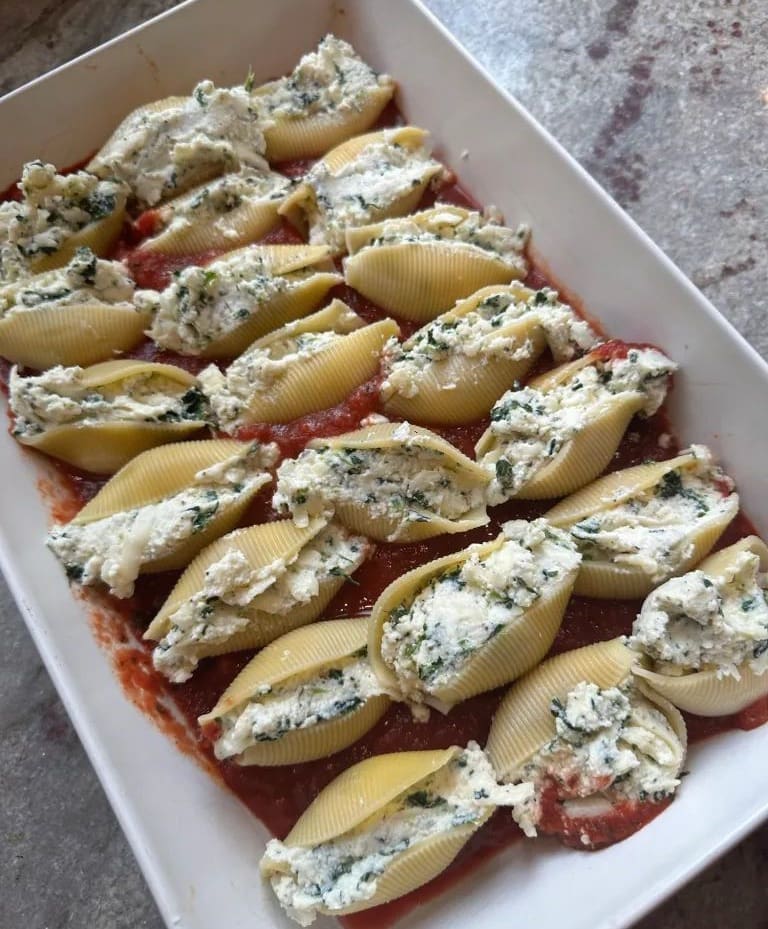
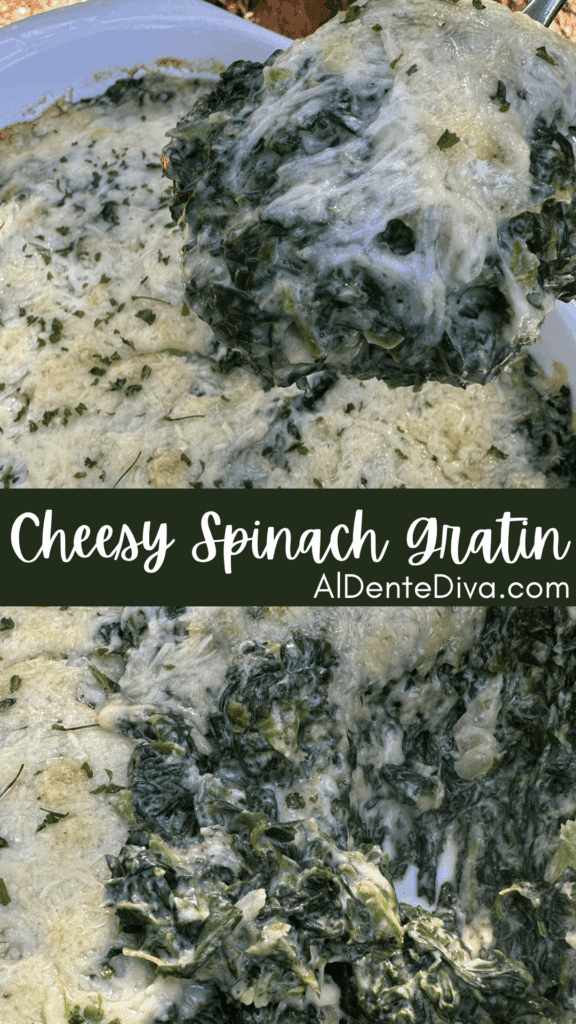
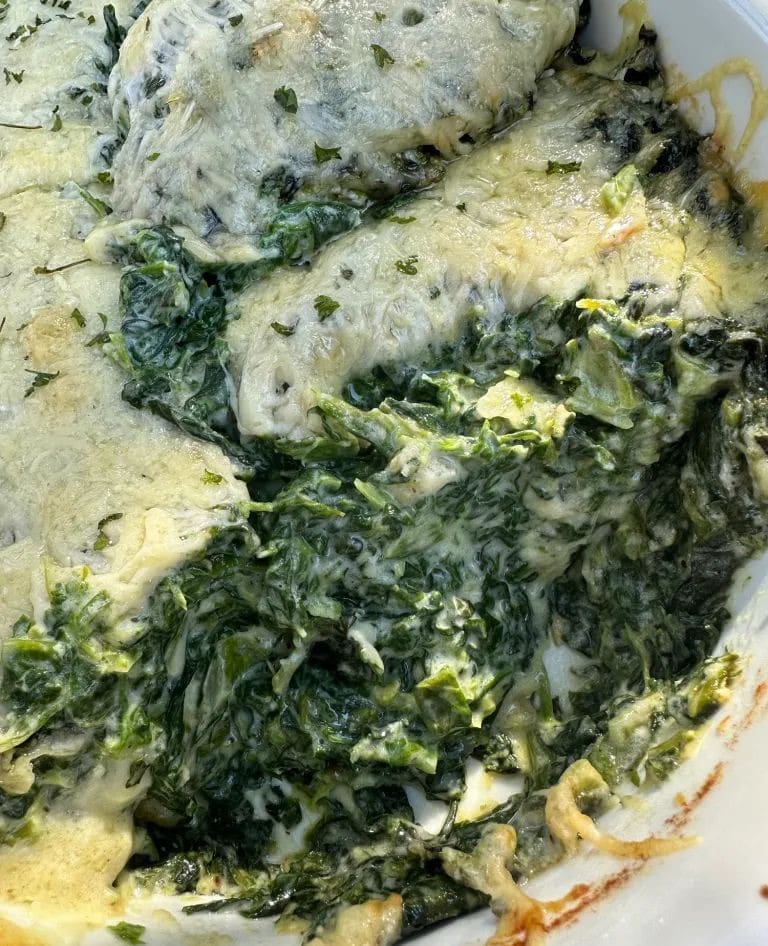
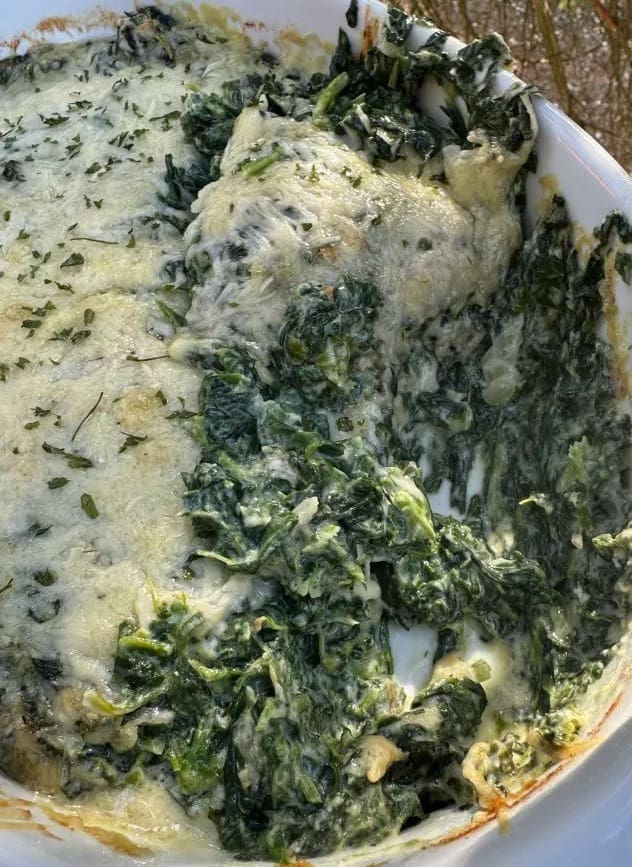
Cheesy spinach gratin is a delicious, crowd pleasing side dish made with chopped spinach baked in a seasoned, creamy sauce and baked with shredded Gruyère cheese.
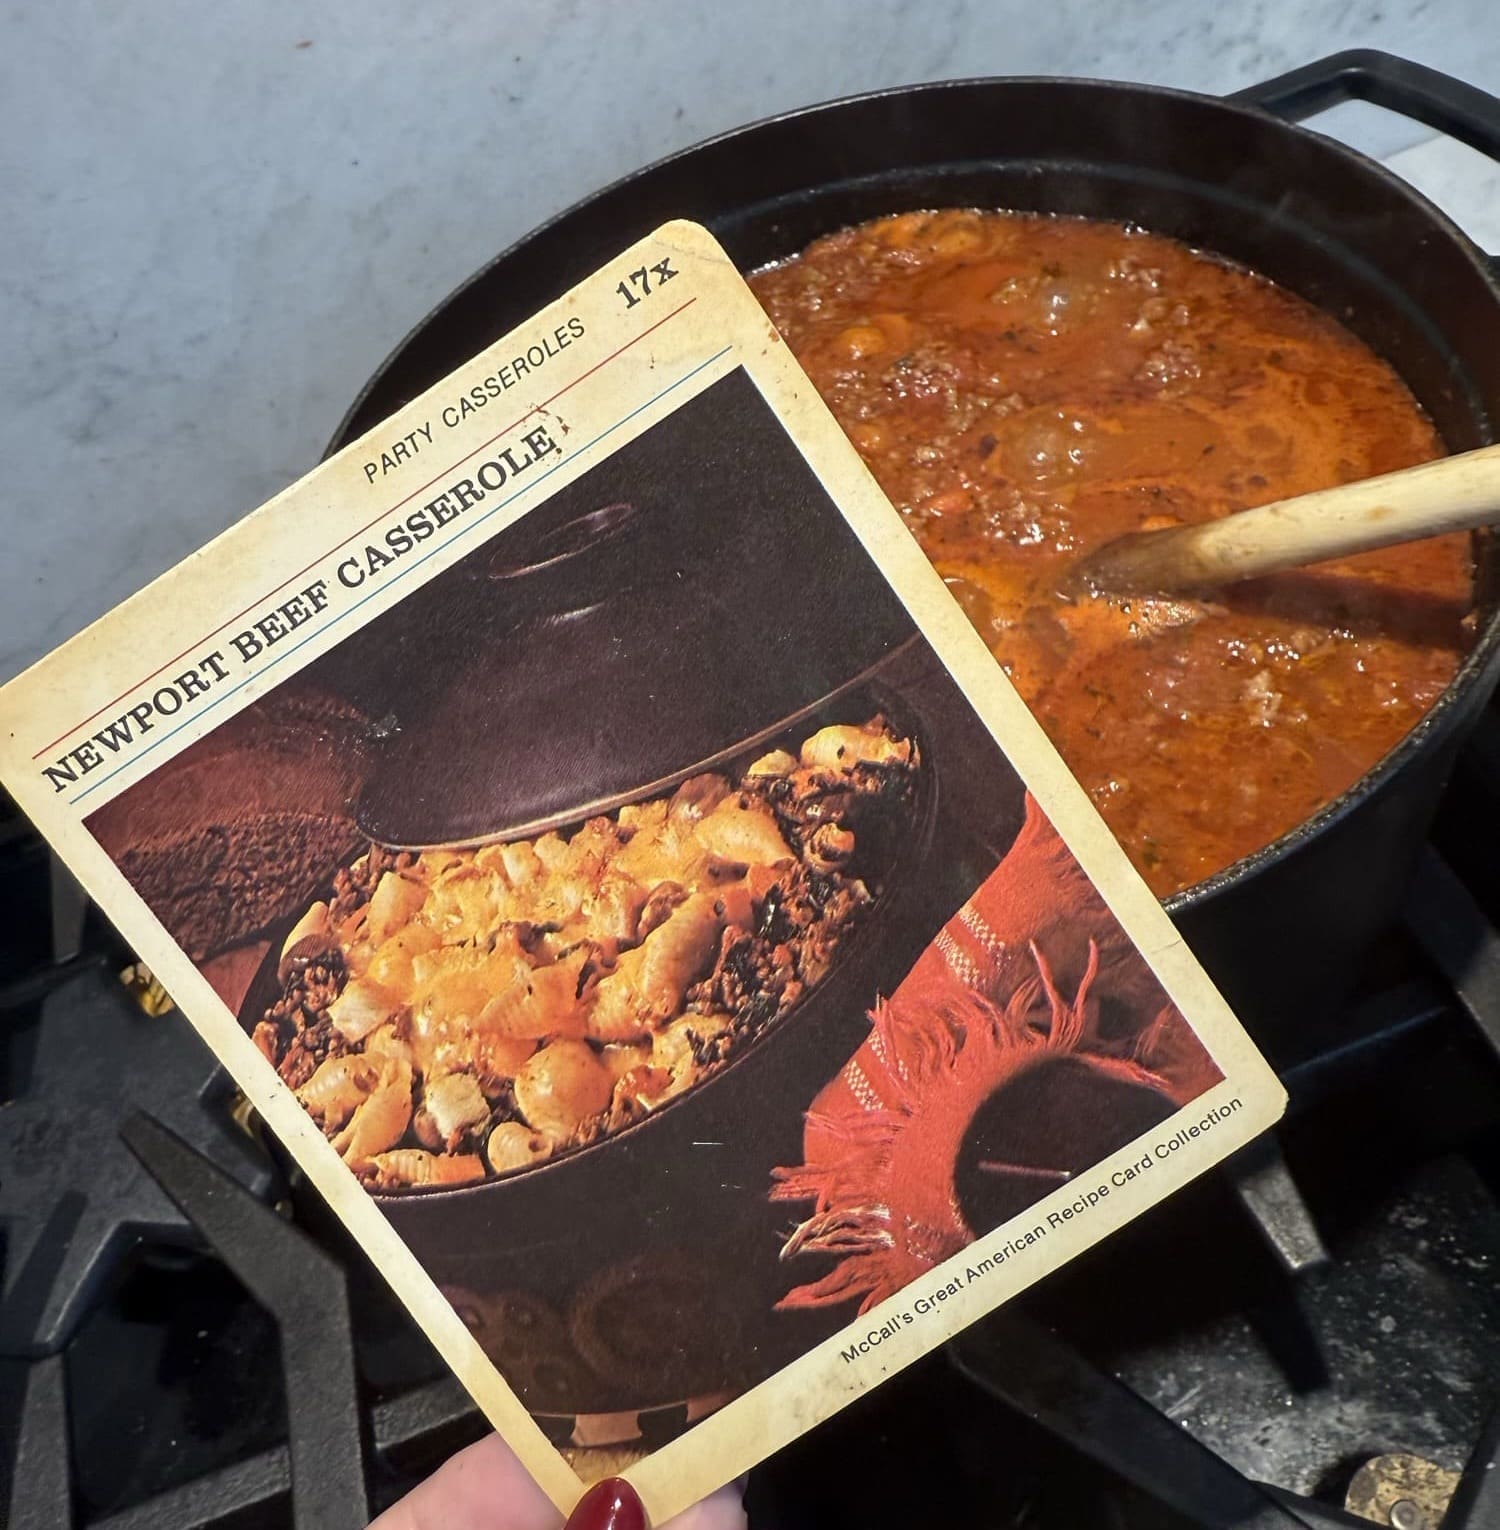
Cheesy Spinach Gratin
From the recipe collection of Tara Ippolito
Cheesy spinach gratin is one of my family’s all time favorite side dishes.
This recipe can be made for all of the important holidays like Thanksgiving and Christmas or for casual dinners at home, also.
I’ve made this for so many different occasions and it’s always a huge hit whenever I do. I always get a bunch of compliments on it.
My whole family loves spinach and I’m always looking for new ways to serve it.
I’ve tried so many different versions but always come back to this recipe.
It’s truly on of the most delicious spinach recipes that I’ve ever tried. We’ve been making this specific one for over 10 years and counting.
Whenever it’s my turn to host a holiday, this is side dish that’s guaranteed to be there.
Not only is it absolutely delicious but it’s also super easy to make, too. It doesn’t take much time at all to put together.
I hope you give this recipe a try. If you do, I know you’ll love it just as much as my family and friends do.
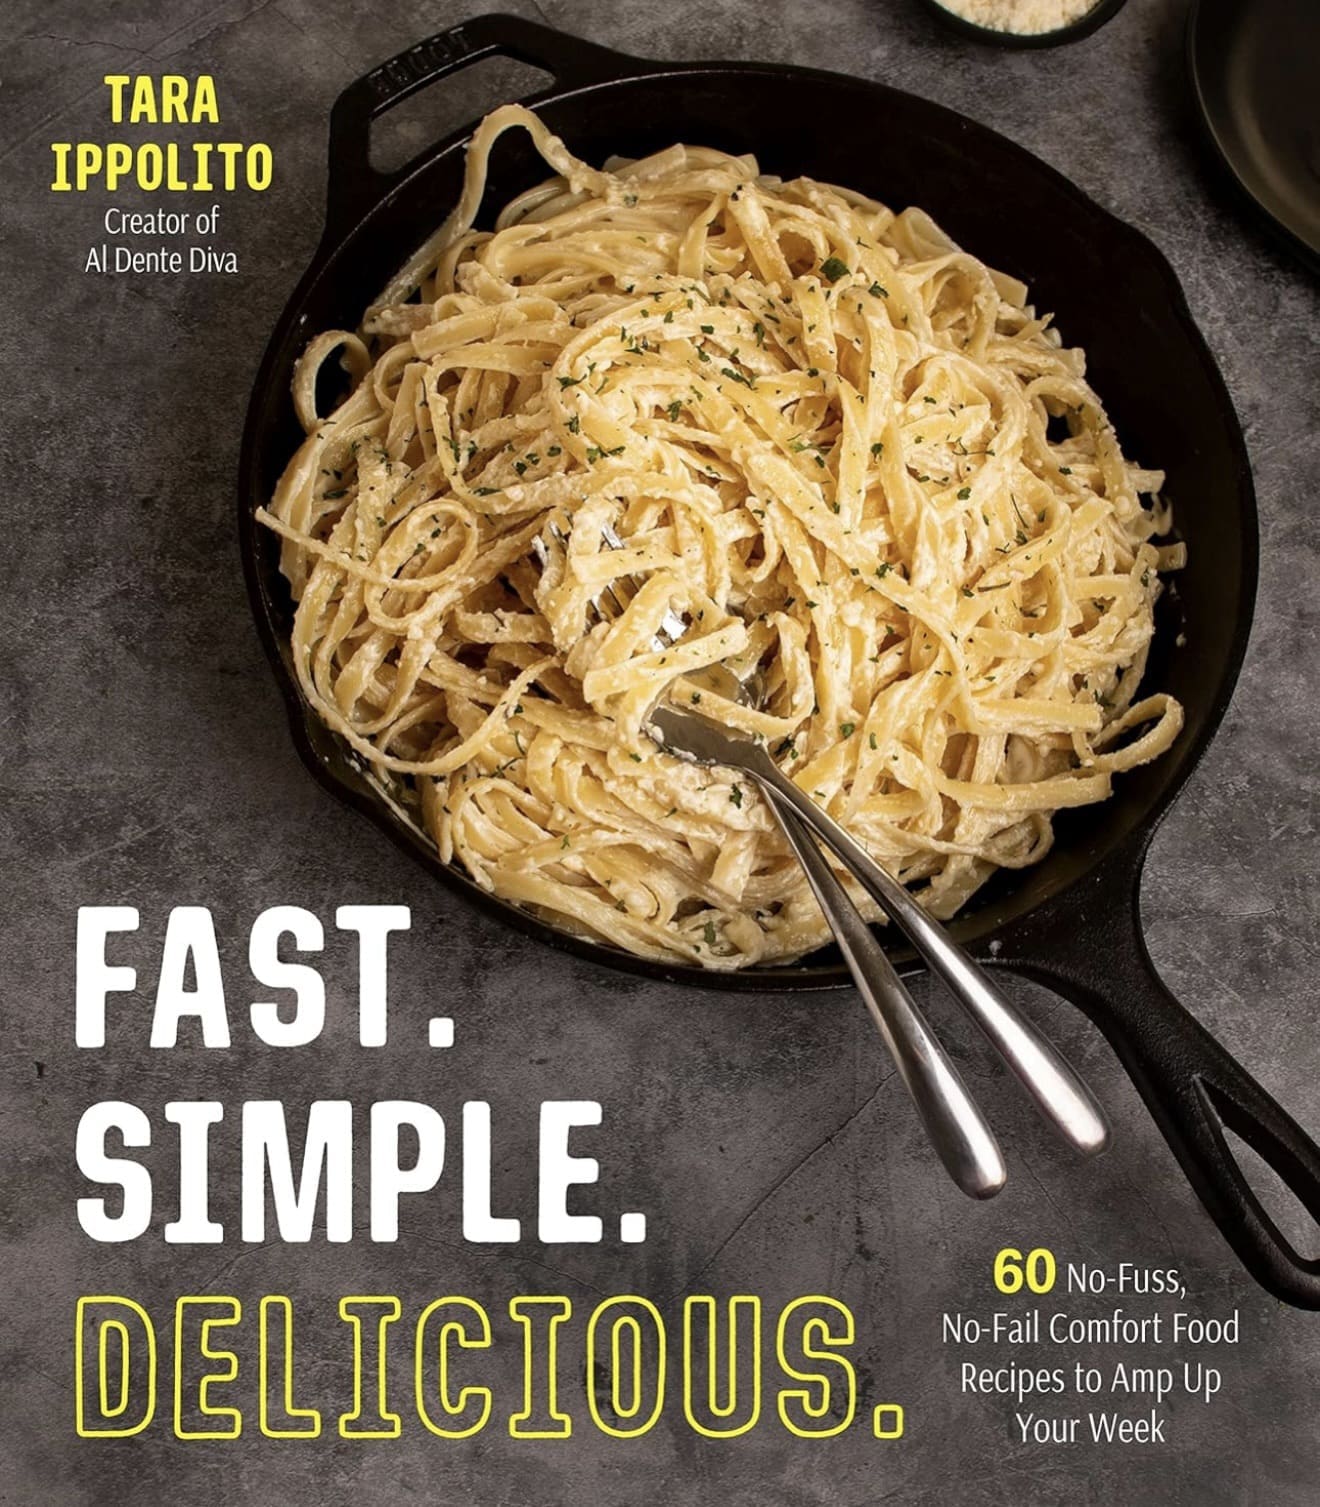
Fast. Simple. Delicious.
Did you know that I have a cookbook called Fast Simple Delicious? It’s 60 no fuss no fail comfort food recipes perfect for busy weekday dinners.

Click HERE to order your copy or click the 3 lines in the top right corner and click “Book”. Thank you for the support.
Cheesy Spinach Gratin Variations
I like this recipe made just the way it is but here are some ways to change it up if you’d like to.
- Cheese- Swiss cheese can be used instead of Gruyère if needed.
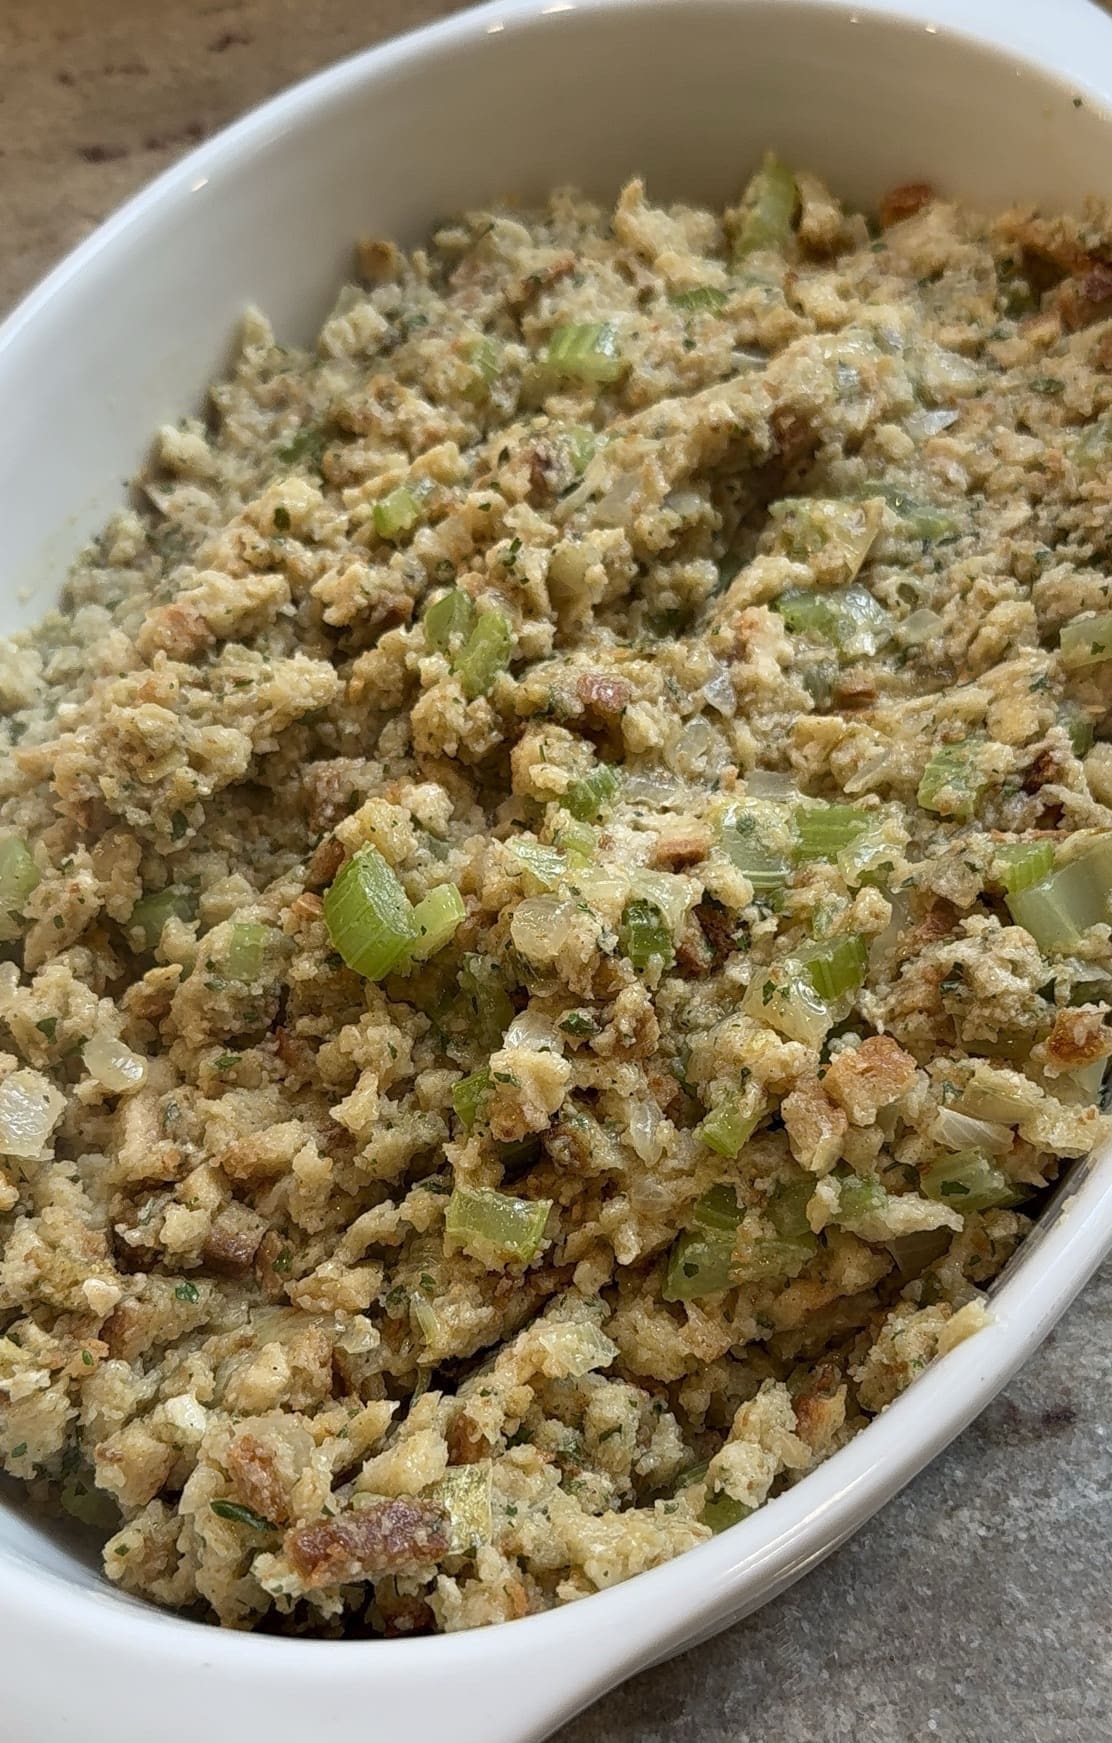
Other Easy Side Dish Recipes
If you like super easy to make side dish recipes like this one, here are some others that I know you’ll love, too.

- Cheesy Scalloped Potatoes
- Classic Corn Soufflé
- Broccoli And Stuffing Casserole
- Creamy Cafeteria Noodles
Cheesy Spinach Gratin Ingredients

- Onion, chopped
- Butter
- Flour
- Salt, Pepper, Nutmeg. Garlic Powder
- Heavy Cream
- Milk
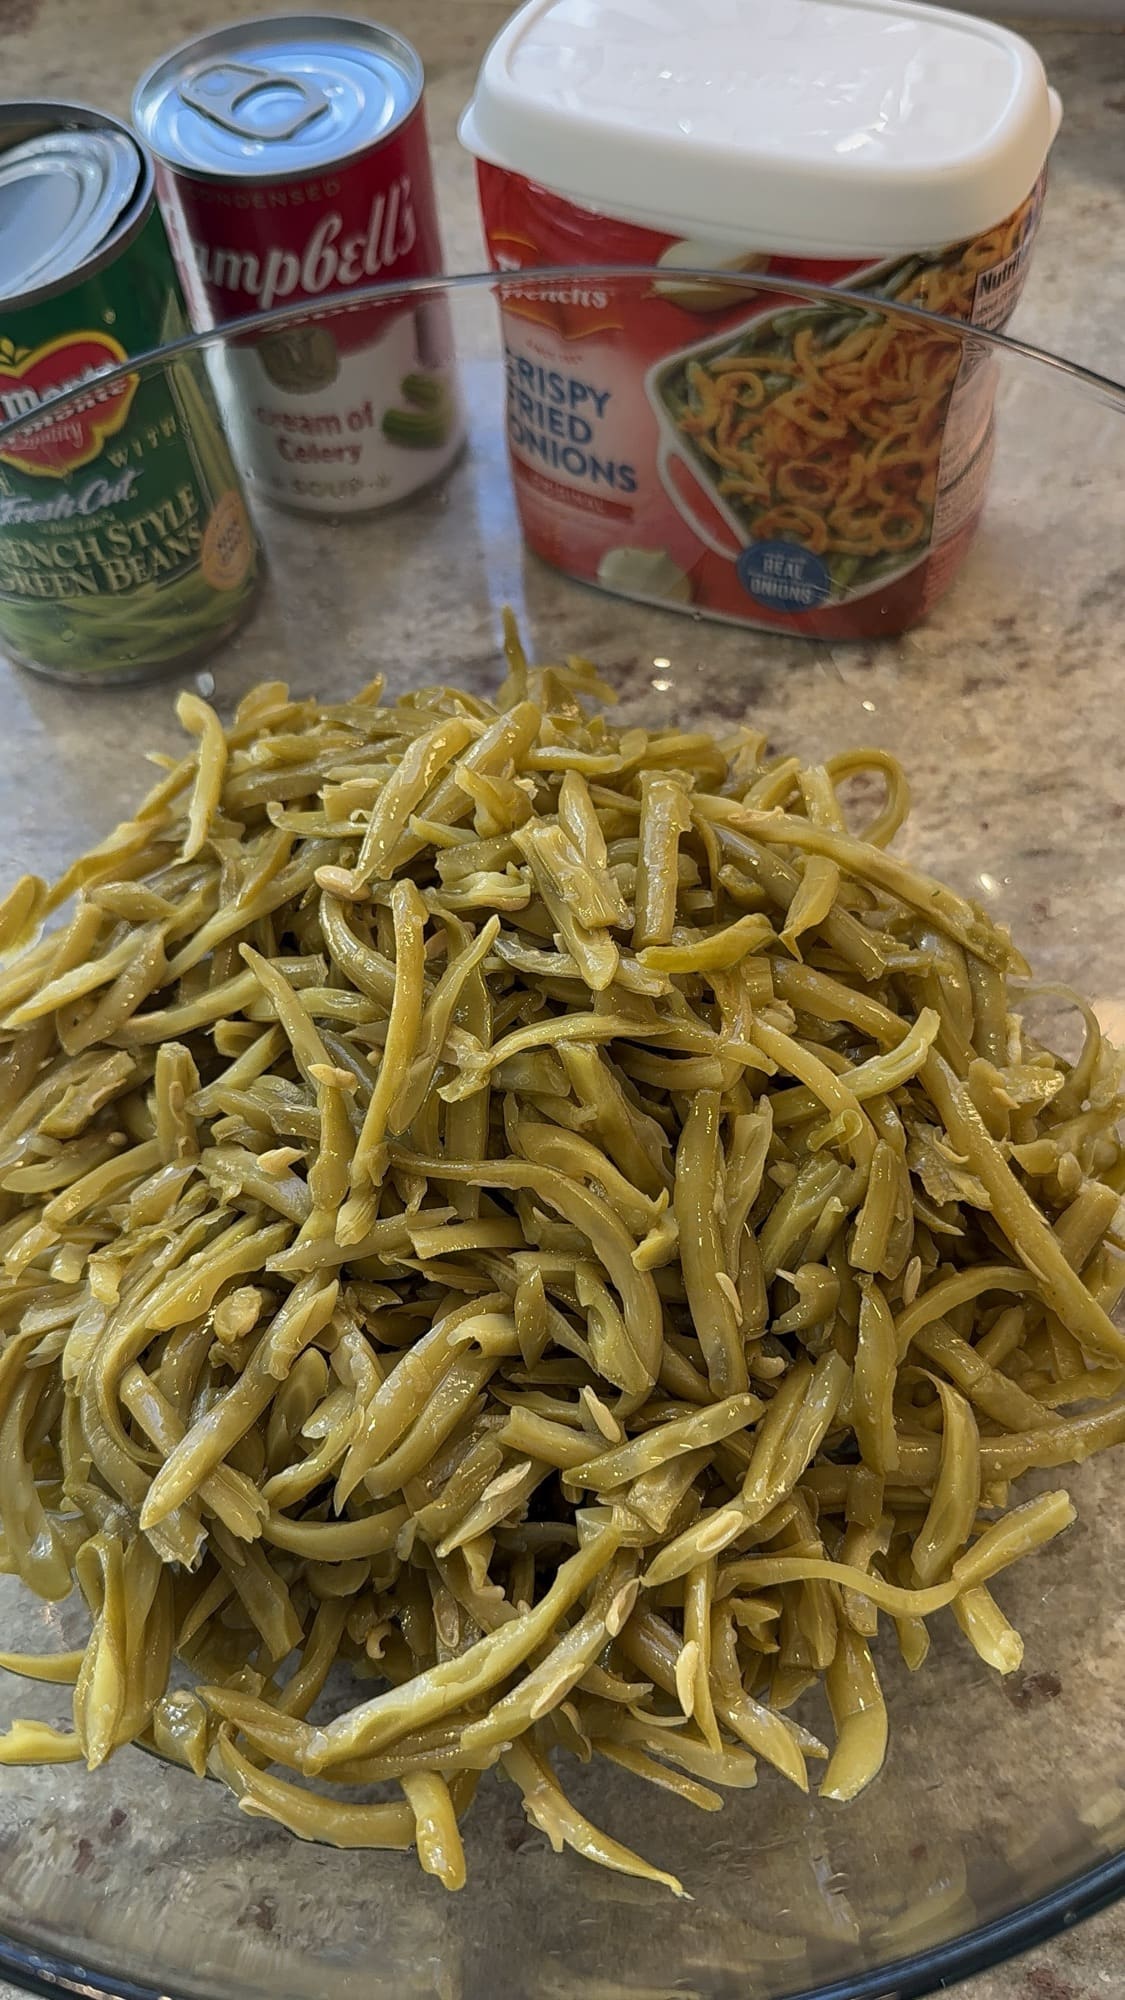
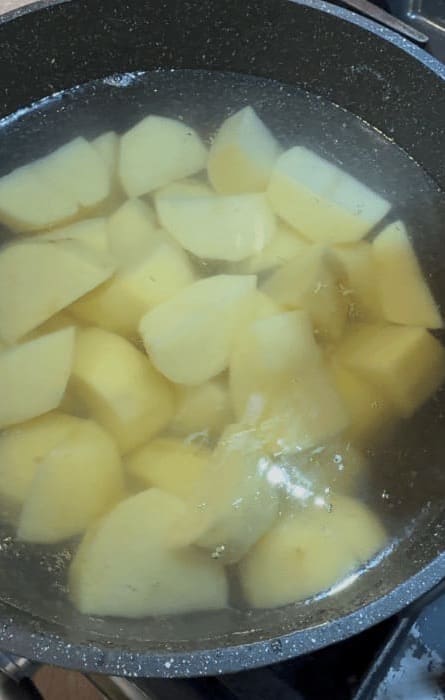
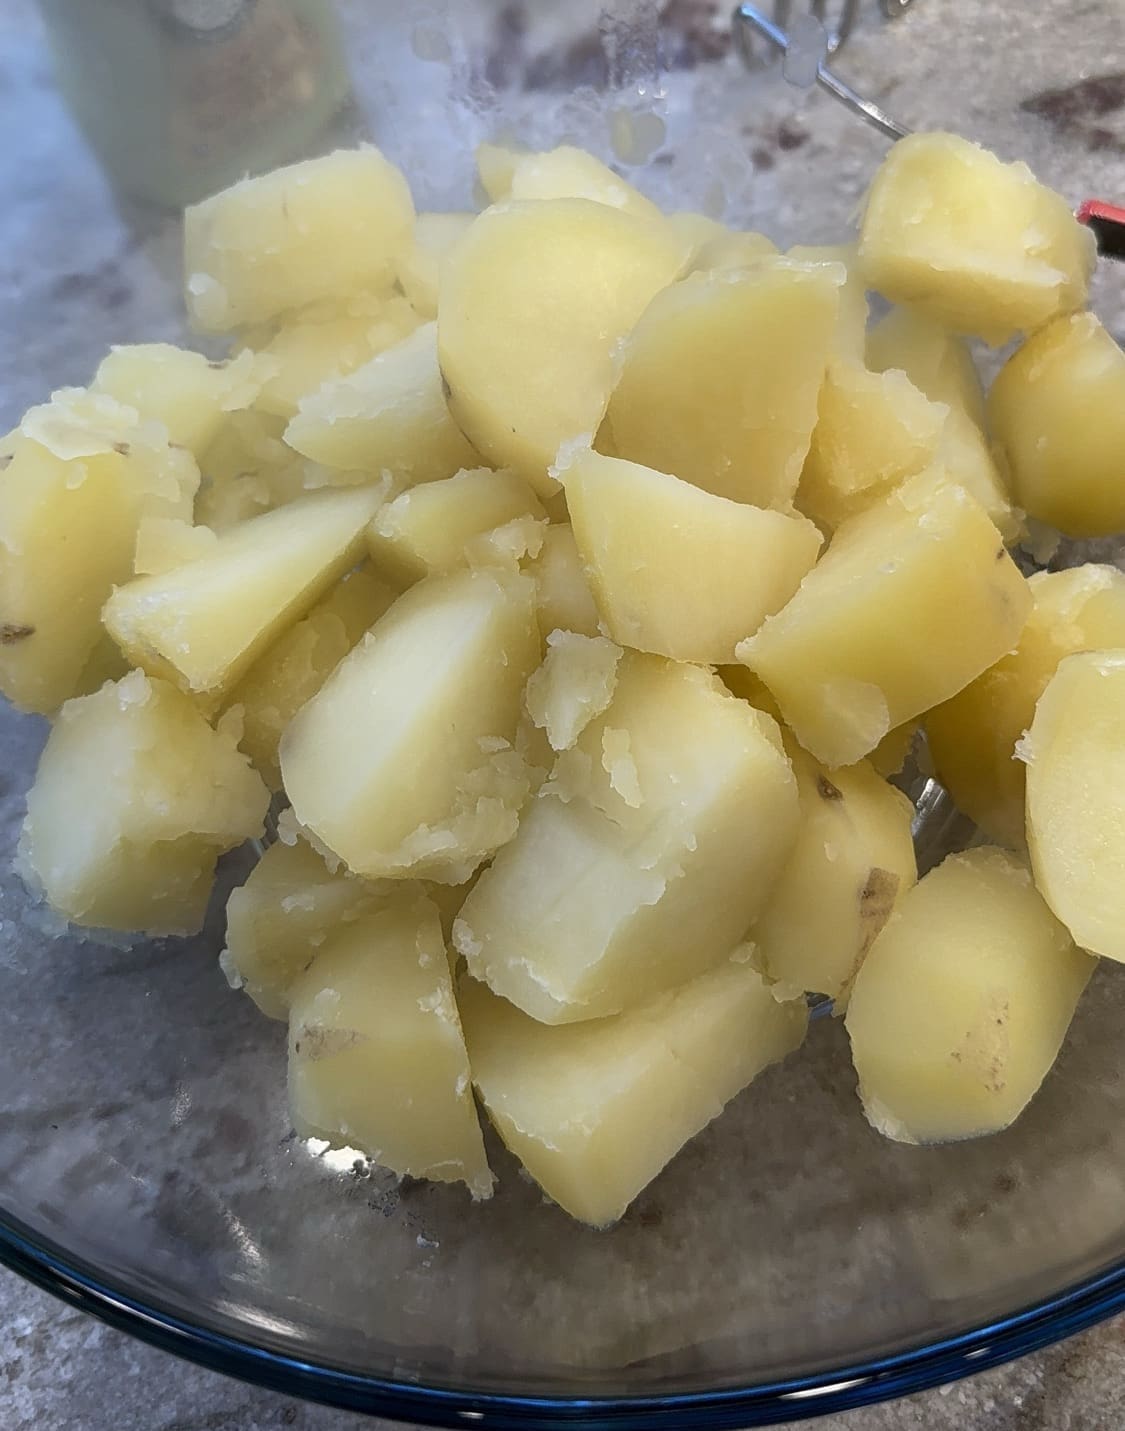
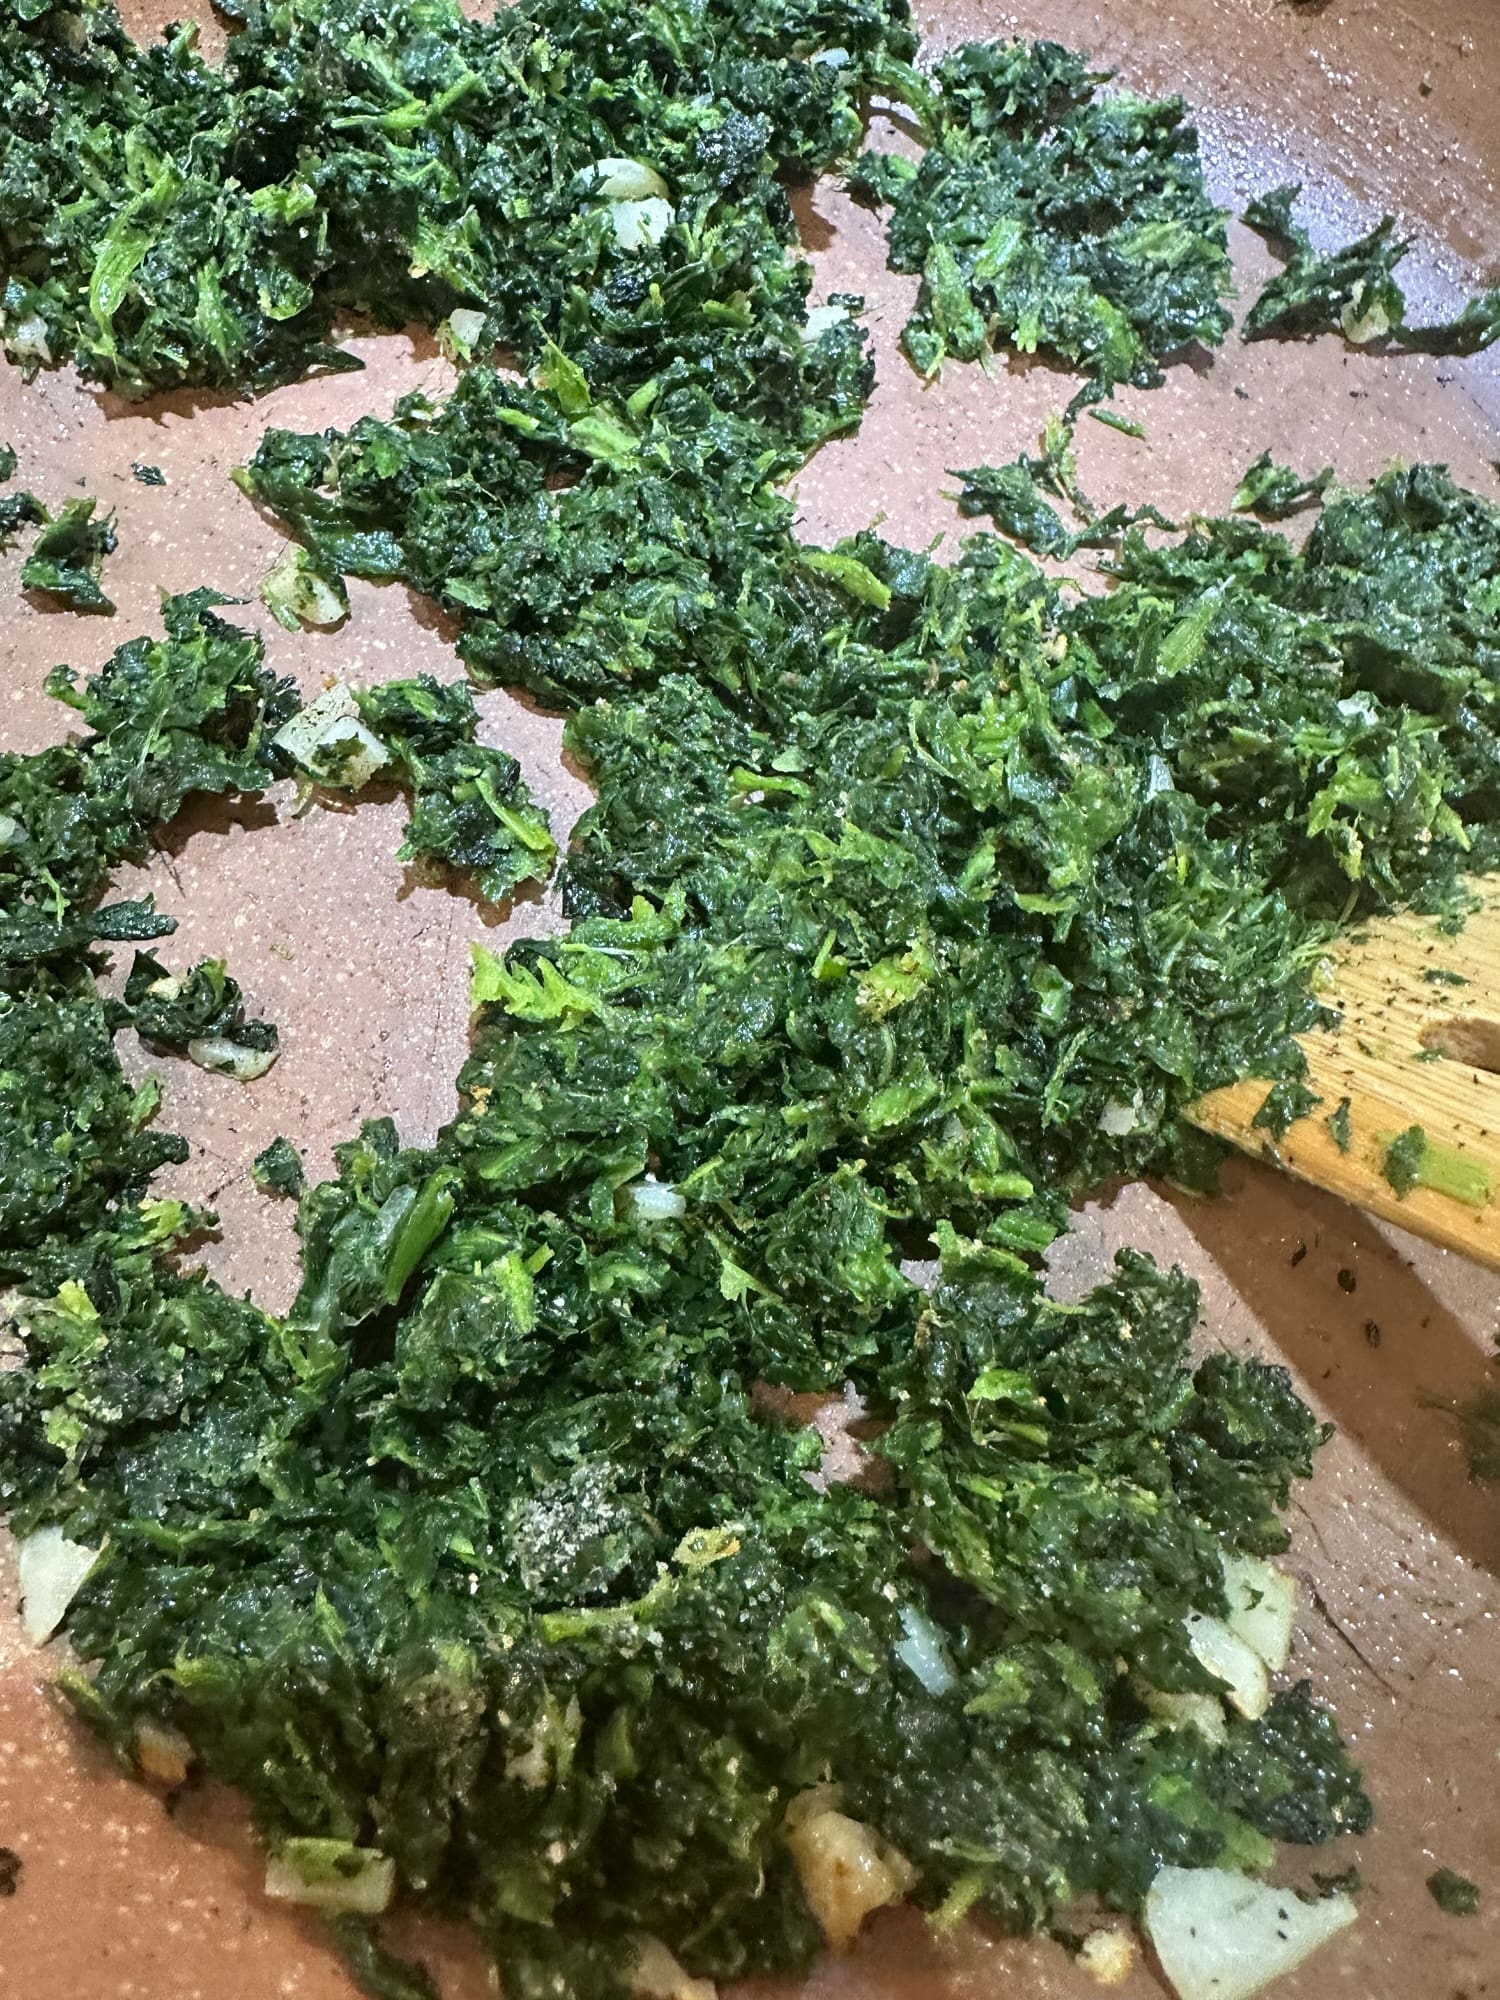
- Frozen Chopped Spinach, thawed and drained very well
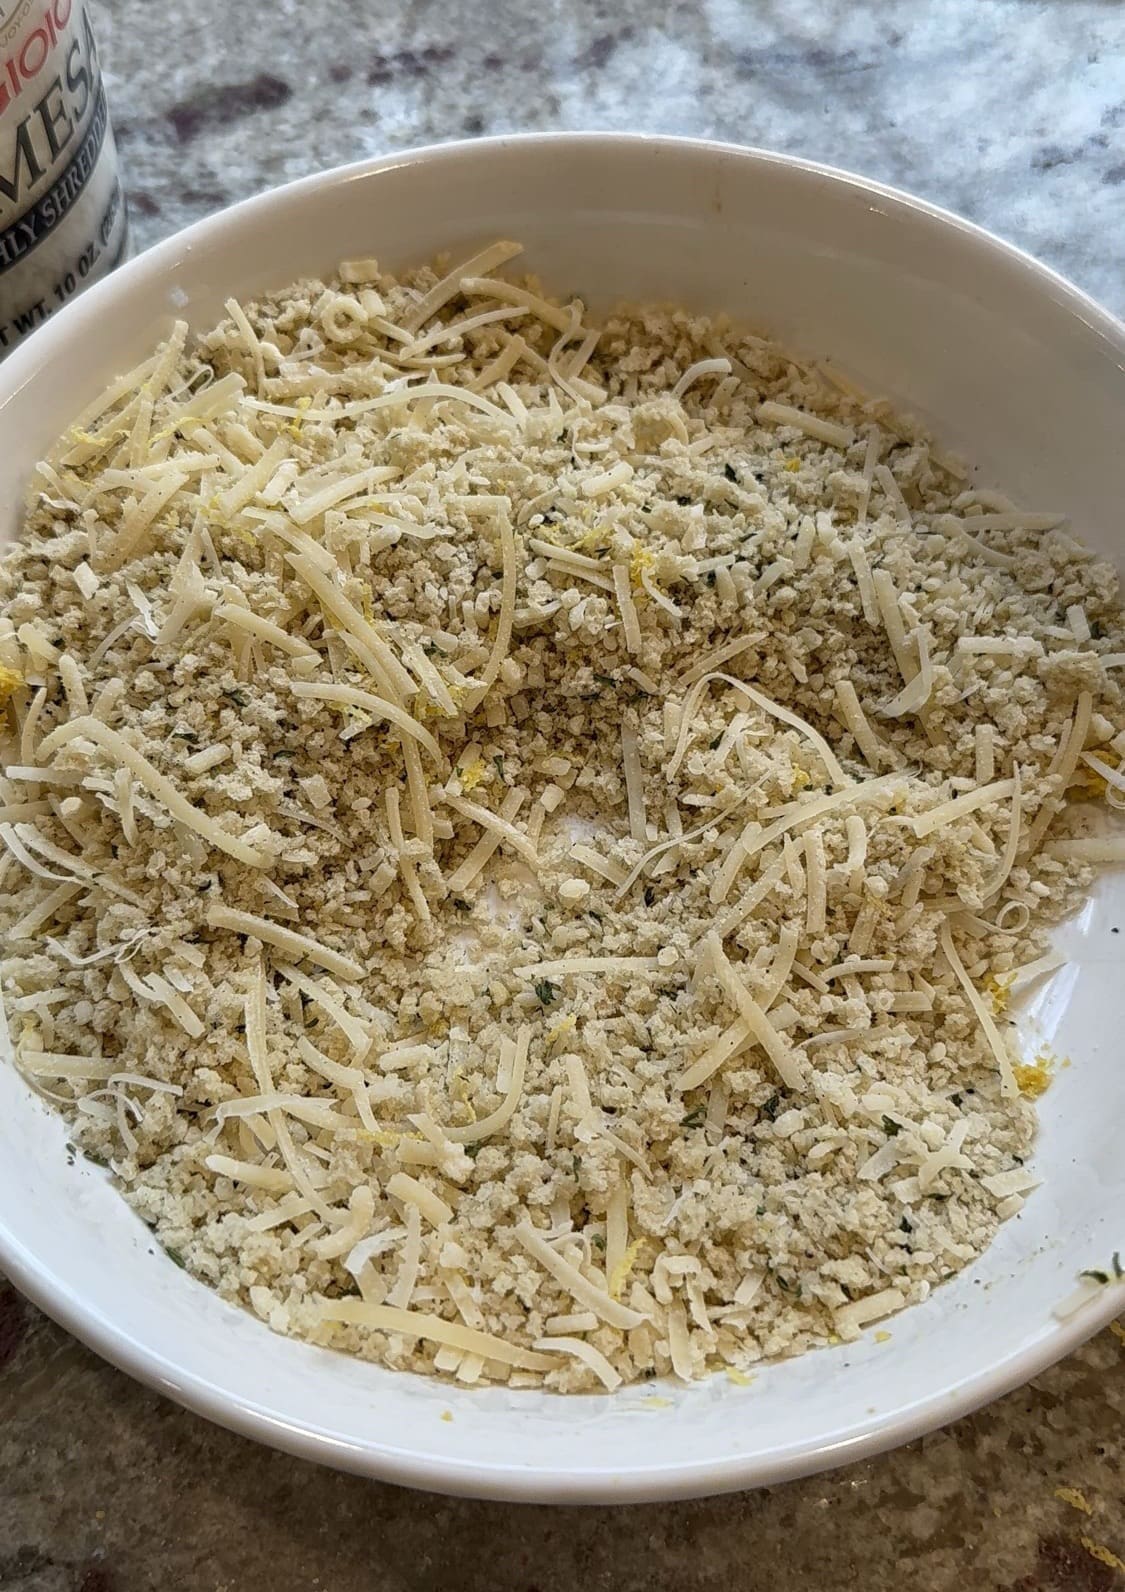
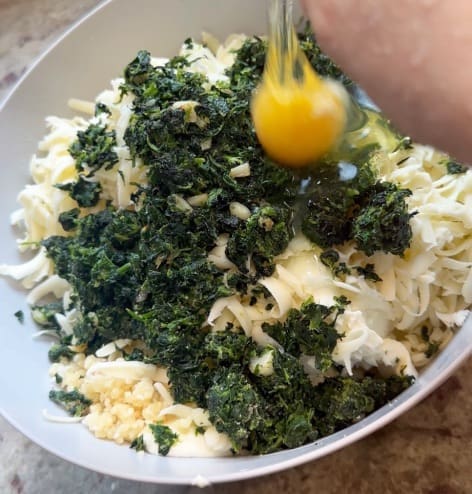
- Parmesan Cheese
- Gruyère Cheese, shredded
- Parsley, for garnish (optional)
Instructions
First, preheat the to 350°
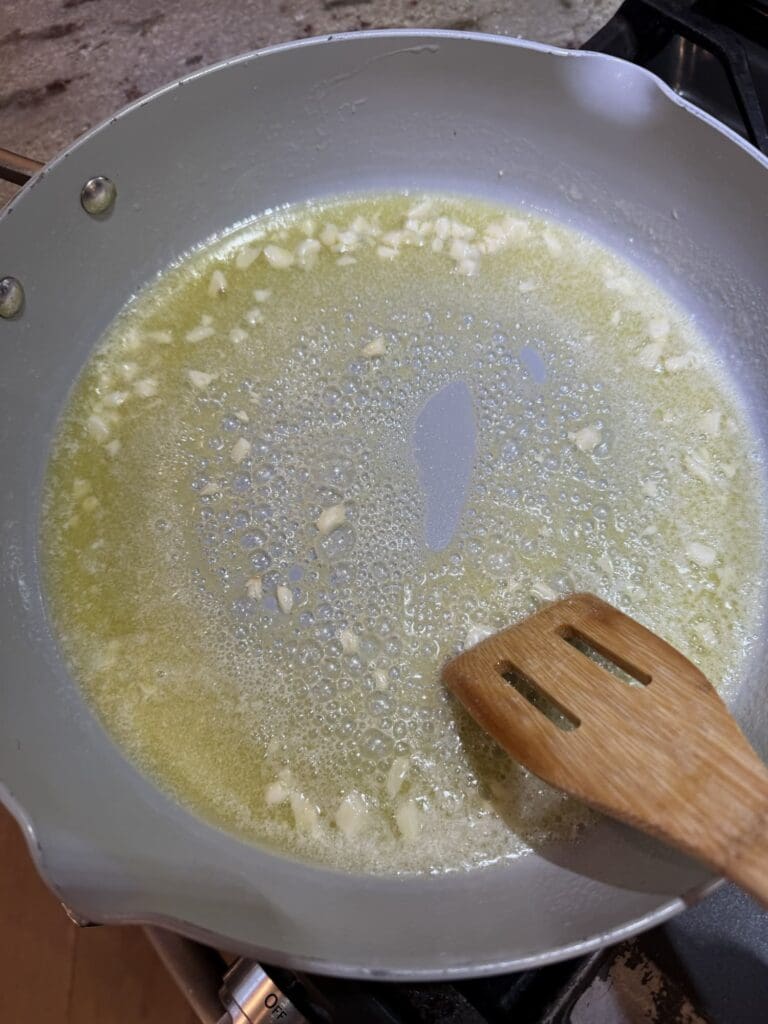
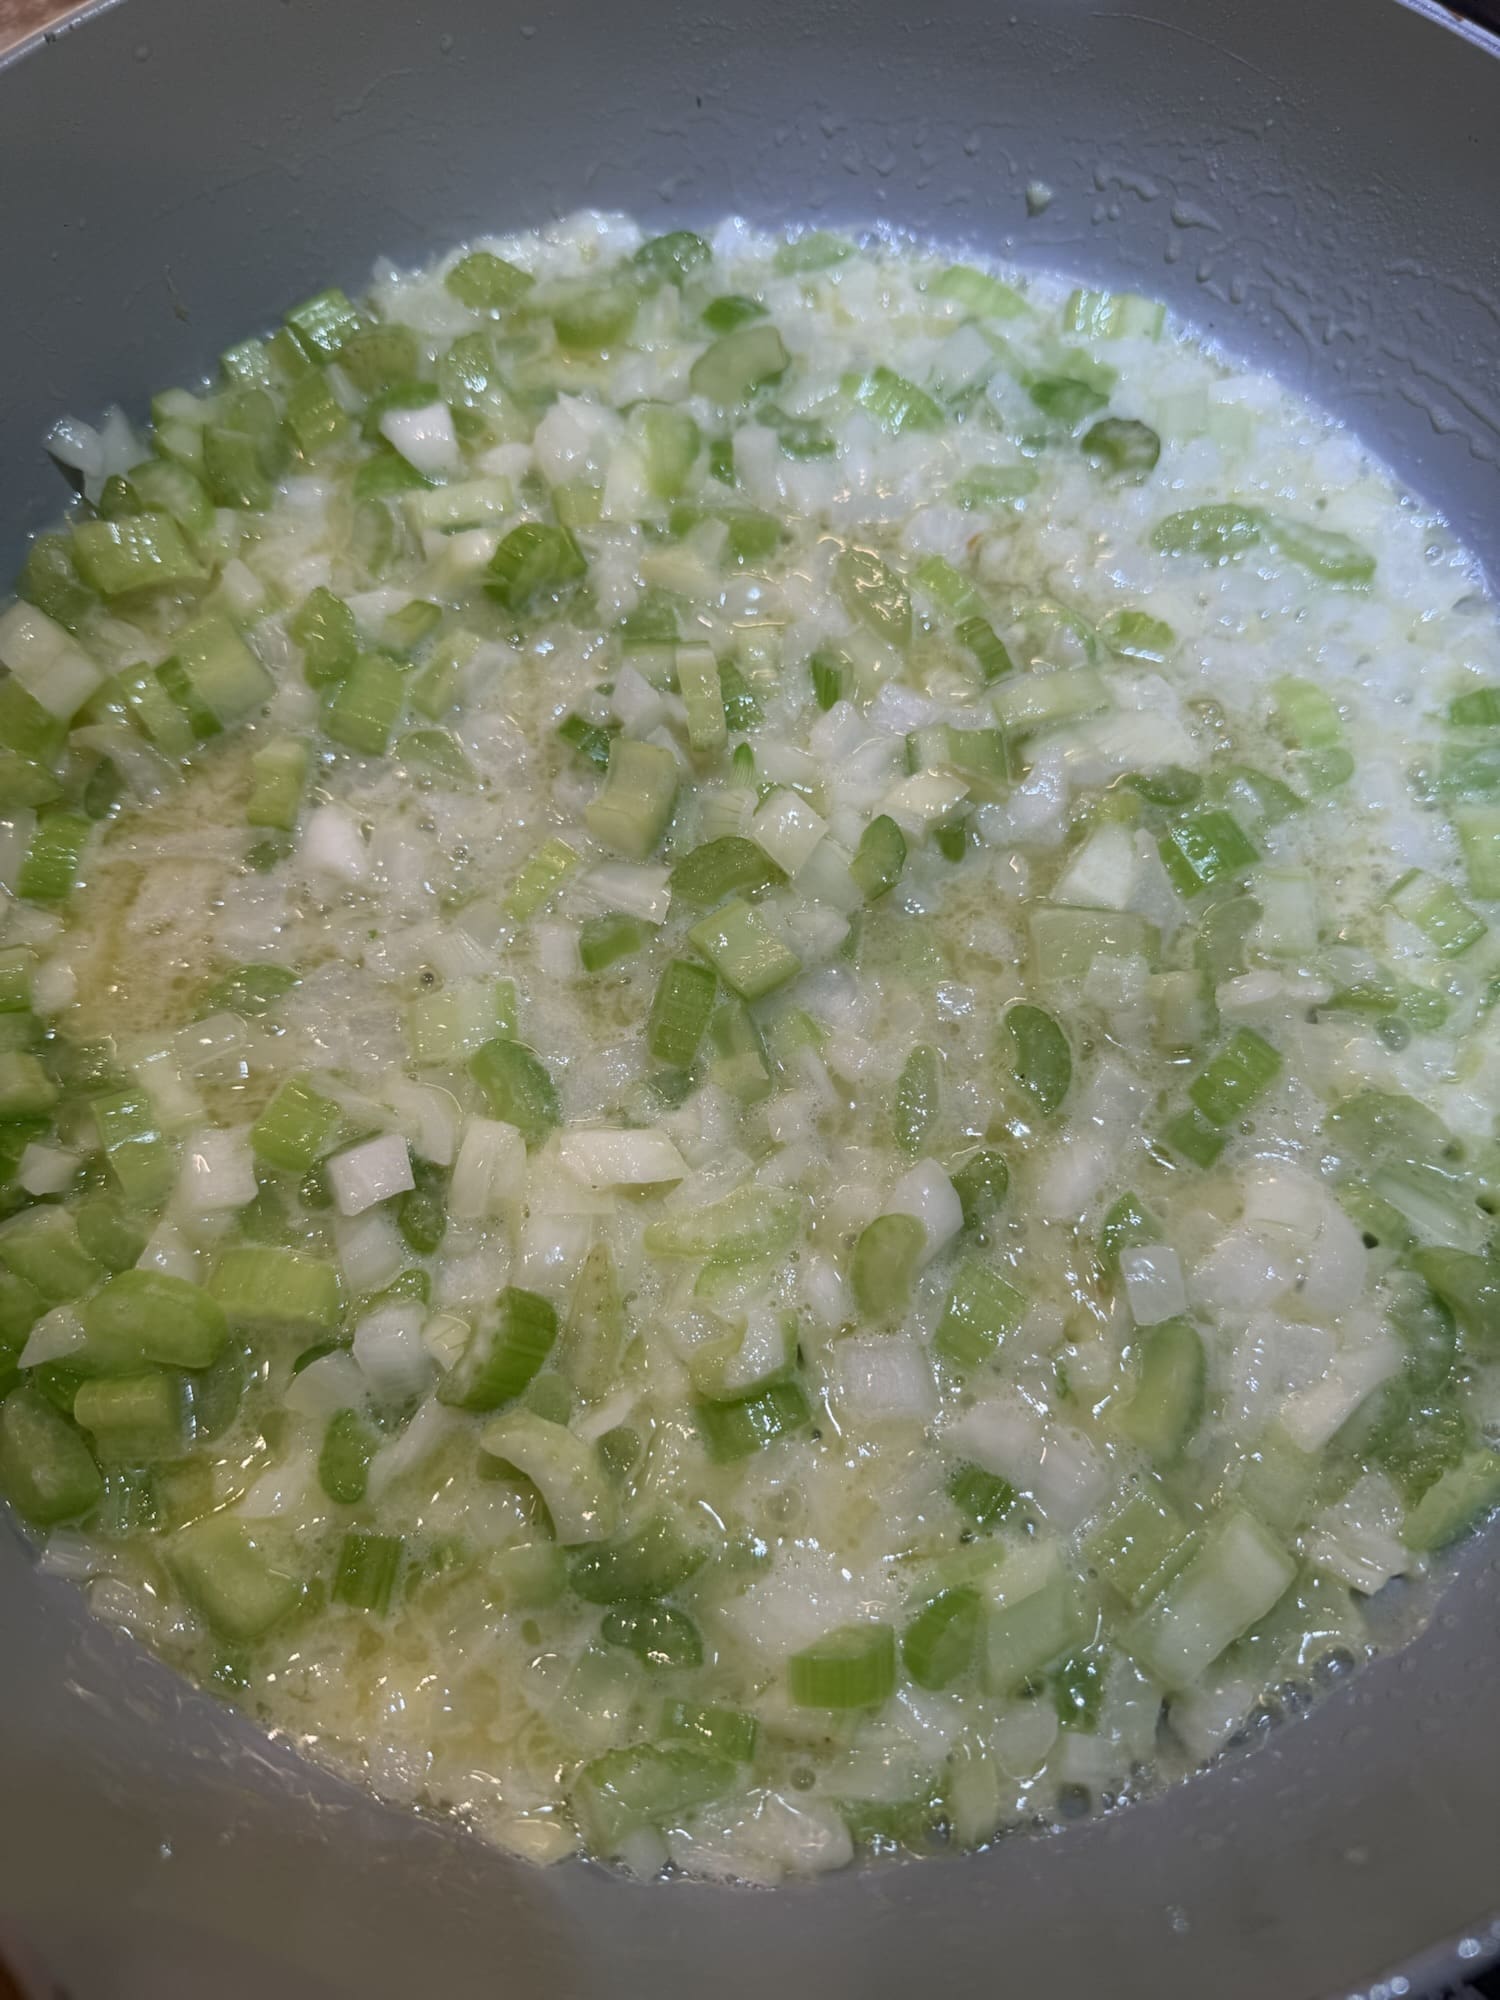
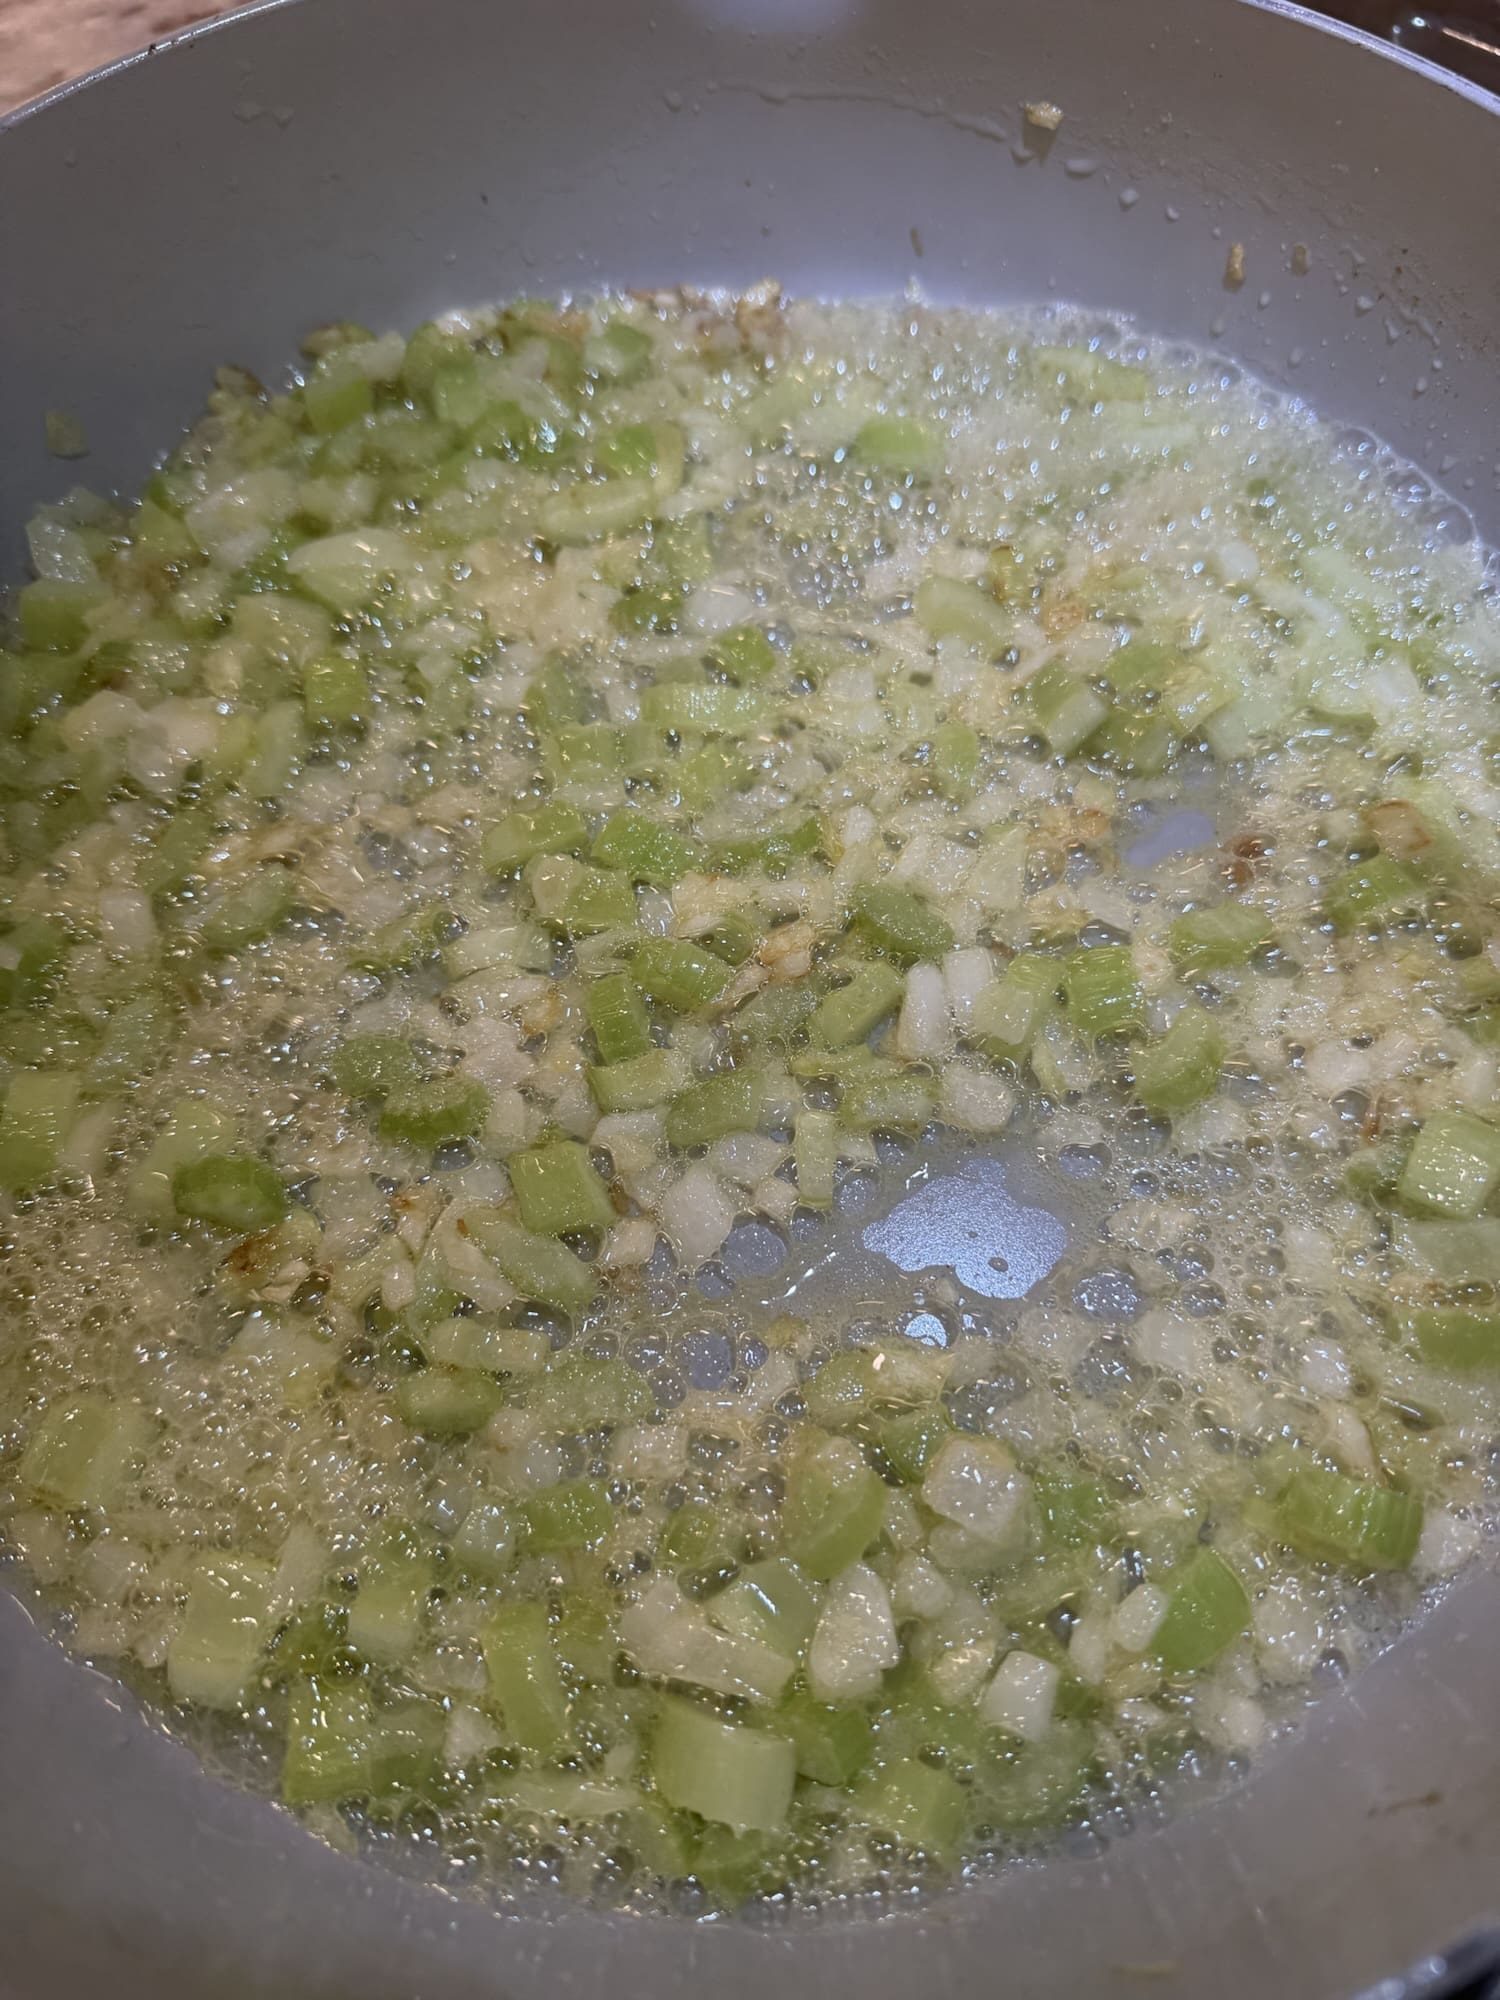
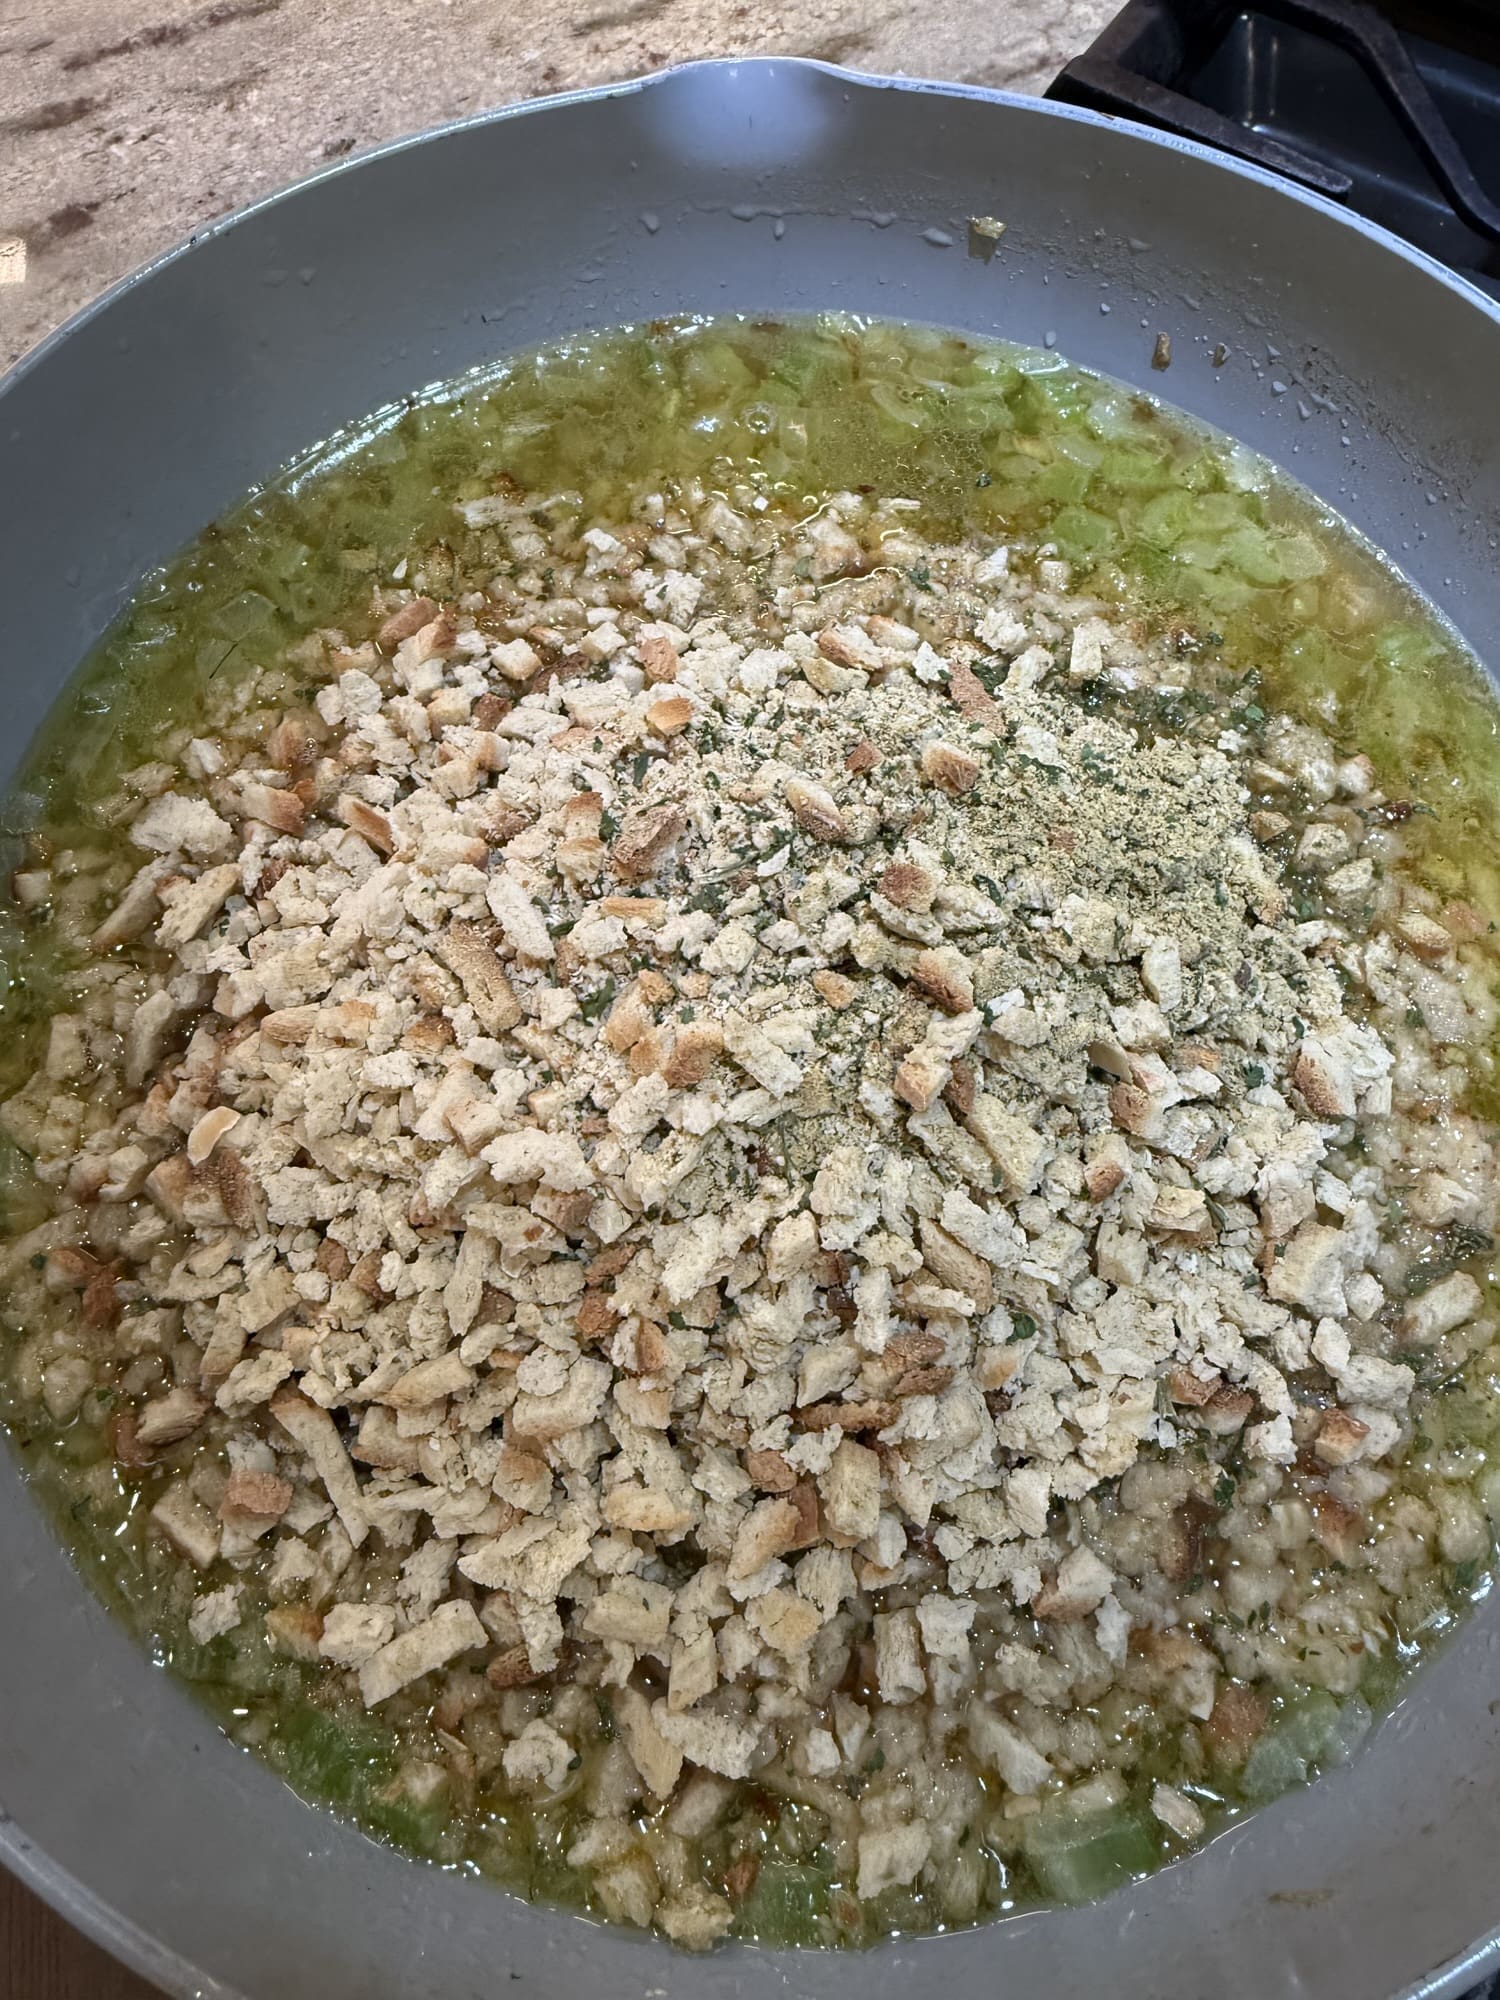
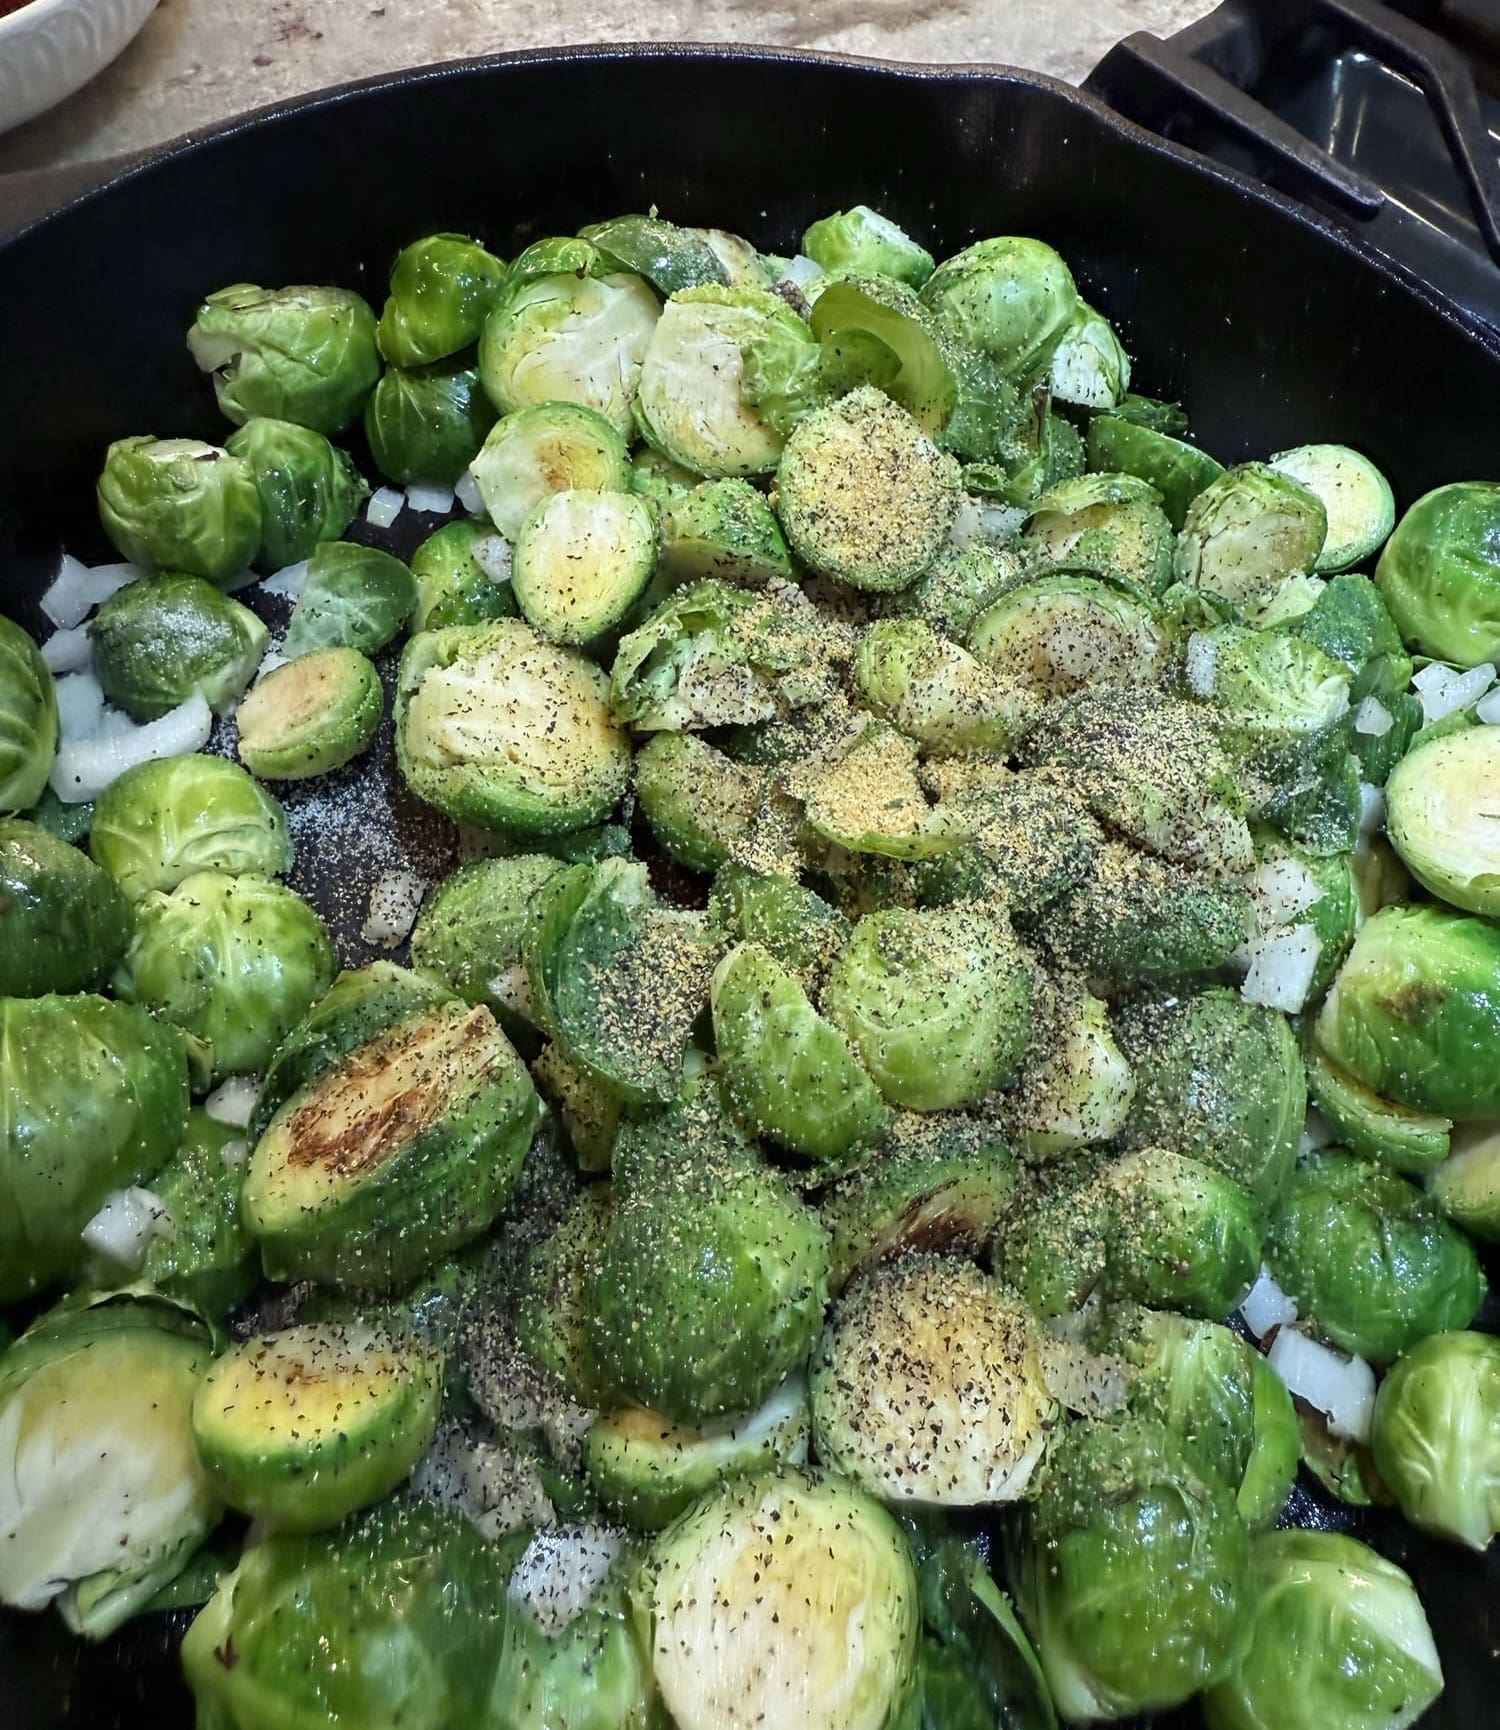
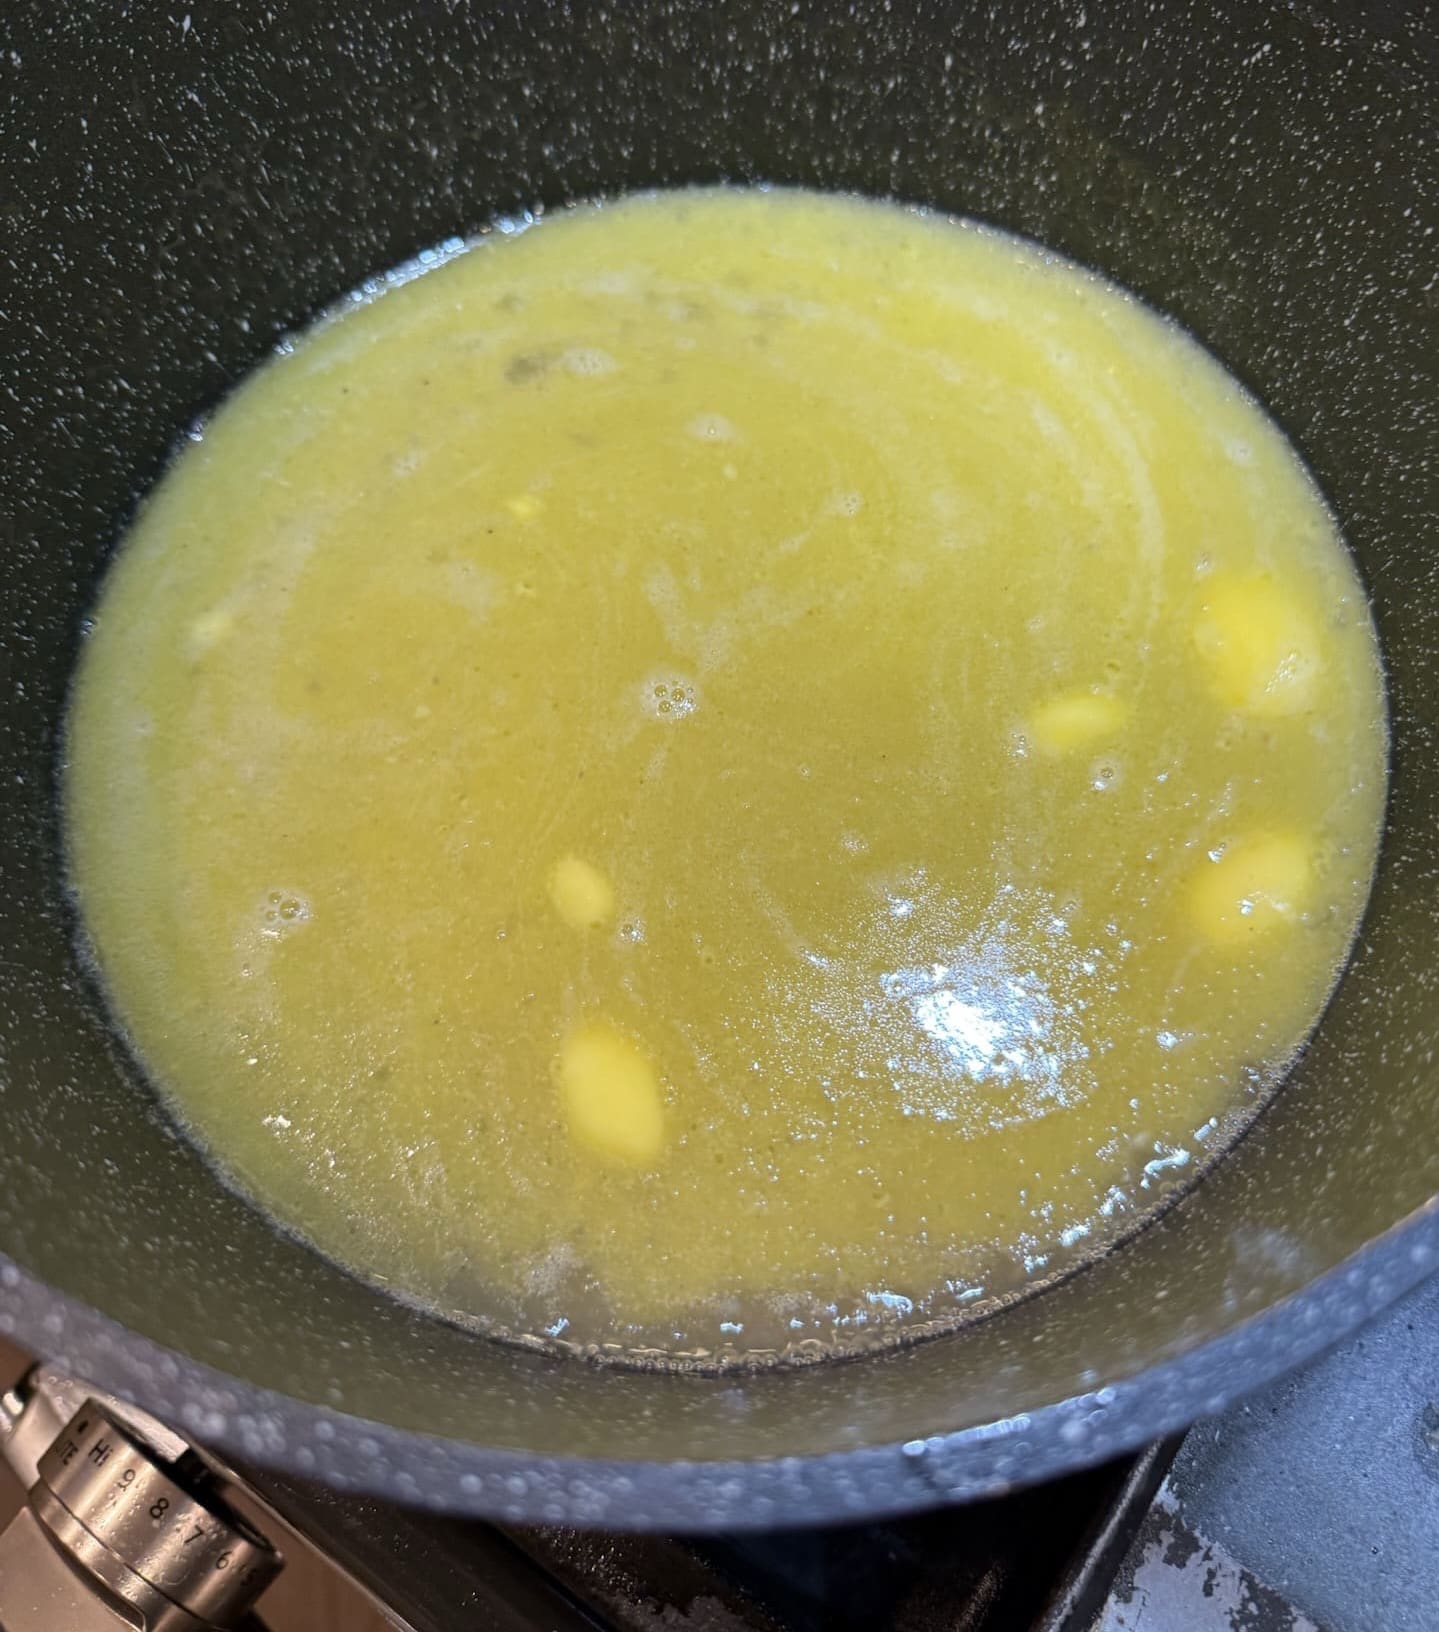
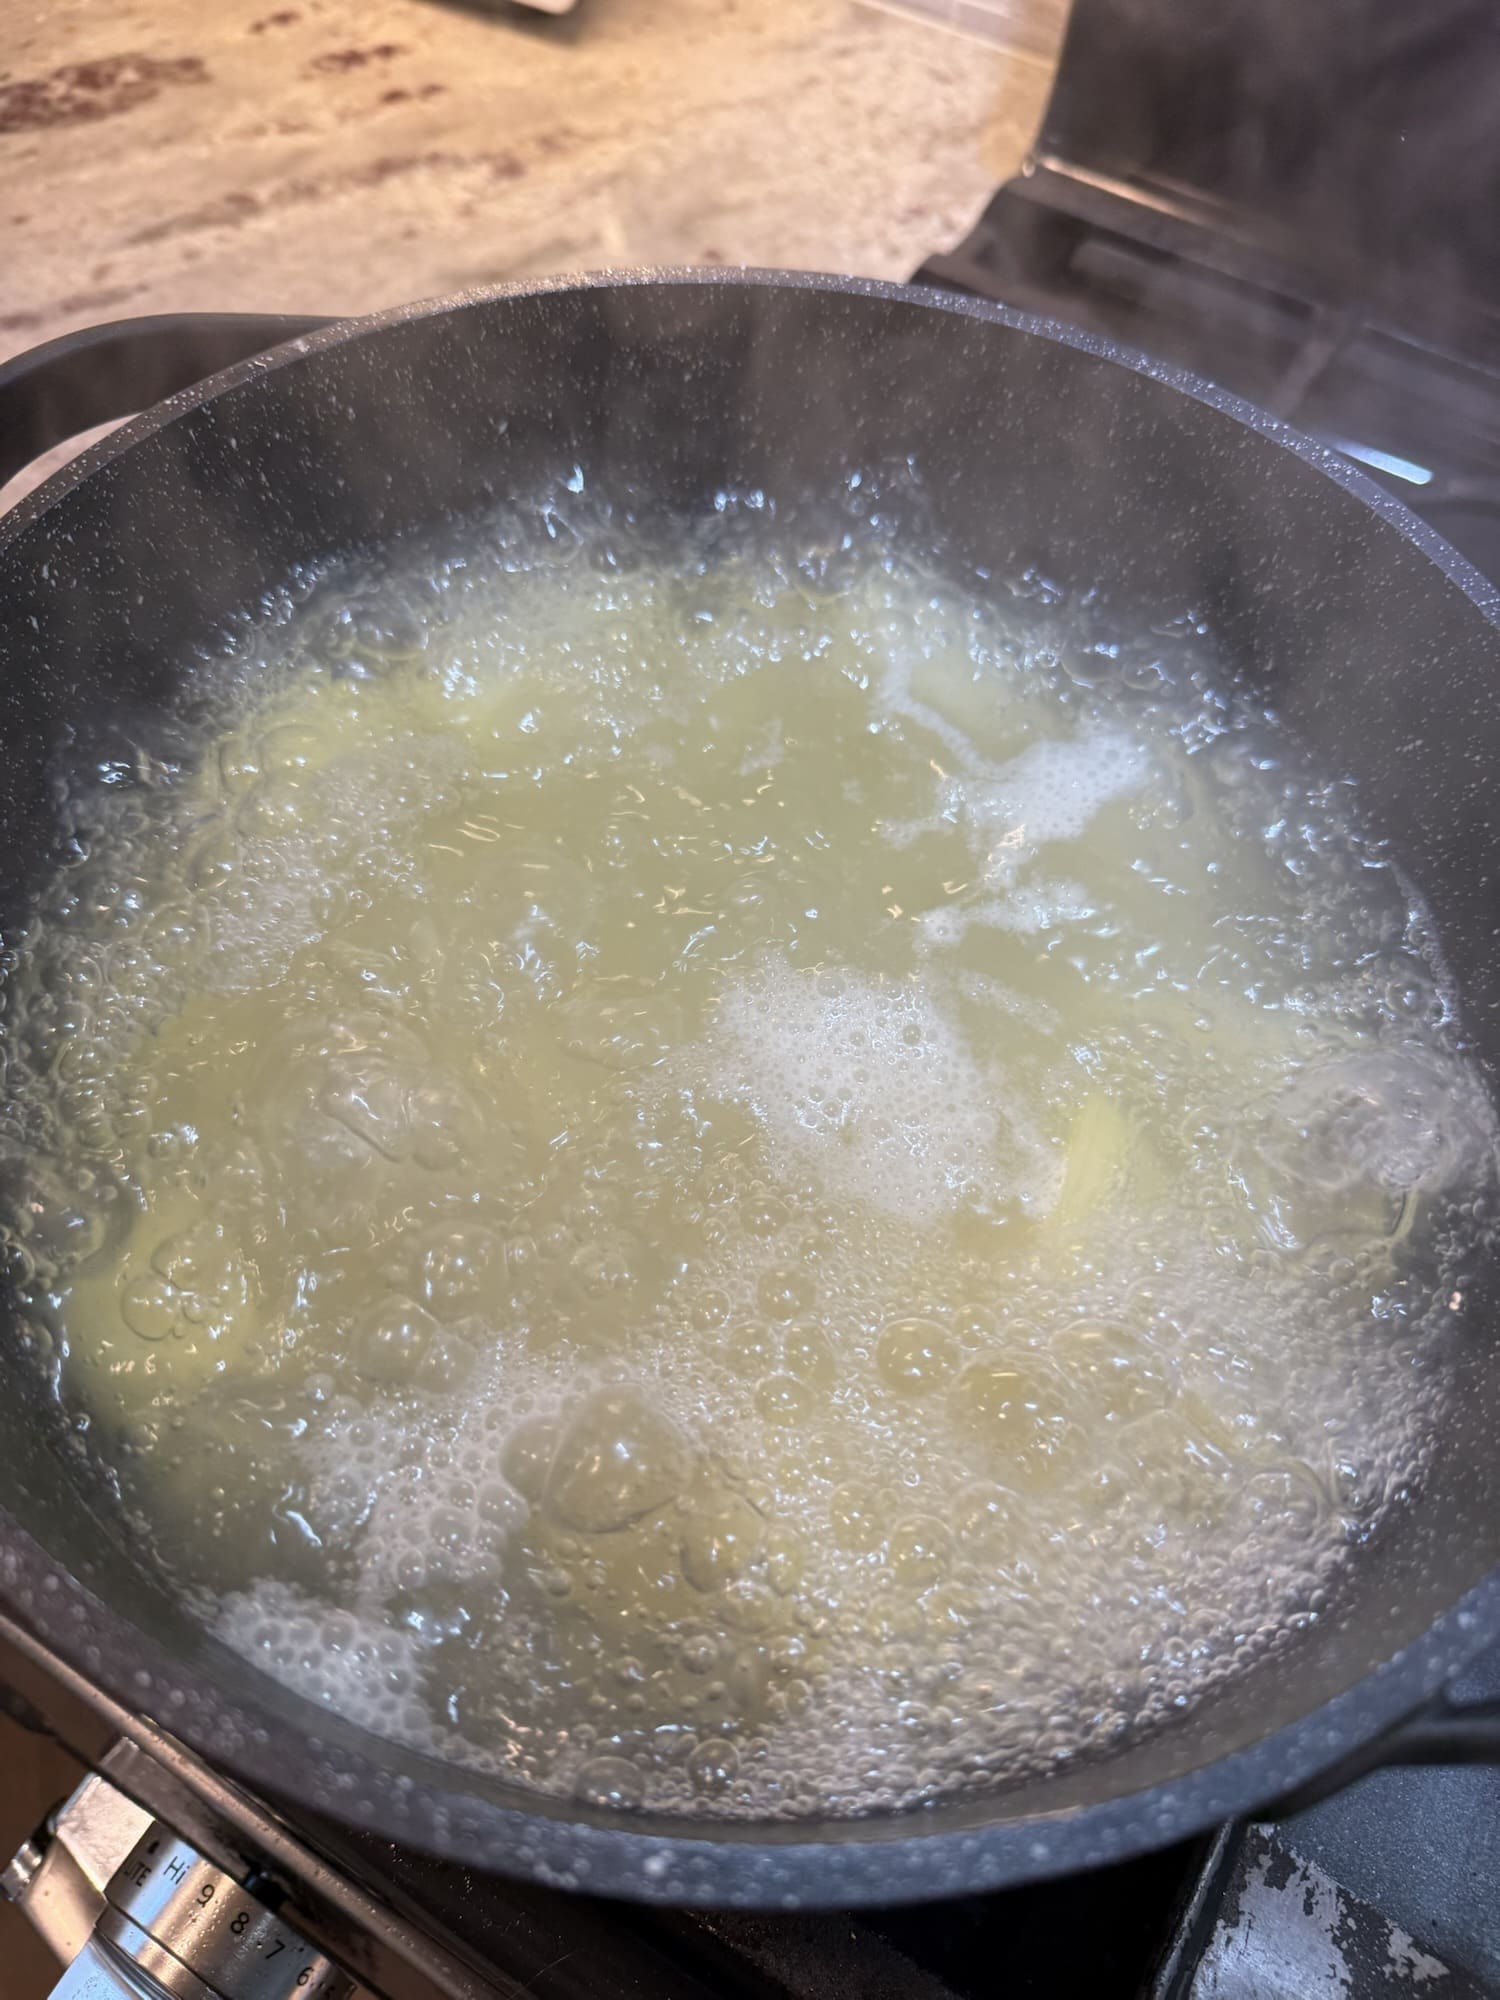
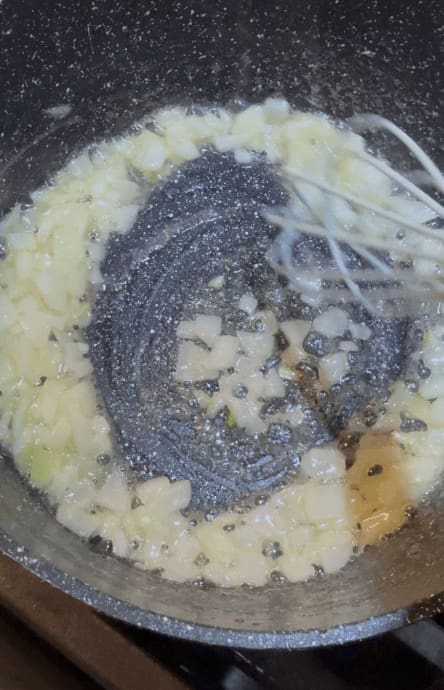
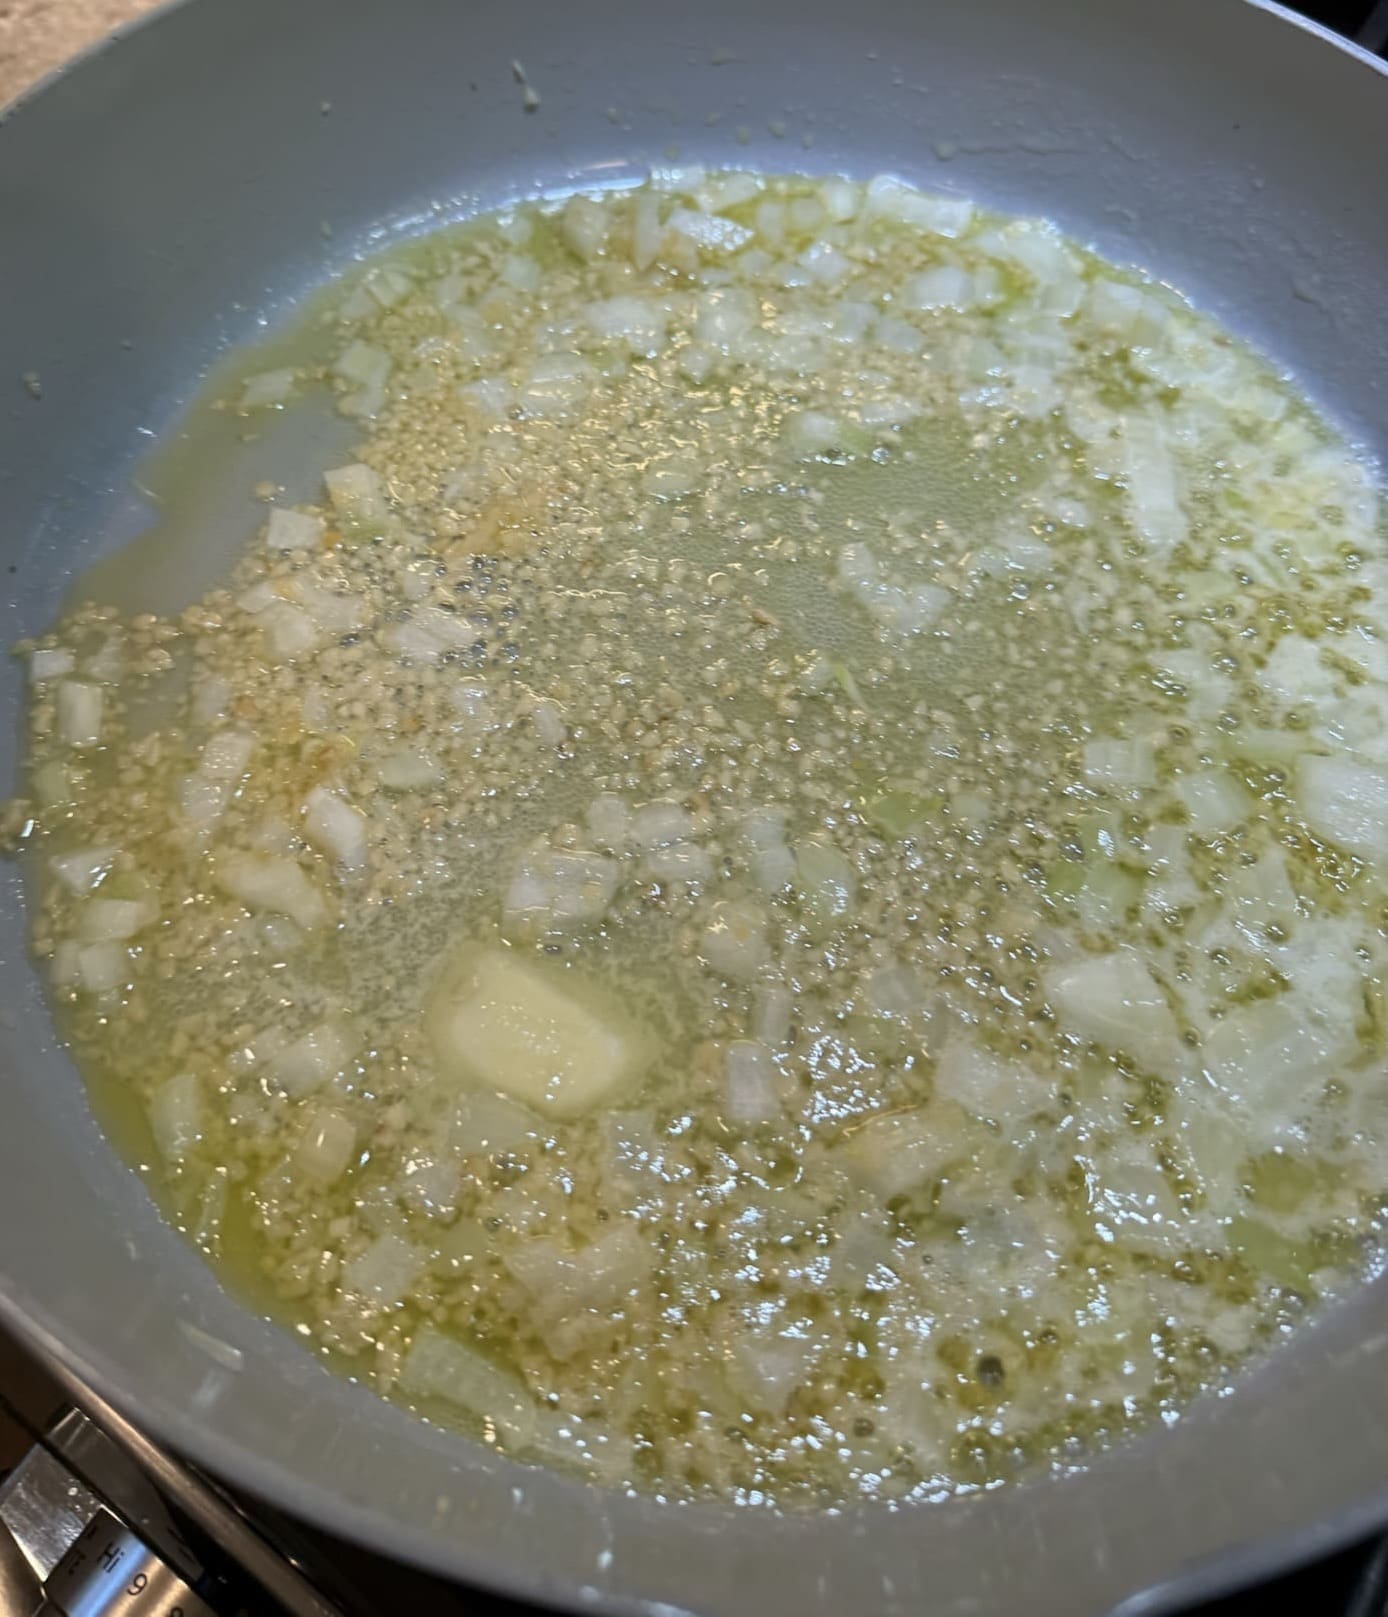
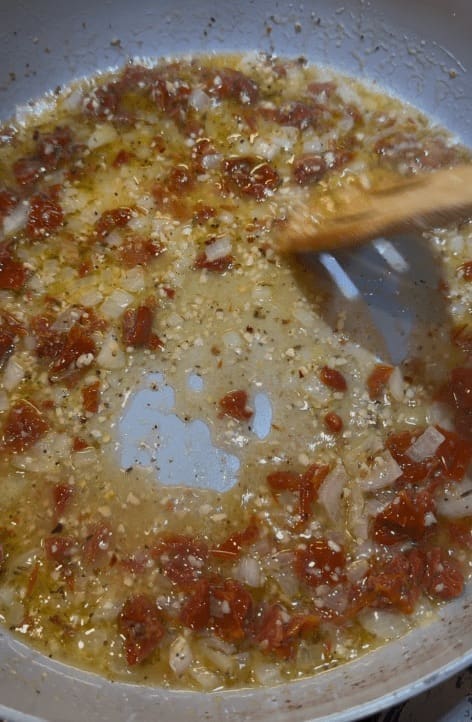
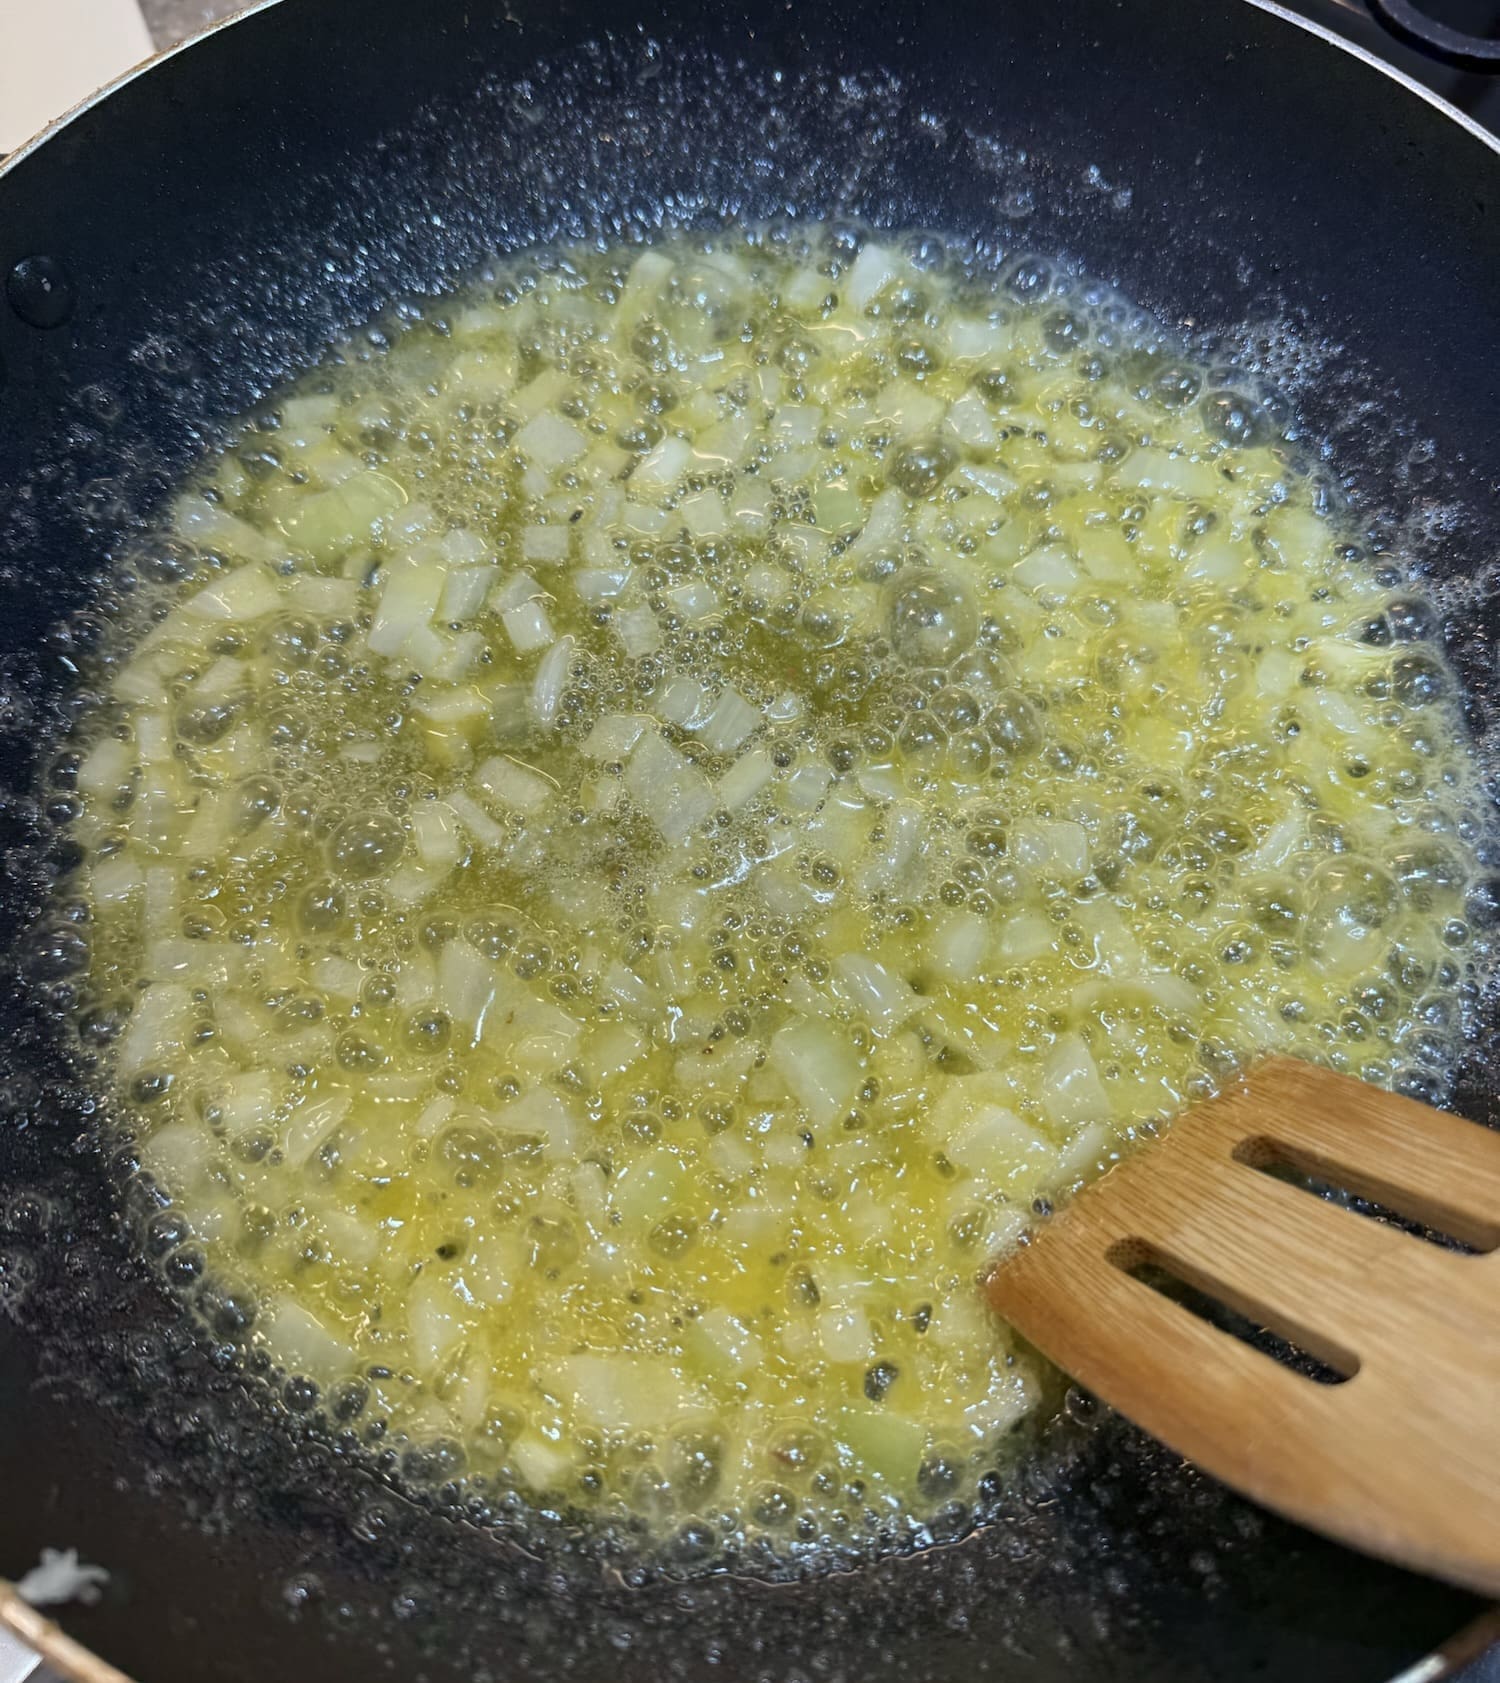
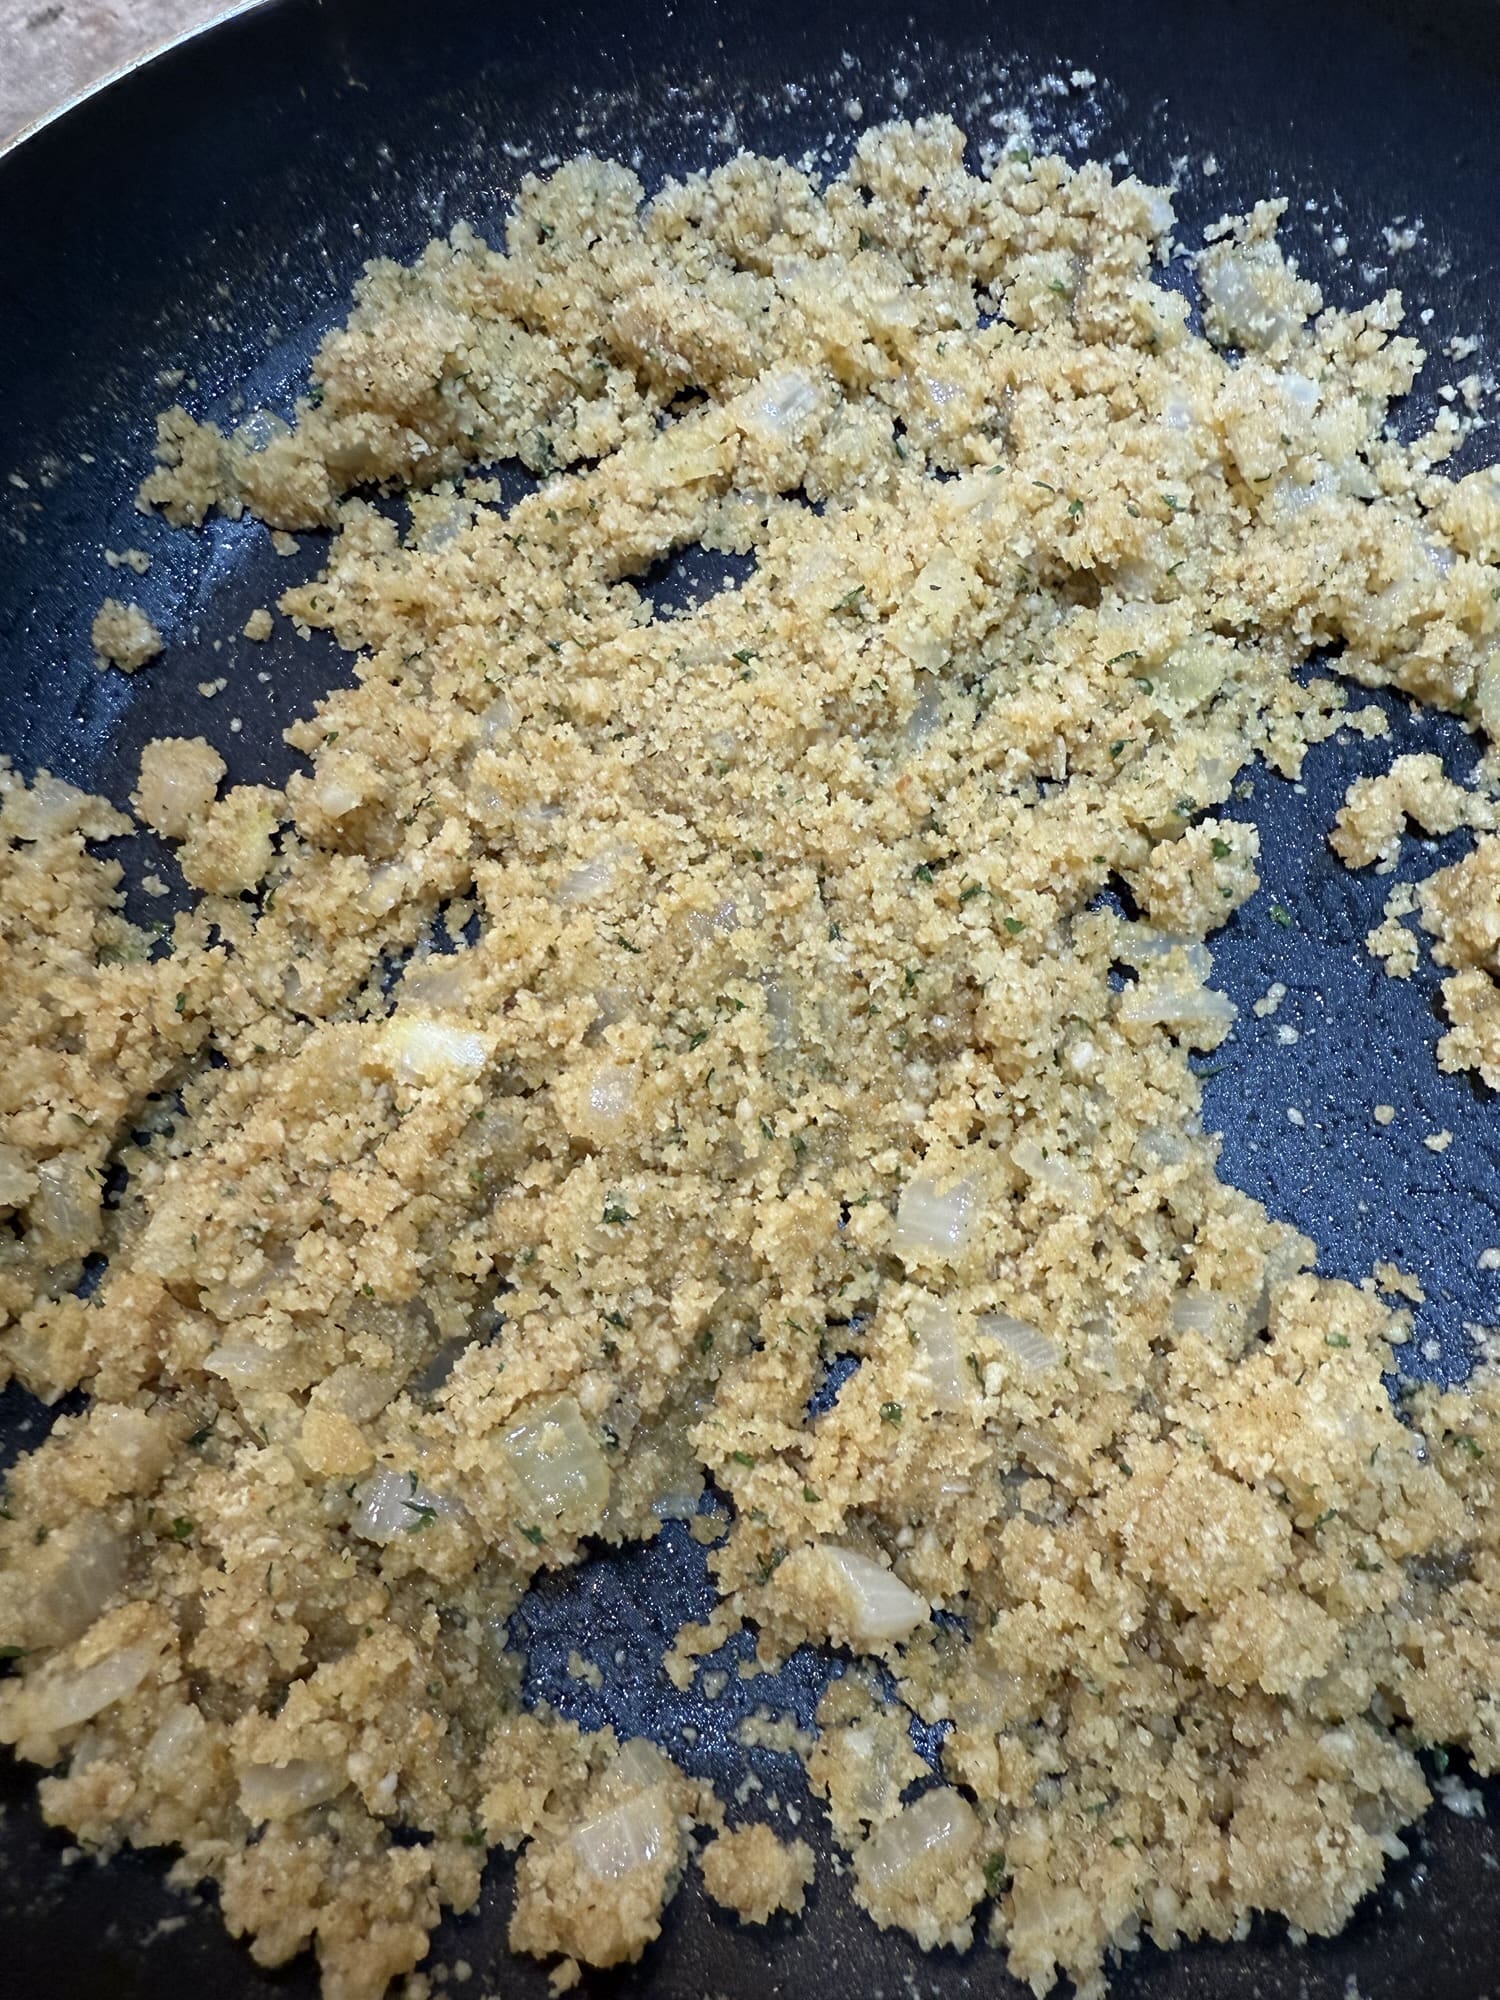
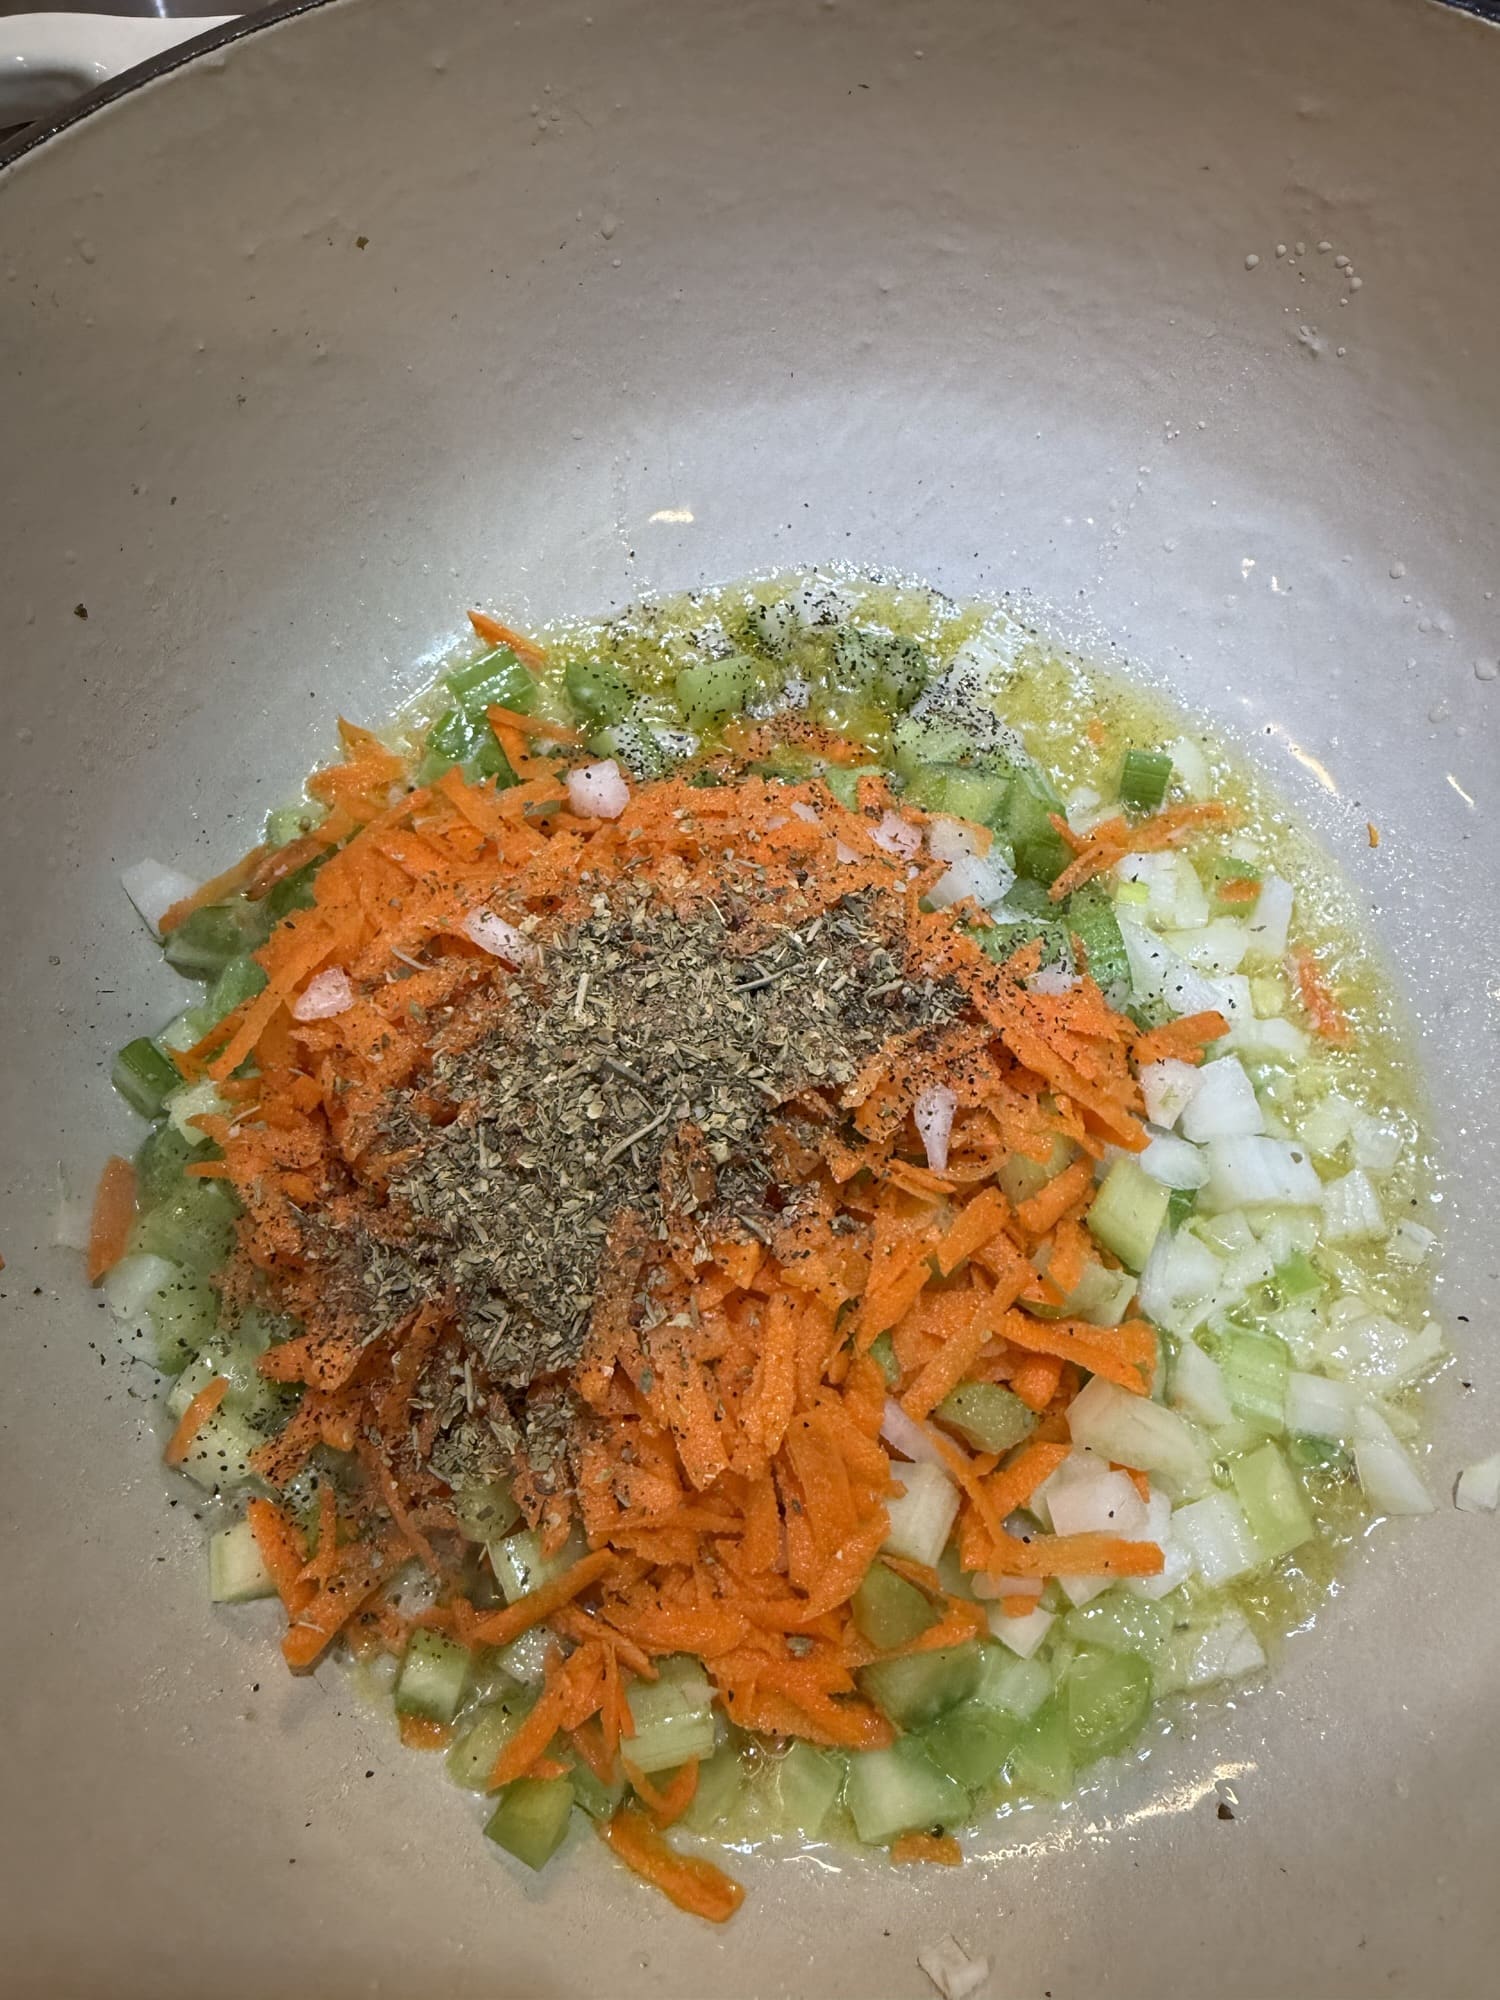
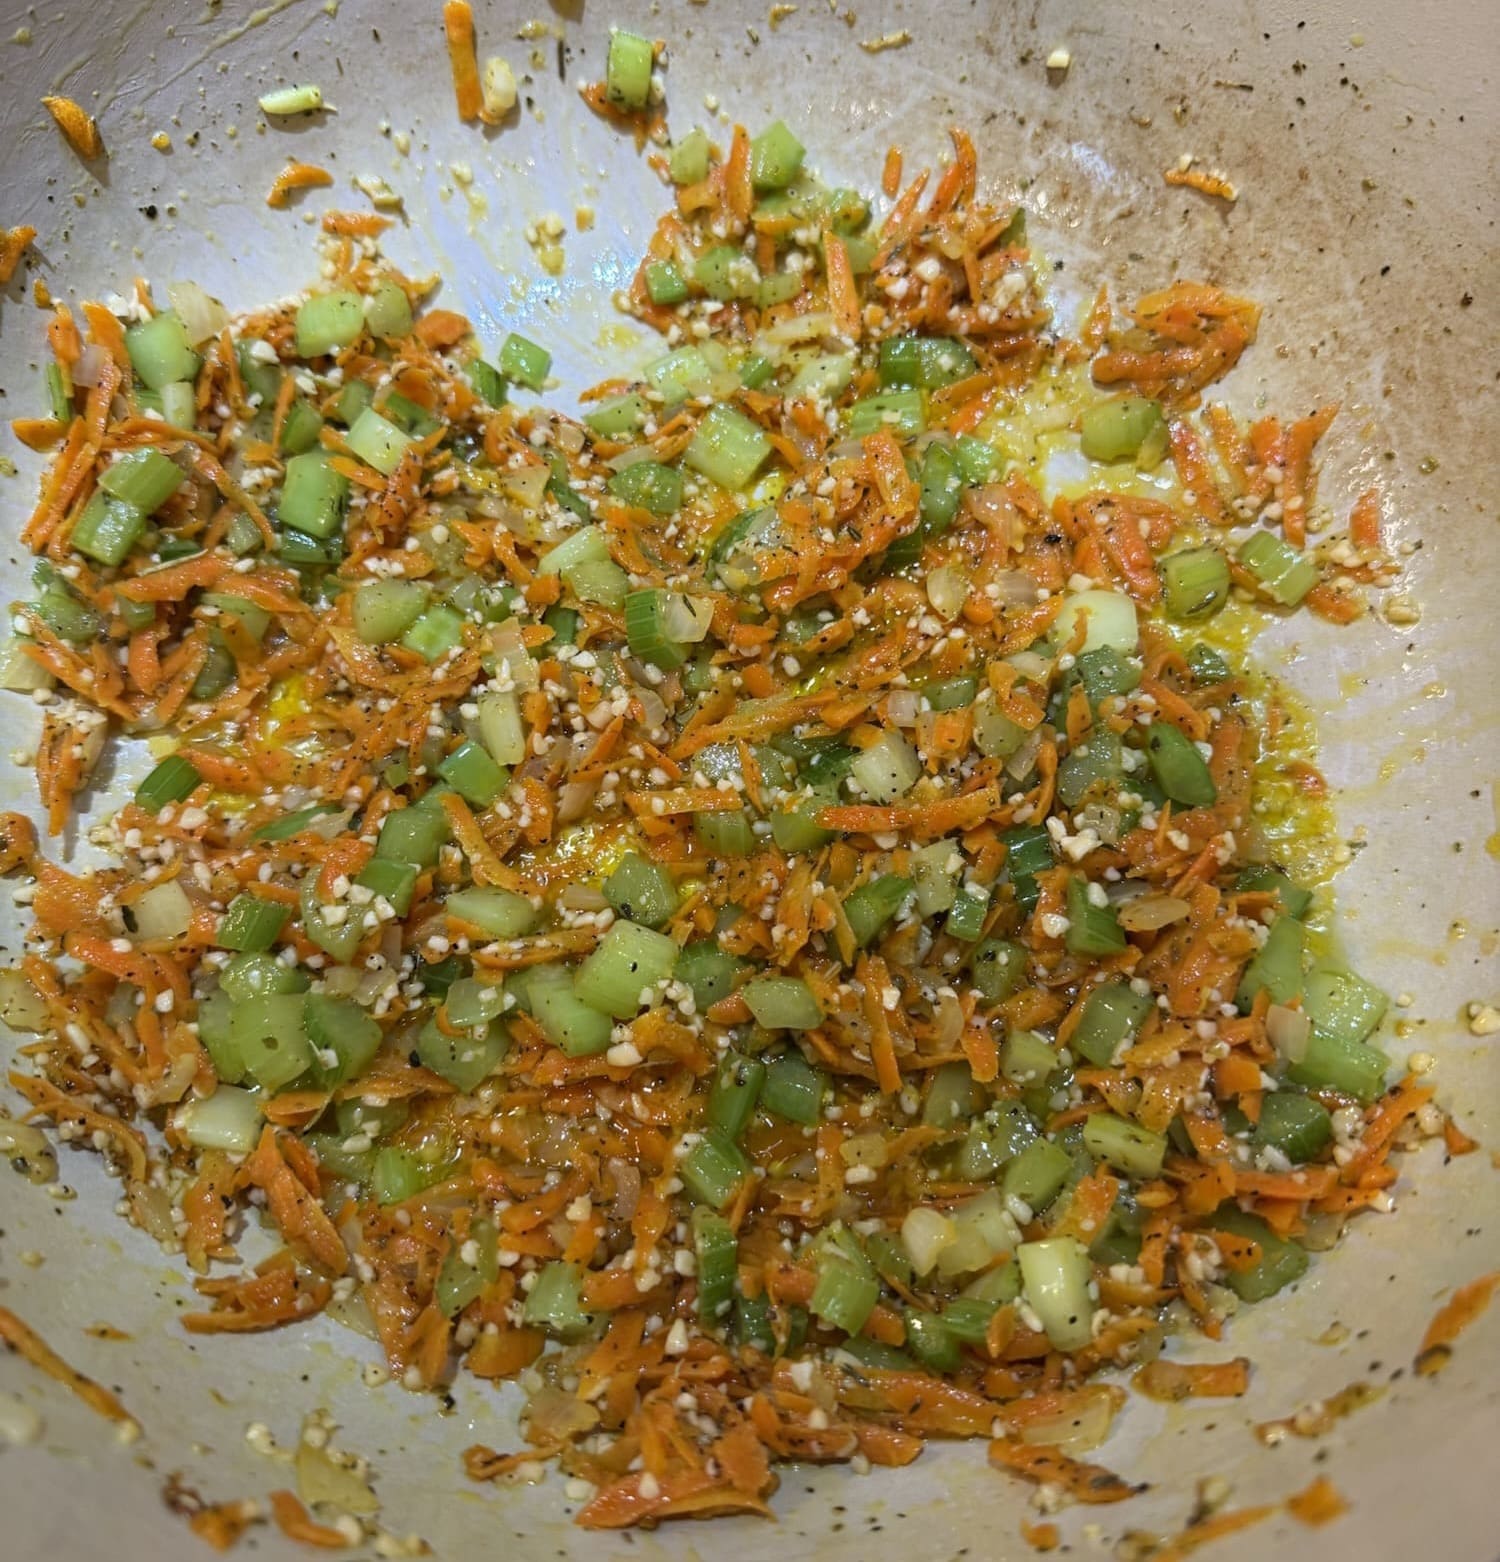
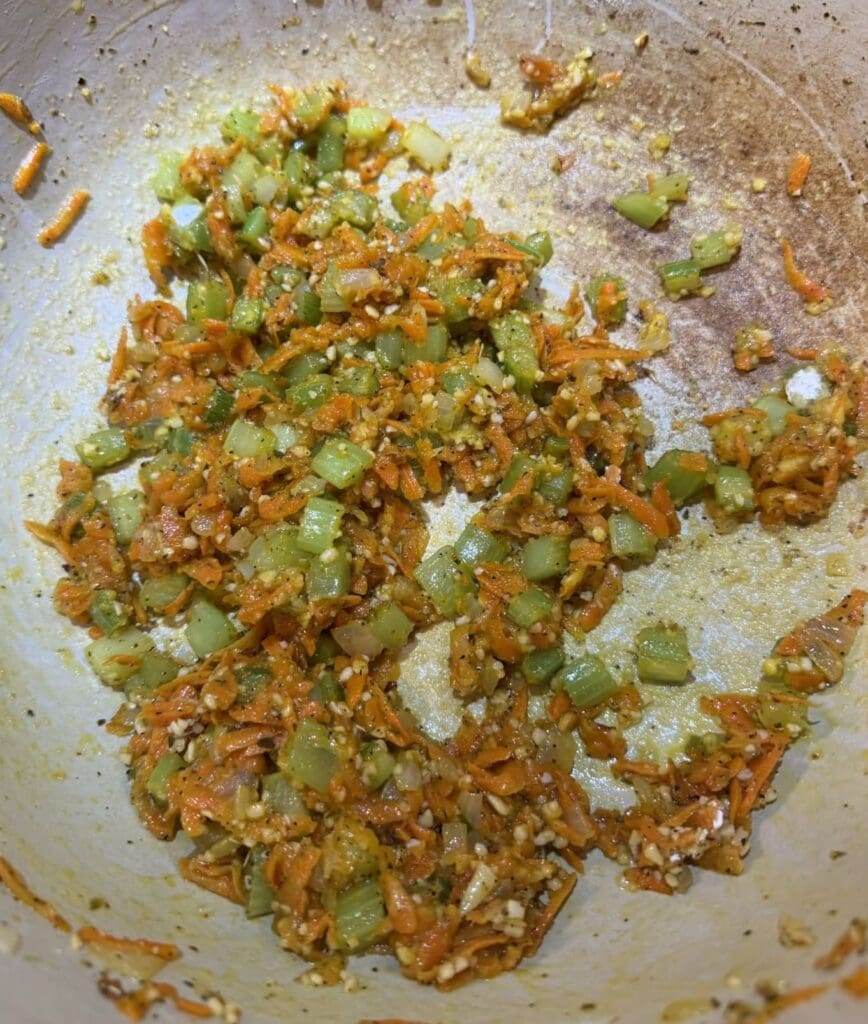
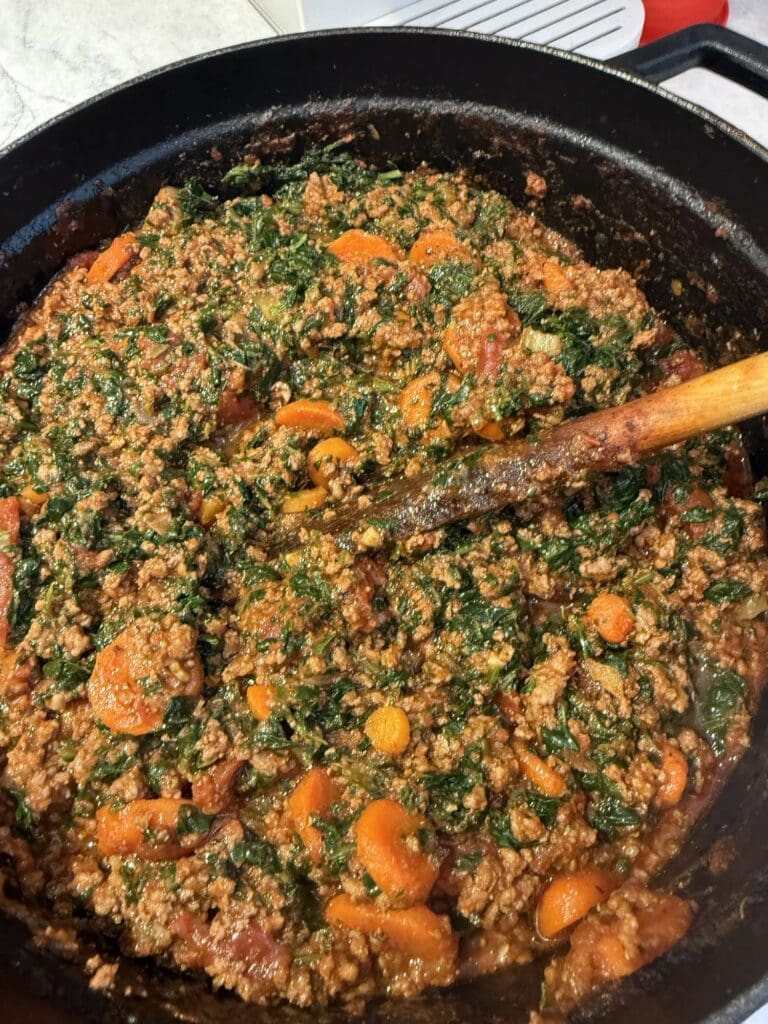
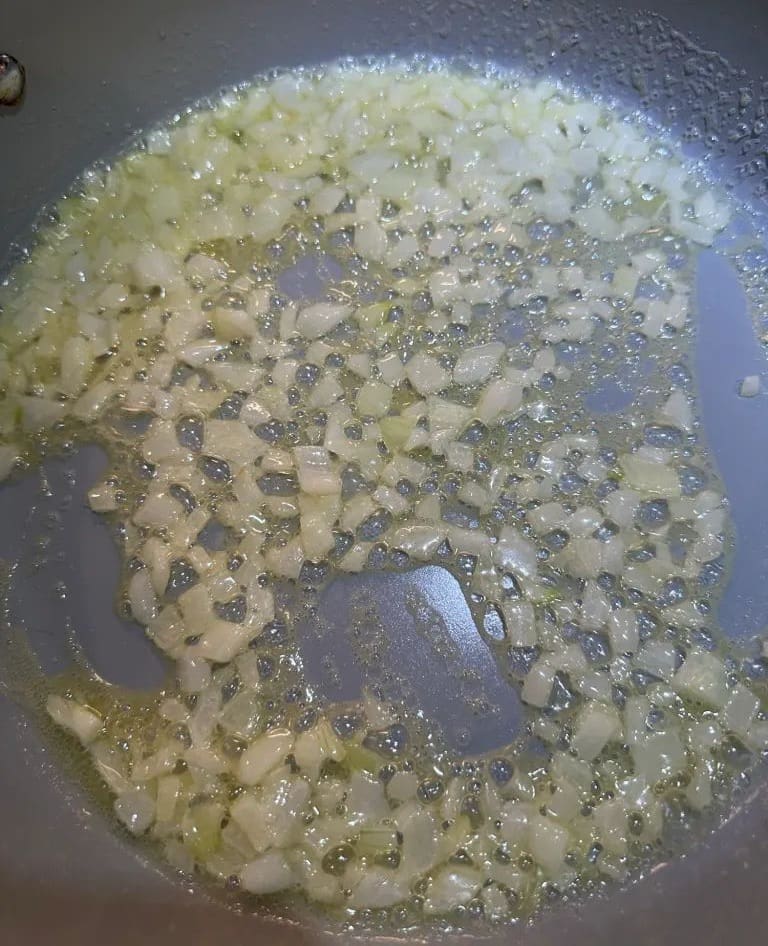
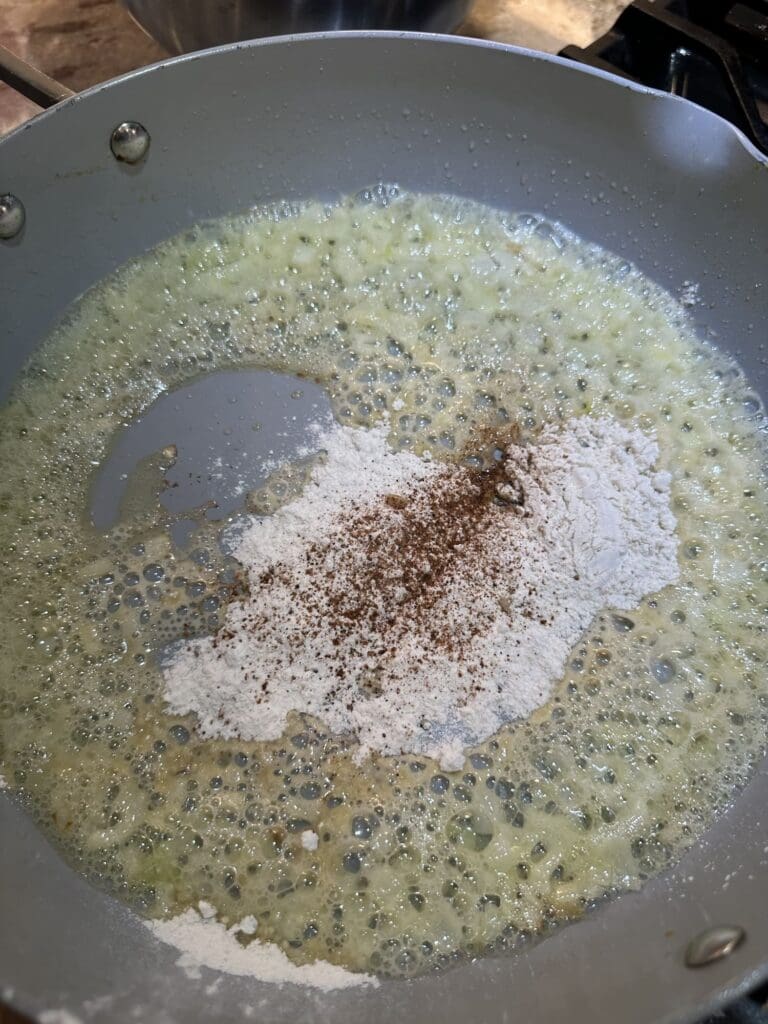
Now, in a large skillet, sauté onion in butter until it is soft.
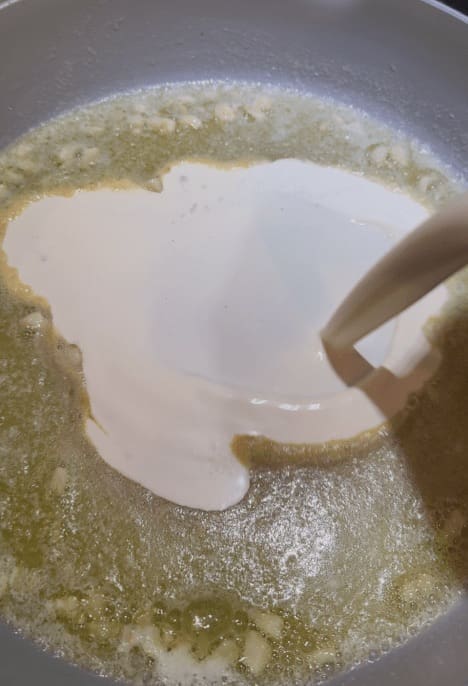
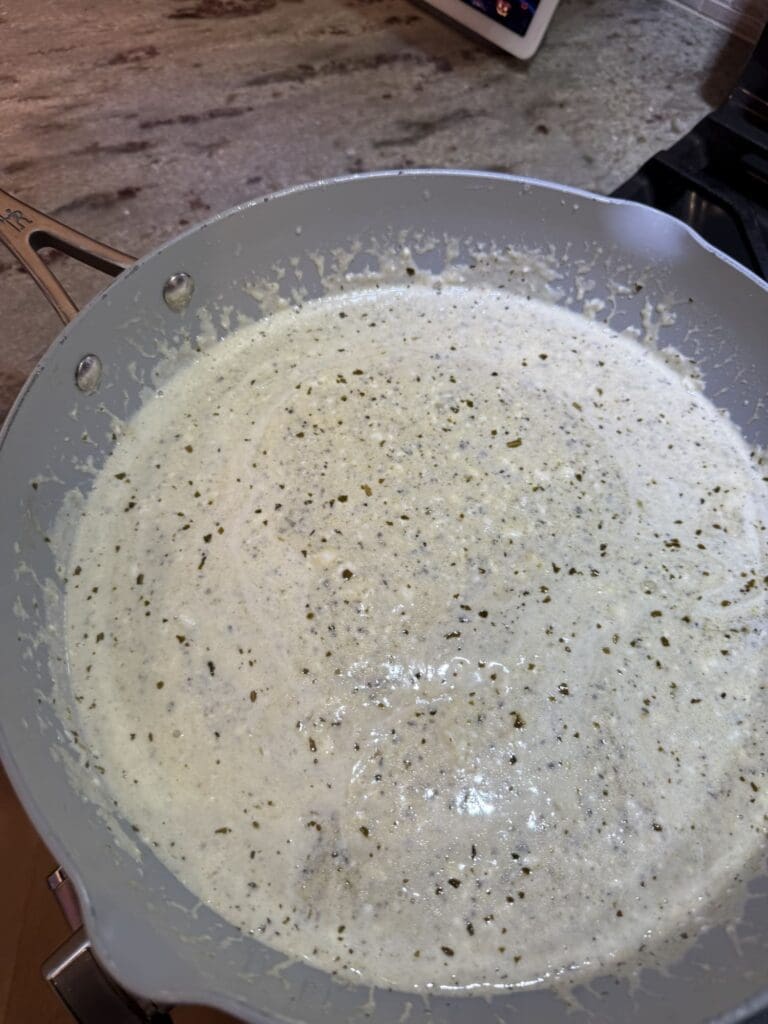
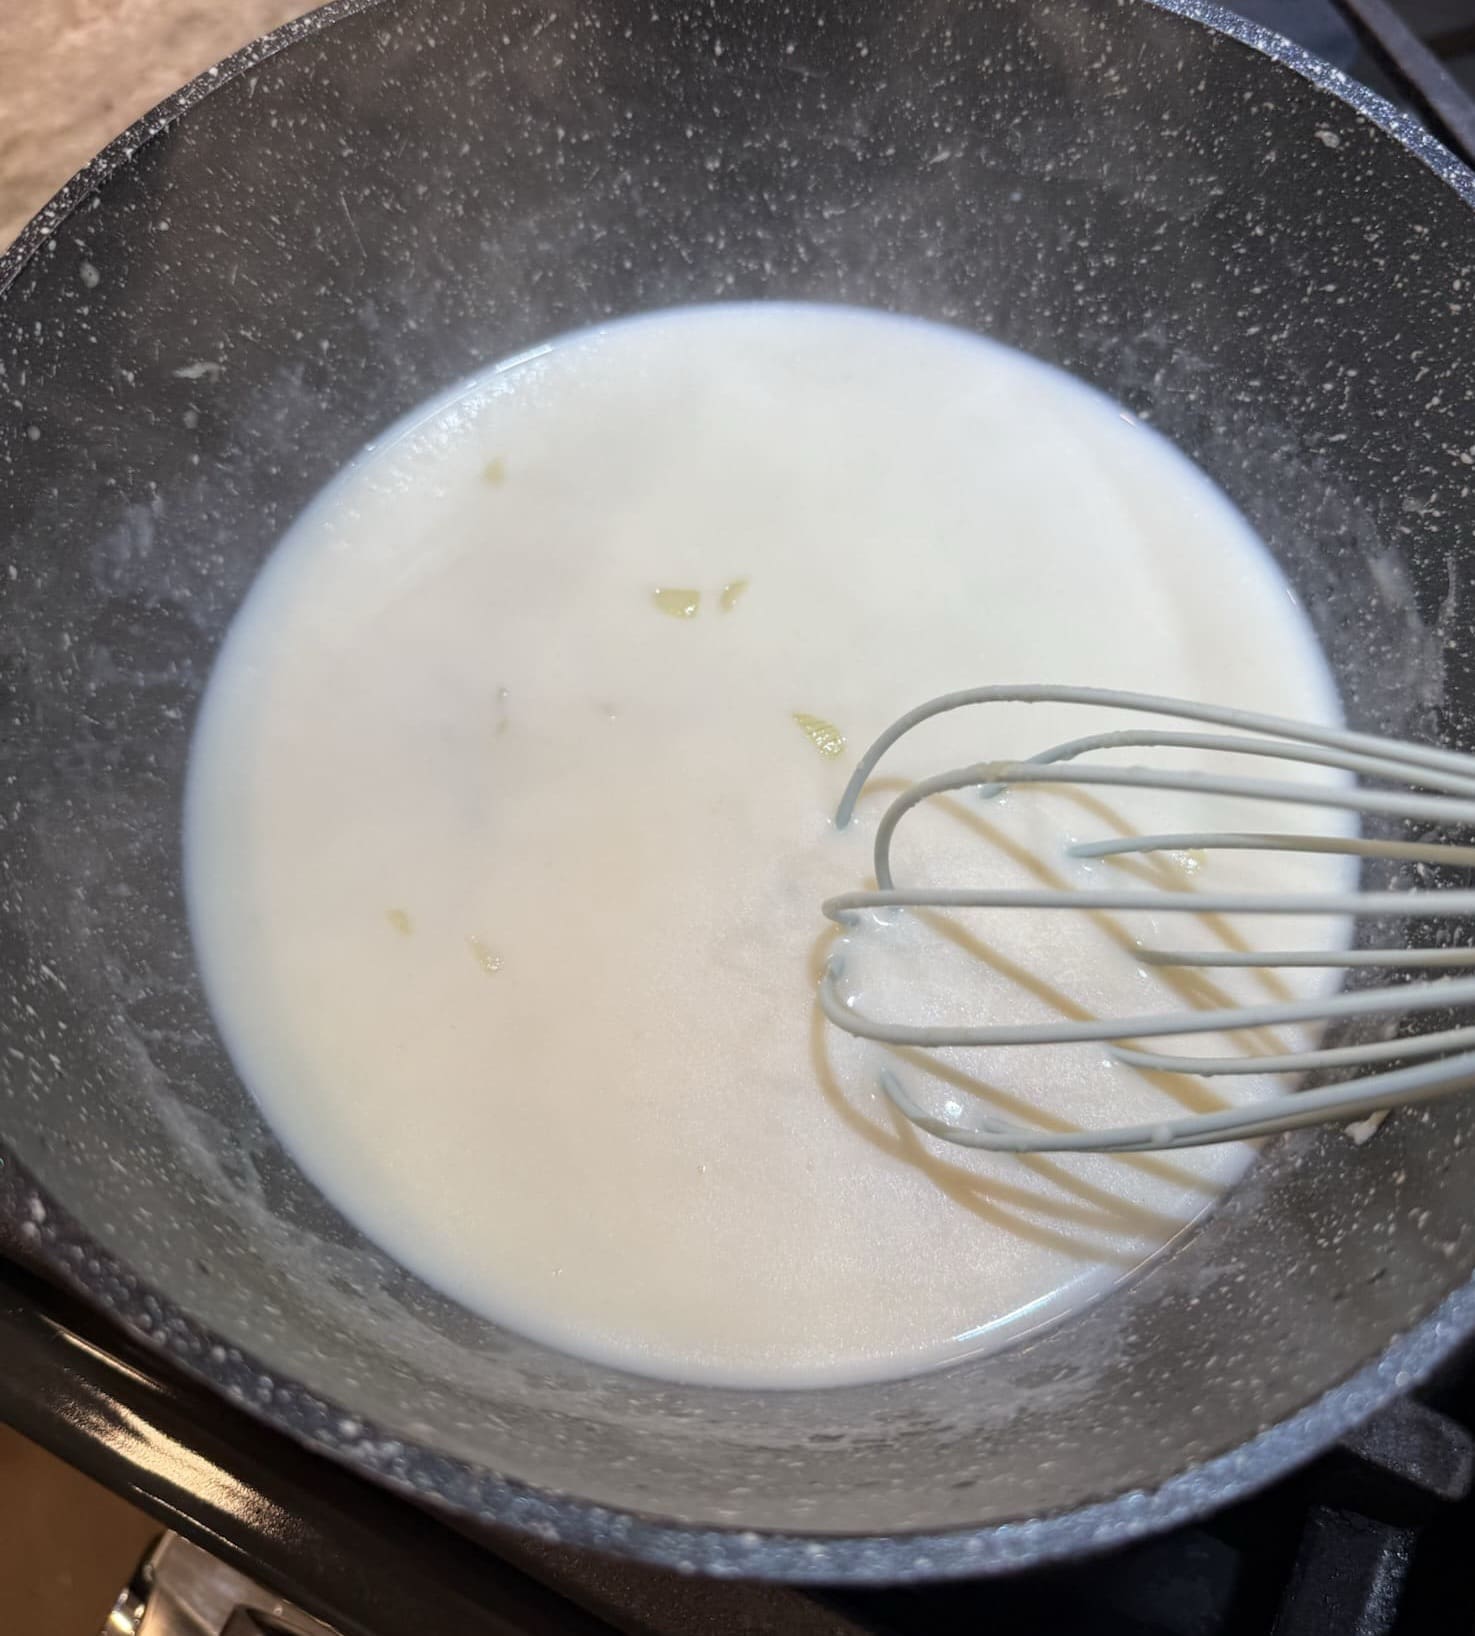
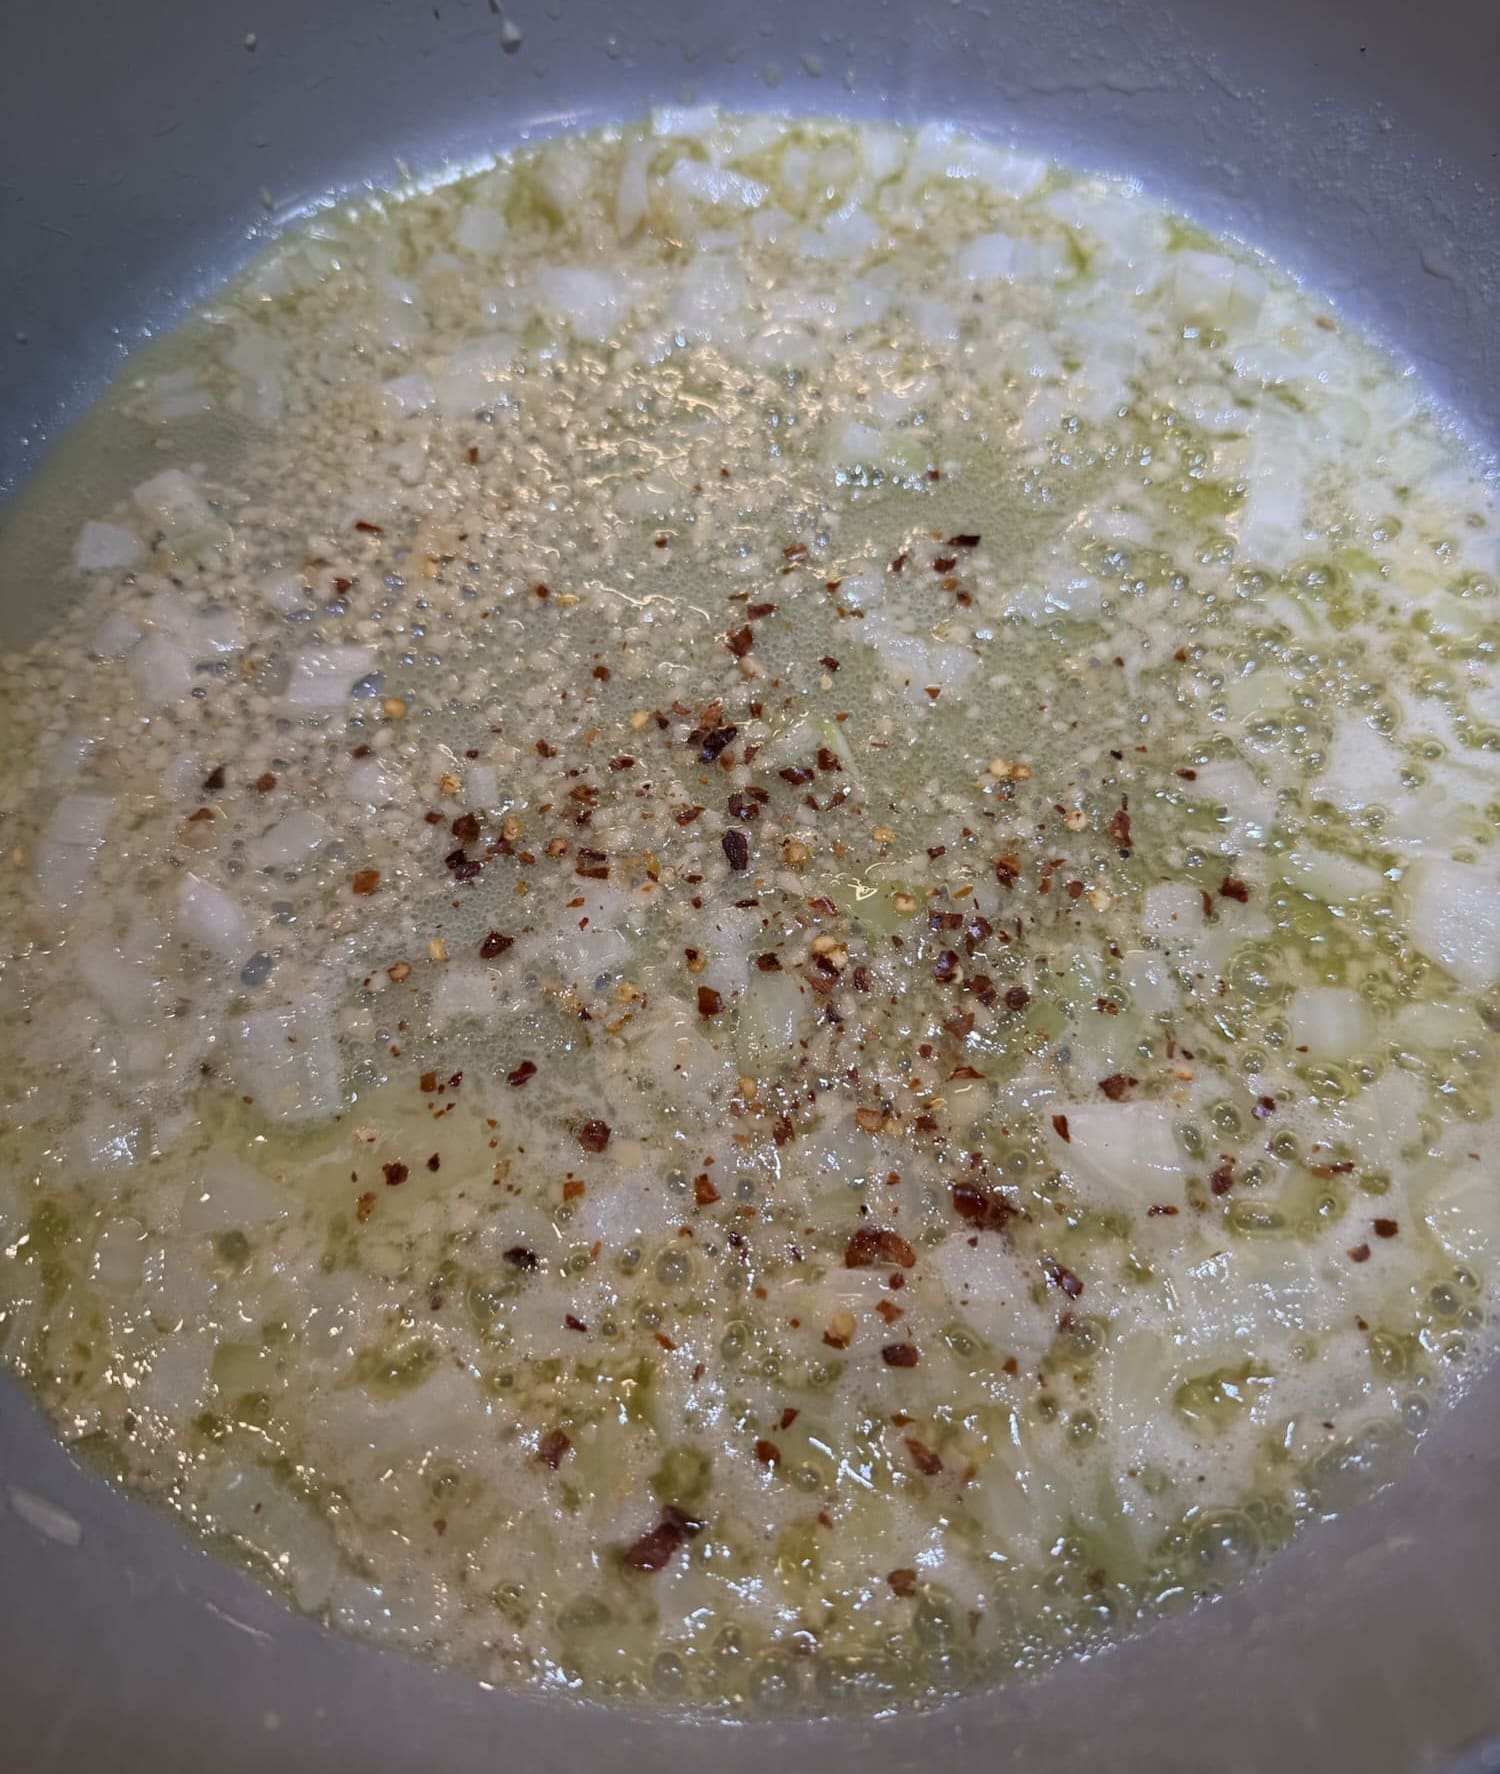
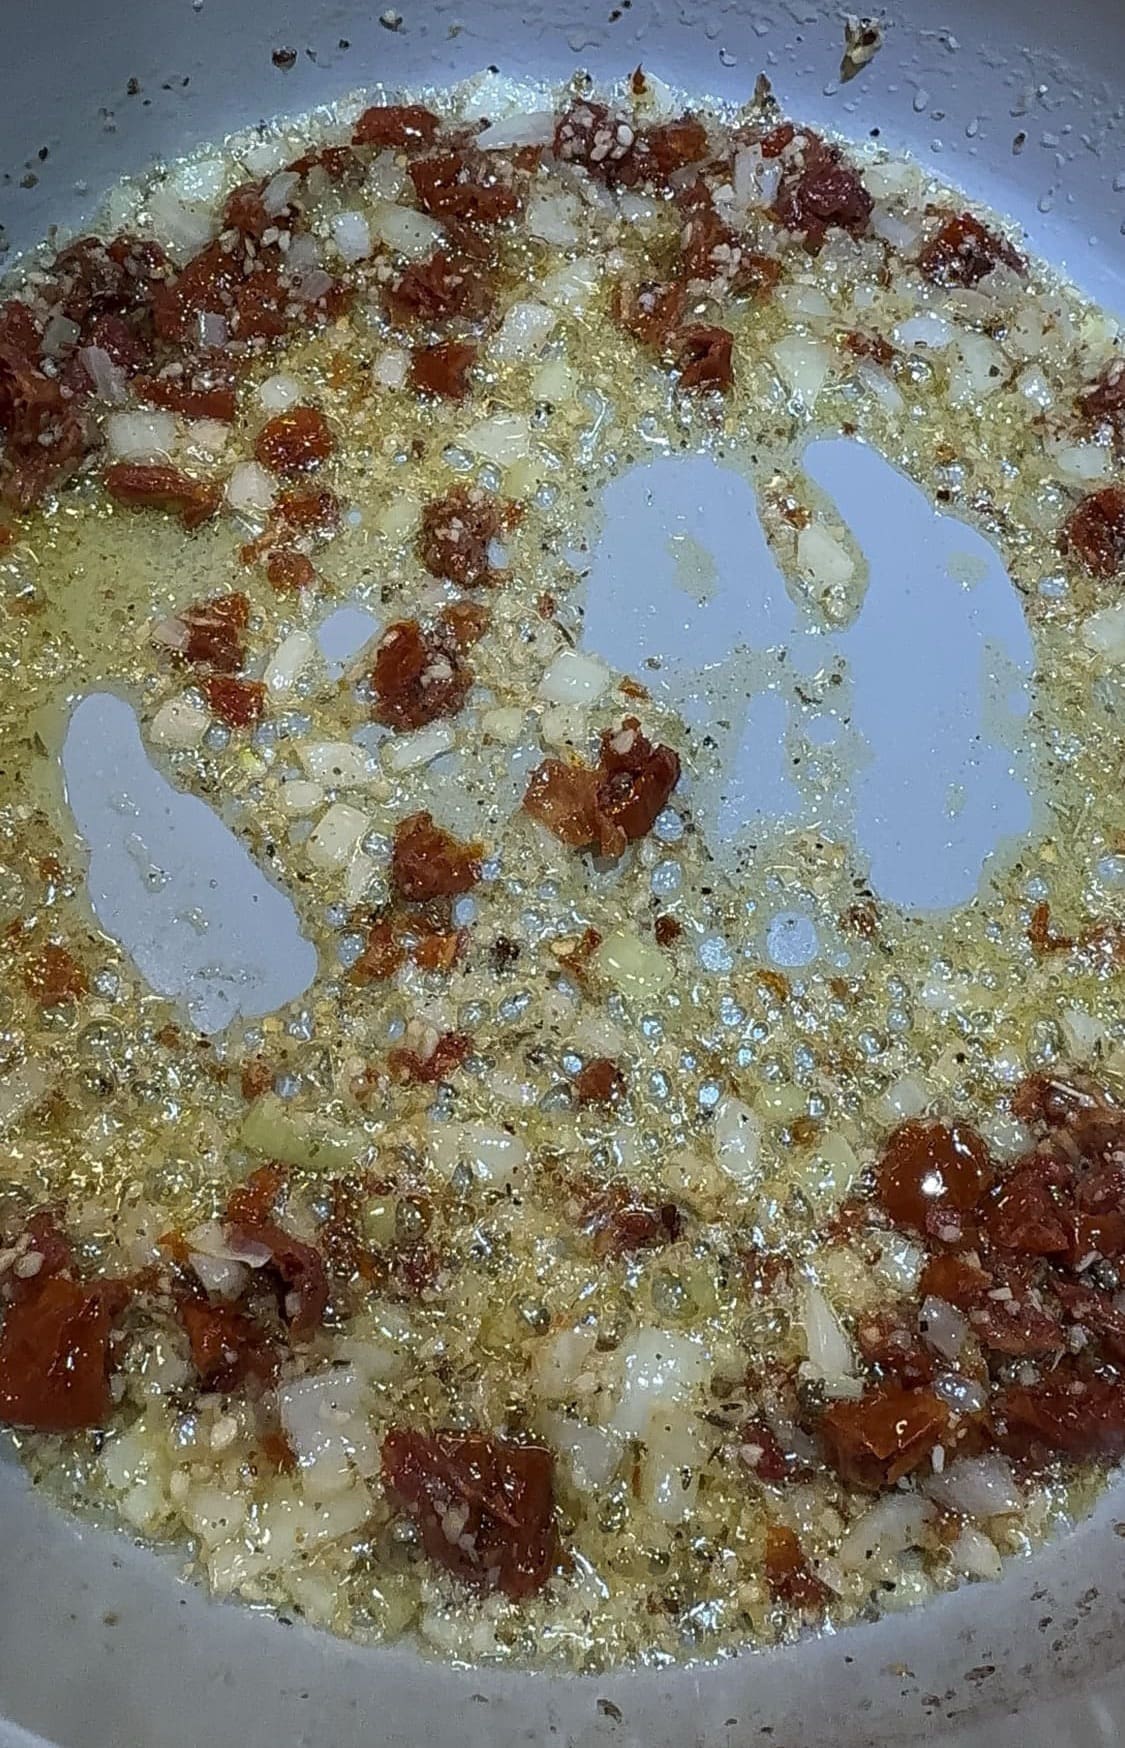
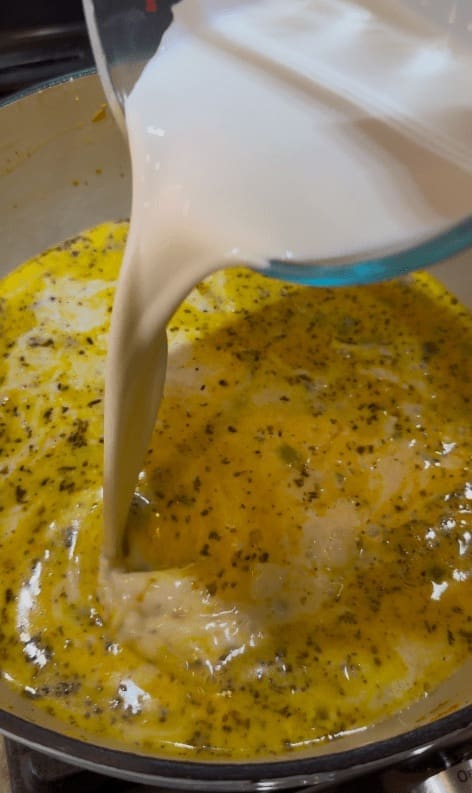
Then, whisk in the flour and nutmeg for about 2 minutes.
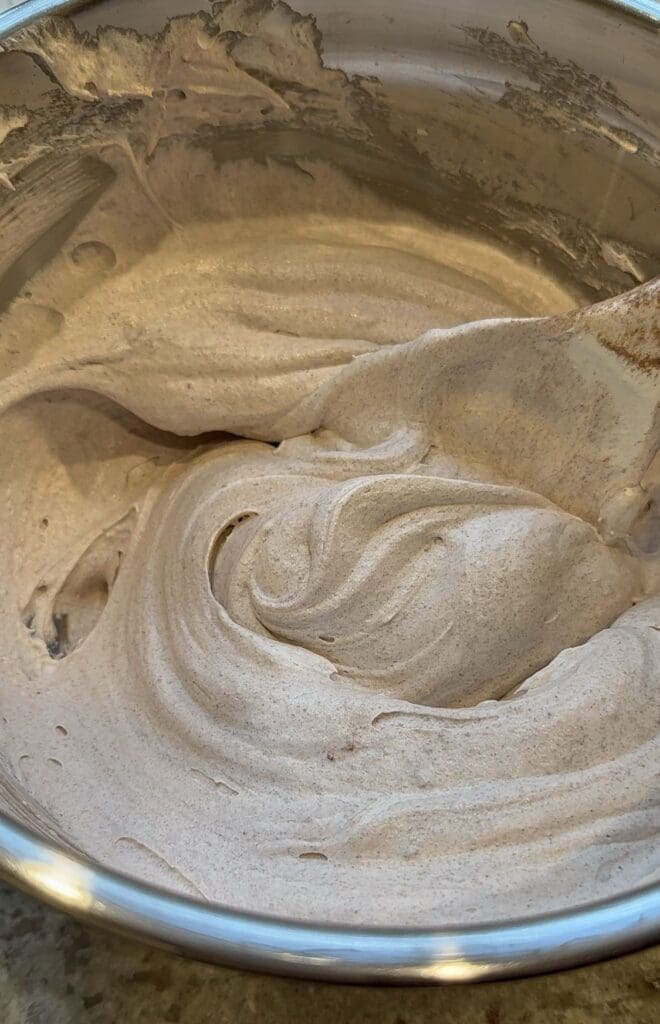
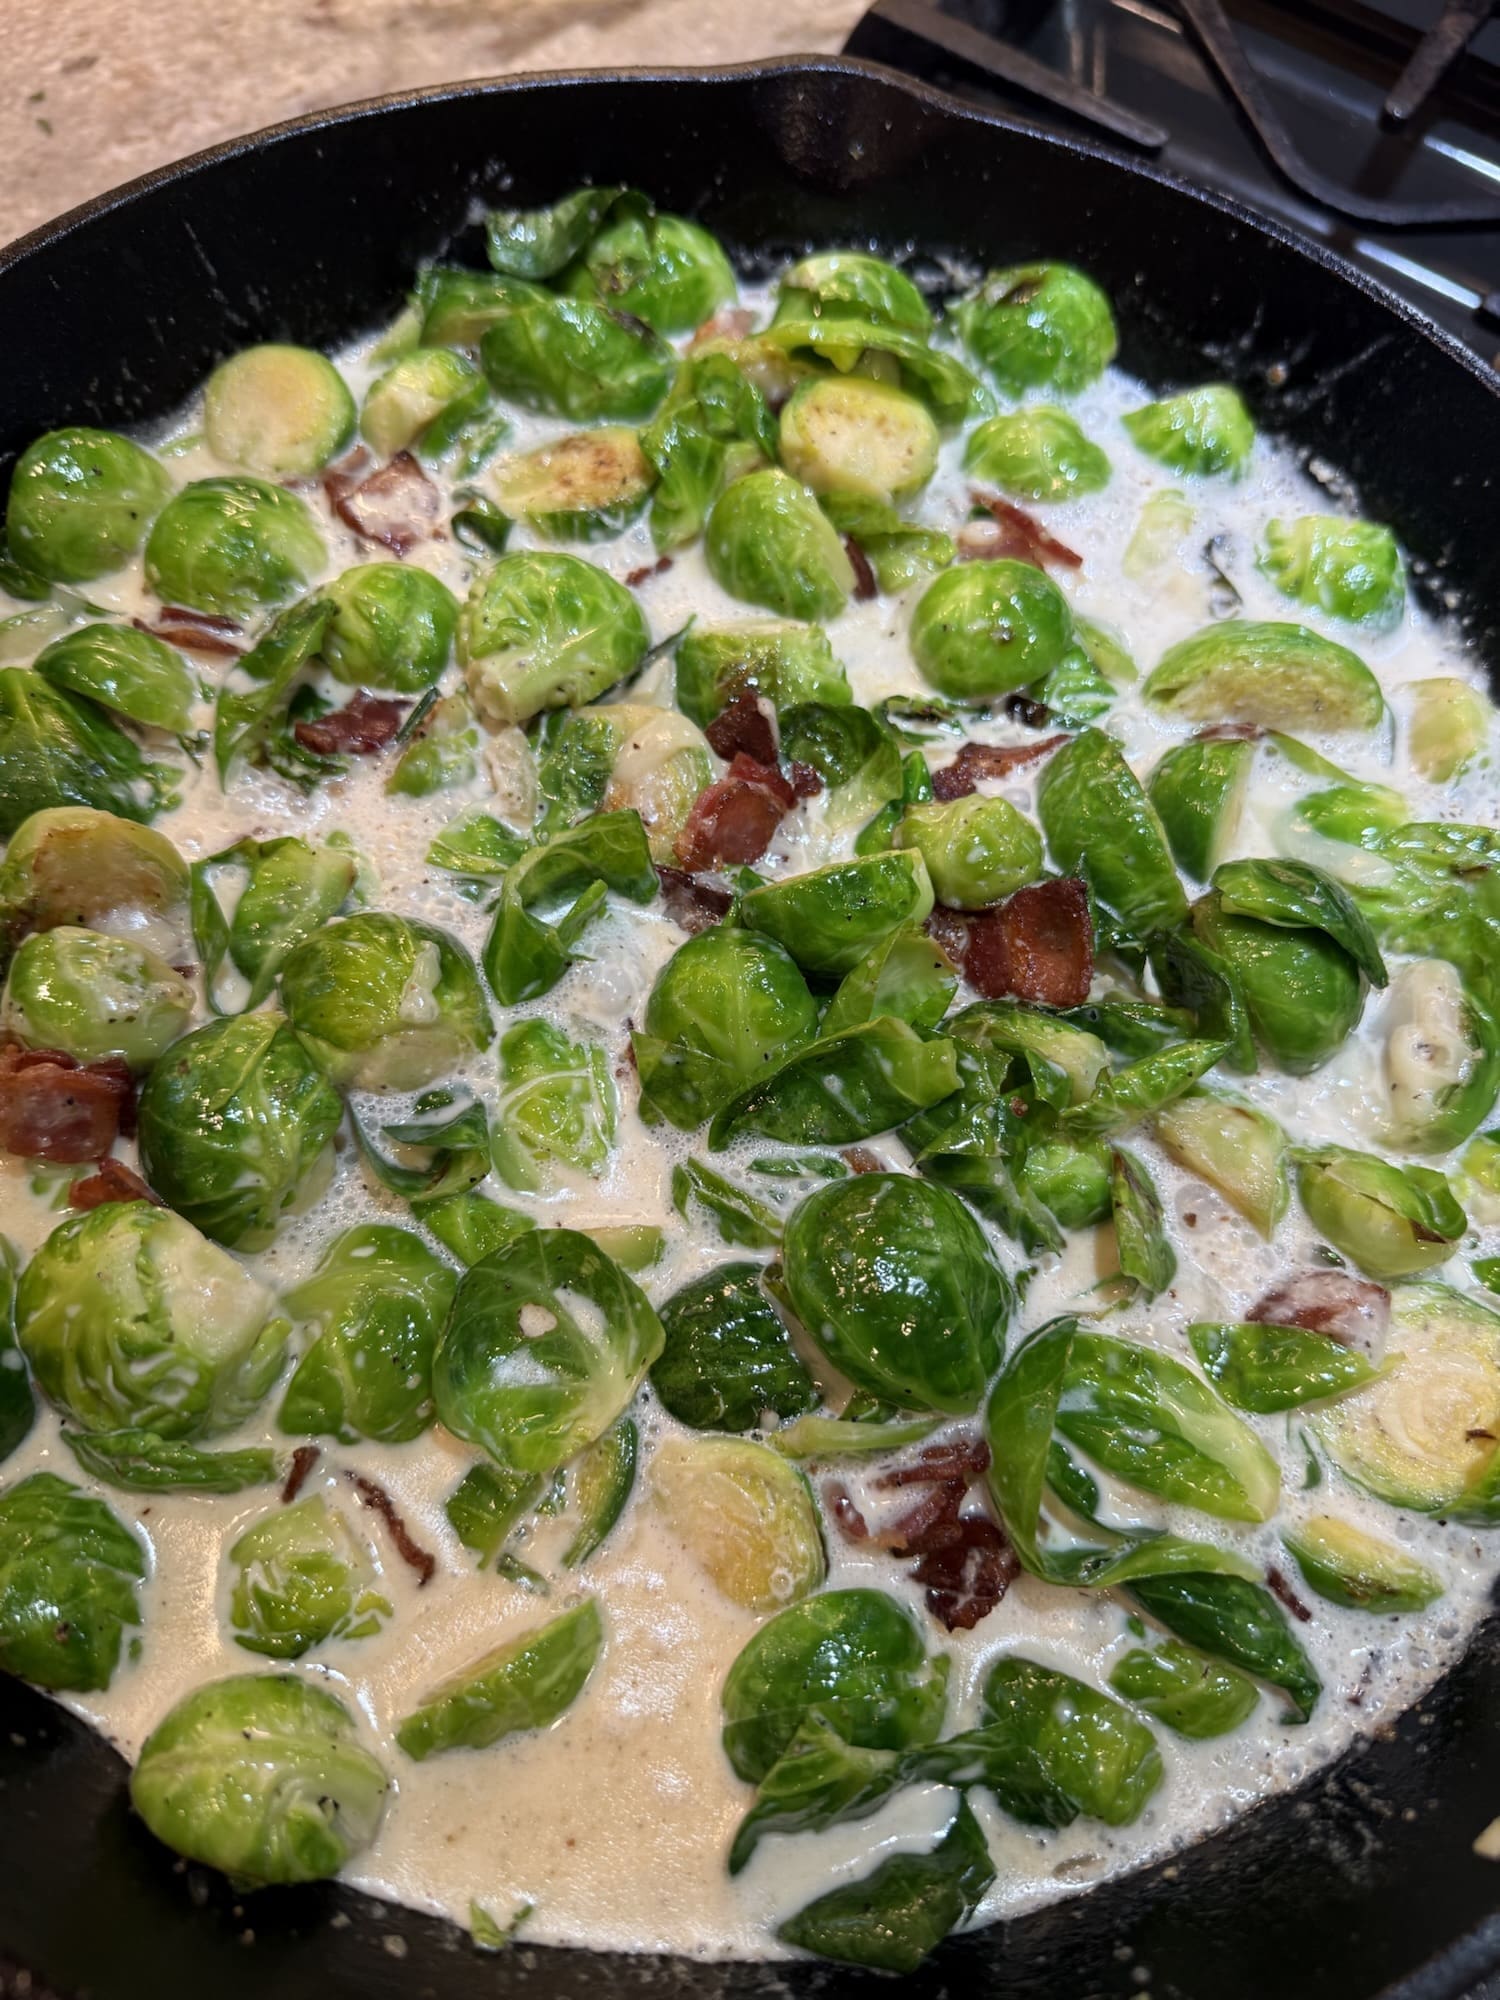
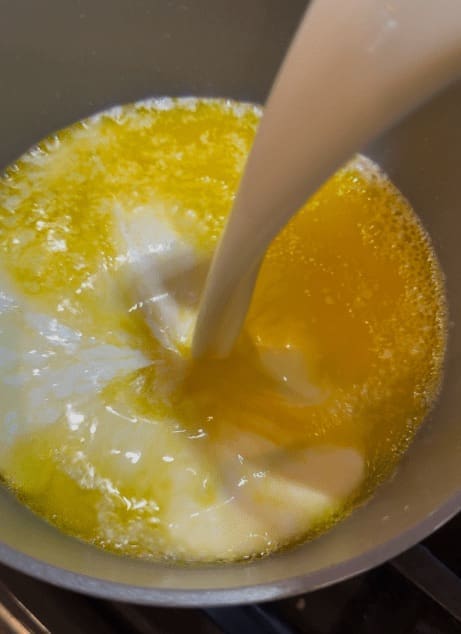
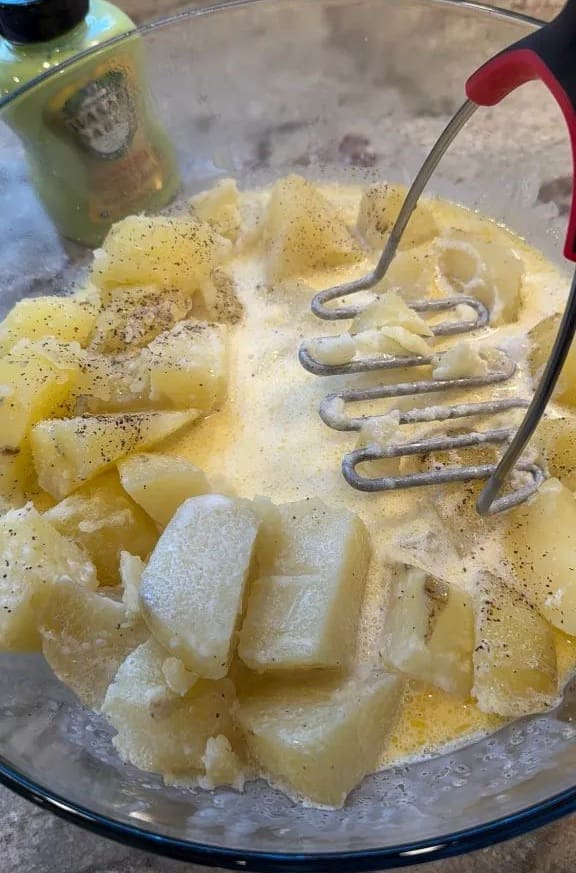
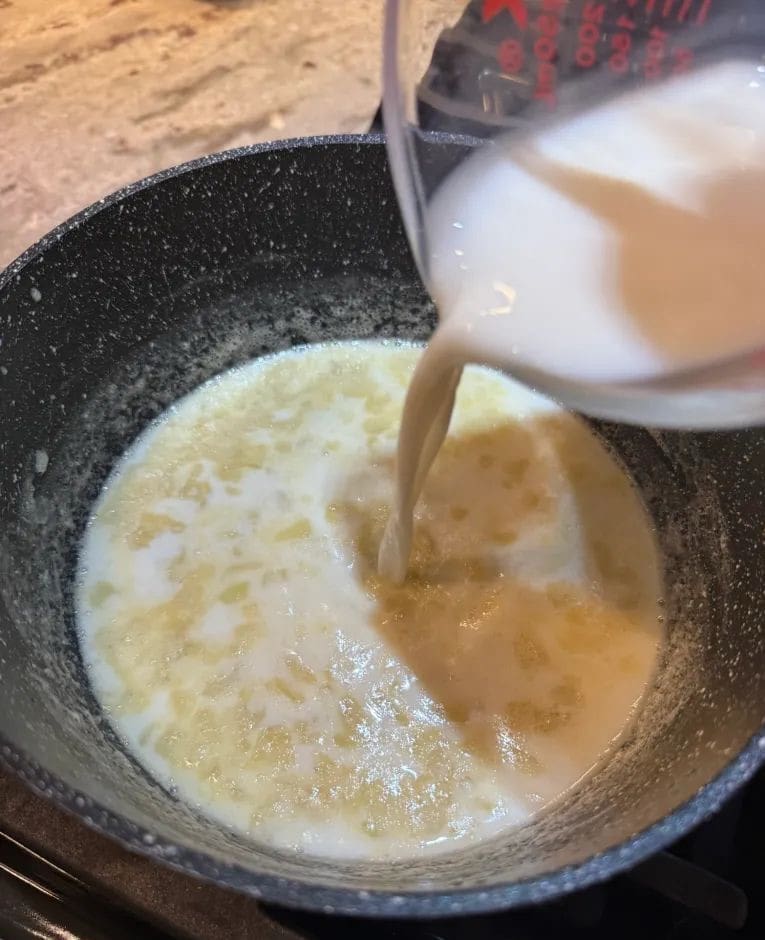
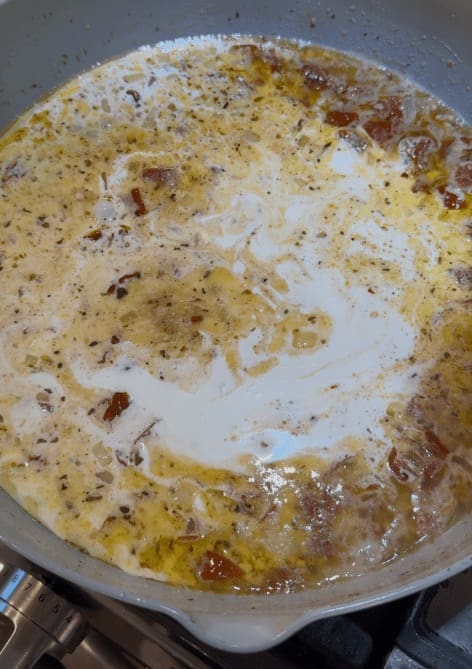
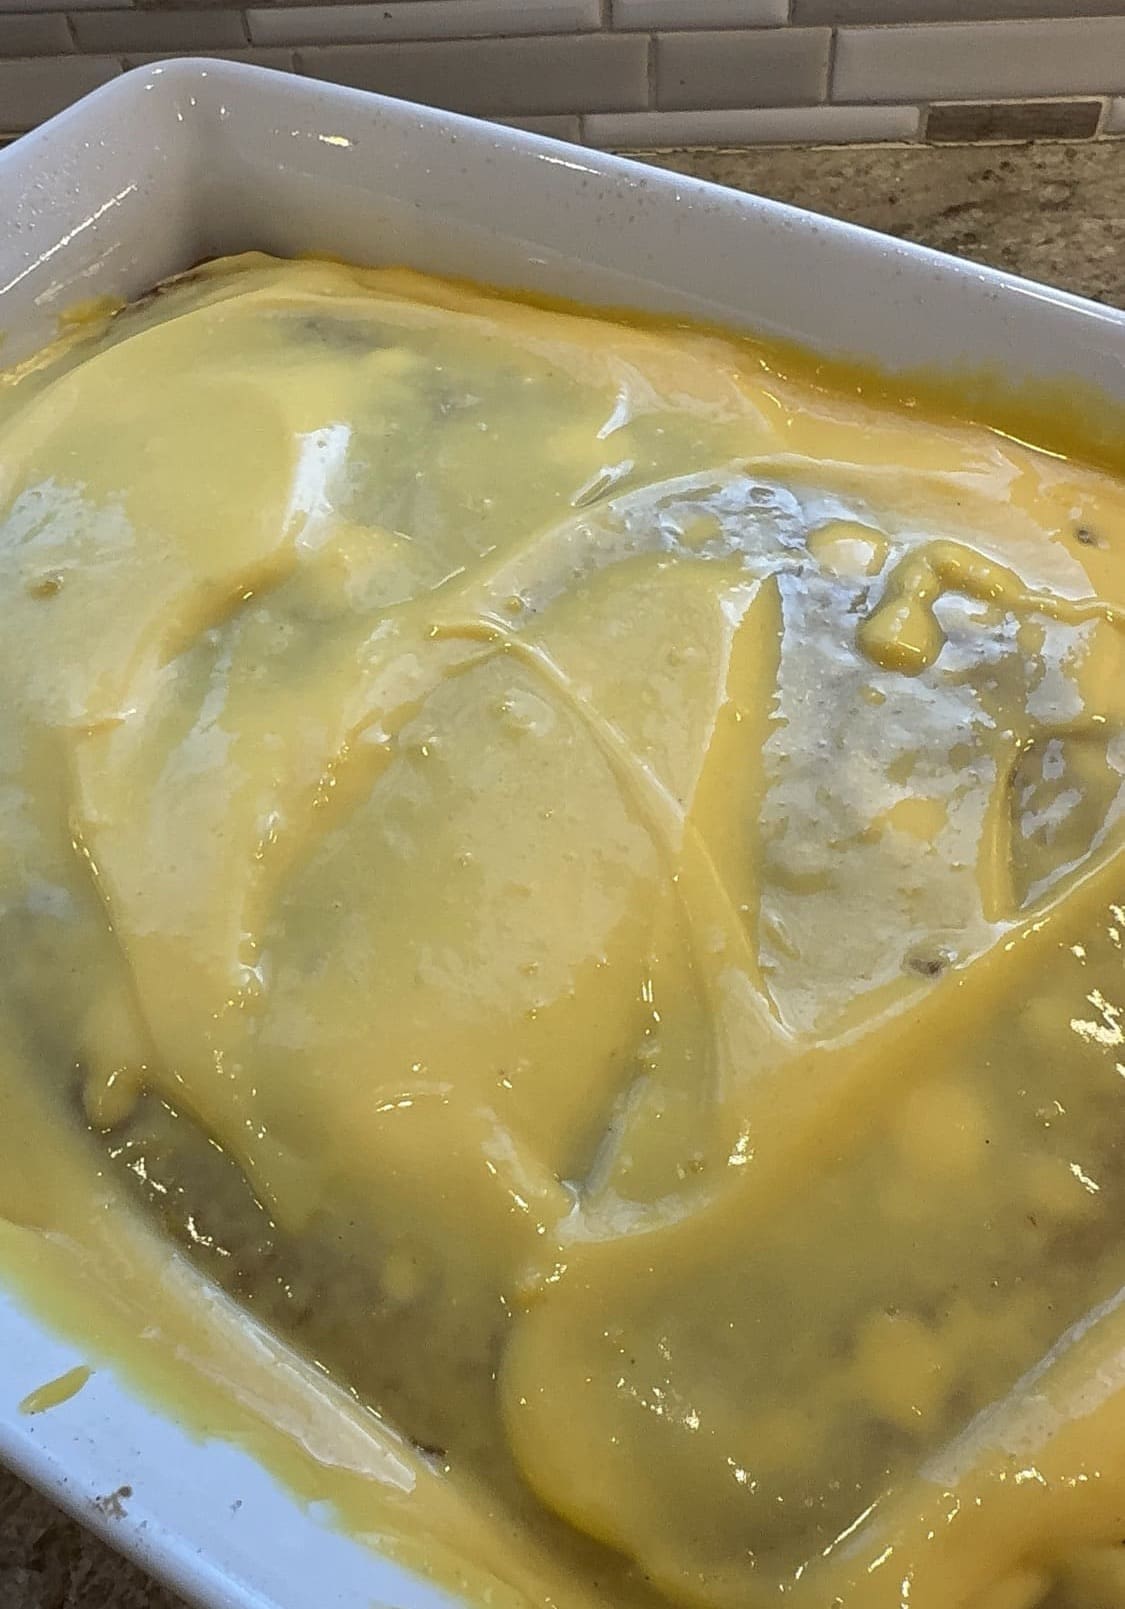
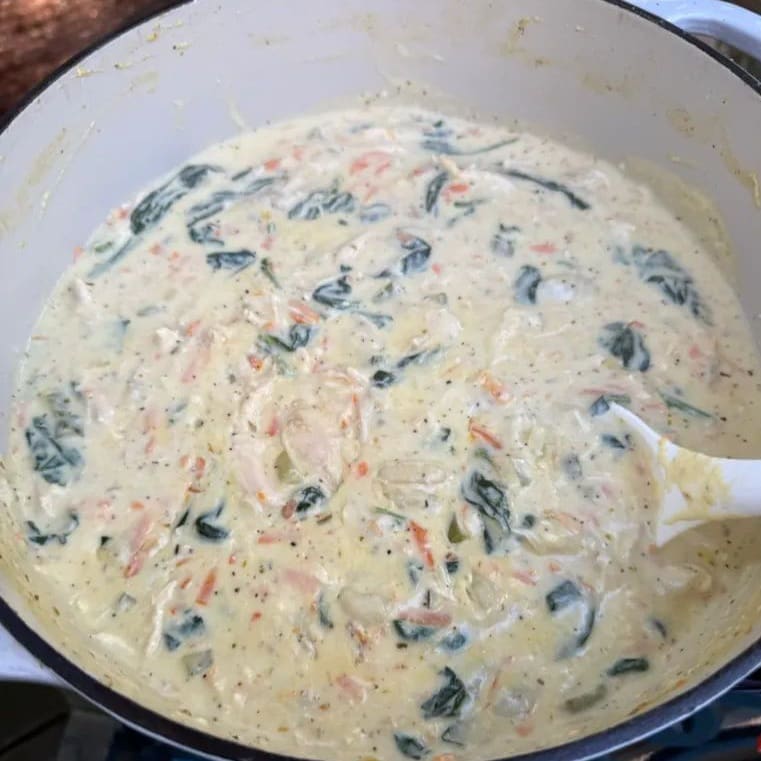
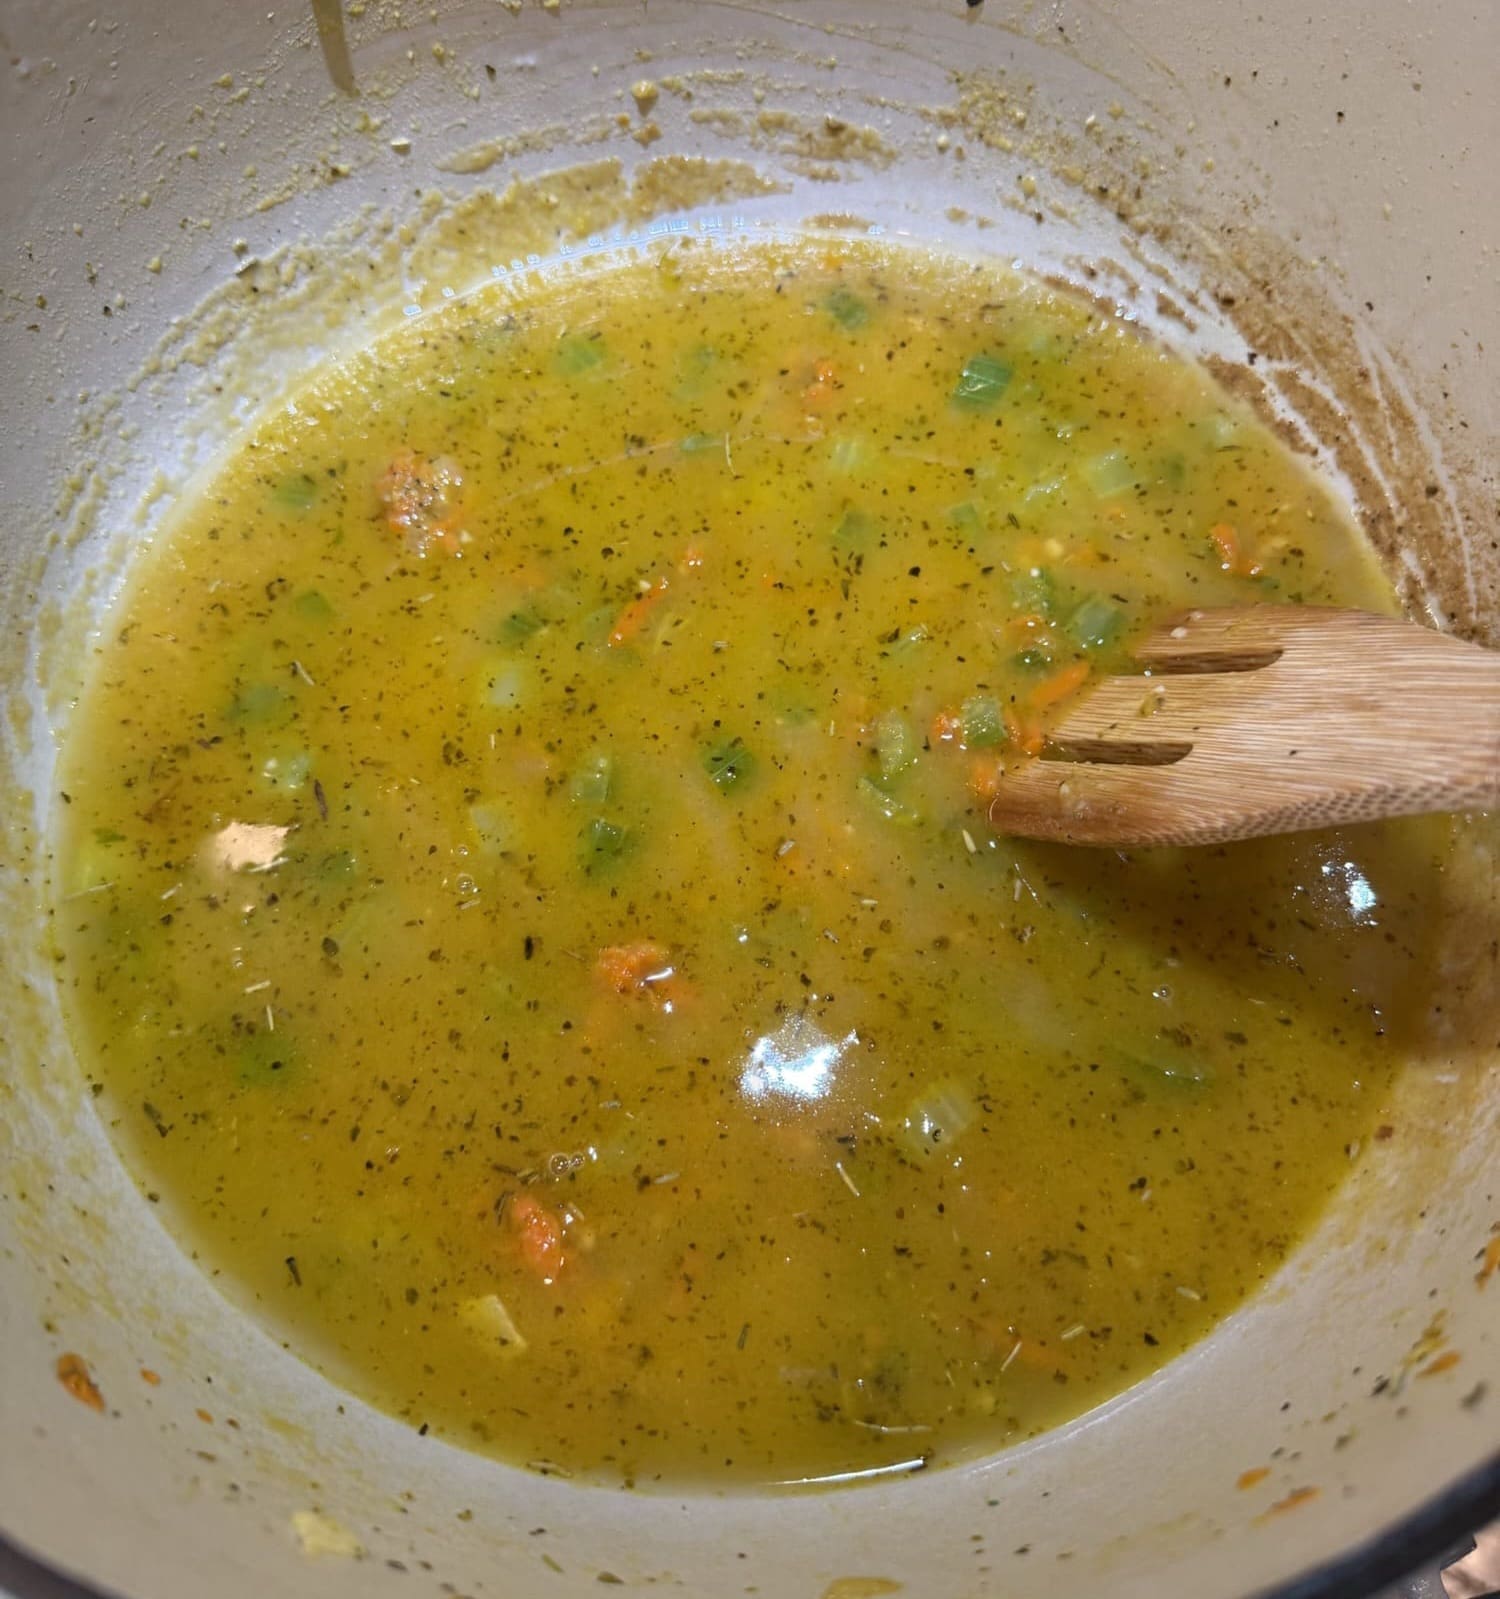
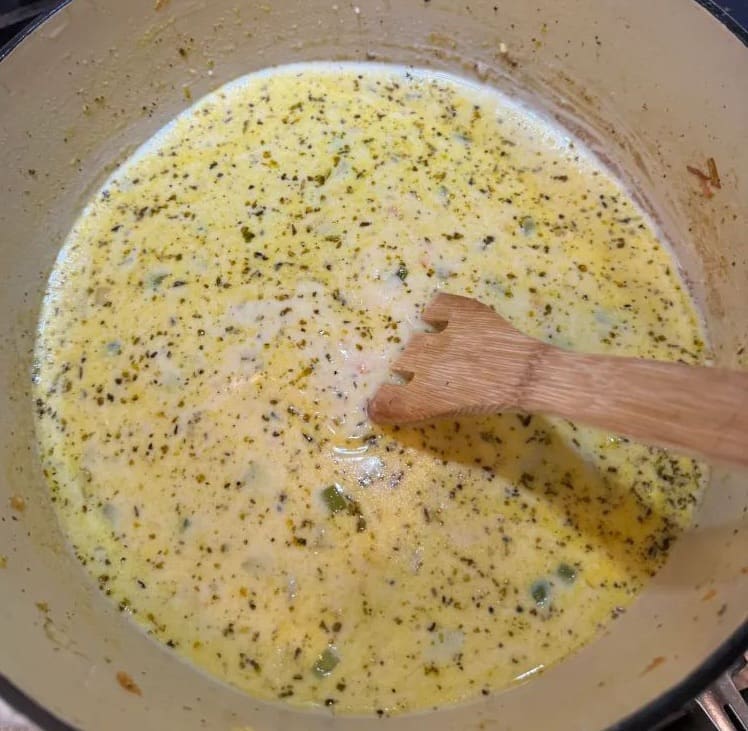
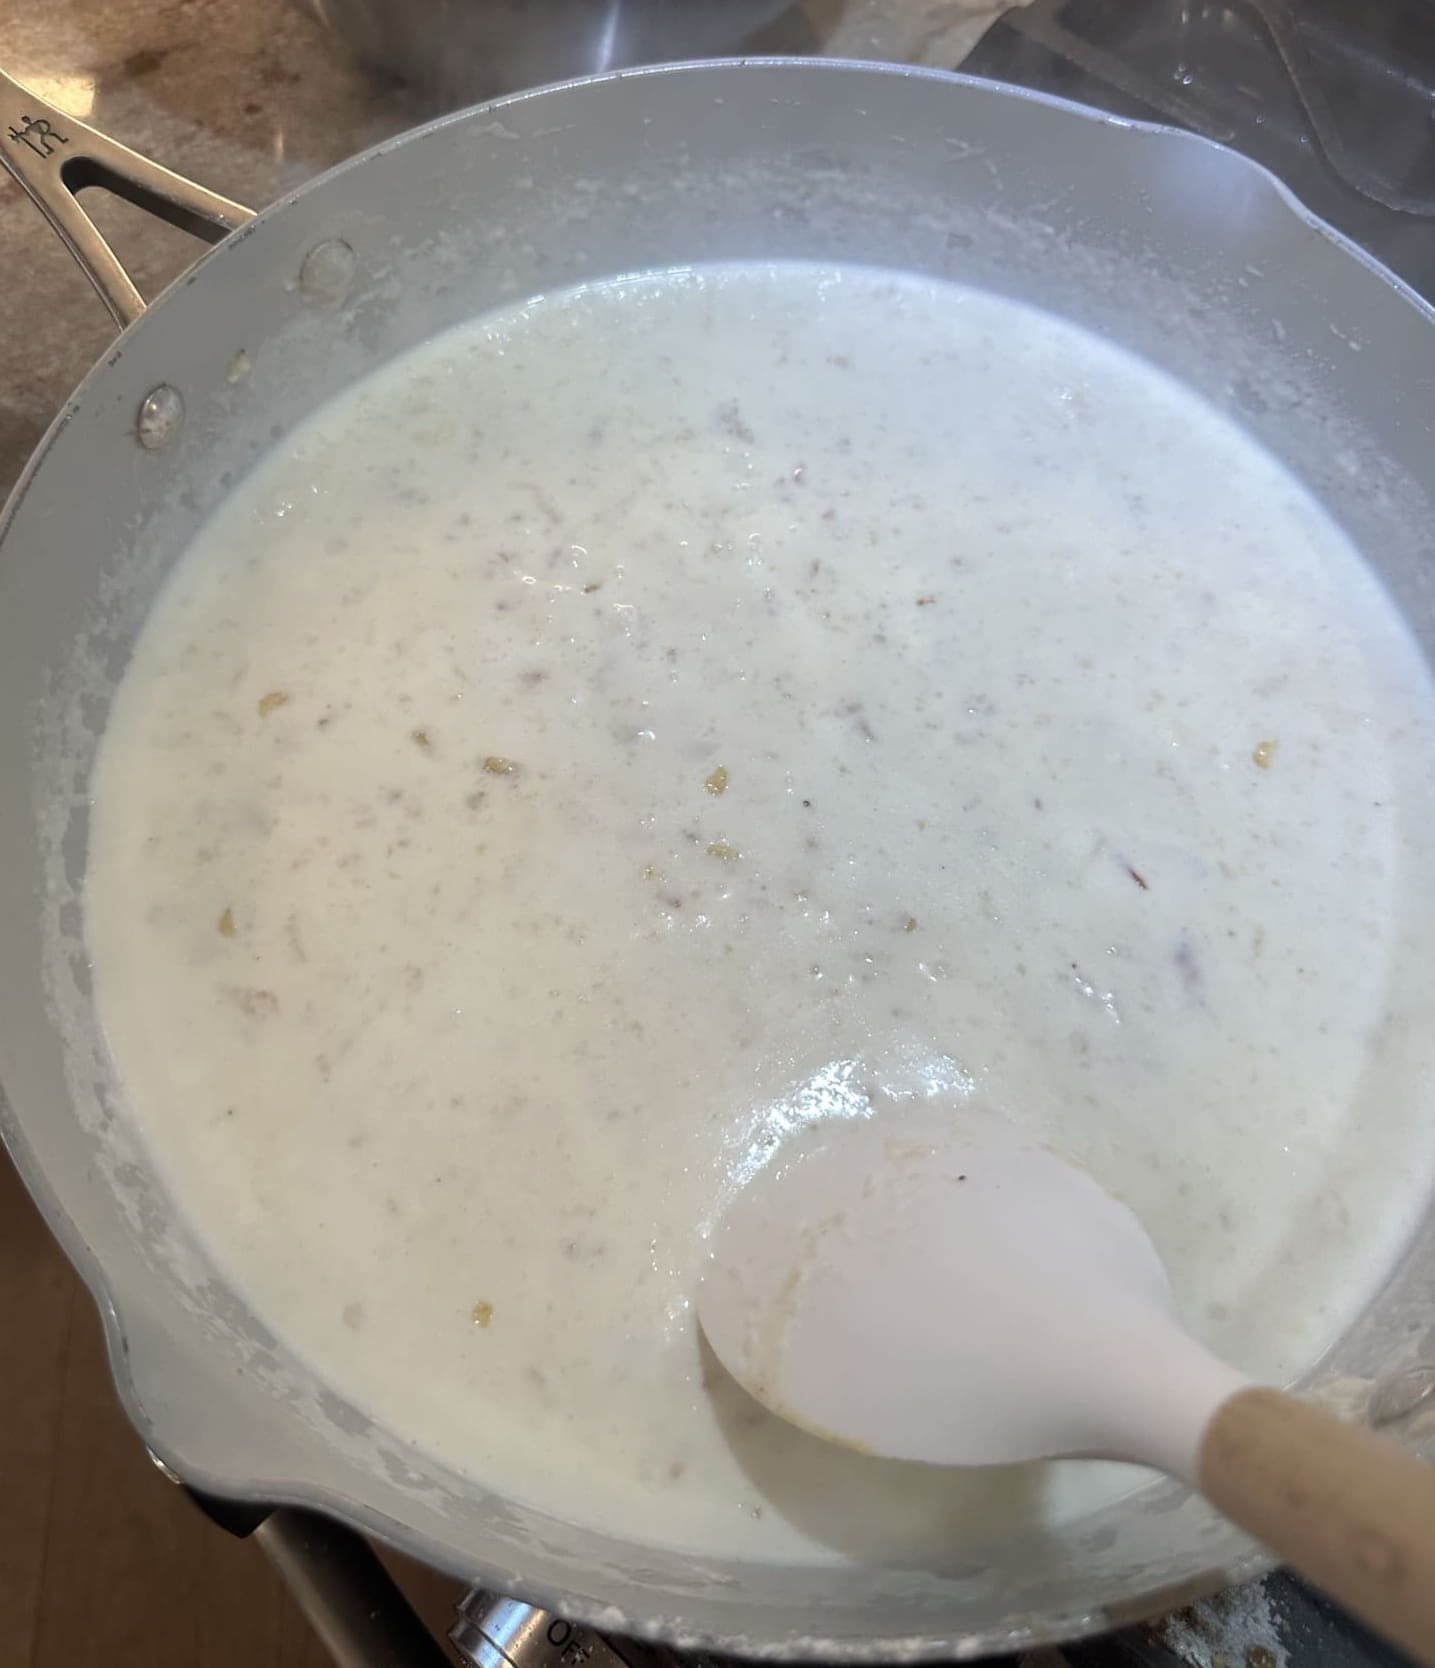
Next, slowly pour in the heavy cream and whole milk and stir it over medium heat until the sauce begins to thicken.
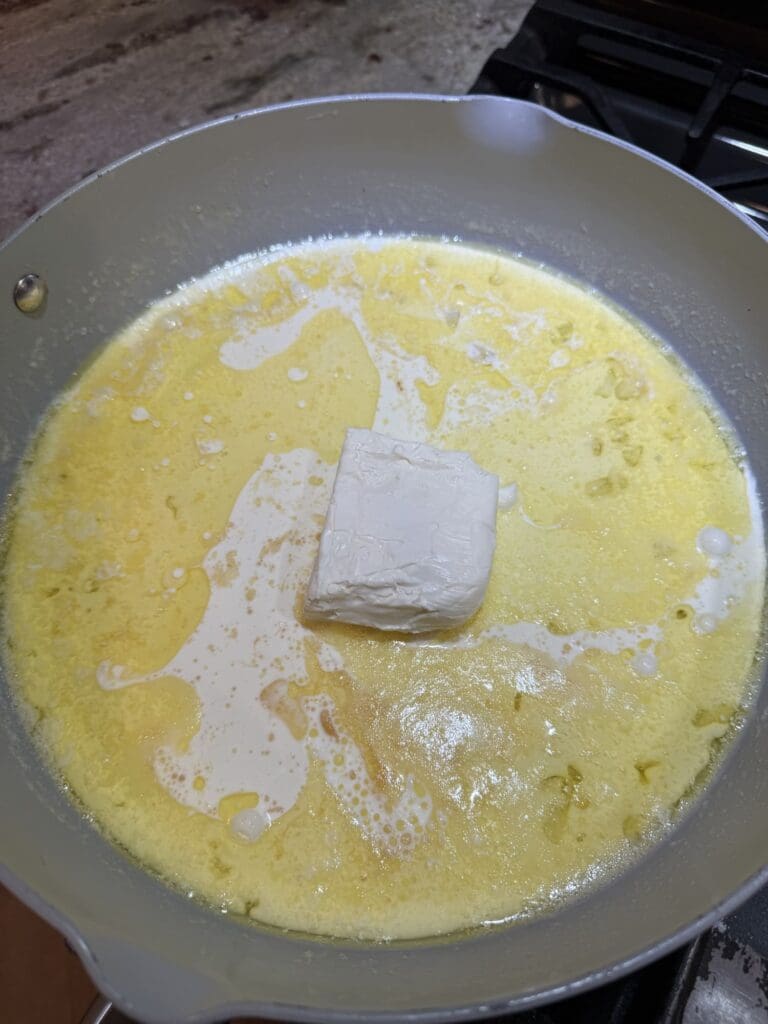
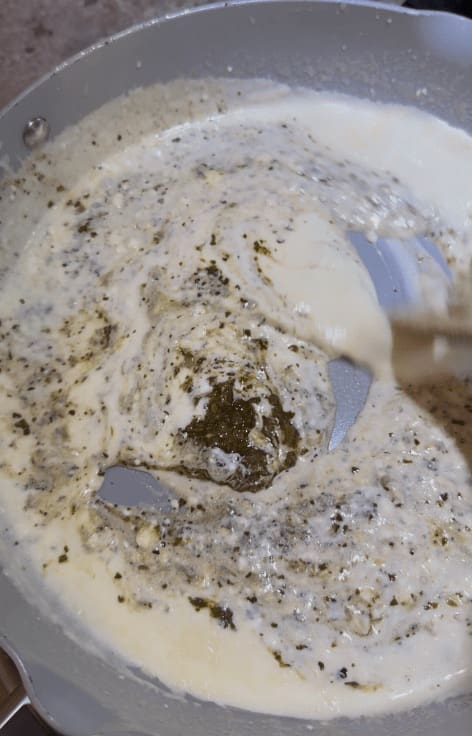
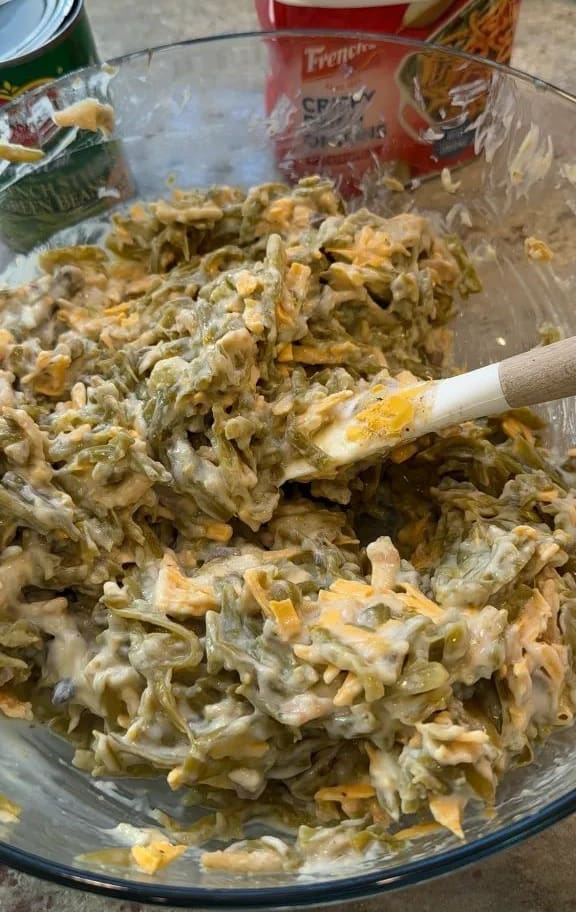
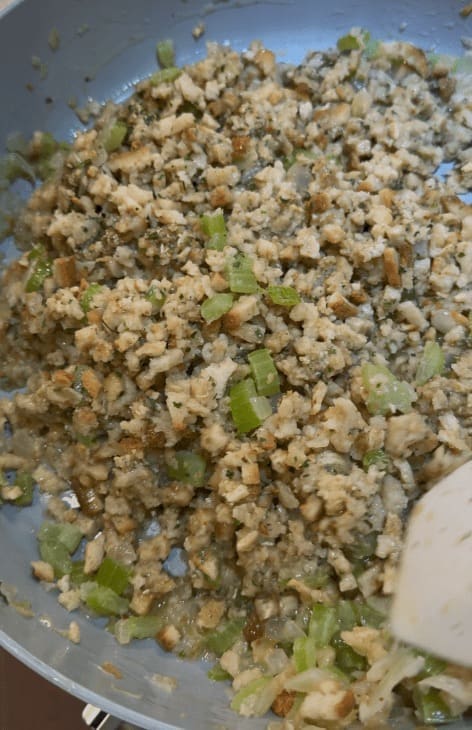
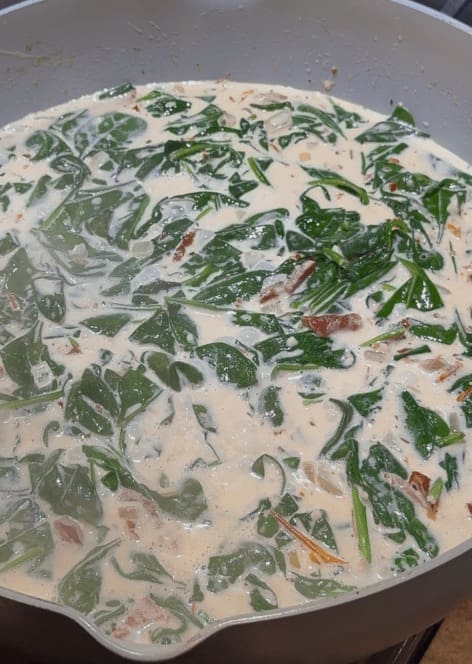
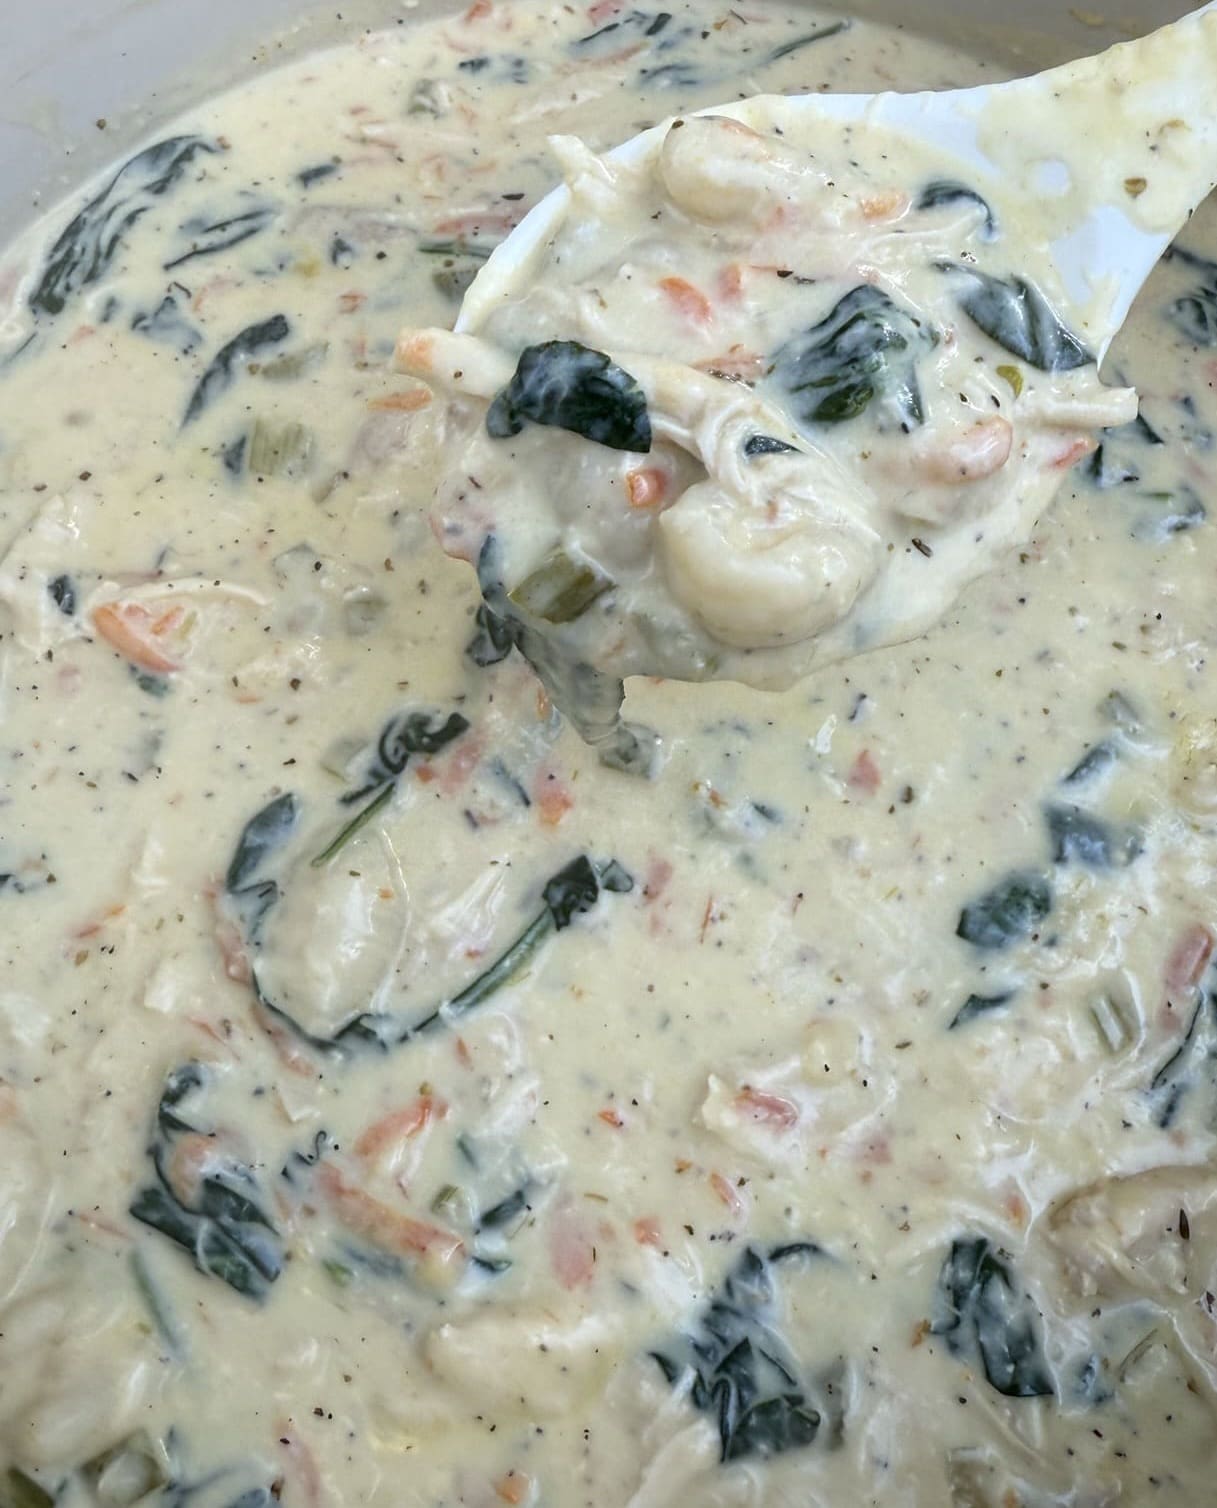
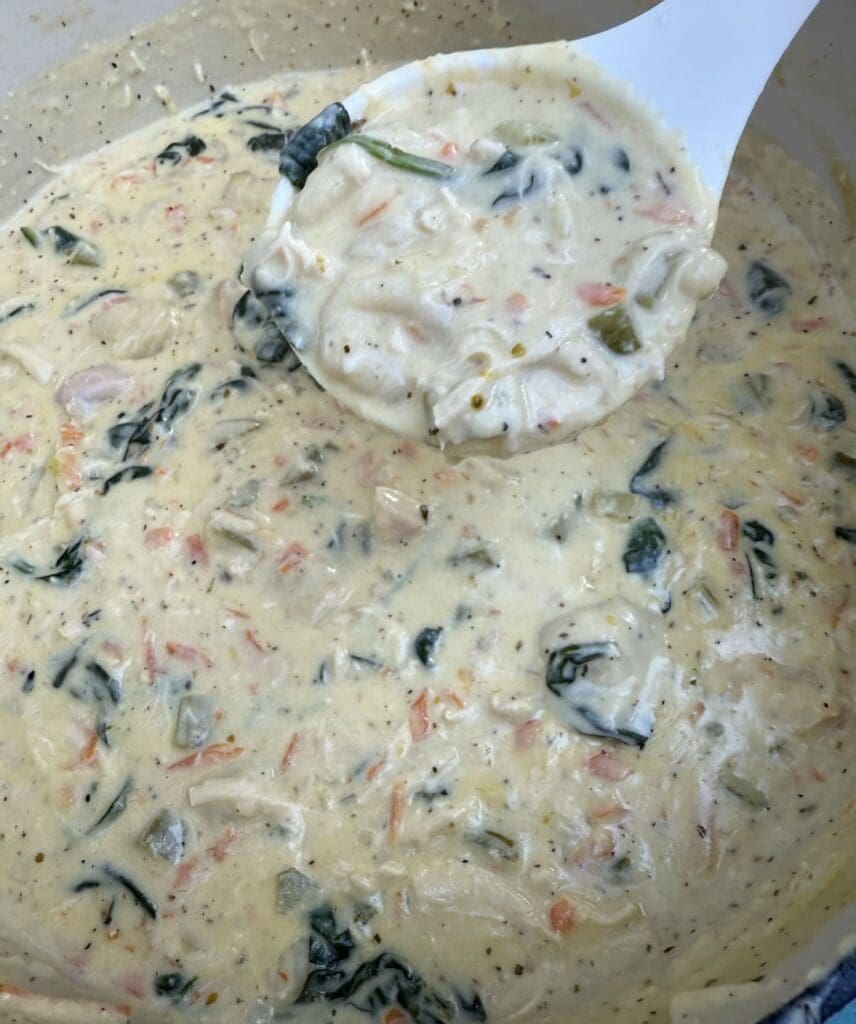
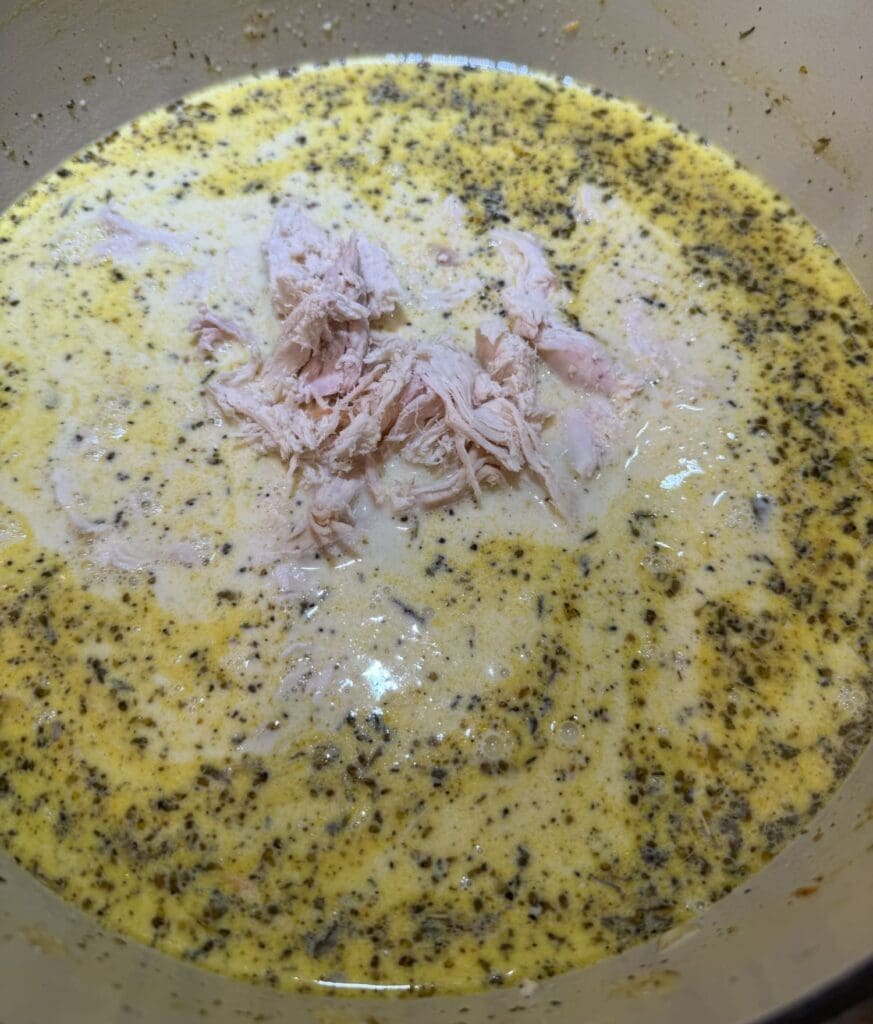
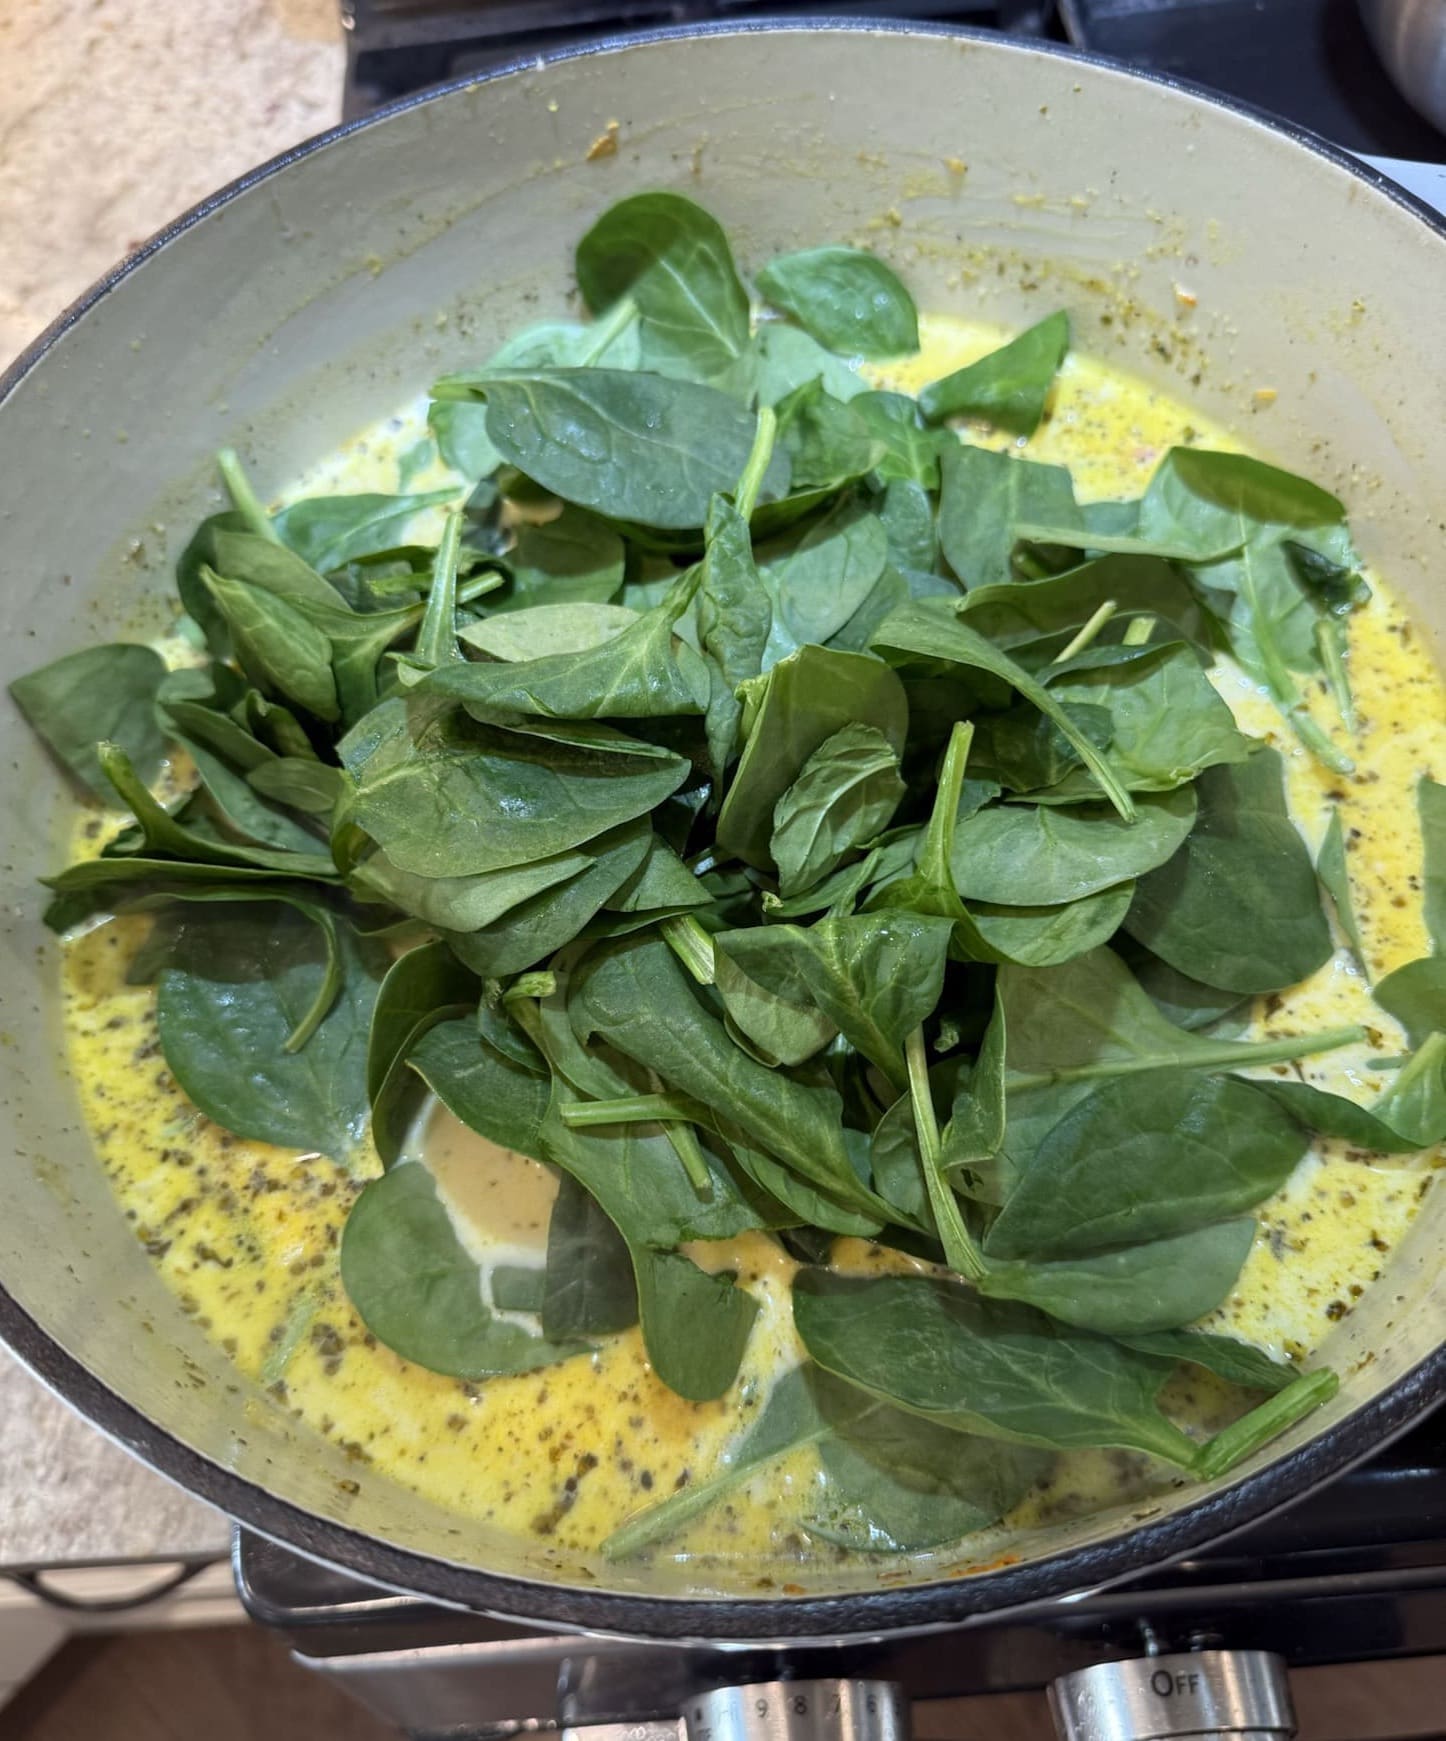
Now, add in the spinach.
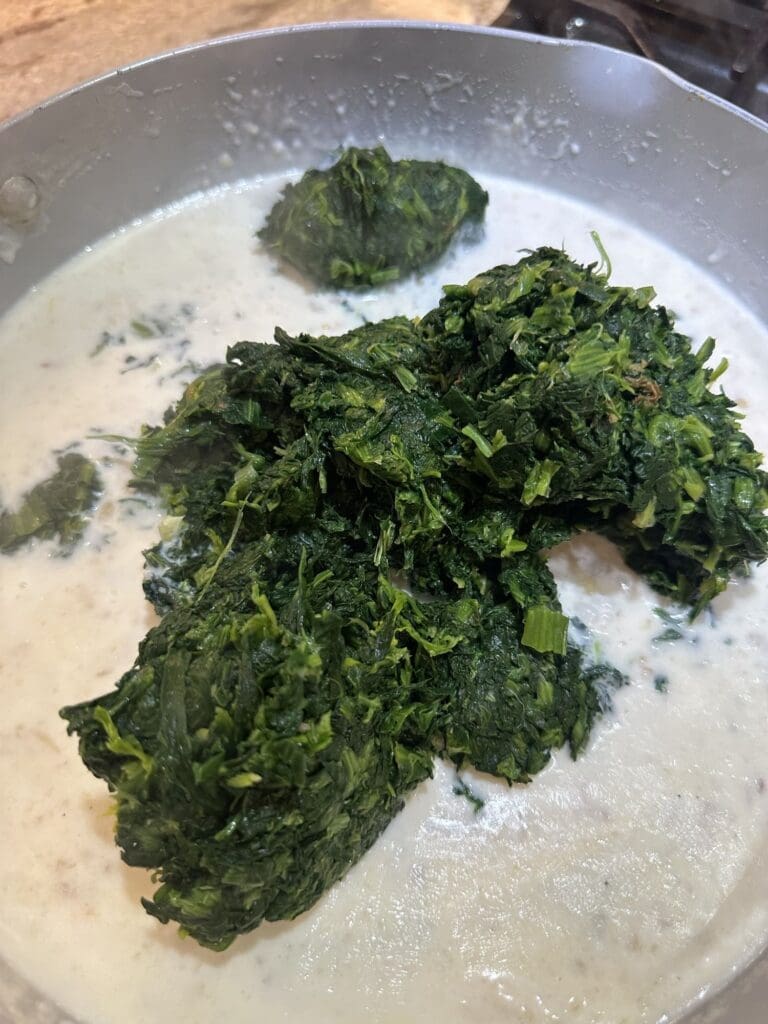
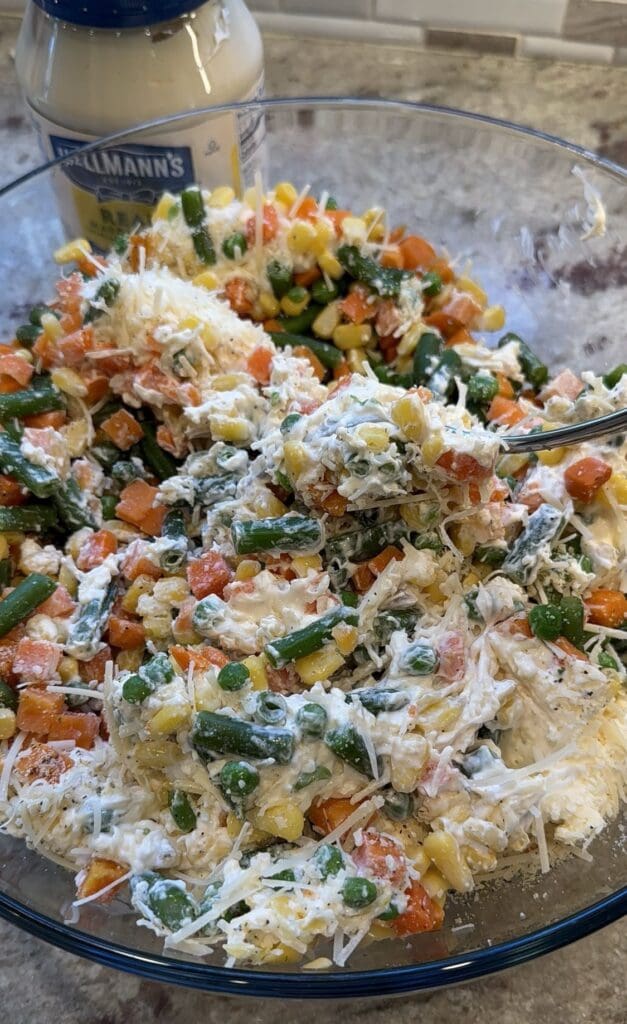
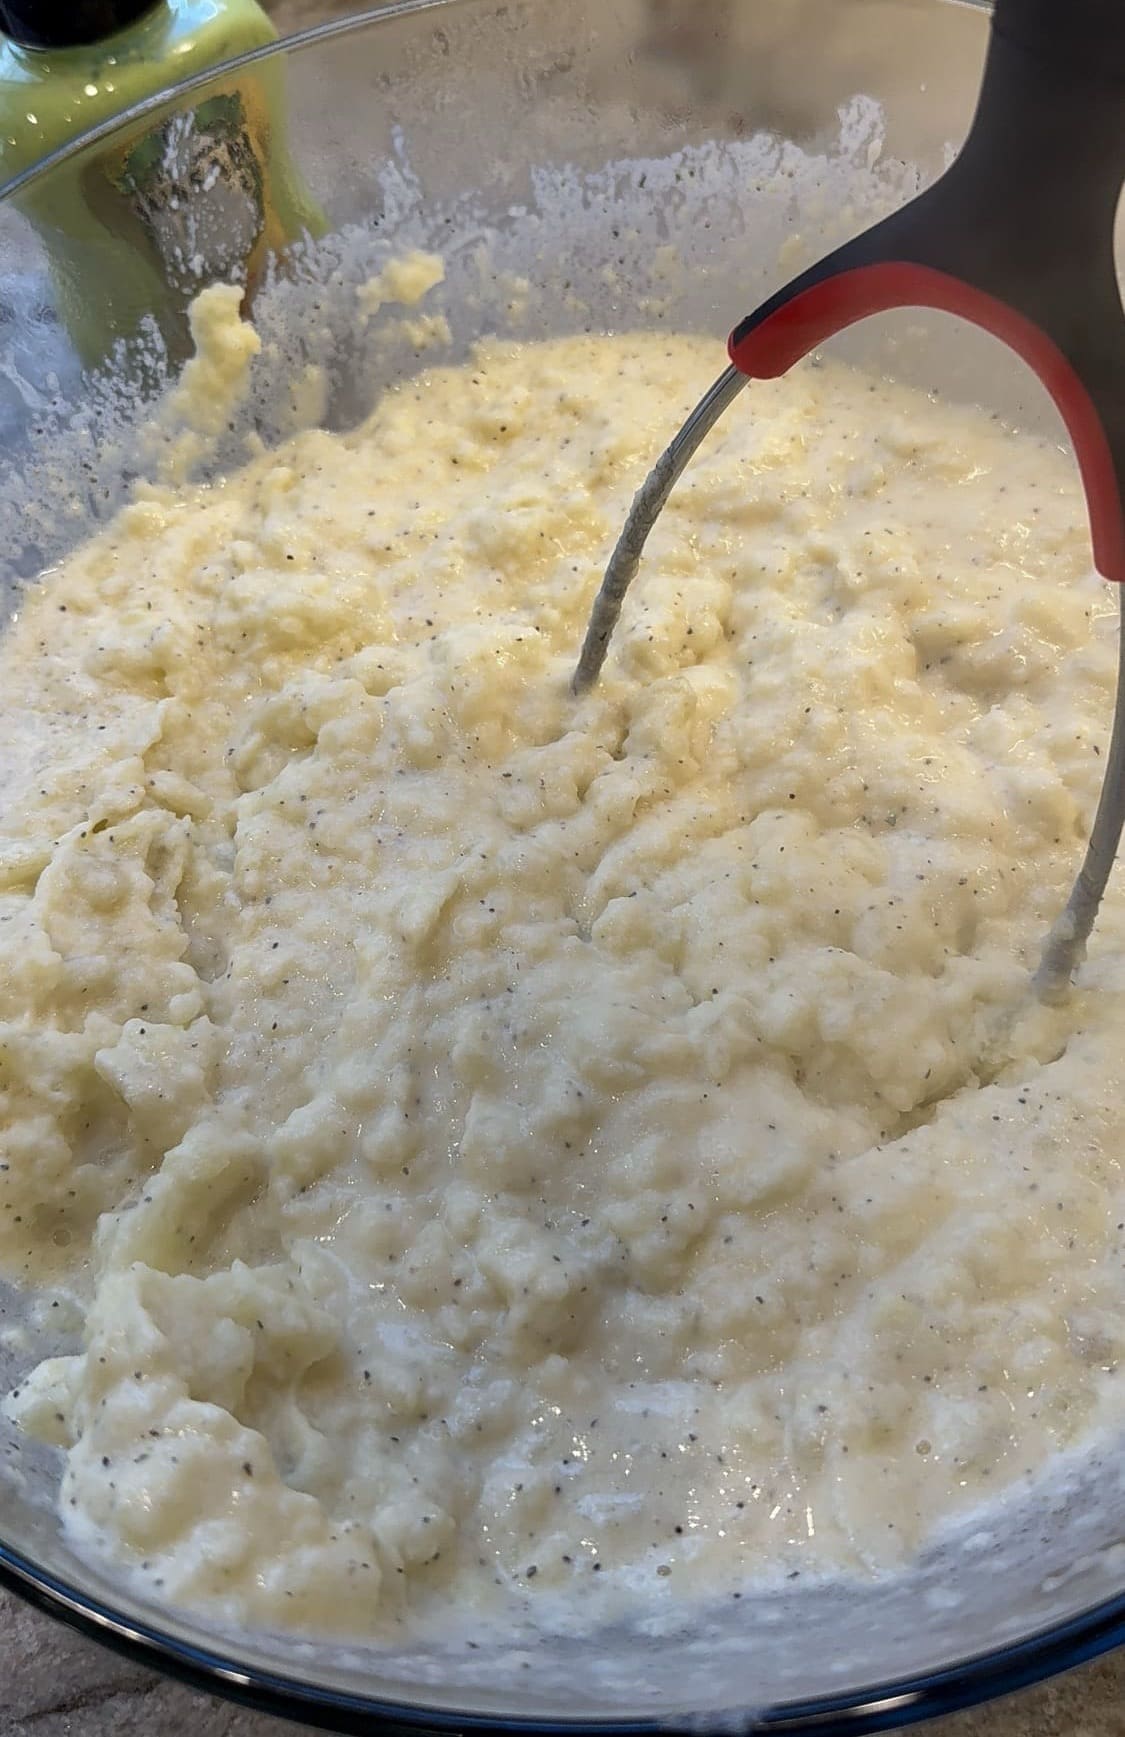
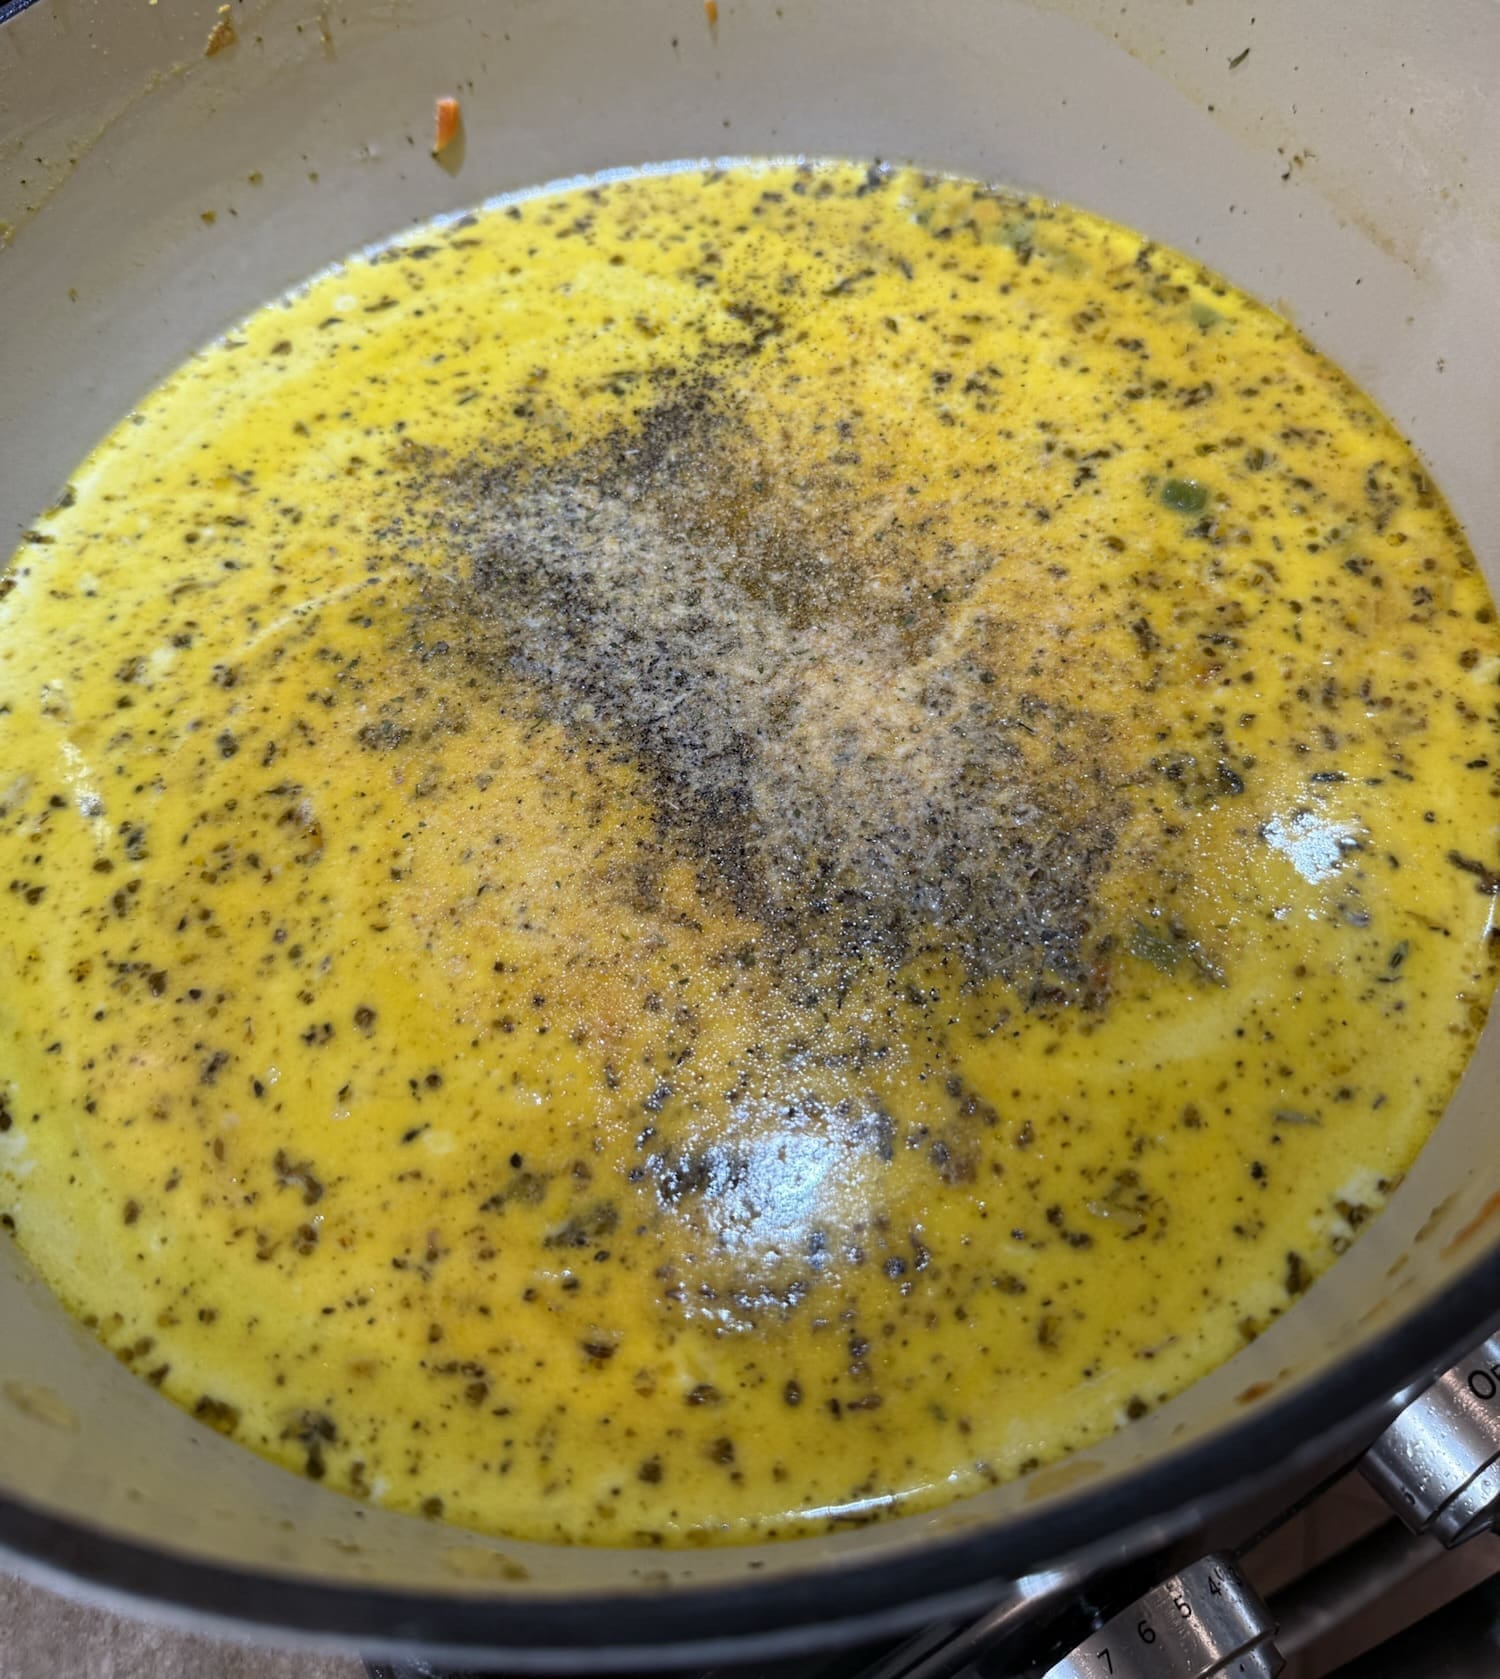
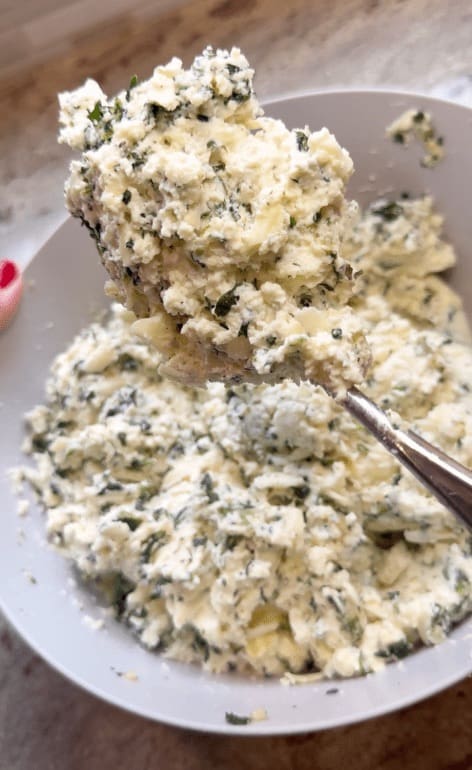
Then, season the spinach mixture with salt, pepper and garlic powder and stir everything together until it’s evenly combined.

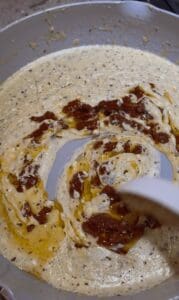
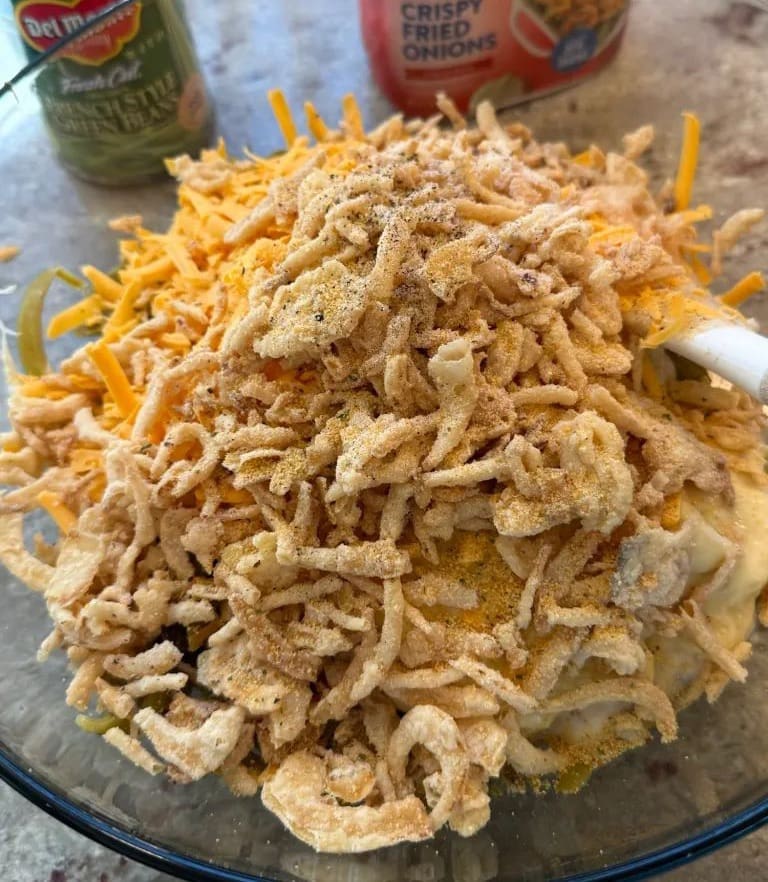
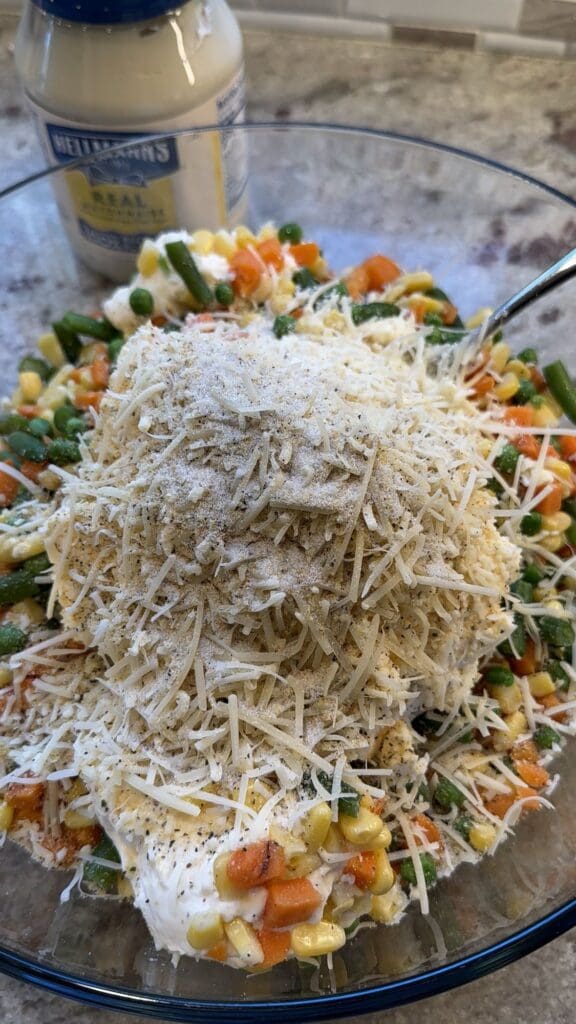
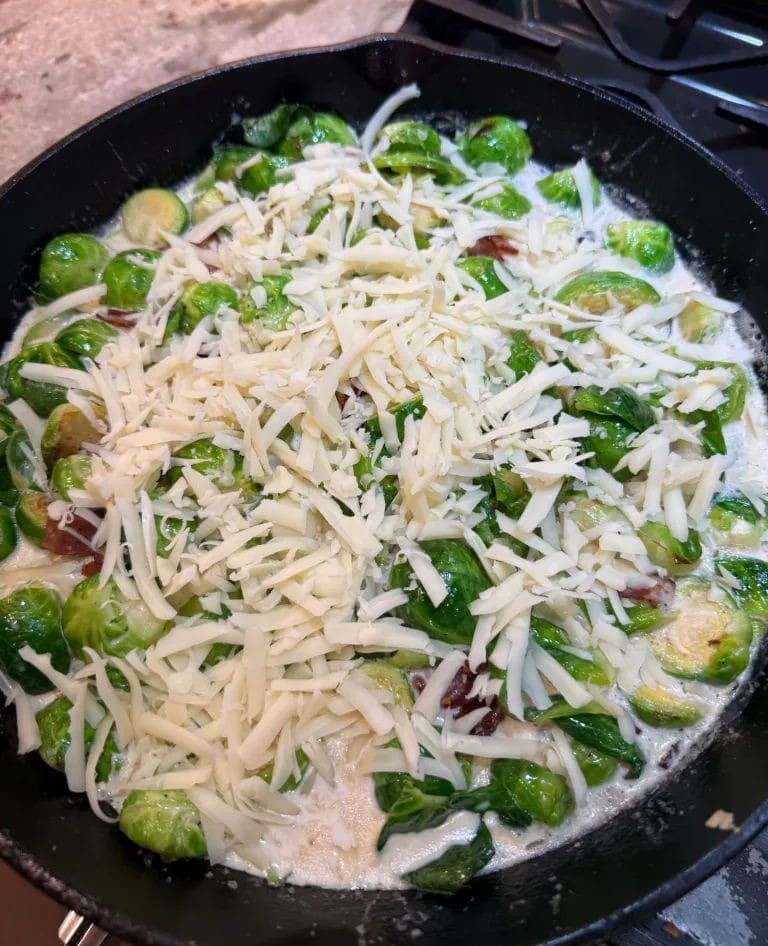
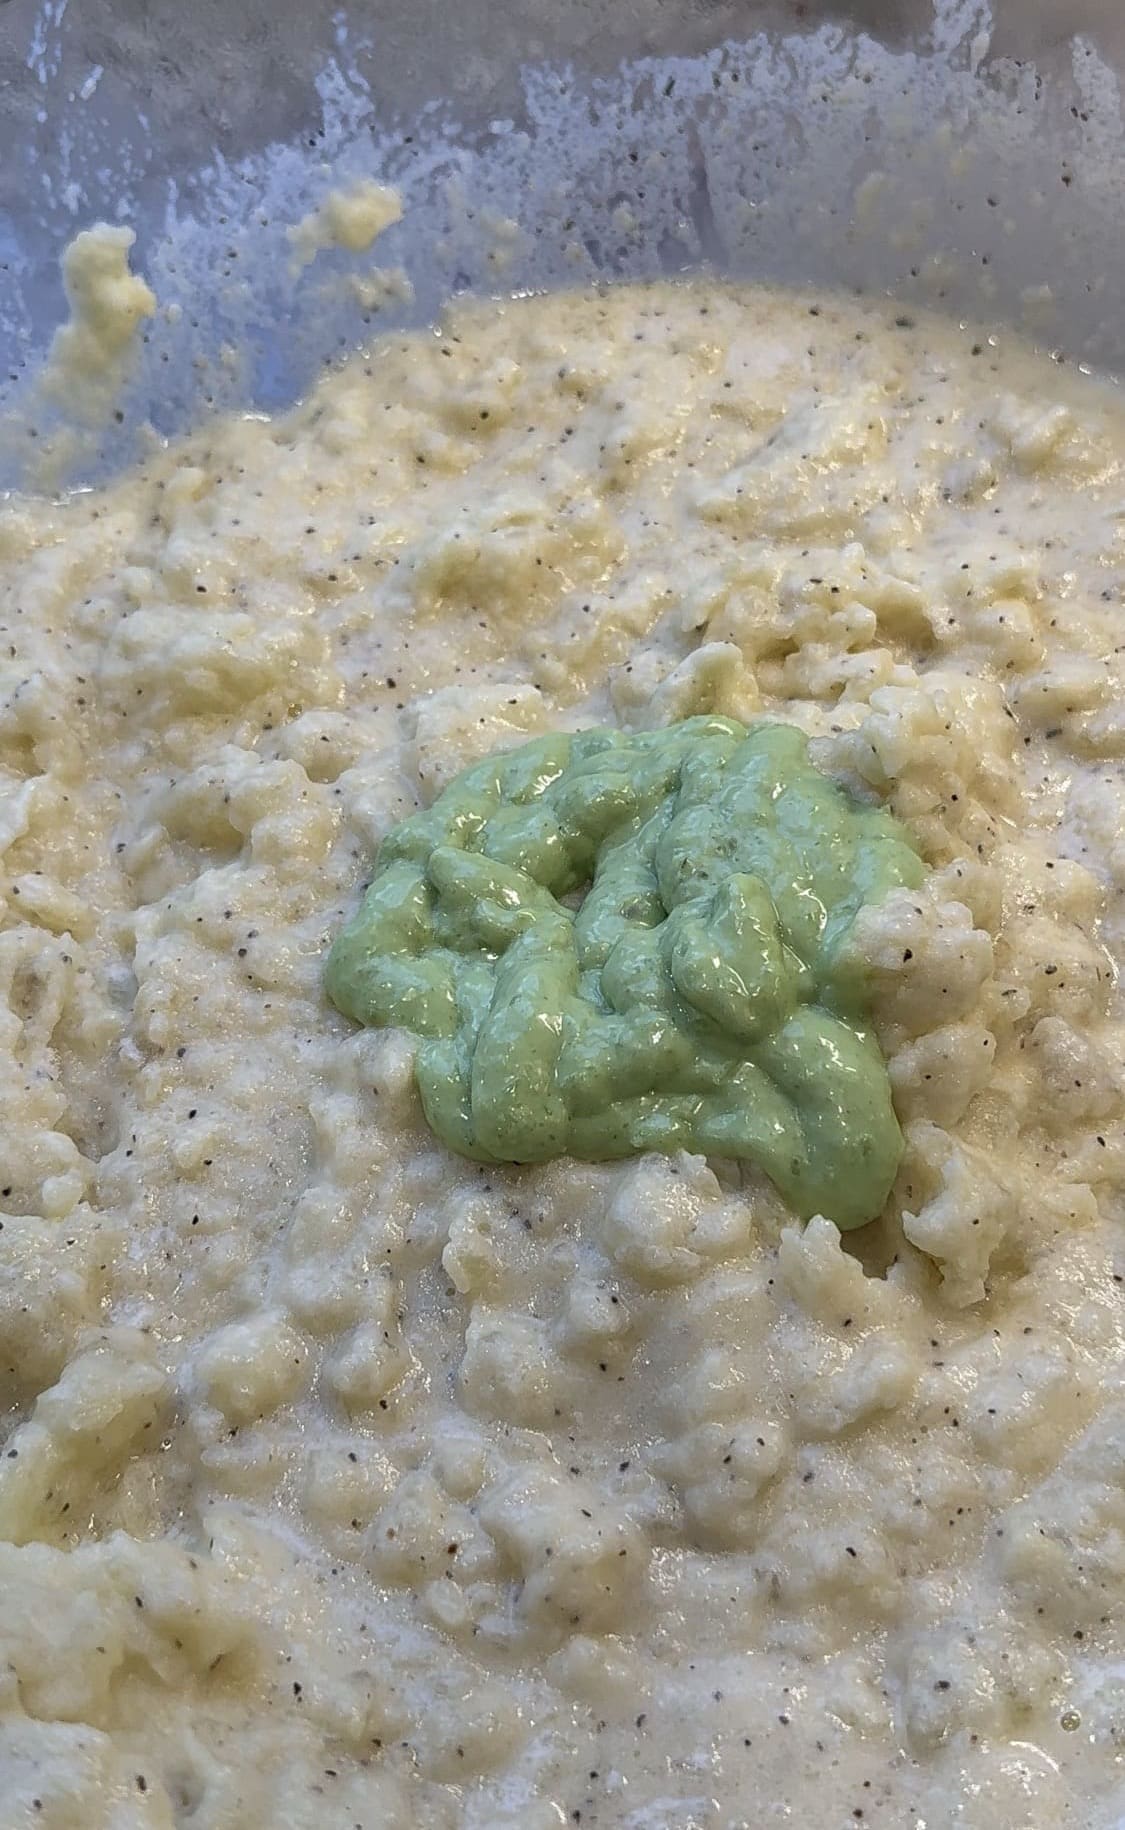
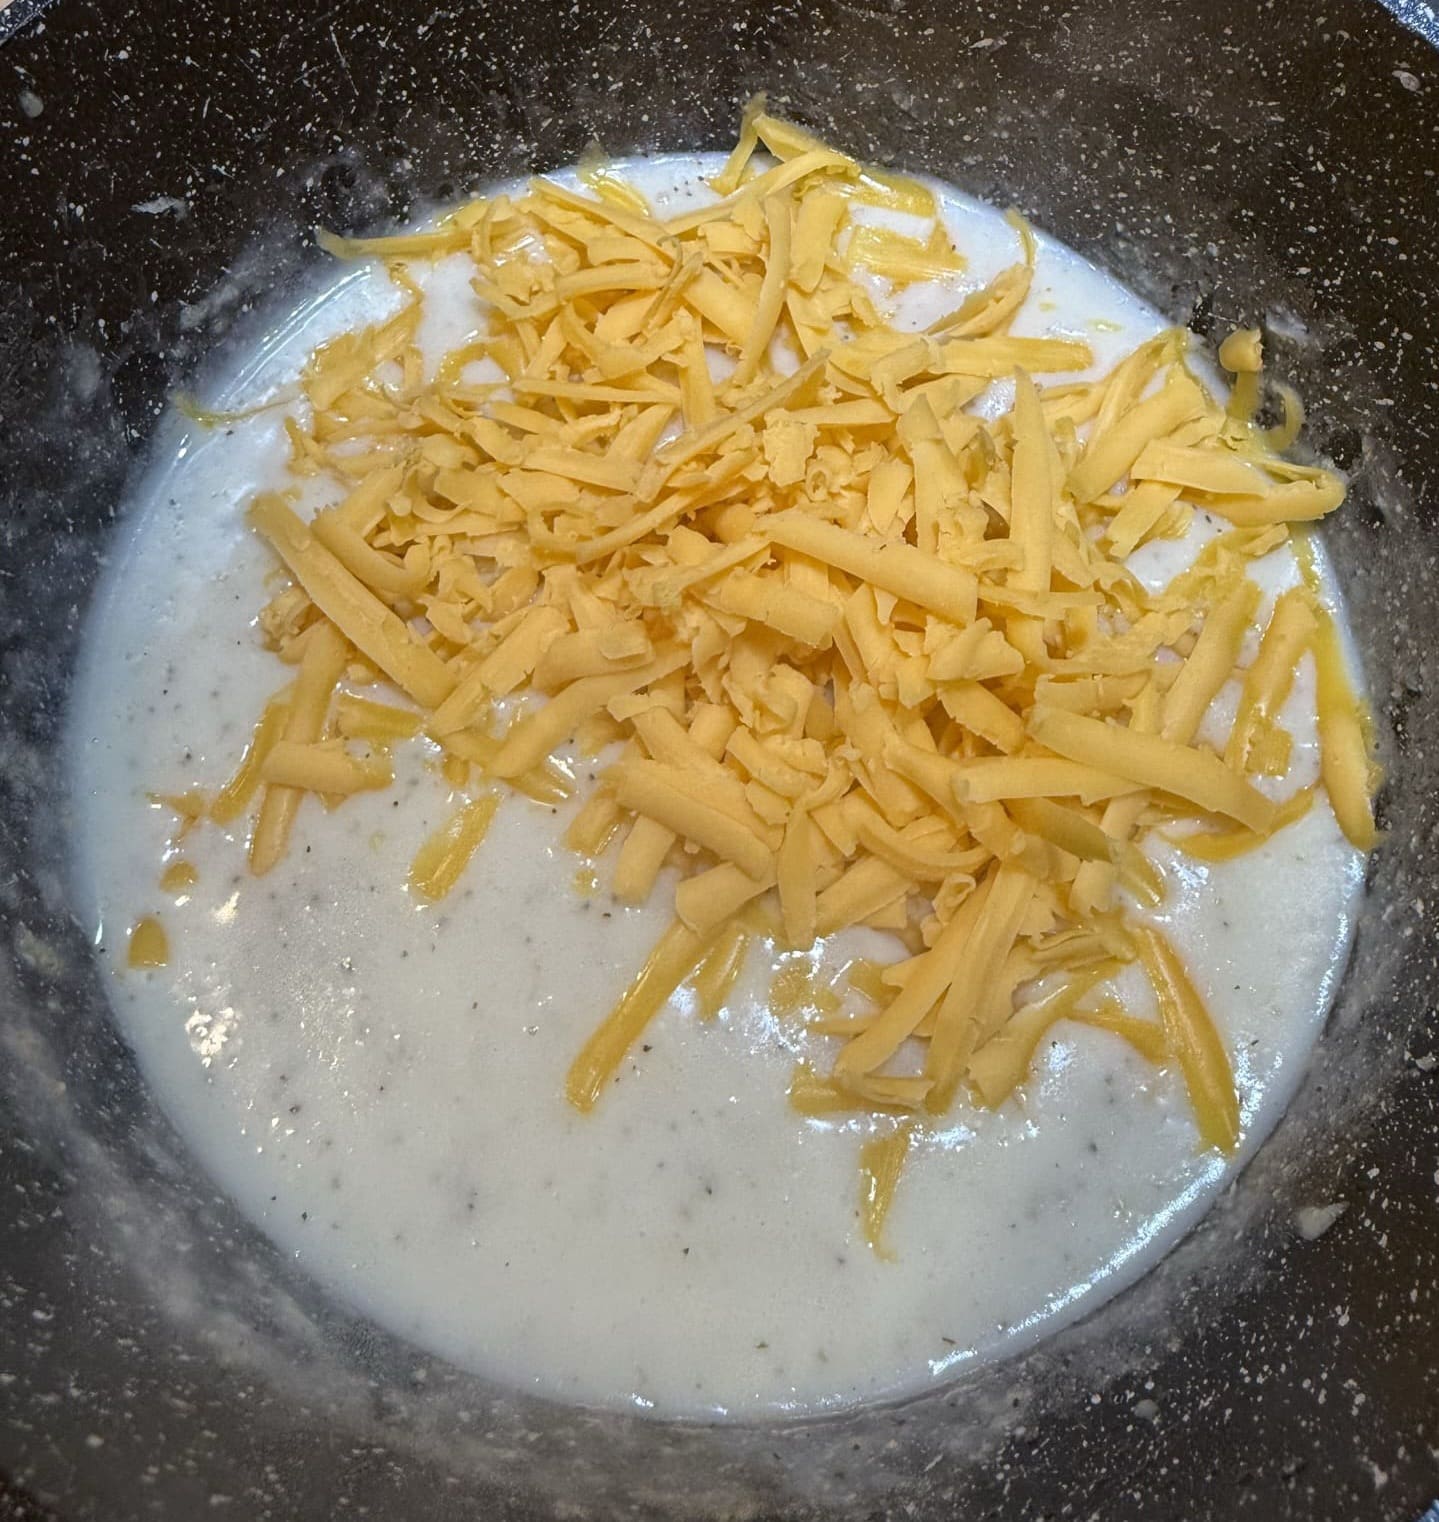
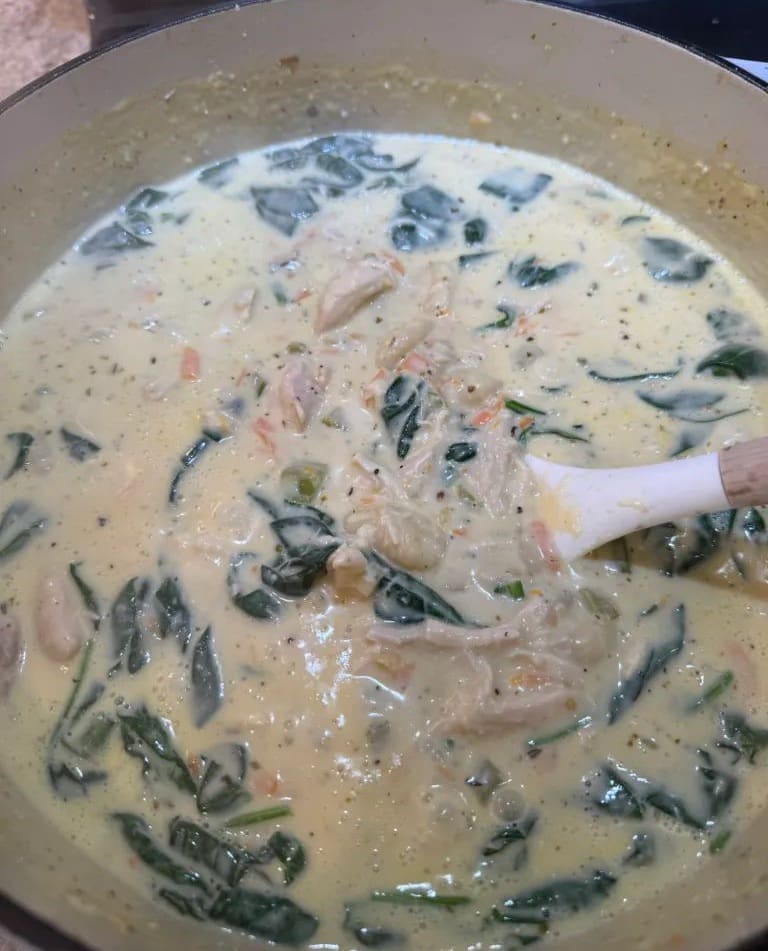
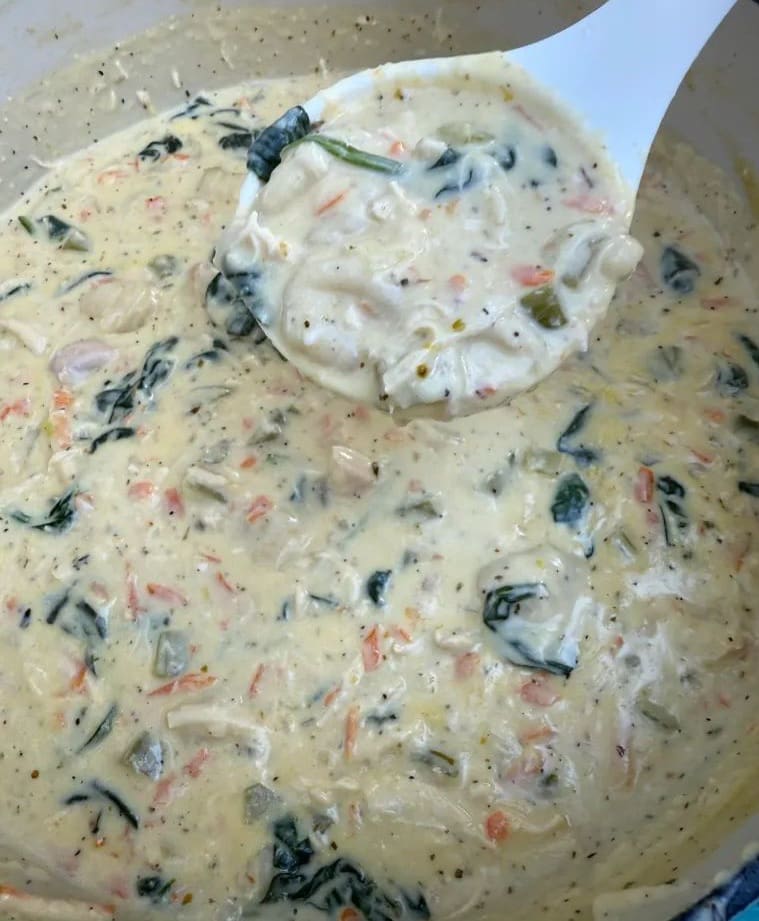
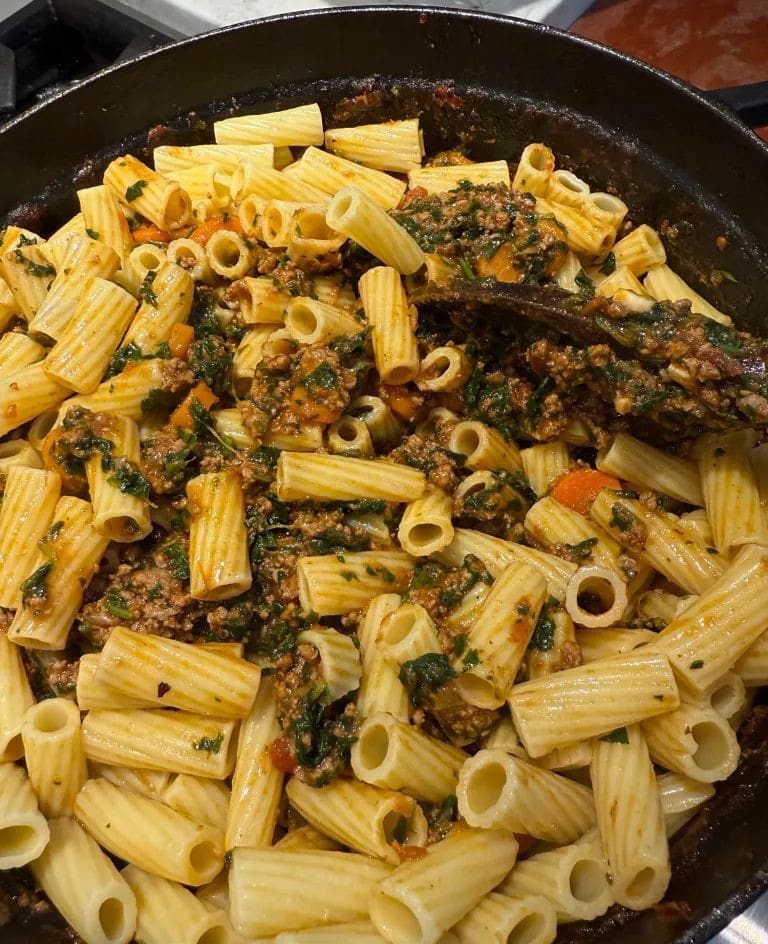
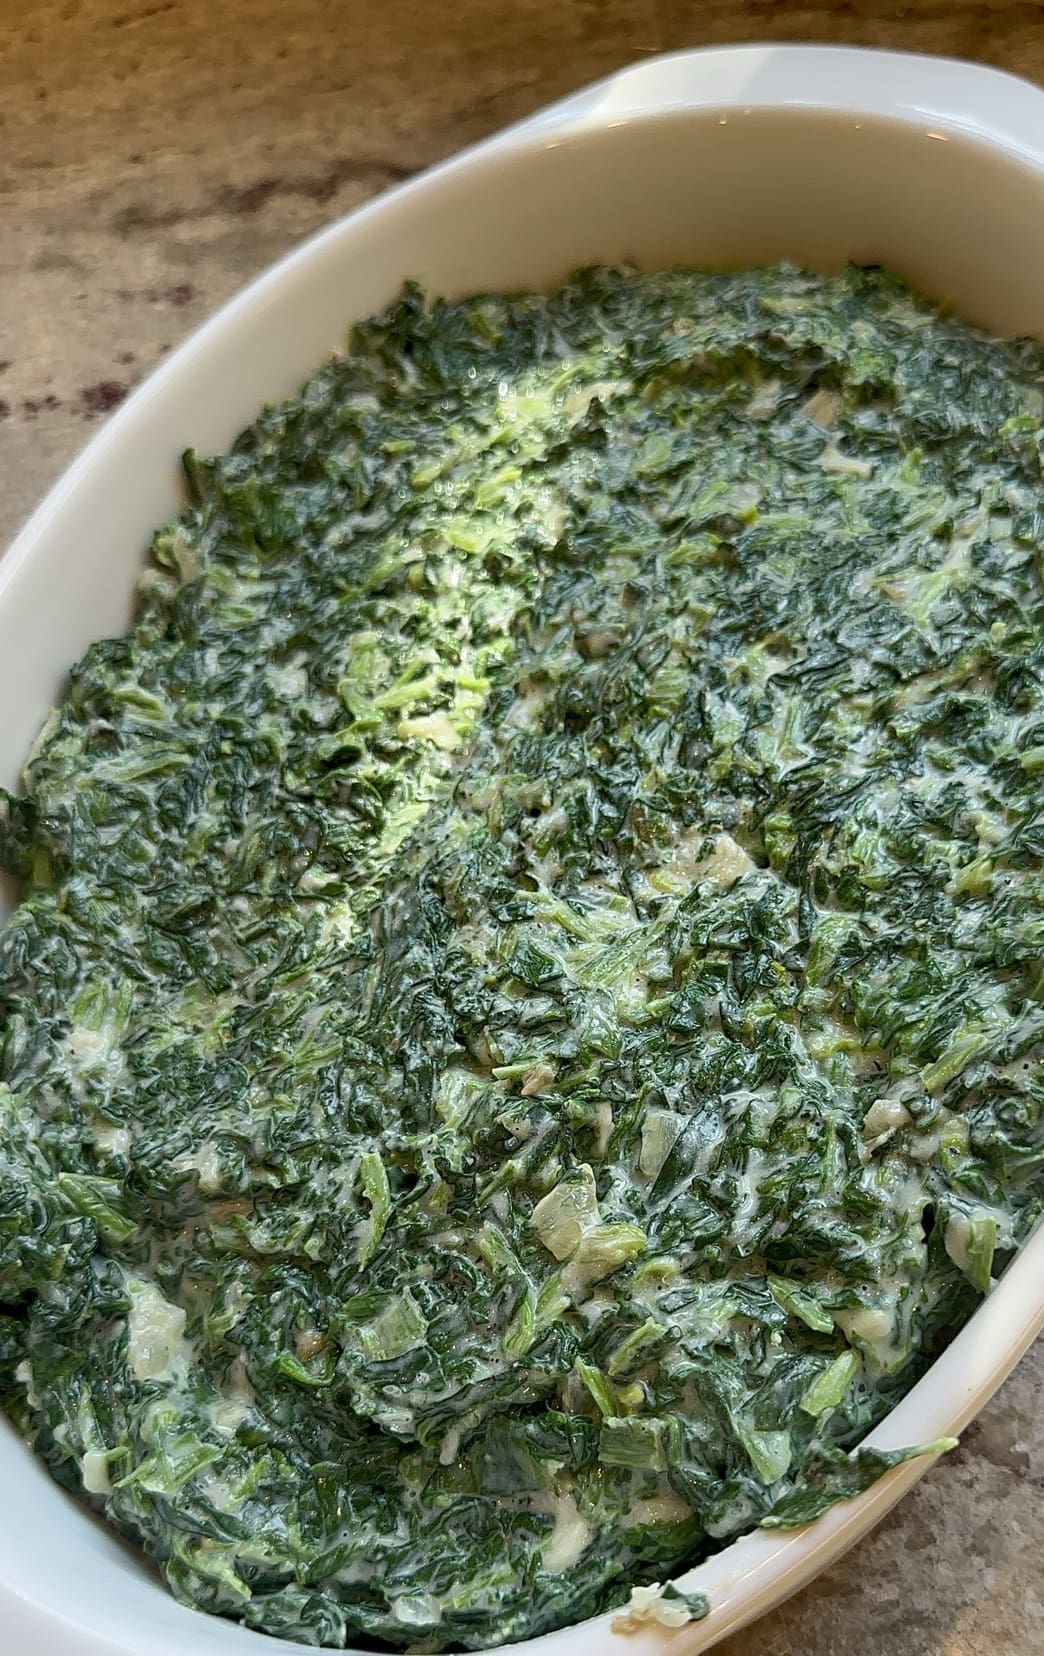
Next, add Parmesan cheese and stir in into the spinach mixture.

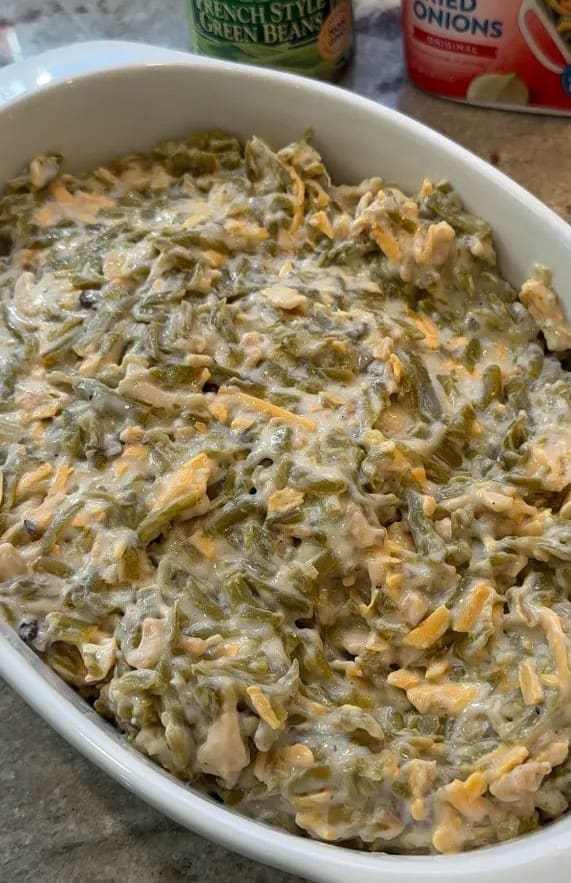
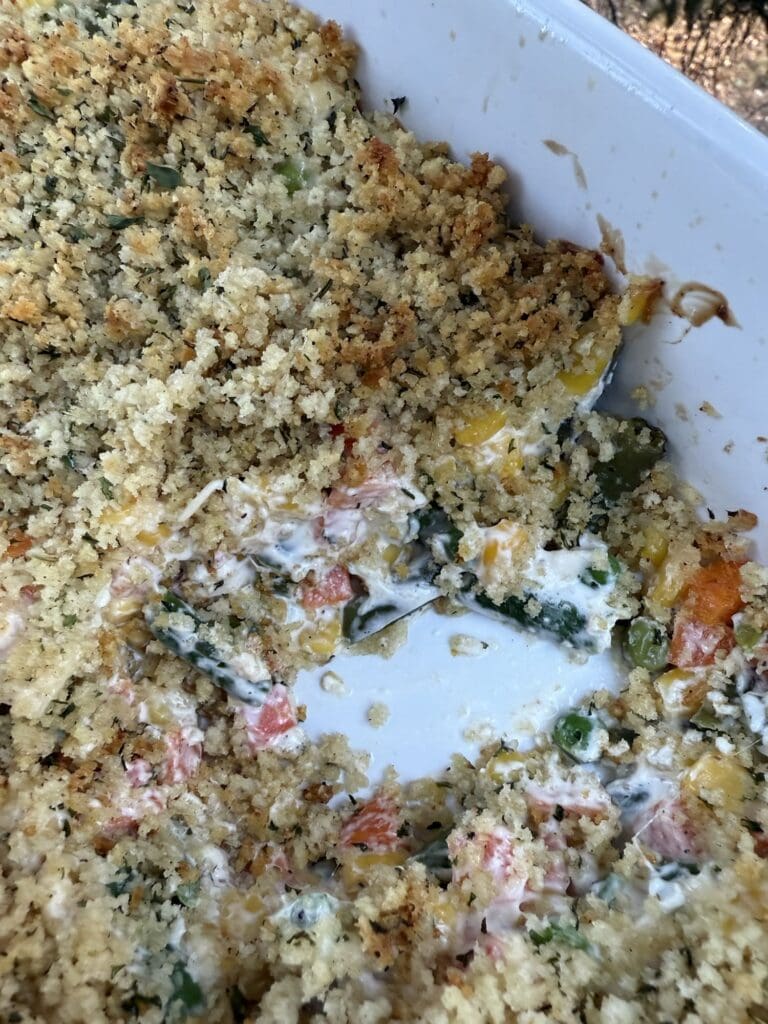
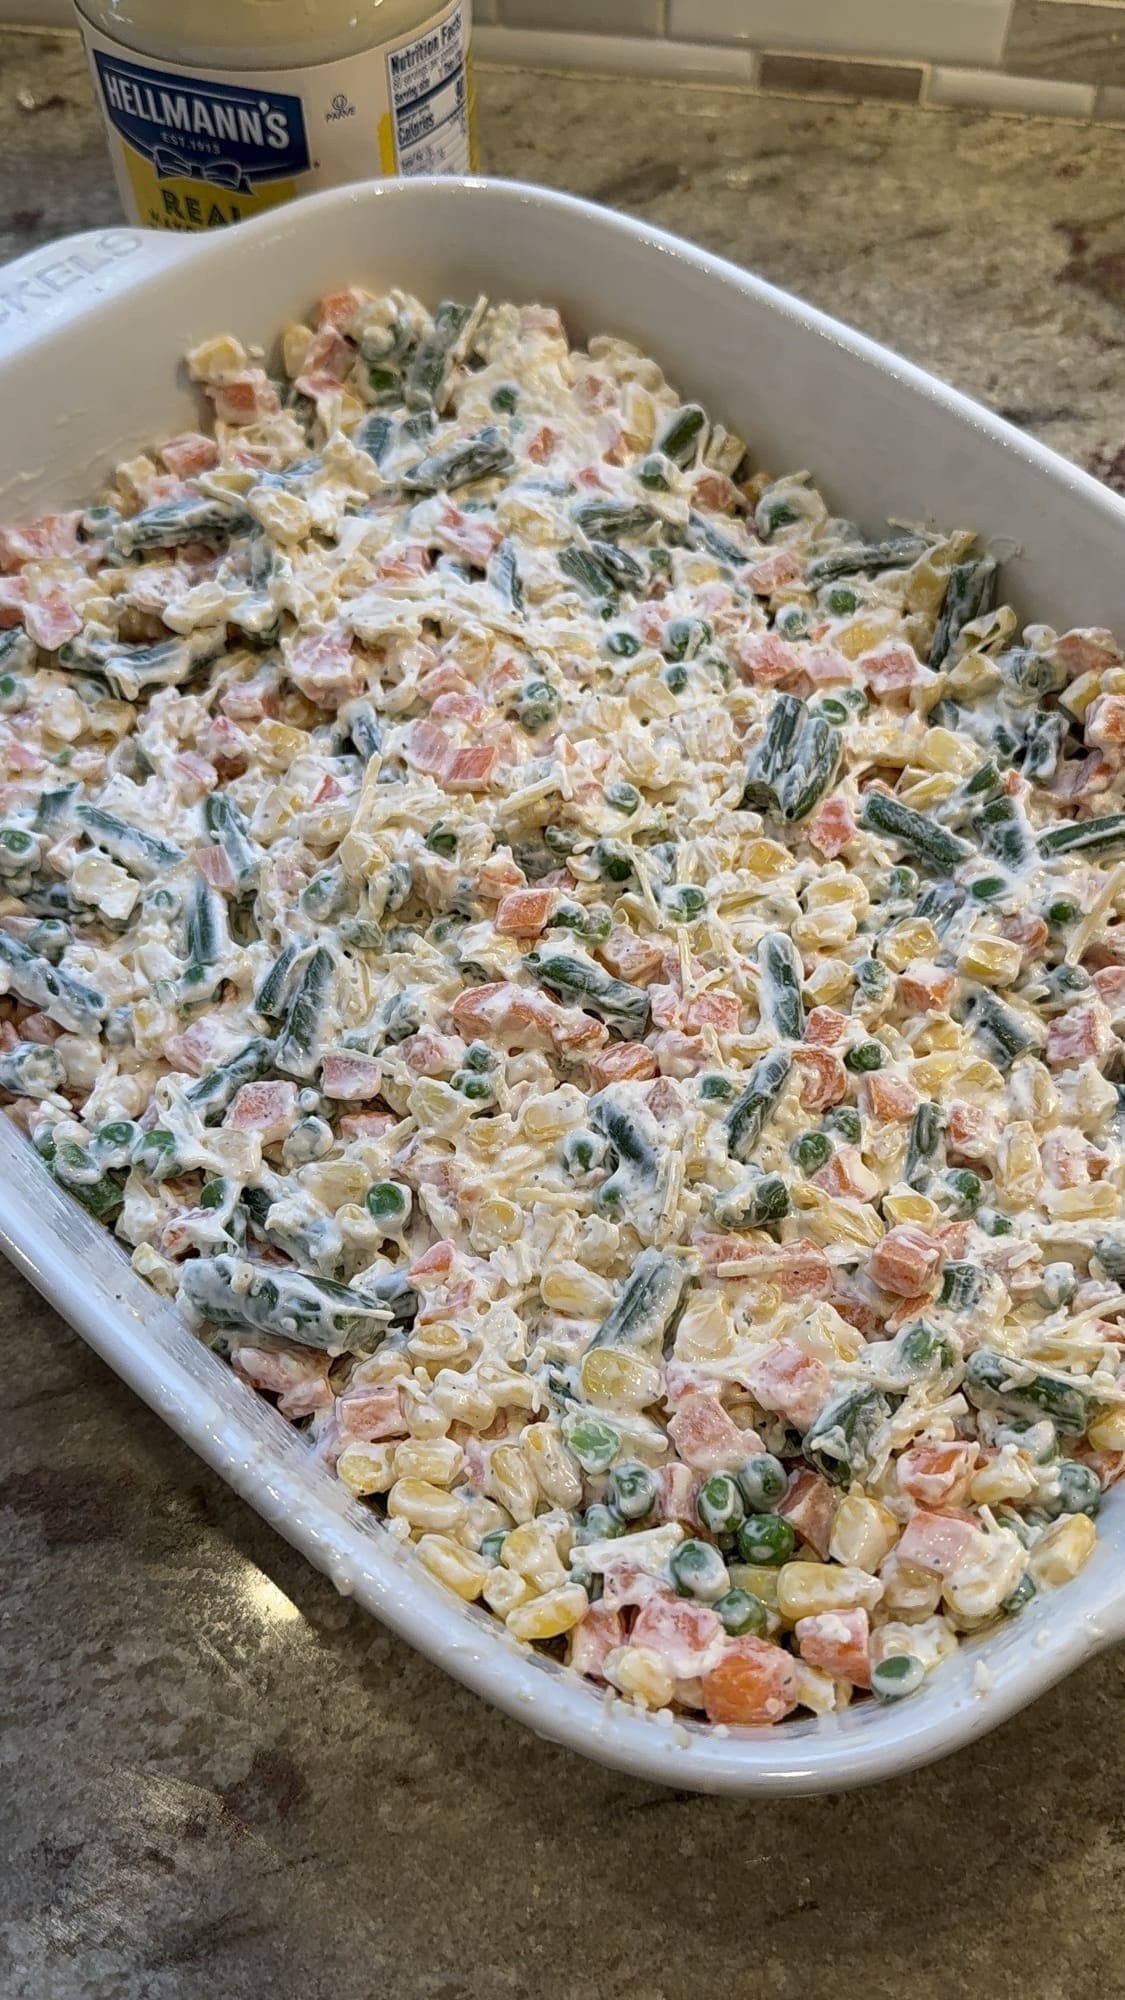
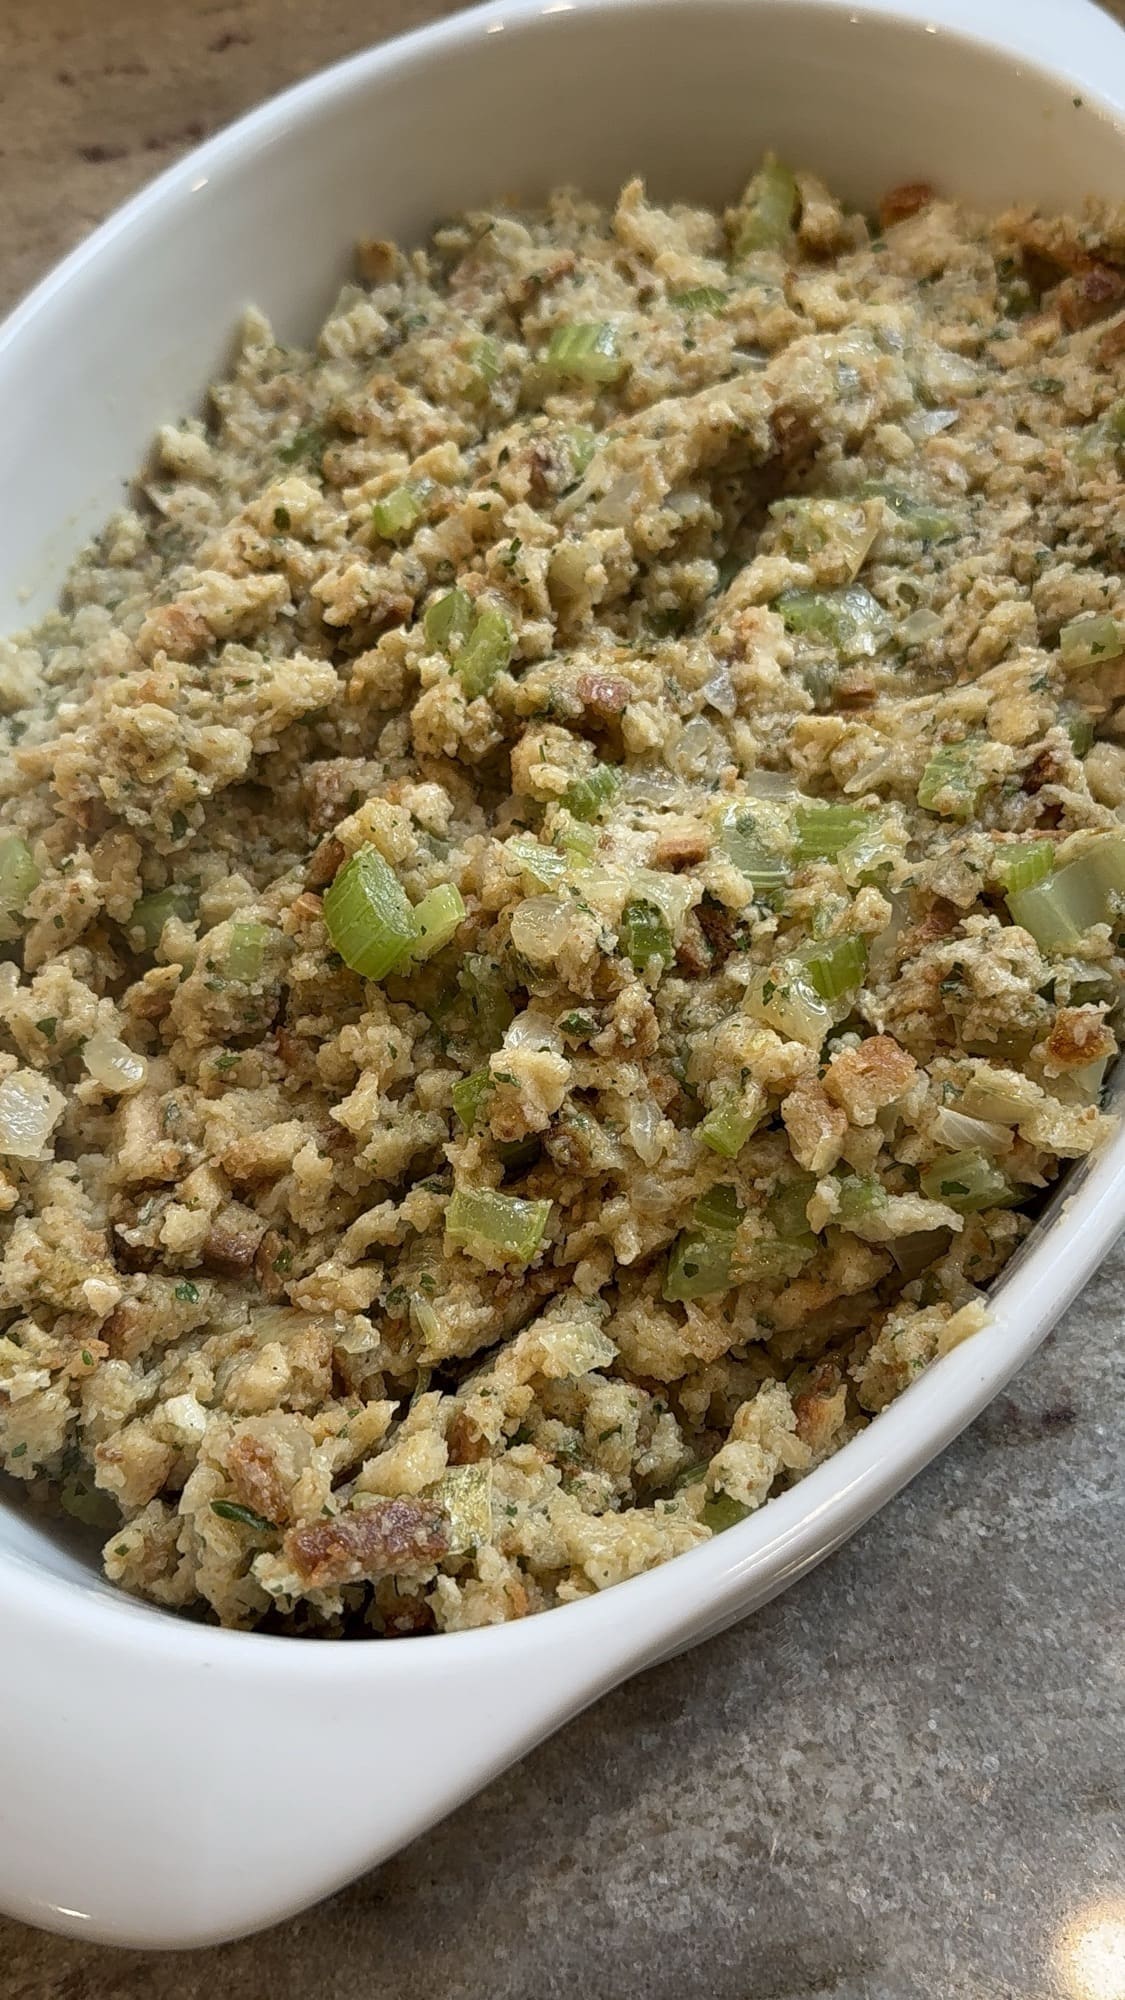
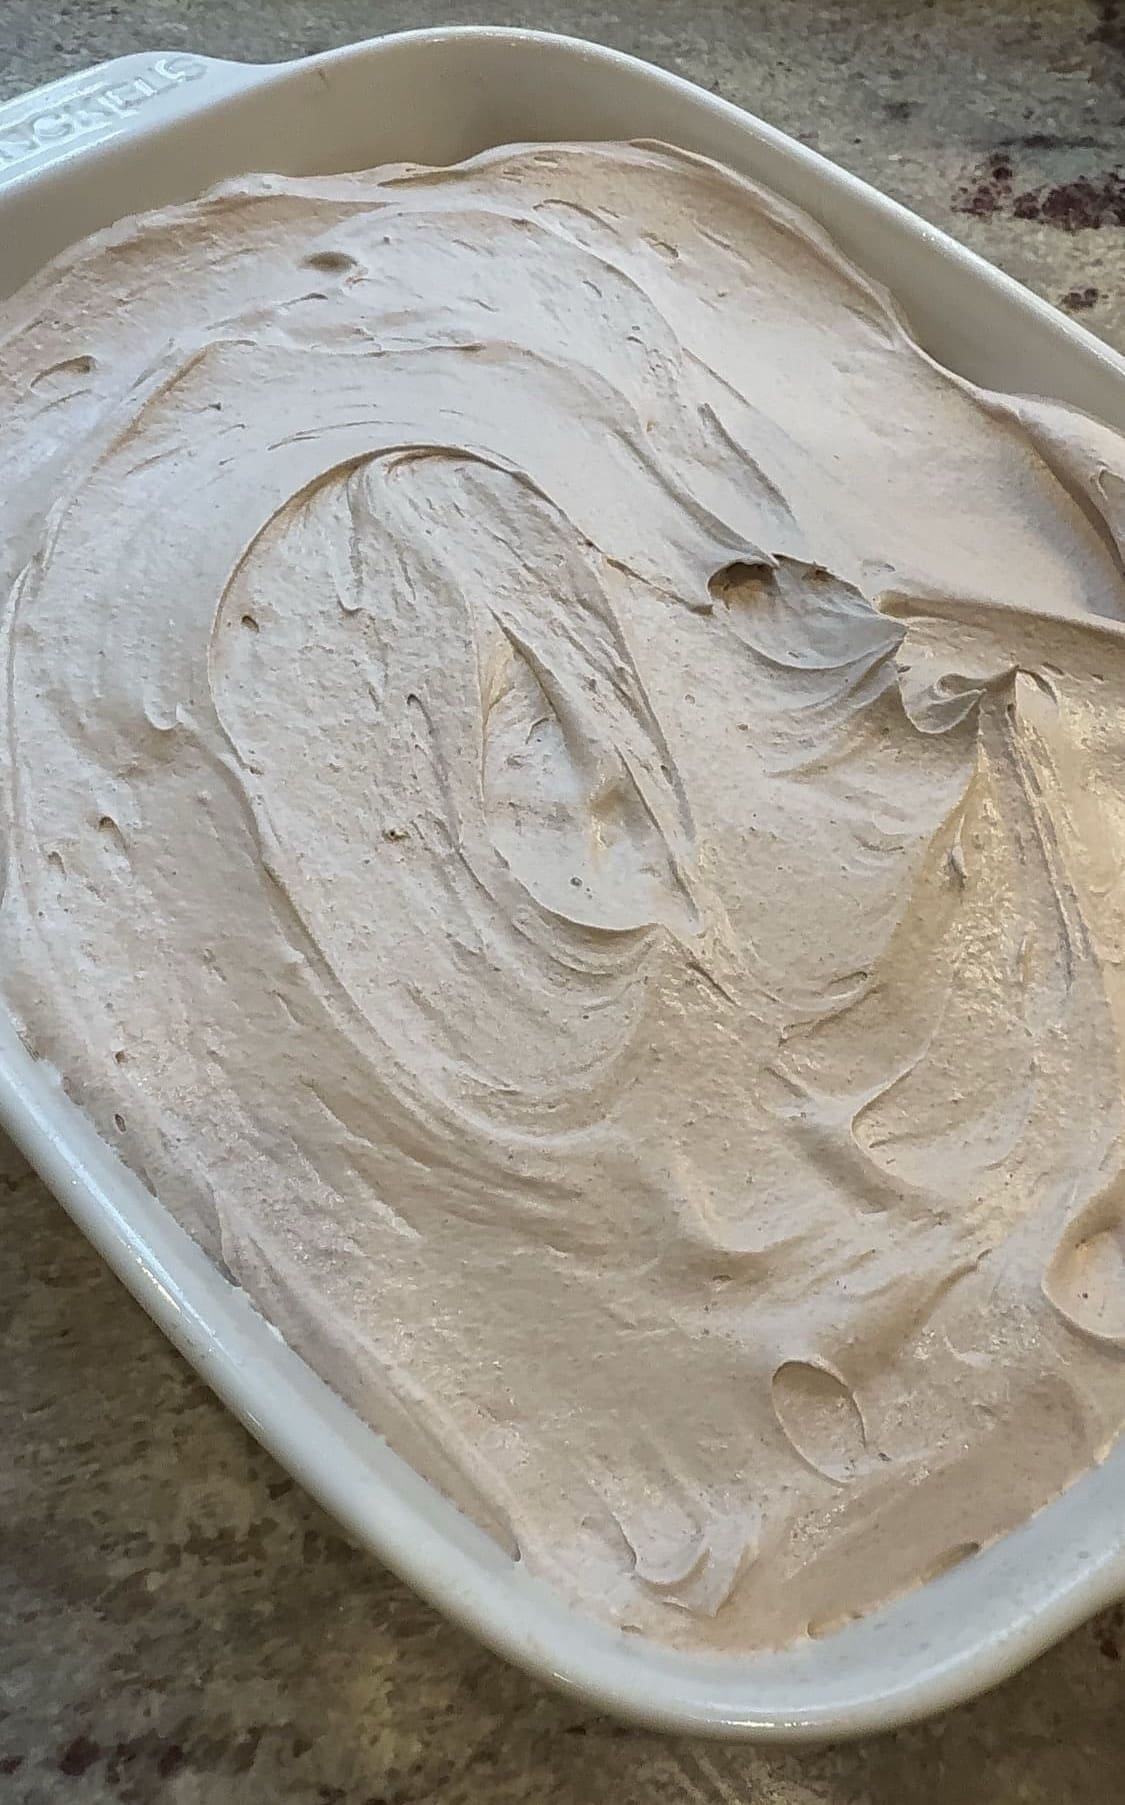
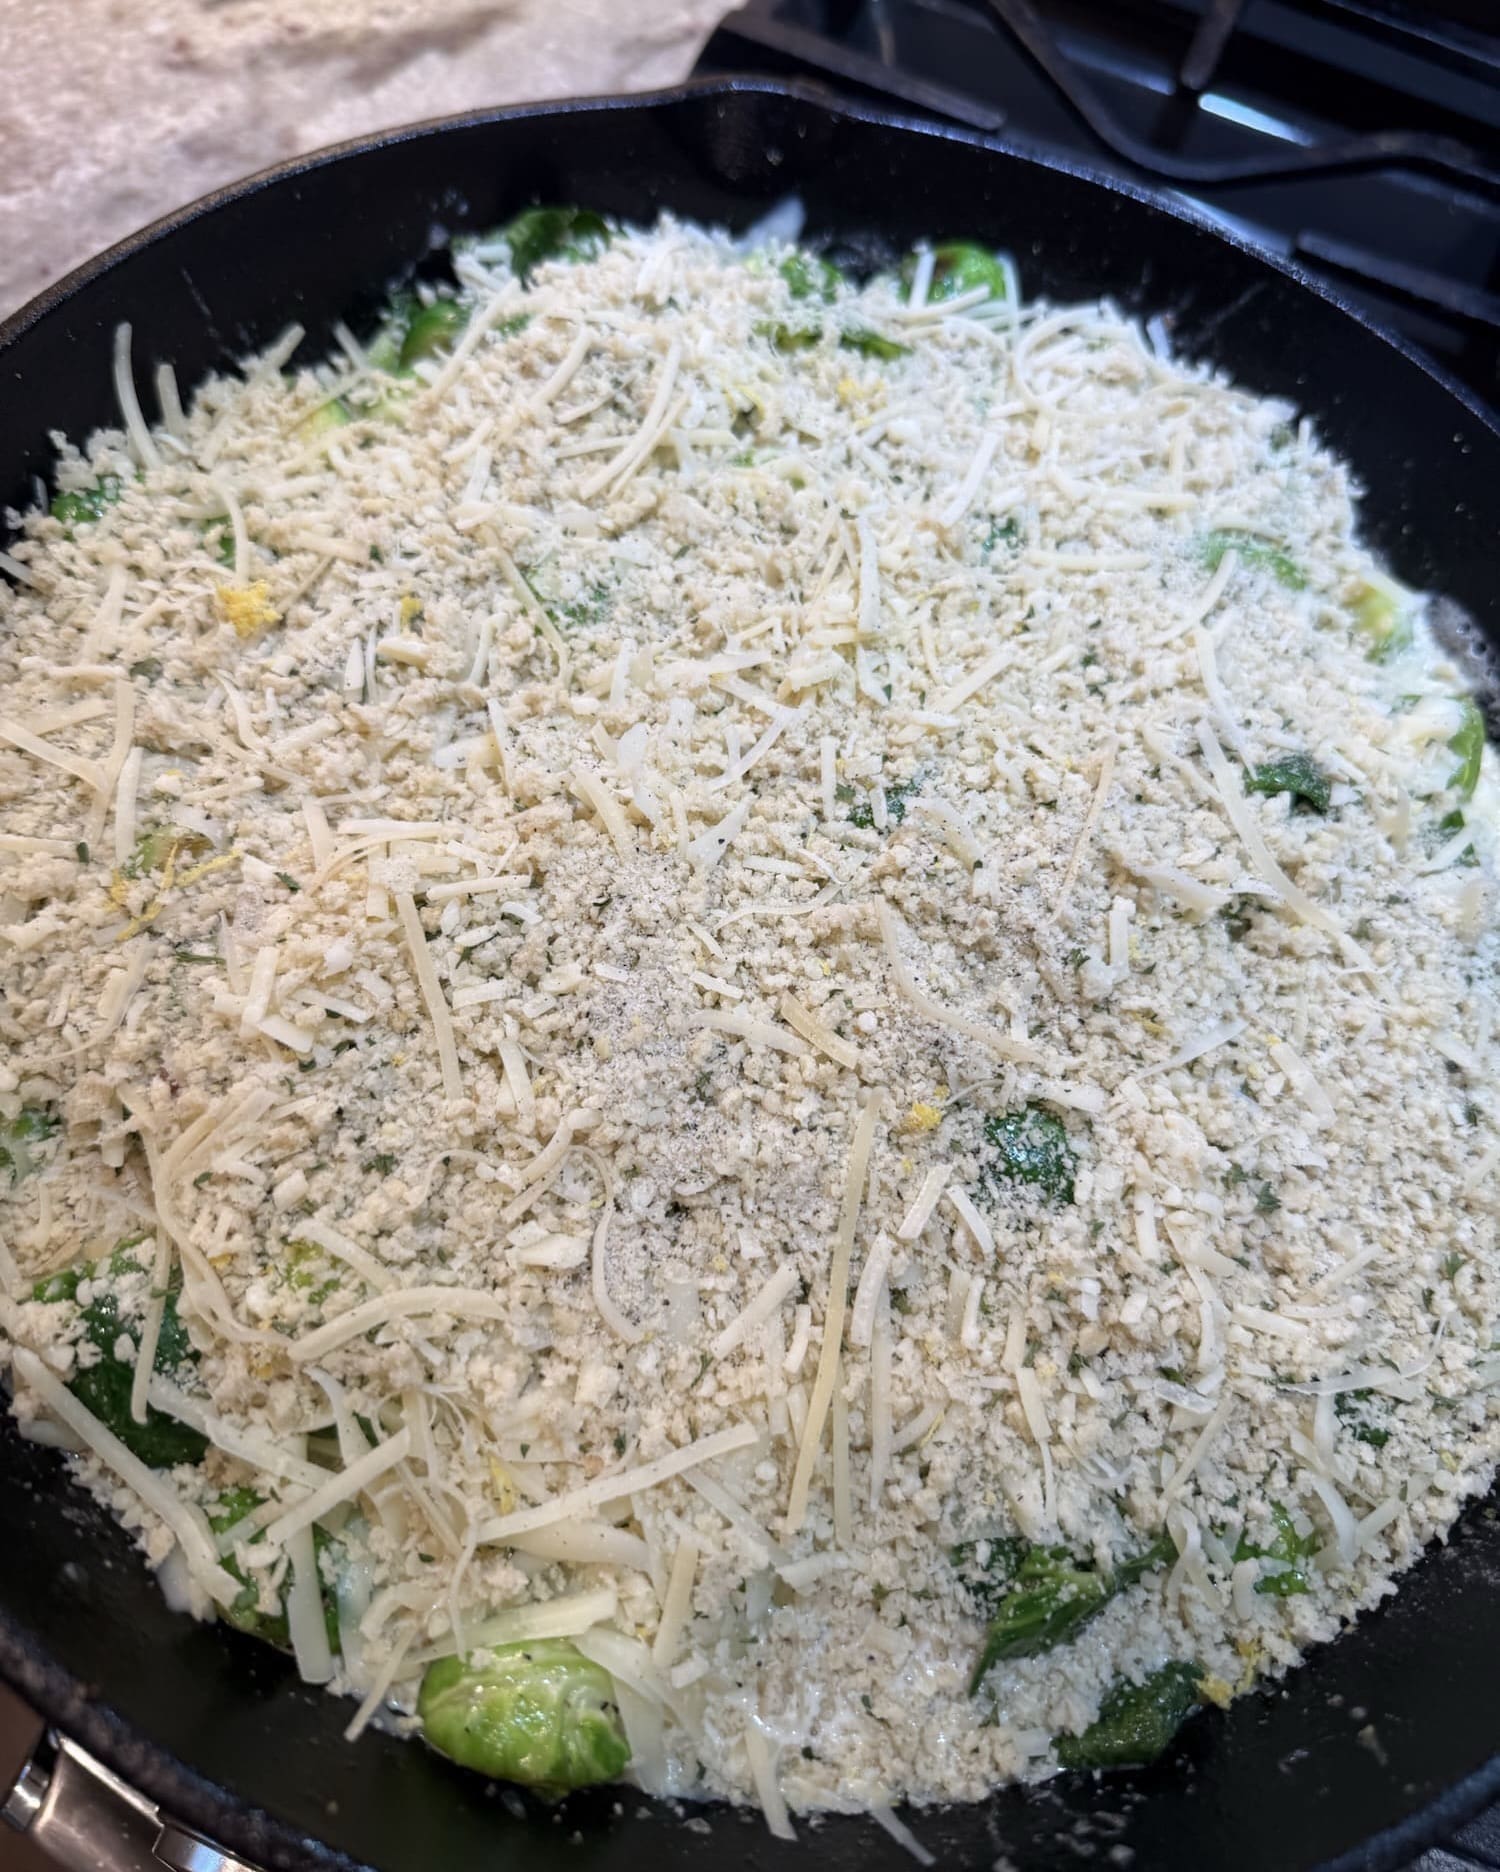
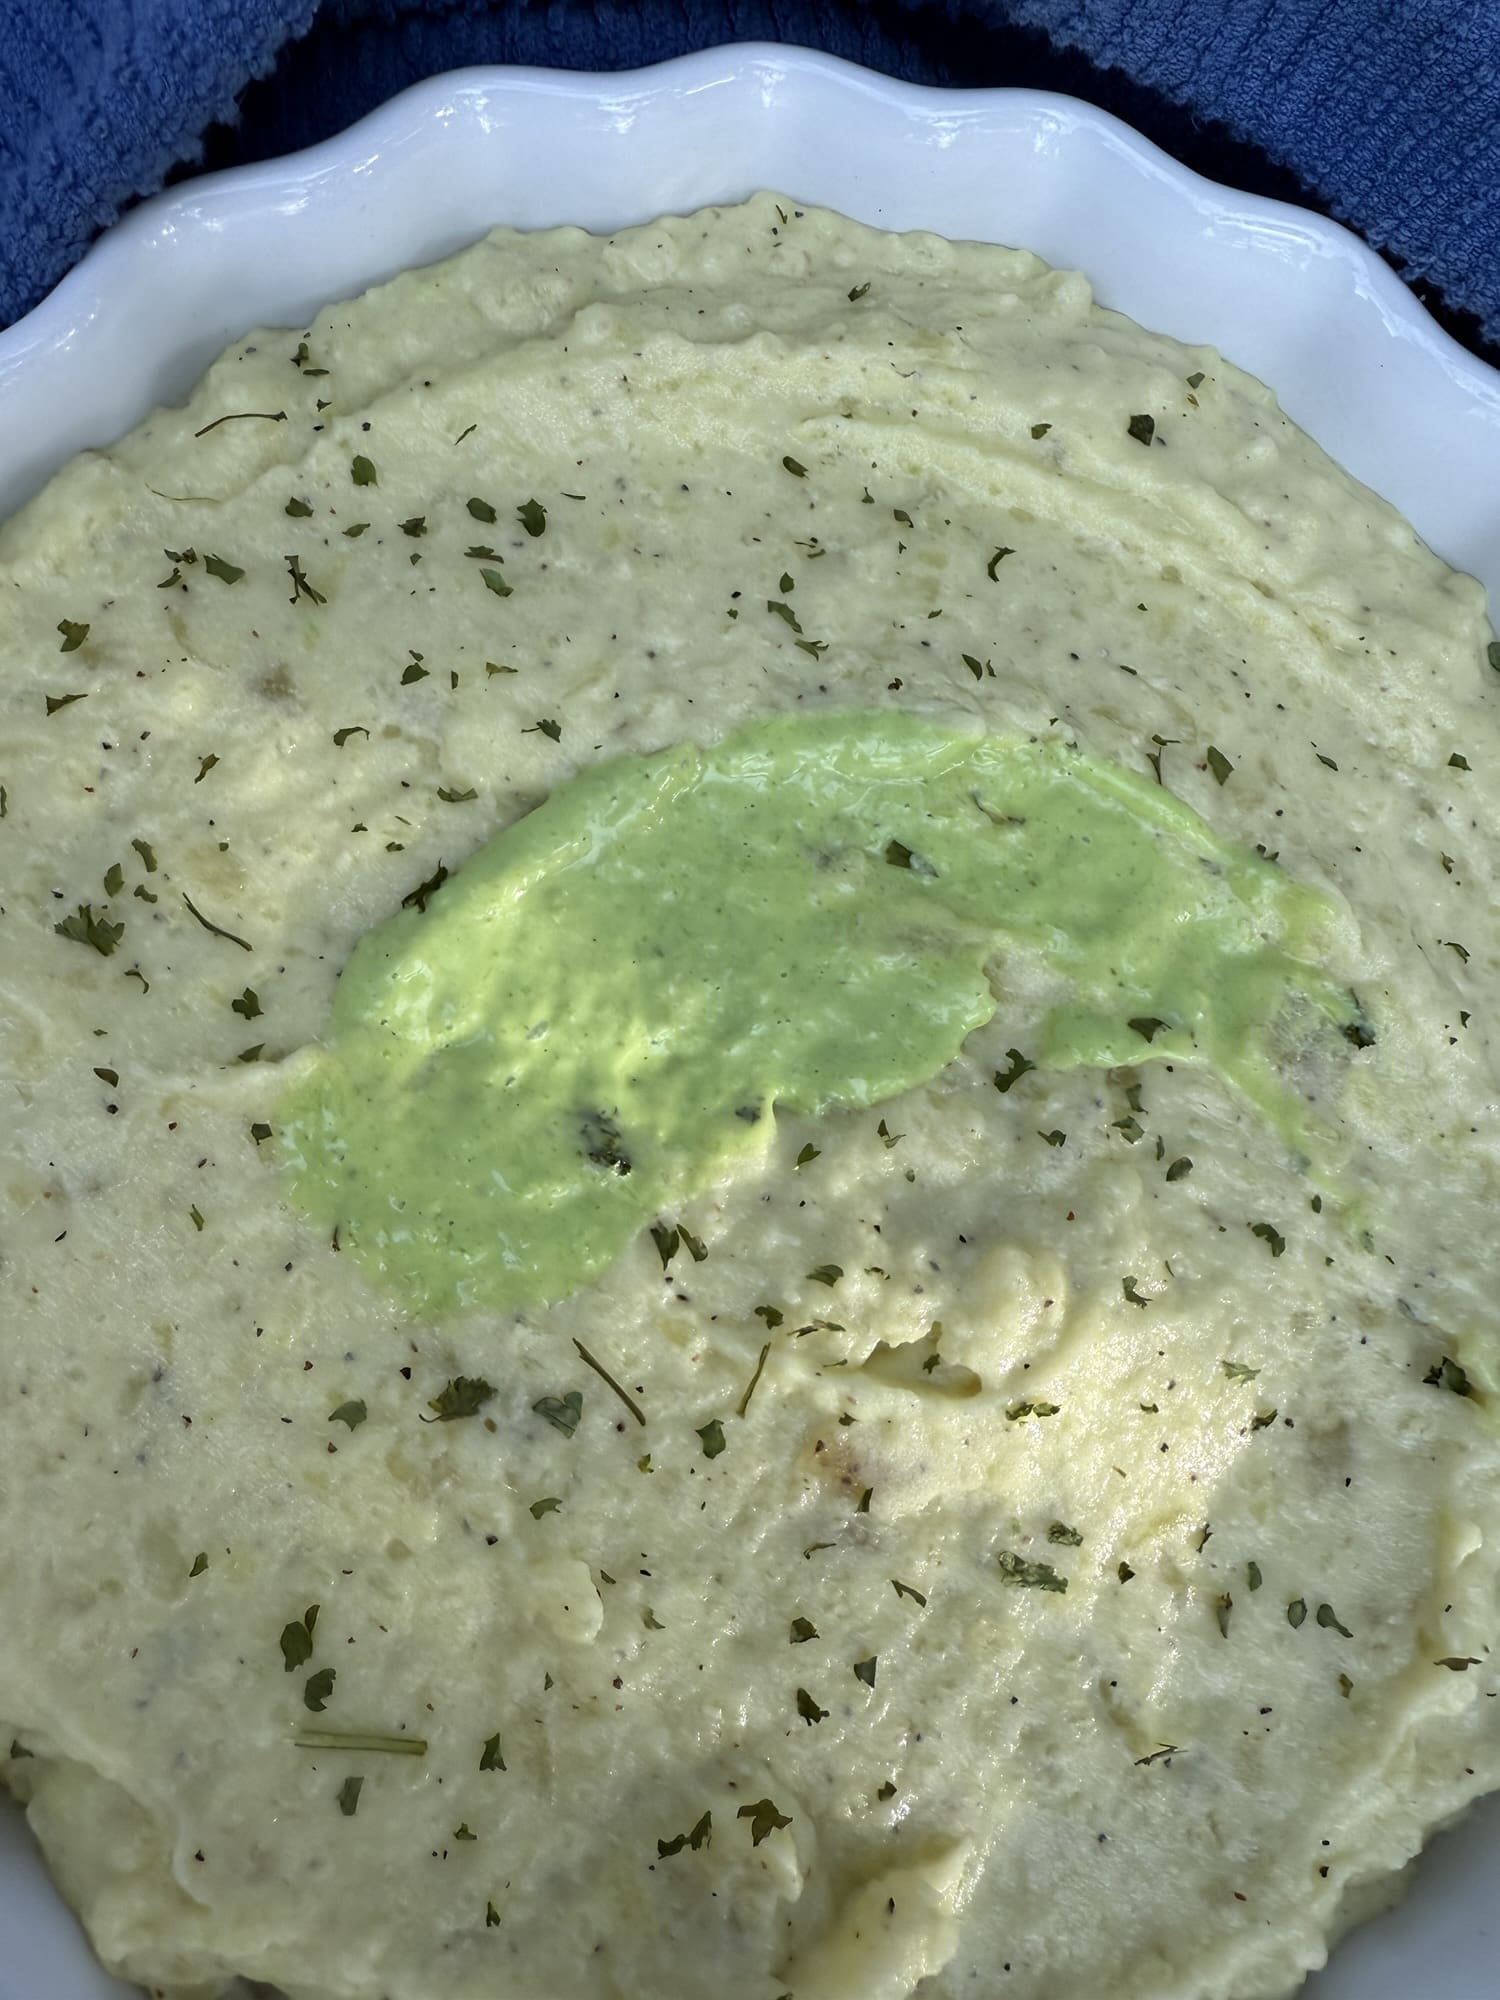
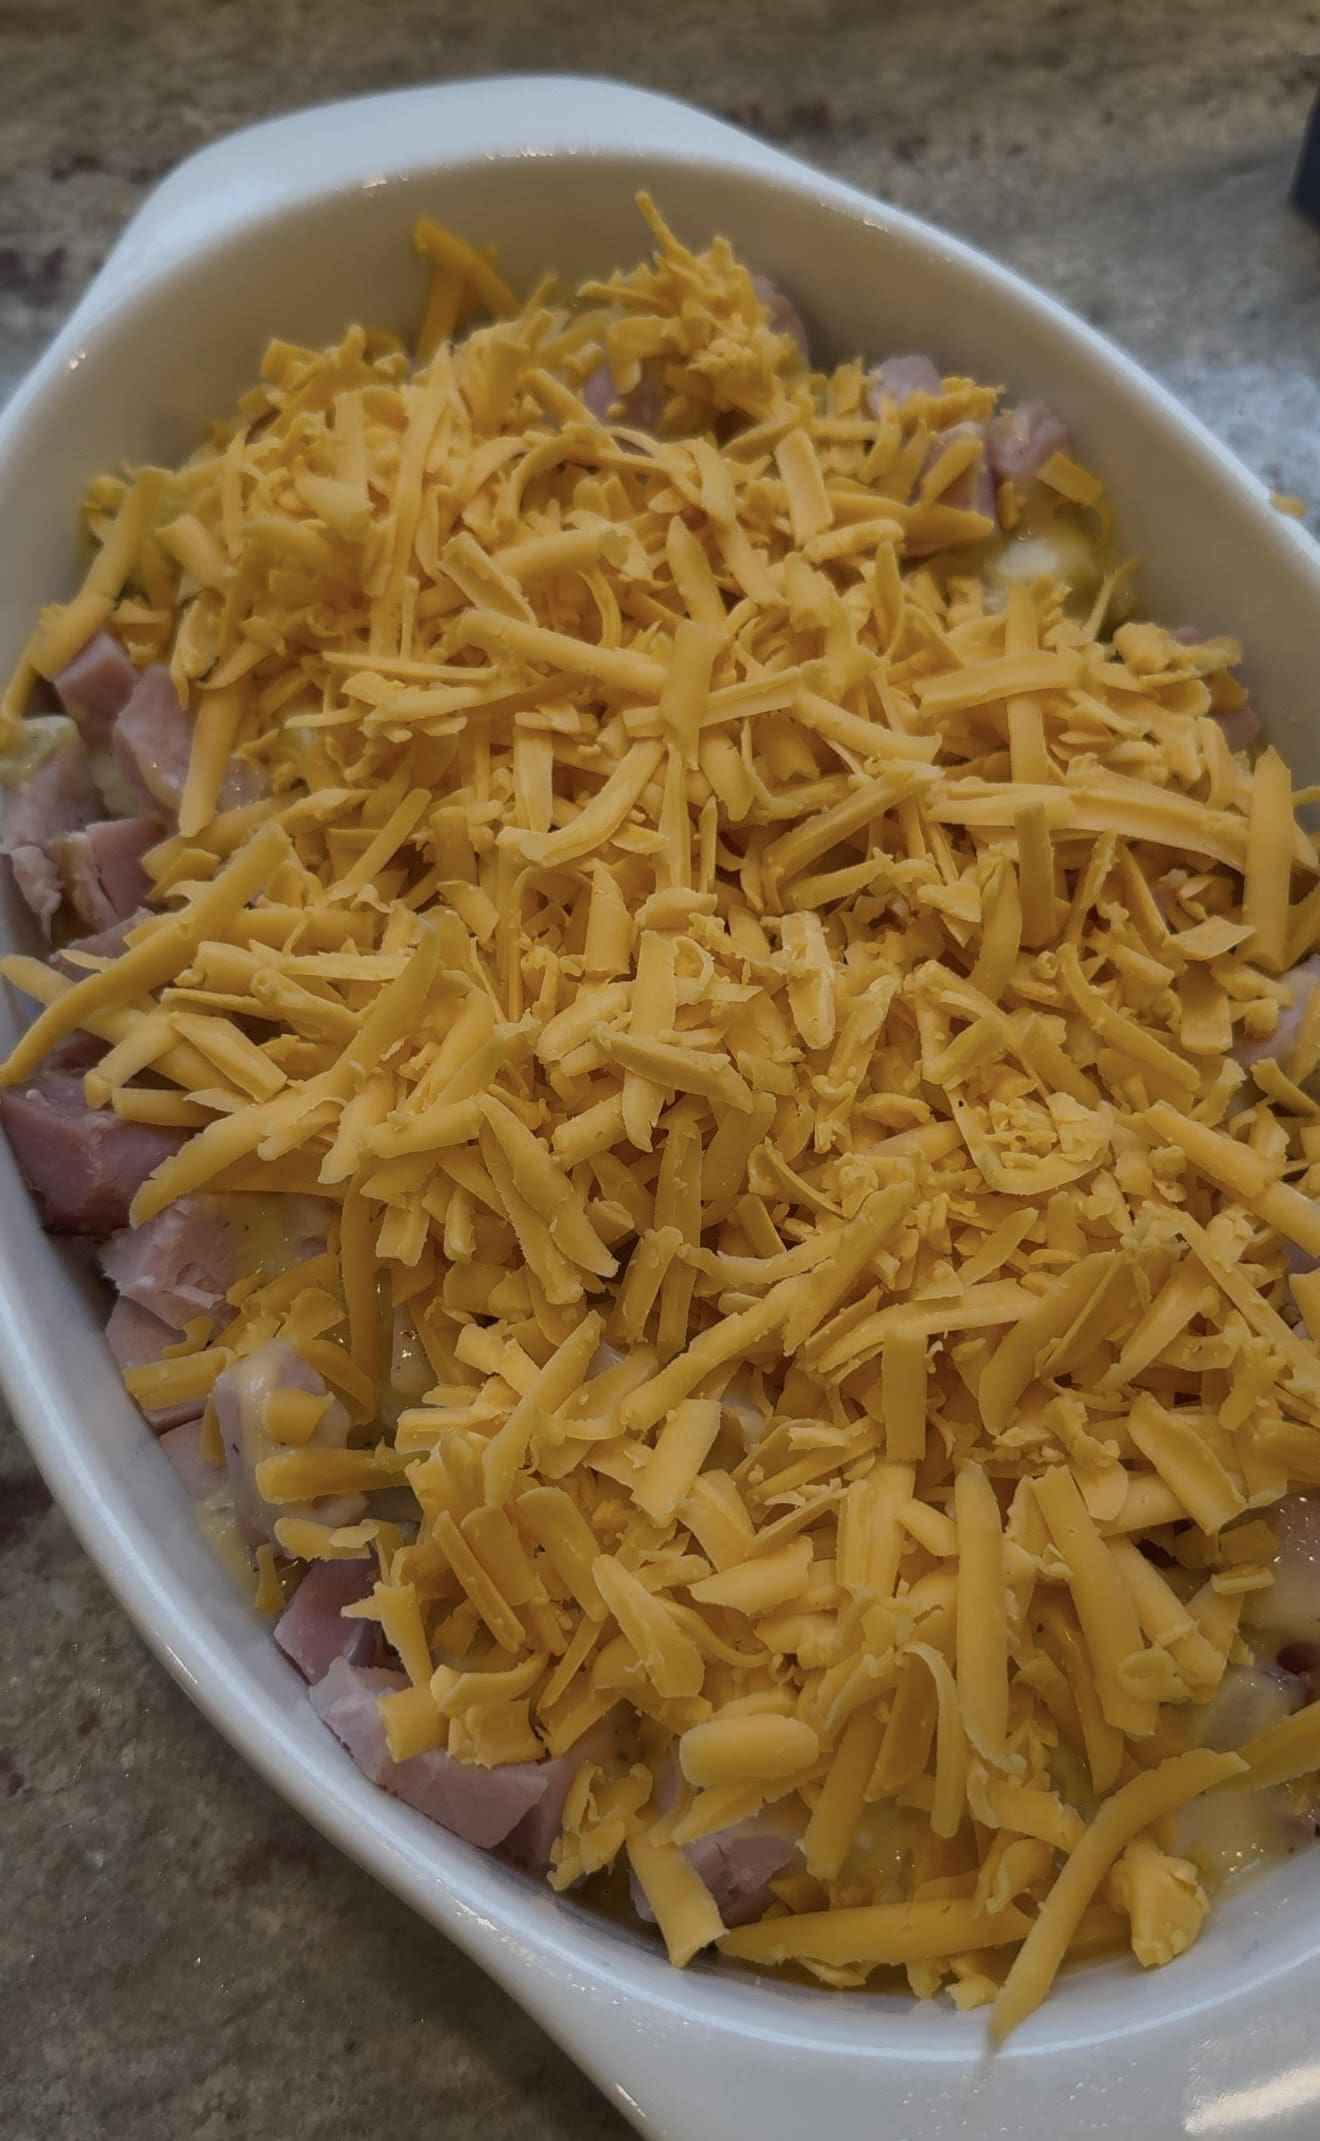
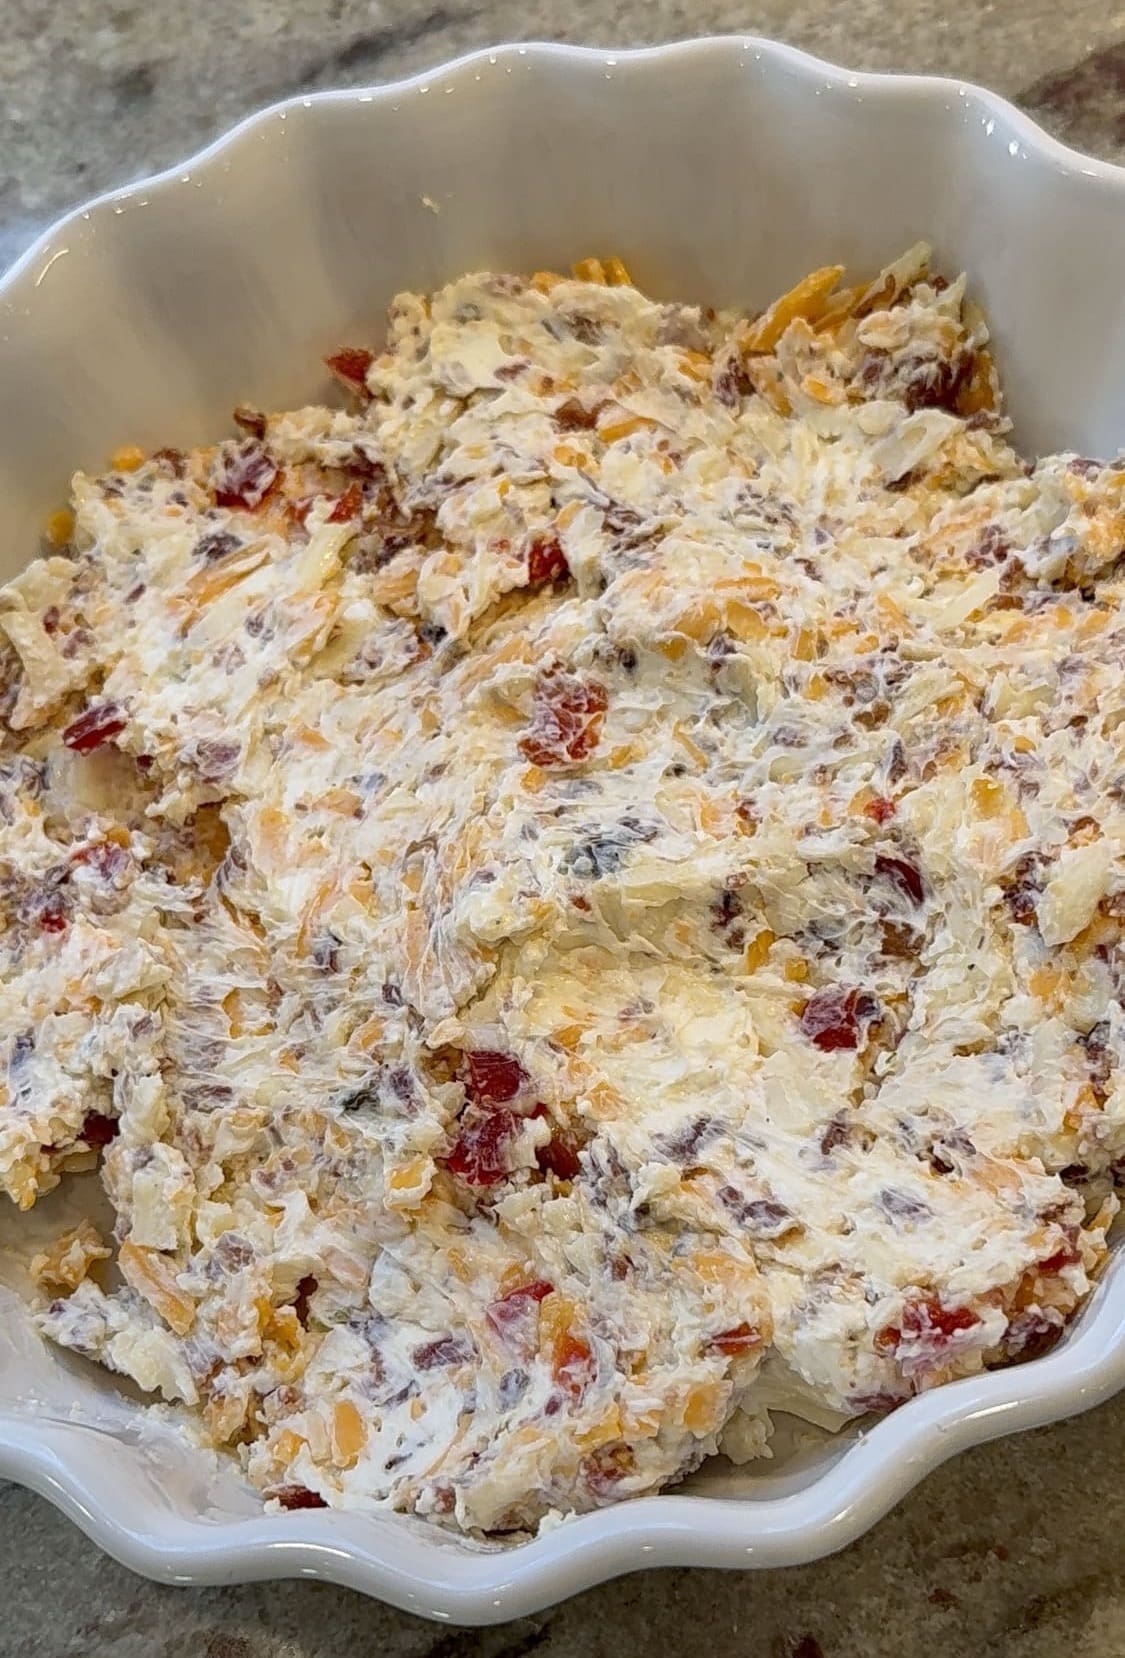
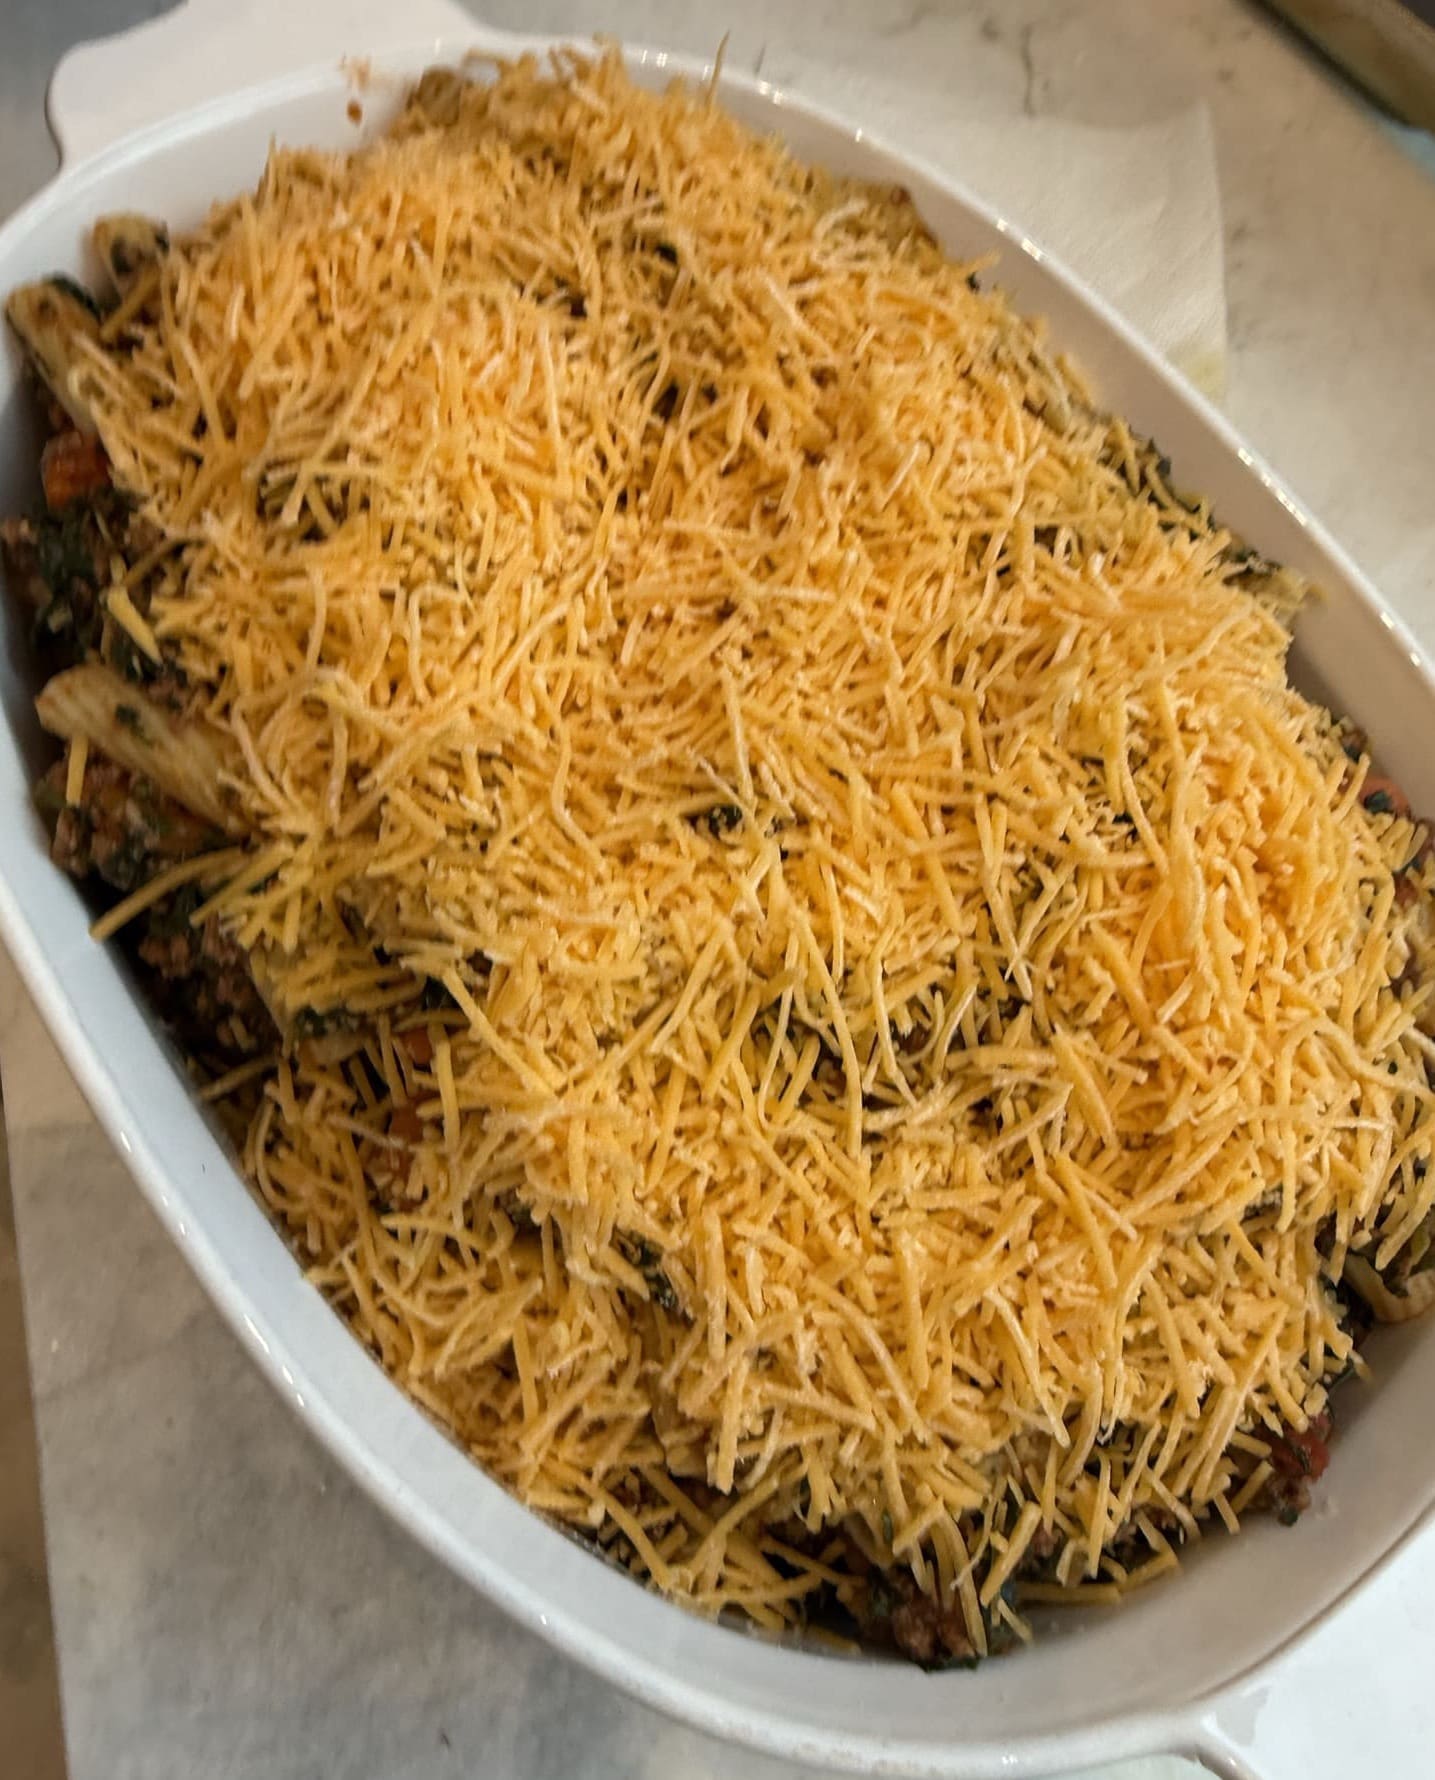
Now, add the mixture to a greased 9 x 13” baking dish and smooth it out until it’s flat and even.
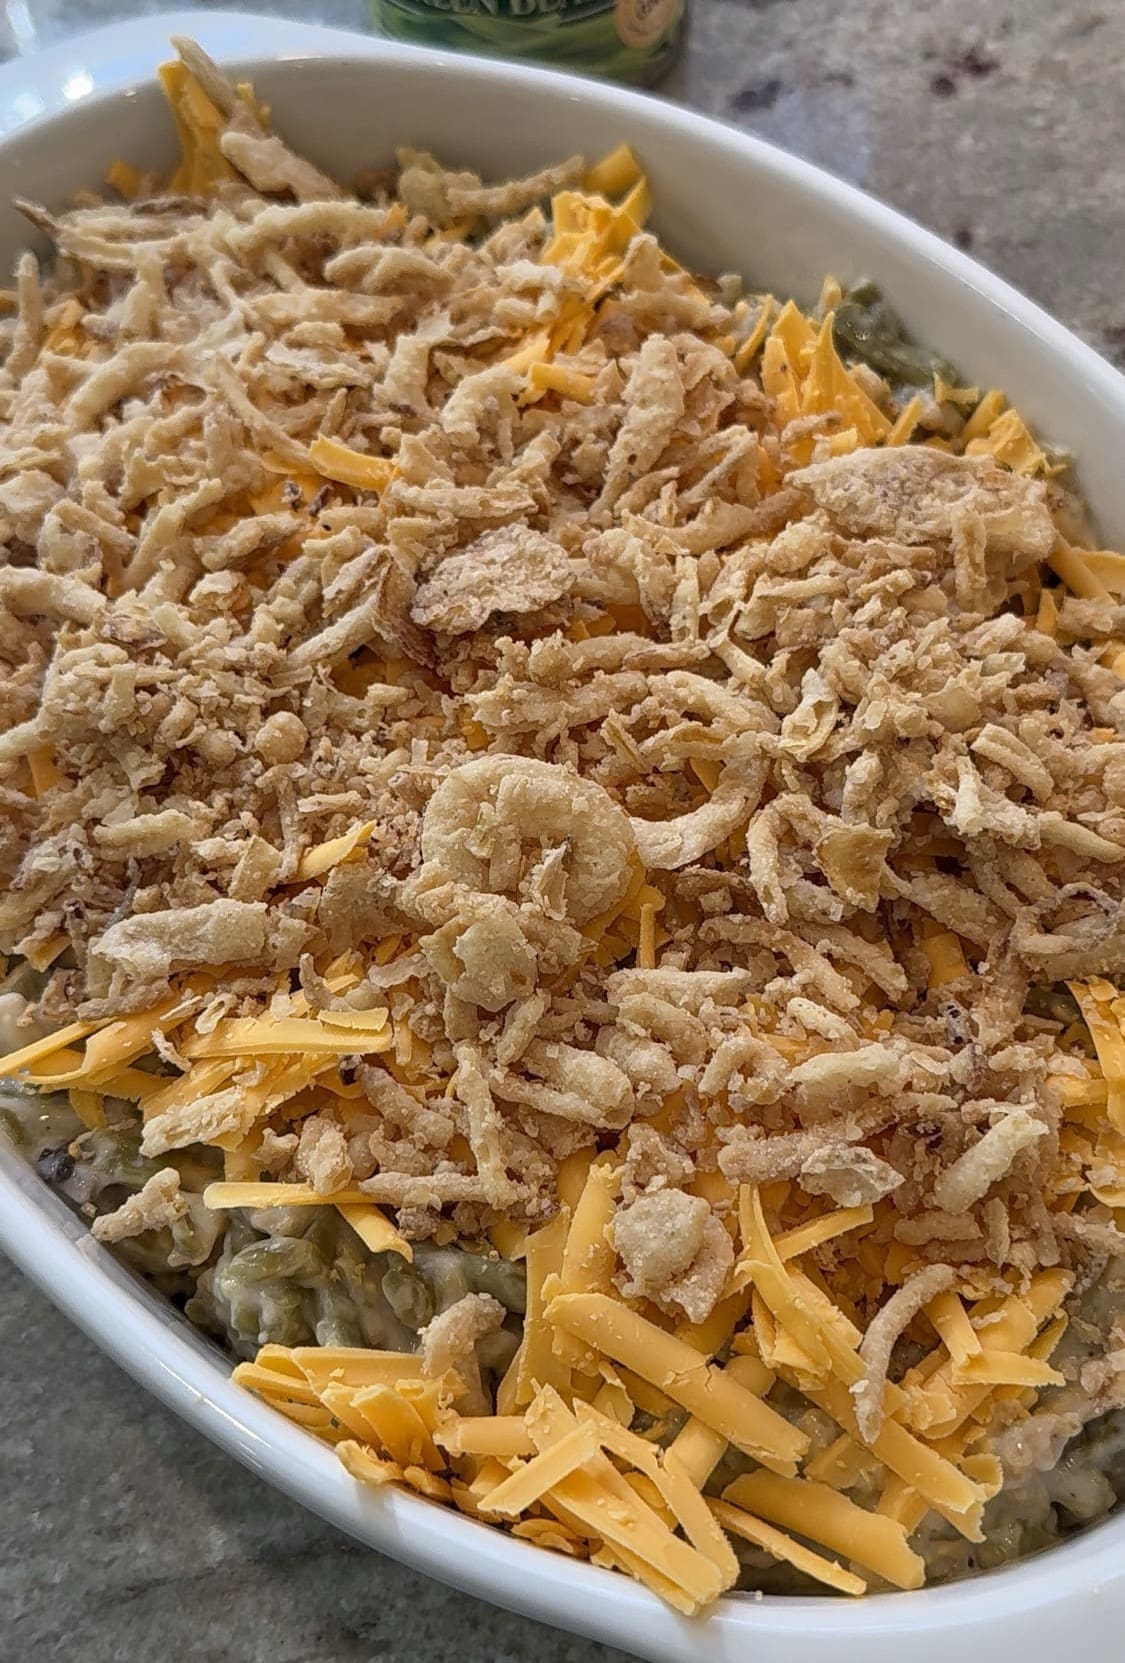
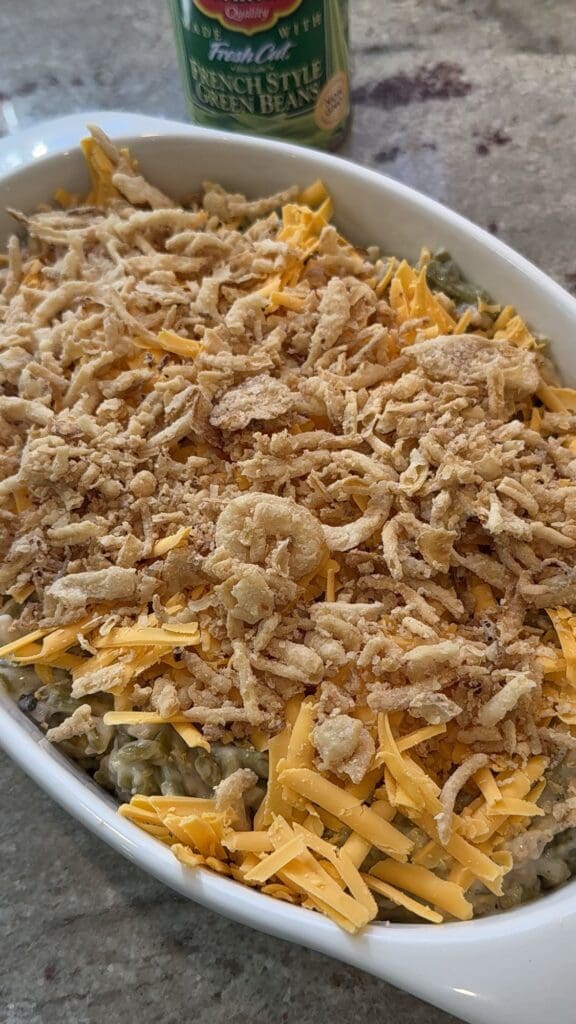
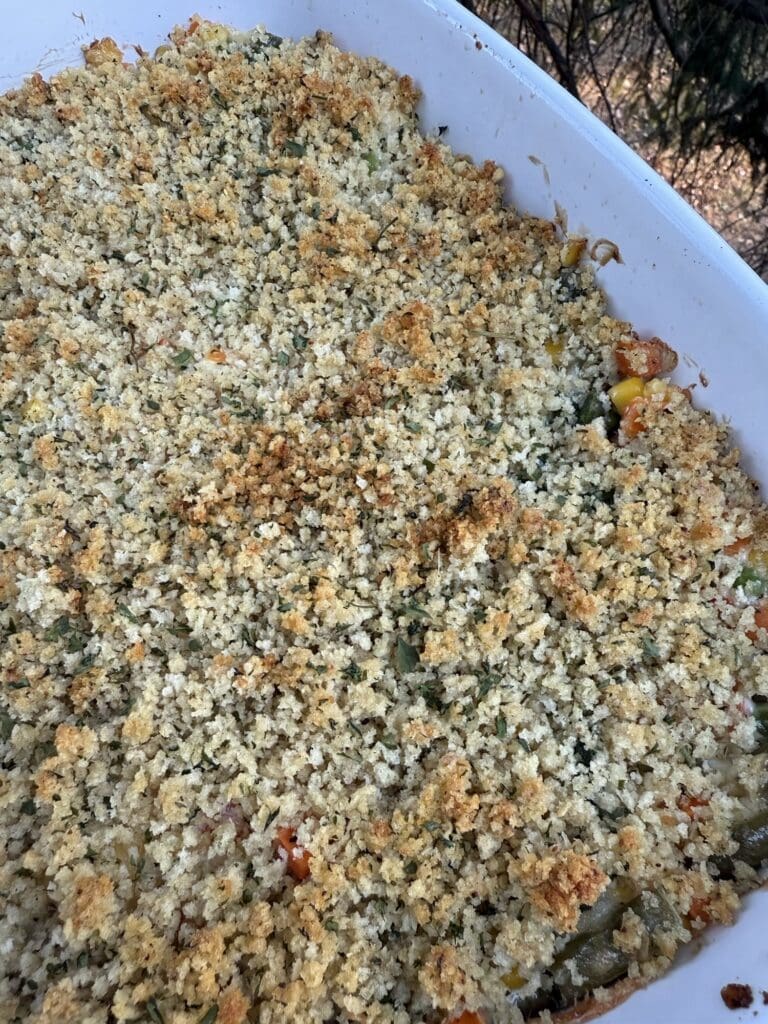
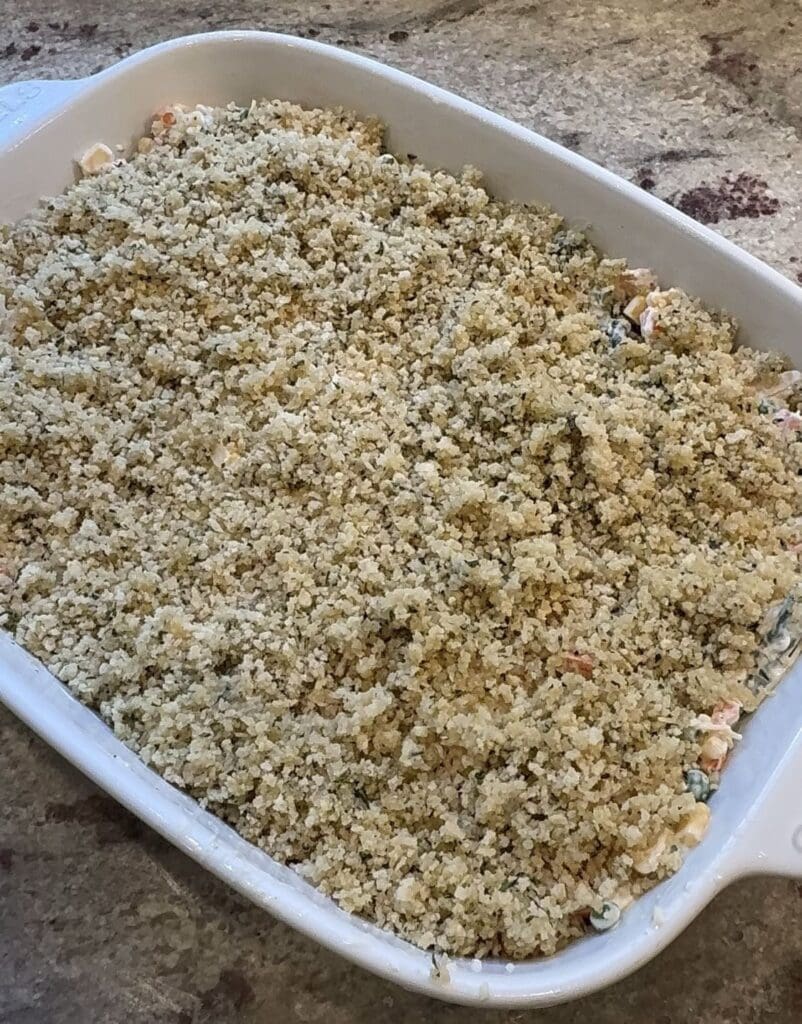
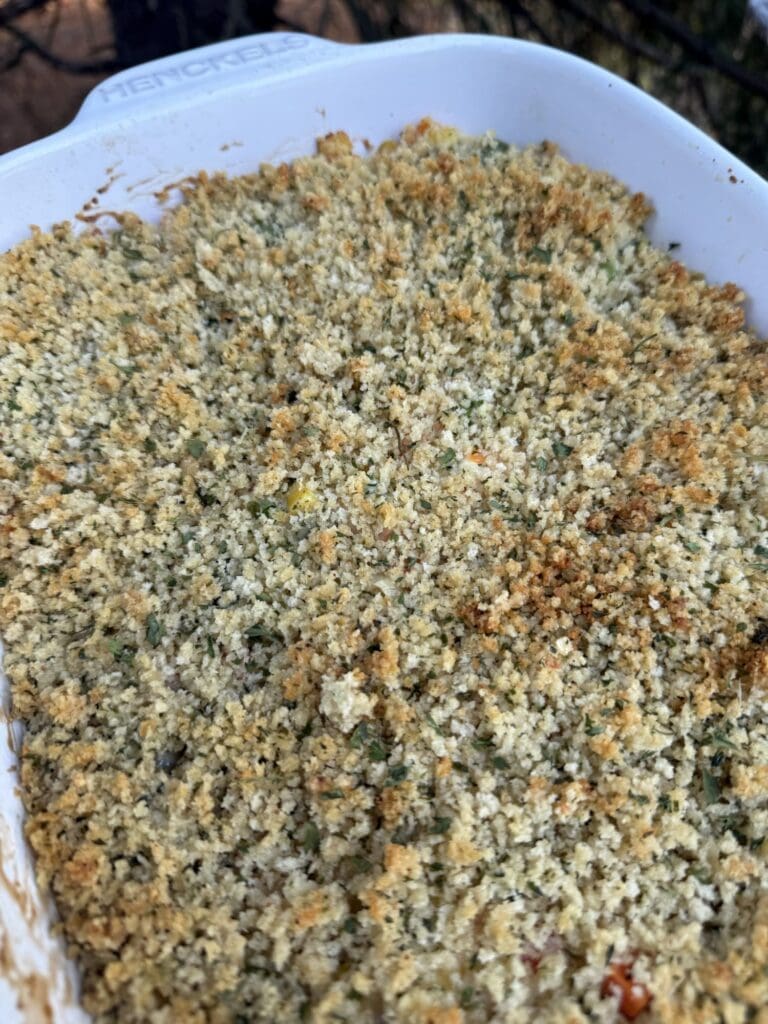
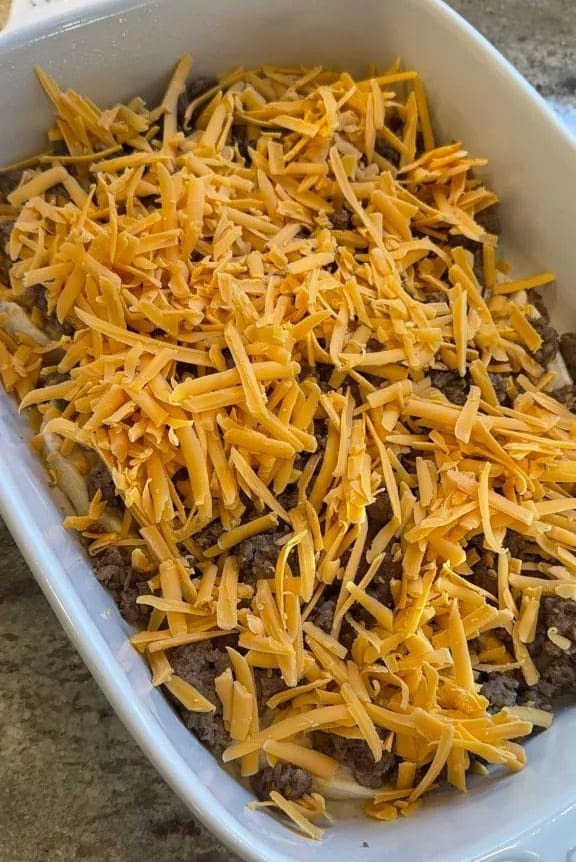
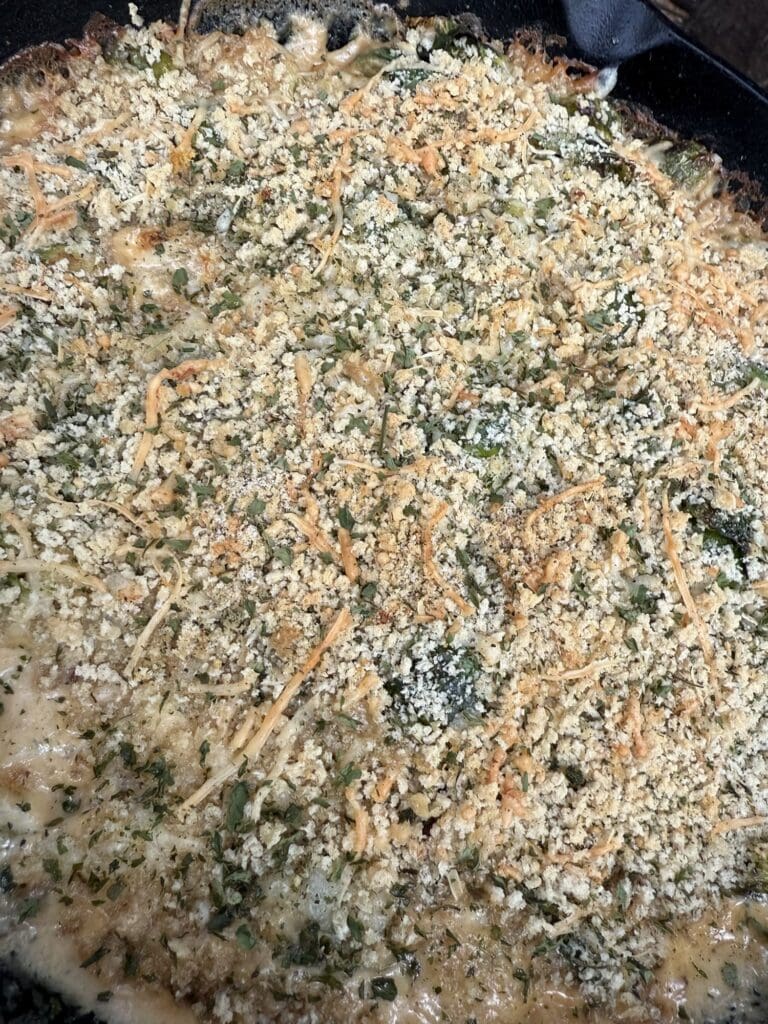
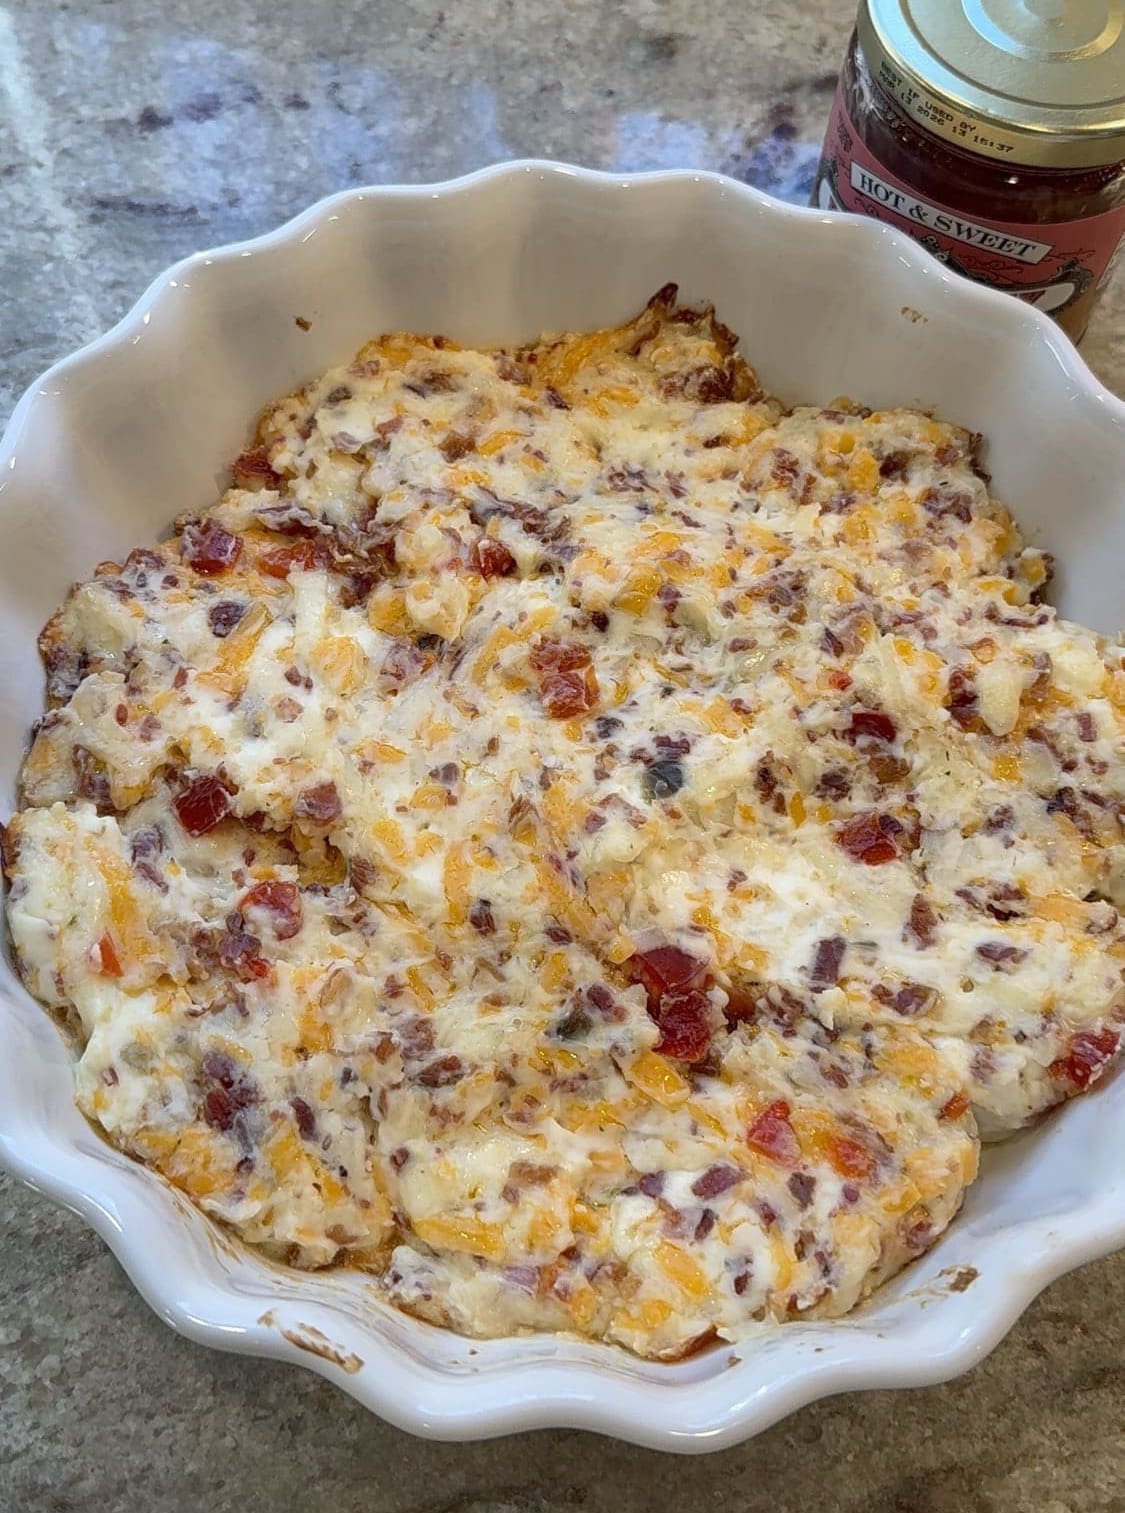
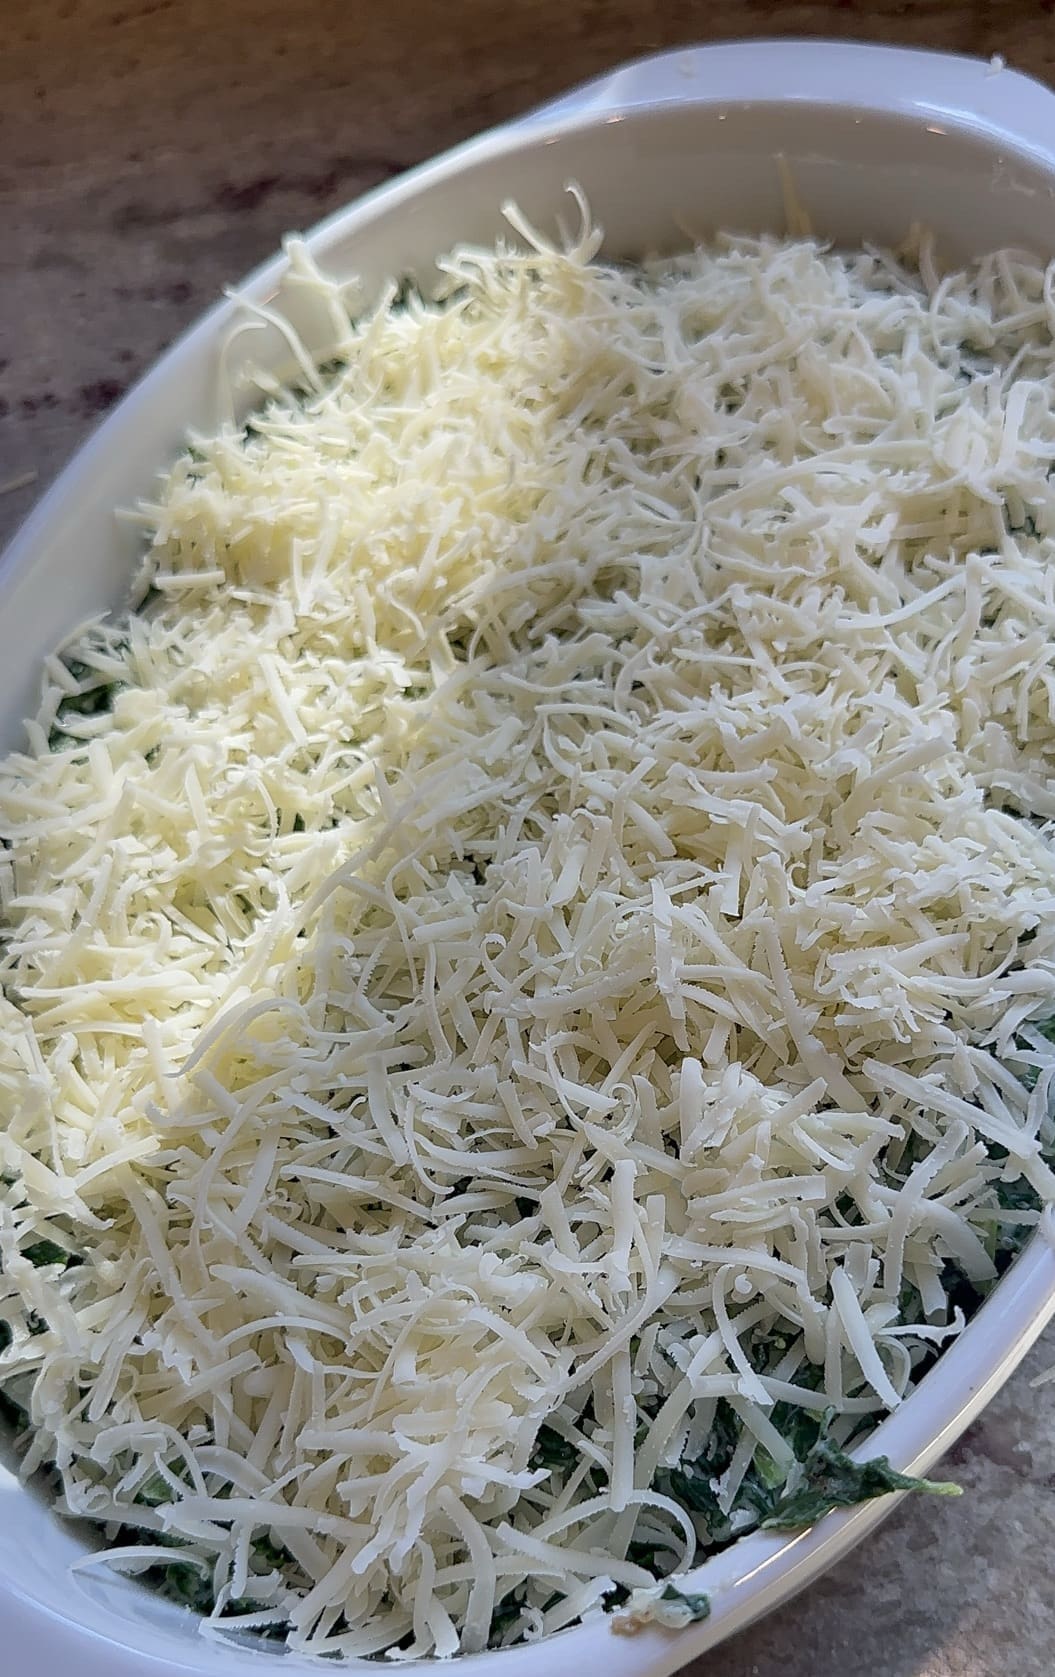
Then, sprinkle the top with a little more Parmesan cheese and the shredded Gruyère.
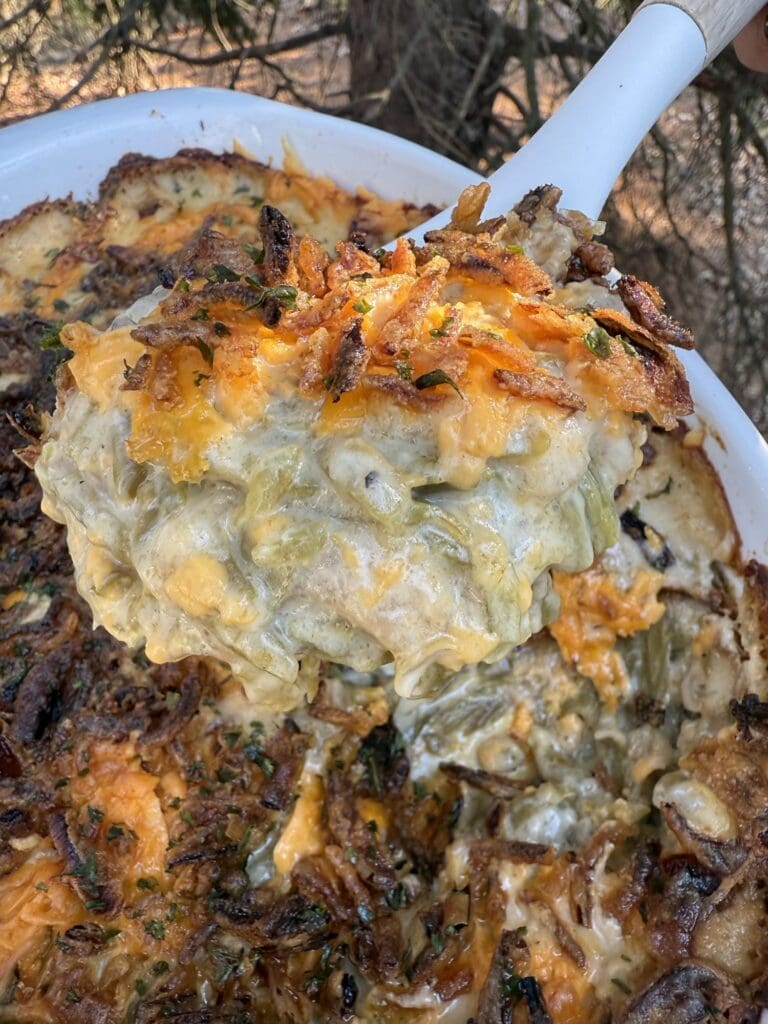
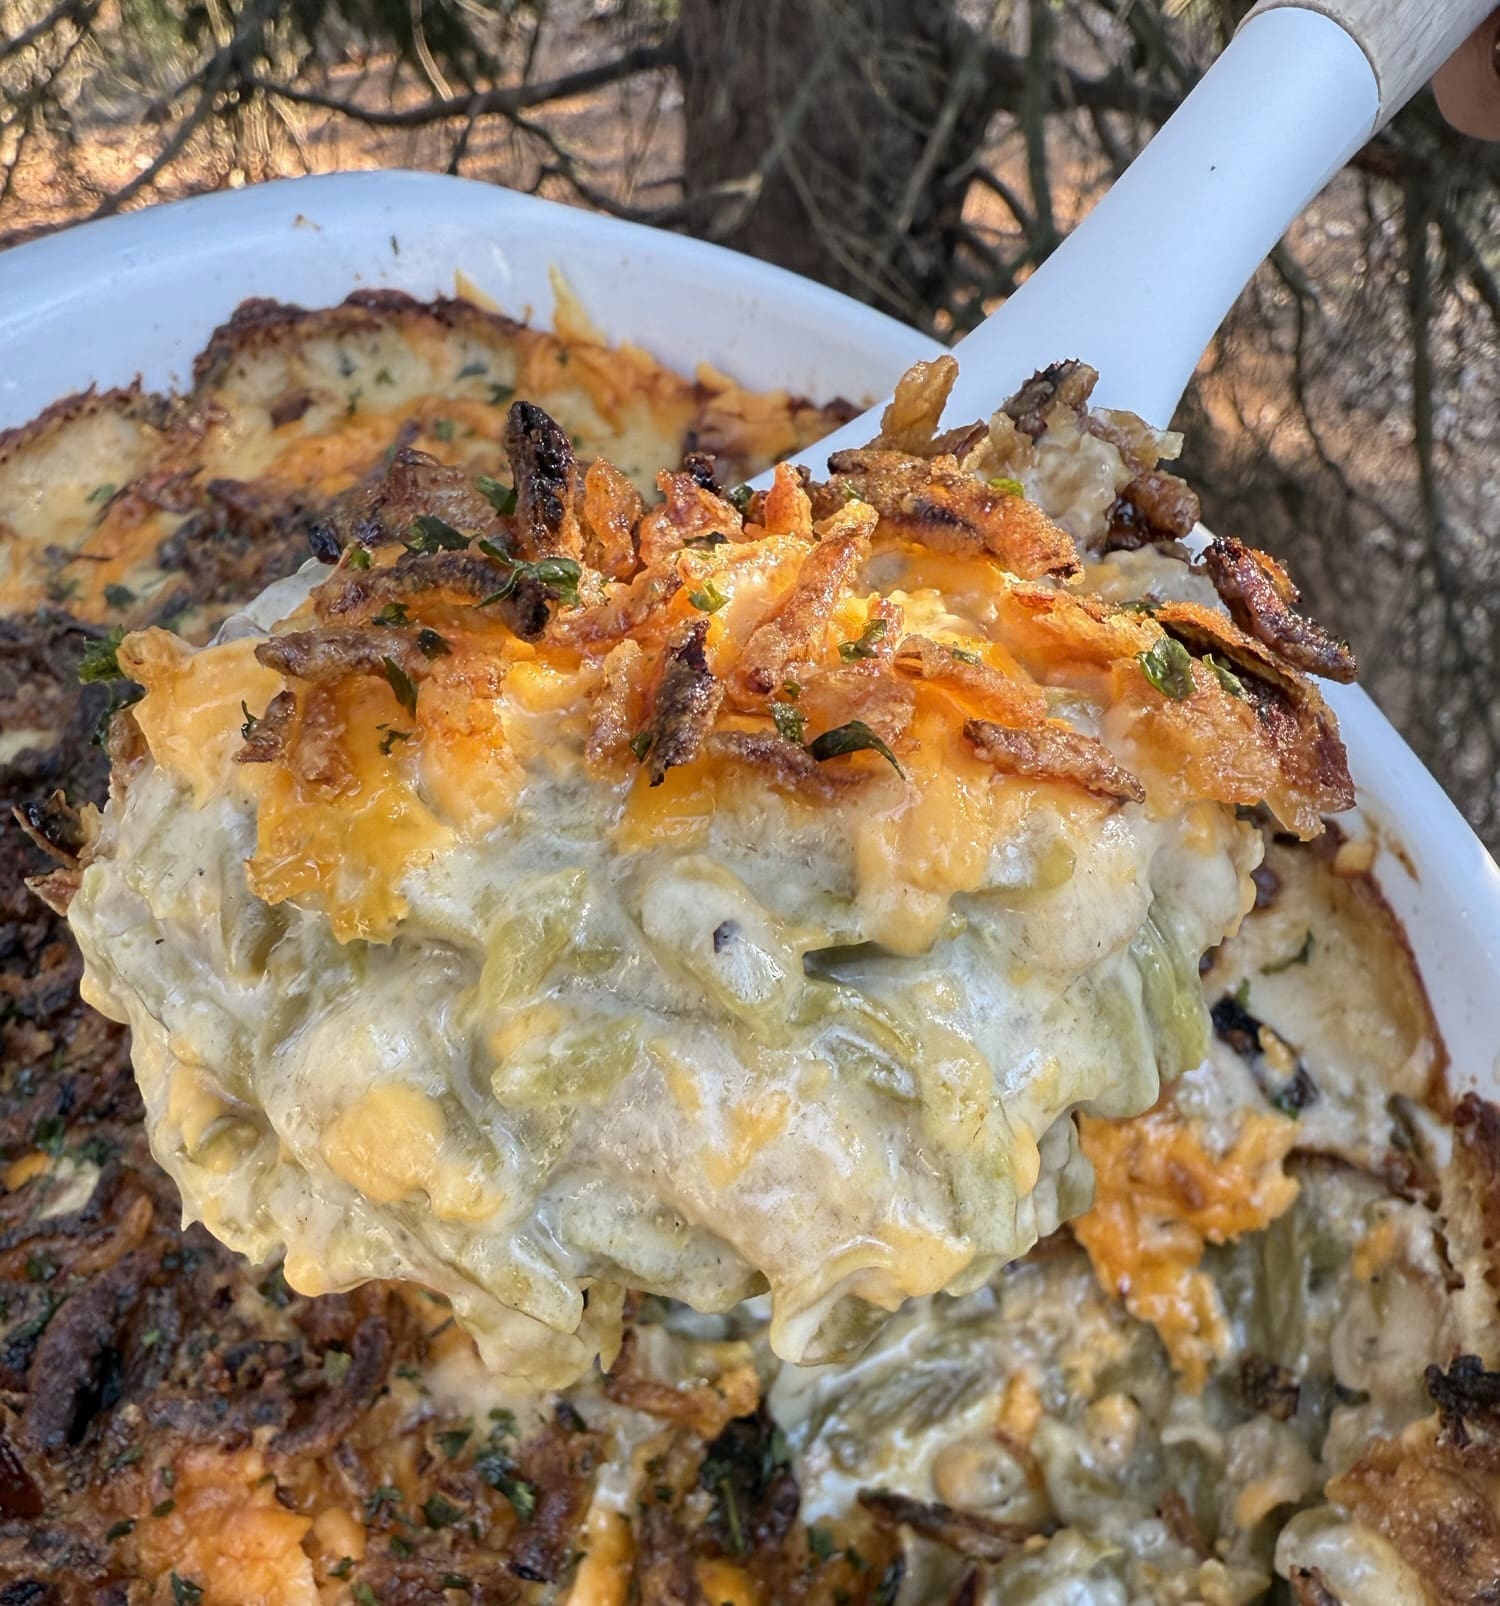
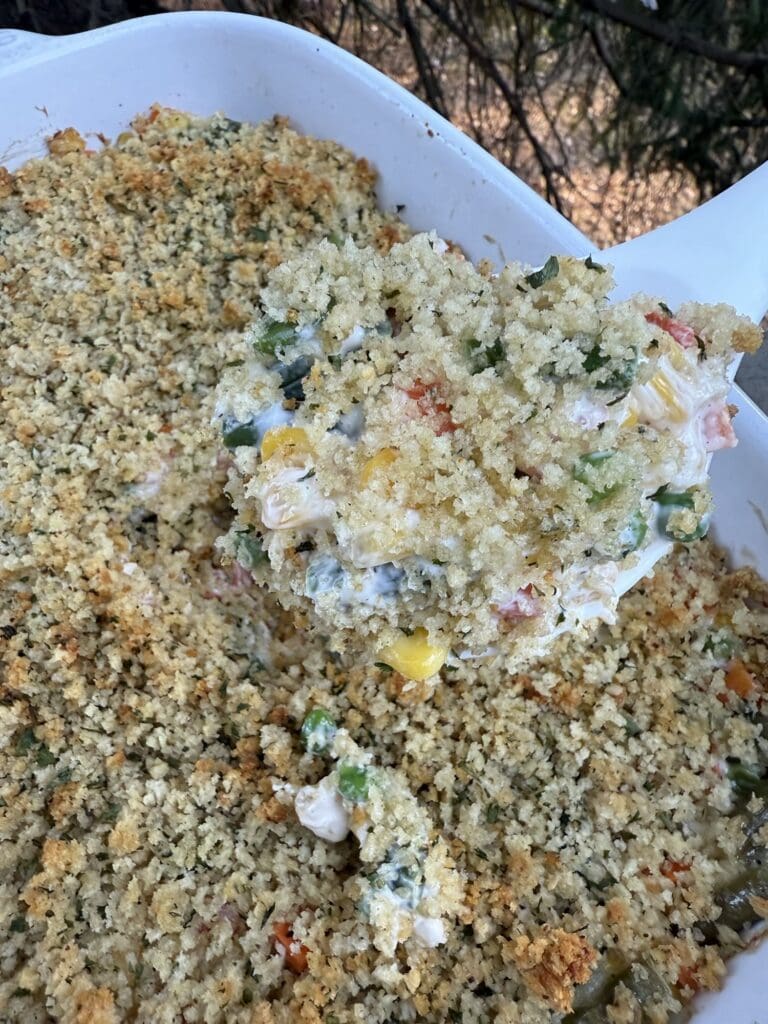
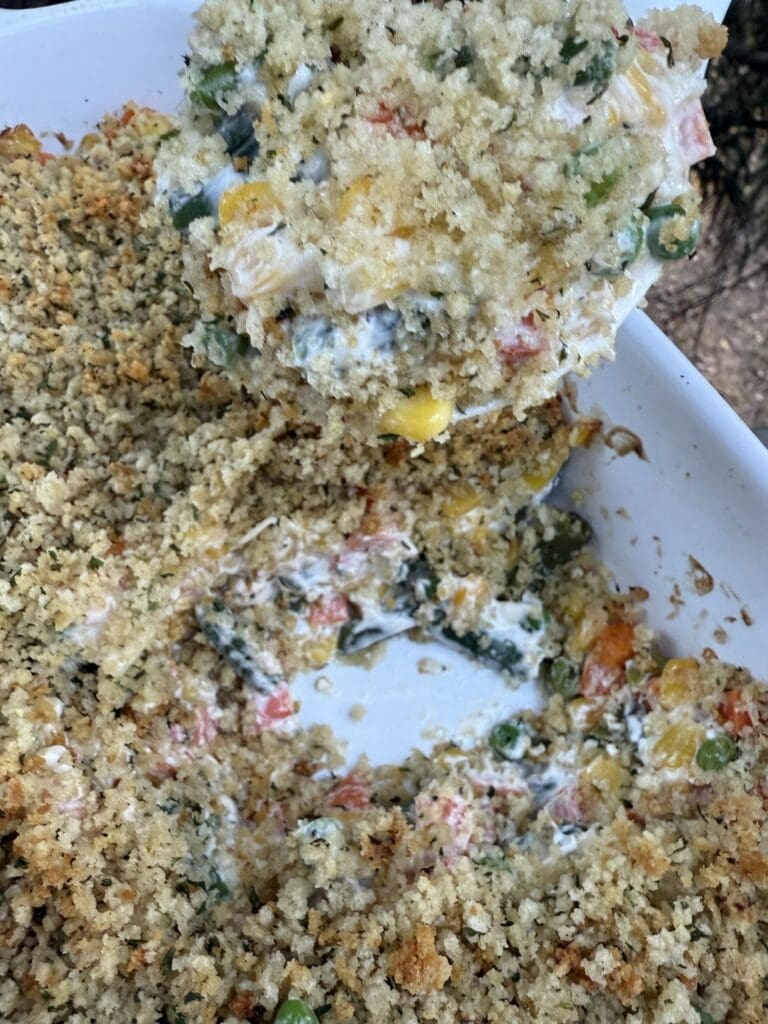
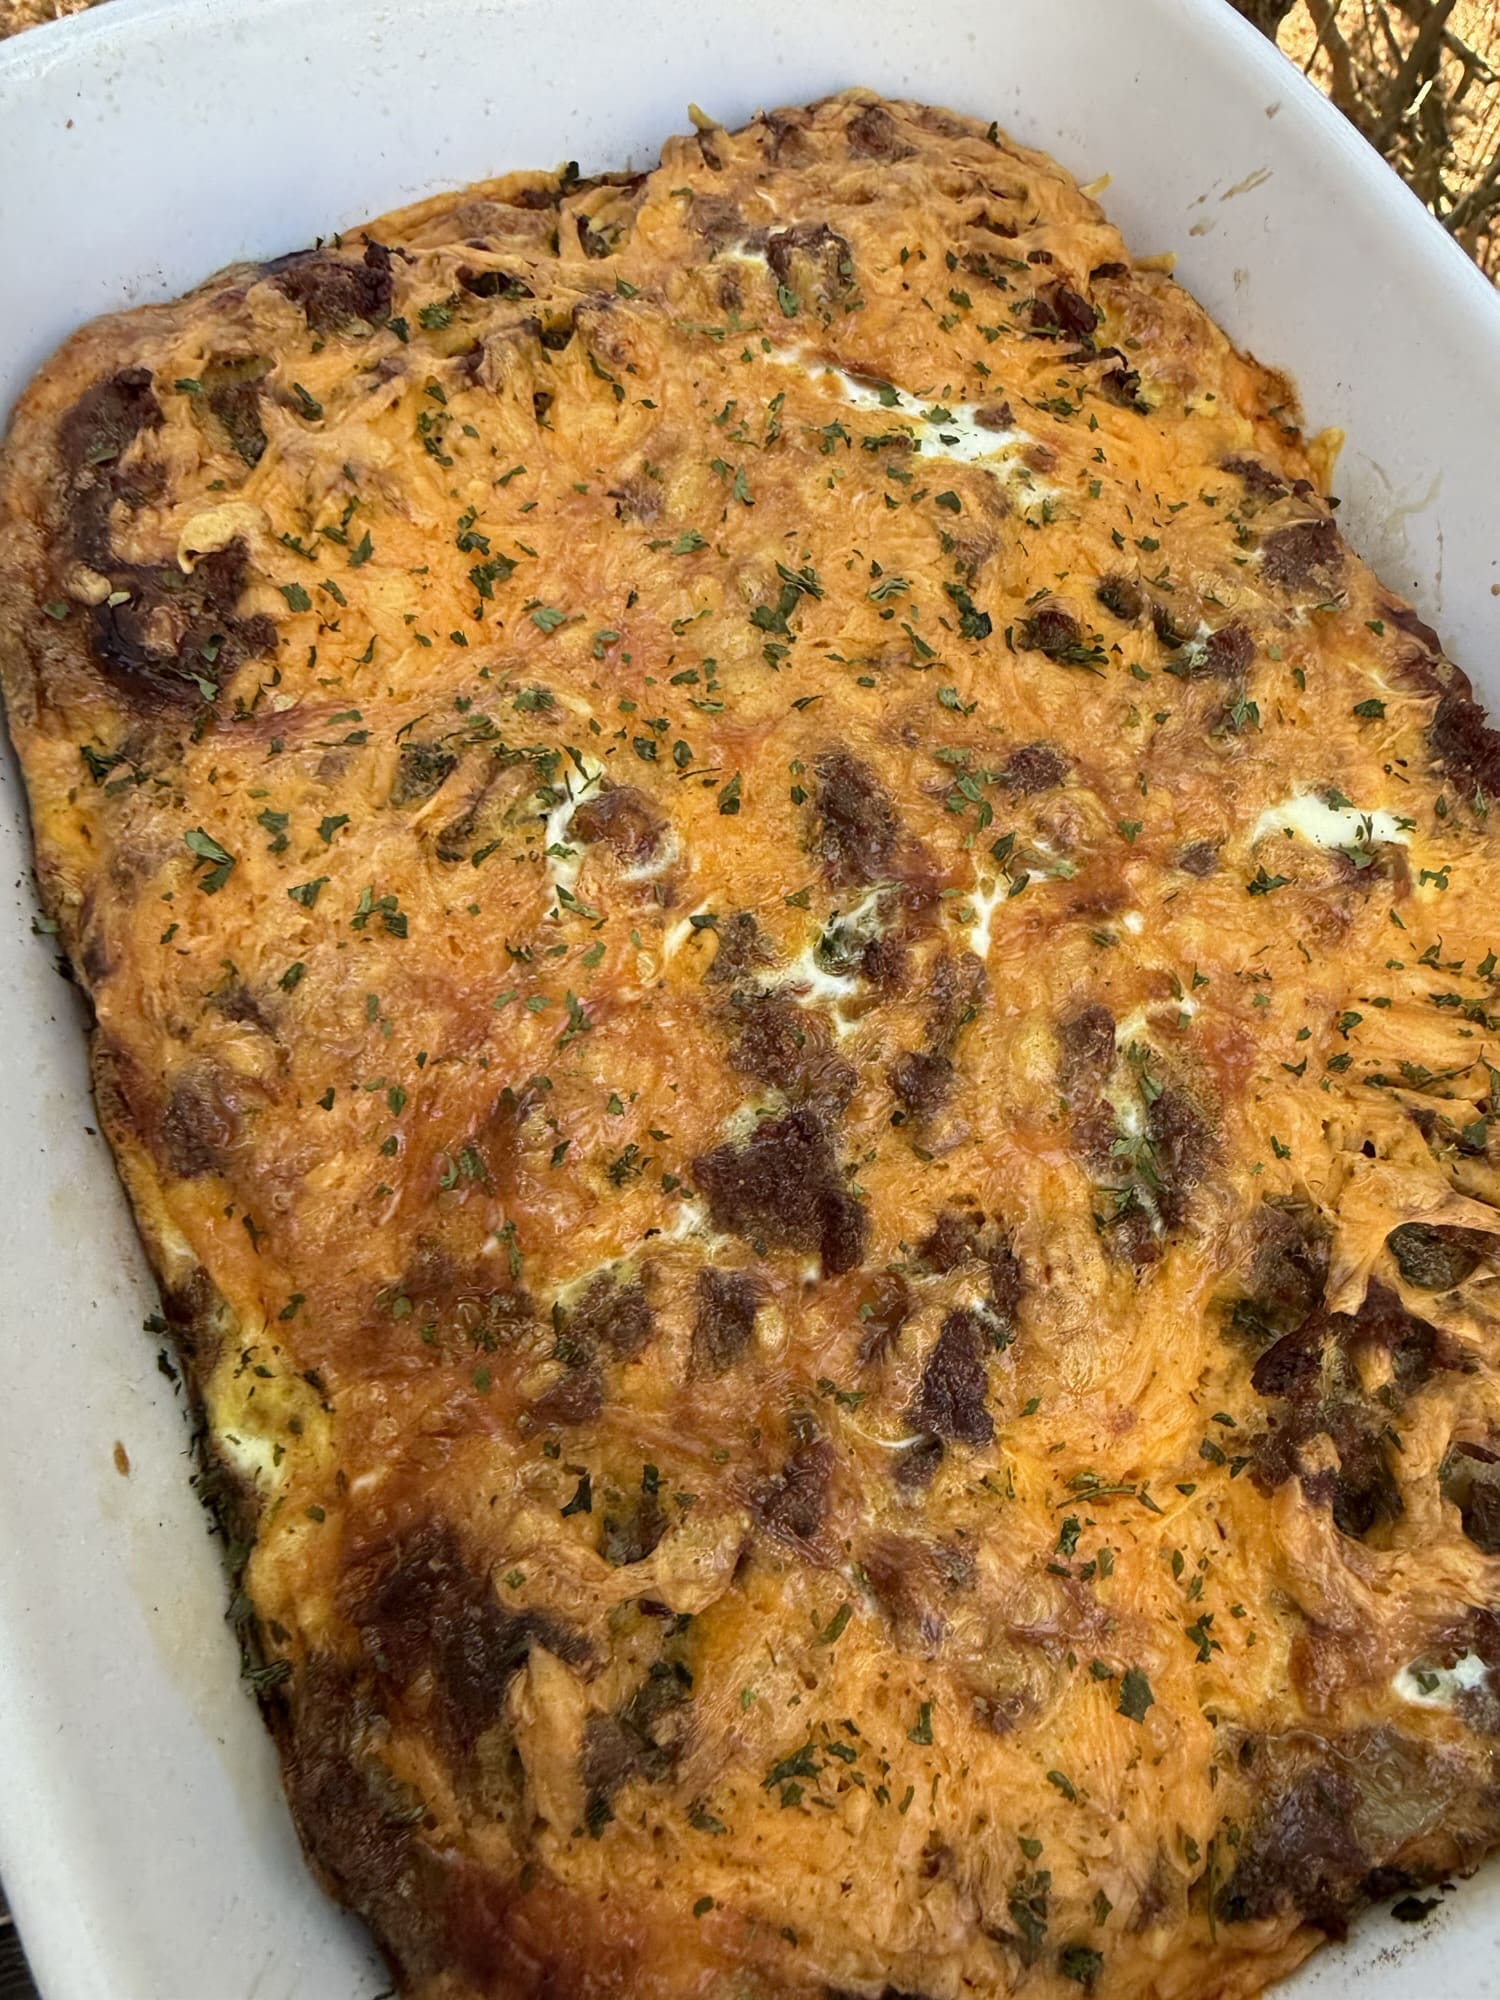
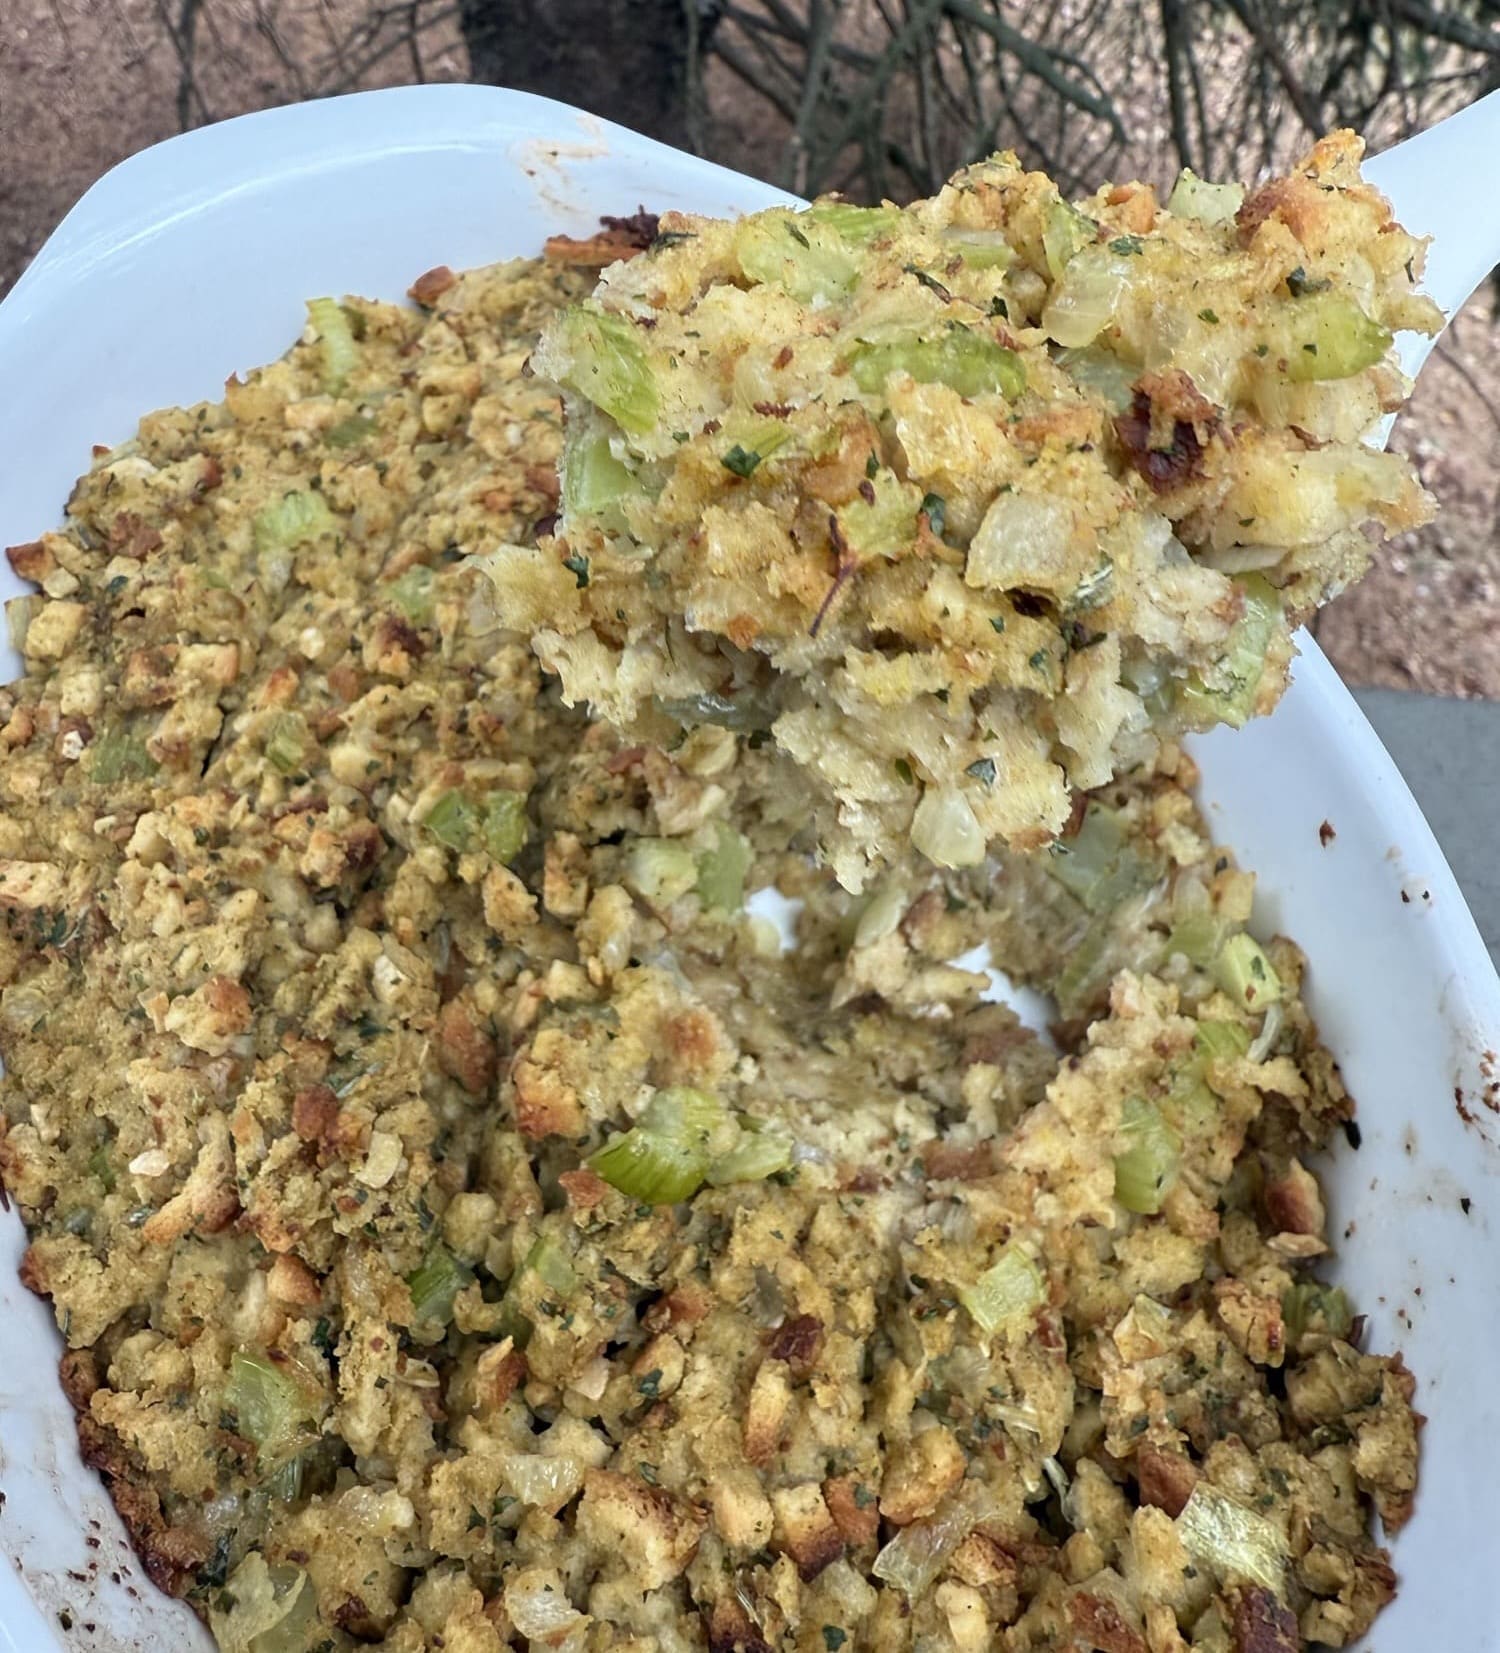
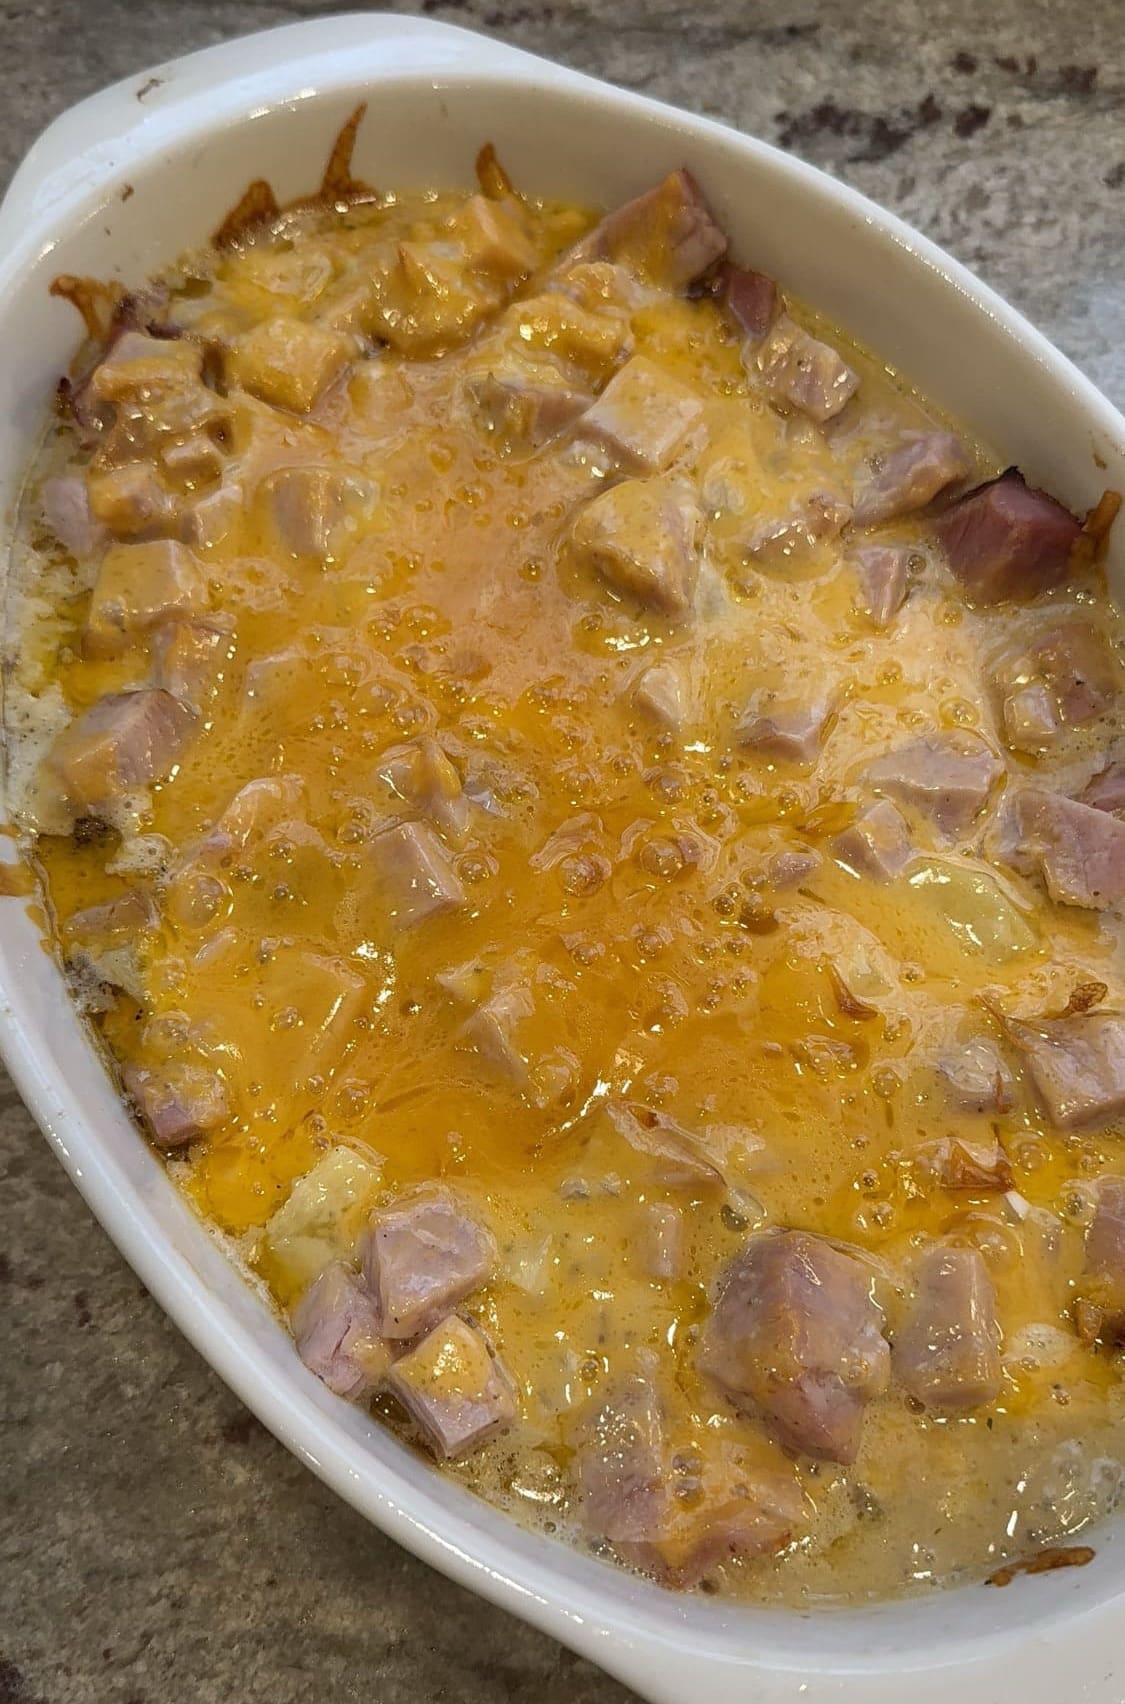
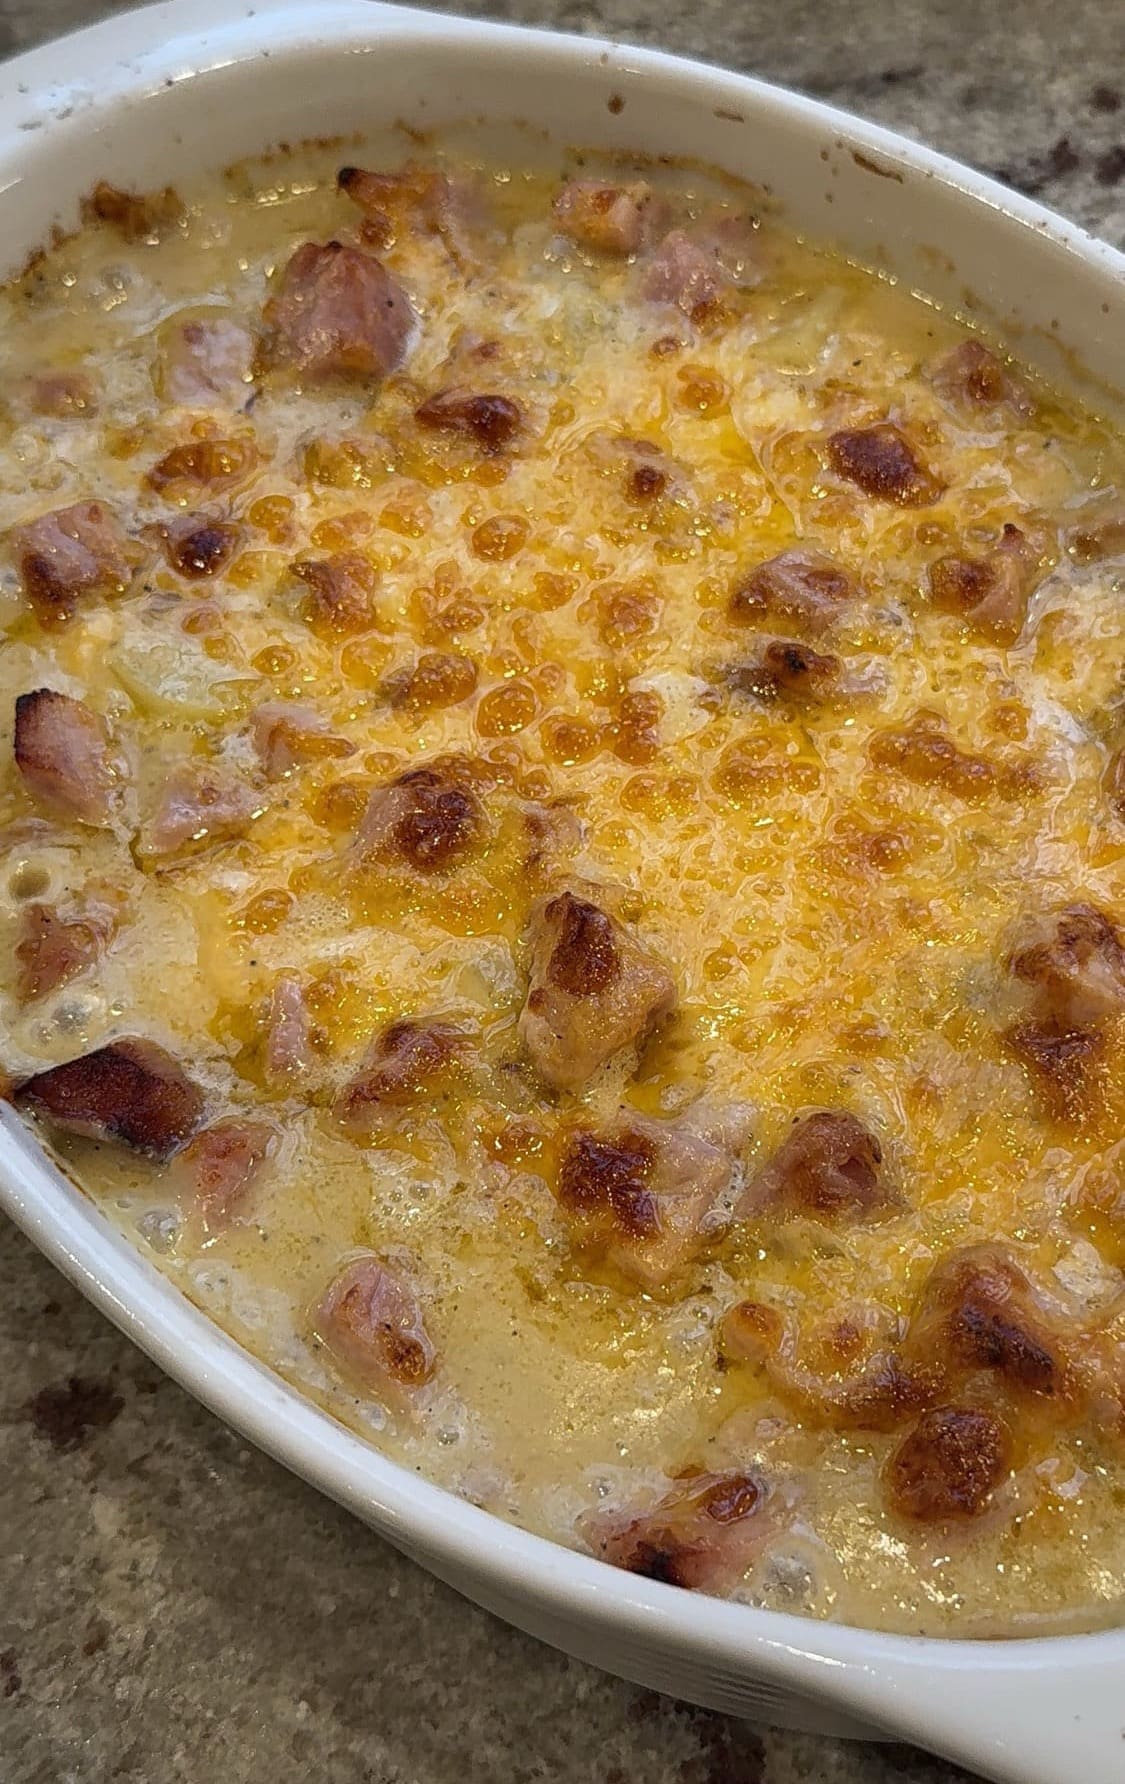
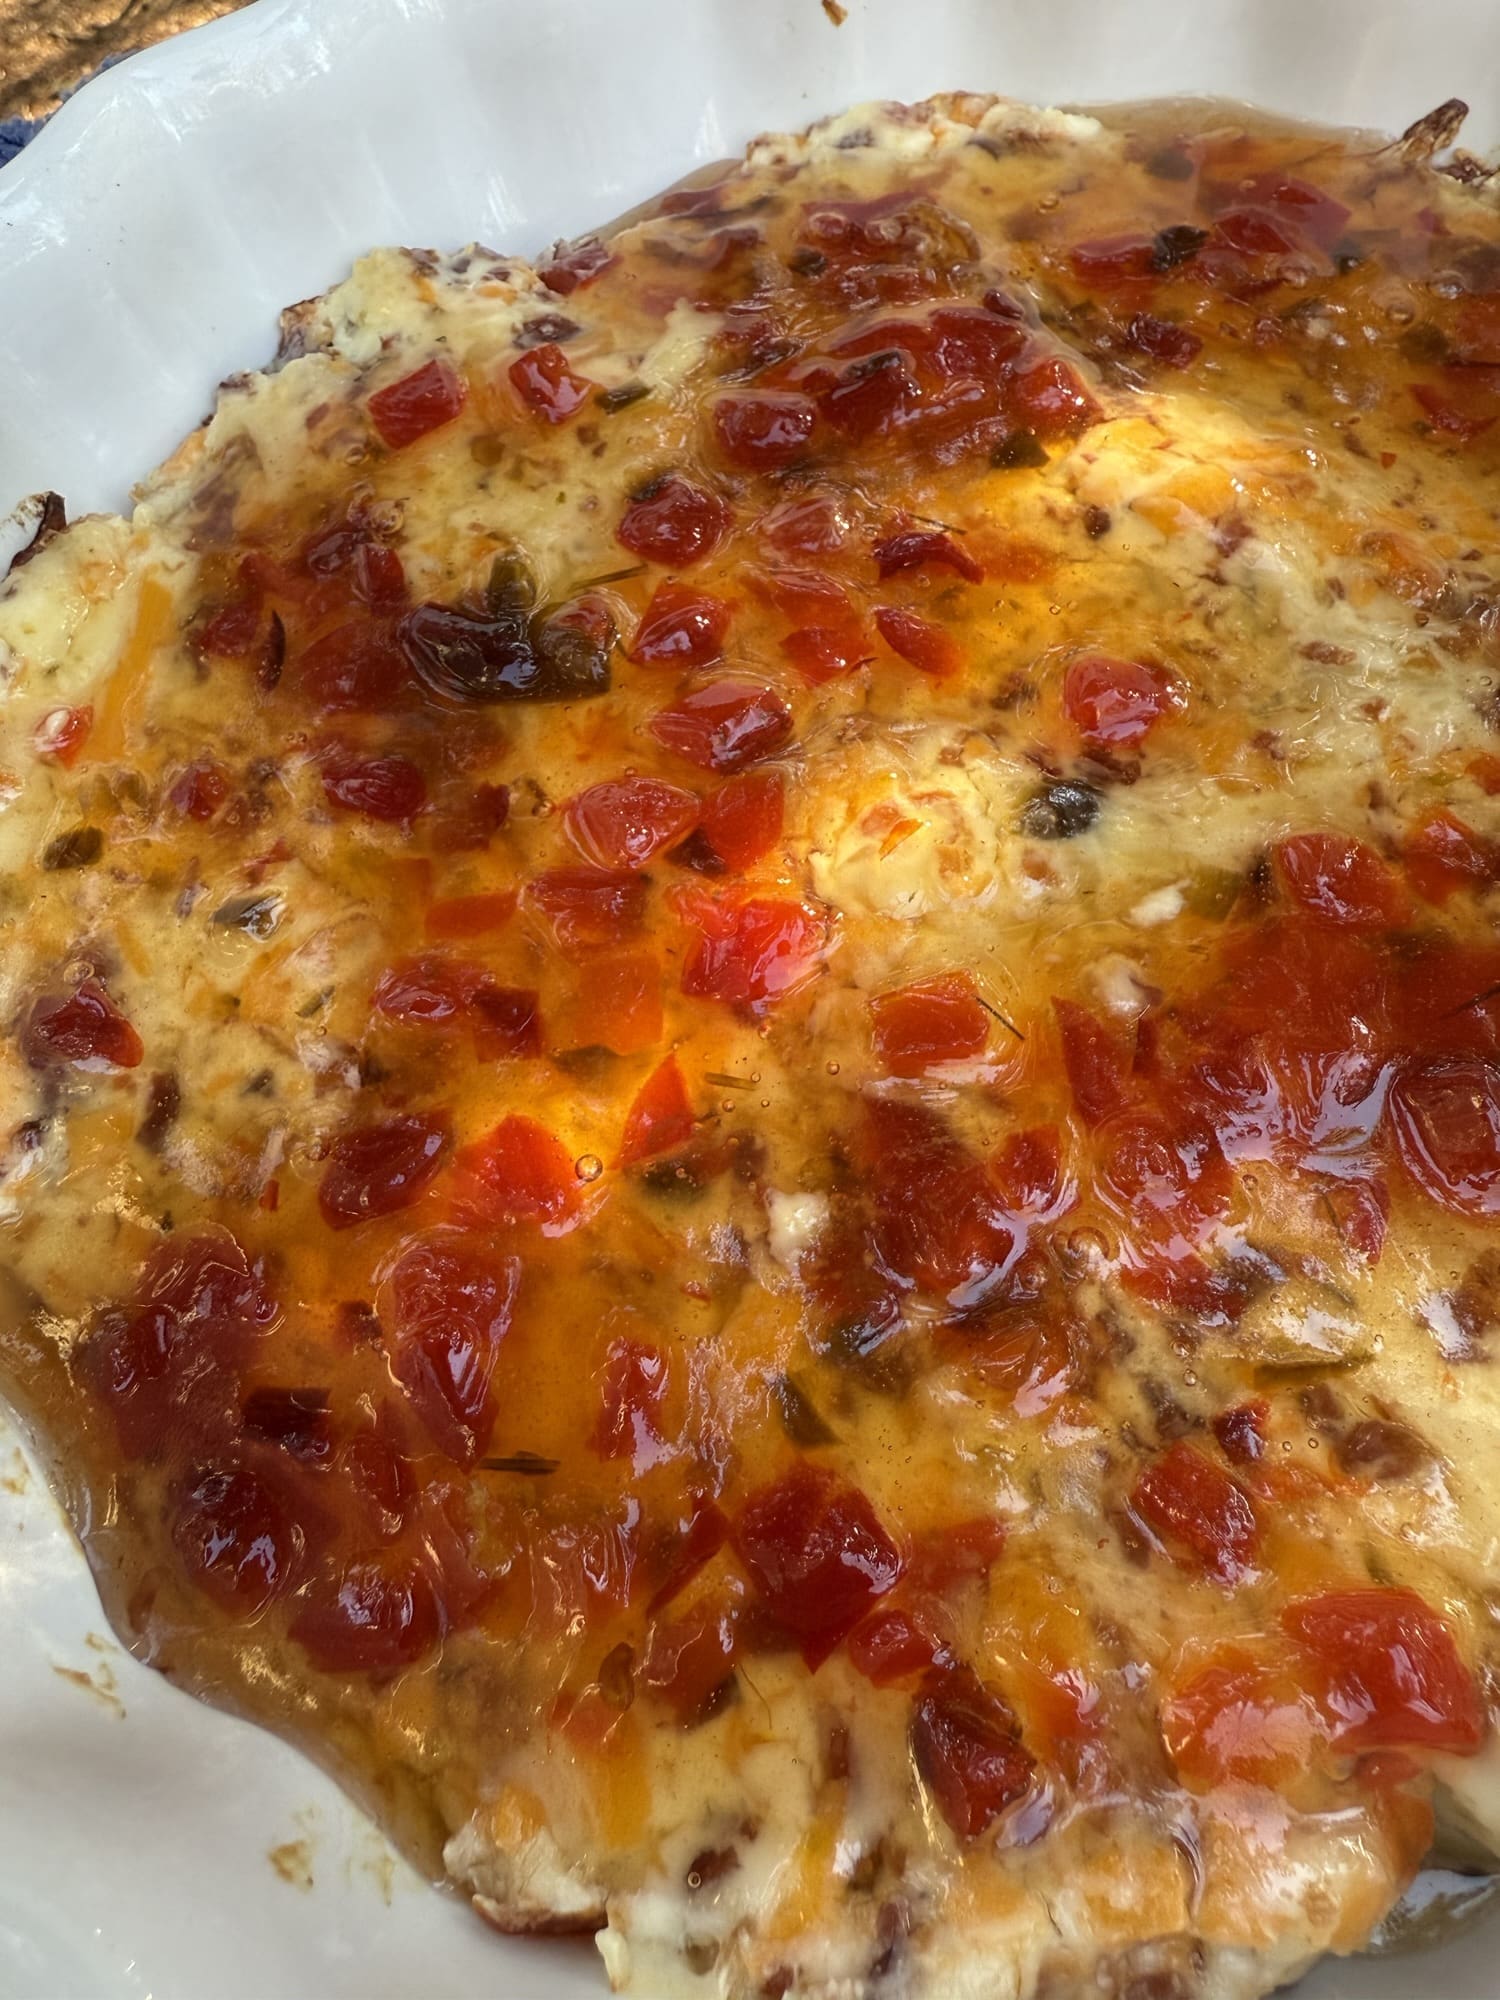
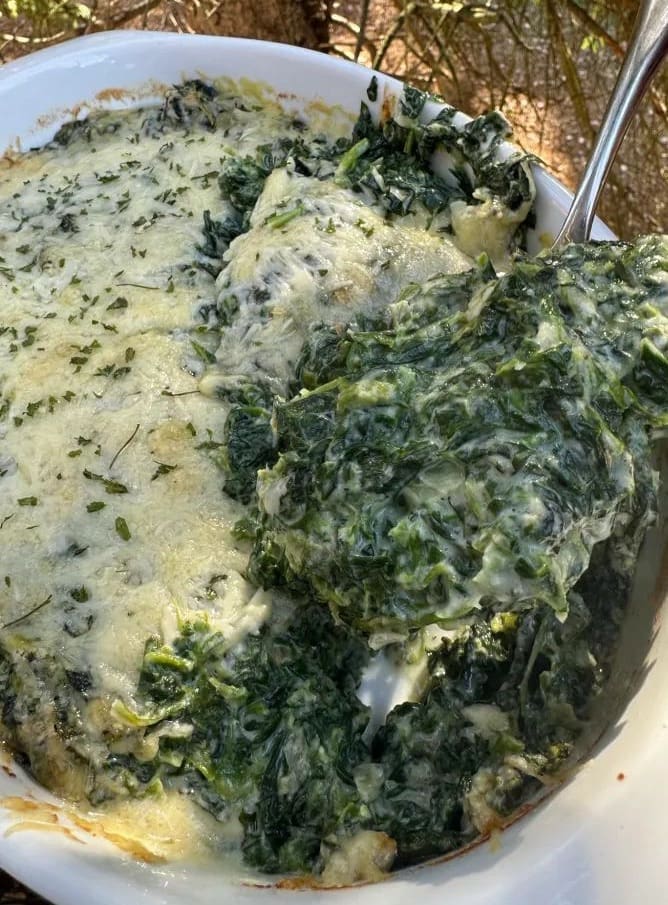
Next, place it into the oven for about 30 minutes or until the cheese is melted and the sides are hot and bubbly.
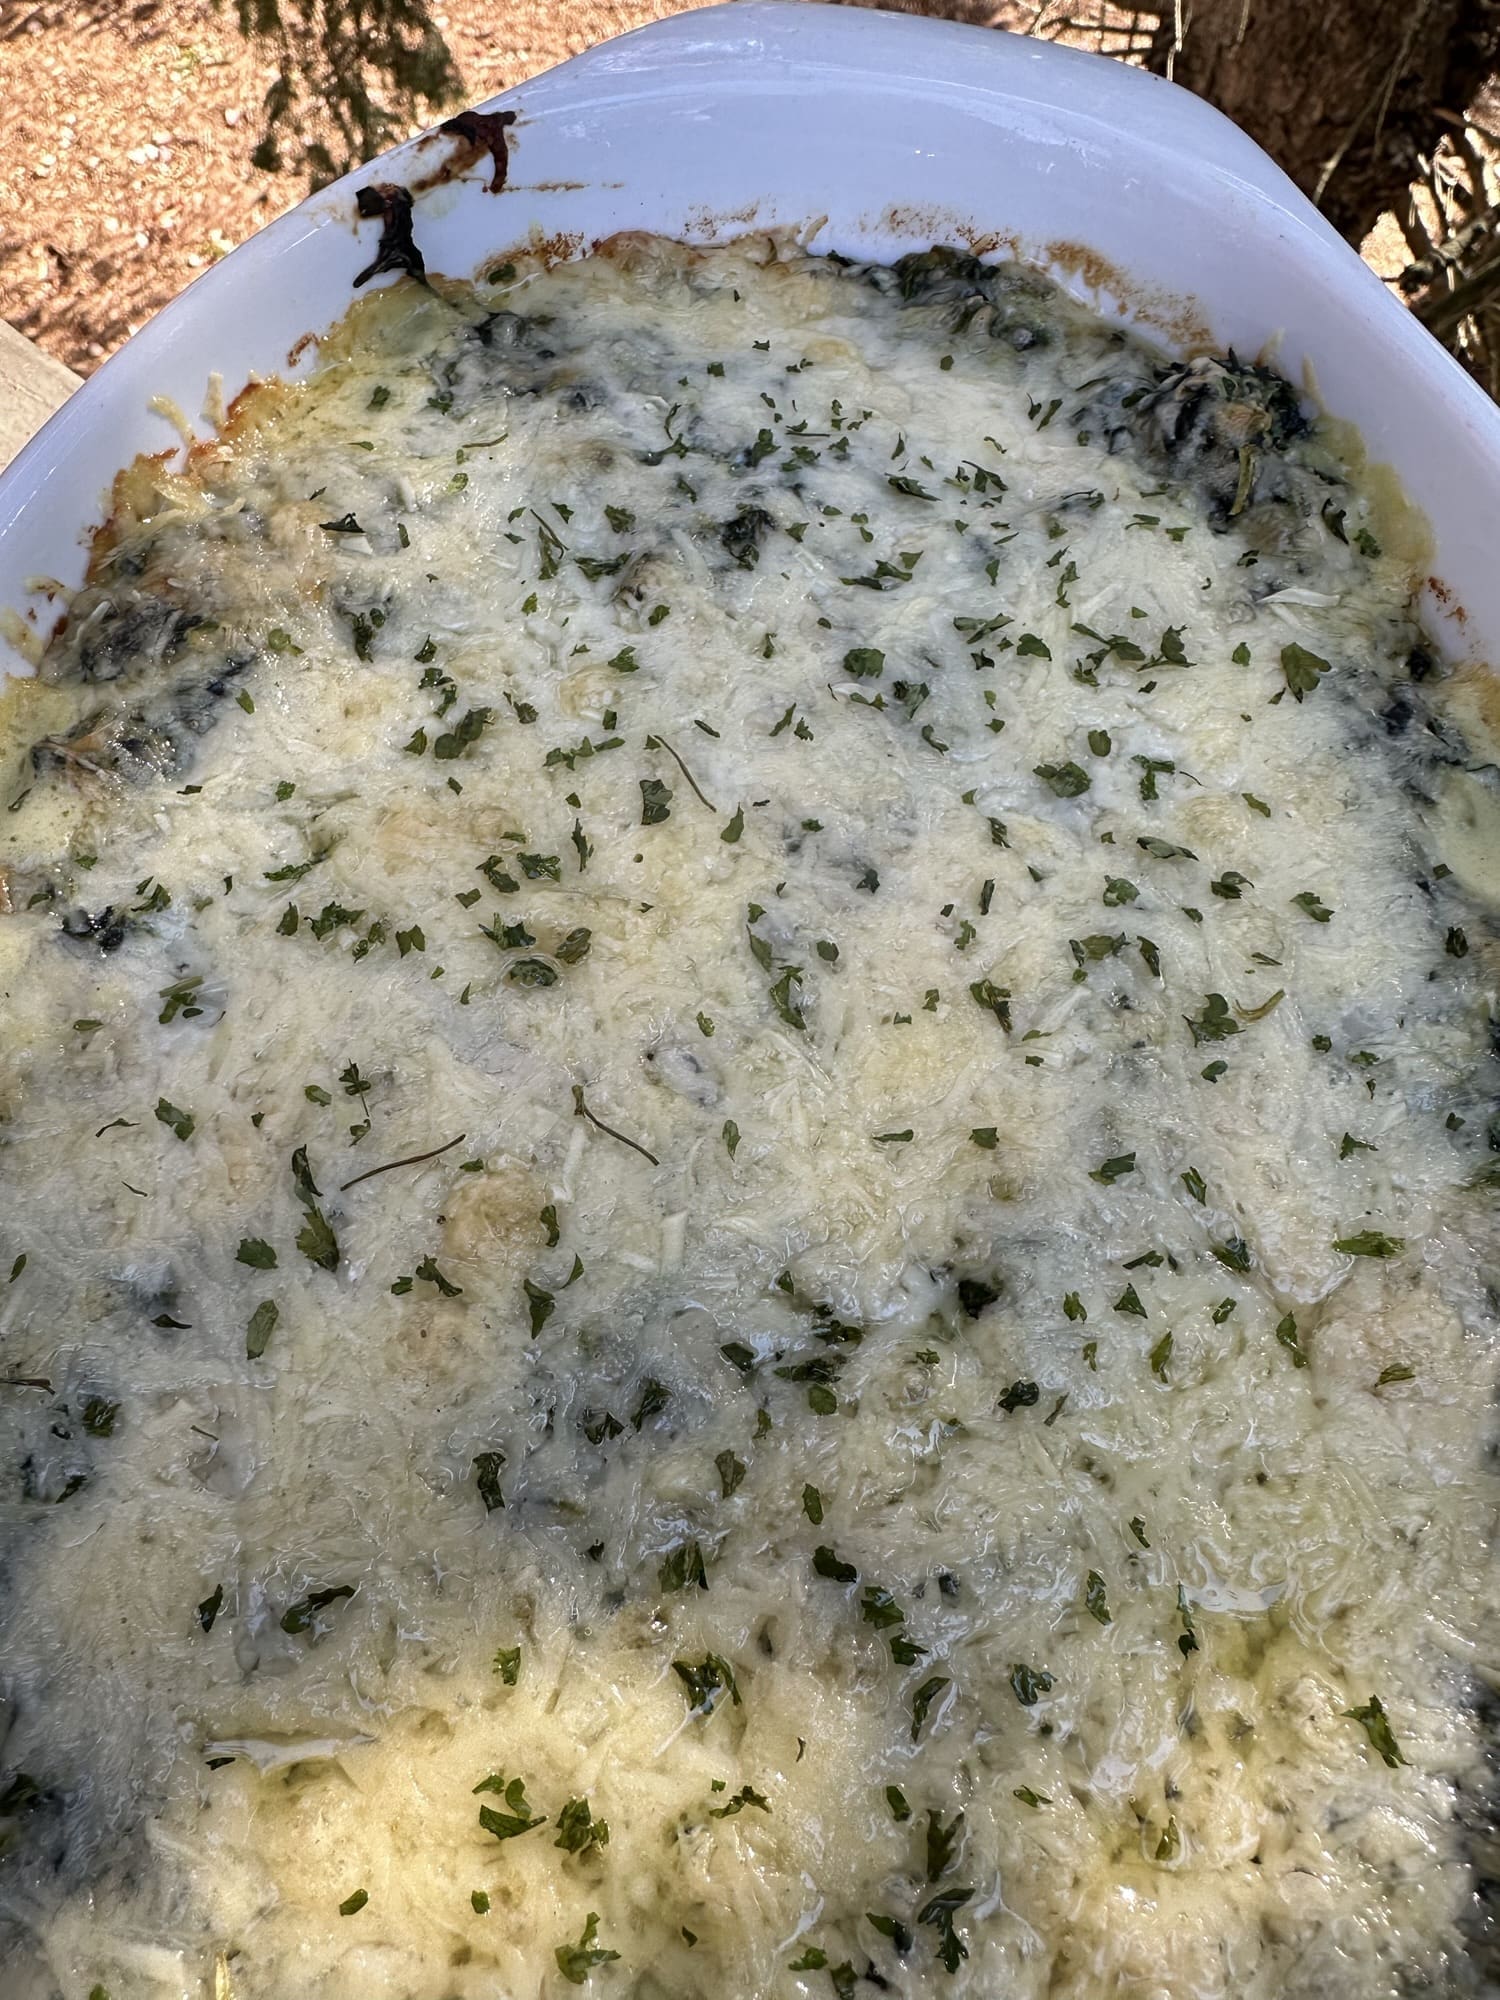
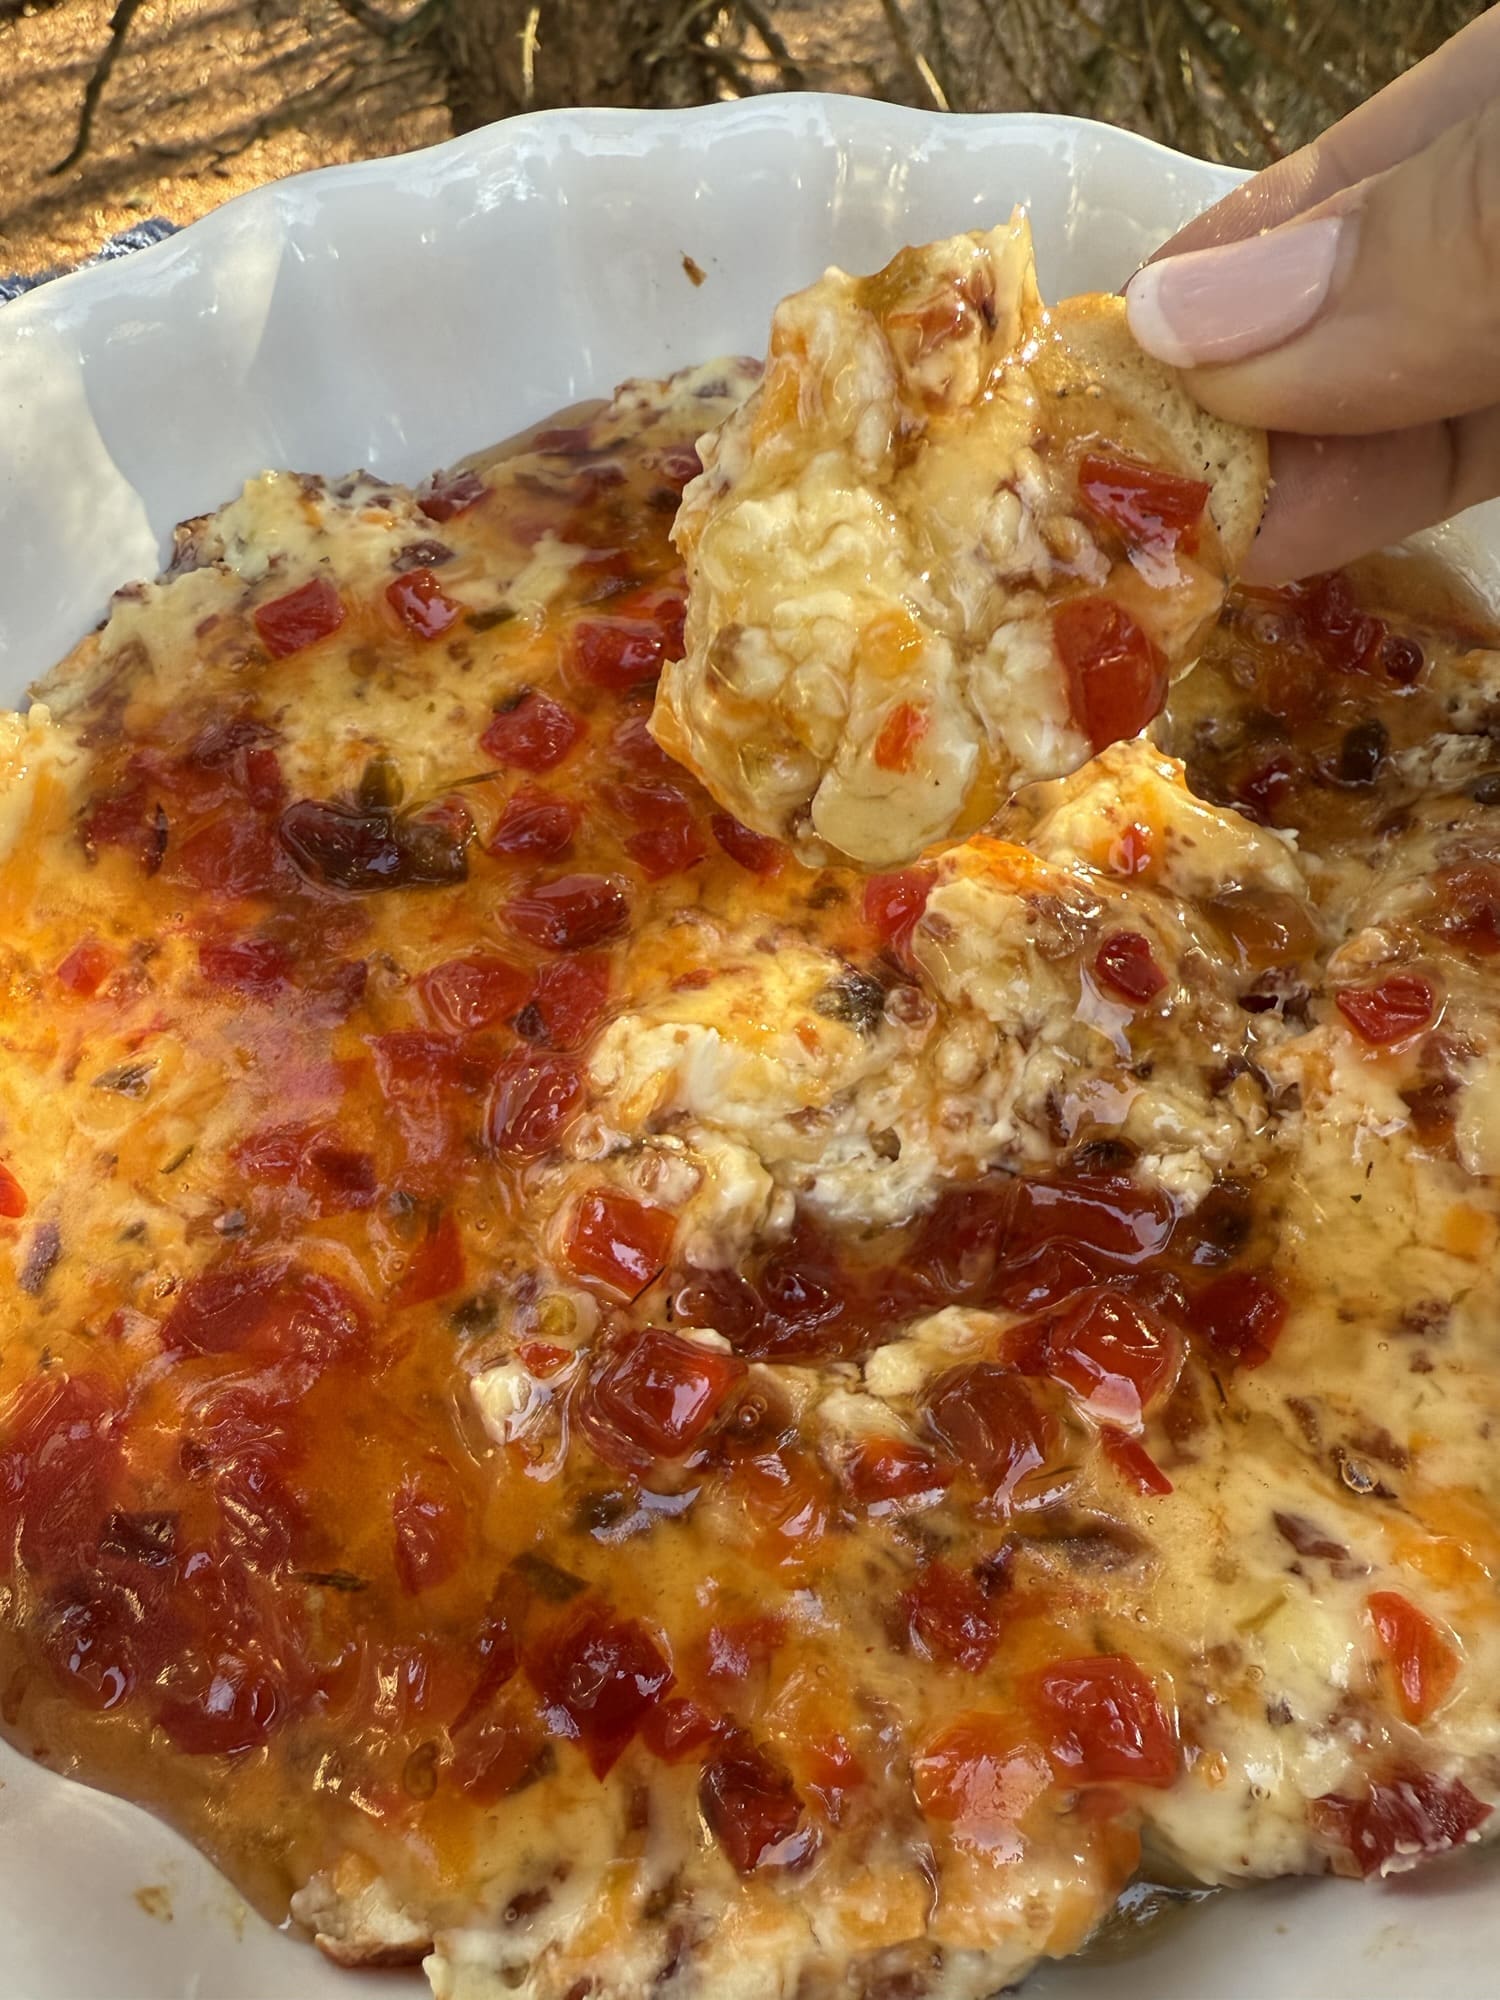
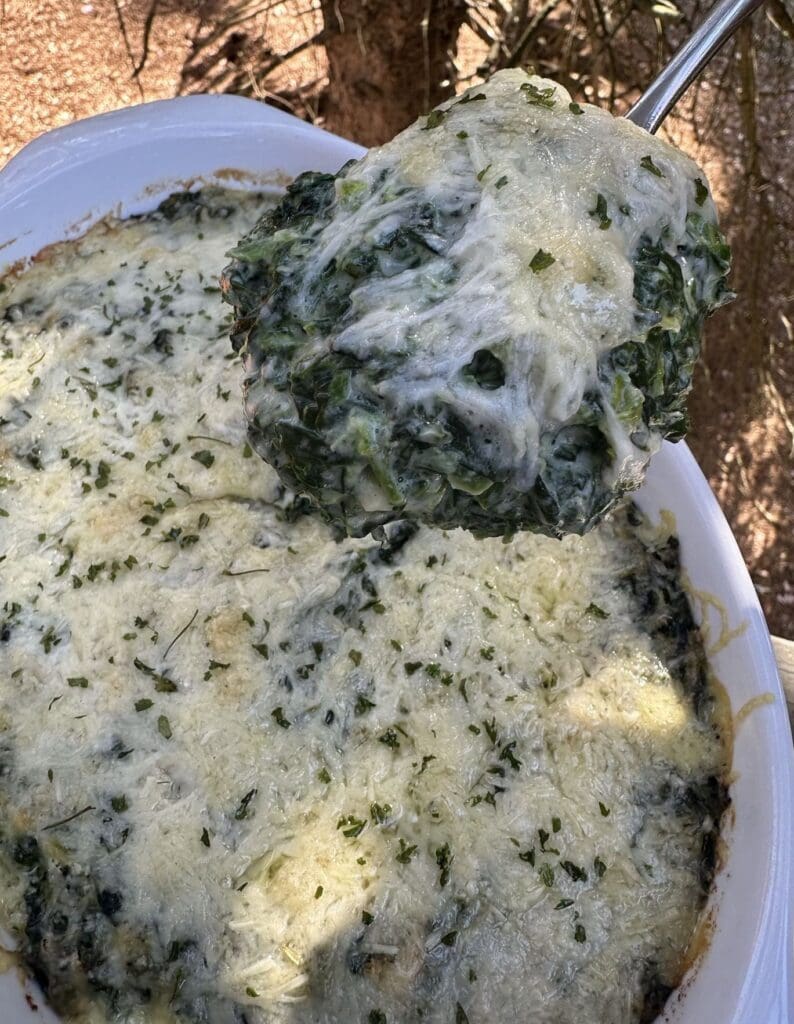
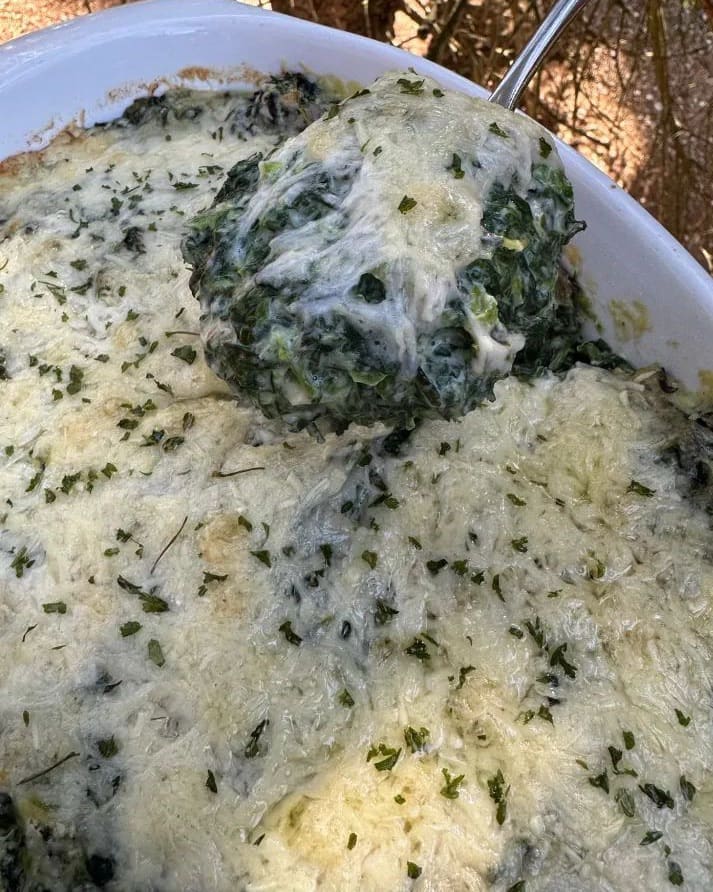
Finally, let it cool slightly, garnish with parsley (if desired) serve warm and enjoy.

Cheesy Spinach Gratin
Ingredients
- 1 small Onion, chopped
- ½ stick Butter
- ¼ cup Flour
- ½ teaspoon Nutmeg
- 1 cup Heavy Cream
- 2 cups Milk
- 5 10 oz Frozen Chopped Spinach (thawed and drained)
- 1 cup Parmesan Cheese
- Salt and Pepper to taste
- 1 tbs Garlic Powder
- 1 cup Gruyere Cheese
- Parsley, for garnish (optional)
Instructions
- Preheat the to 350°
- In a large skillet, sauté onion in butter over medium high heat until it is soft. This should take about 3 minutes.
- Whisk in the flour and nutmeg and let them cook together for about 2 minutes, whisking frequently.
- Slowly pour in the heavy cream and whole milk and stir it over medium heat until the sauce begins to thicken. This should only take about 3 minutes.
- Add in the spinach and season it with salt, pepper and garlic powder. Stir everything together until it’s evenly combined.
- Add ½ cup of the Parmesan cheese and stir in into the spinach mixture.
- Add the spinach mixture to a greased 9 x 13” baking dish and smooth it out until it’s flat and even.
- Sprinkle the top with the rest of the Parmesan cheese and the shredded Gruyère.
- Place it into the oven for about 30 minutes or until the cheese is melted and the sides are hot and bubbly.
- Finally, let it cool slightly, garnish with parsley (if desired) serve warm and enjoy.