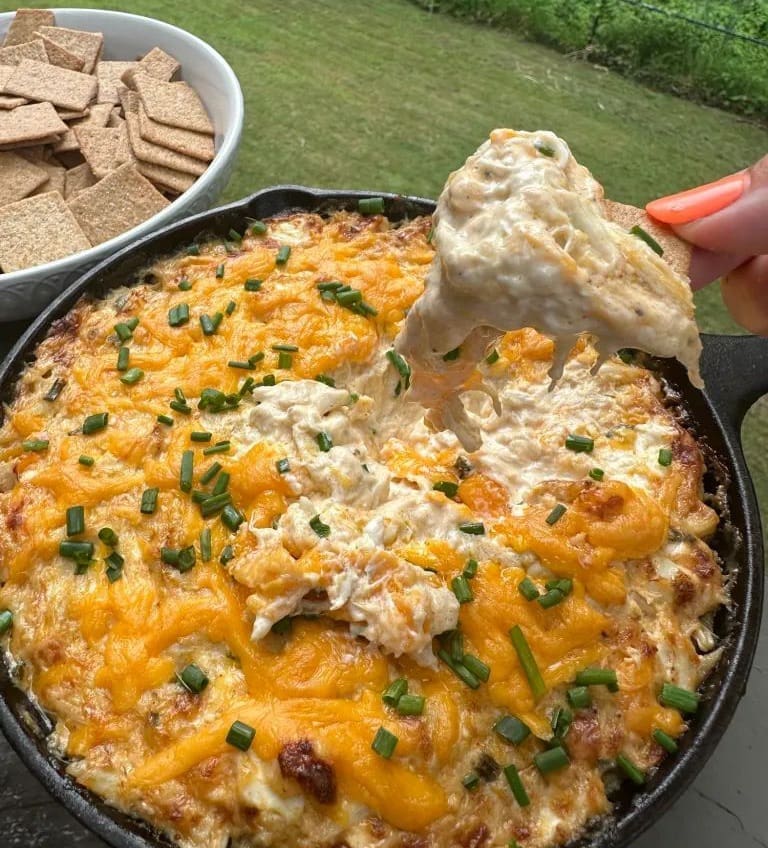
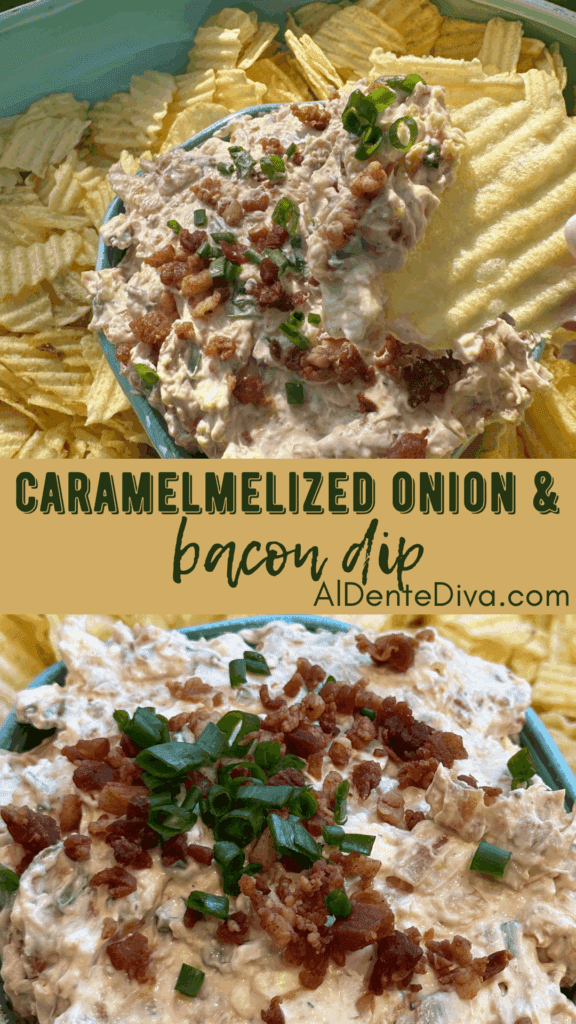
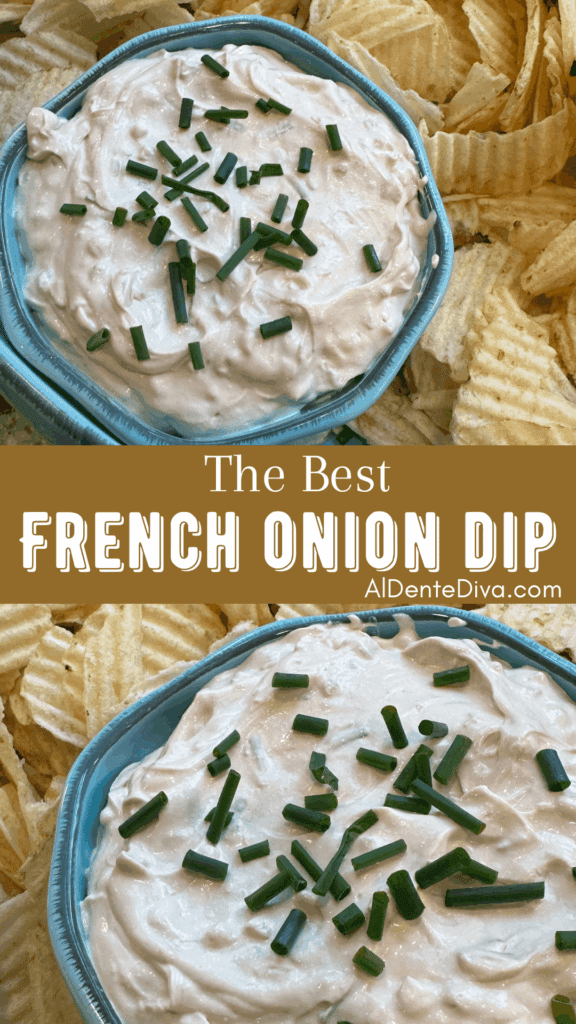
This is the best French onion dip recipe made with, dry onion soup mix, sour cream, mayonnaise and just a couple other simple ingredients
The Best French Onion Dip
From the recipe collection of Tara Ippolito
I am not even slightly joking when I say that this is the best French onion dip recipe, ever.
If you make this, plan on making it again and again because I promise you, you will.
This is the perfect dip recipe to enjoy at home, bring to BBQ’s, parties, football games or lounging by the pool.
This is a great appetizer or snack for any occasion that you can think of all year round.
The first time I served this as an appetizer for a family party I got so many compliments.
When I replied “thank you” to statements like “this dip is awesome” the next thing said out of their mouths were “Did you make this?!”
This dip is so good that my friends and family though it was purchased from the store.
That’s huge compliment if you ask me!
I hope you give this recipe a try. Because I know that you will love it just as much as my family and I do.
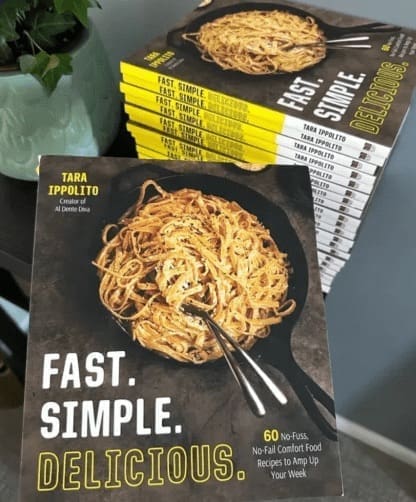
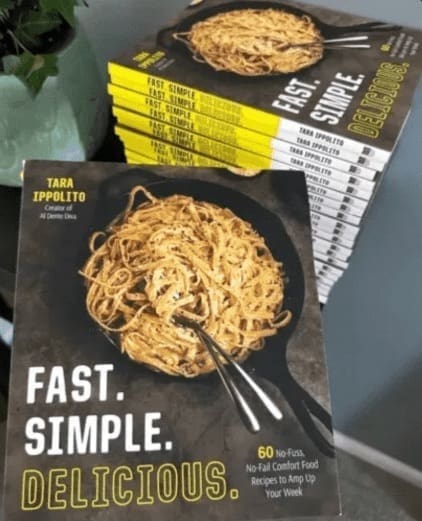
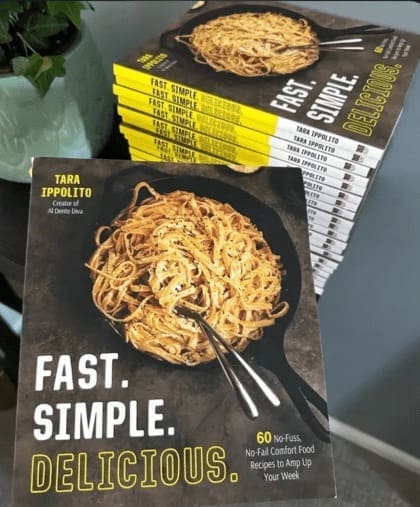
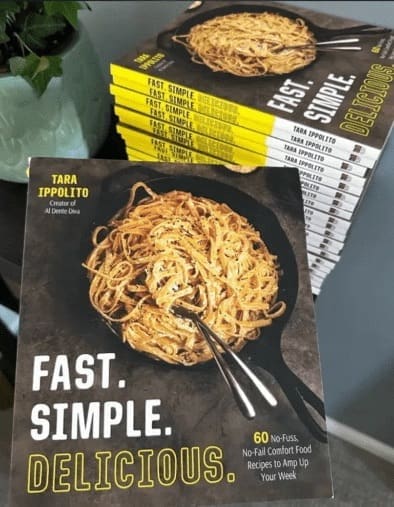
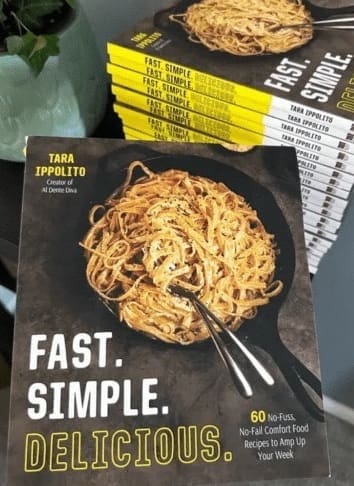
Fast. Simple. Delicious.
Did you know that I have a cookbook called Fast Simple Delicious?
It’s 60 no fuss no fail comfort food recipes perfect for busy weekday dinners.
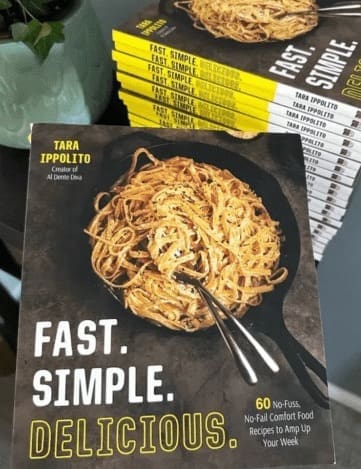
Click HERE to order your copy or click the 3 lines in the top right corner and click “Book”. Thank you for the support.
The best French onion dip variations
This recipe is amazing as is, but here are a few ways to switch it up if you’d like to.
- Low carb- if you’d like to keep this recipe low carb, you absolutely can do that. Instead of serving this dip with potato chips, eat it with carrot and celery sticks instead.
- Potato Chips- I love the wavy or ridged potato chips for this dip but regular potato chips, corn chips or any kind of cracker would be great, too.

- Sour cream- Greek yogurt can be replace the sour cream if you’d rather not use that.
- Cream Cheese- whipped cream cheese can be used to replace the sour cream and mayonnaise if you’d like.
Other easy dip recipes
If you like super easy to make dip recipes like this one, here are some others that I know you’ll love, too.
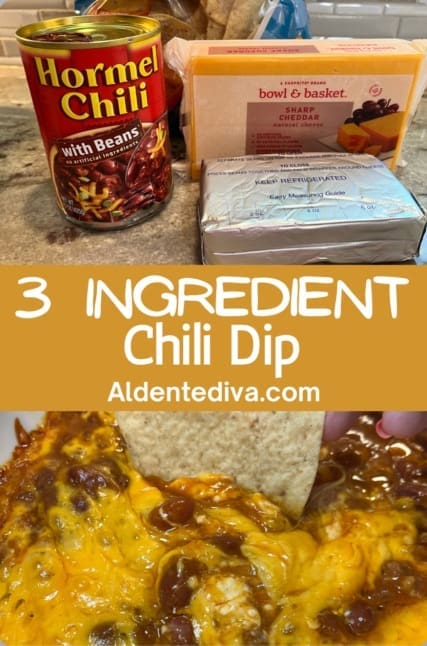
- 3 ingredient chili dip
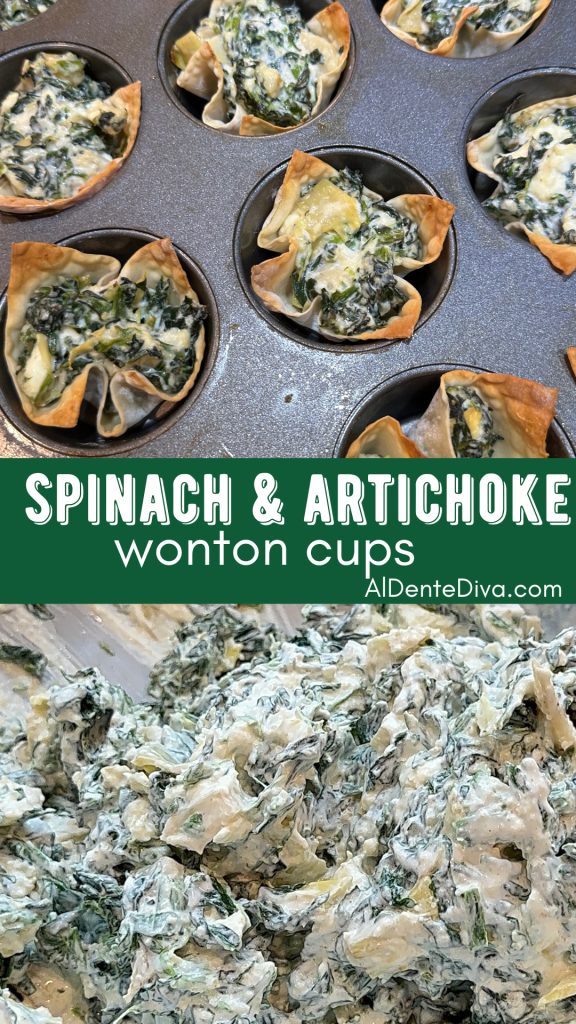
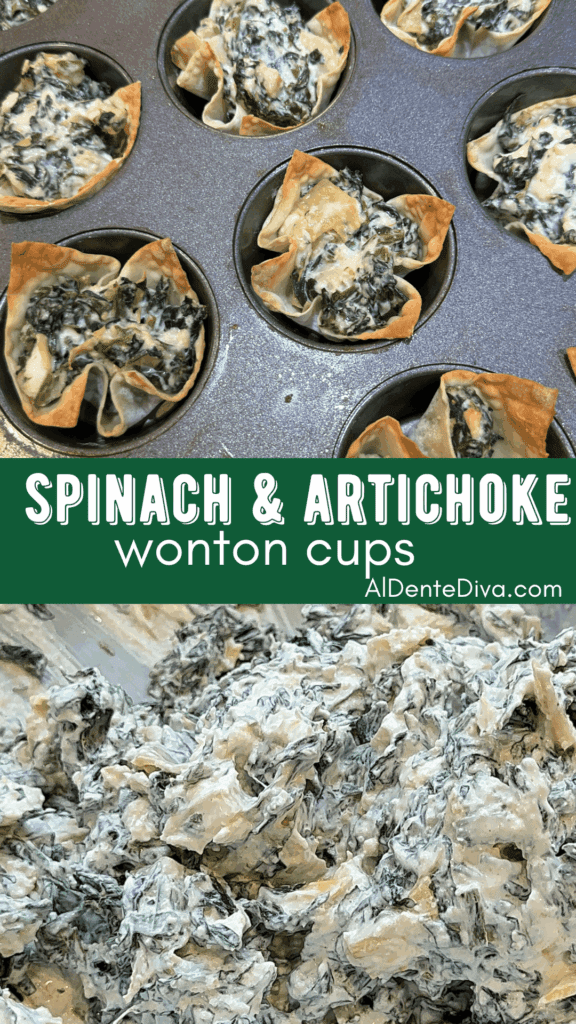
- Copycat Applebees spinach & artichoke dip
- Knorr spinach dip
- Roasted garlic bread dip
The best French onion dip ingredients
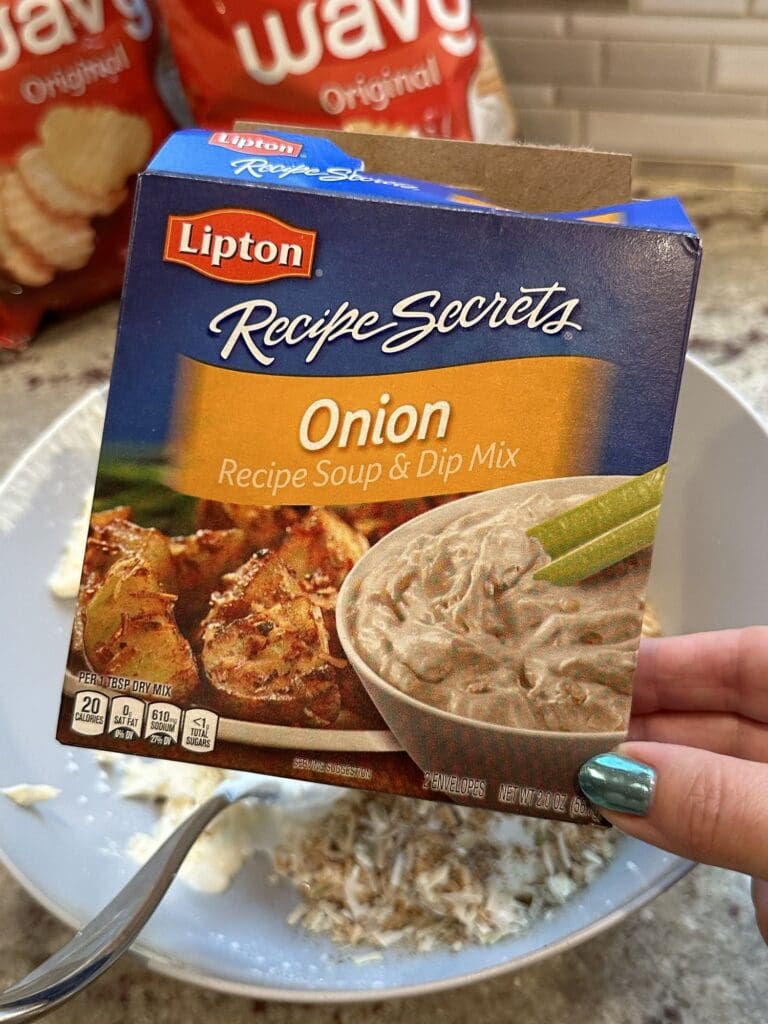
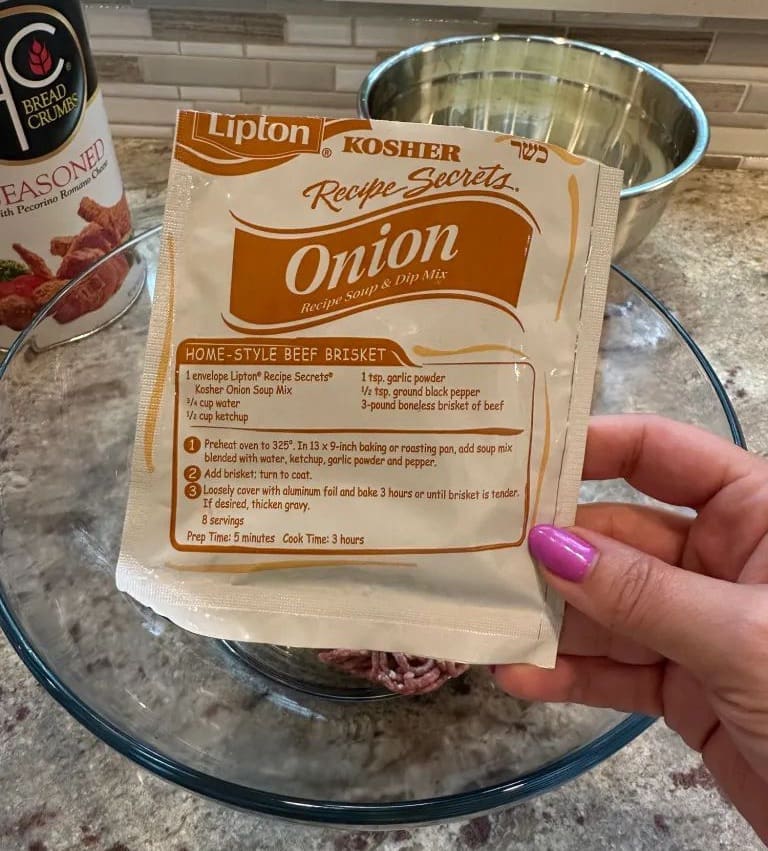
- Lipton Recipe Secrets Onion packet
- Sour cream
- Mayonnaise
- Fresh garlic, minced
- Onion powder
- Fresh chives
- Wavy potato chips
Instructions
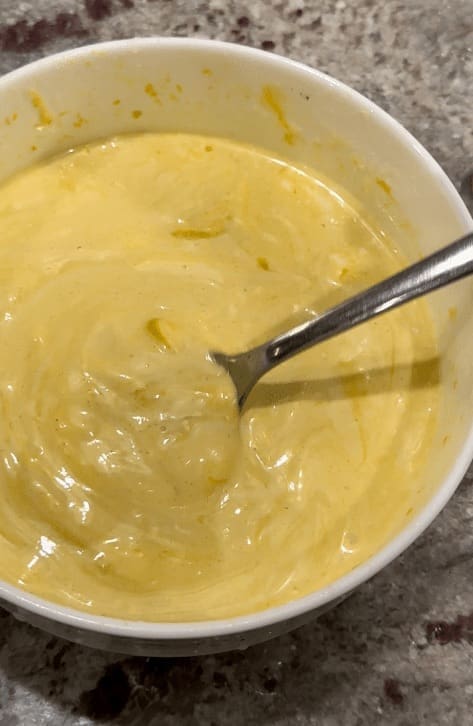
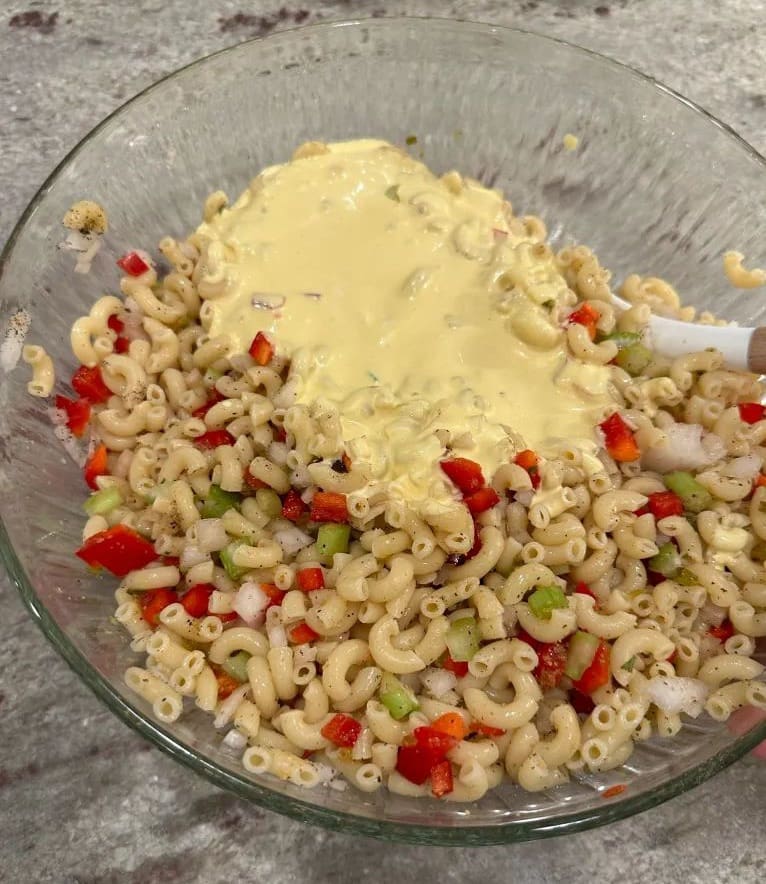
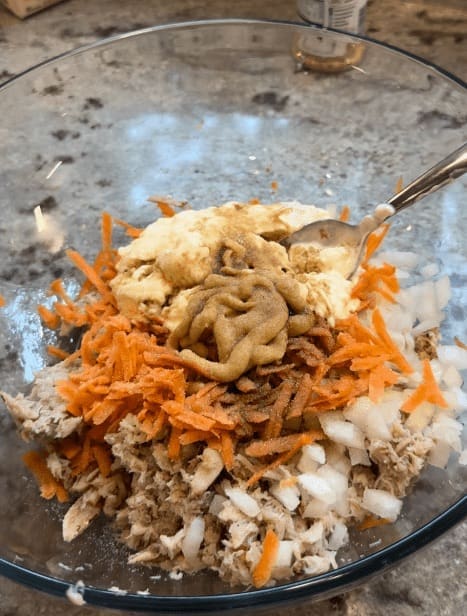
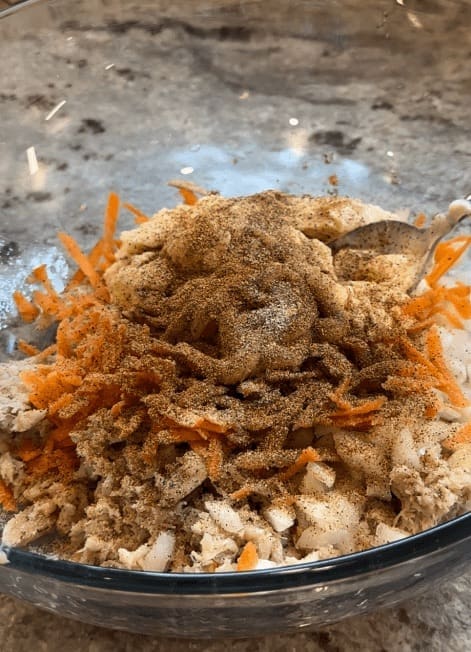
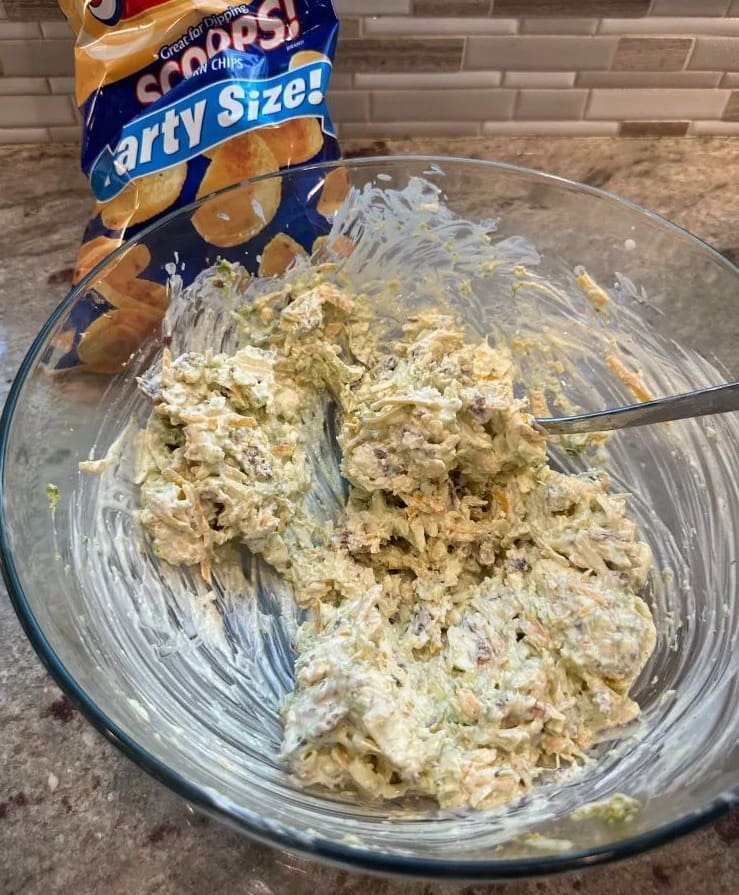
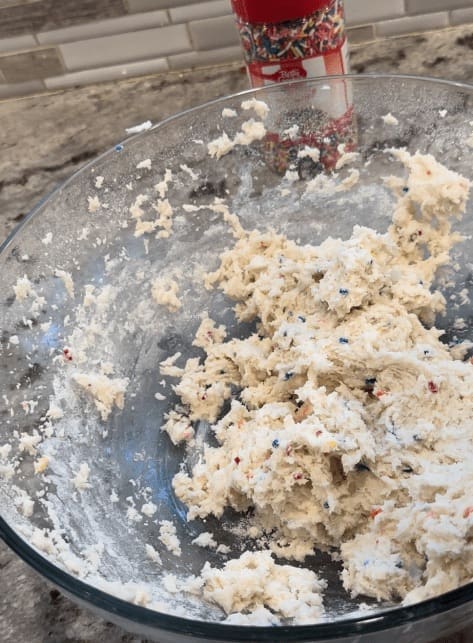
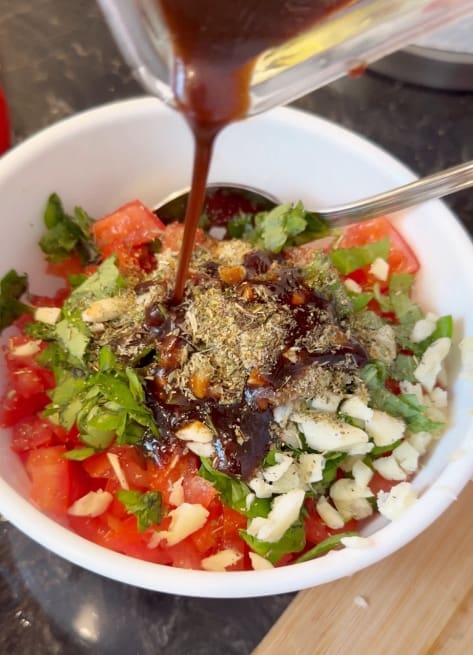
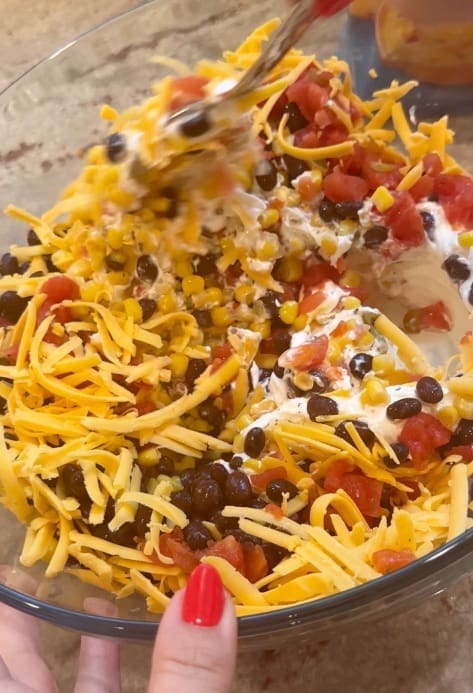
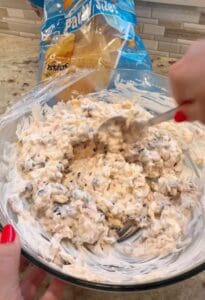
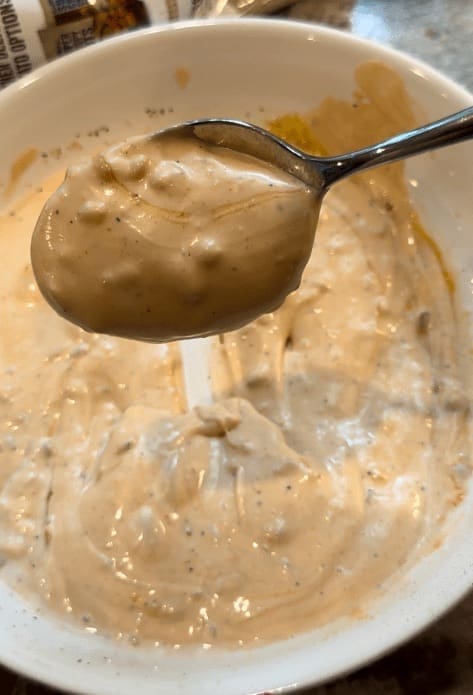
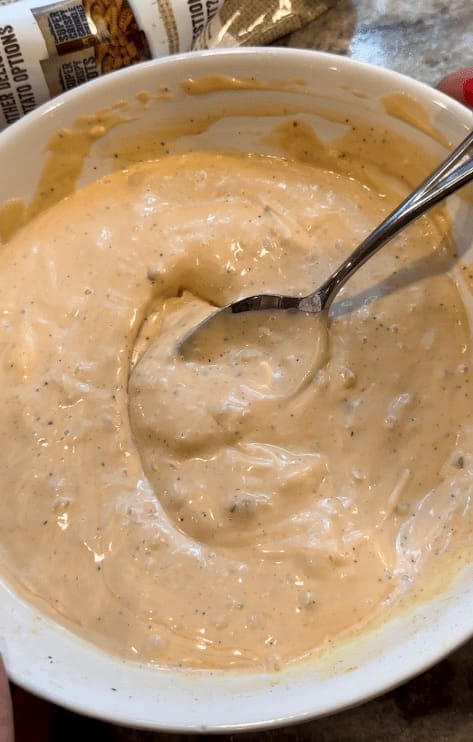
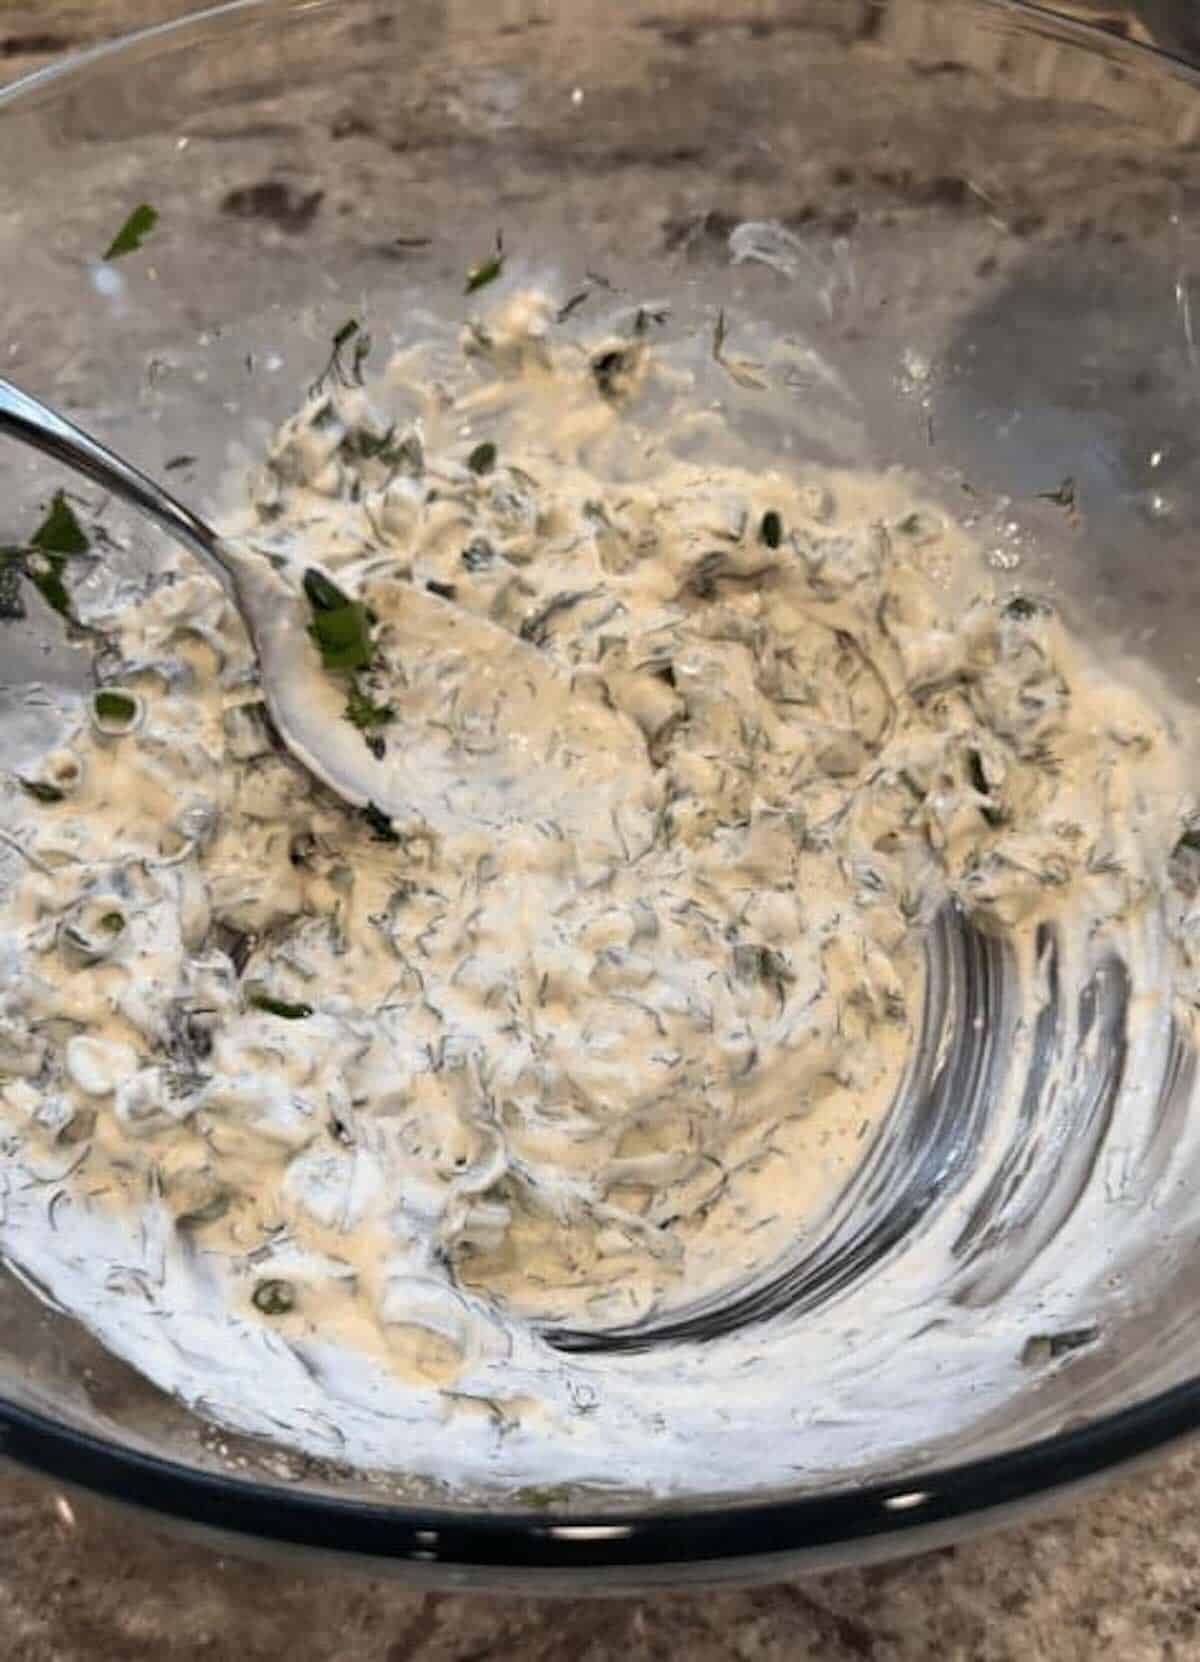
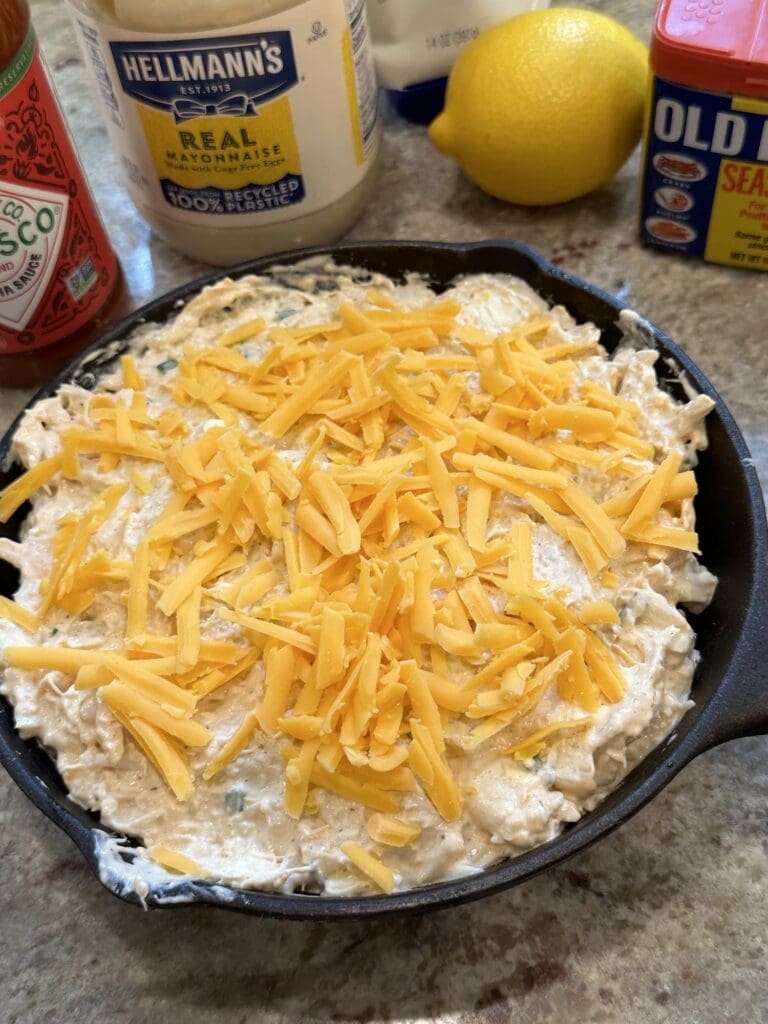
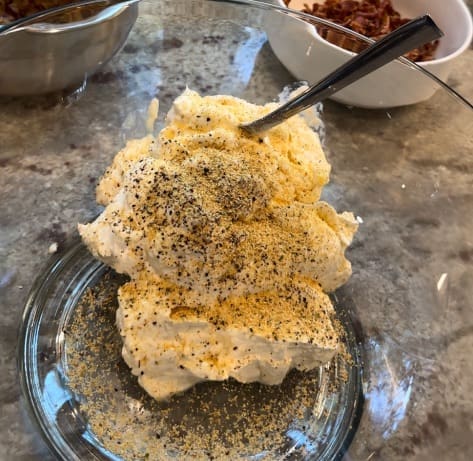
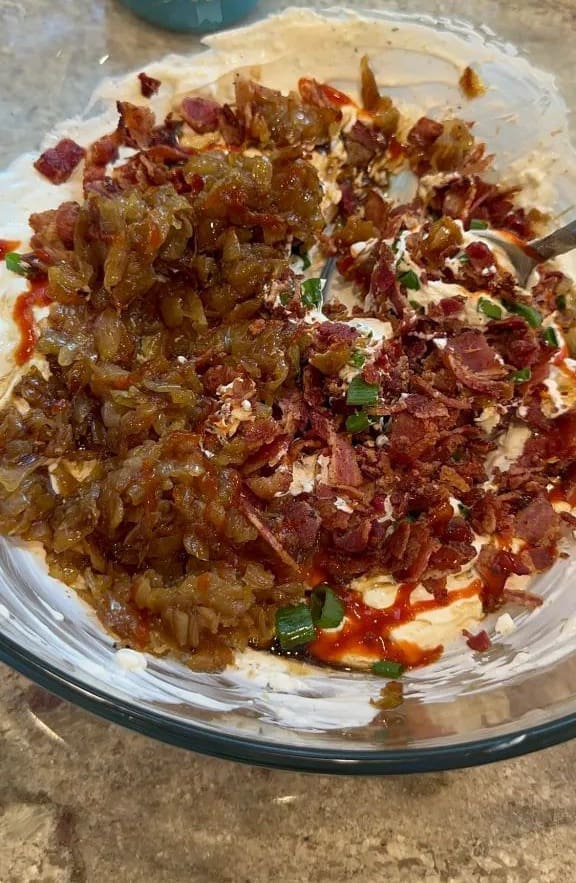
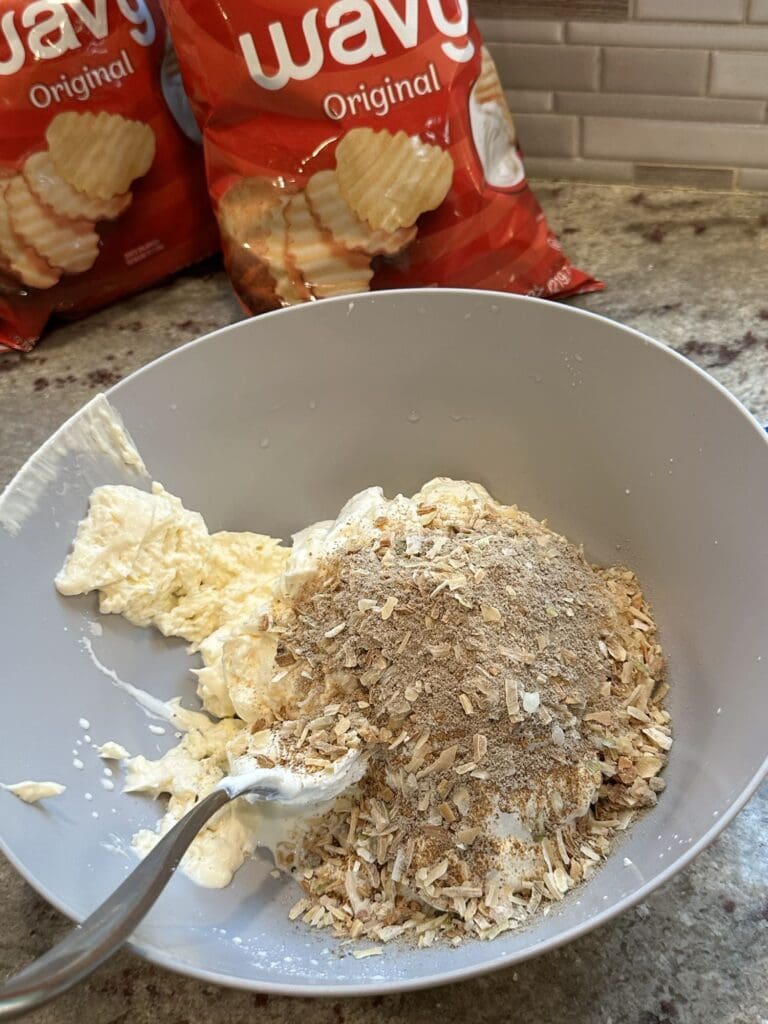
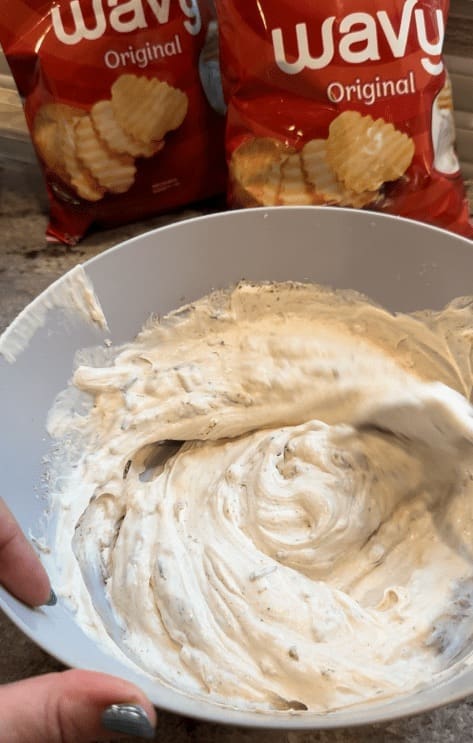
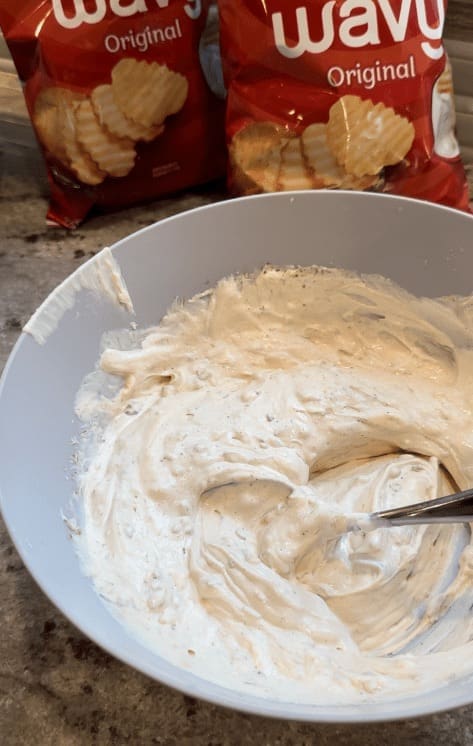
First, in a medium size bowl, add all of the ingredients except for the potato chips.

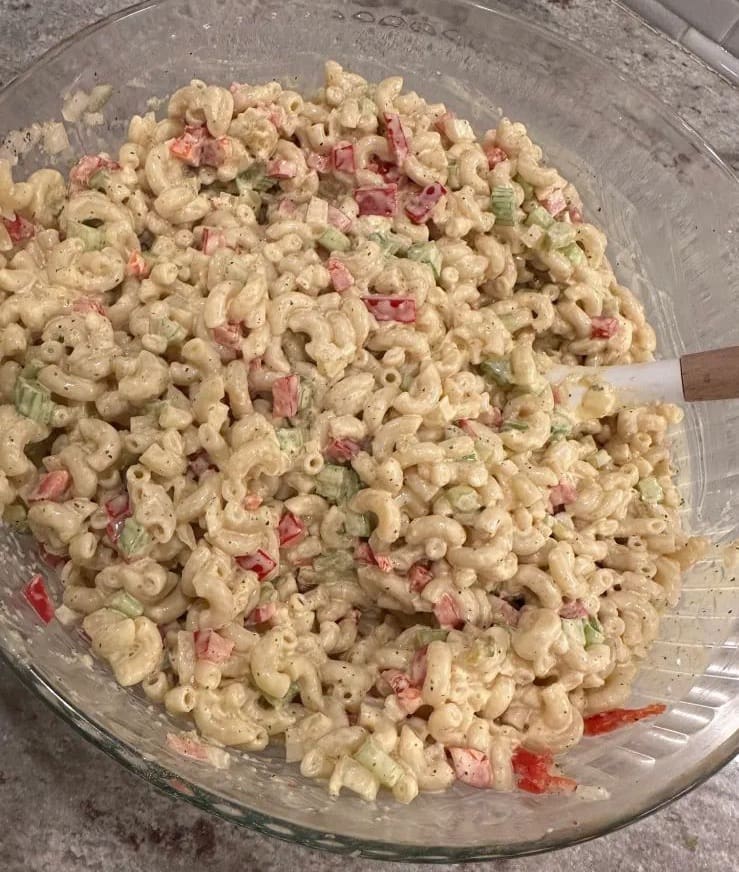
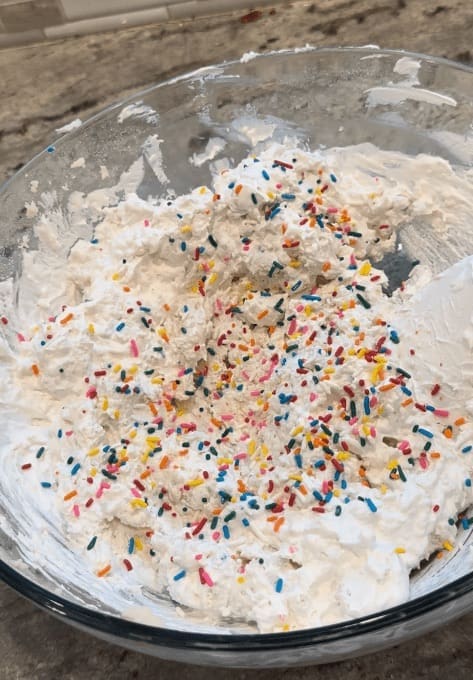
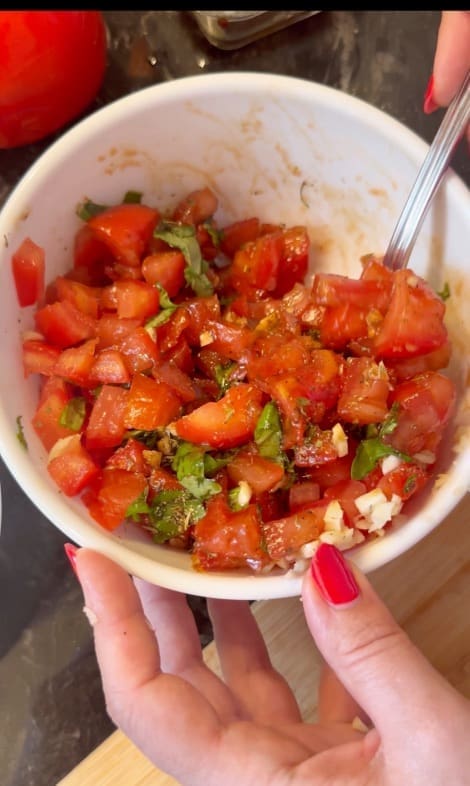
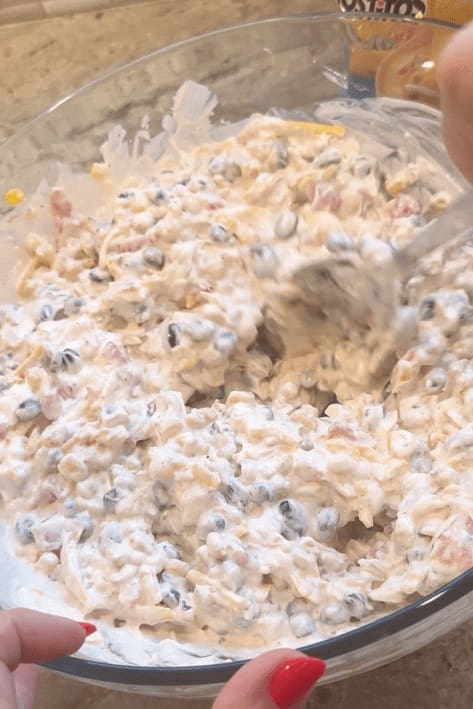
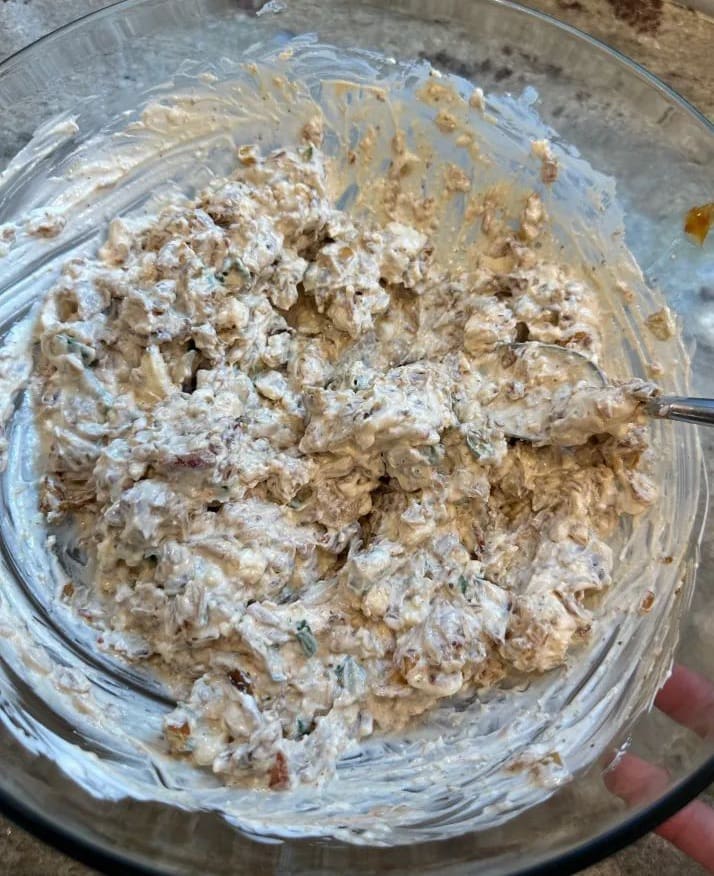
Now mix everything together until it’s evenly combined.
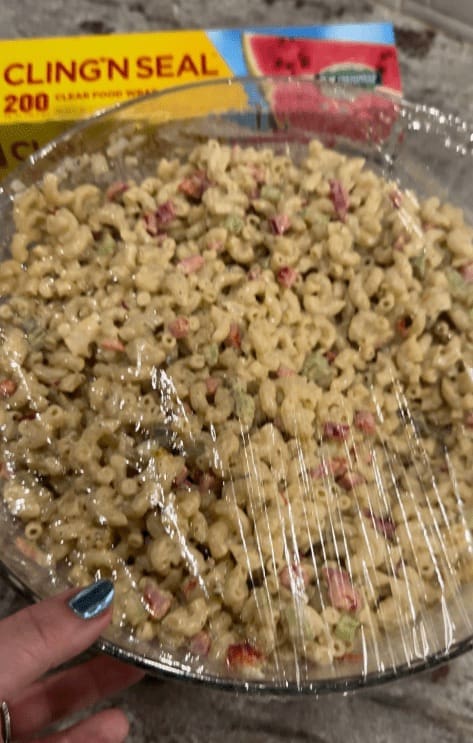
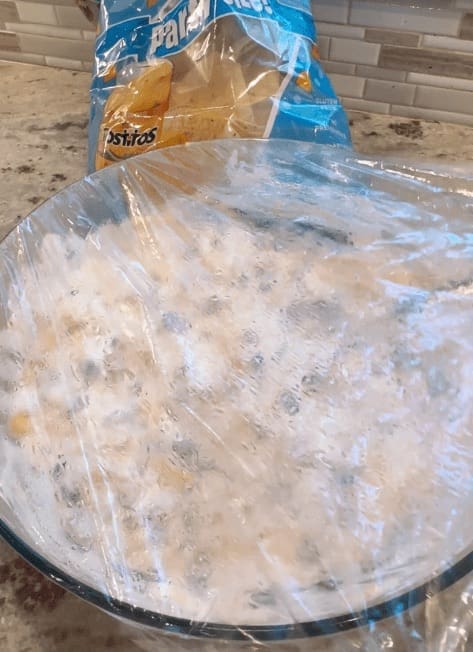
Then place it into the refrigerator for at least one hour. This can be eaten right way, but I do recommend letting the flavors come together in the refrigerator for at least an hour before serving.
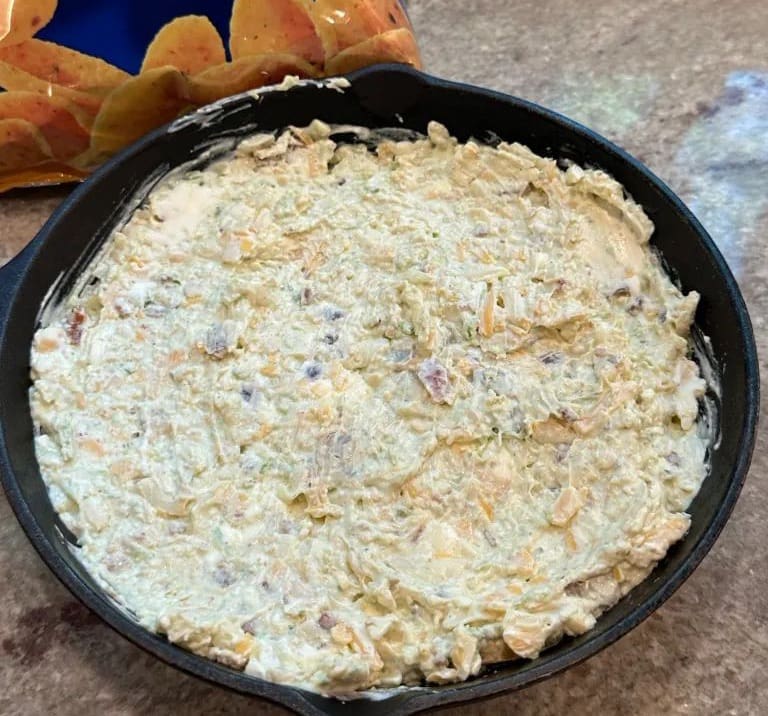
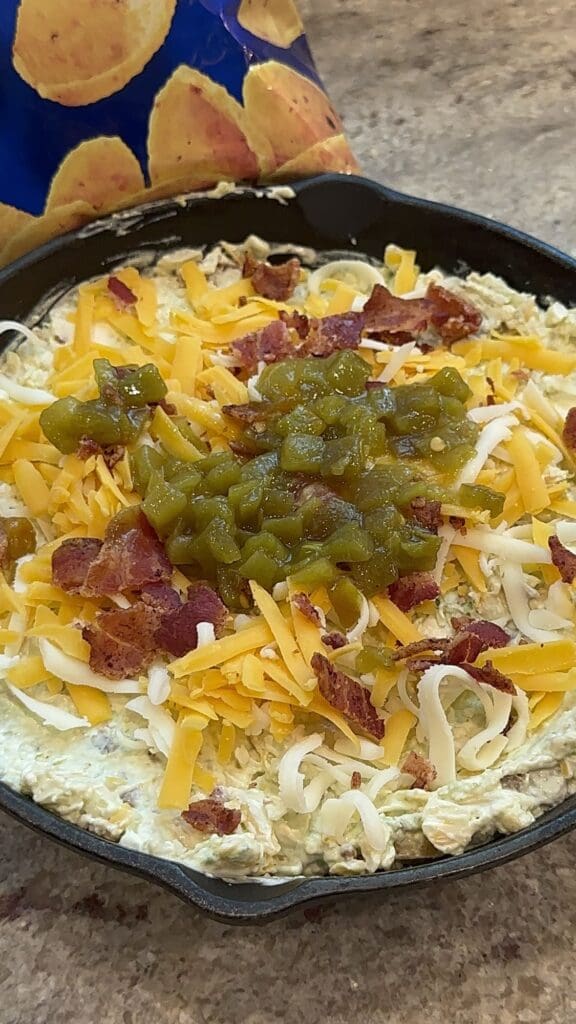
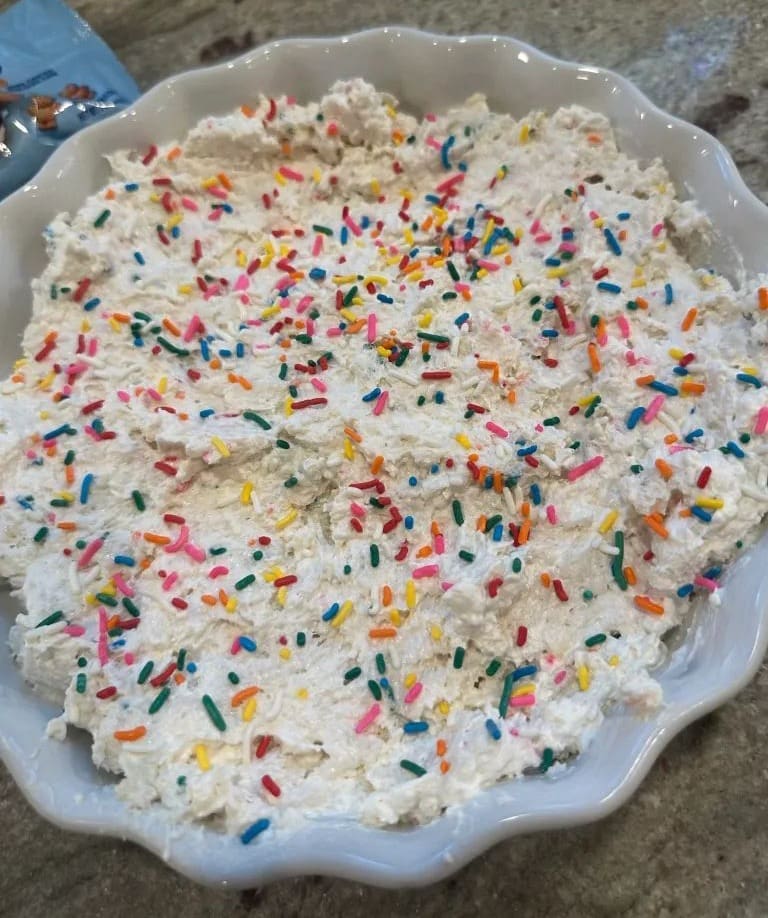
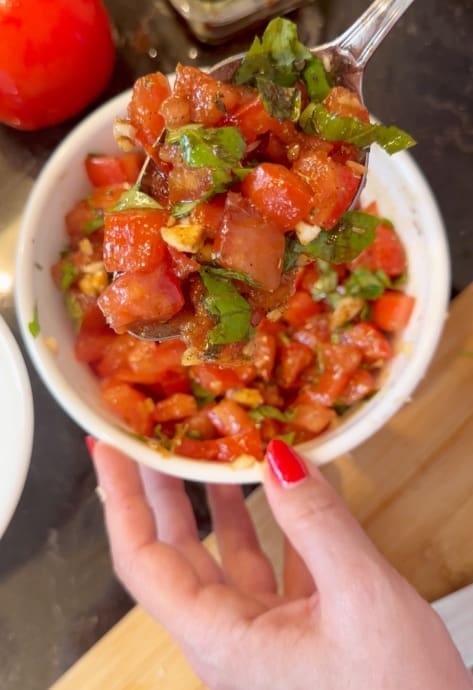
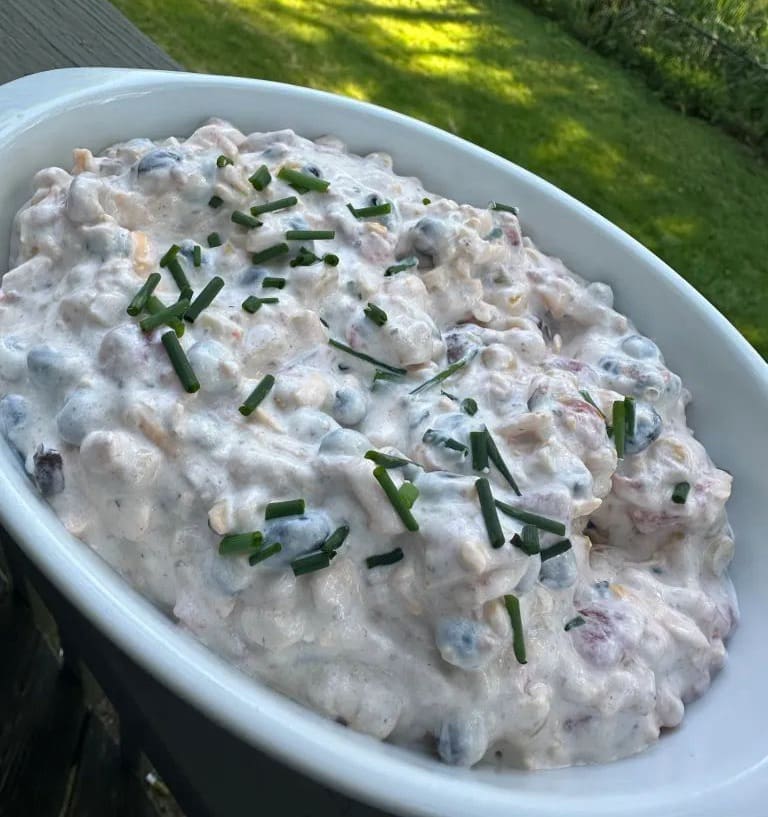
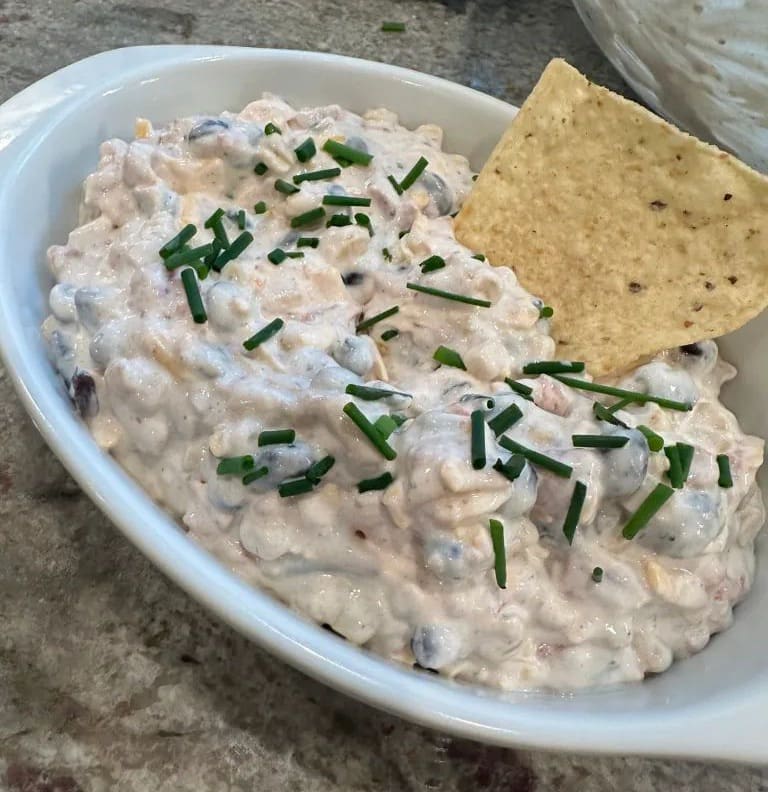
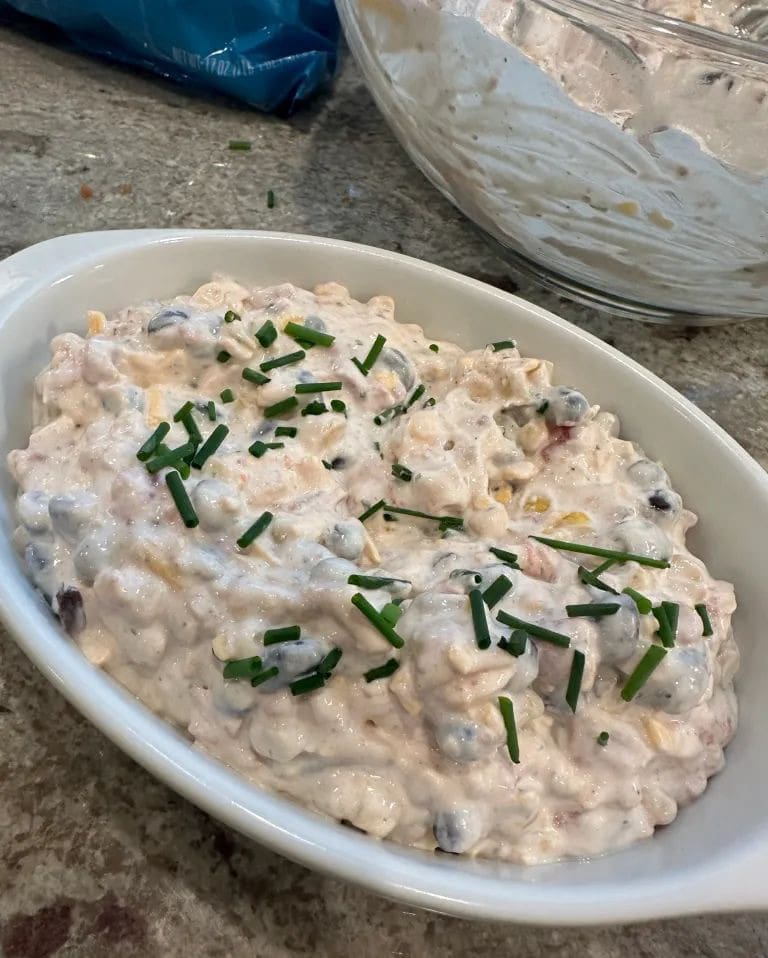
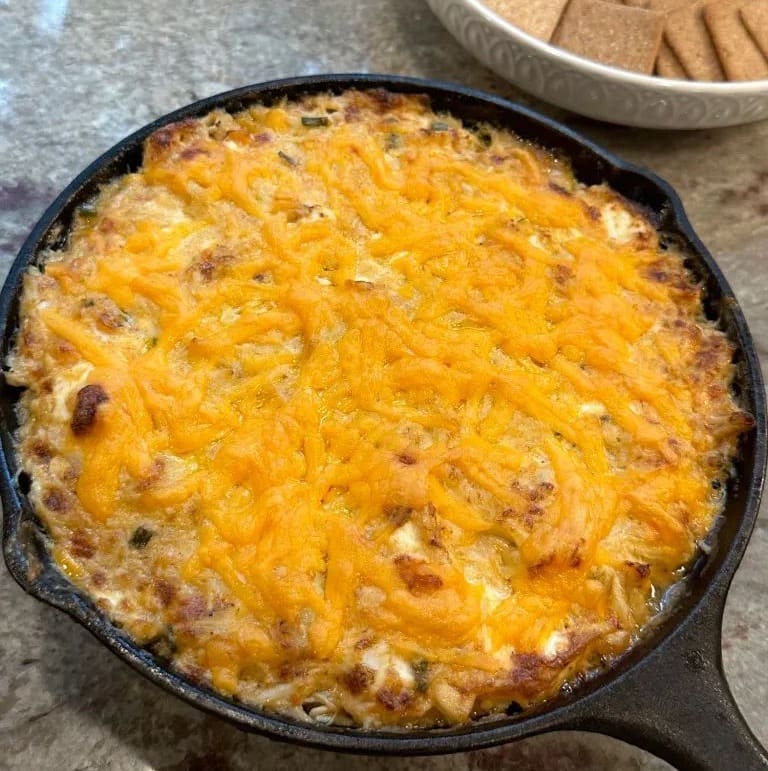
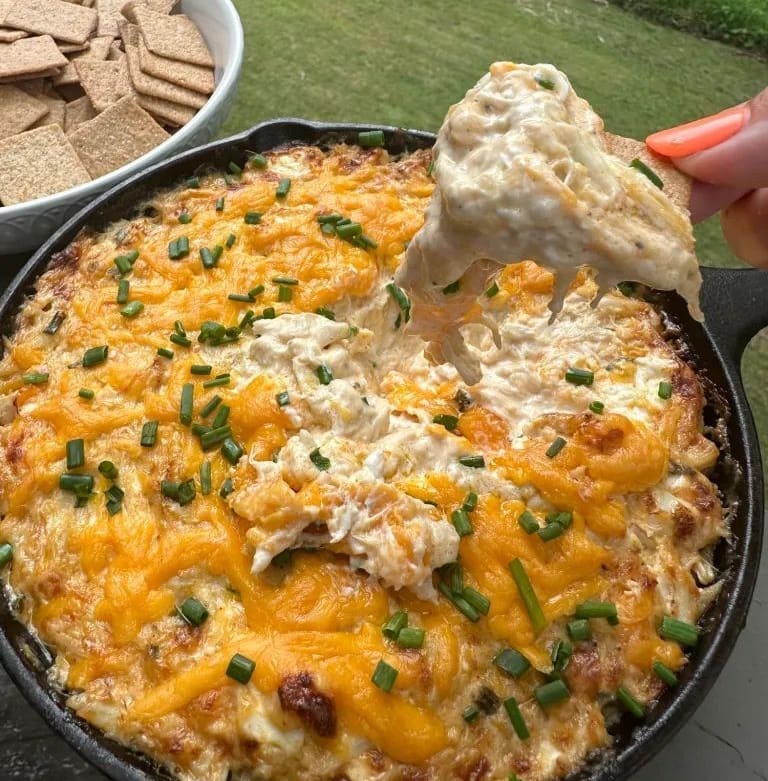
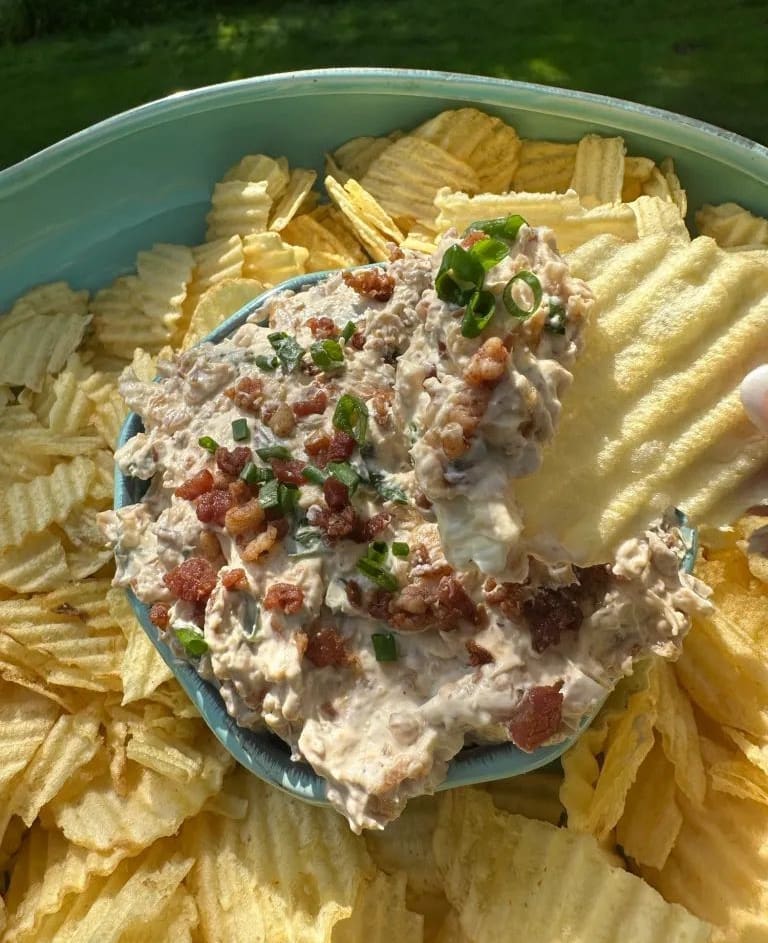
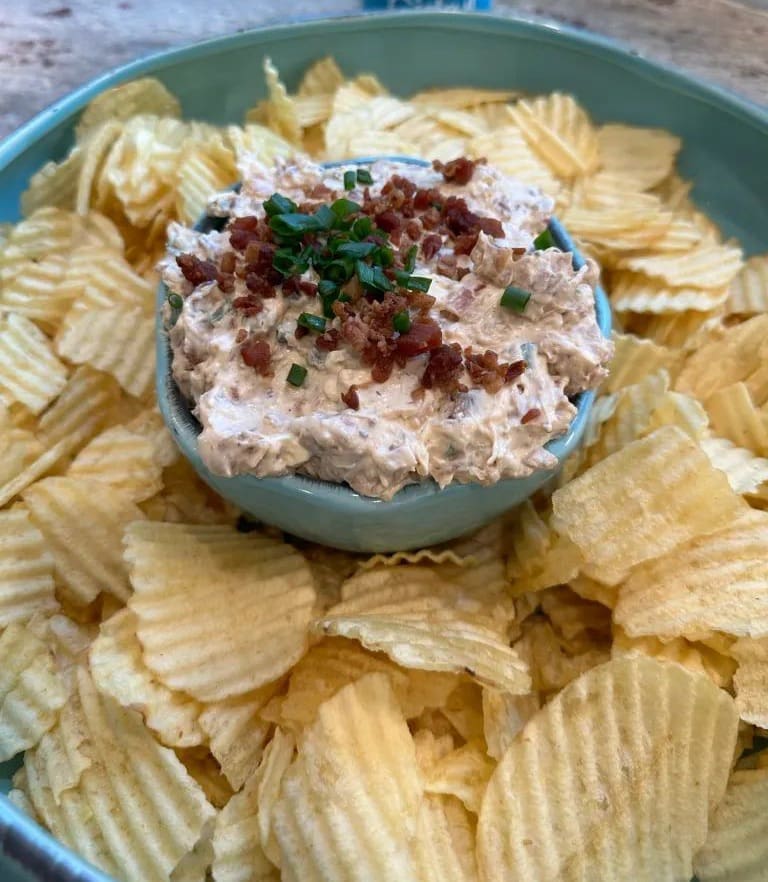
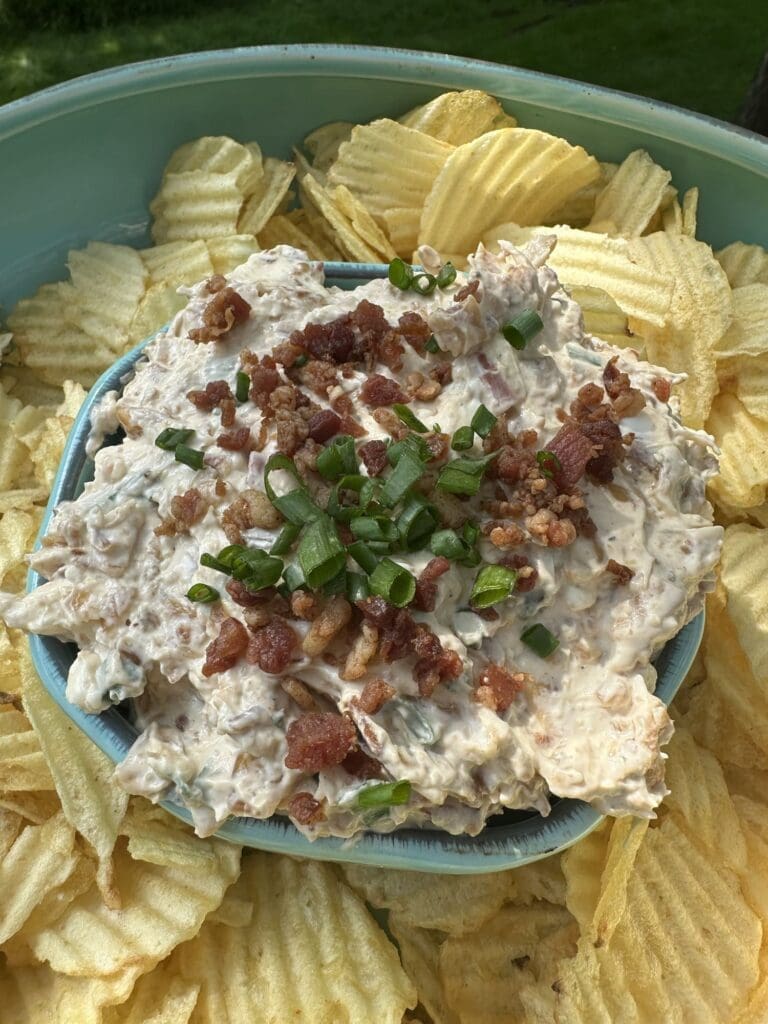
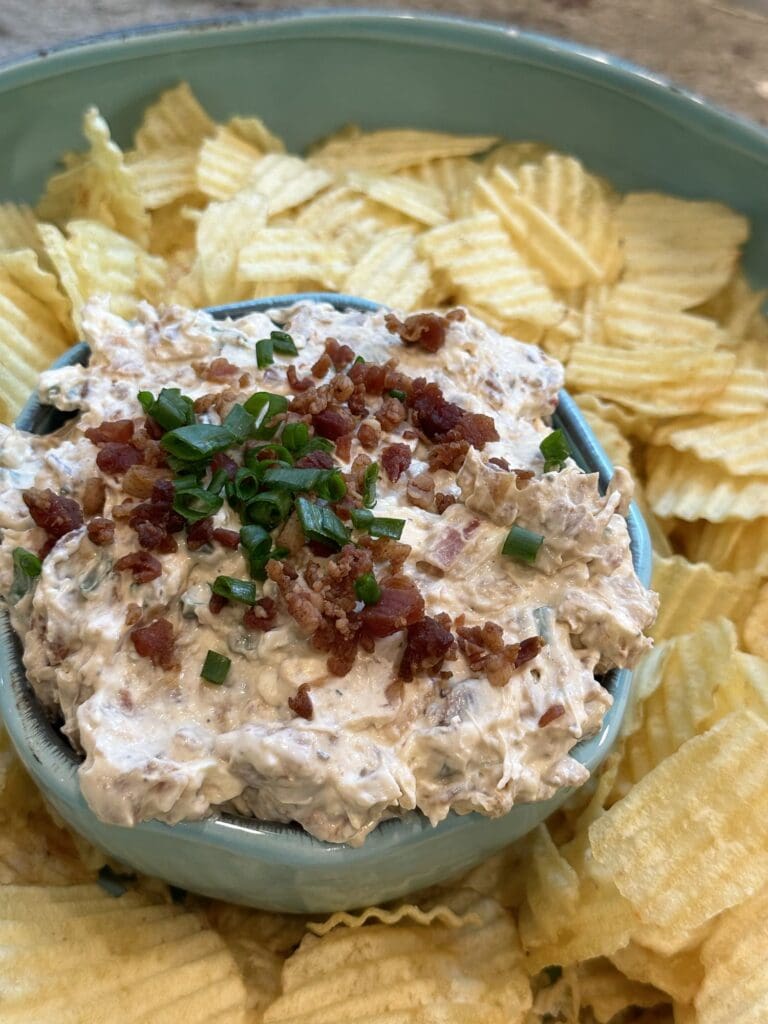
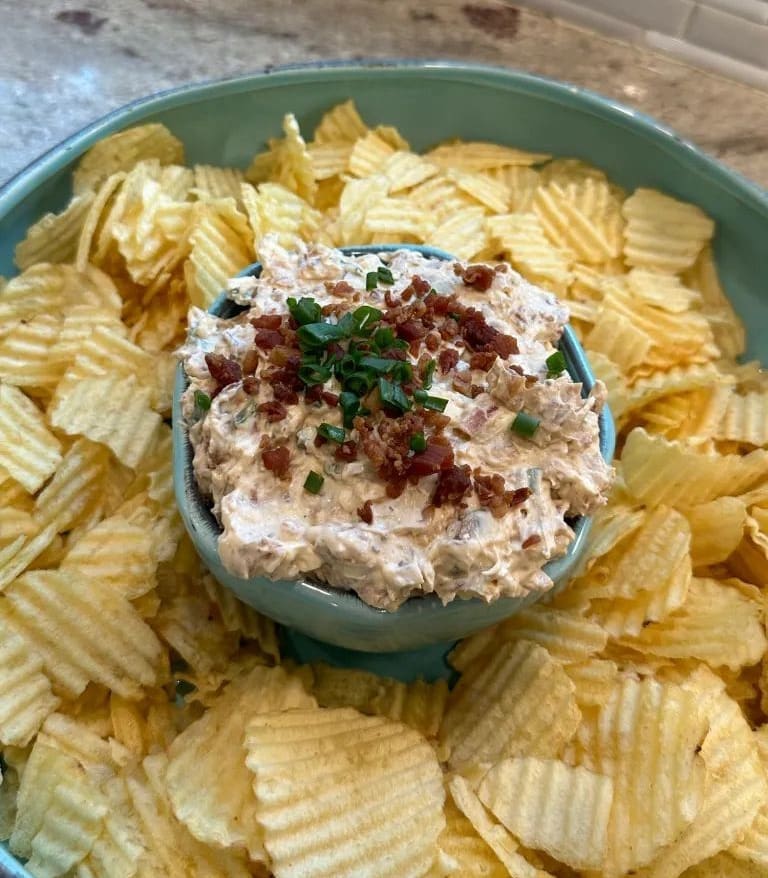
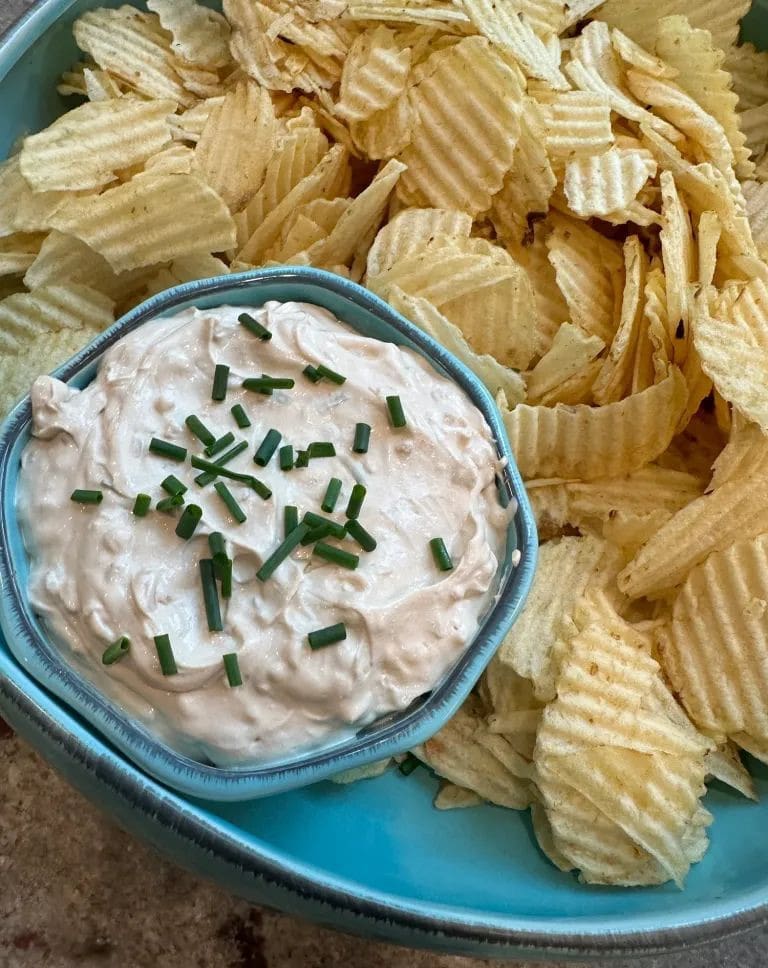
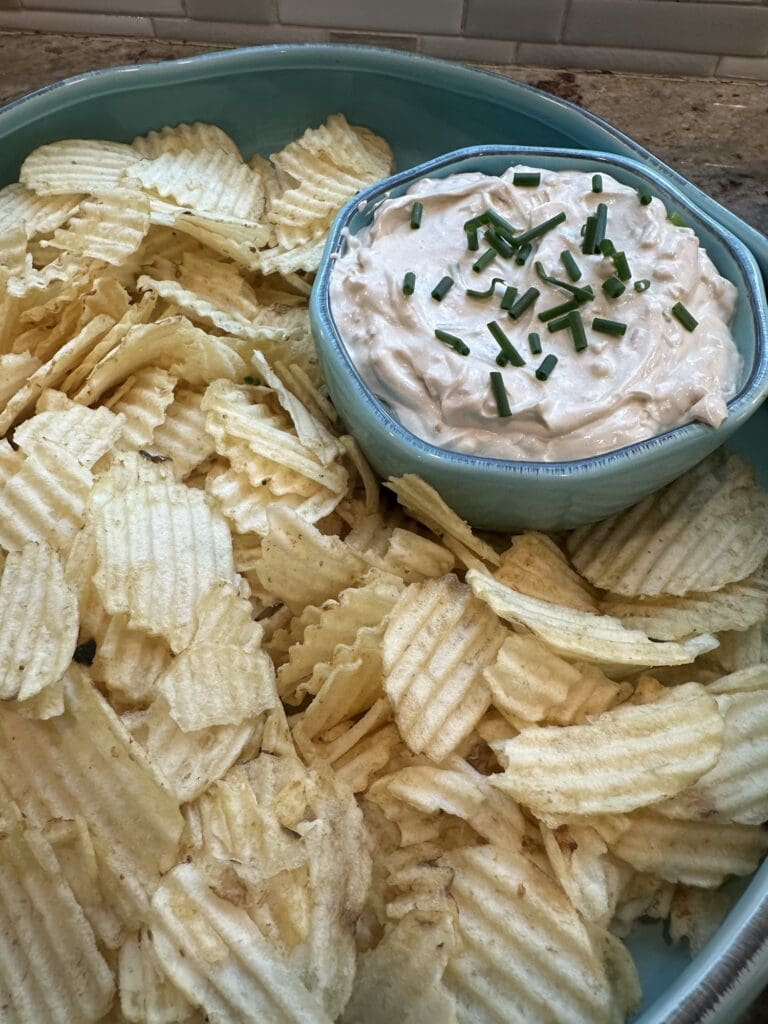
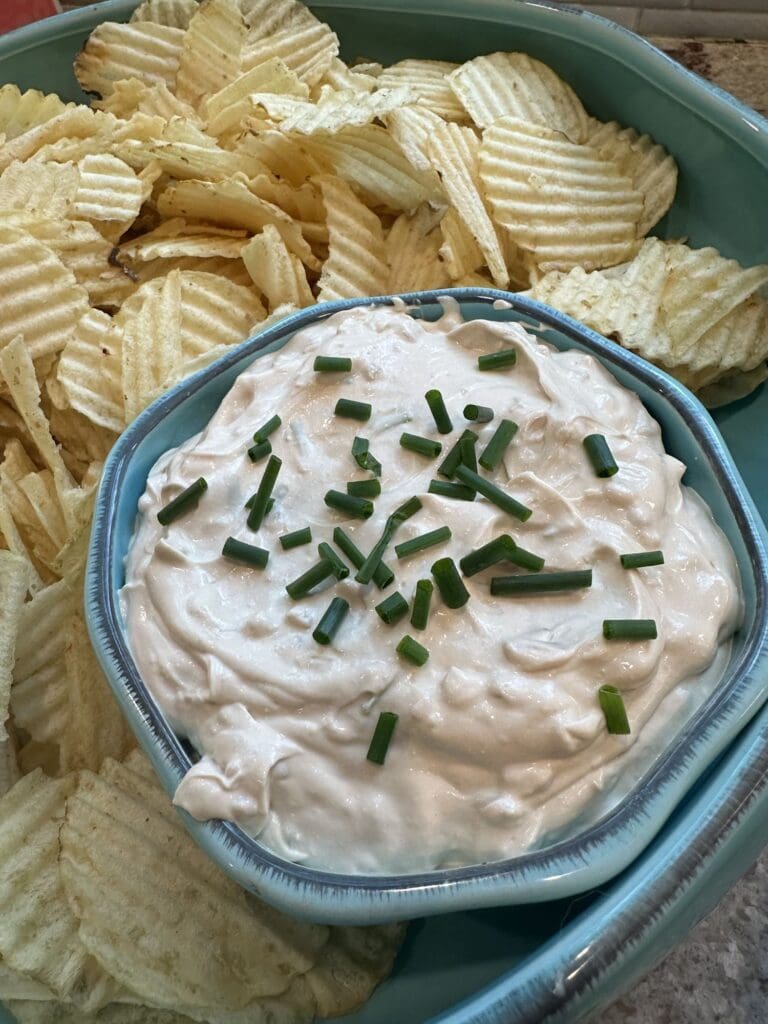
Next, place the dip into a serving bowl and garnish with more freshly cut chives.
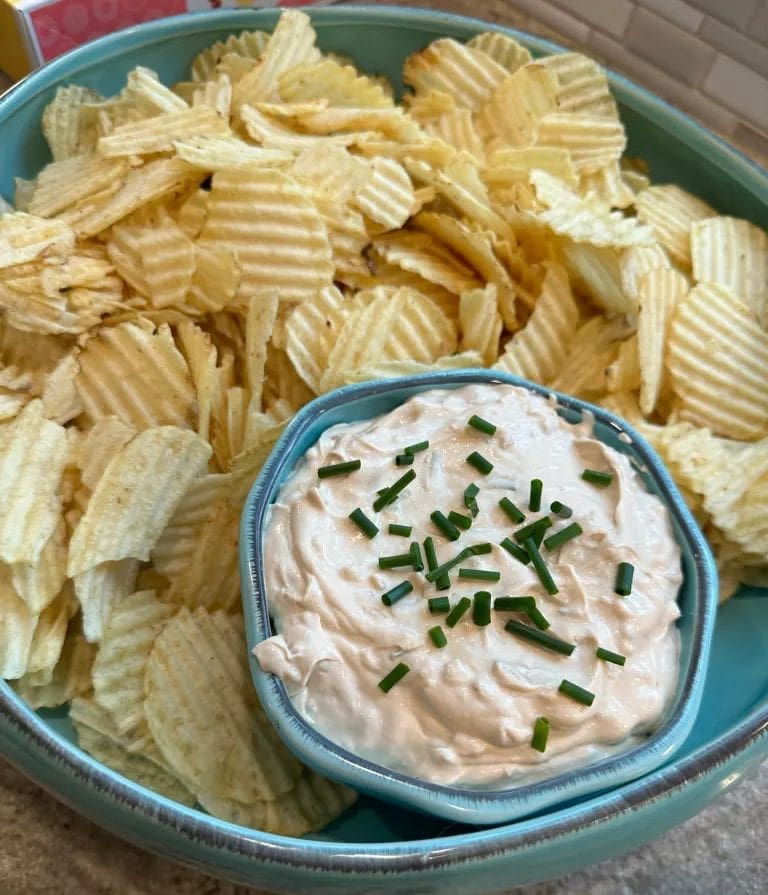
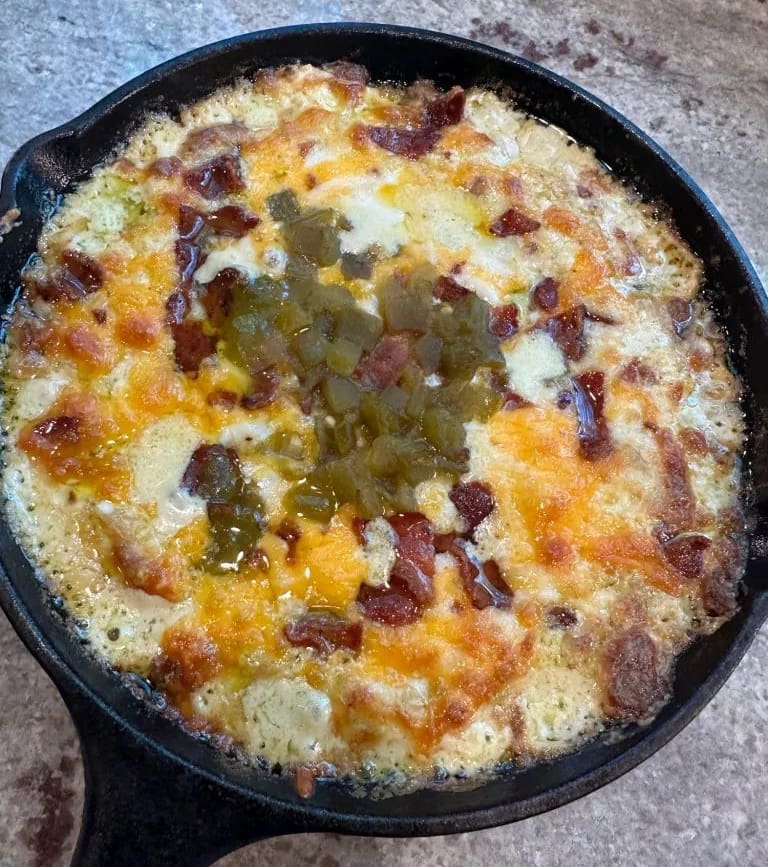
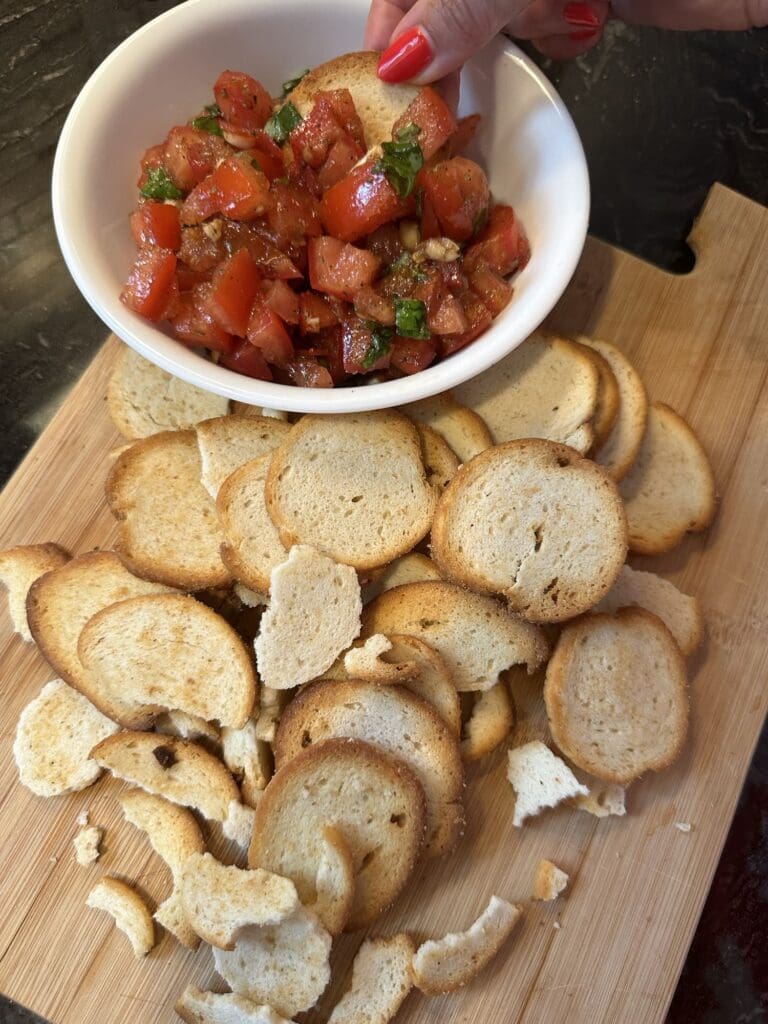
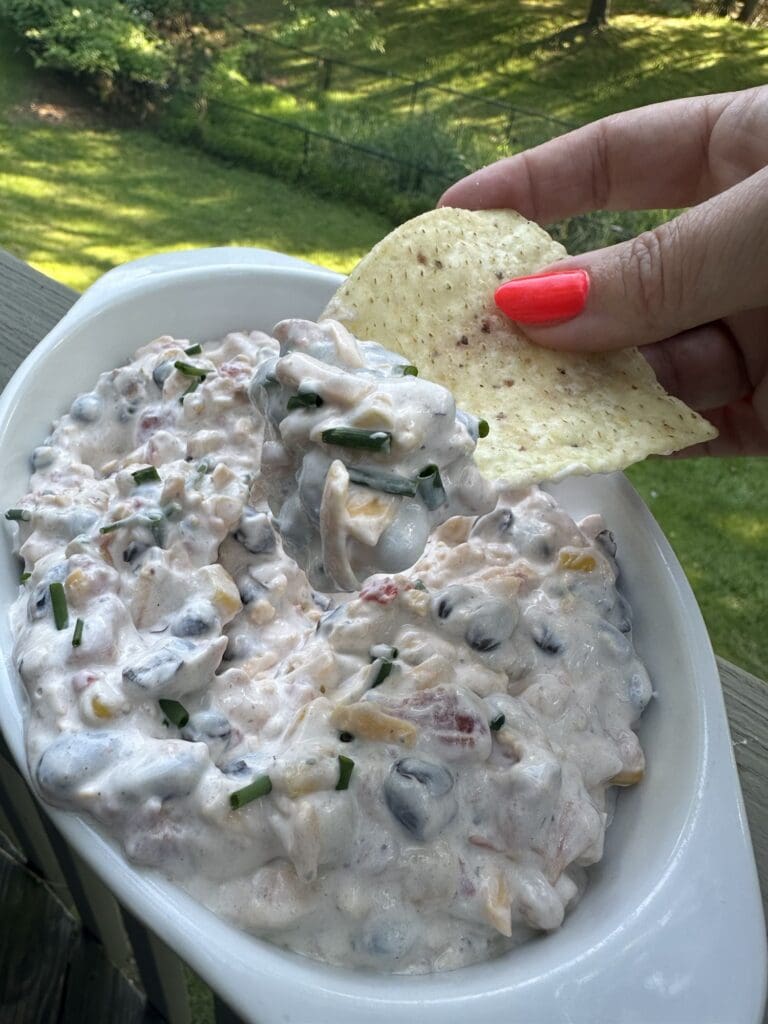
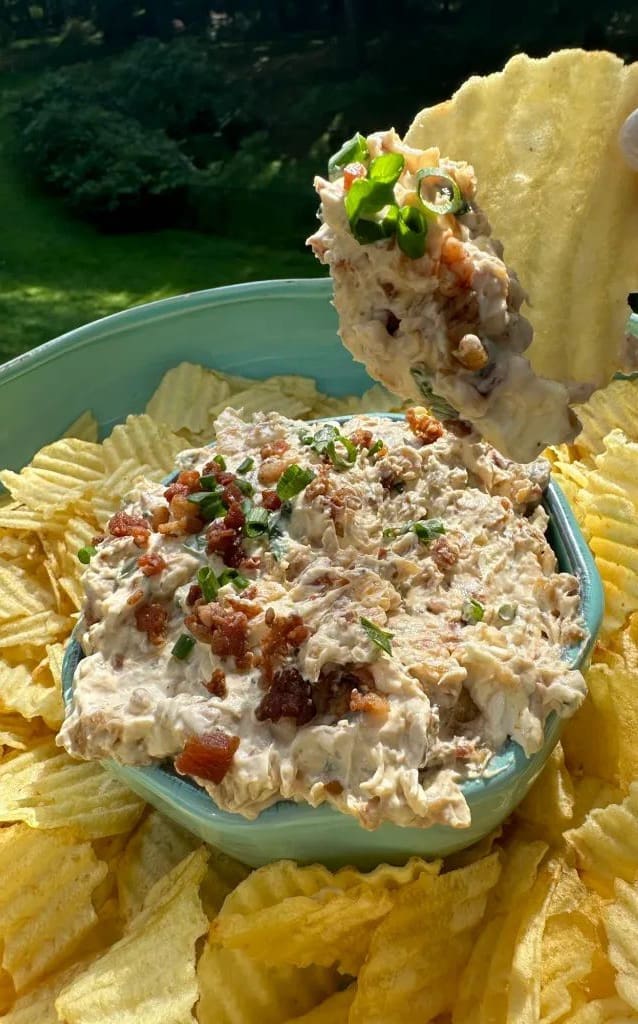
Finally, serve with wavy potato chips and enjoy!


The Best French Onion DIp
Ingredients
- 1 1.4 oz Lipton Recipe Secrets Onion packet
- 1 cup Sour Cream
- ¼ cup Mayonnaise
- 1 tbs Fresh Garlic, minced
- 1 teaspoon Onion Powder
- 3 tbs Fresh Copped Chives (save some for garnish)
- Wavy Potato Chips
Instructions
- First, in a medium size bowl, add all of the ingredients except for the potato chips.
- Now mix everything together until it’s evenly combined.
- Then place it into the refrigerator for at least one hour. This can be eaten right way, but I do recommend letting the flavors come together in the refrigerator for at least an hour before serving.
- Next, place the dip into a serving bowl and garnish with more freshly cut chives.
- Finally, serve with wavy potato chips and enjoy!