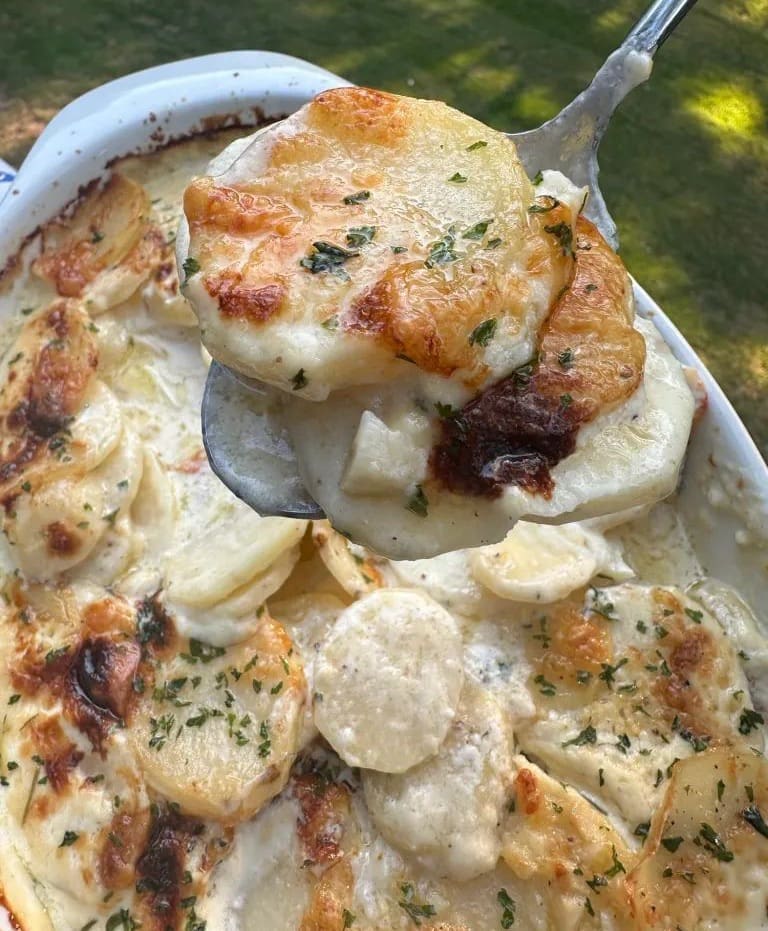
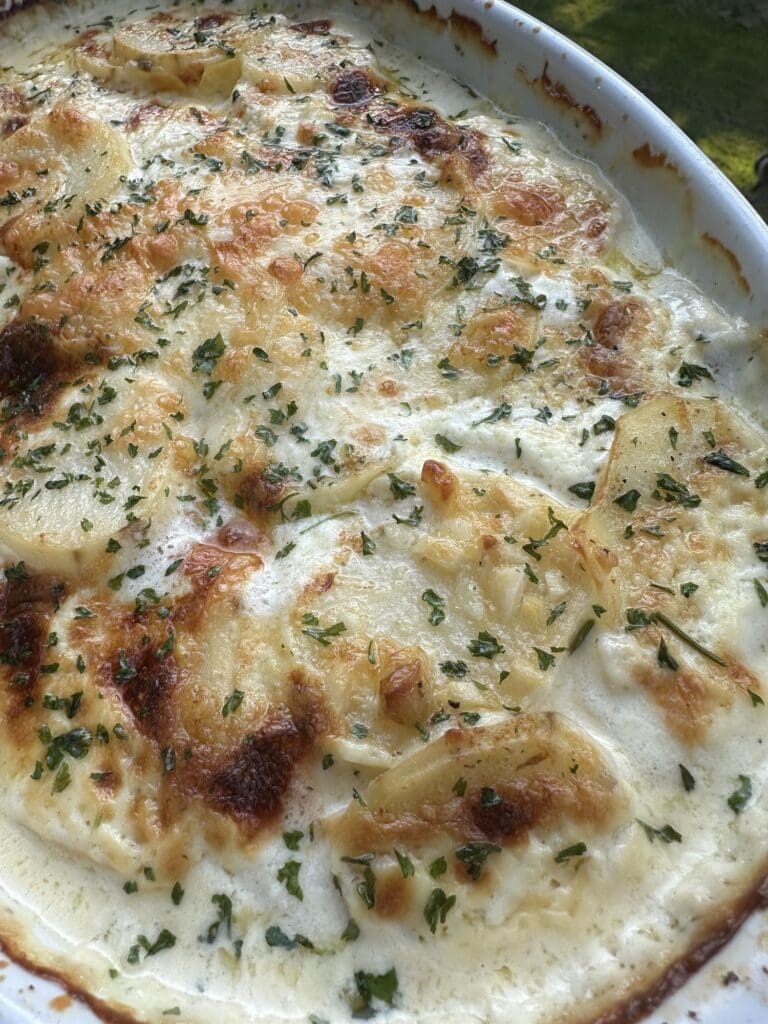
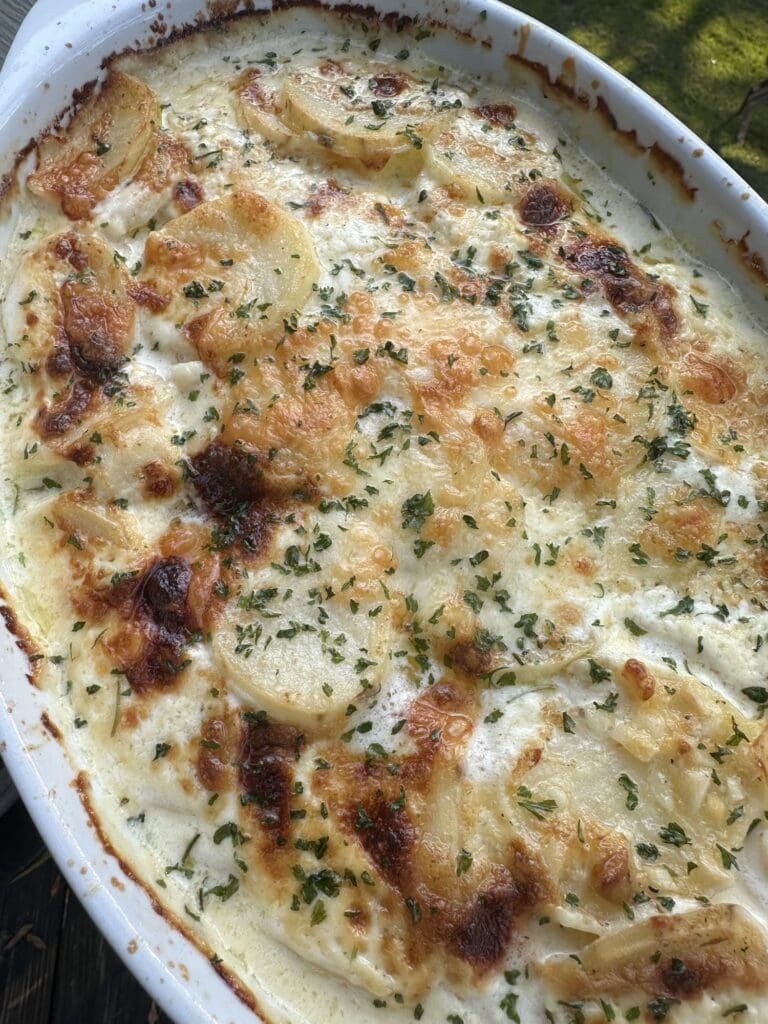
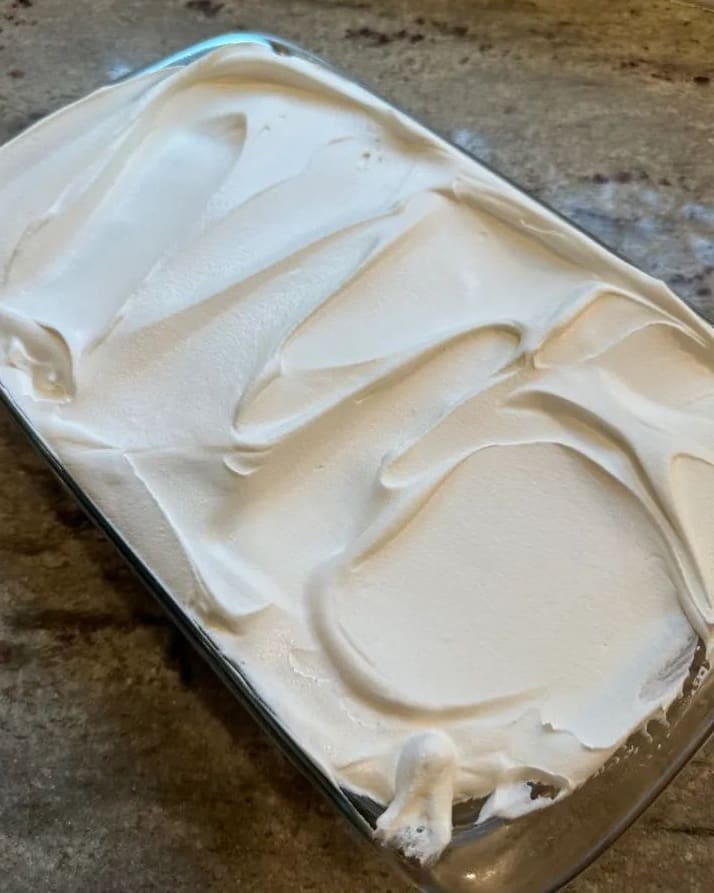
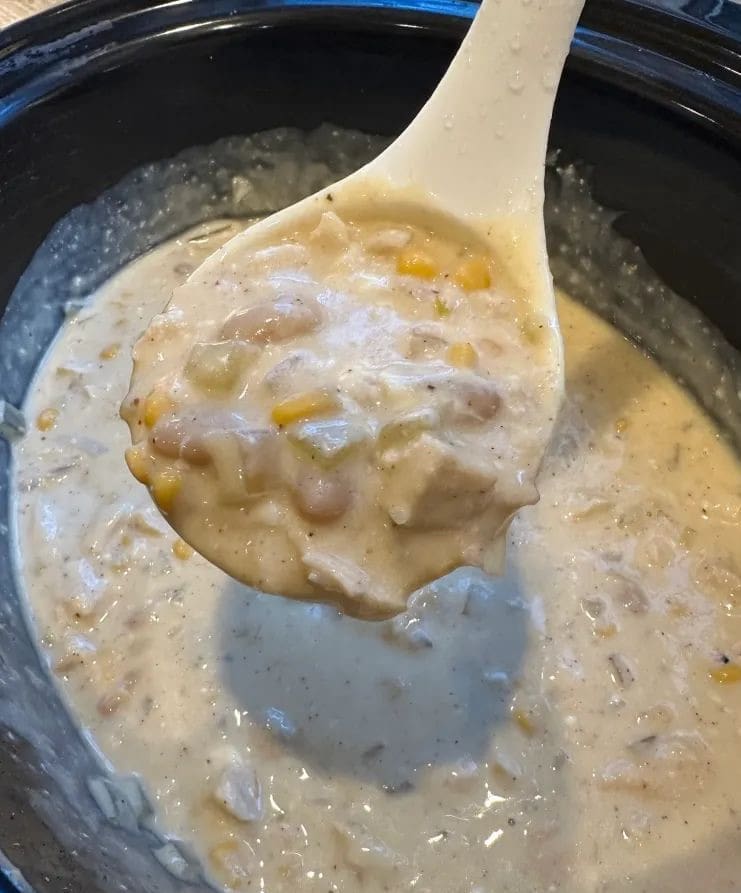
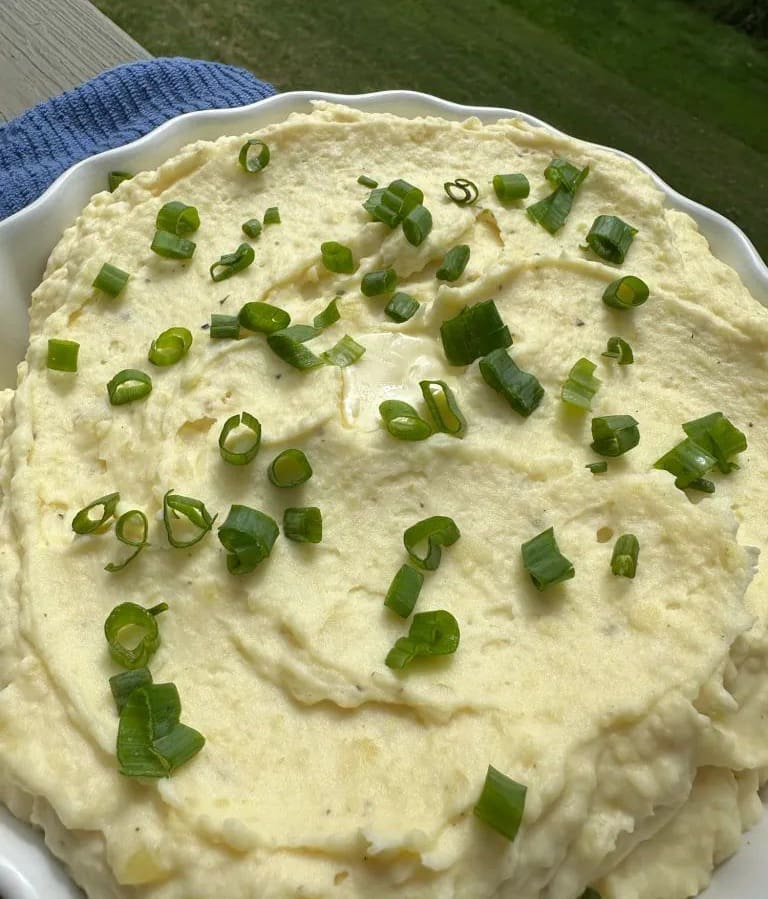
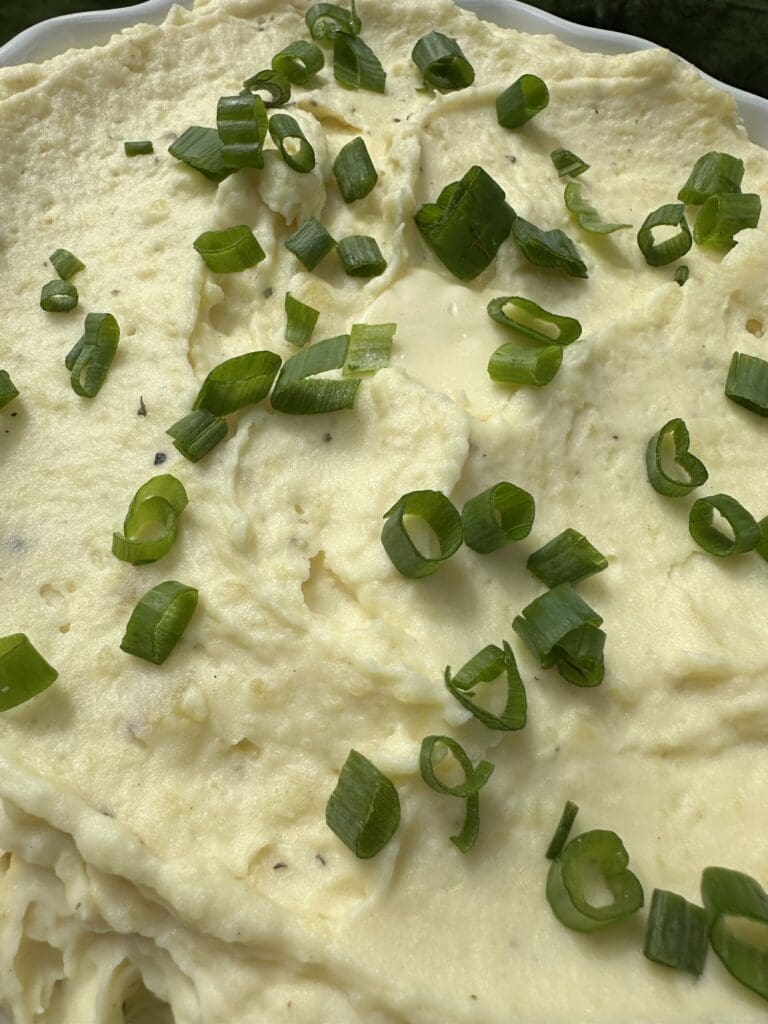
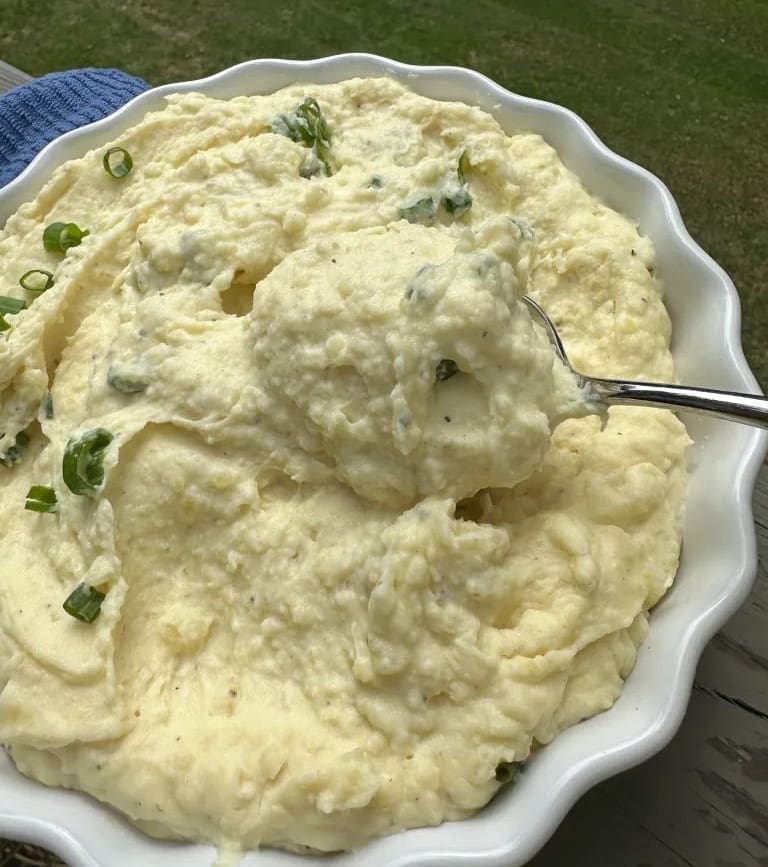
Sour cream mashed potatoes are made by mixing seasoned potatoes, sour cream, butter and just a couple other simple ingredients for the ultimate crowd pleasing side dish.
Sour Cream Mashed Potatoes
From the recipe collection of Tara Ippolito
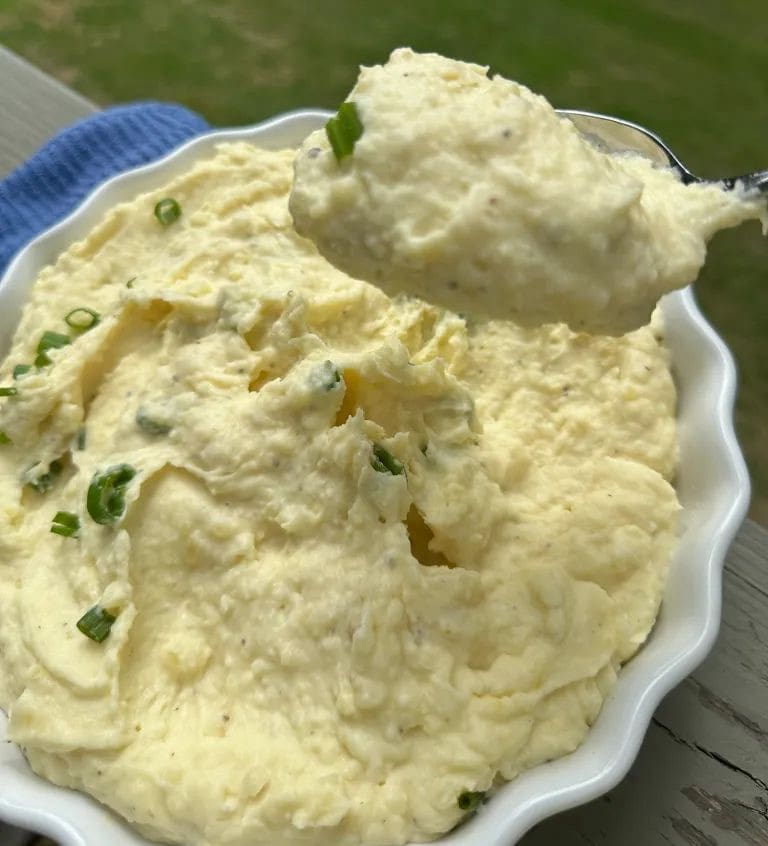
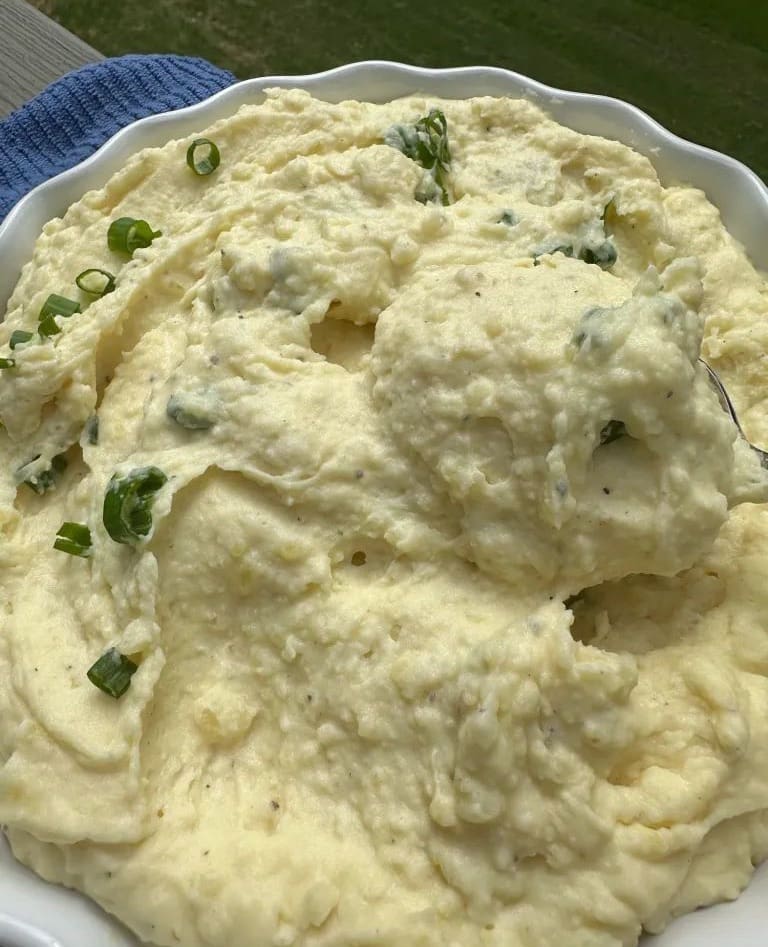
These sour cream mashed potatoes really are the ultimate, crowd pleasing side dish.

They’re so deliciously smooth and creamy and go with just about any and everything that you can think of.
Boiling the potatoes in broth instead of water gives them so much extra flavor, too. The potatoes soak up all that delicious seasoning as they cook adding an extra layer of goodness.
And who doesn’t love potatoes with sour cream? They are the perfect combo and go together oh so well..
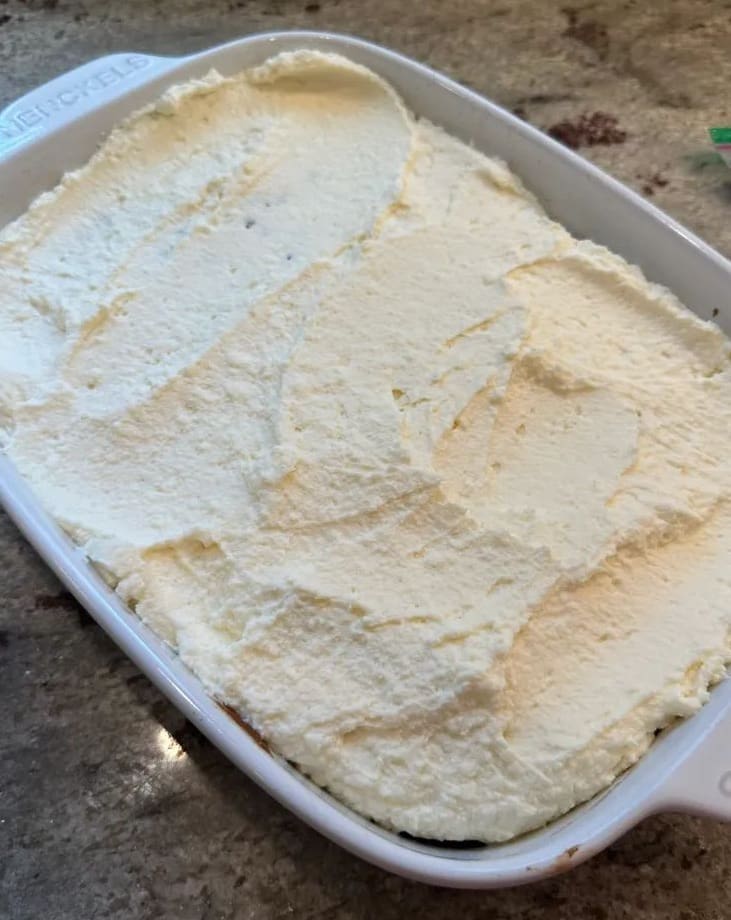
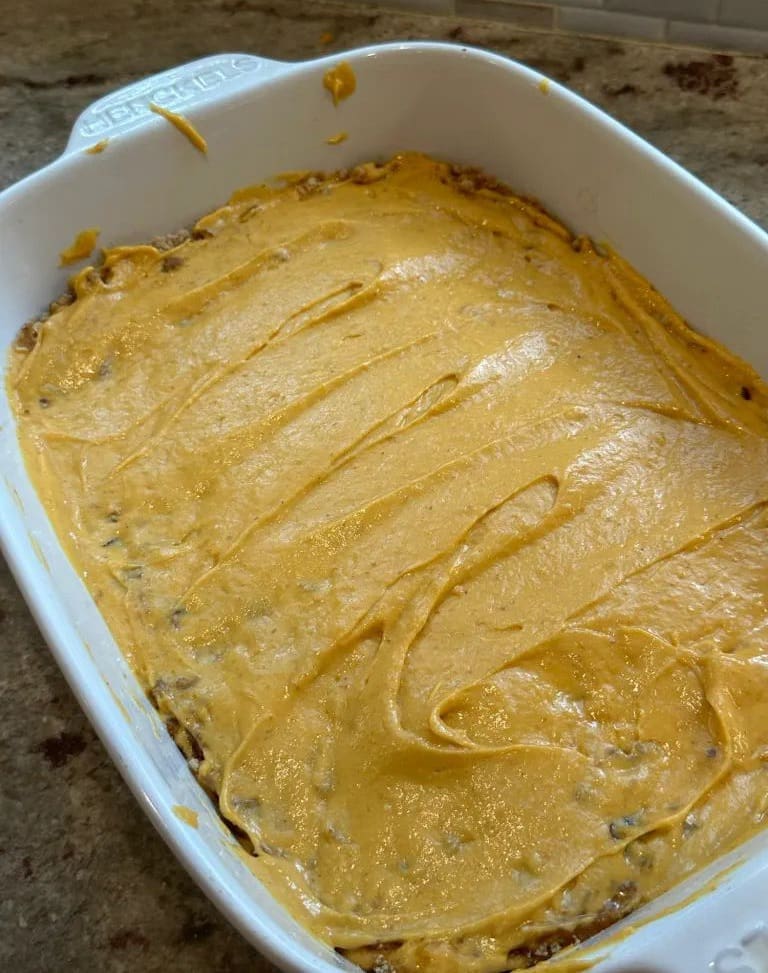
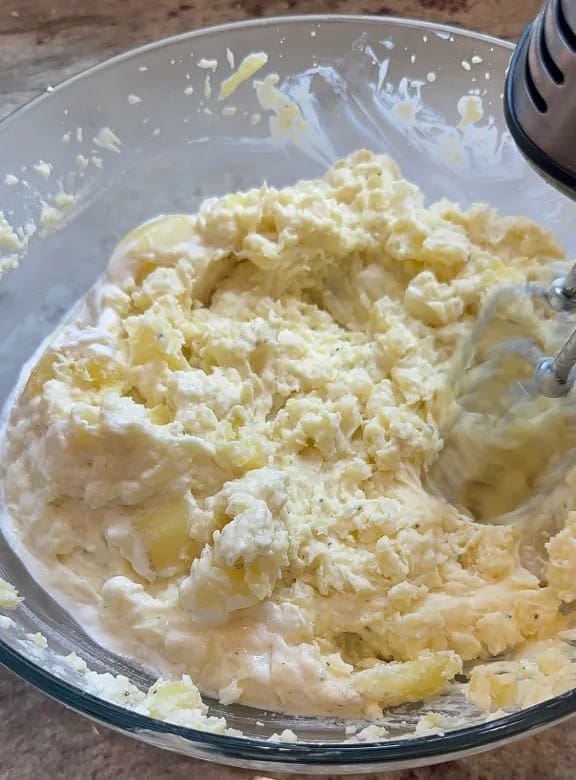
Now imagine these flavorful potatoes blended together with butter and sour cream until smooth and creamy.
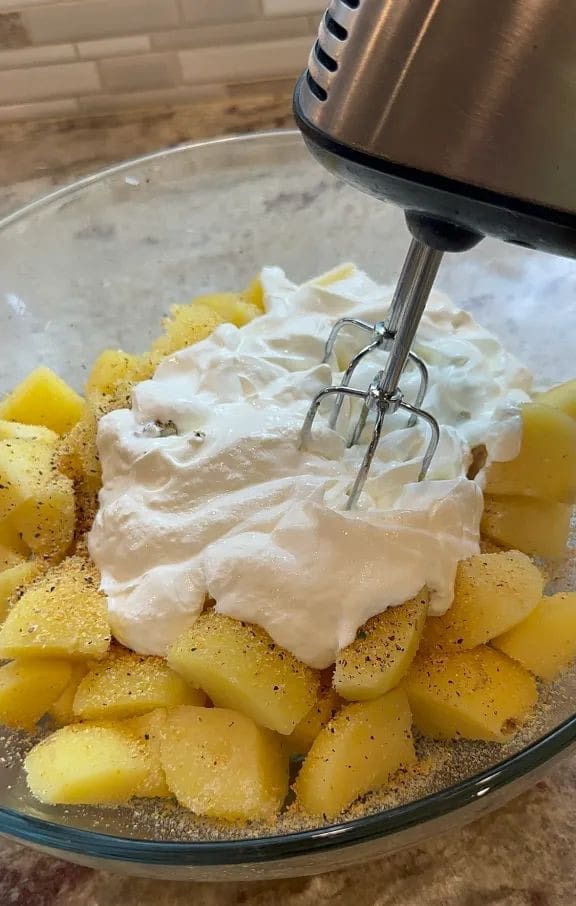
A texture you can only achieve when using a hand mixer. That’s the trick to getting these mashed potatoes super smooth.
Not only is this side dish so incredible, it's also really easy to make, too.
I’ve made them for everything from holiday parties like Thanksgiving and Christmas to a casual weekday dinners at home.
They are always a huge hit! My family and friends just absolutely love them and they've become a side dish staple at my house
Everyone should have a really great mashed potato recipe in their collection and this one is it!.
I hope you give this recipe a try, if you do, I know you’ll love them just as much as my family and friends do.
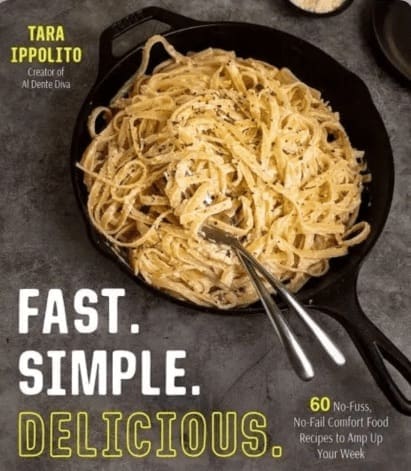
Fast. Simple. Delicious.
Did you know that I have a cookbook called Fast Simple Delicious?

It’s 60 no fuss no fail comfort food recipes perfect for busy weekday dinners.
Click HERE to order your copy or click the 3 lines in the top right corner and click “Book”. Thank you for the support.
Sour Cream Mashed Potatoes Variations
I love this recipe for mashed potatoes as it is, but here are some ways to chang it up if you’d like to.
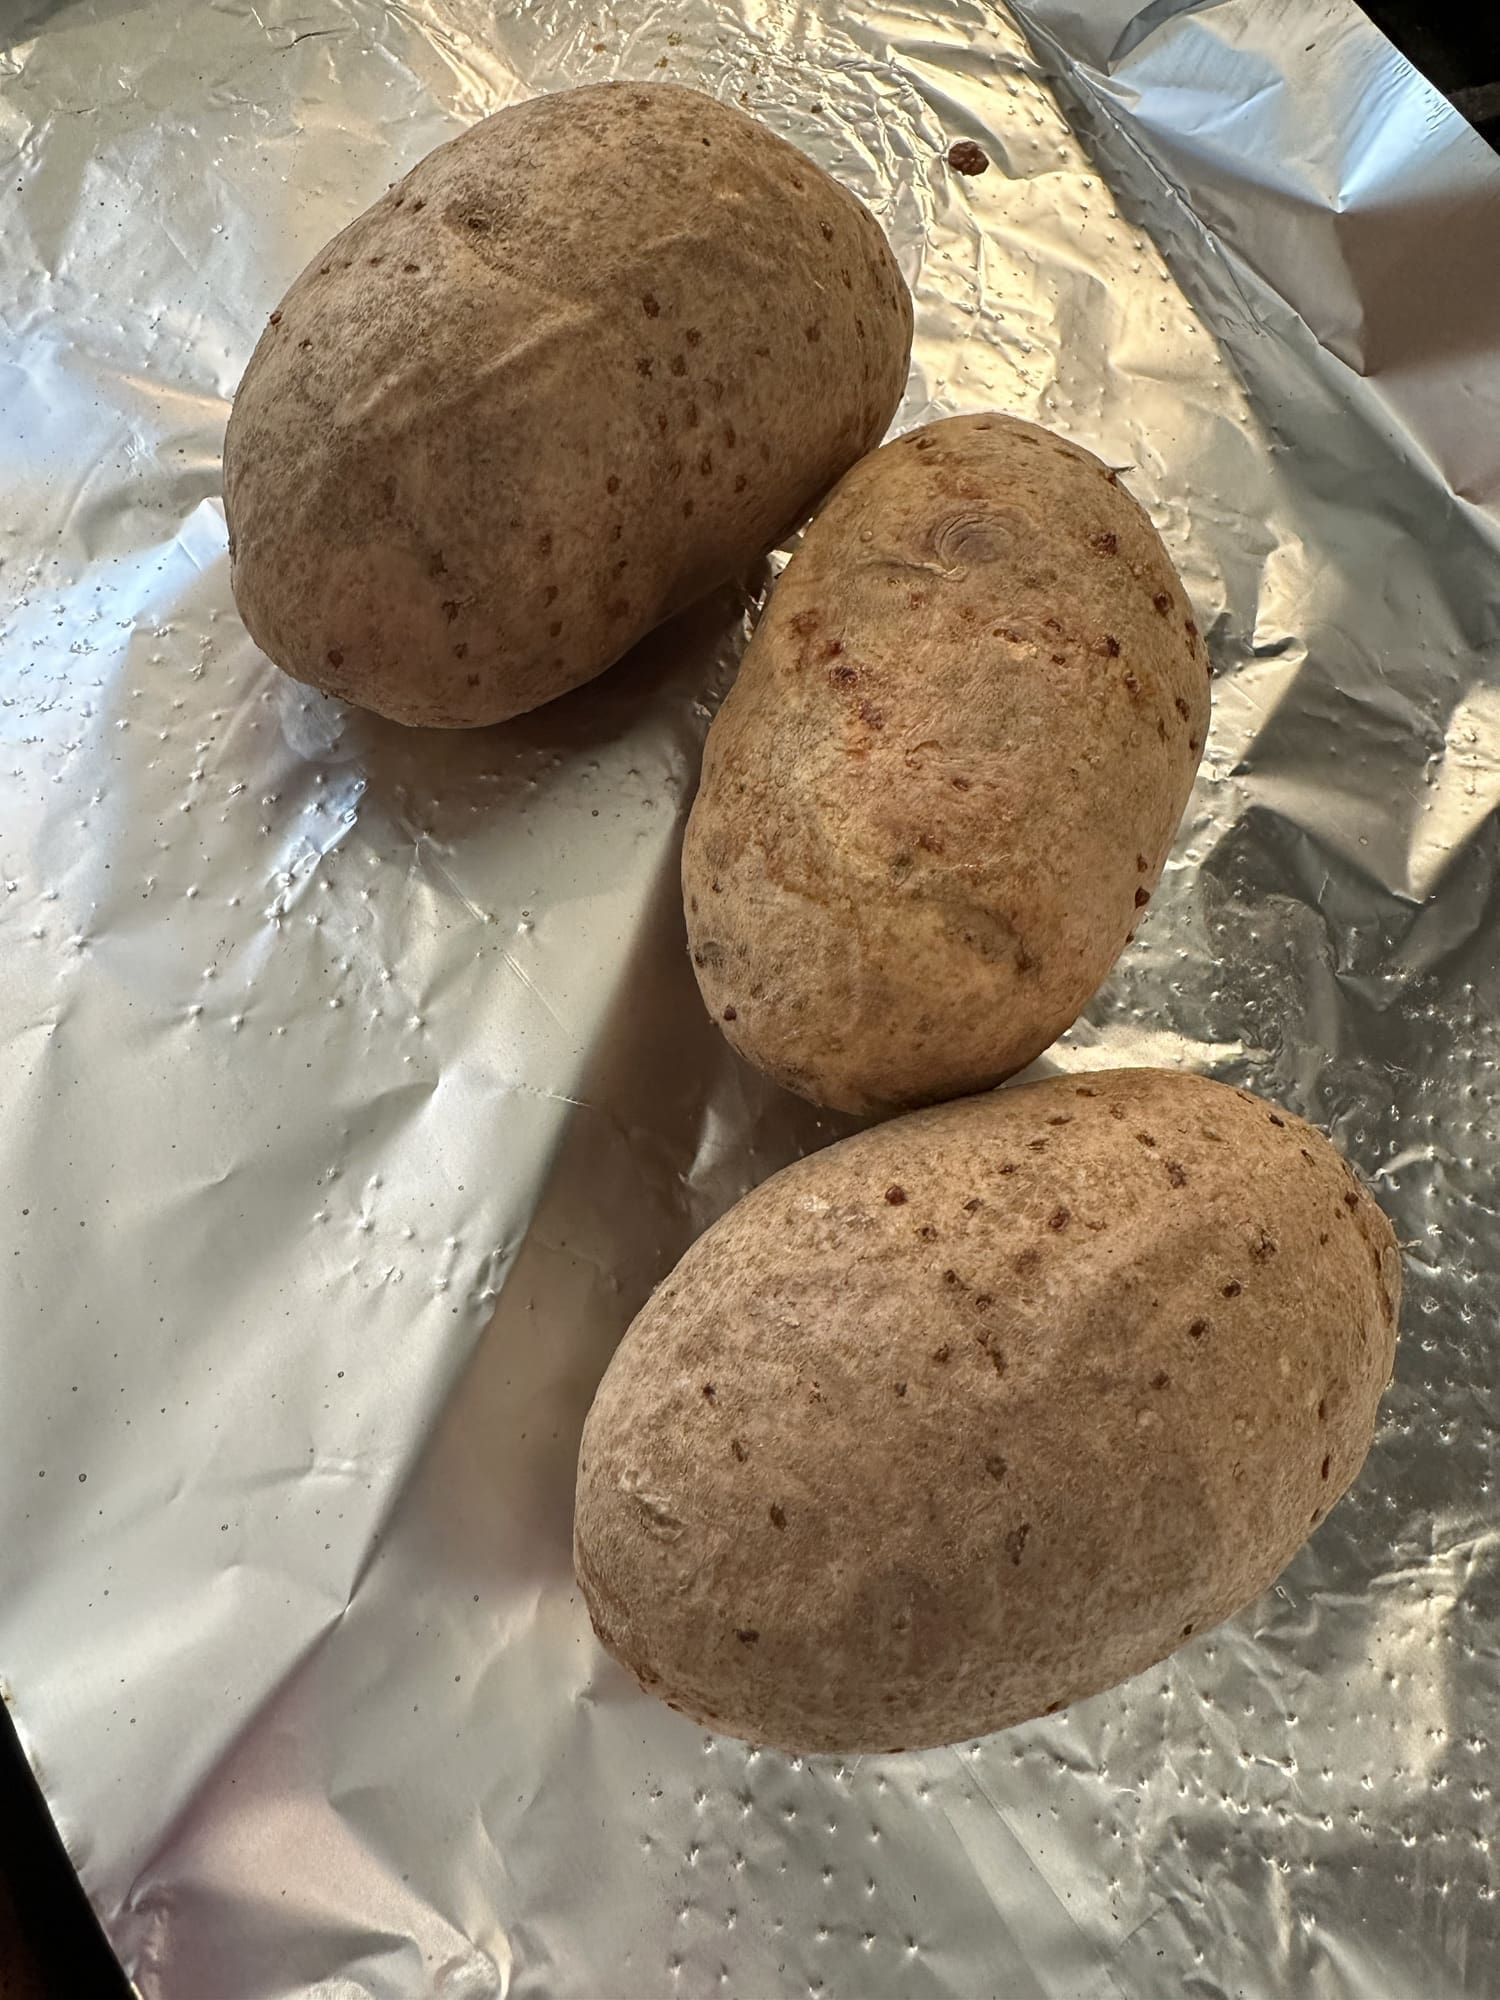
- Potatoes- Yukon Gold or Russet potatoes work best for making mashed potatoes.
- Broth- Chicken, vegetable or bone broth can all be used for this recipe.
- Mashing- The hand mixer makes these mashed potatoes so smooth and creamy. If you prefer a bit of a more chunky texture, a traditional potato masher would be just fine to use.
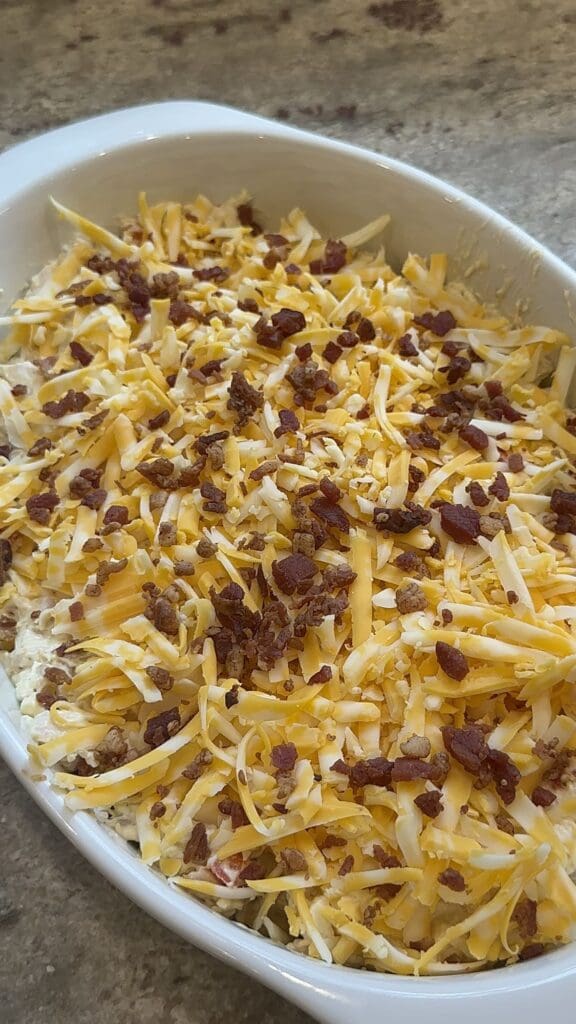
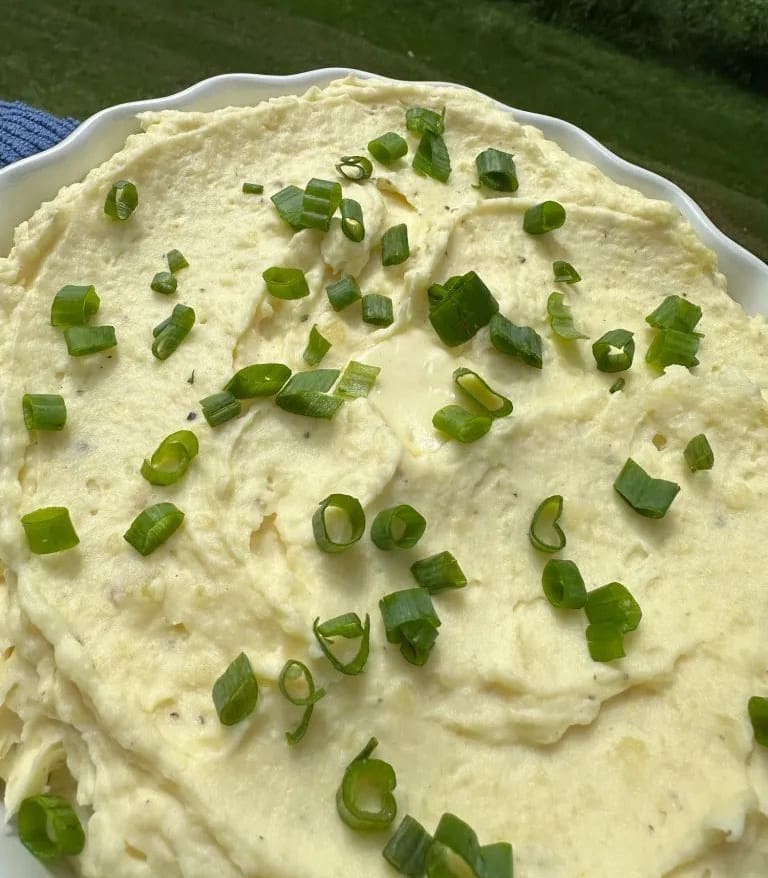
- Garnish- scallions, chives or parsley are all great choices for a garnish.
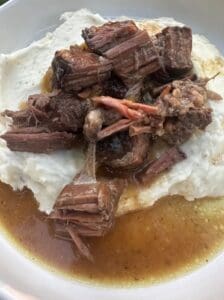
Other Easy Potato Side Dishes
If you like easy to make potato dishes like this one, here are some others that I know you’ll love, too.

Sour Cream Mashed Potatoes Ingredients
- Yellow Potatoes
- Sour Cream, room temperature
- Vegetable Broth
- Butter, room temperature
- Heavy Cream/Milk
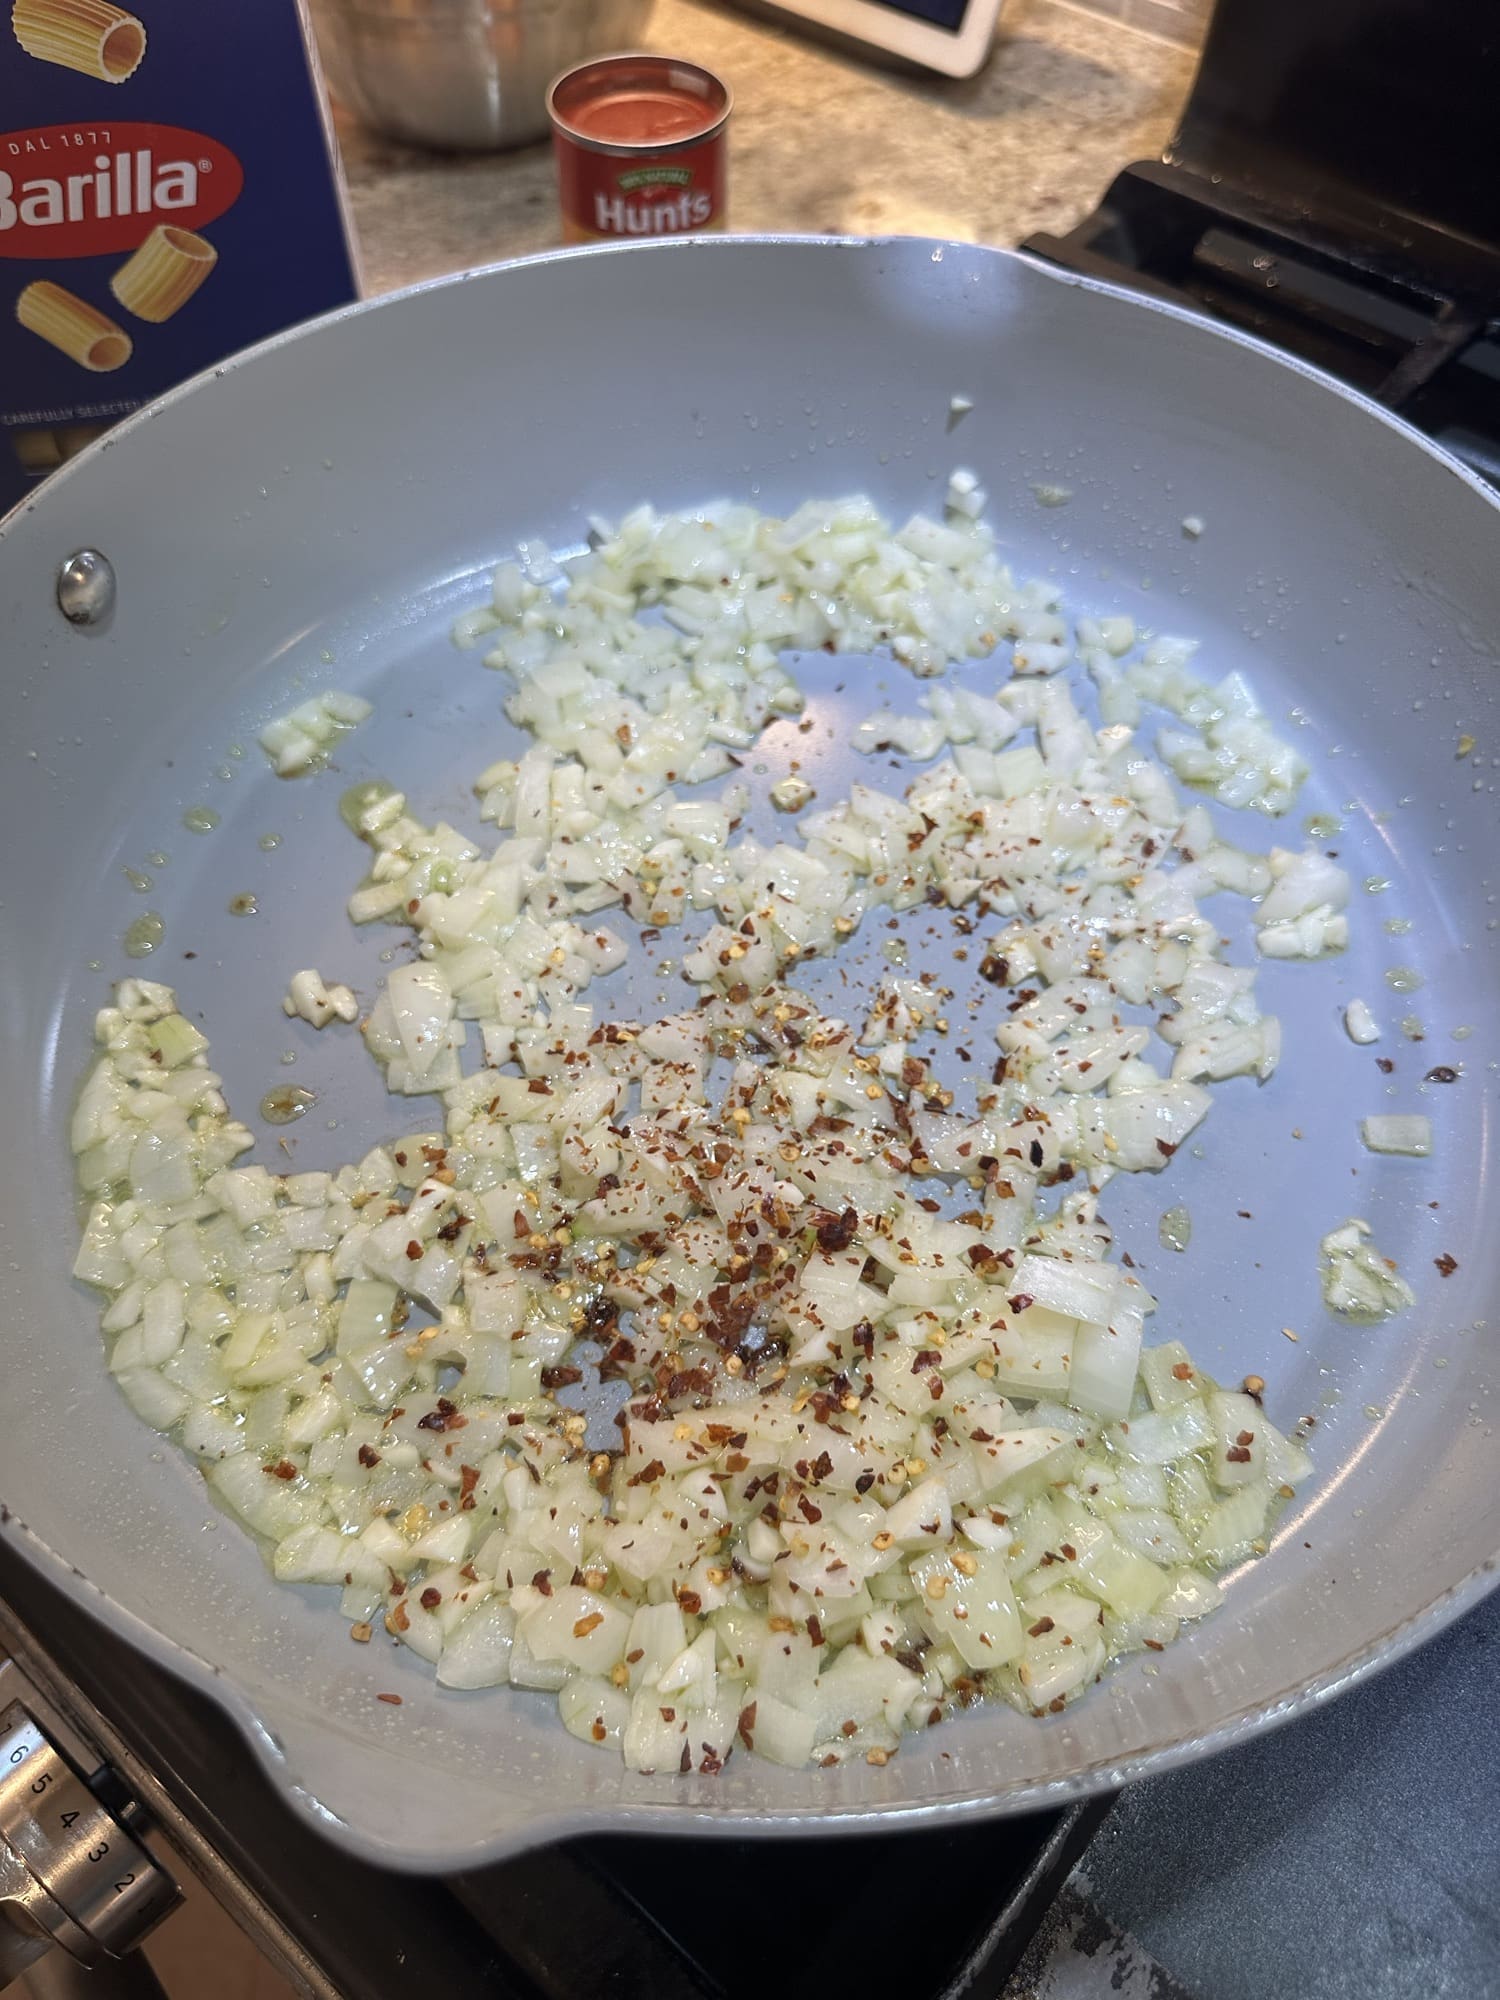
- Salt, Pepper, Garlic Powder
- Scallions or Chives, chopped for garnish (optional)
Instructions
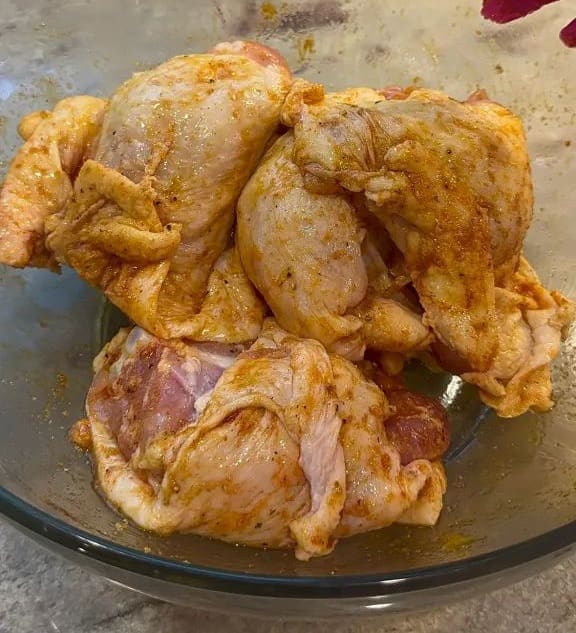
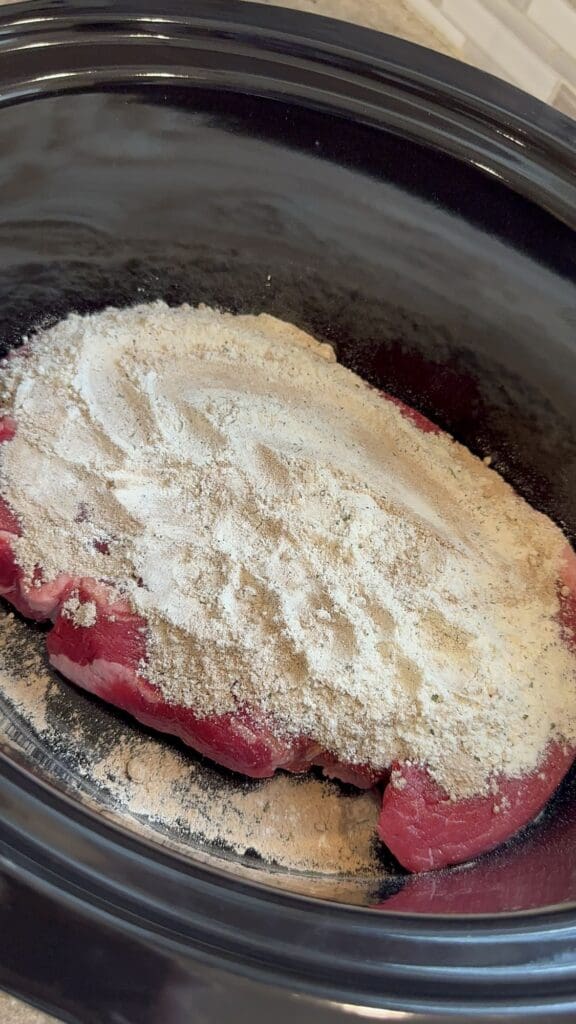
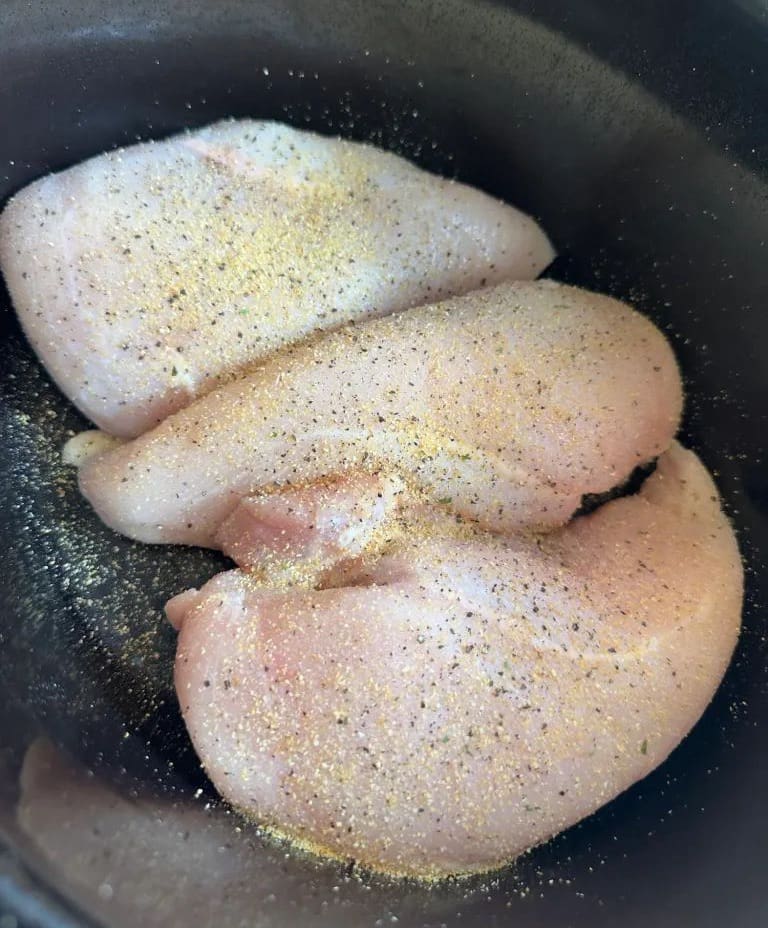
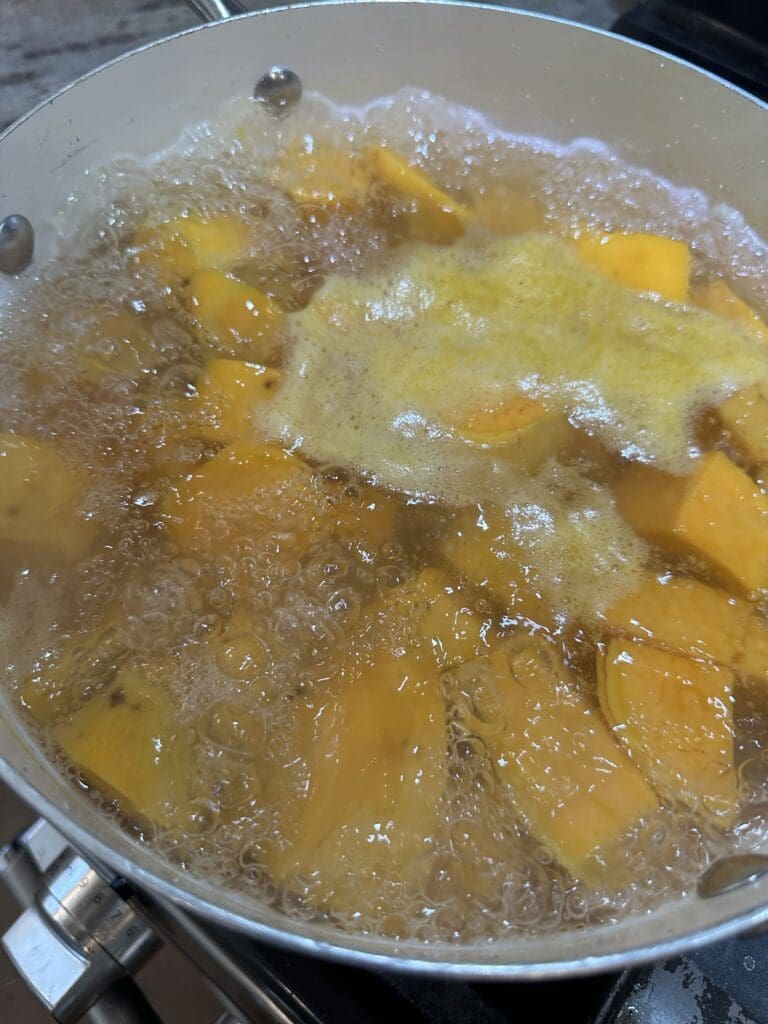
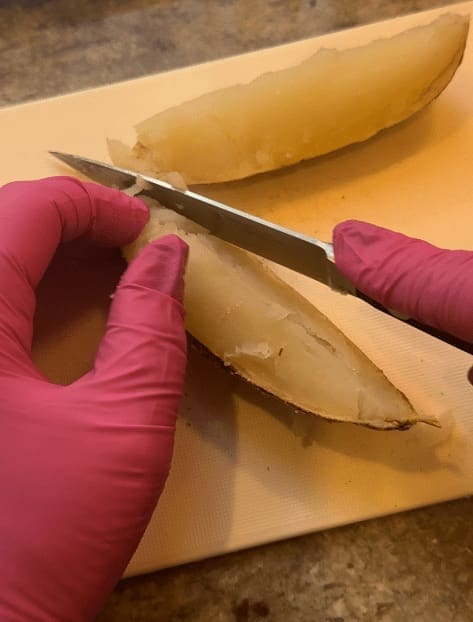
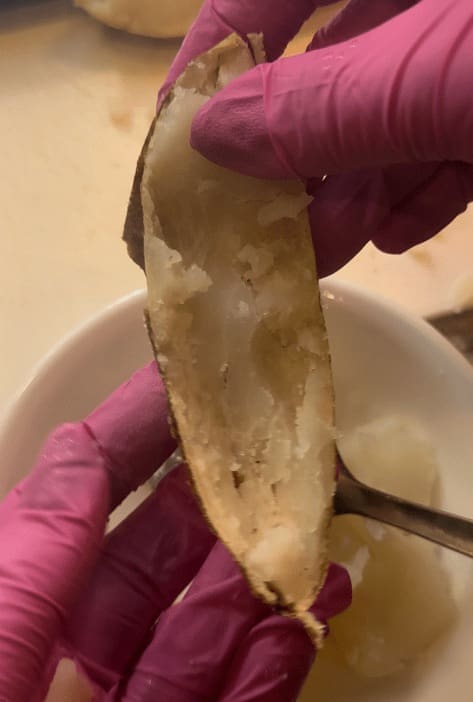
First, clean, peel and cut the potatoes into equal sized pieces about 1- 2 inches.
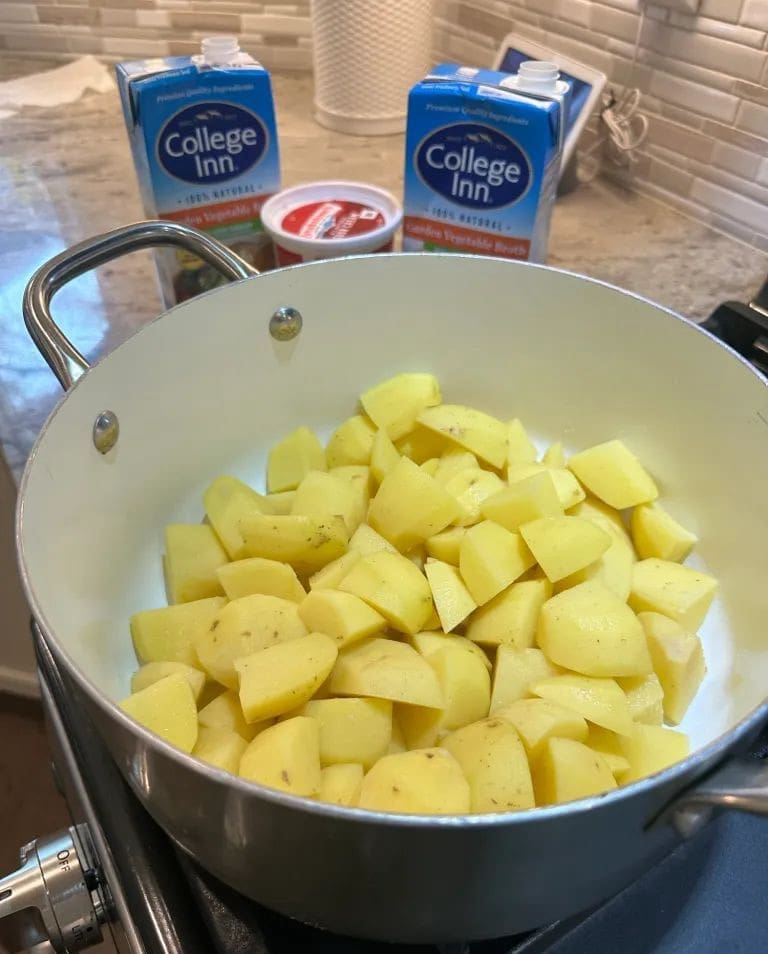
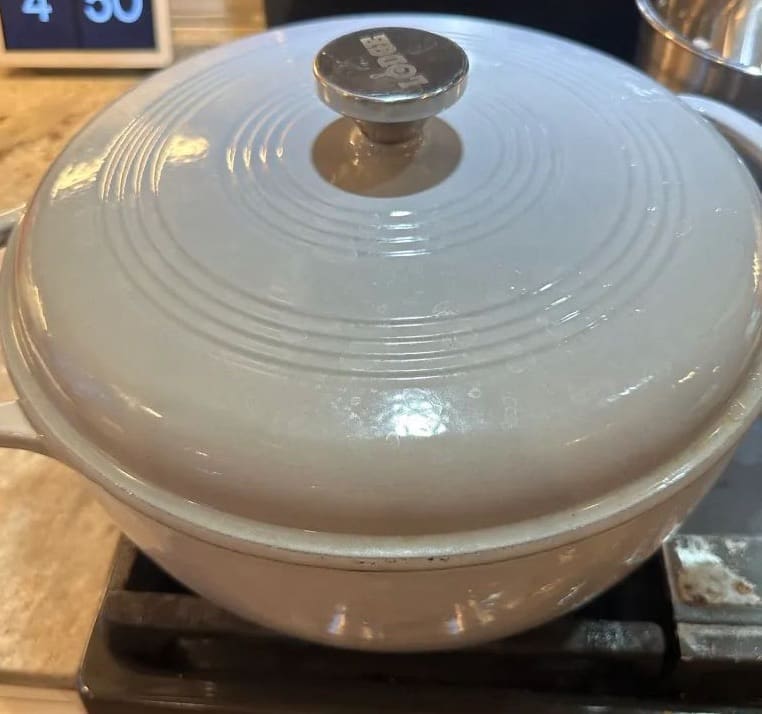
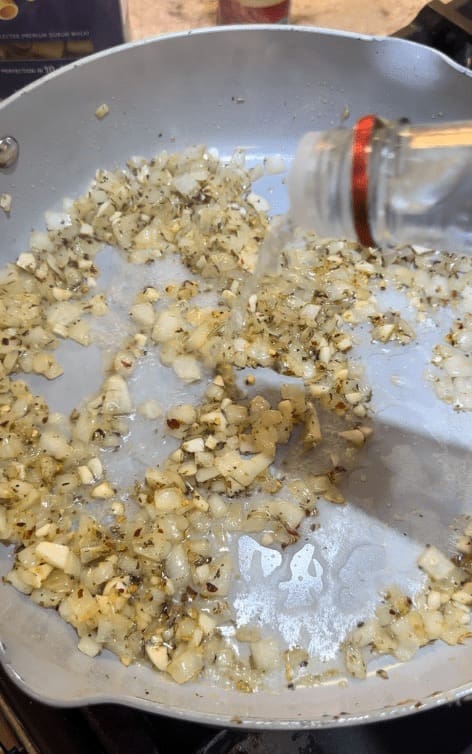
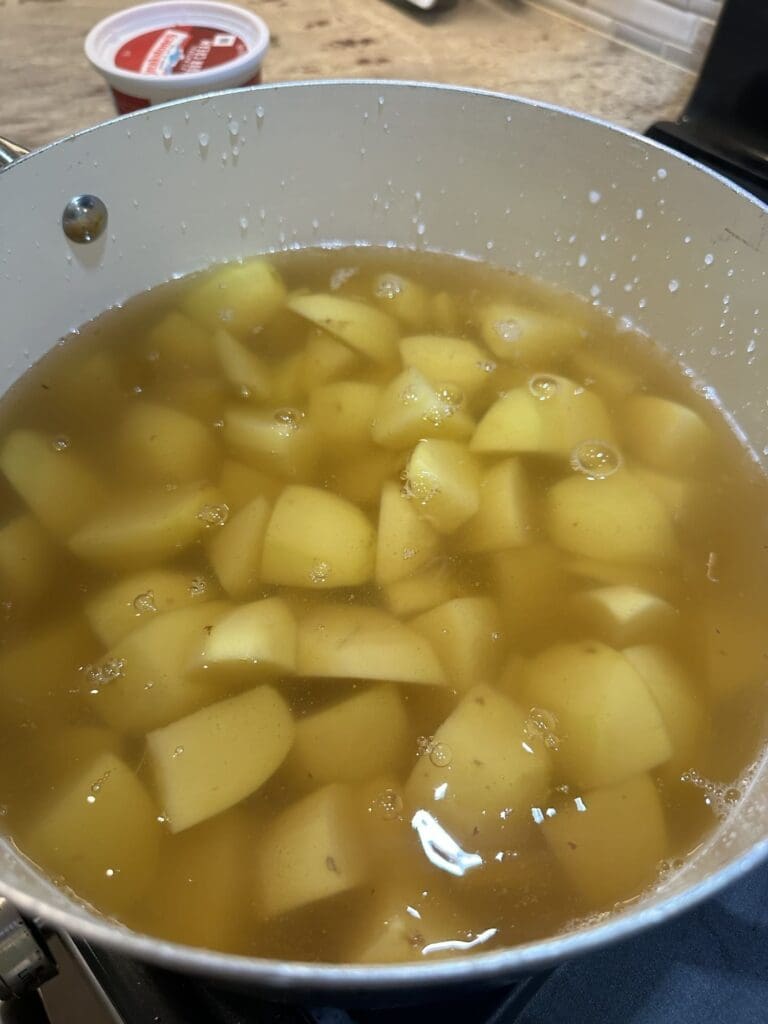
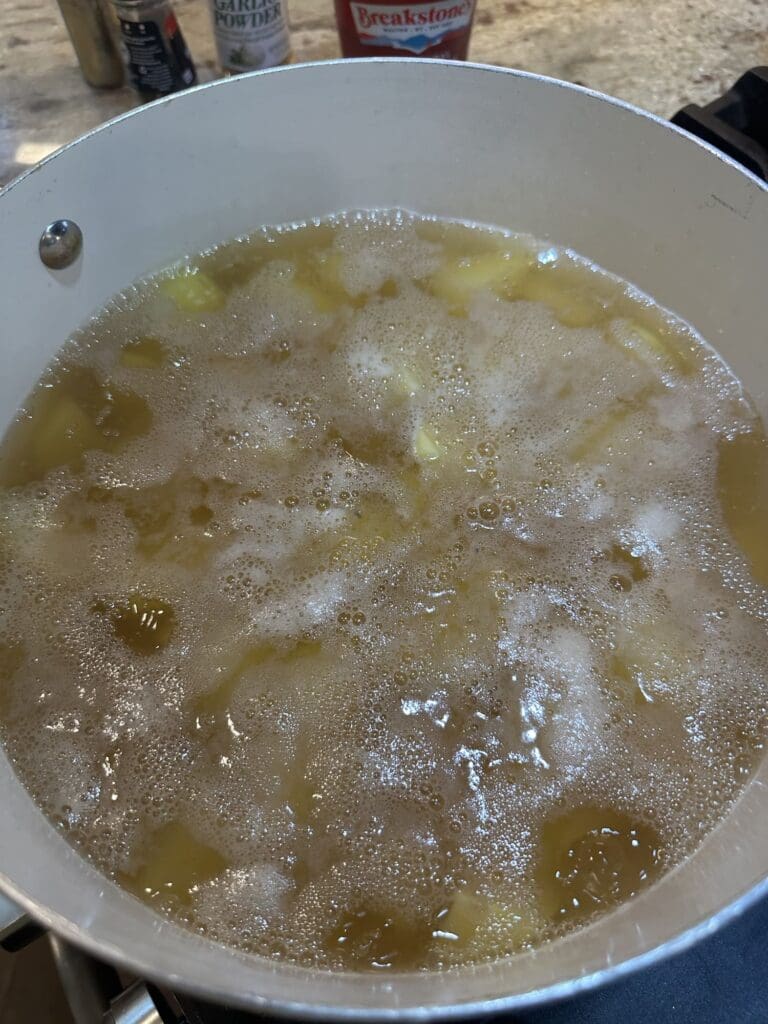
Now, place them in a large pot and add the broth until it covers the potatoes.
Then, then the heat up until the liquid starts to boil and then turn it down to medium low.
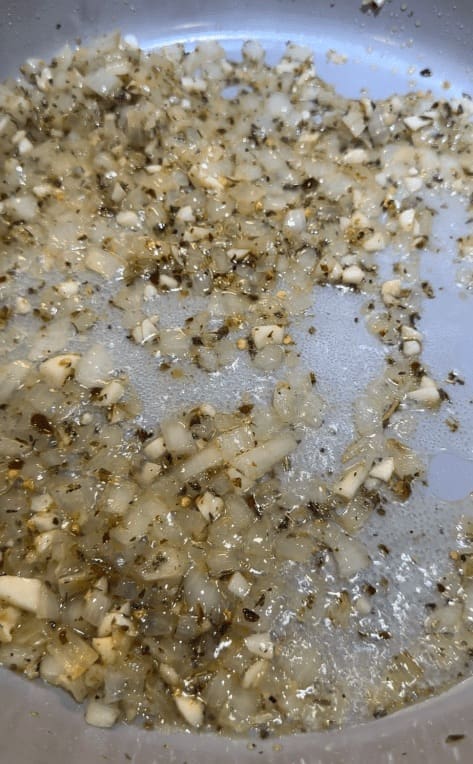
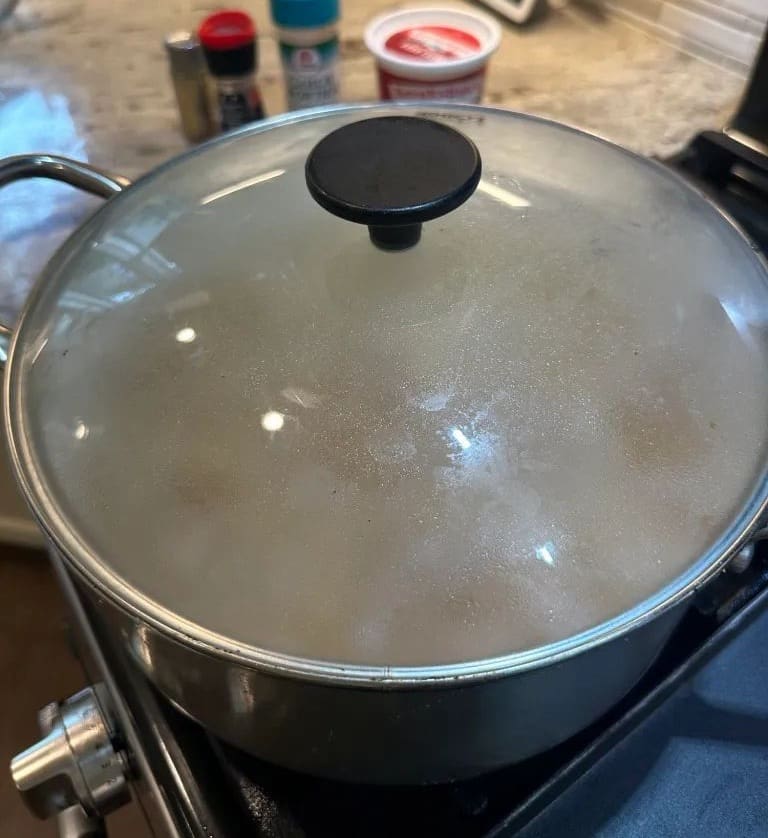
Next, let the potatoes gently boil, covered, for about 10-15 minutes or until they are fork tender.
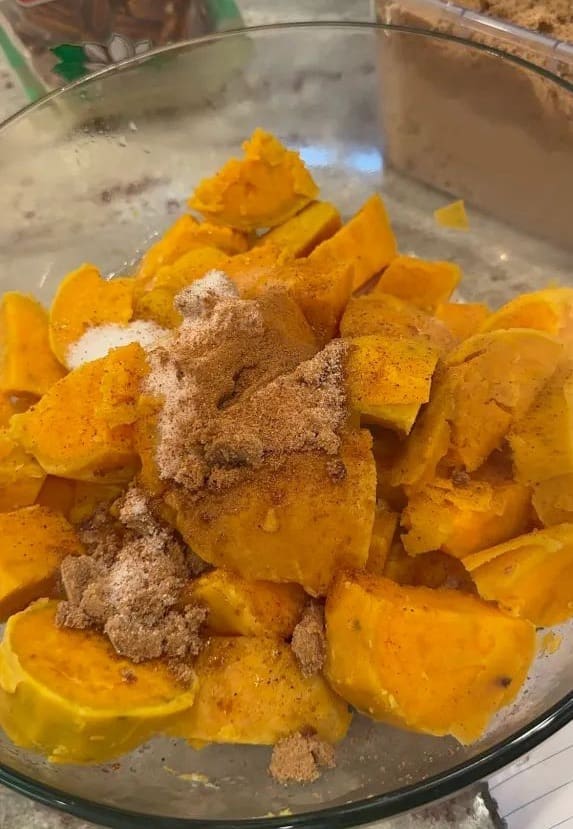
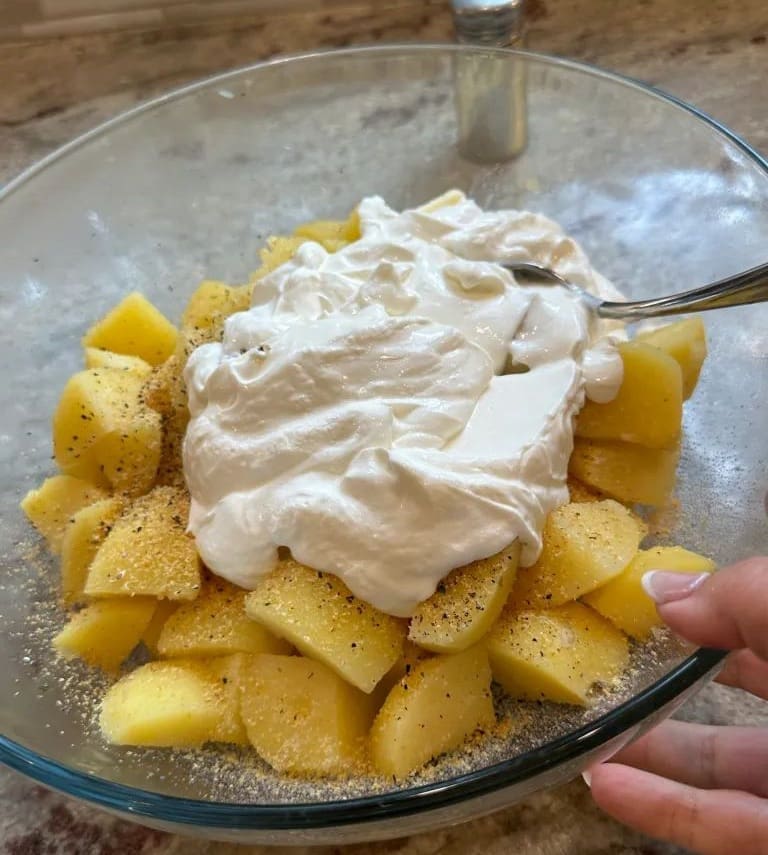
Now, drain the potatoes from the vegetable broth and add them to a large bowl.

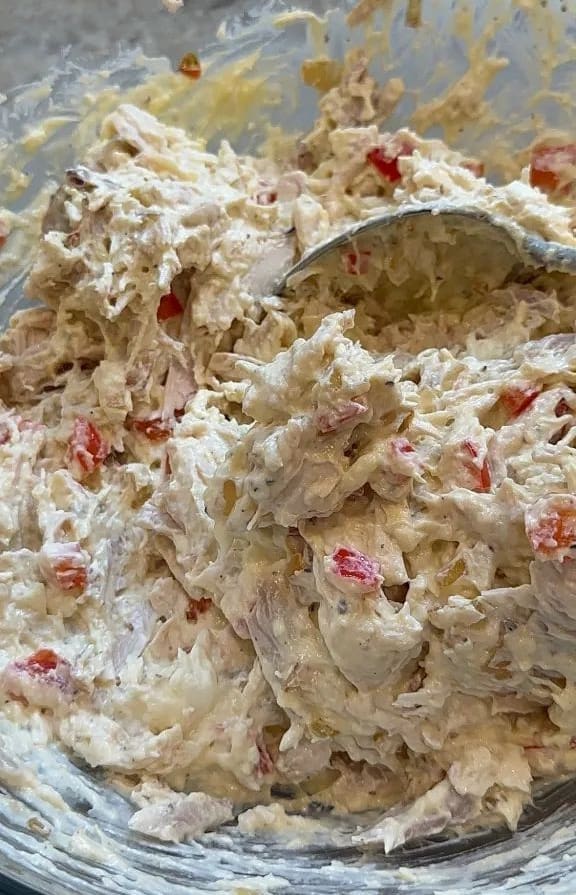
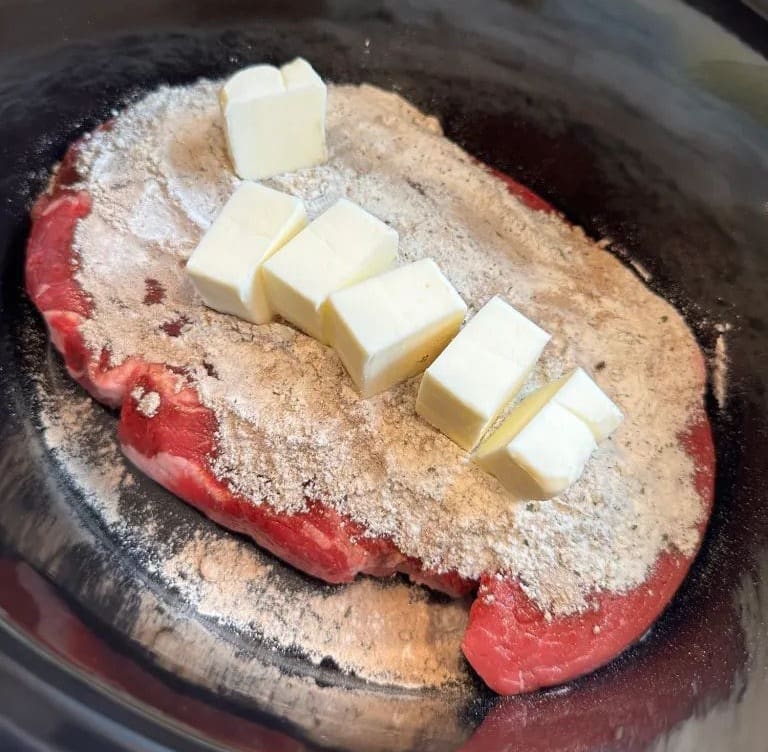
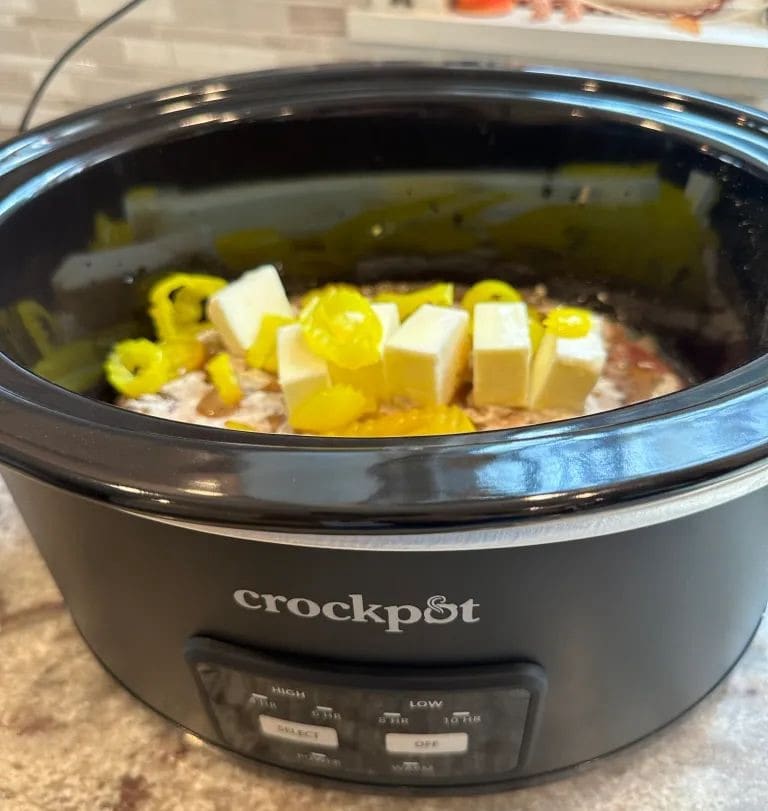
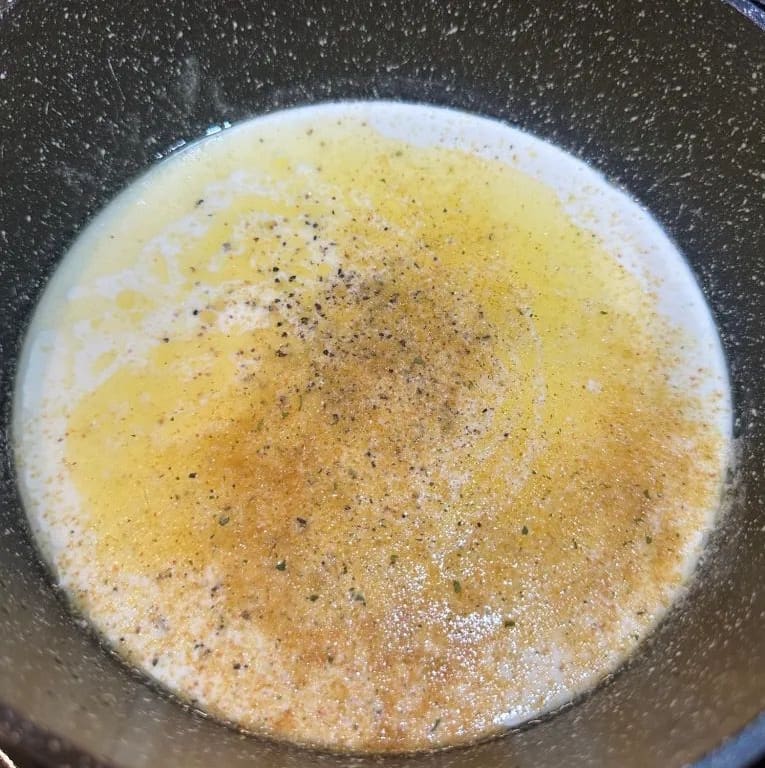
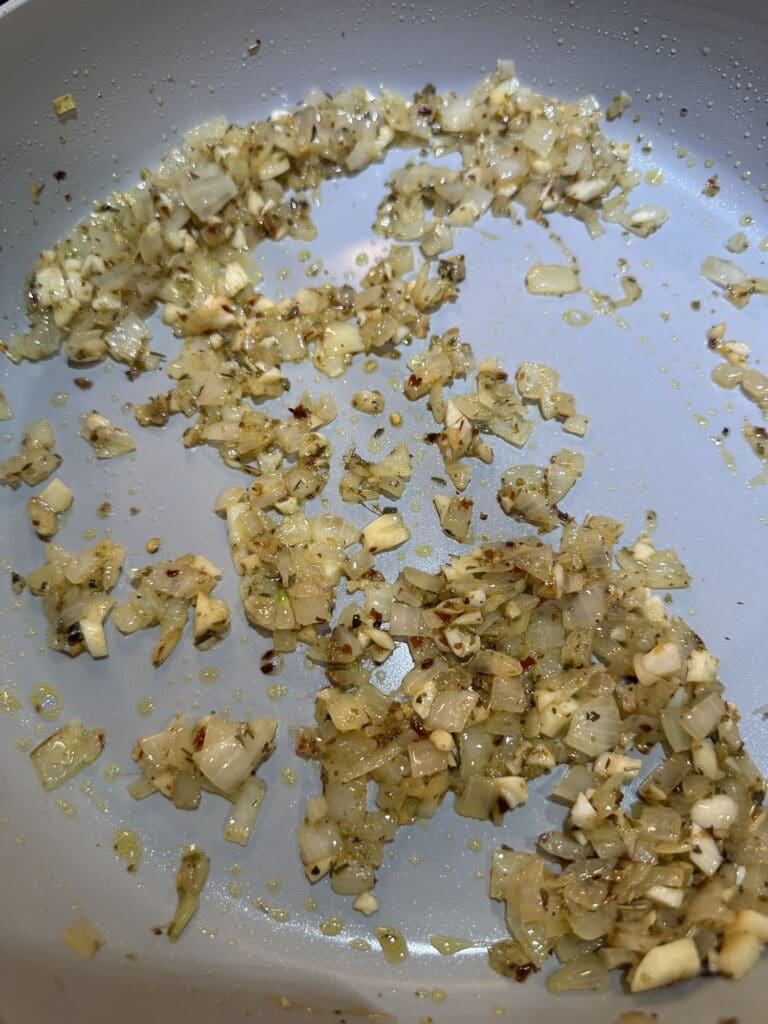
Then, add the butter, sour cream, salt, pepper and garlic powder.
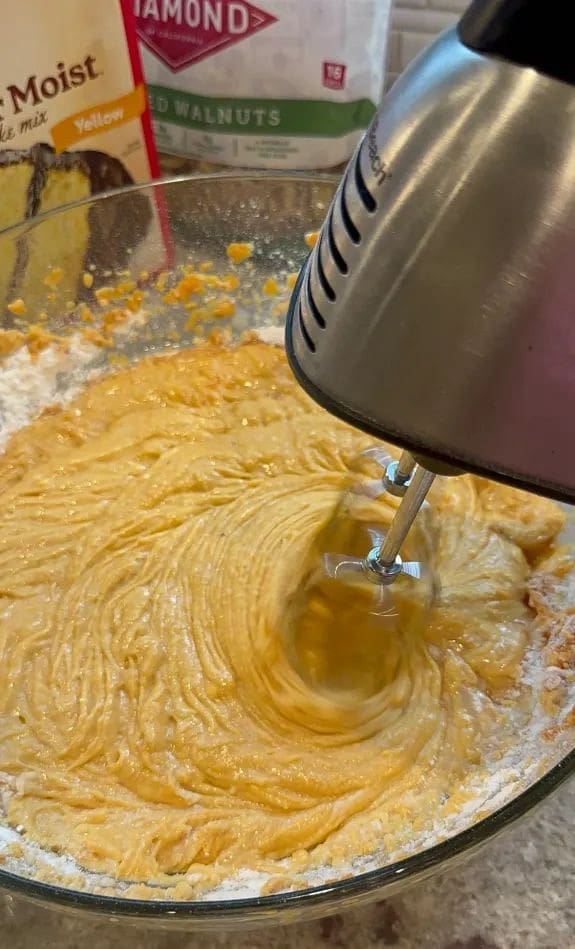
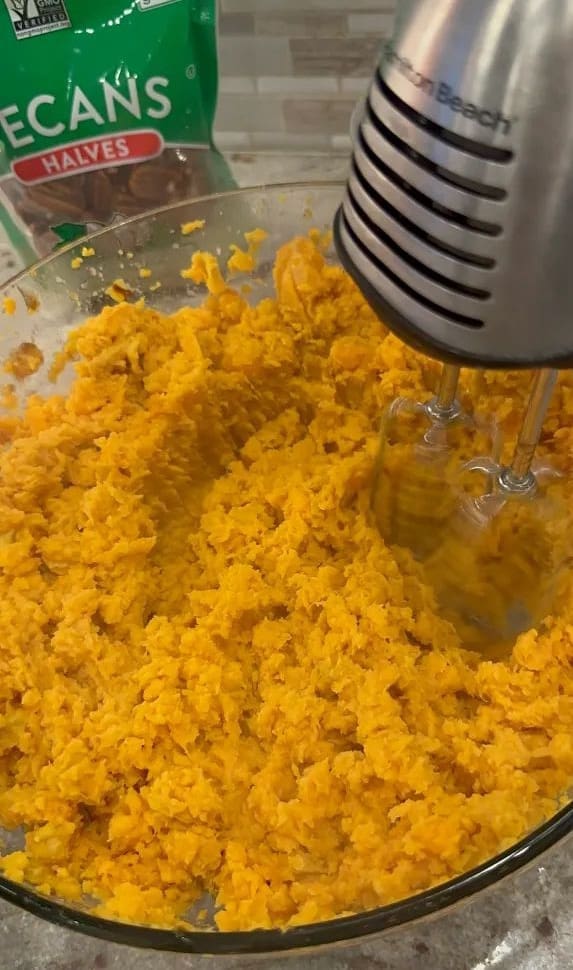
Next, using a hand mixer on the lowest setting to start, begin to blend the potatoes together.
Then, once the potatoes are fully blended and looking like smooth mashed potatoes add in the heavy cream. Add more heavy cream if you'd prefer them a little less thick.
Now, stir in the cream and taste the potatoes. Reseason them if needed and add them to a serving dish. I normally don't give measurements for salt and pepper but just make sure you use enough so the potatoes aren't bland.

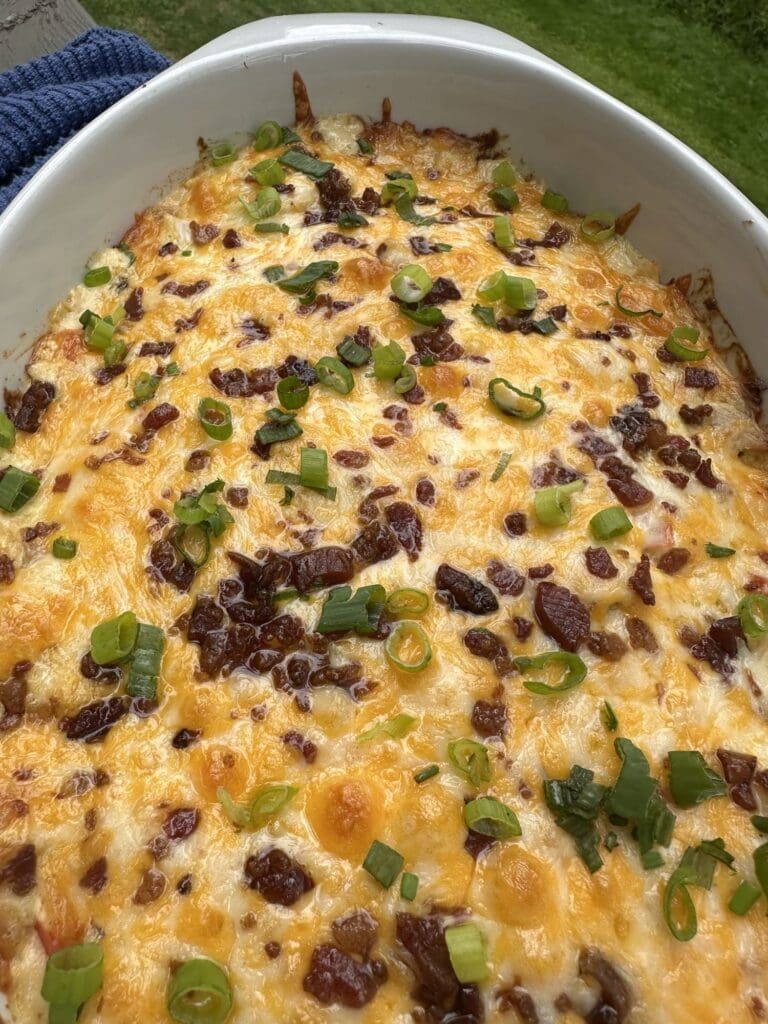
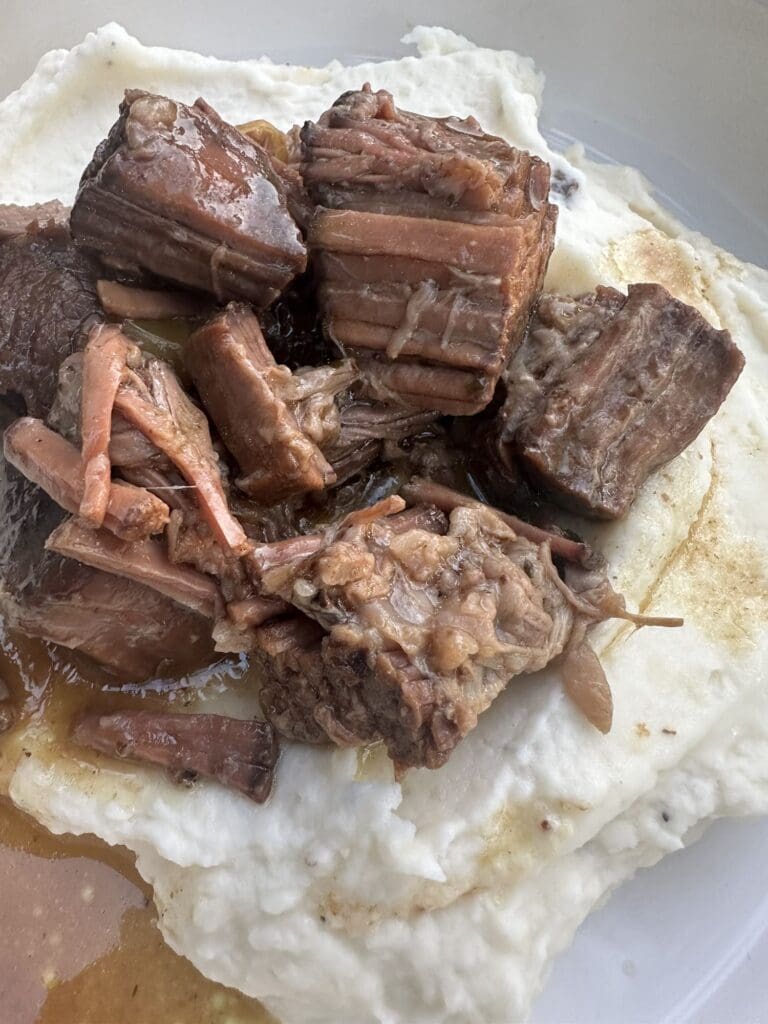
Finally, garnish with scallions, serve warm and enjoy.

Sour Cream Mashed Potatoes
Ingredients
- 3 pounds Yellow Potatoes
- 3-4 cups Vegetable Broth
- 1 cup Sour Cream, room temperature
- 1 stick Butter, room temperature
- ¼ cup Heavy Cream or Milk
- Salt and Pepper to taste
- 1-2 tbs Garlic Powder
- Chives for garnish (optional)
Instructions
- Clean, peel and cut the potatoes into equal sized pieces about 1- 2 inches and place them in a large pot on the stove.
- Add the broth until it covers the potatoes. Turn up the heat until the liquid starts to boil then turn the heat down to medium low.
- Let the potatoes gently boil, covered, for about 10-15 minutes or until they are fork tender.
- Drain the potatoes from the vegetable broth and add them to a large bowl.
- Add the butter, sour cream, salt, pepper and garlic powder.
- Using a hand mixer on the lowest setting to start, begin to blend the potatoes together until they are smooth.
- Stir in the heavy cream and reseason the potatoes if needed. Add more cream if you want to thin them out a little more.
- Add them to a serving dish and garnish with the scallions. Serve warm and enjoy!