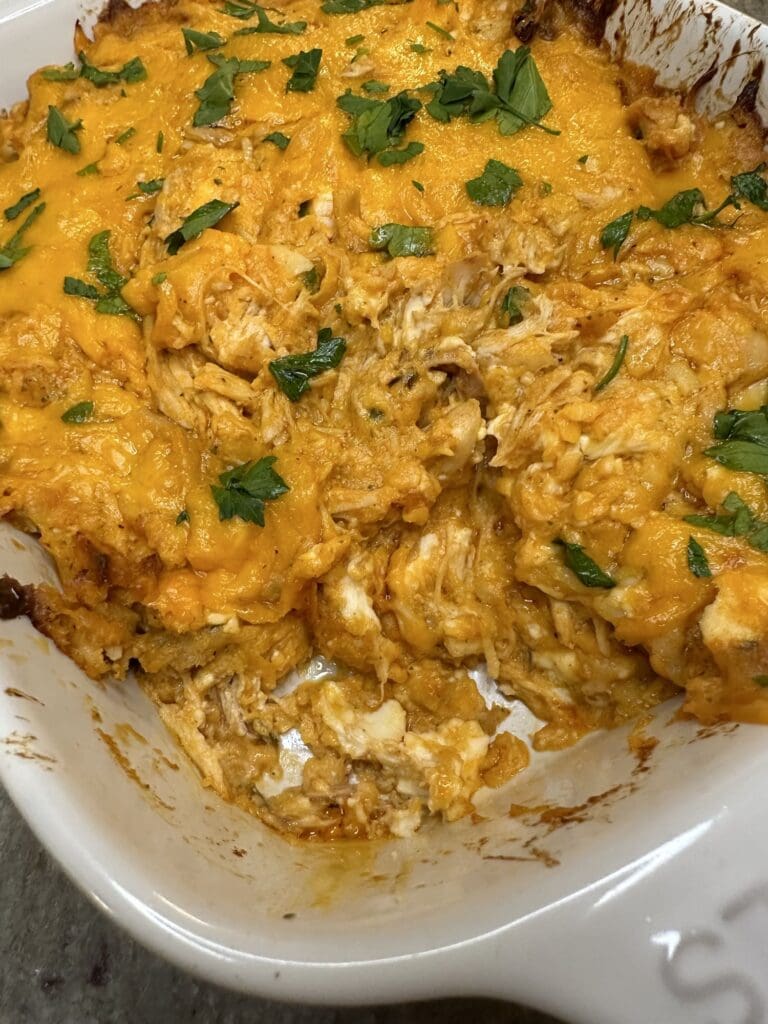
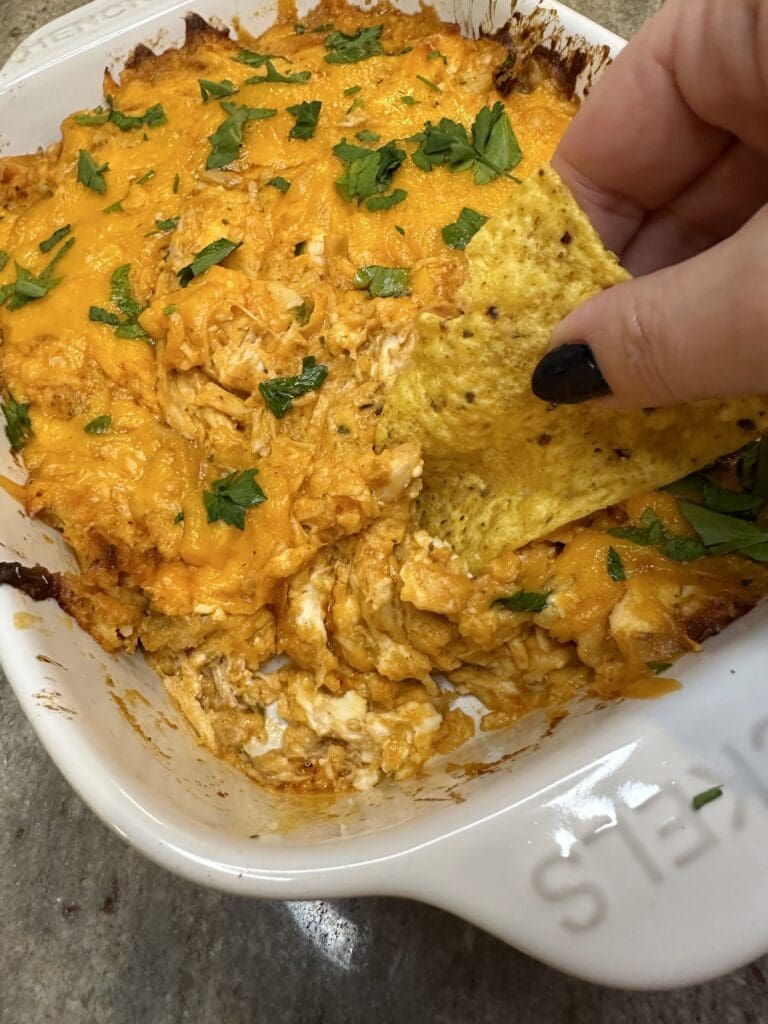
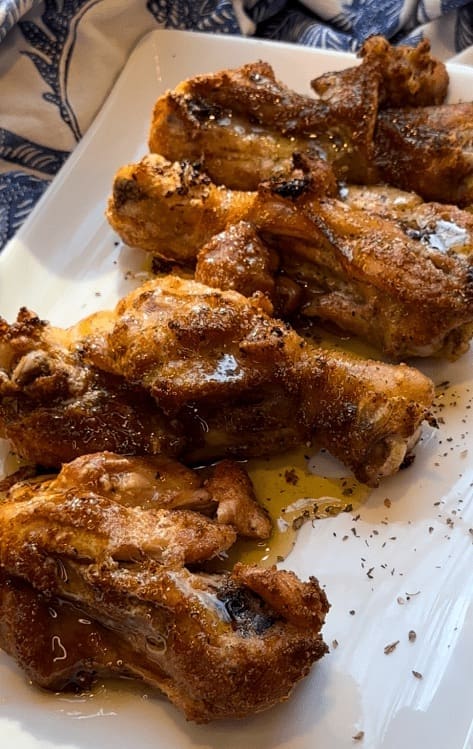
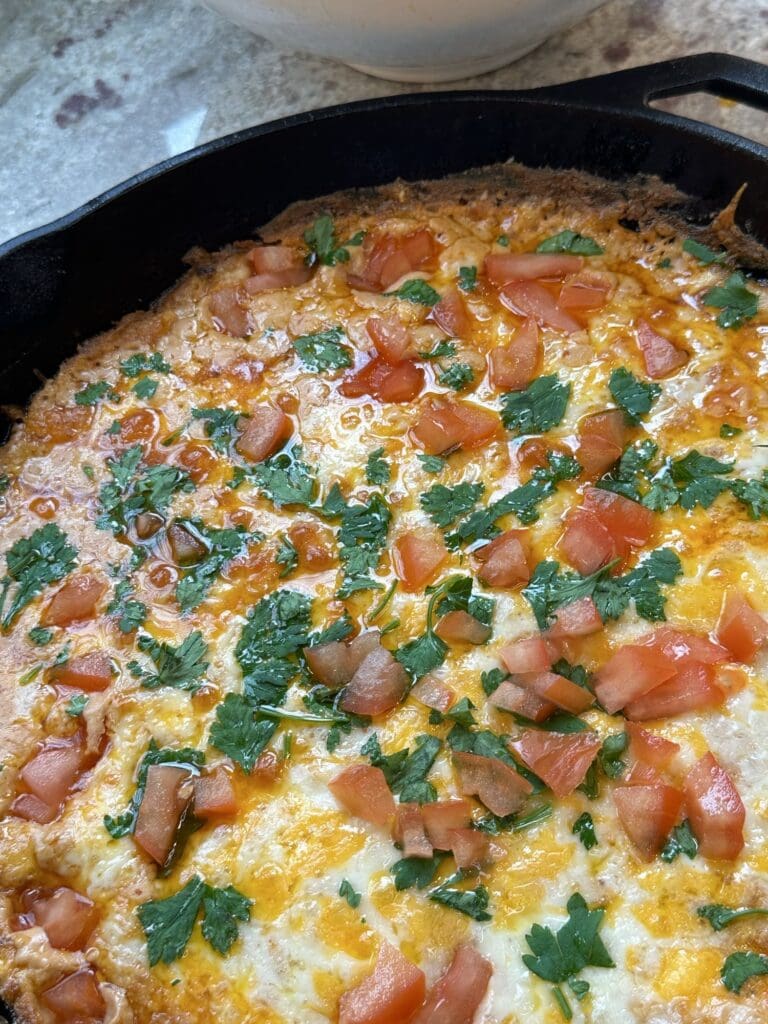
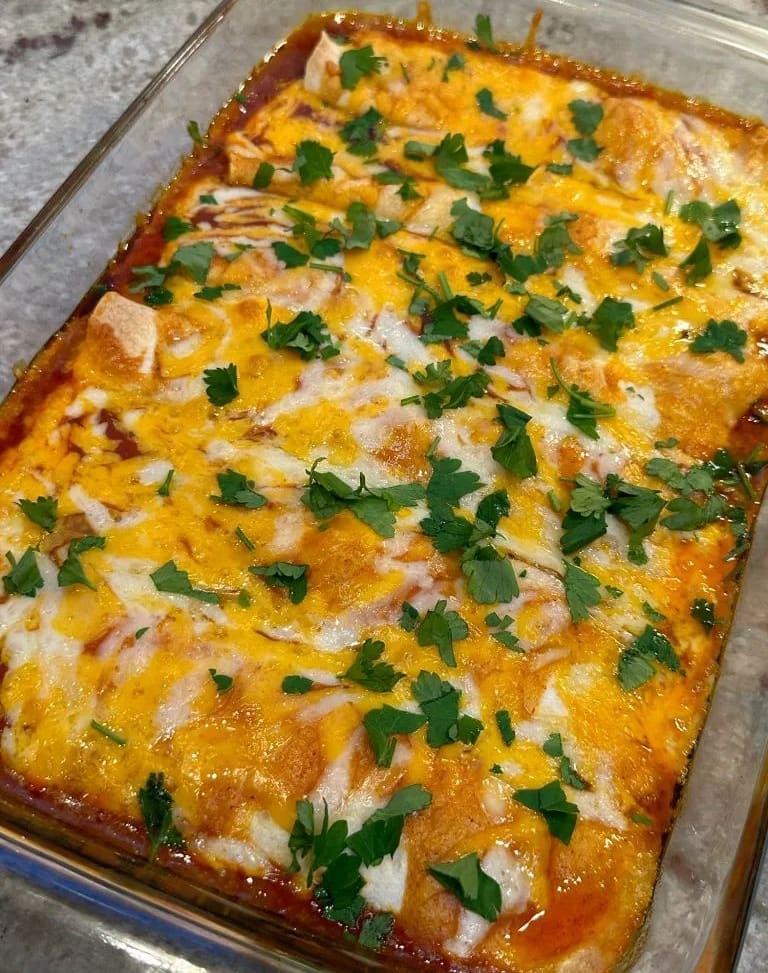
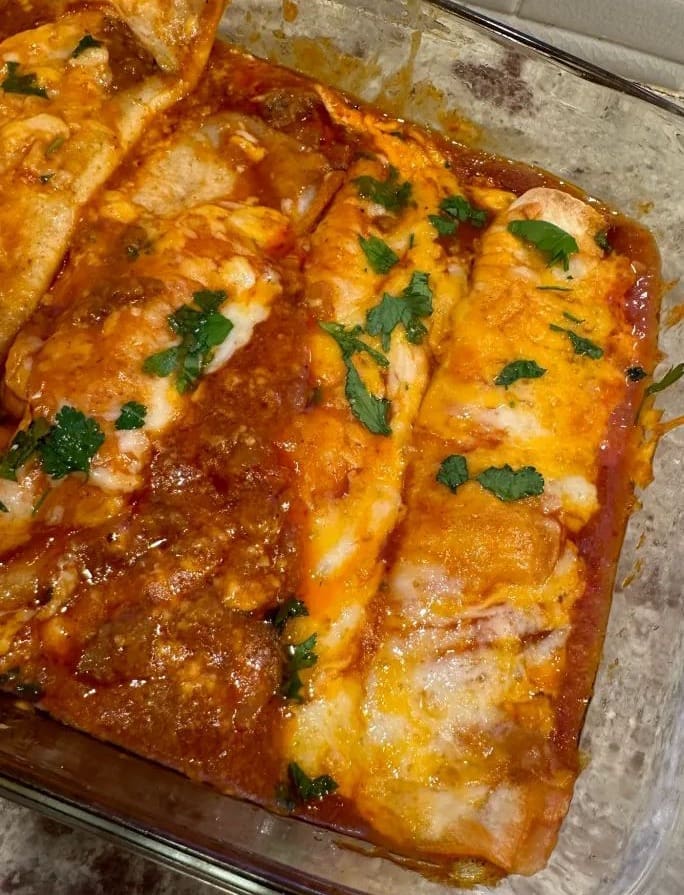
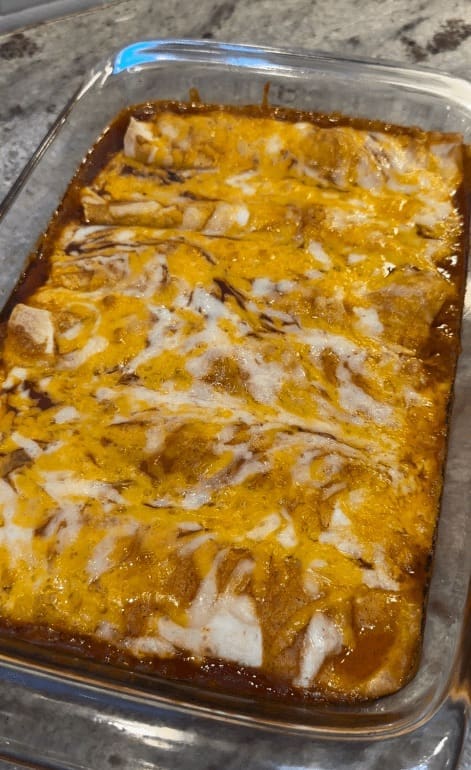
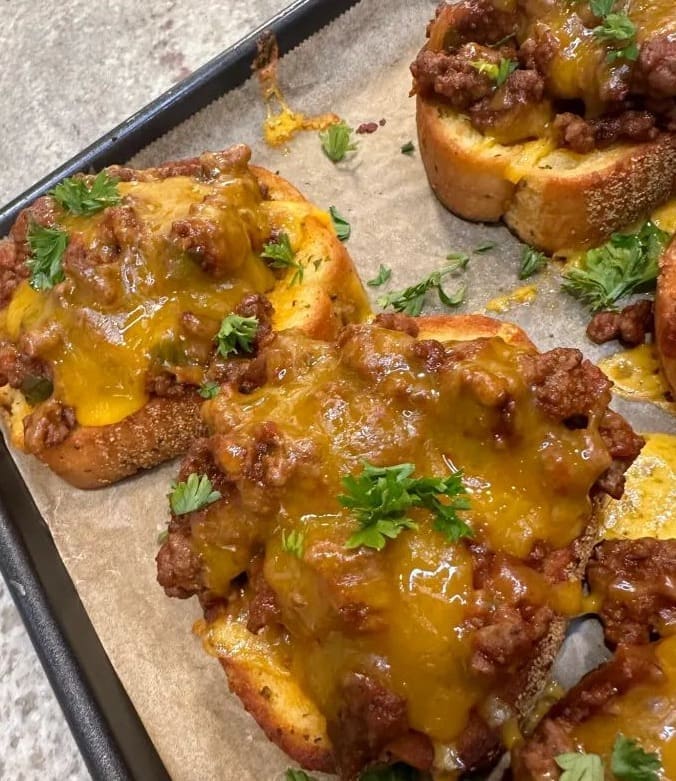
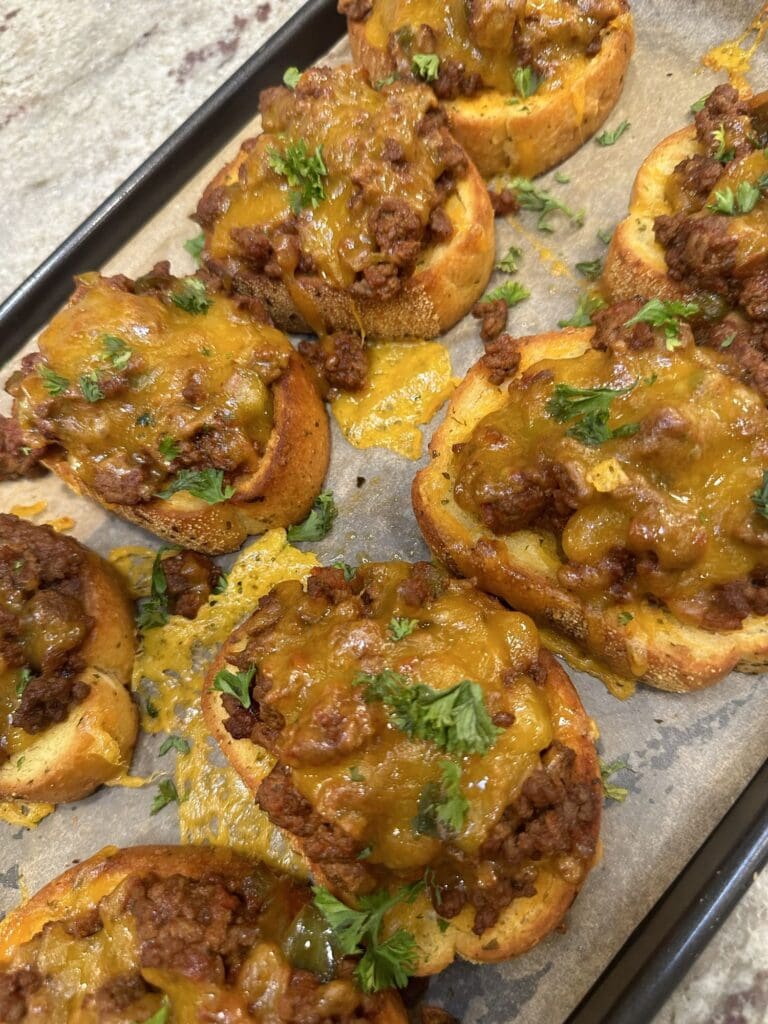
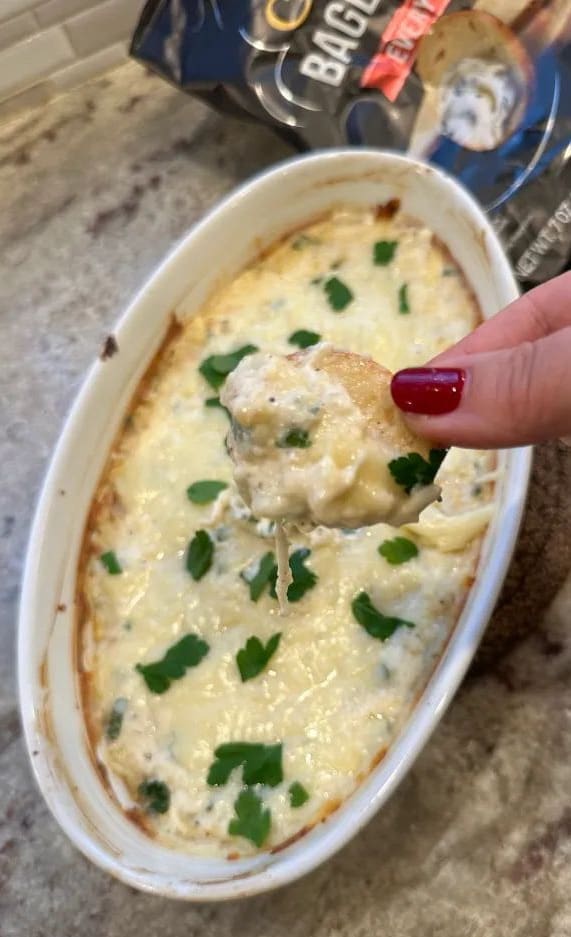
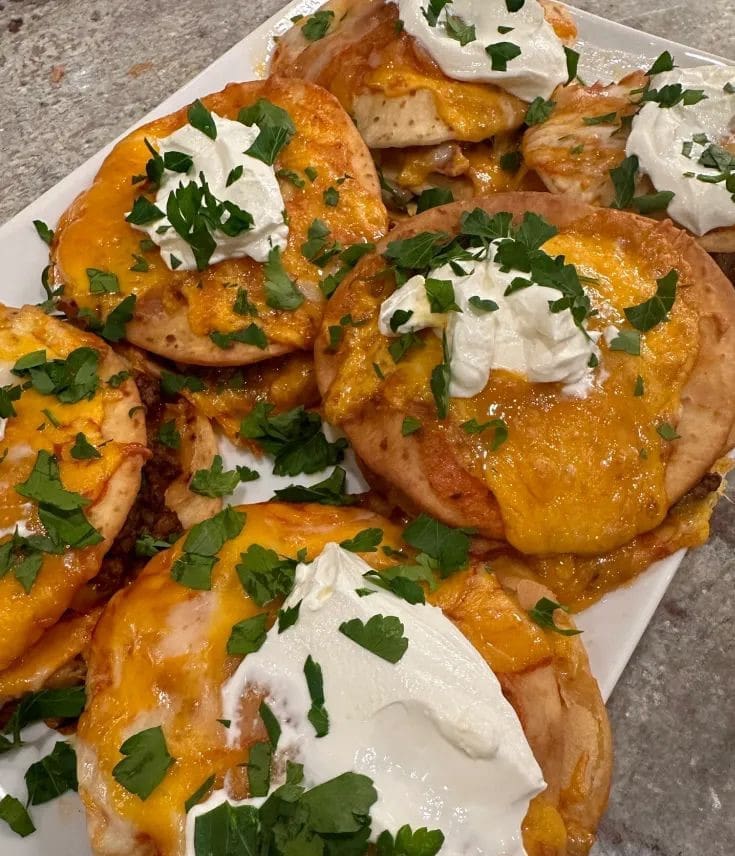
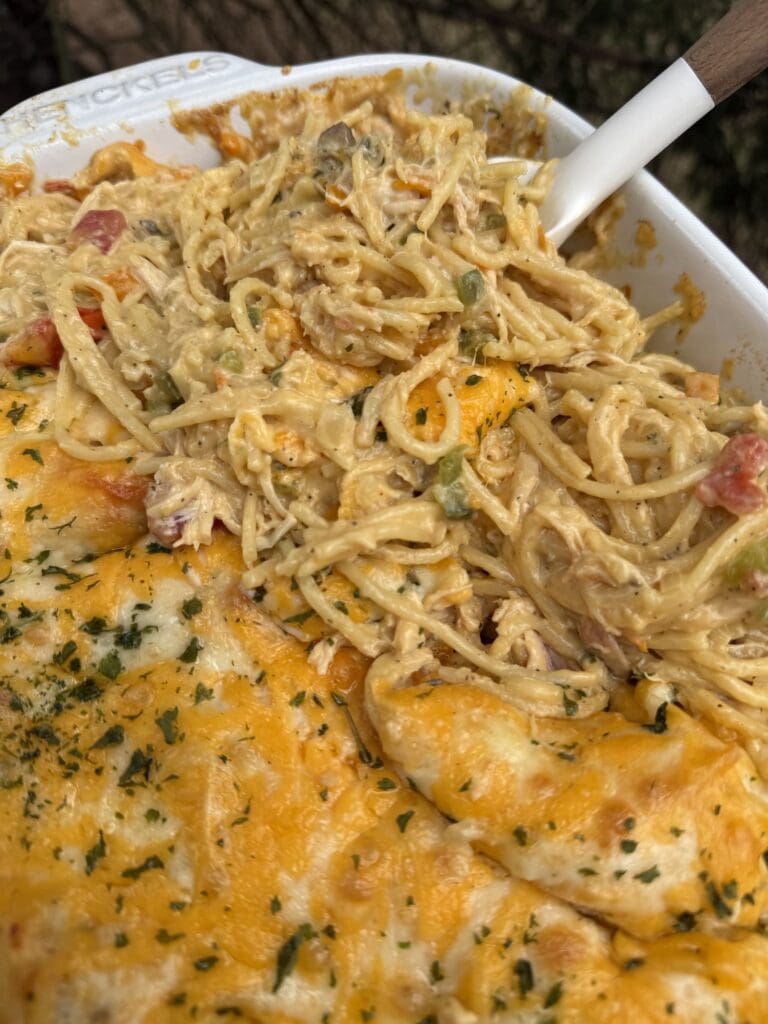
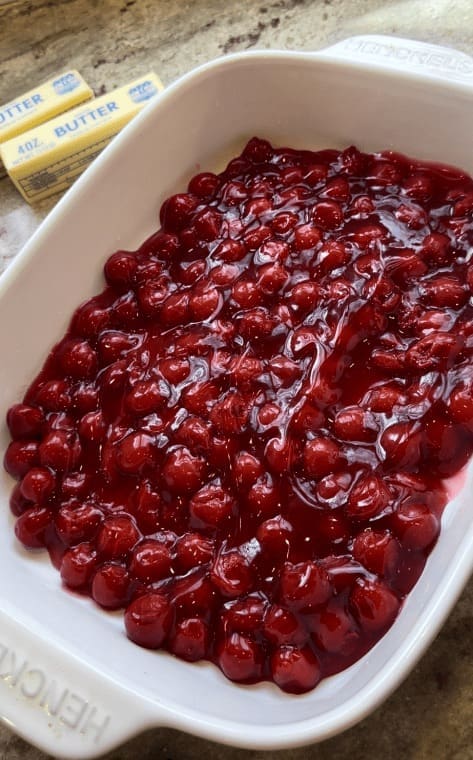
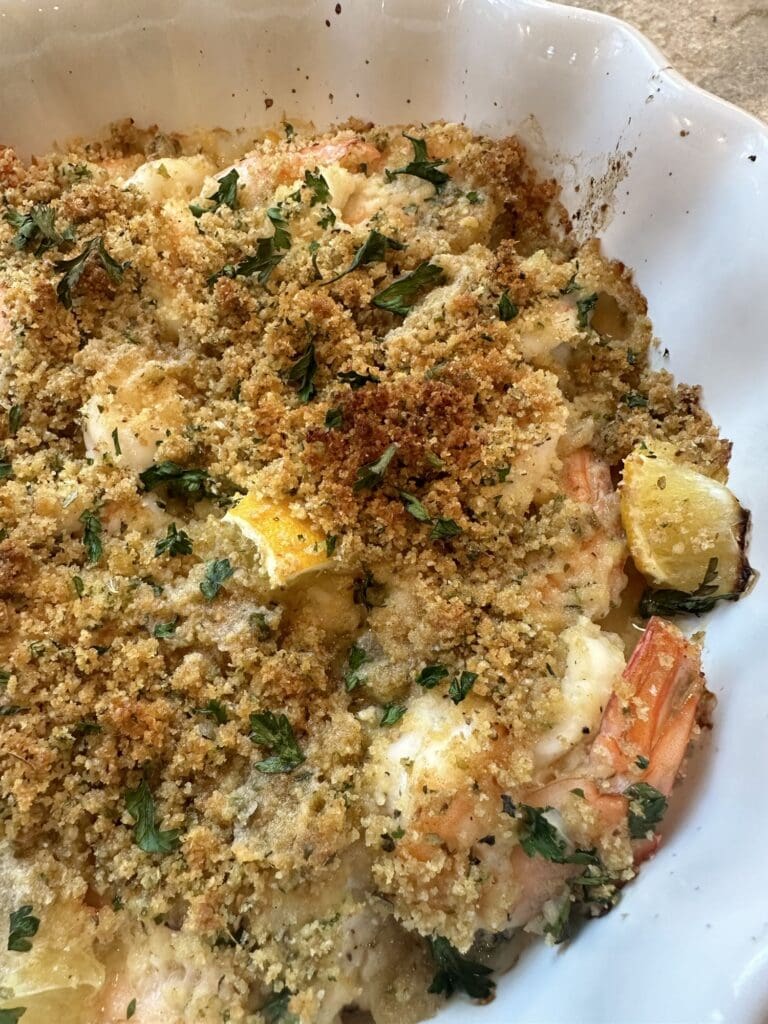
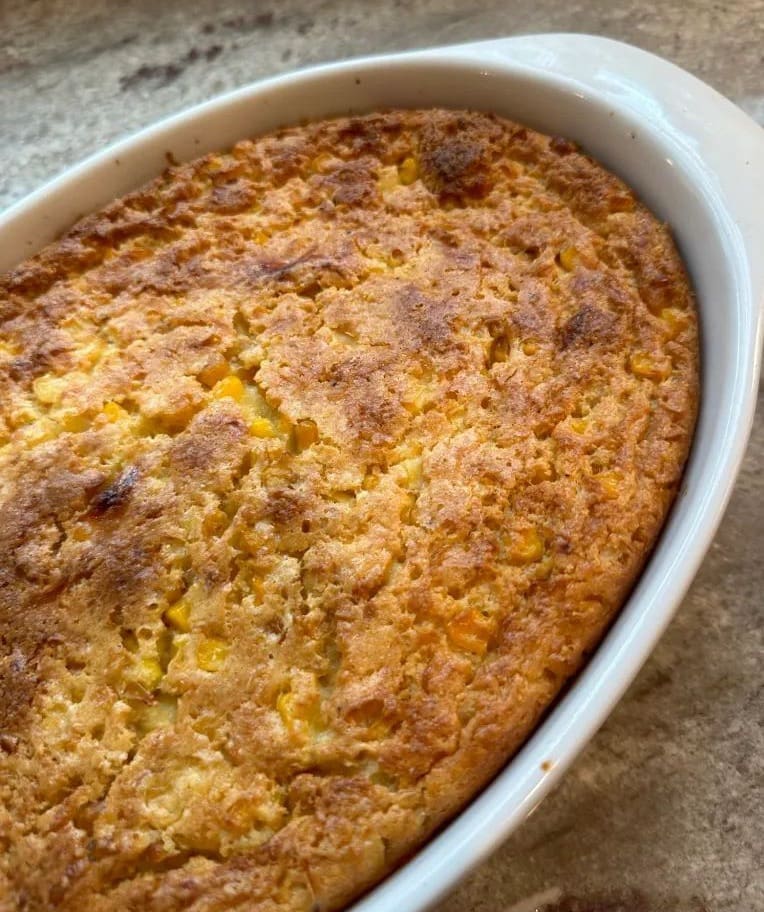
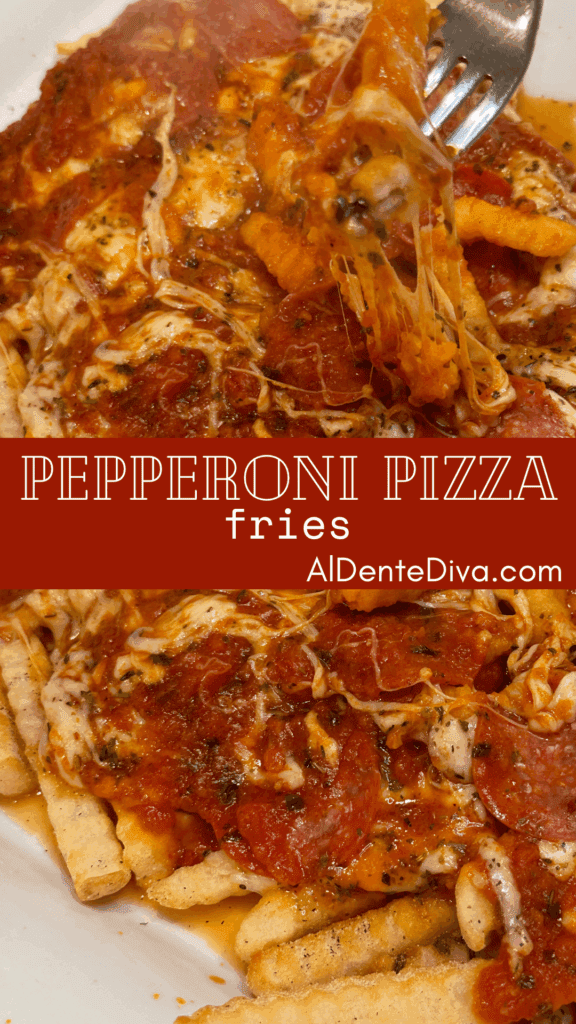
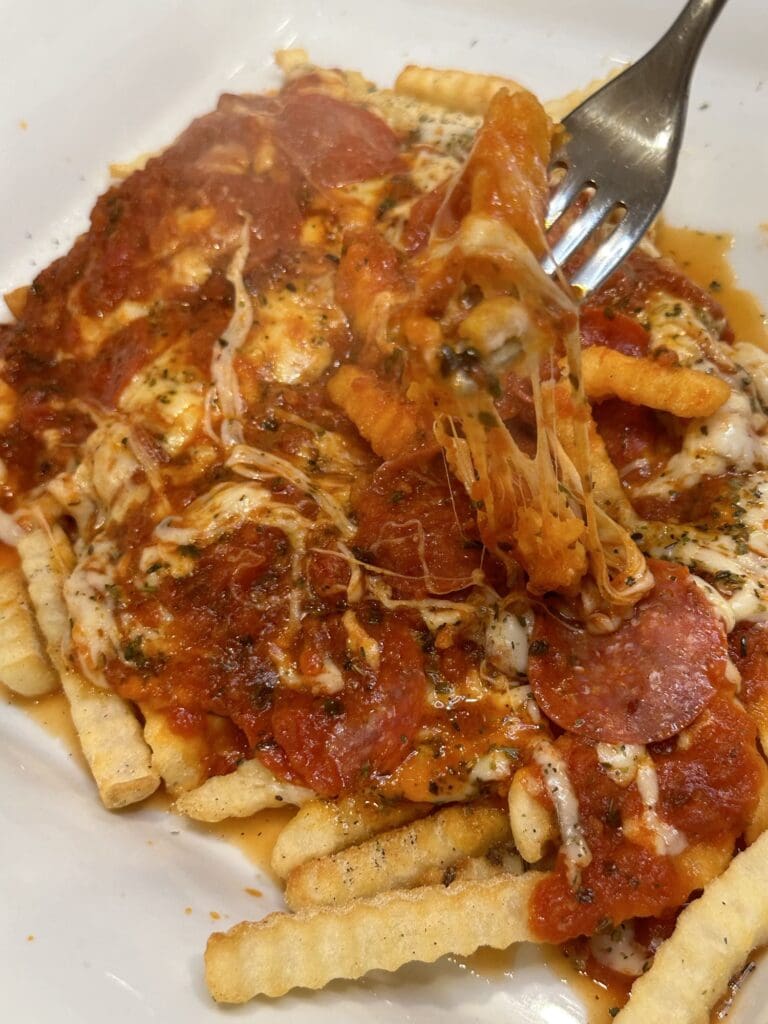
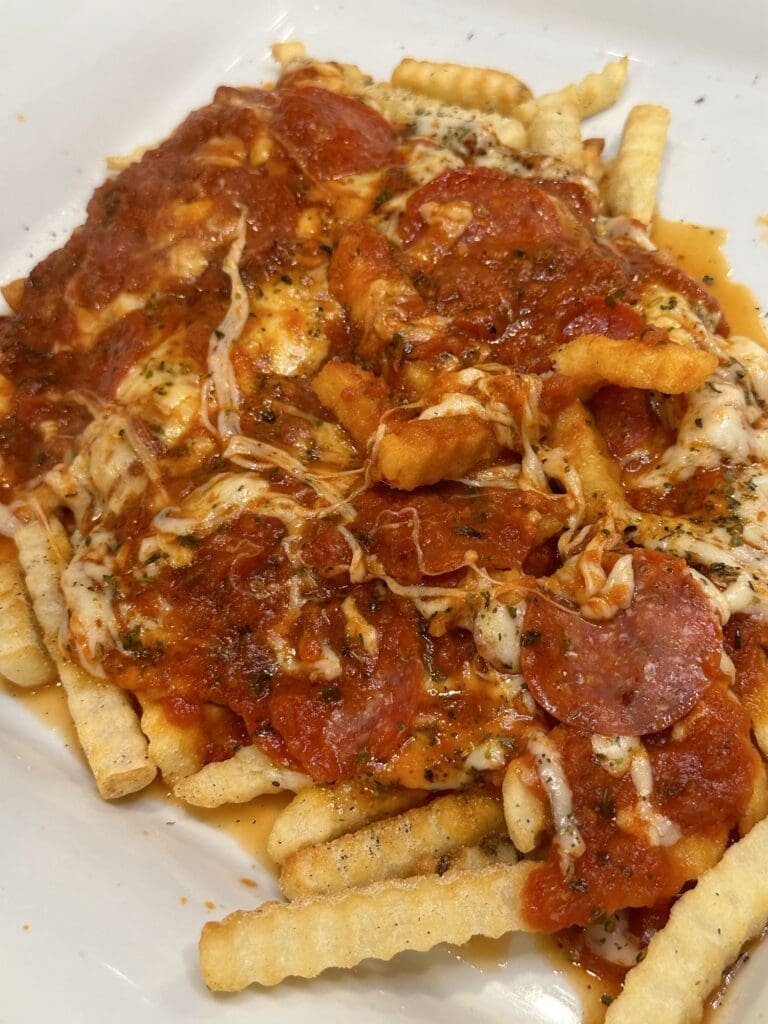
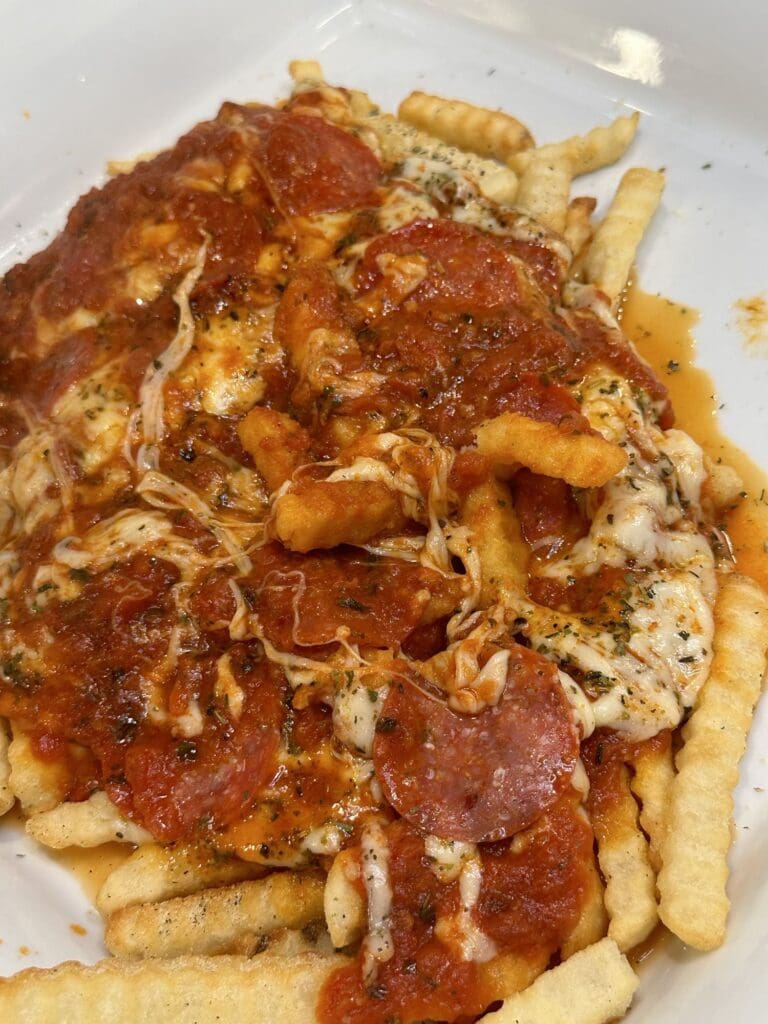
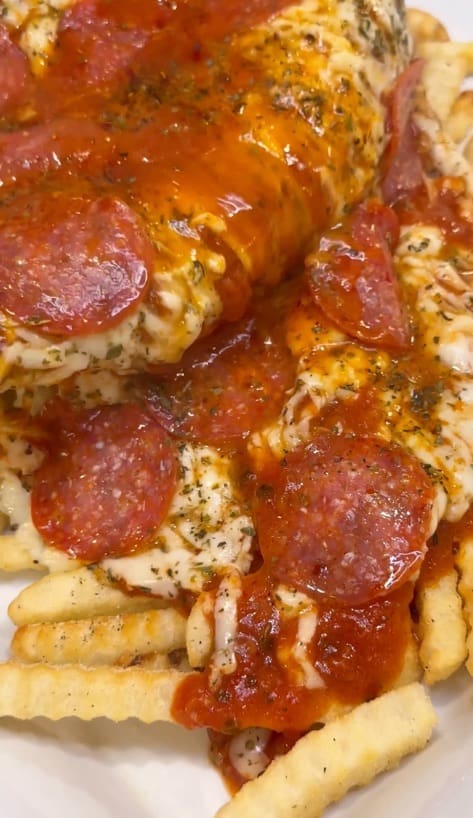
These delicious pepperoni pizza fries combine crispy seasoned fries with pizza sauce, melted mozzarella cheese and pepperoni.
Pepperoni Pizza Fries
From the recipe collection of Tara Ippolito
These pepperoni pizza fries combine two of the most delicious foods on earth in one amazing dish.
Perfectly seasoned fries covered in warm tomato sauce and melted mozzarella cheese is something that I think we all need in our lives.
I promise you that this recipe is just as delicious as it sounds. I love making this as a snack, bit its great for an appetizer or side dish, too.
My whole family goes crazy for this every time I make it. Theres never even one single fry left by the time they’re done with it.
It’s always such a big hit.
They used to make these at a local diner when I was growing up as a kid. My friends and I would order them all the time whenever we would go.
They were so great then but even better when I decided to try to recreate them at home.
This is such a delicious and fun recipe. I hope you give it a try. I know that you’ll love it just ask much as my family and I do.
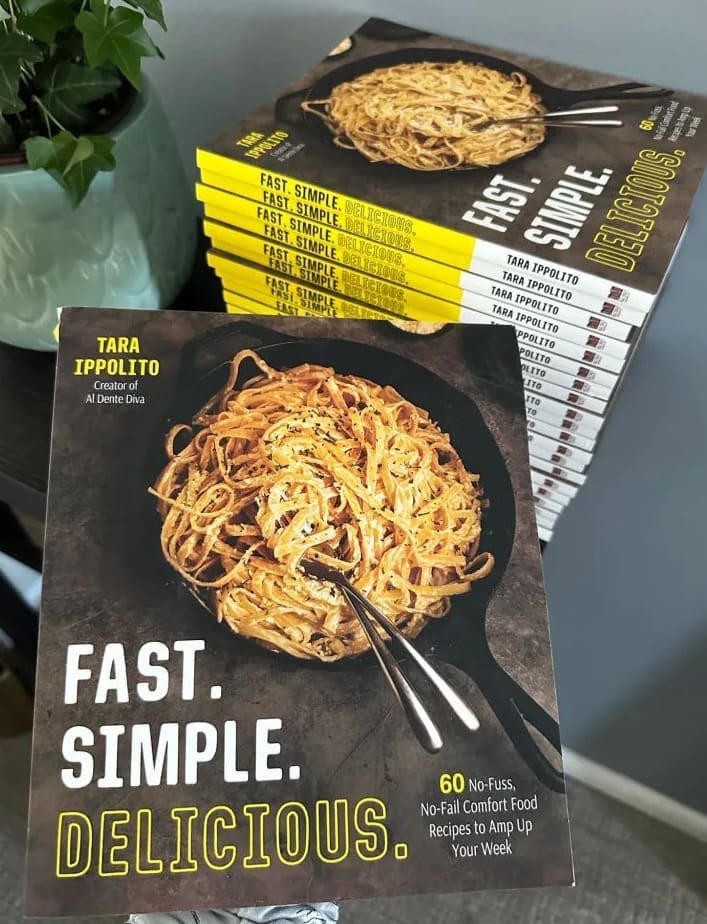
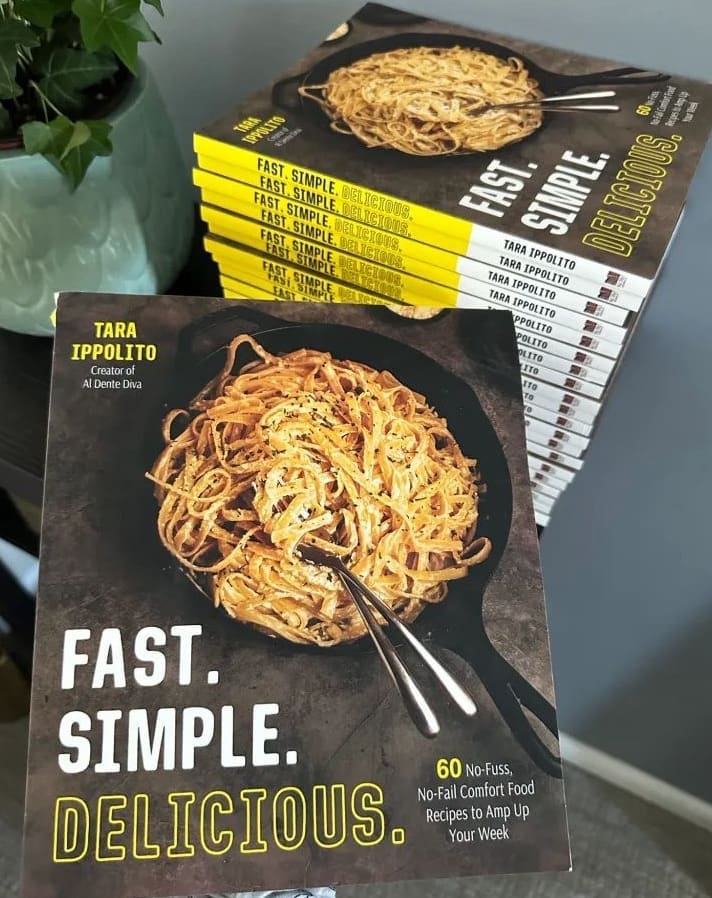
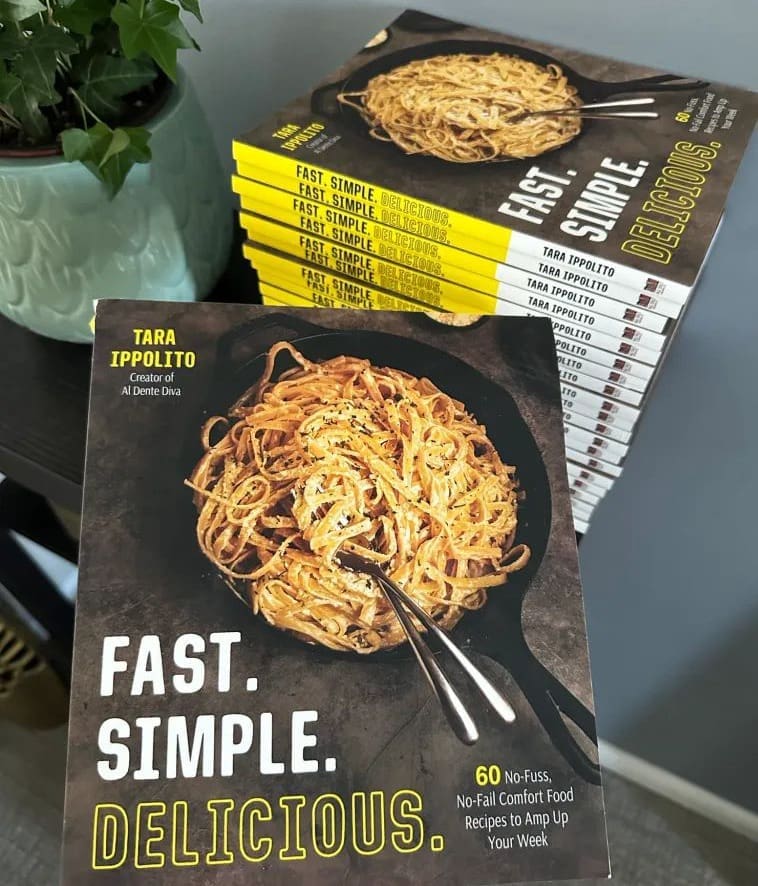
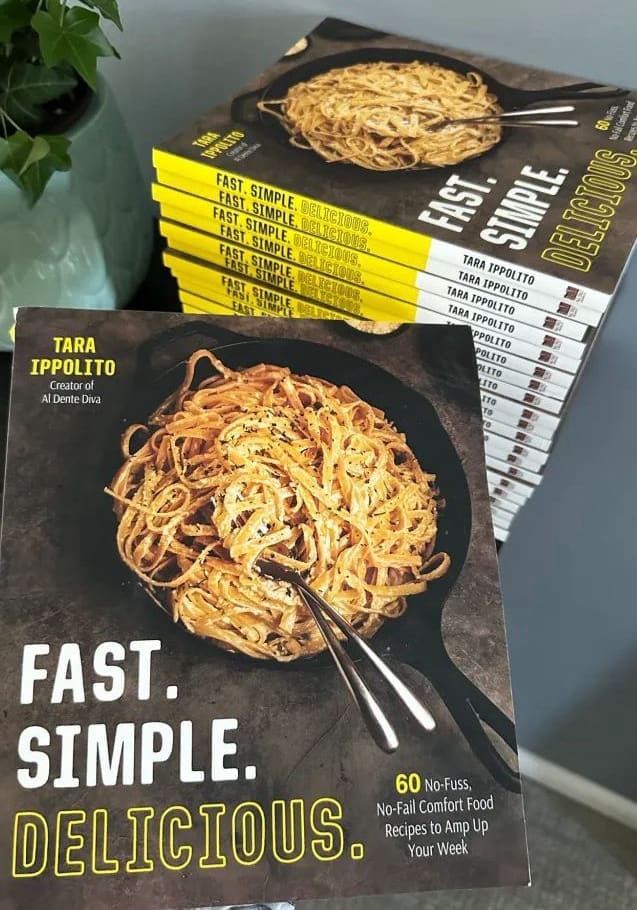
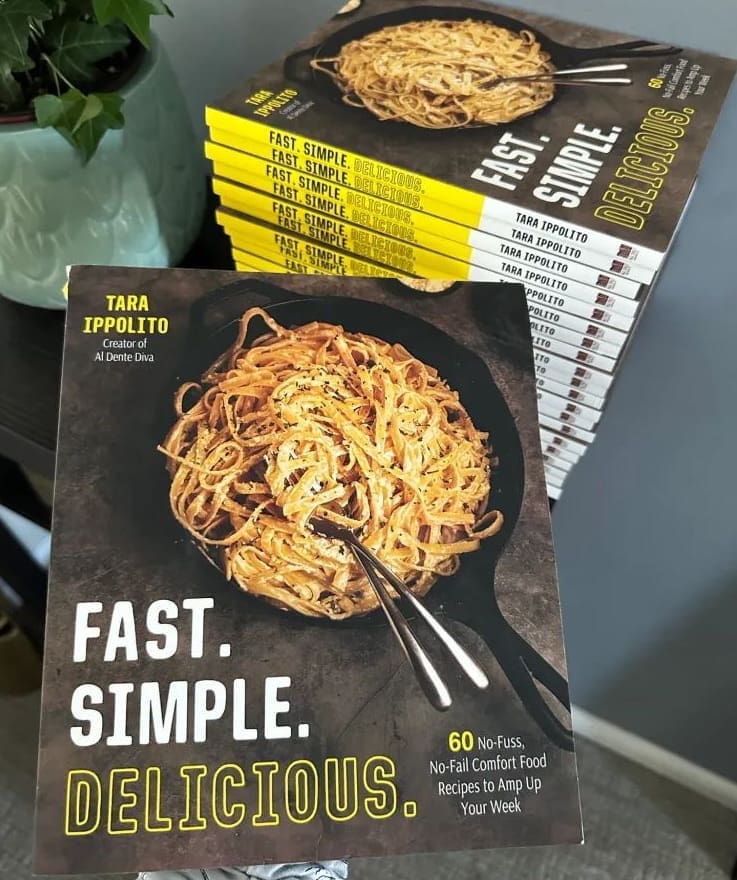
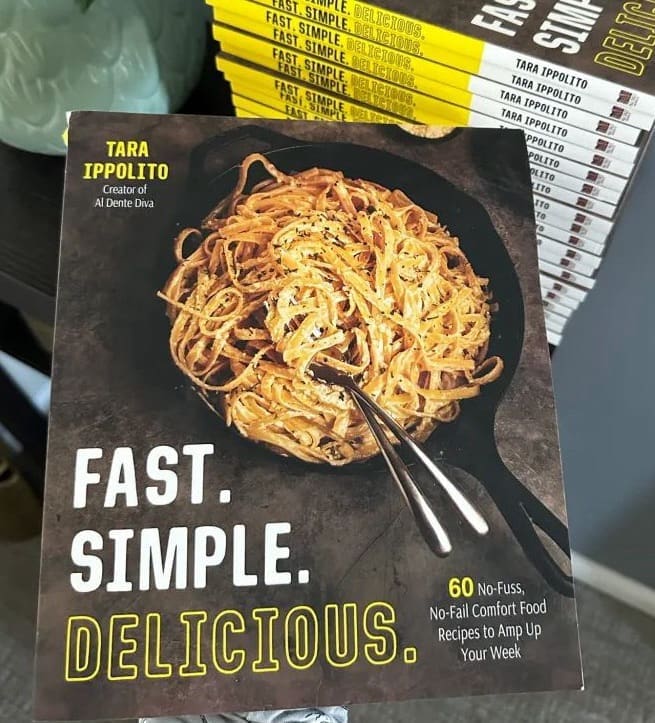
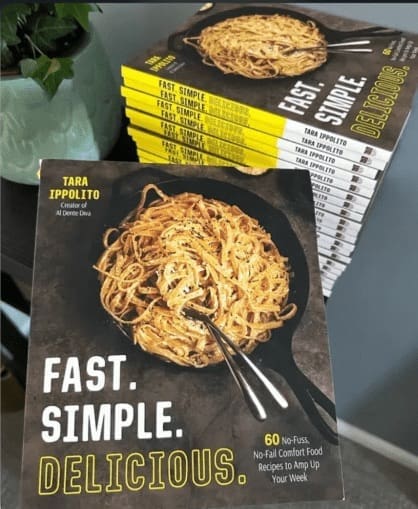
Fast. Simple. Delicious.
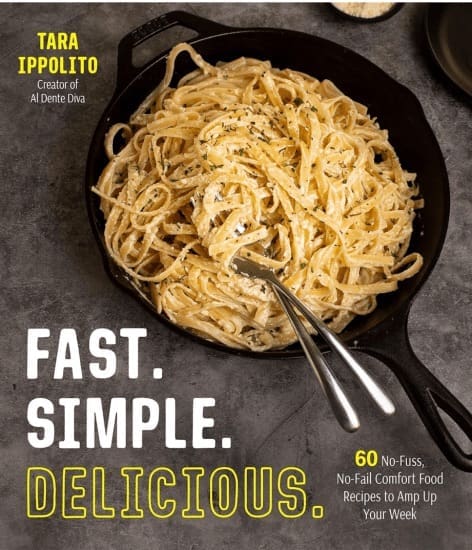
Did you know that I have a cookbook called Fast Simple Delicious?
It’s 60 no fuss no fail comfort food recipes perfect for busy weekday dinners.
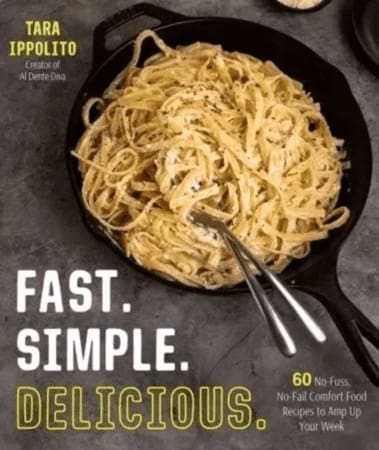
Click HERE to order your copy or click the 3 lines in the top right corner and click “Book”. Thank you for the support.
What sauce should I use for these pepperoni pizza fries?
The sauce that you use is really up to you. Homemade or jarred would both work great.
I used a jar of marinara sauce because that’s what I had on hand.
Just pick your favorite brand if you’re going to use jarred tomato sauce.
If you’d like to make your own sauce for this, I have a great simple tomato sauce recipe HERE. Or feel free to use your own.
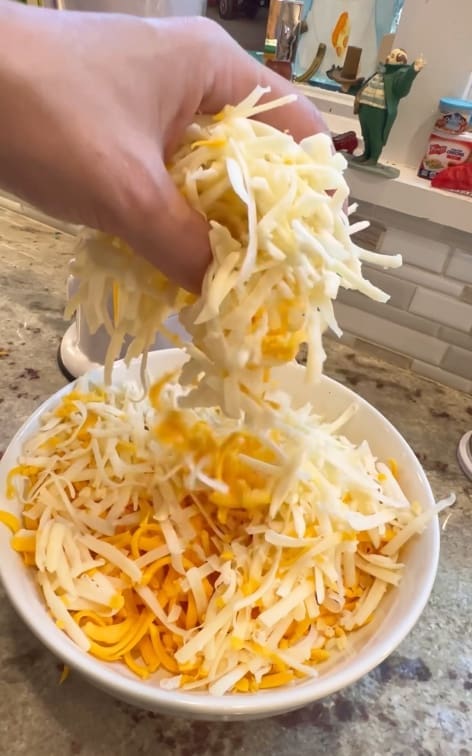
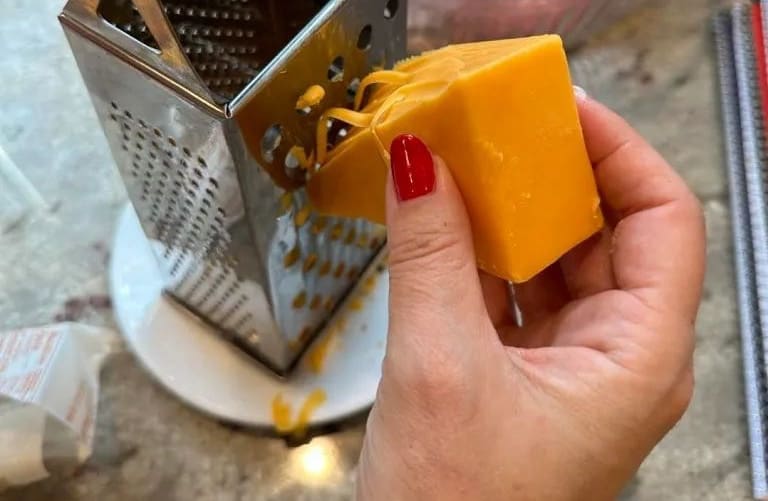
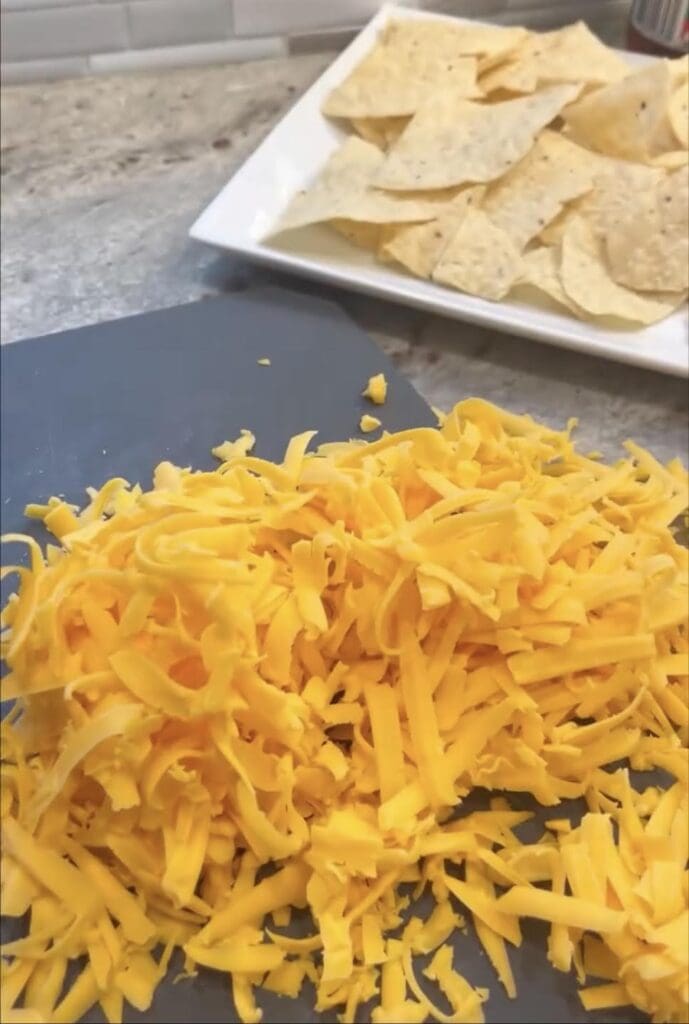
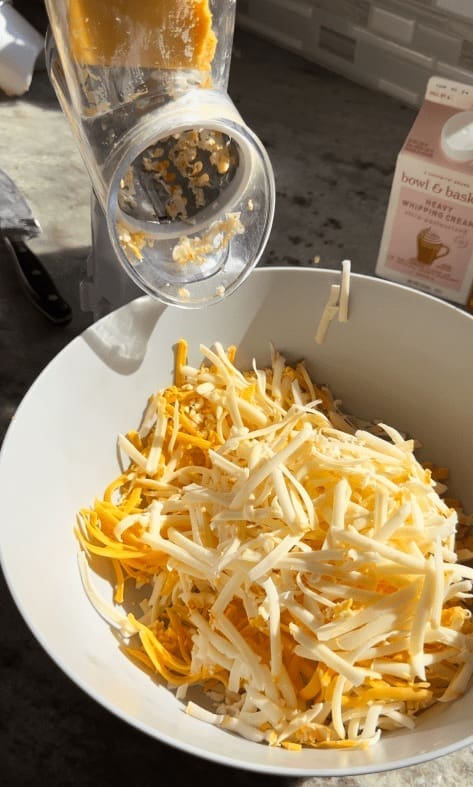
Do I really have to shred the cheese myself?
Yes, absolutely!
This is the one thing that I’d really urge you not to take a shortcut on.
Pre-shredded bagged cheese has chemicals in it like cellulose.
This keeps the cheese from clumping but it also prevents it from melting properly.
Shred the cheese off the block and these pizza fries will be much better.
What other toppings can I use for these pepperoni pizza fries?
The topping options for these pizza fries are endless. You can really use whatever you’d like.
I went with pepperoni here but any topping would be great. Or choose no toppings at all and make it with just the sauce and cheese.

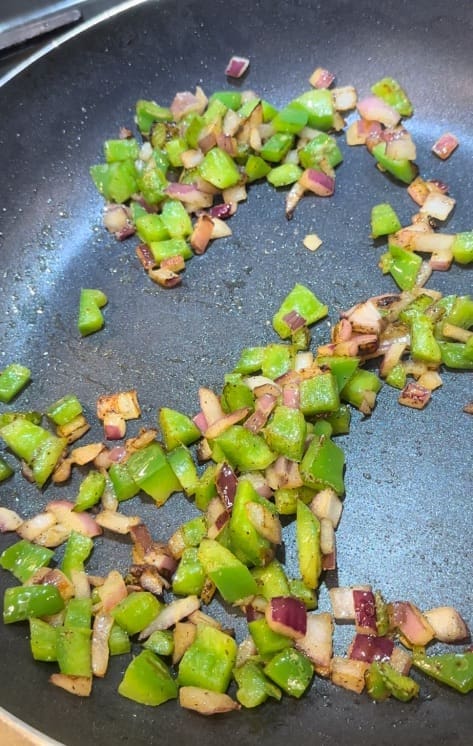
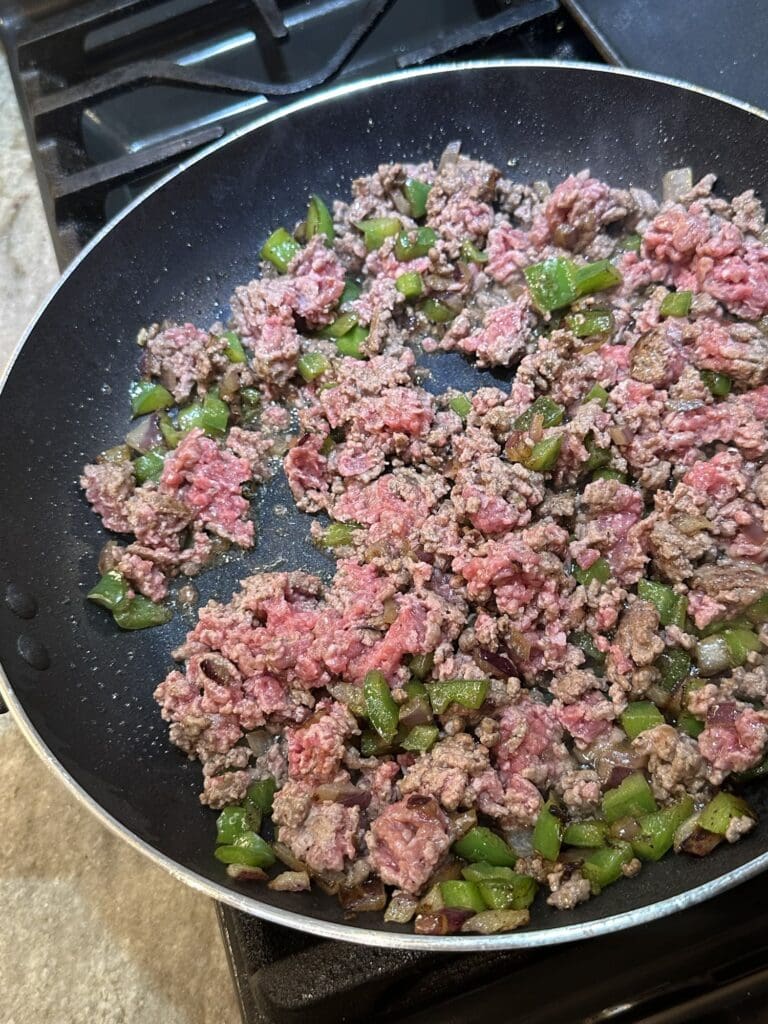
Sautéed peppers and onion, olives and mushrooms are just some ideas.
Get as creative as you’d like.
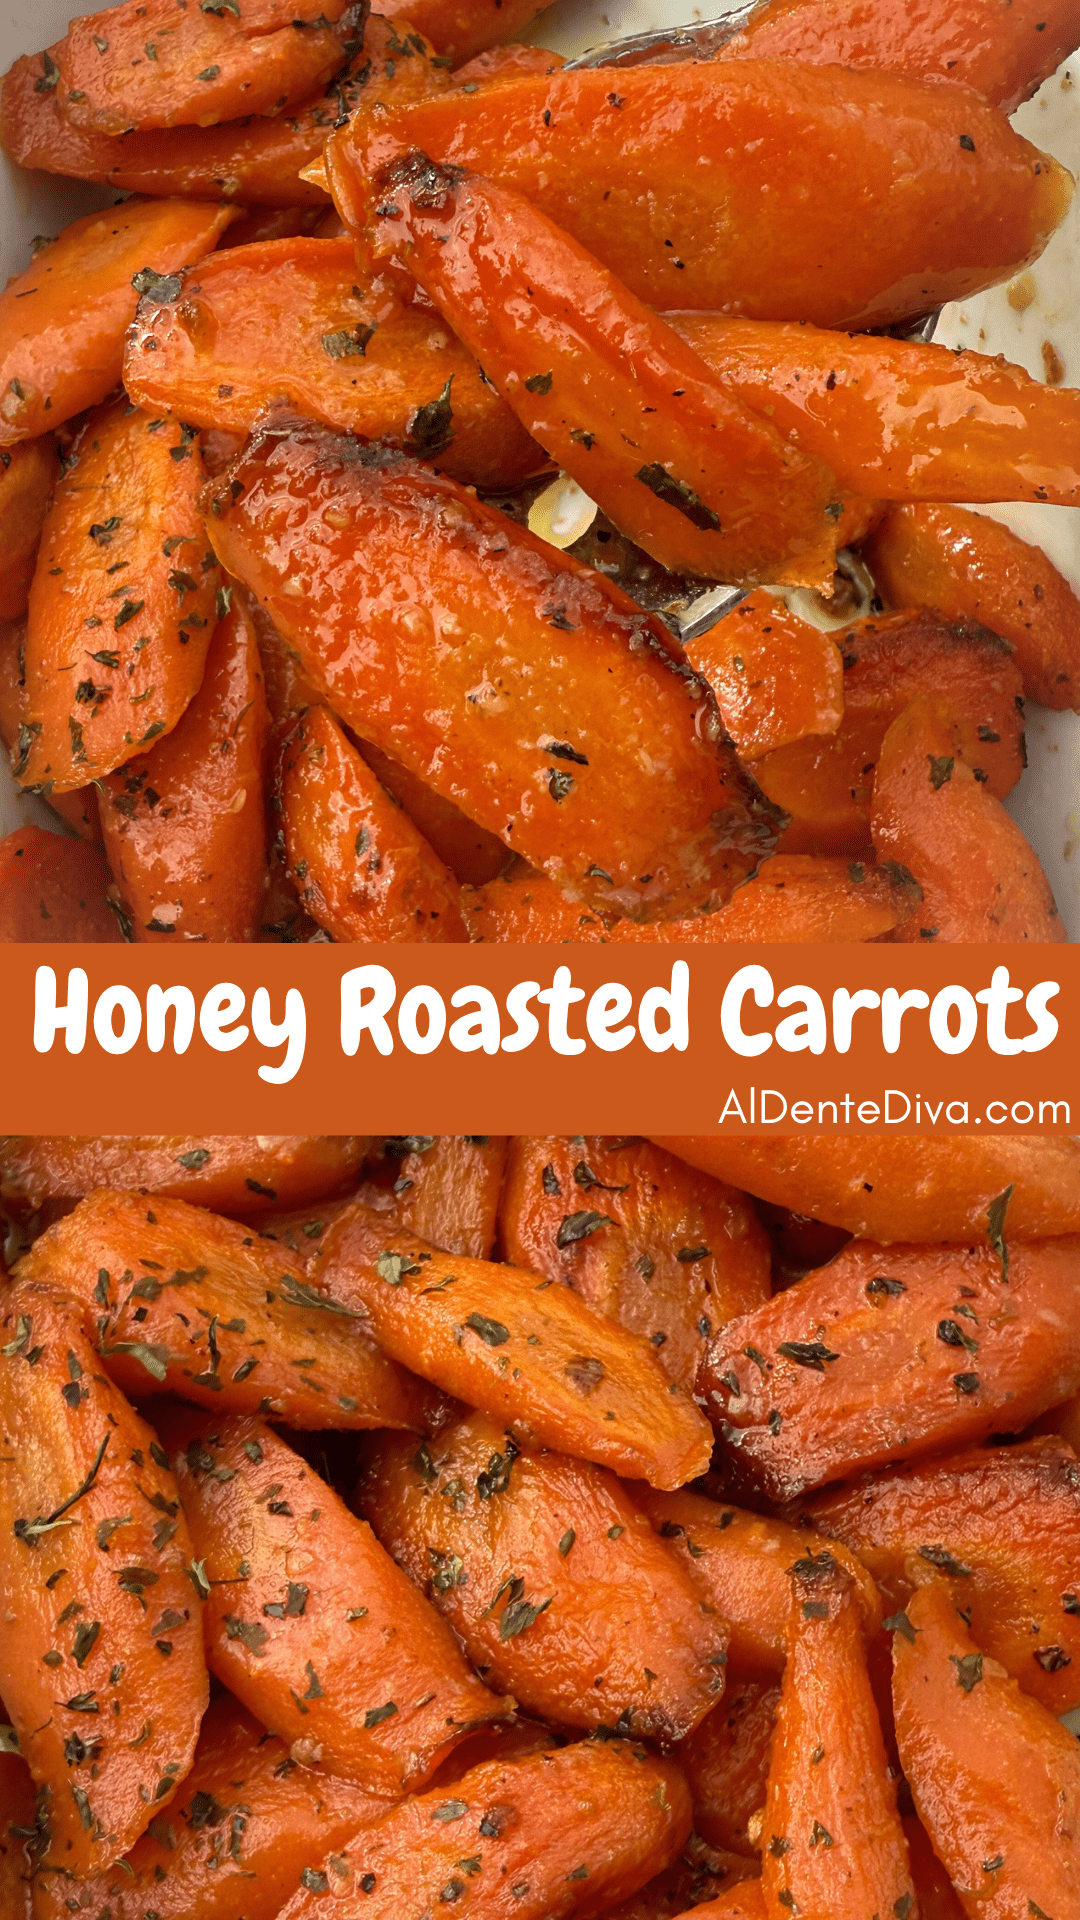
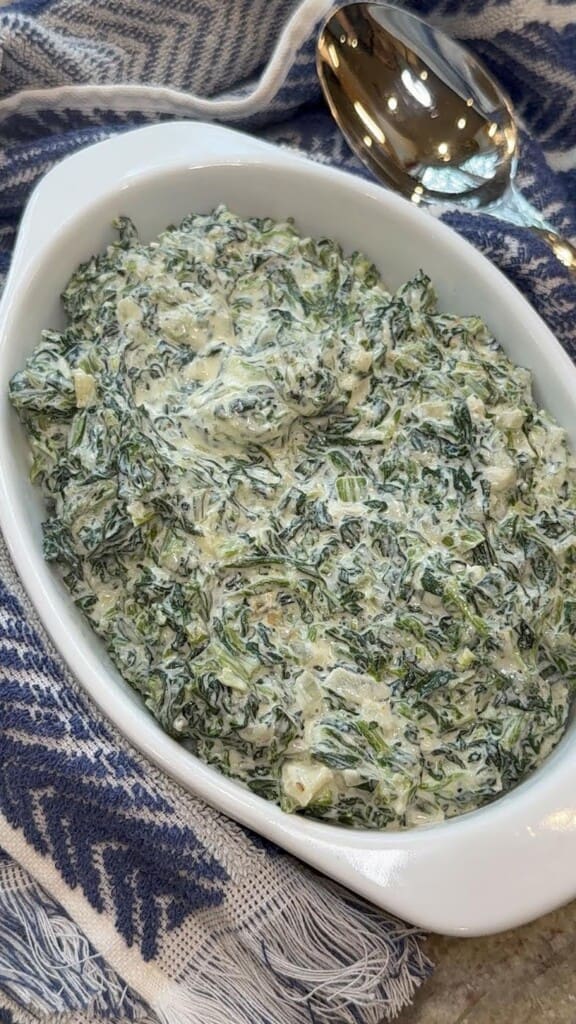
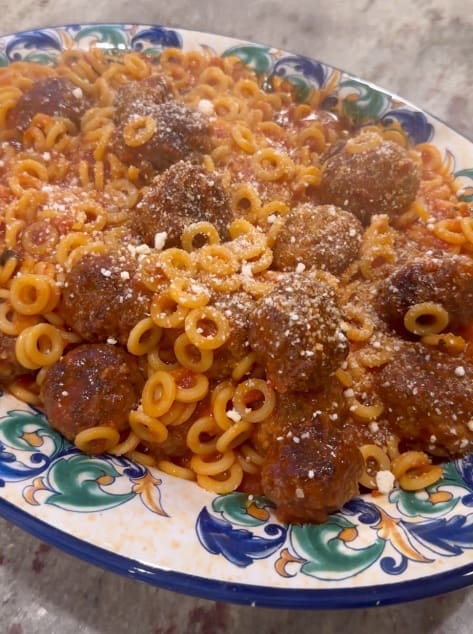
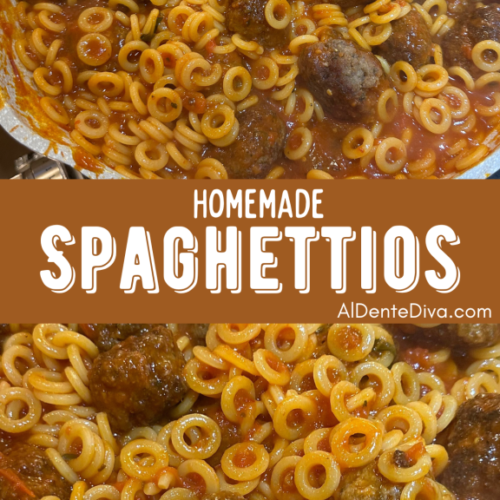
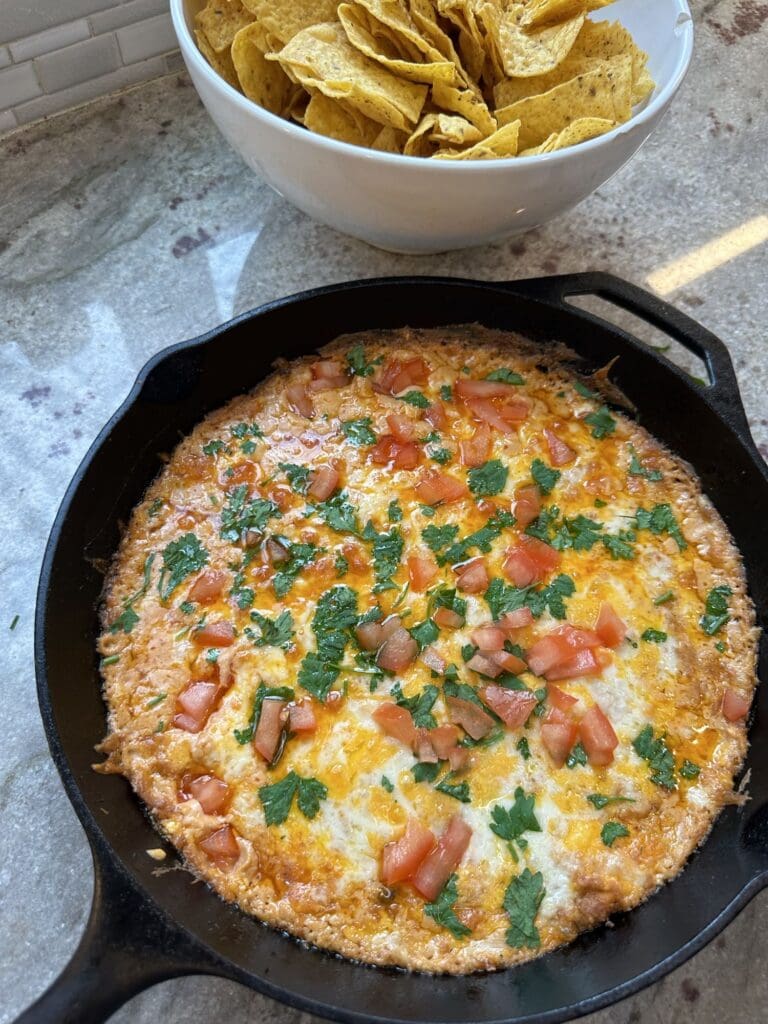
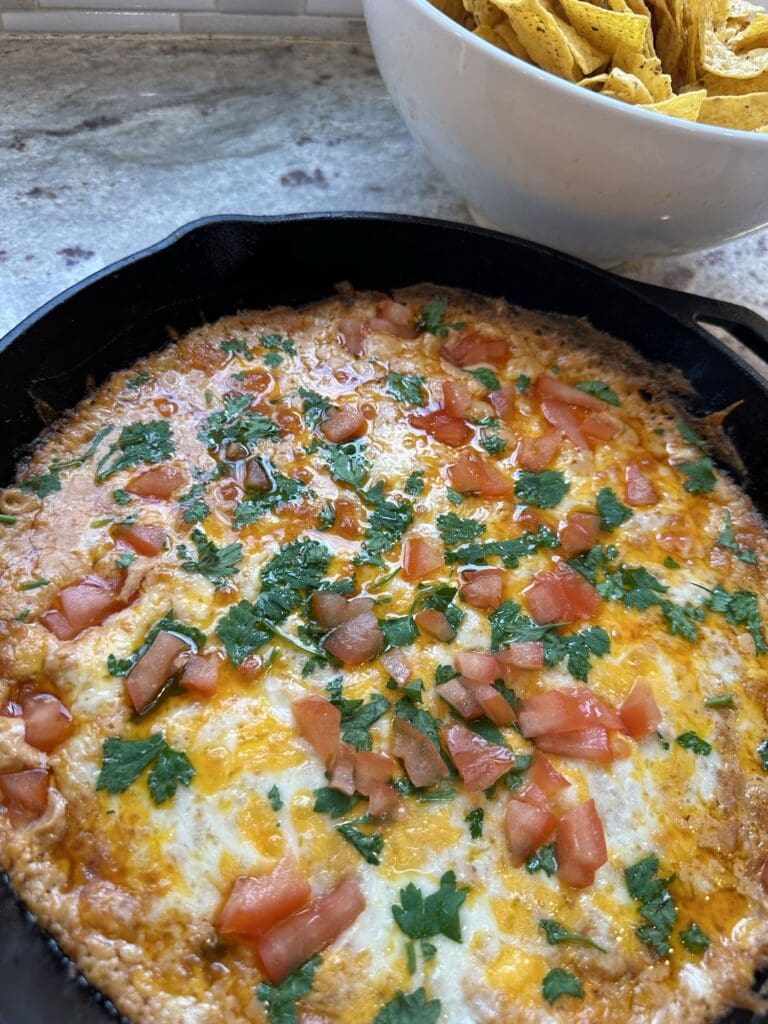
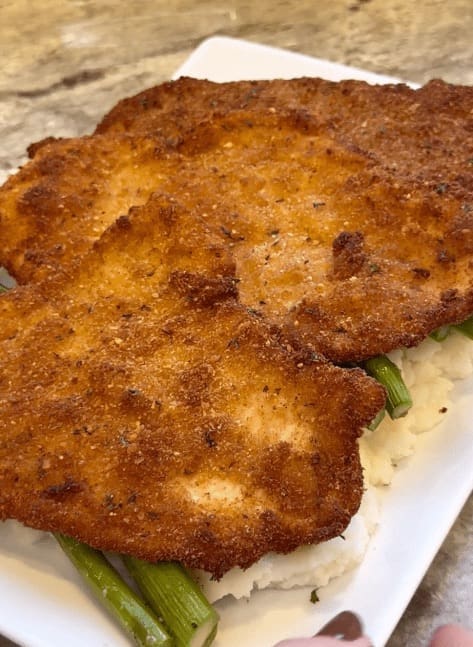
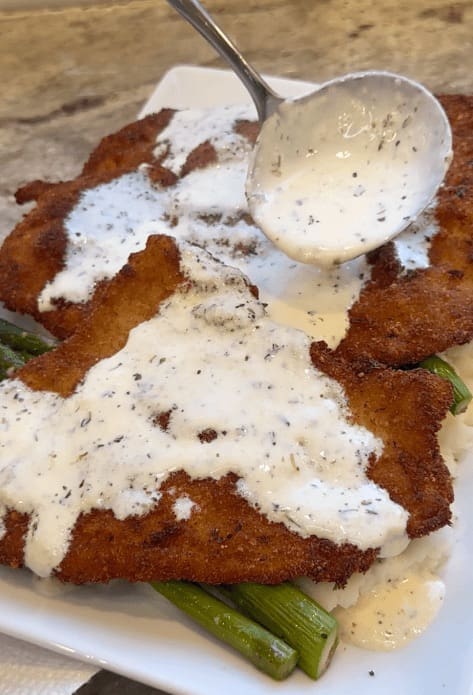
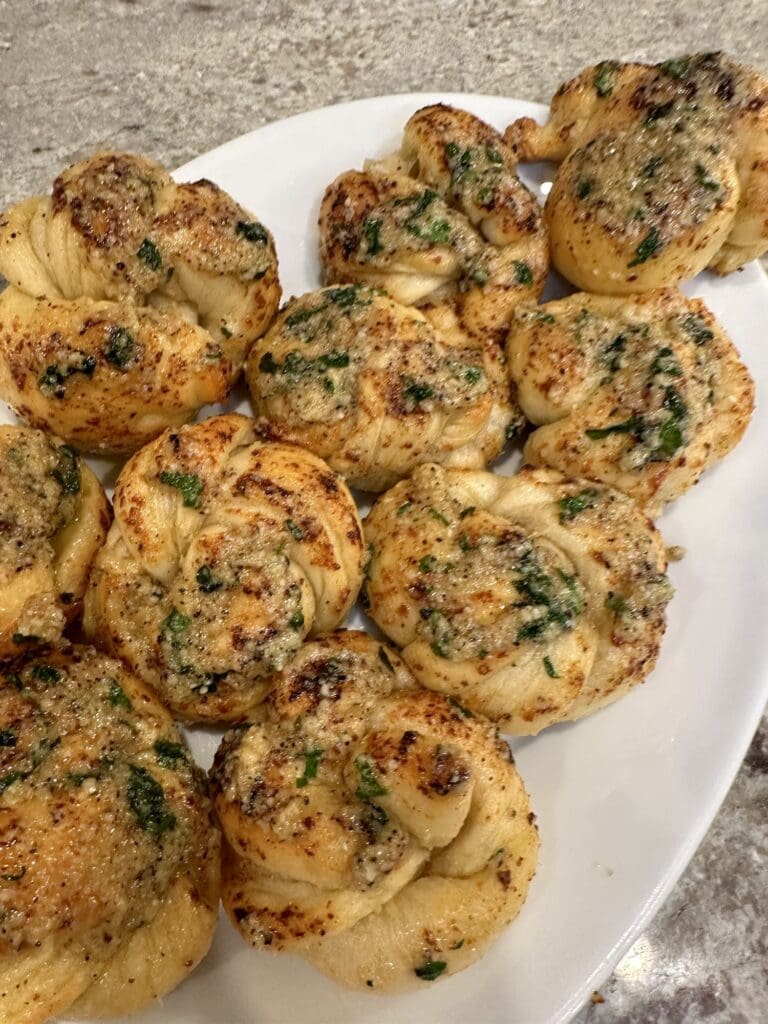
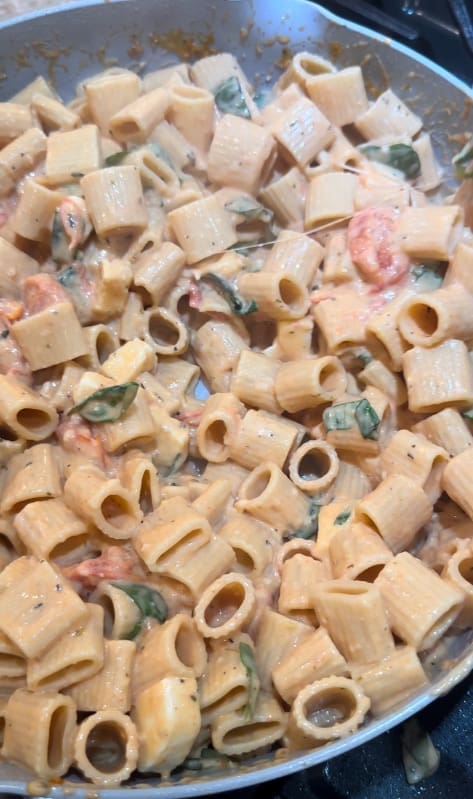
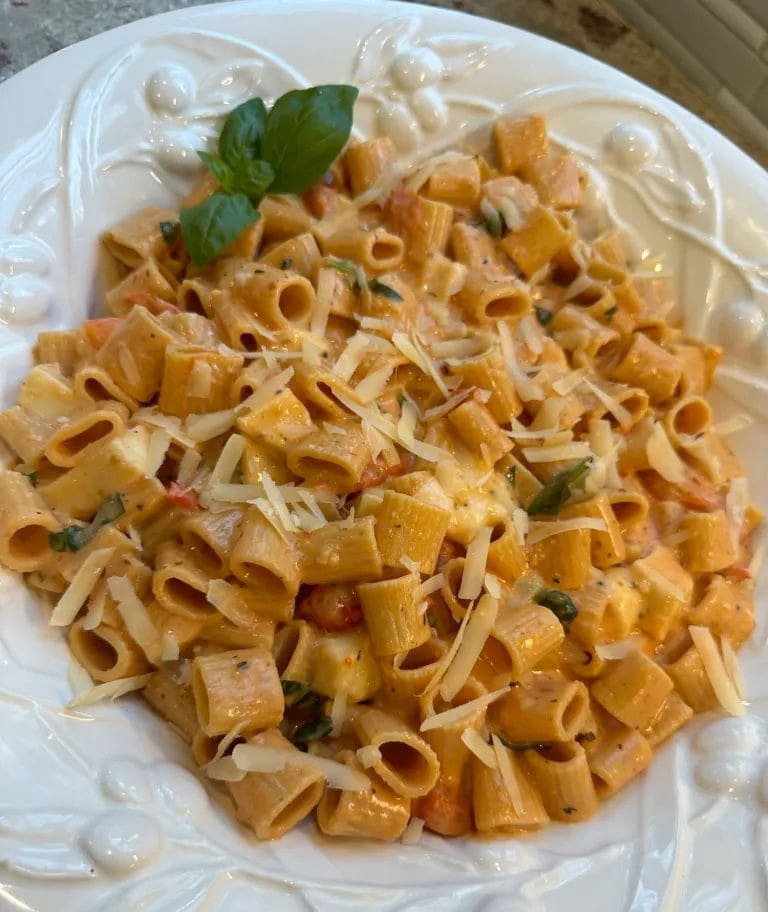
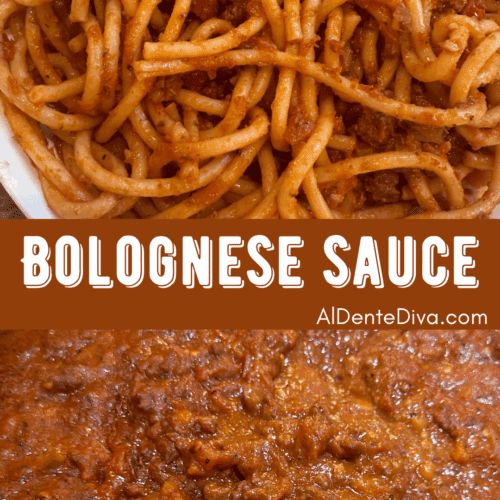
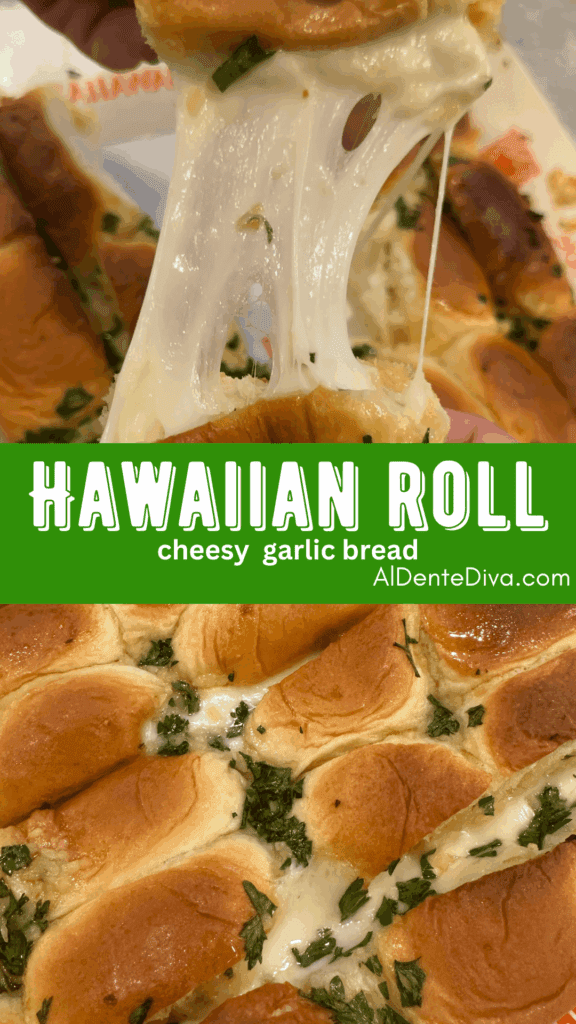
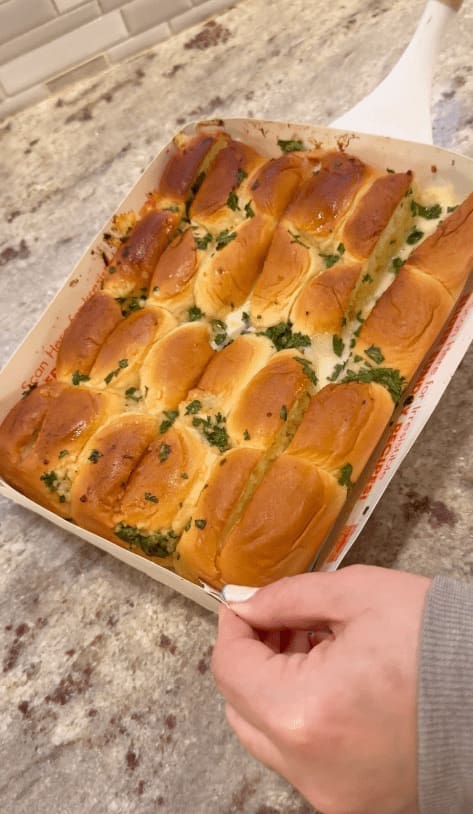
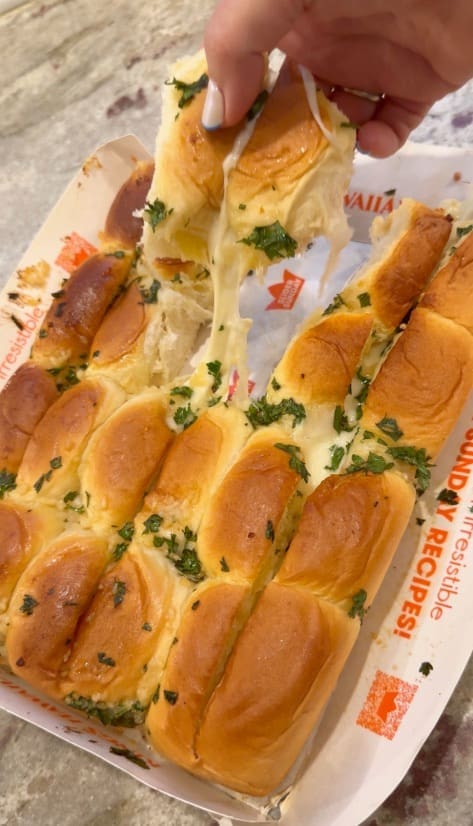
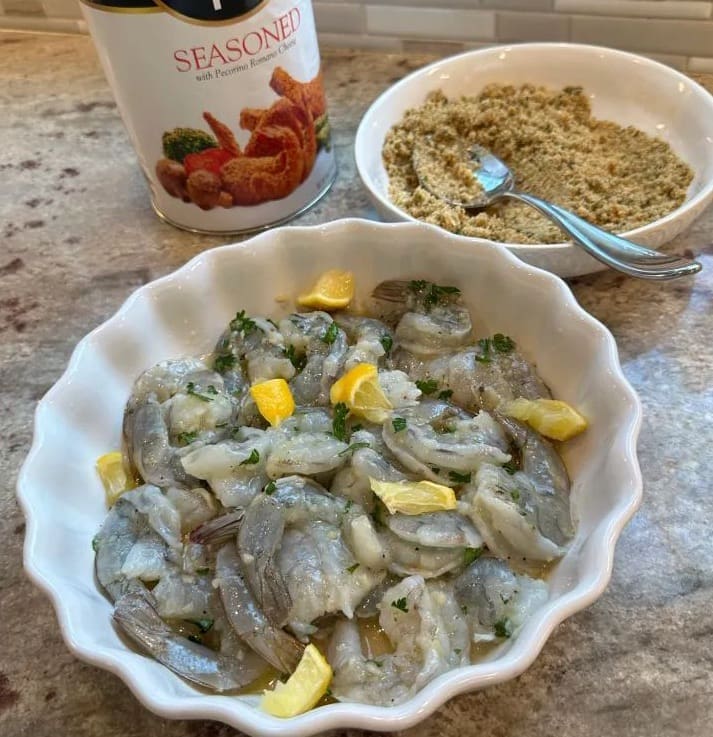
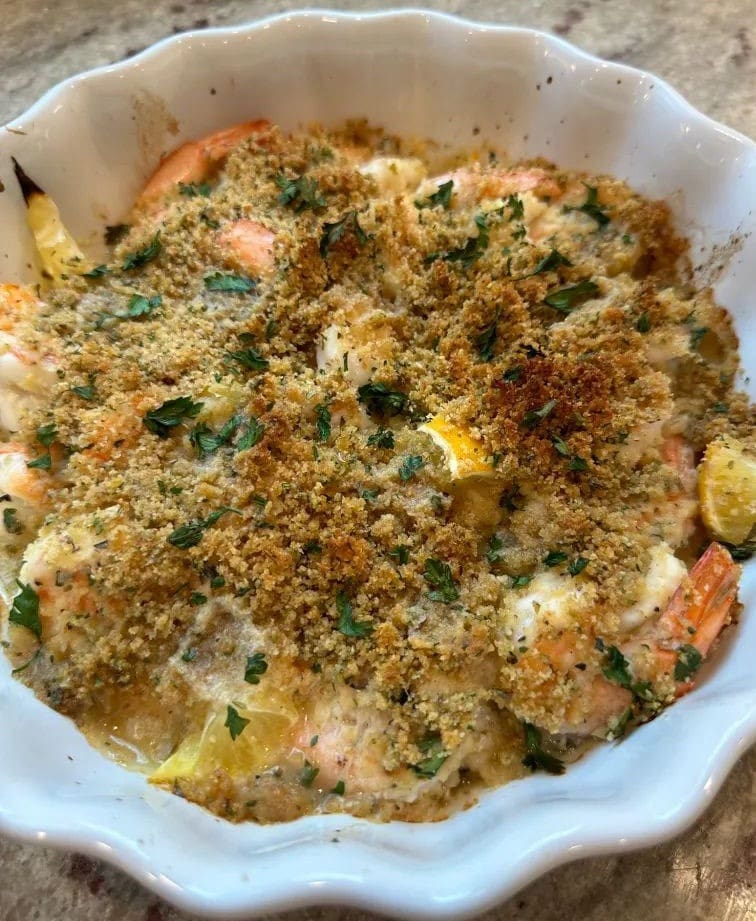
Other easy appetizers
If you're a pizza fan and like delicious and easy recipes like this, here are some other recipes that I know you’ll love.

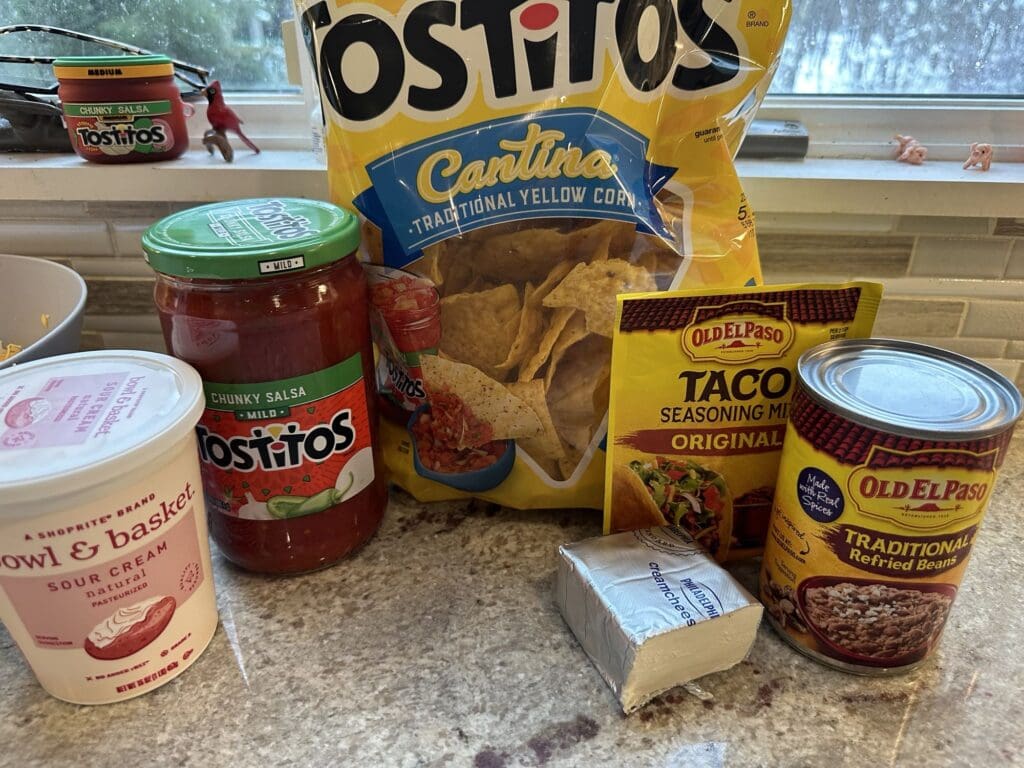
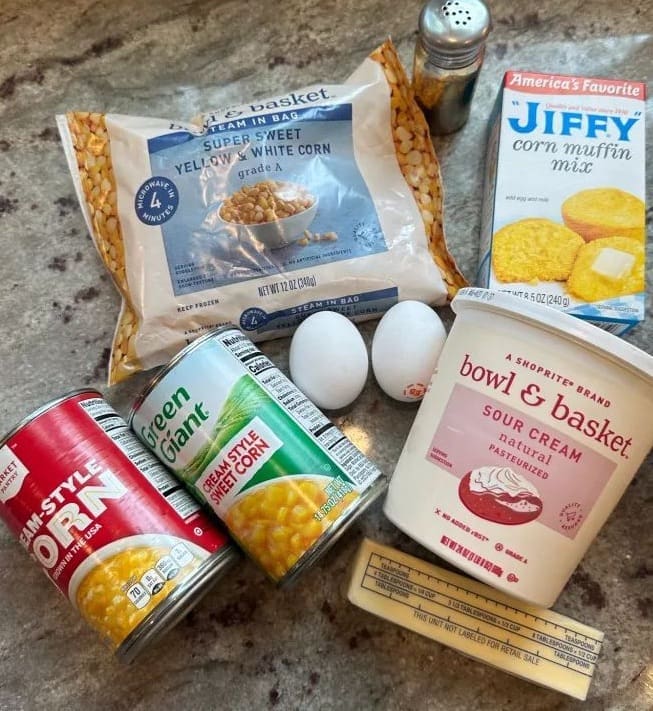
Pepperoni Pizza fries ingredients
- Tomato sauce
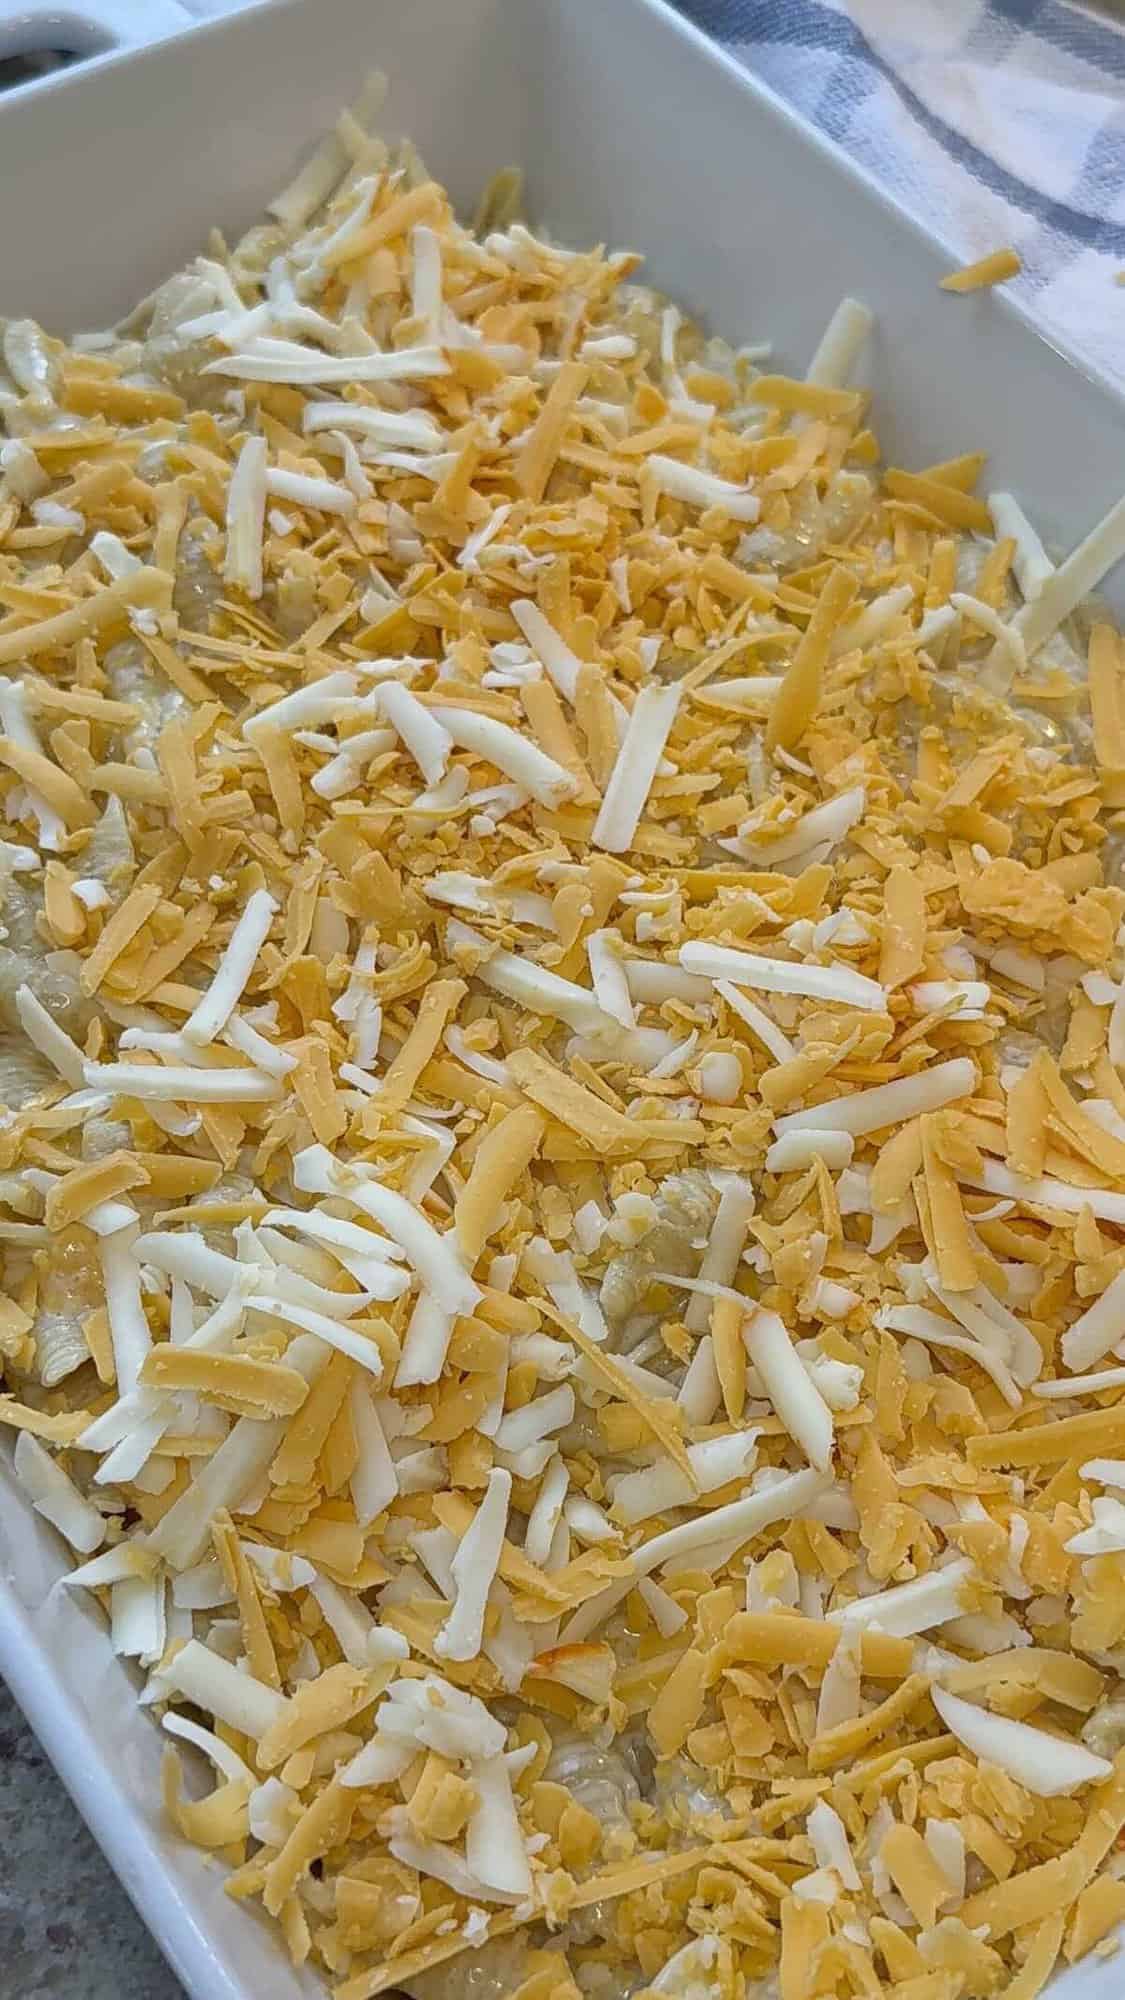
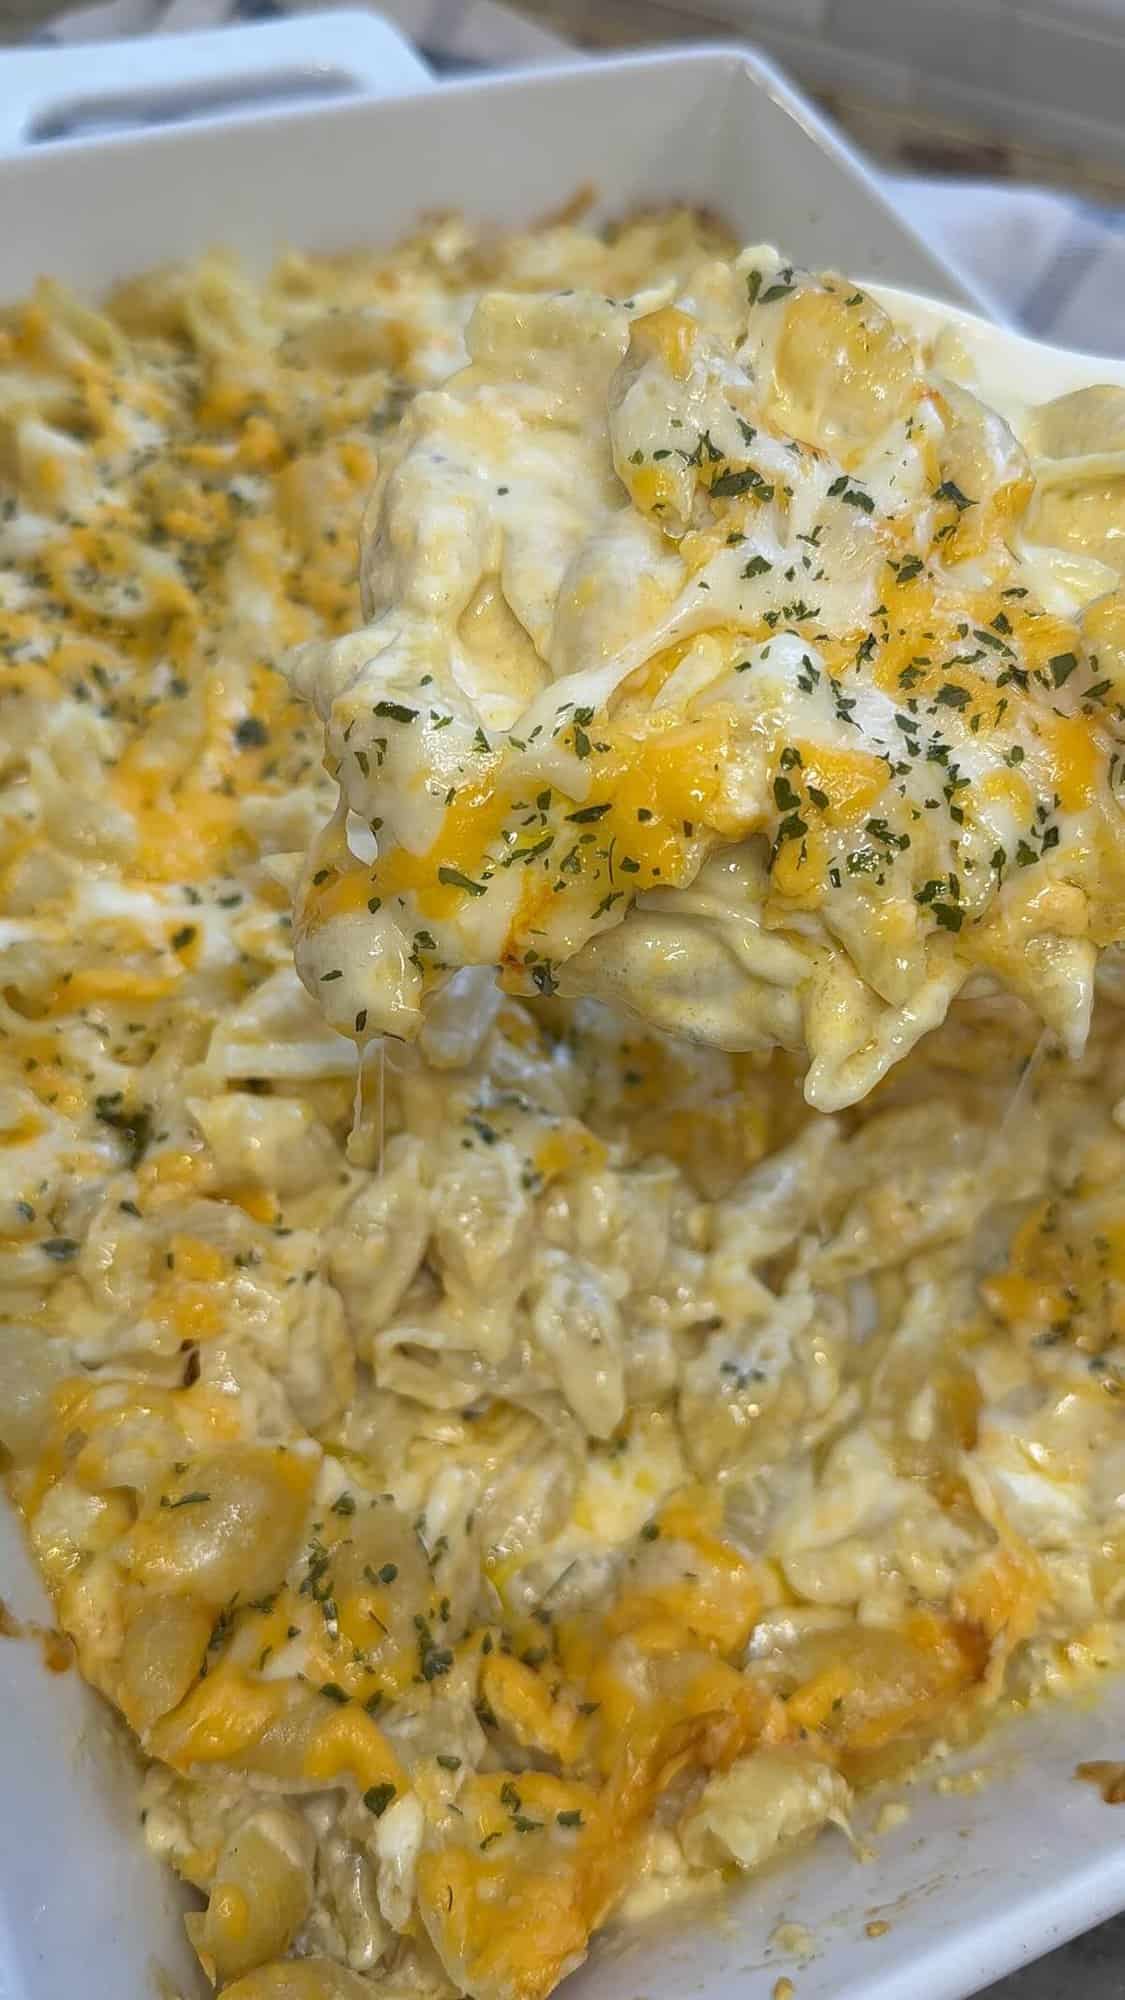
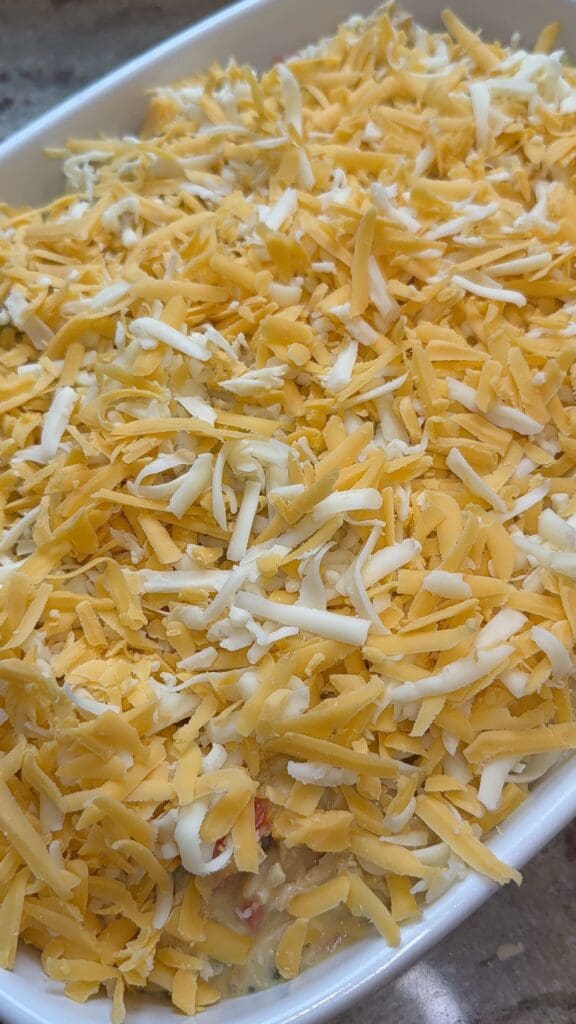
- Shredded mozzarella cheese (shred it yourself)
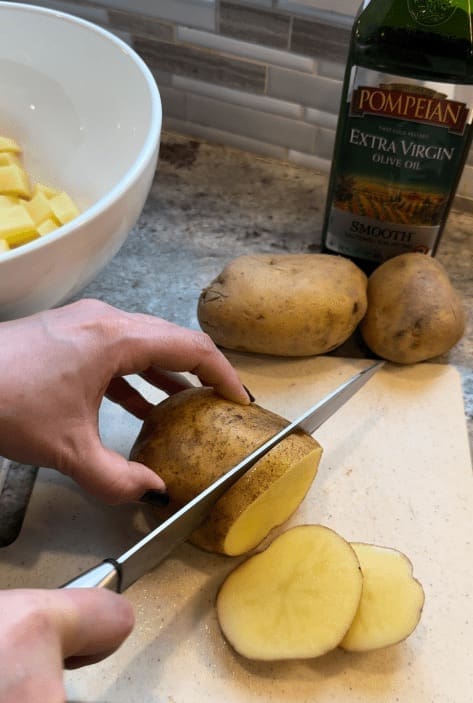
- Frozen fries
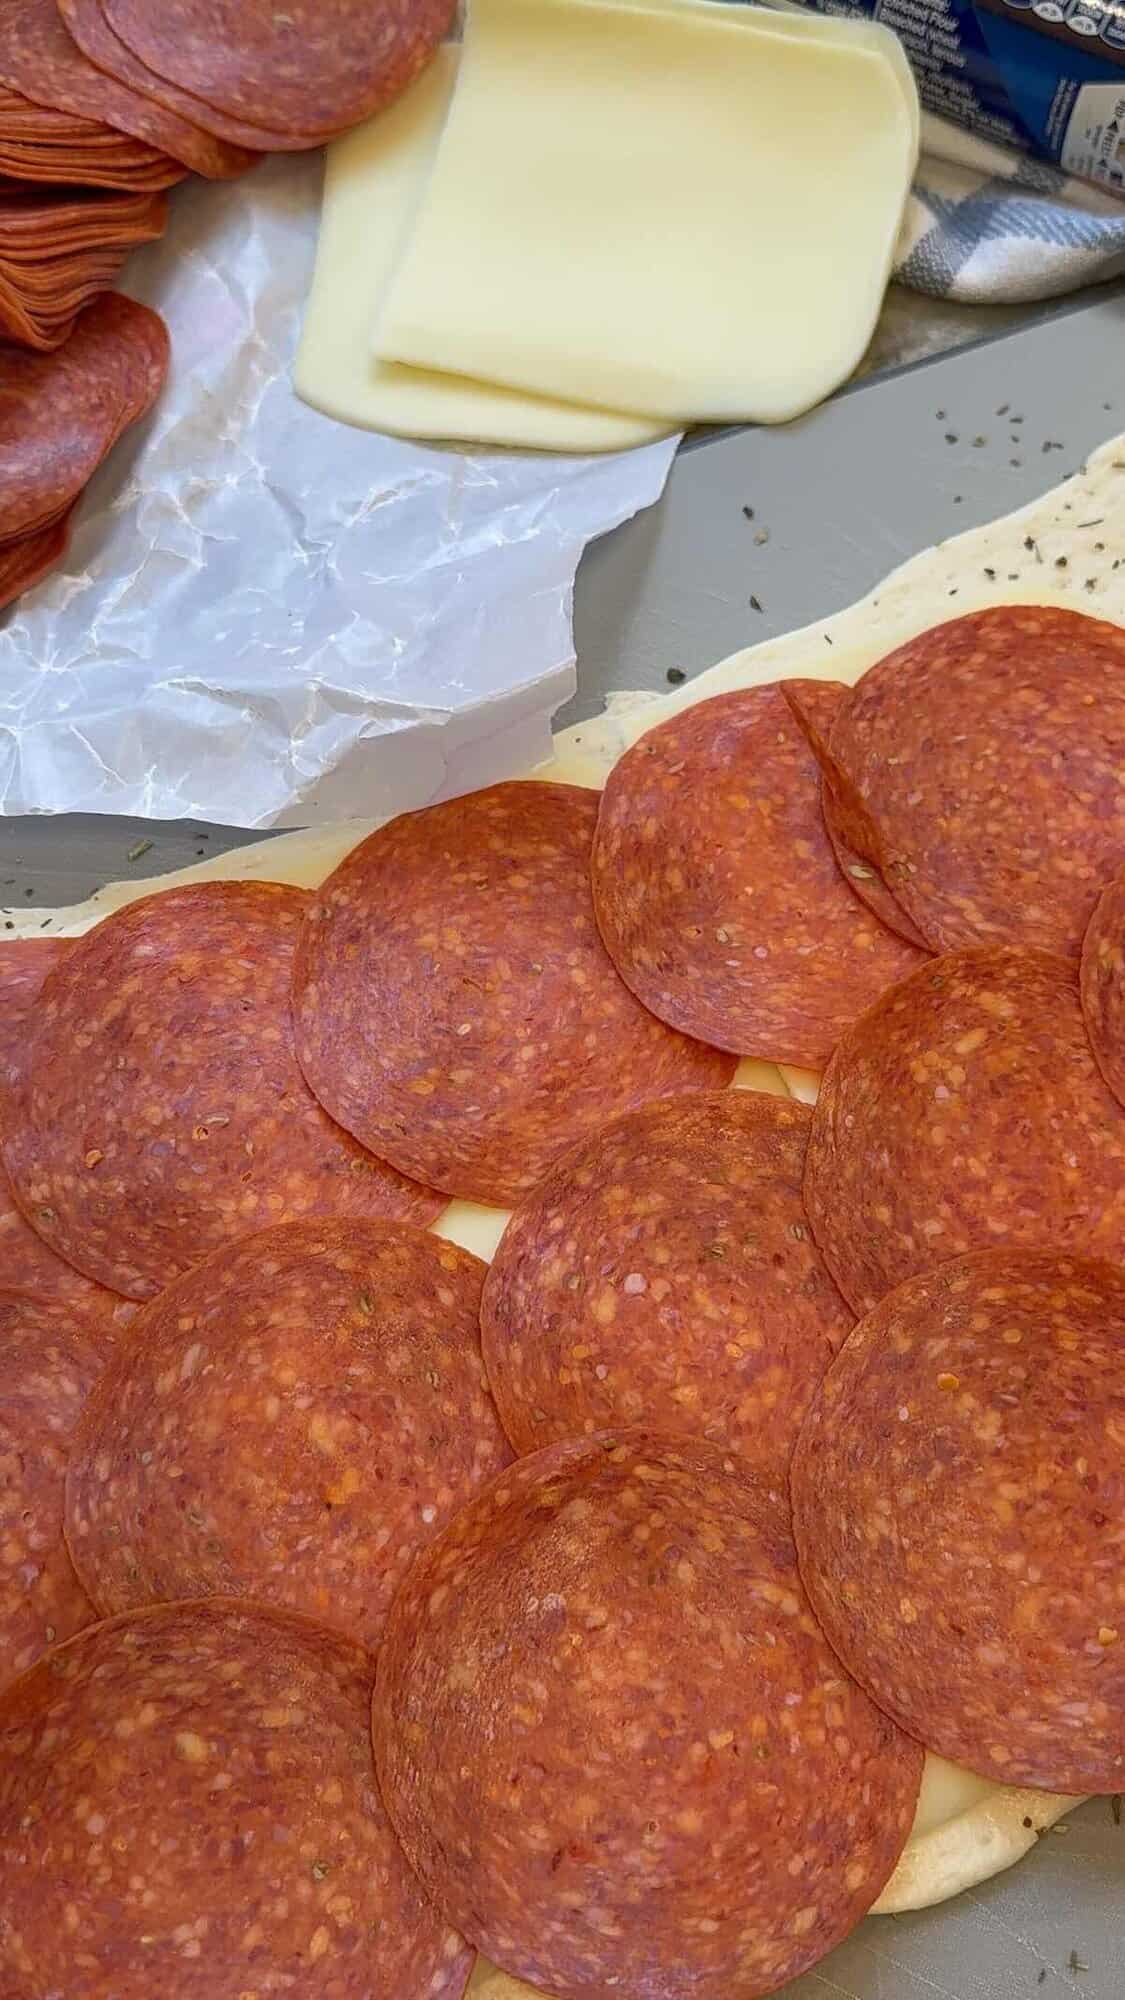
- Pepperoni
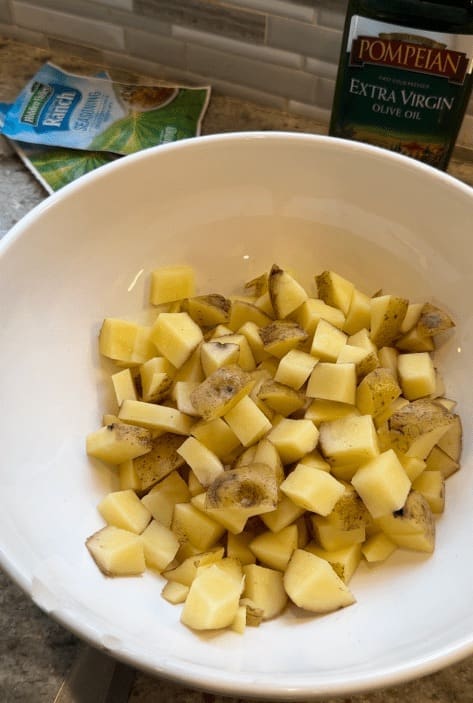
- Salt and pepper to taste
- Italian seasoning
- Garlic powder
- Parmesan cheese
Instructions
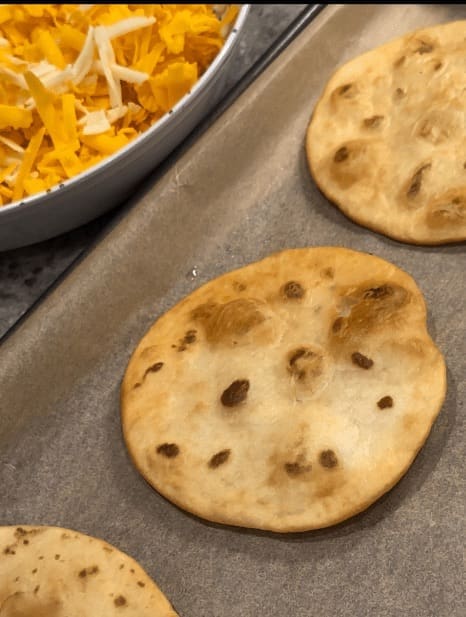
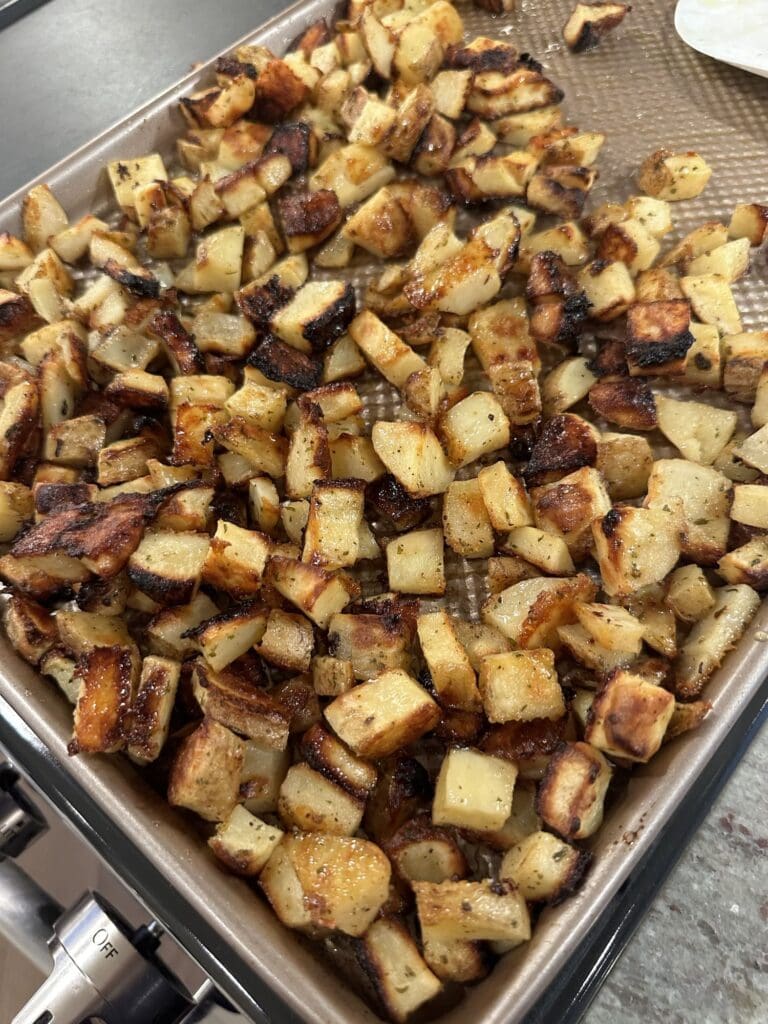
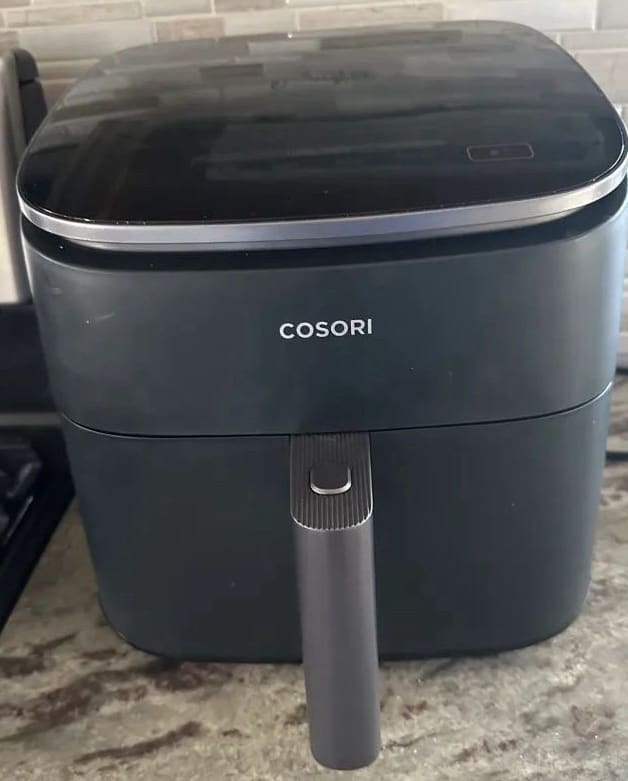
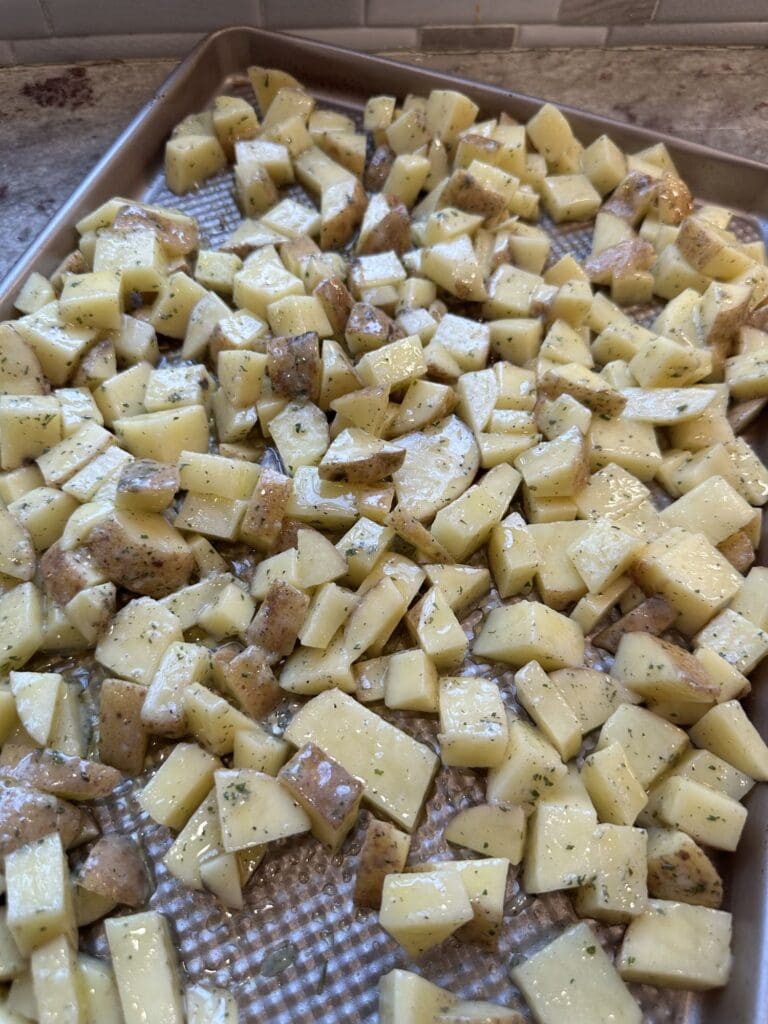
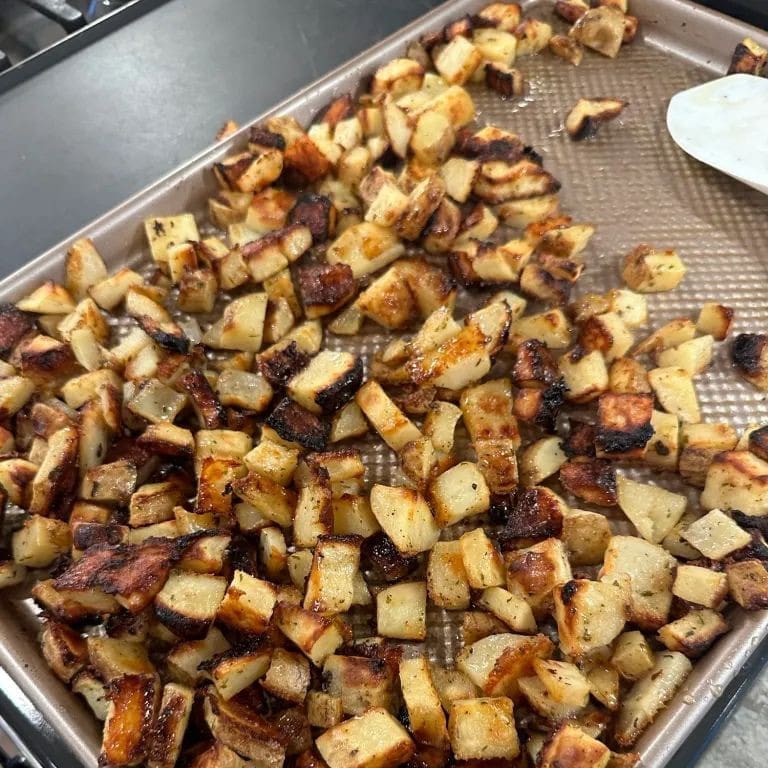
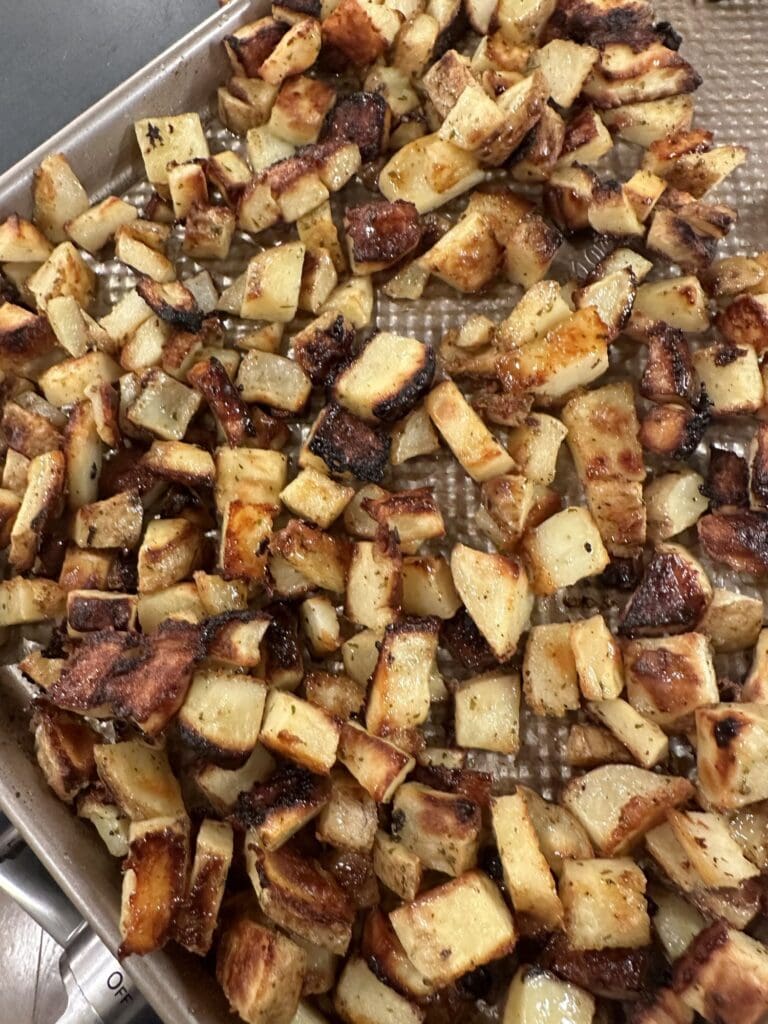
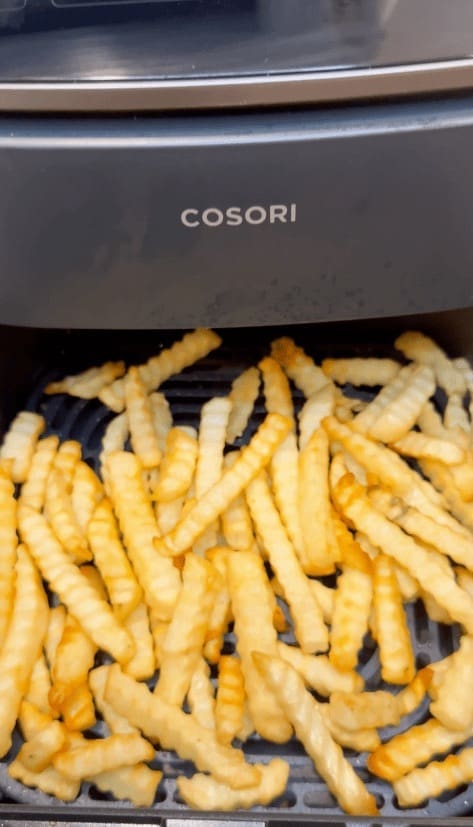
First, cook the frozen fries. I used the air fryer but make them however you’d prefer. Directions should be on the back of the bag.
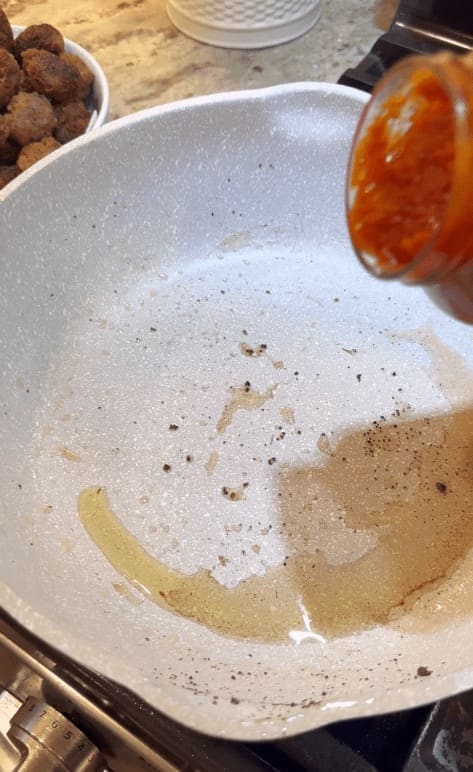
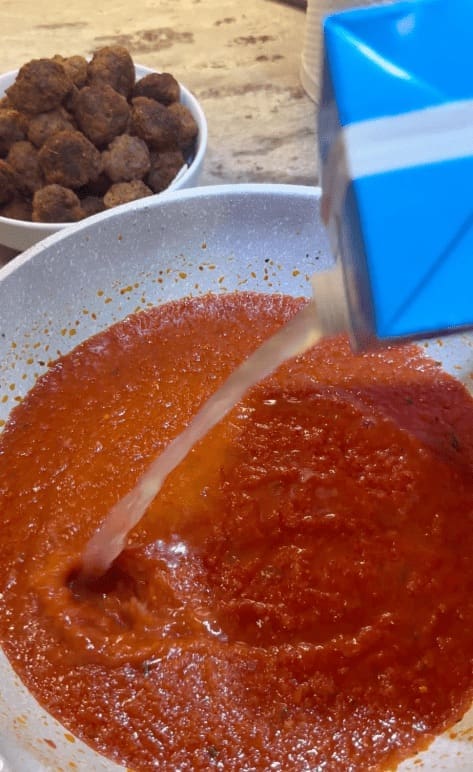
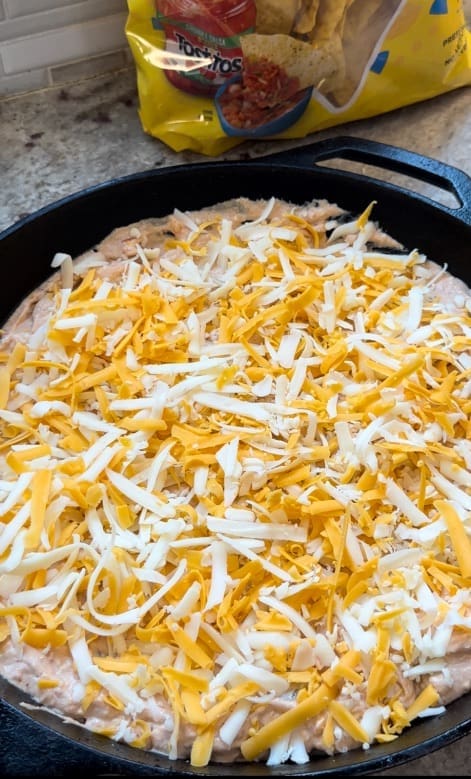
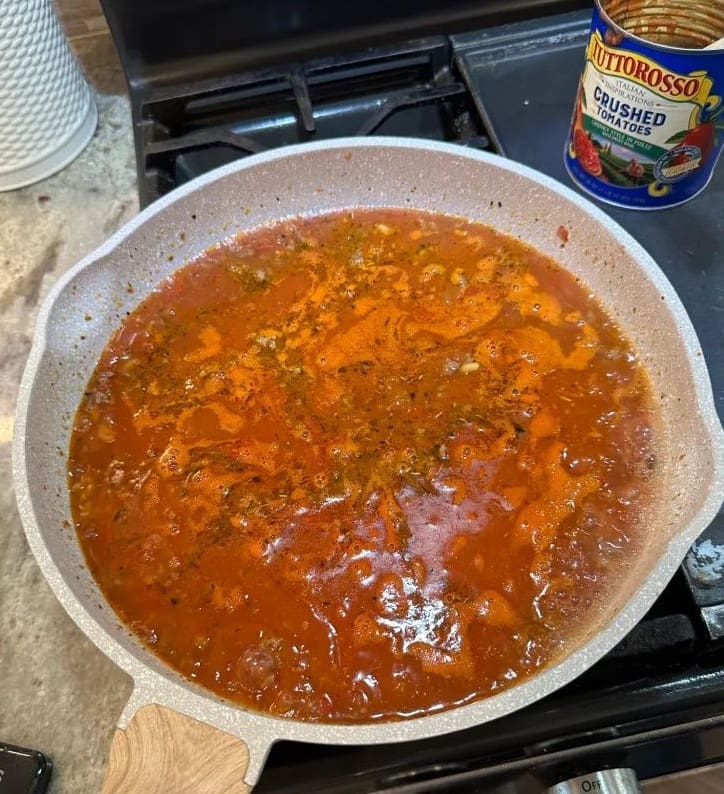
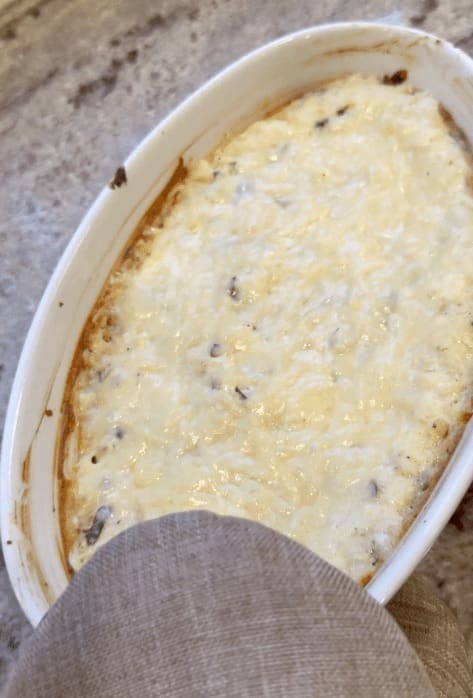
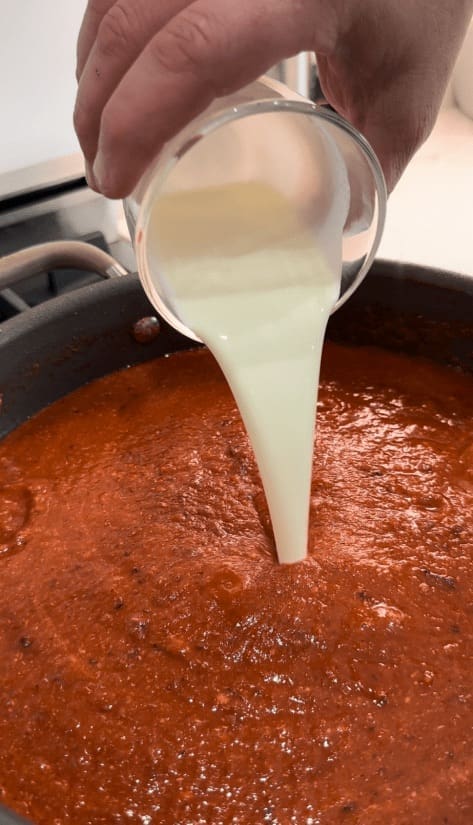
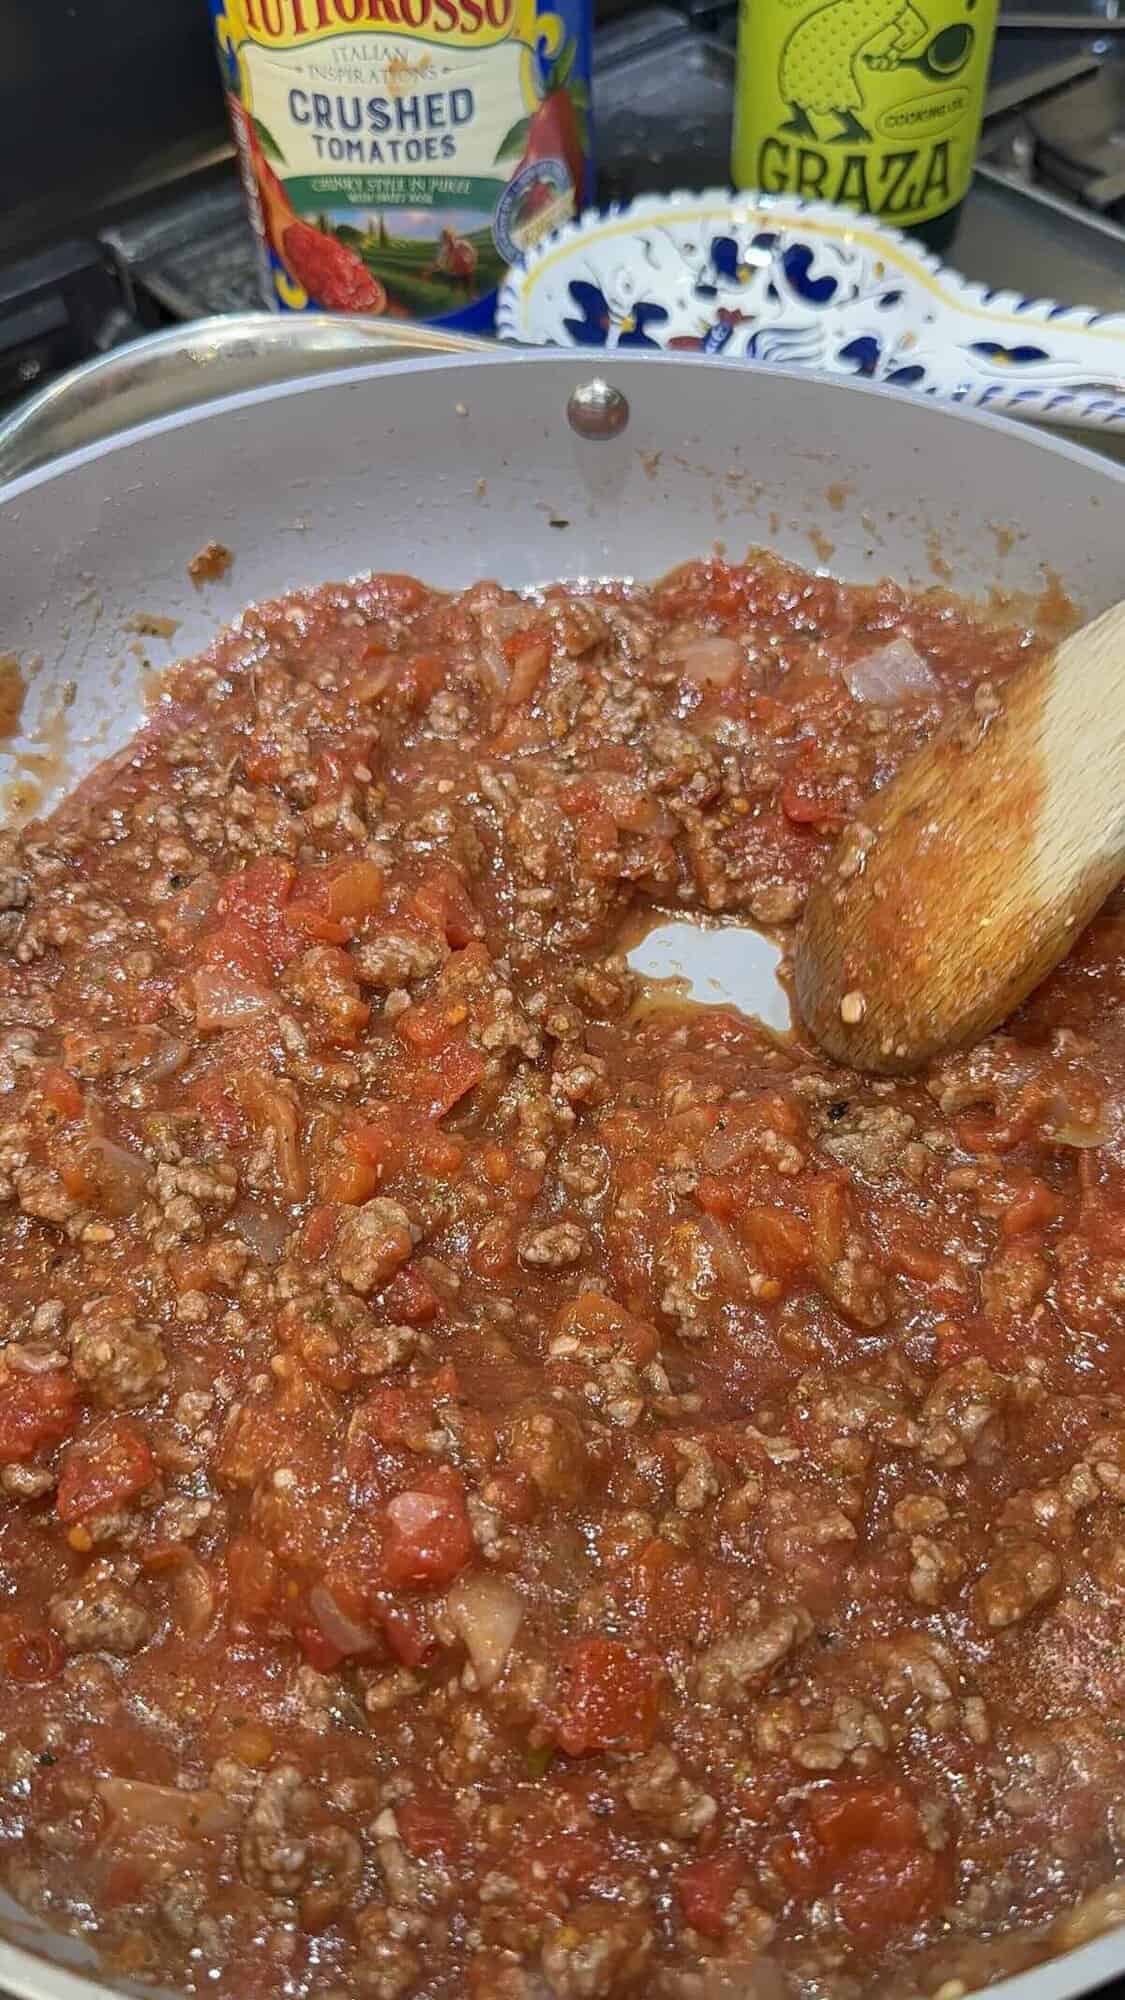
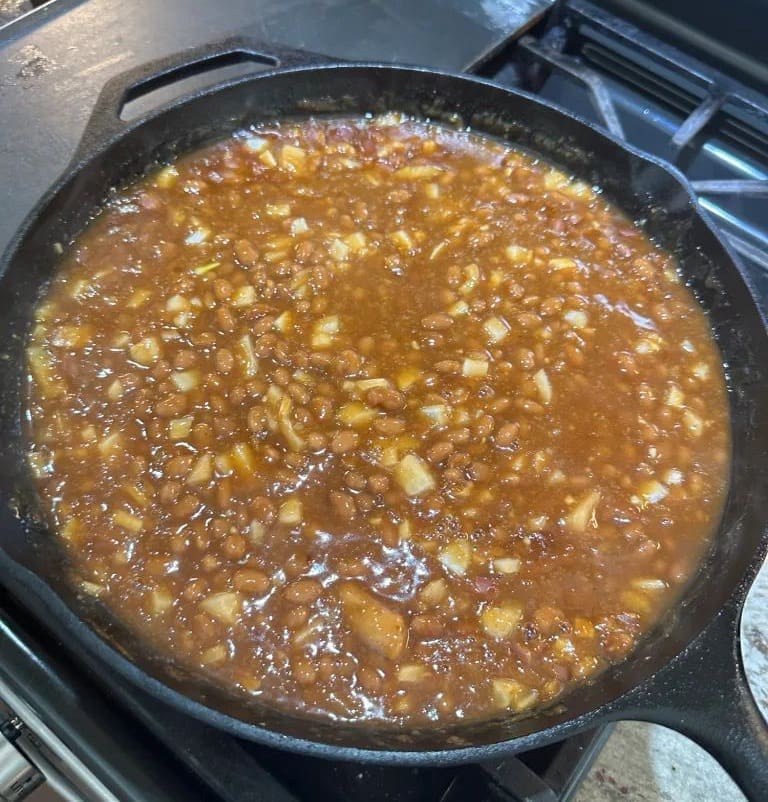
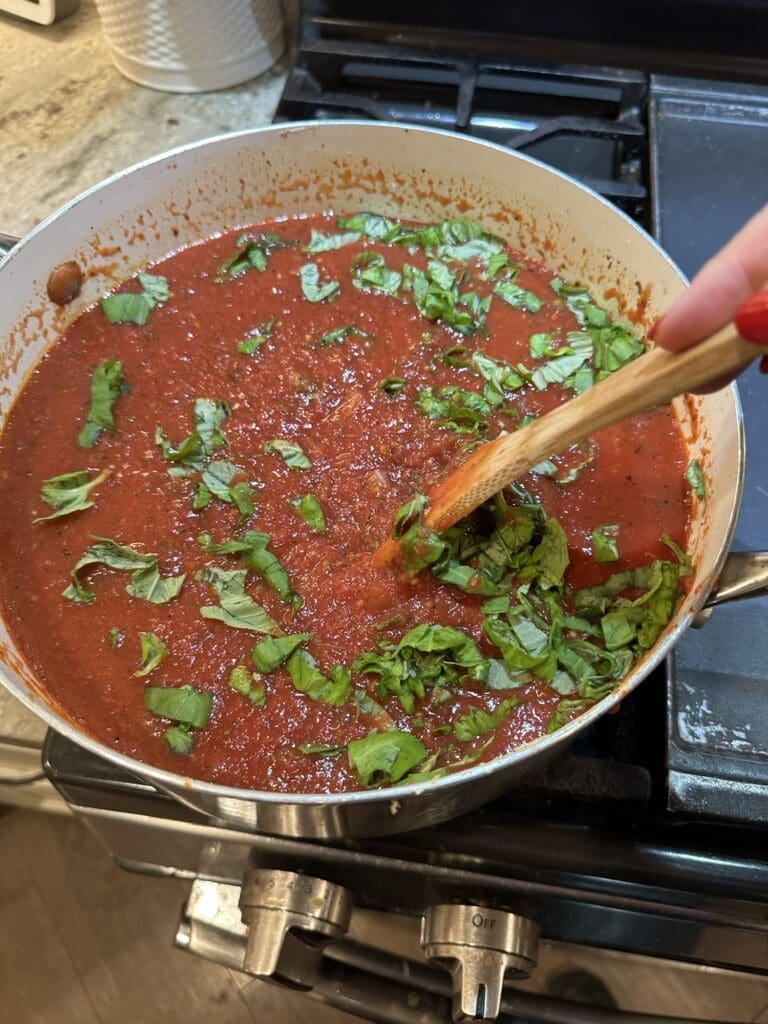
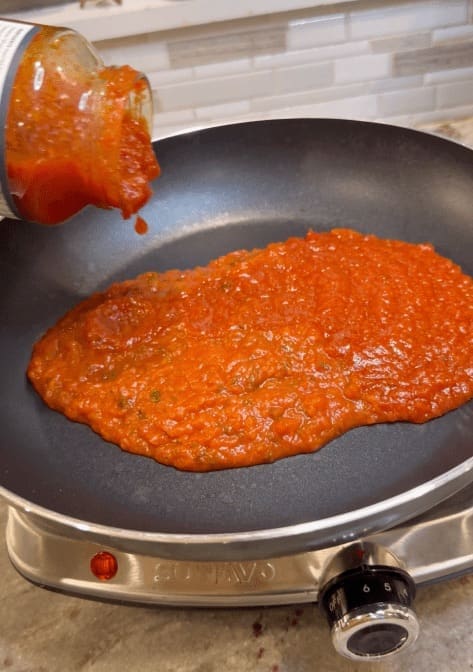
While that’s cooking, add the tomato sauce to a medium sized skillet over medium heat.
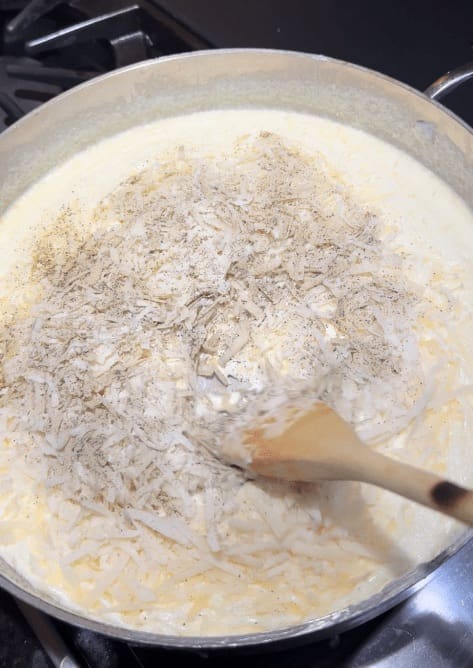
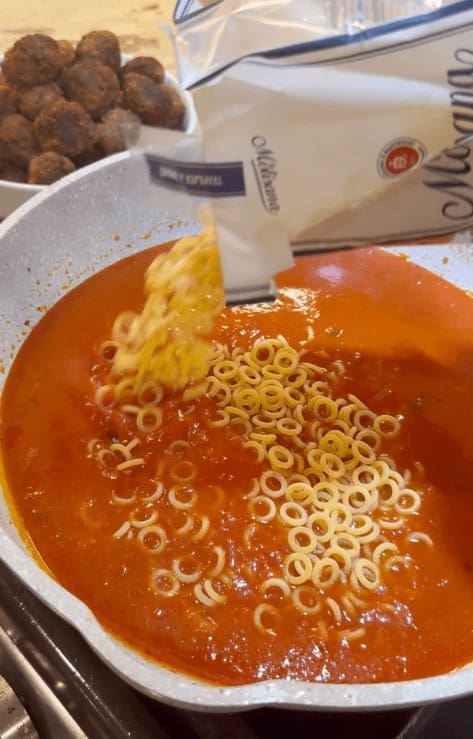
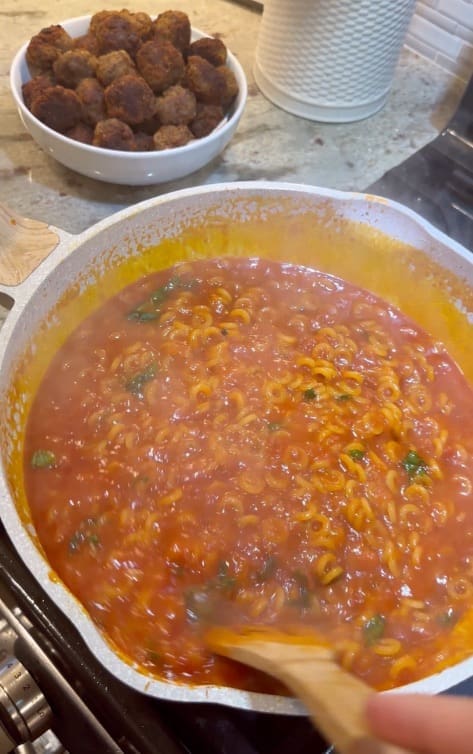
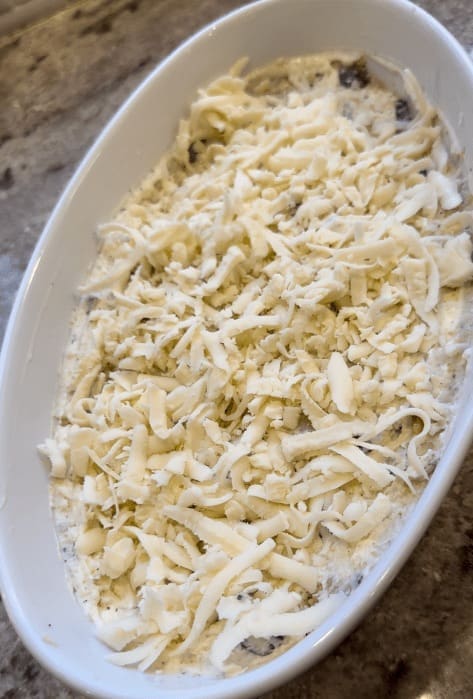
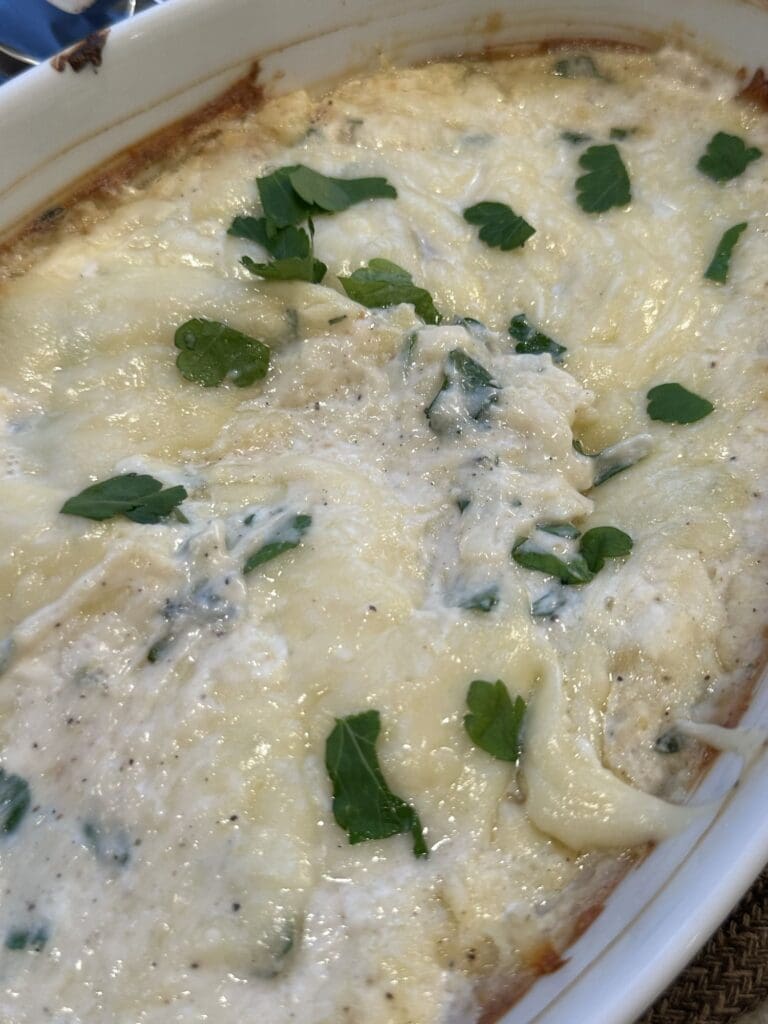
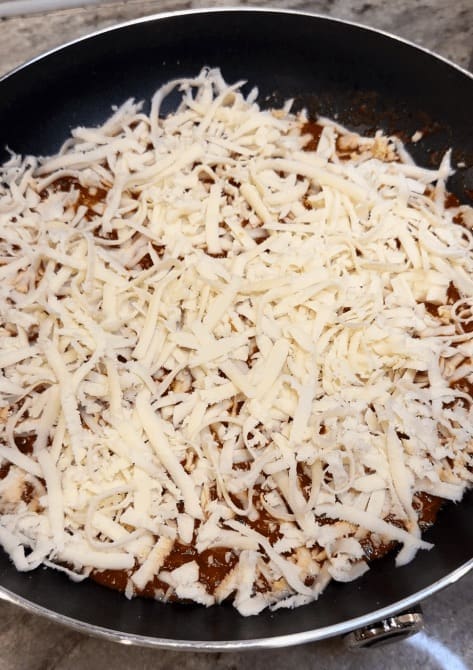
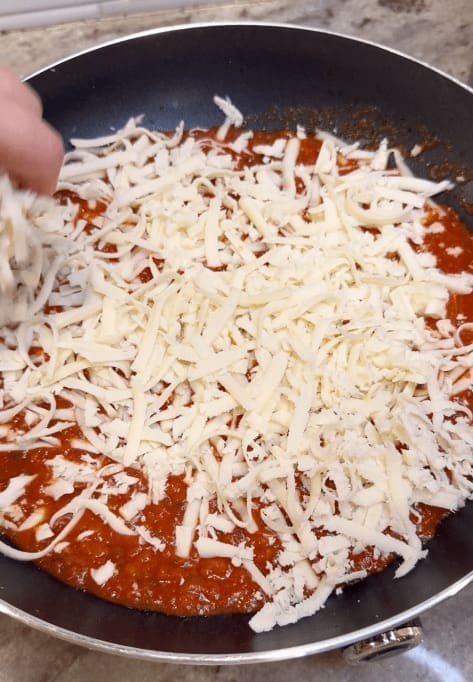
Now sprinkle the shredded mozzarella cheese evenly on top of the sauce and season it with half of the Italian seasoning.
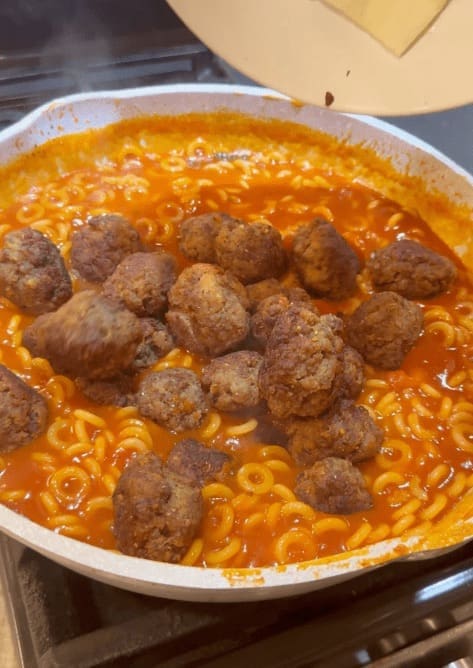
Then evenly place the pepperoni on top of the shredded cheese.
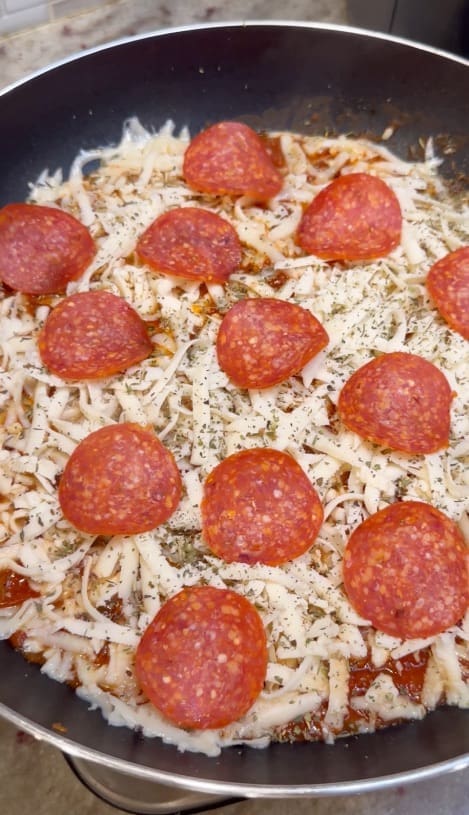
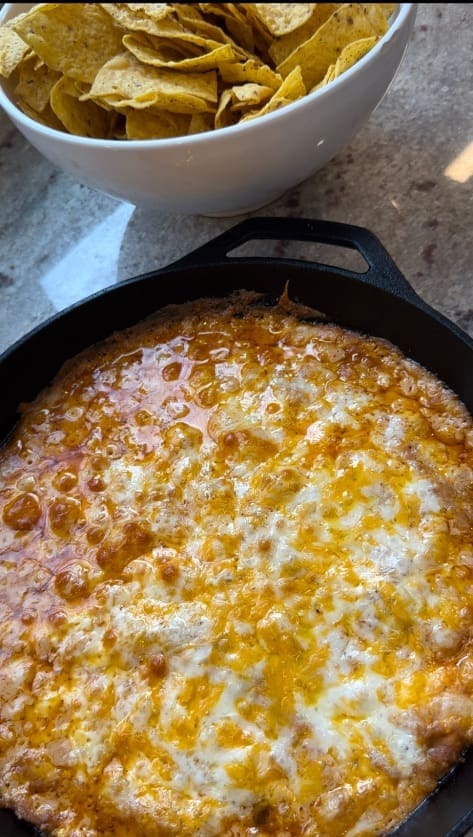
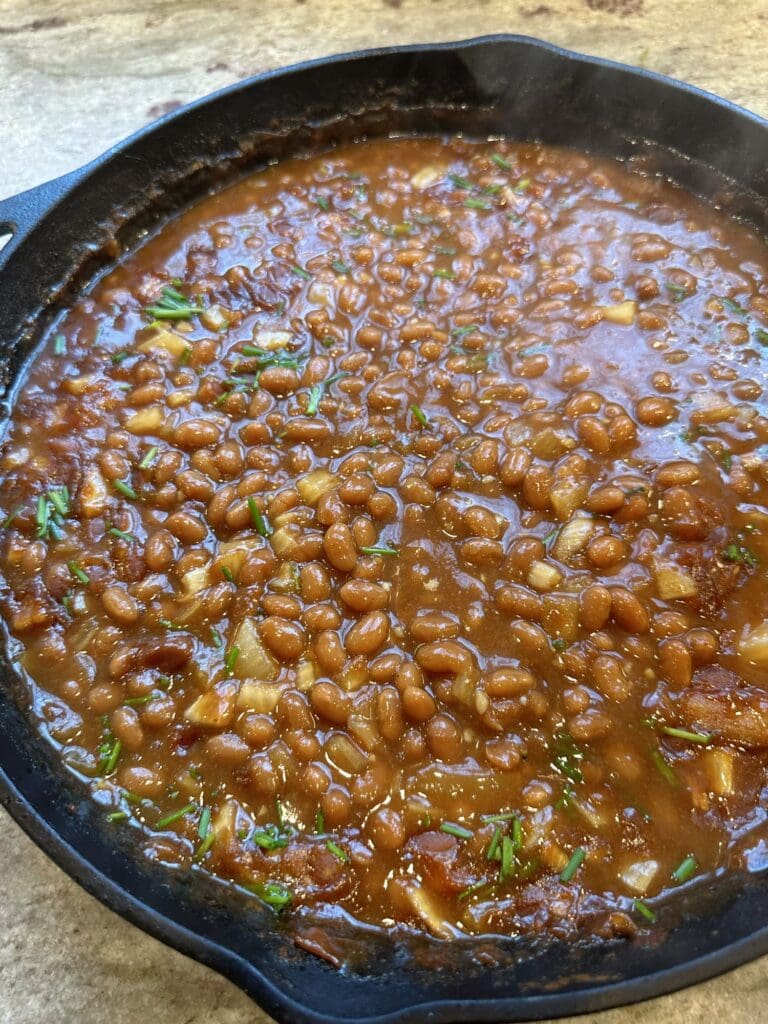
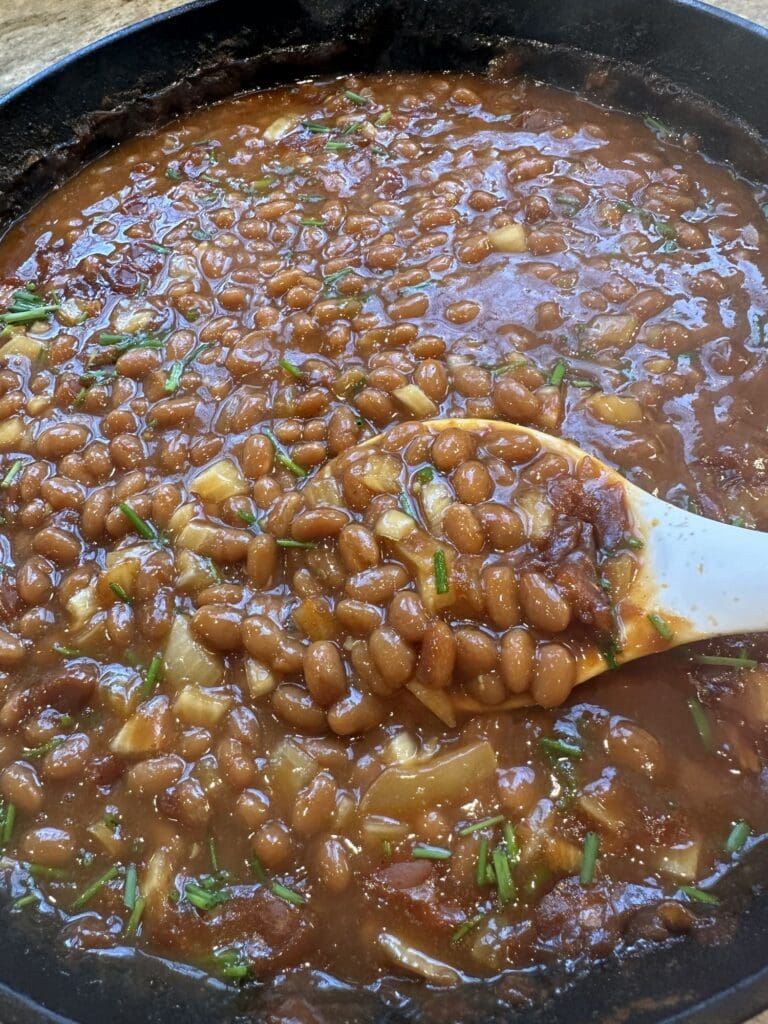
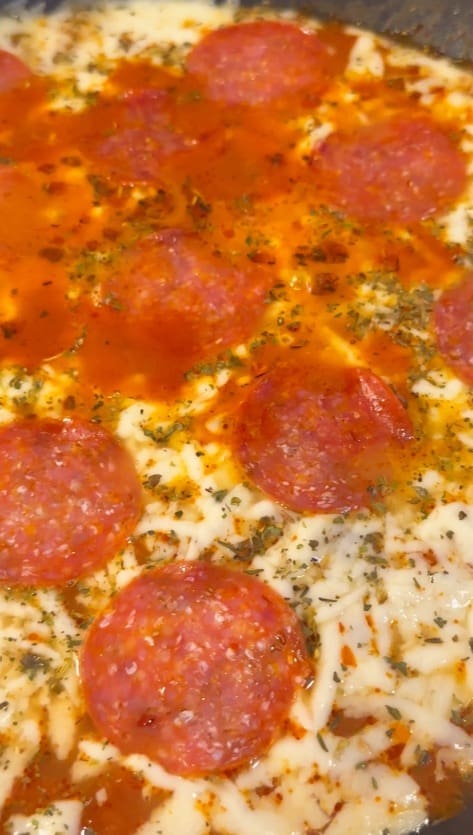
After that, place a lid on top of the skillet, turn the heat to low and let the cheese melt.
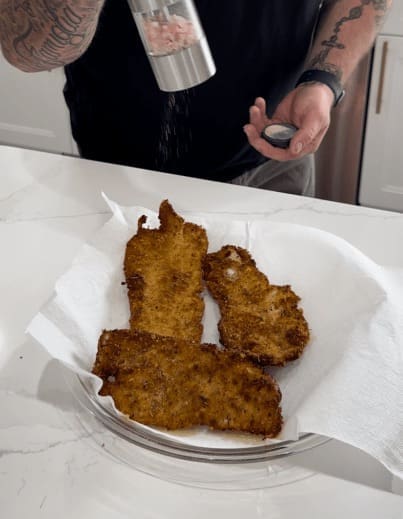
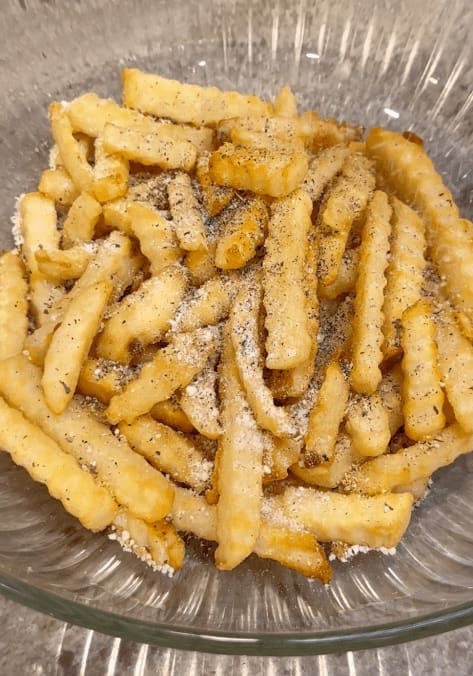
When the fries are done, add them to a bowl and season them with salt pepper, Italian seasoning and garlic powder.
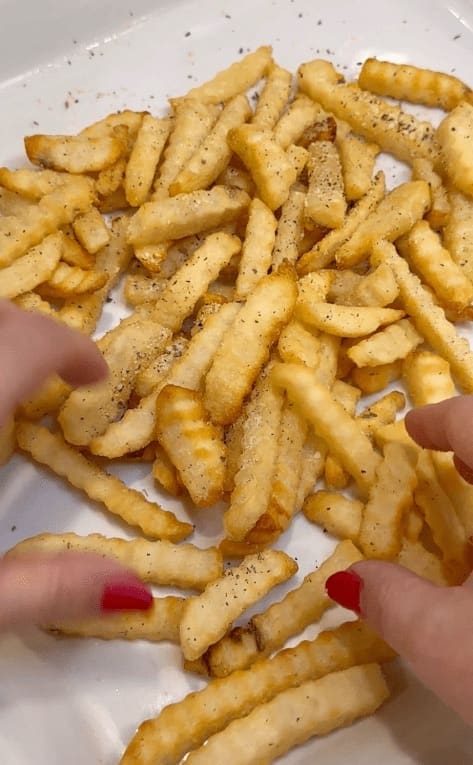
Then add the fries to a serving platter or plate and lay them out into a single layer.
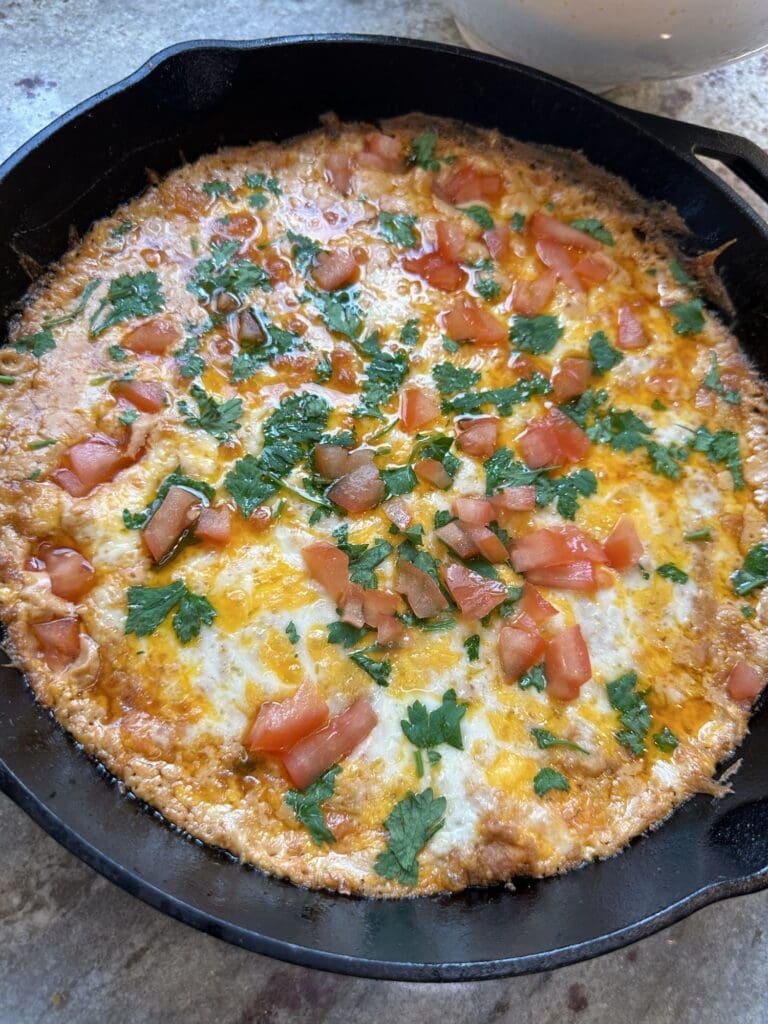
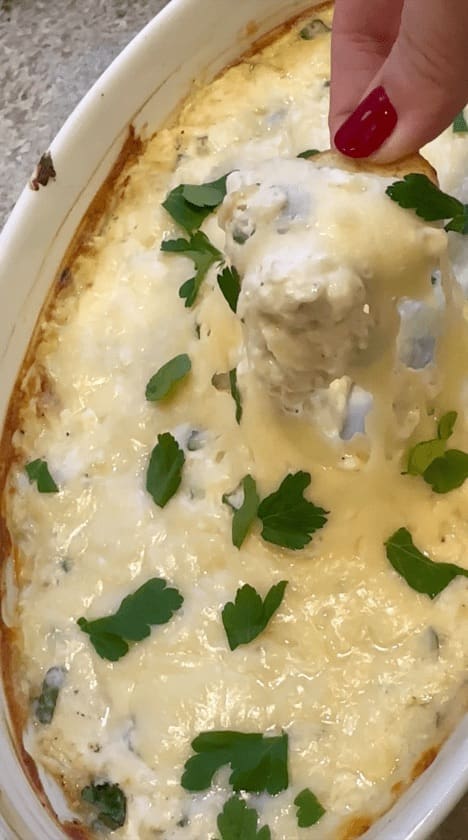
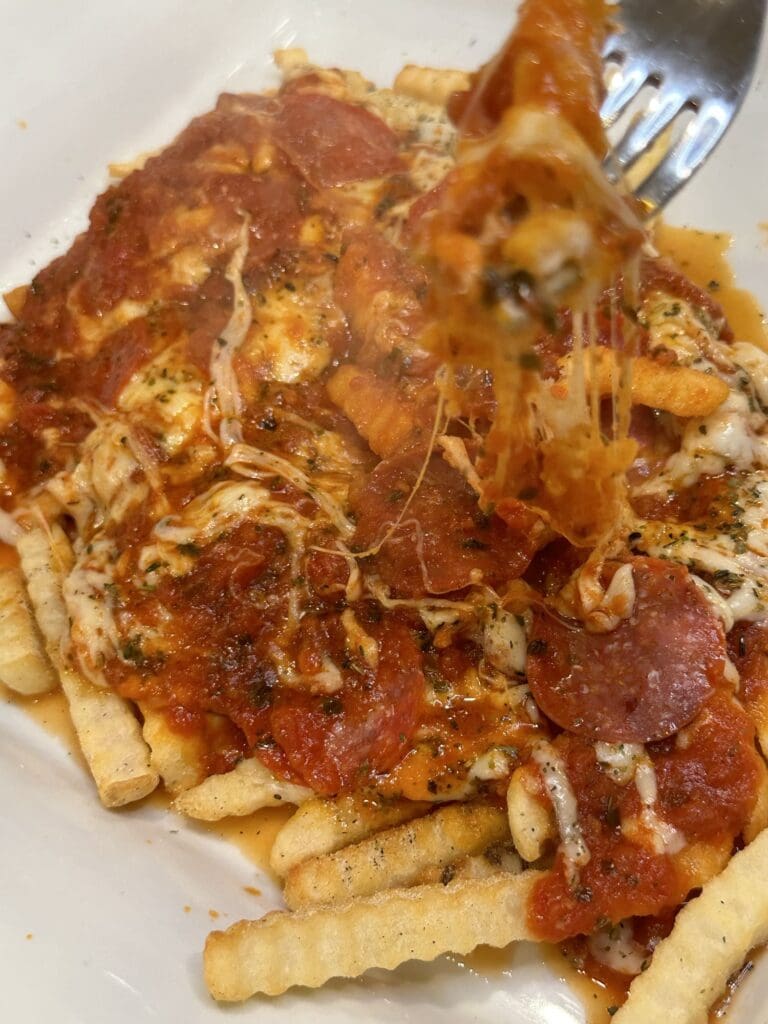
Finally, carefully pour the sauce, melted cheese and pepperoni evenly over the fries.
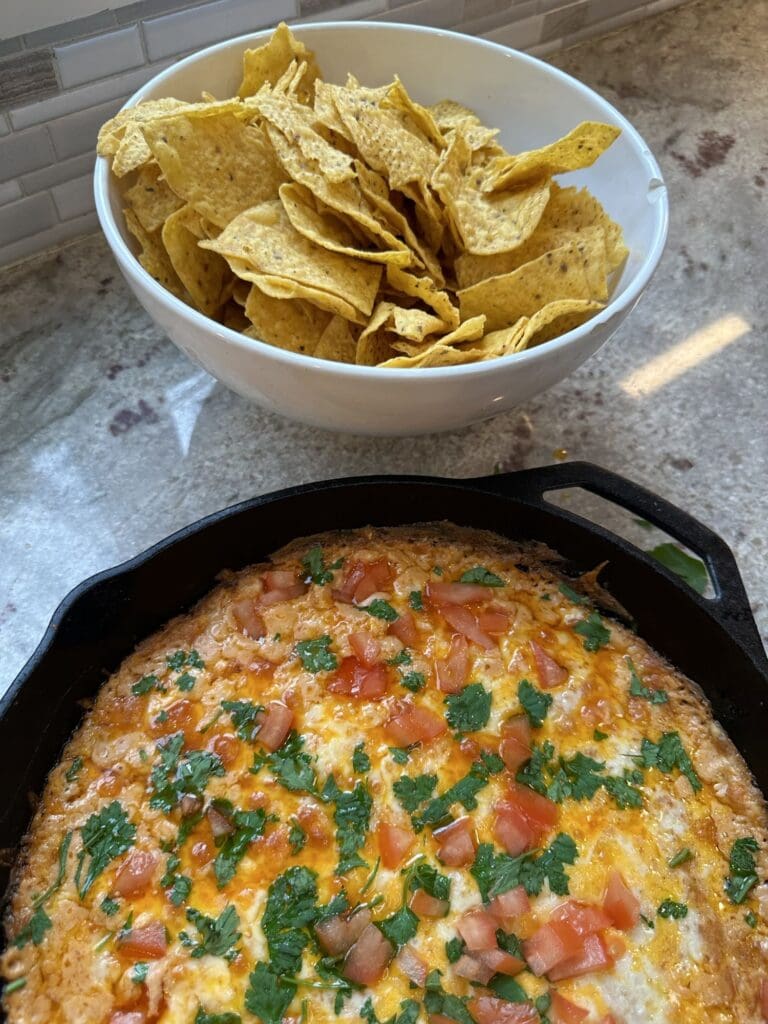
Serve warm and enjoy! Oh and by the way, you might want to grab a fork because these can get pretty messy.

Pepperoni Pizza Fries
Ingredients
- 1 26oz Frozen Fries
- 1 24oz jar Tomato Sauce
- 10-15 slices Pepperoni
- 1.5 c Mozzarella cheese, shredded
- Salt and pepper to taste
- 1 teaspoon Garlic powder
- 2 tbs Italian seasoning (divided)
Instructions
- First, cook the frozen fries. I used the air fryer but make them however you’d prefer. Directions should be on the back of the bag.
- While that’s cooking, add the tomato sauce to a medium sized skillet over medium heat.
- Now sprinkle the shredded mozzarella cheese evenly on top of the sauce and season it with half of the Italian seasoning.
- Then evenly place the pepperoni on top of the shredded cheese.
- After that, place a lid on top of the skillet, turn the heat to low and let the cheese melt.
- When the fries are done, add them to a bowl and season them with salt pepper, Italian seasoning and garlic powder.
- Then add the fries to a serving platter or plate and lay them out into a single layer.
- Finally, carefully pour the sauce, melted cheese and pepperoni evenly over the fries.
- Serve warm and enjoy! Oh and by the way, you might want to grab a fork because these can get pretty messy.