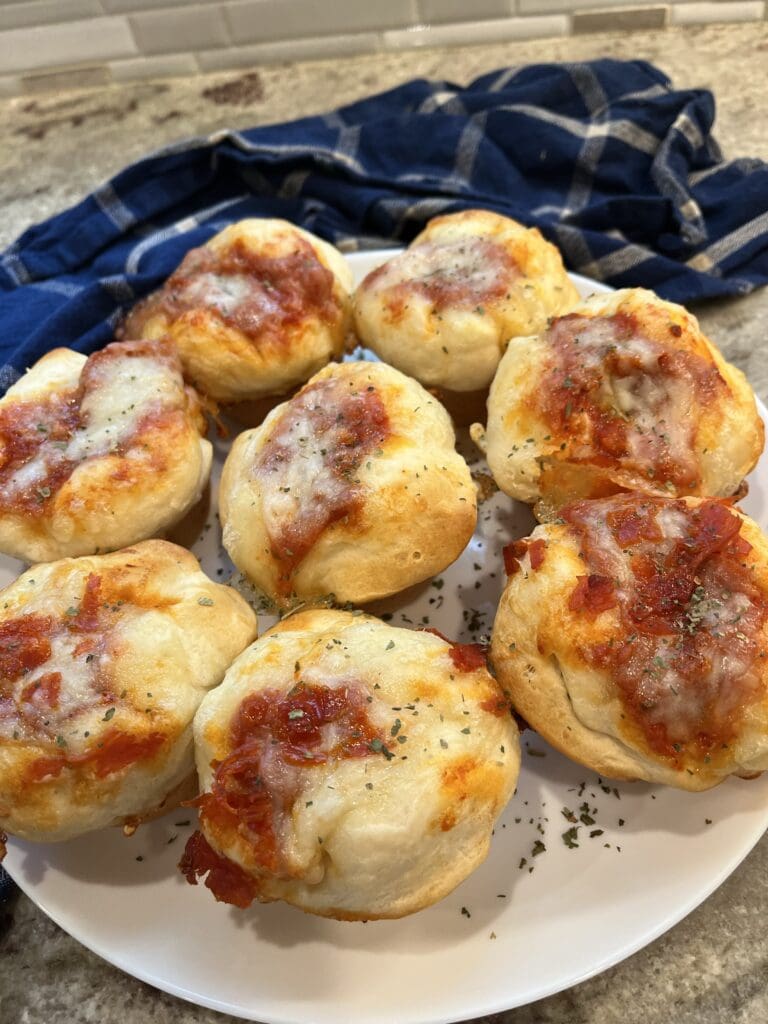
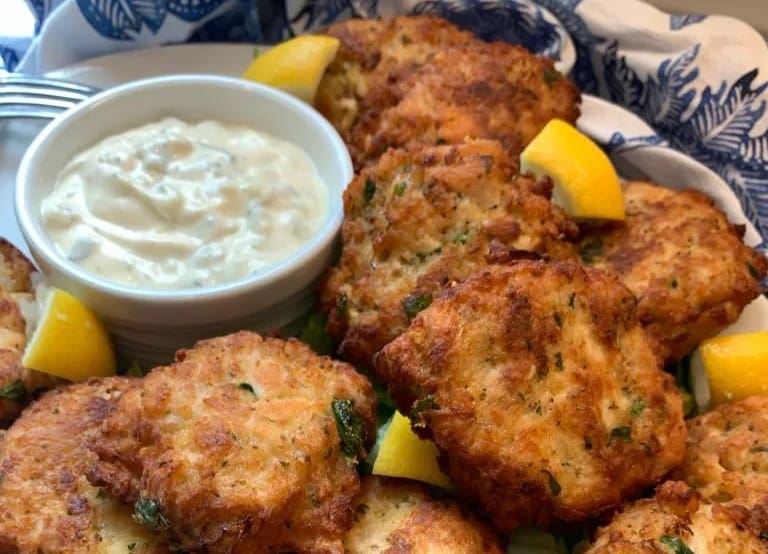
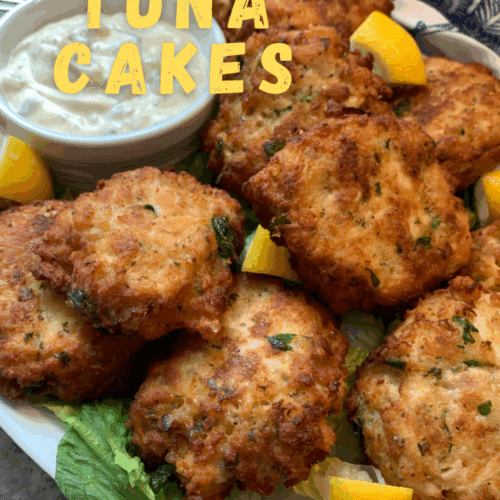
You will not believe how budget friendly and easy to make these canned tuna cakes are.
Easy Canned Tuna Cakes
From the recipe collection of Tara Ippolito
I can’t even get over how inexpensive and easy to make these canned tuna cakes are.
They’re a fraction of the cost that it would be to make crab cakes. And you want to know what?
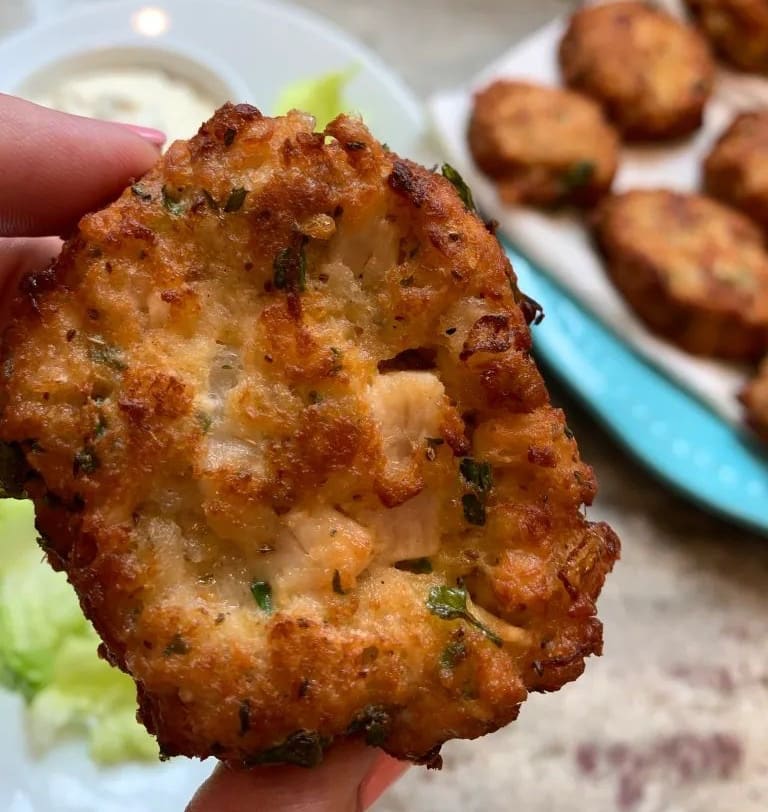
No one could even tell the difference. Not that using canned tuna is a bad thing at all. But everyone just assumed they were crab and I’m totally okay with that.
This is one of those recipes that are super versatile. They could be served as a nice dinner party appetizer or at your weeknight family dinner table.
That’s what makes this such an interesting recipe.
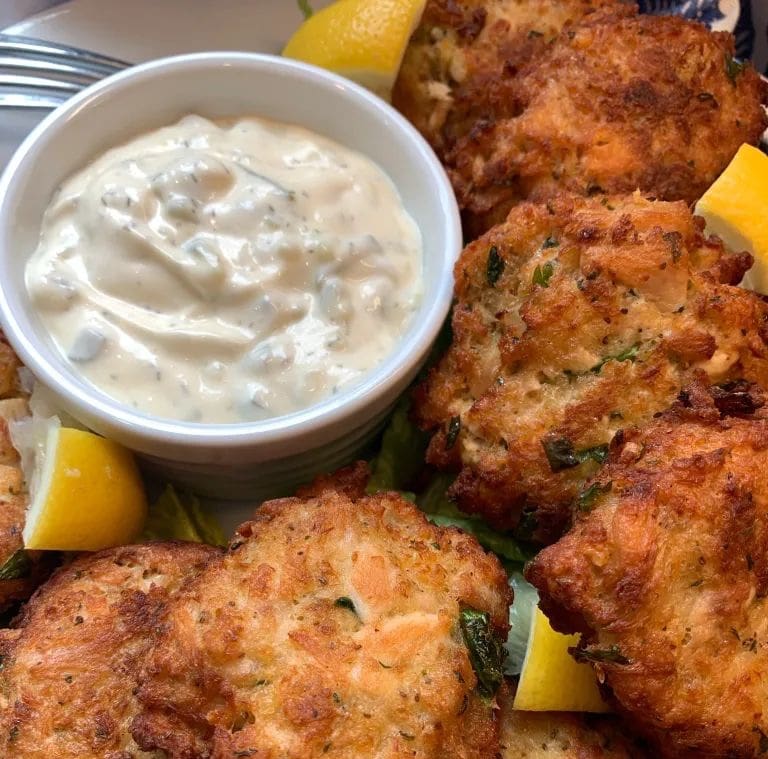
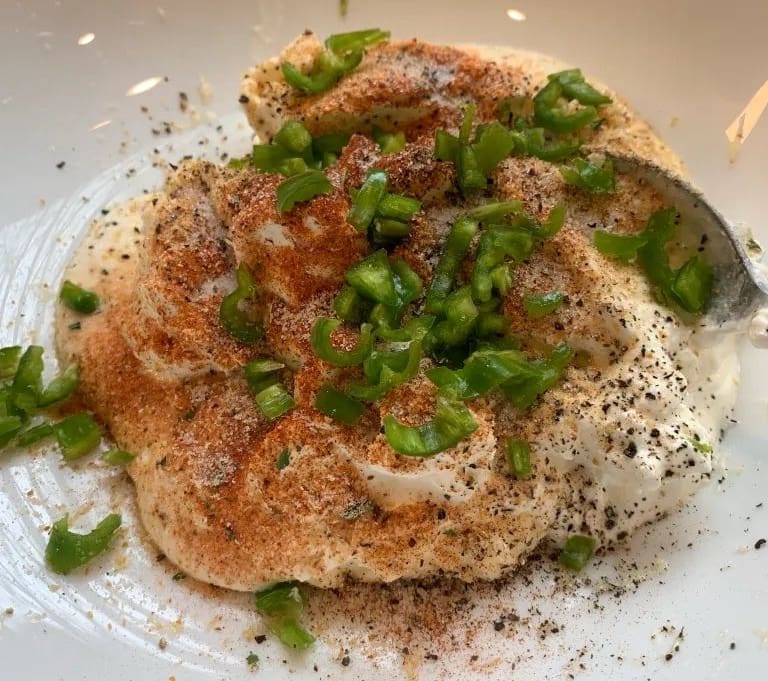
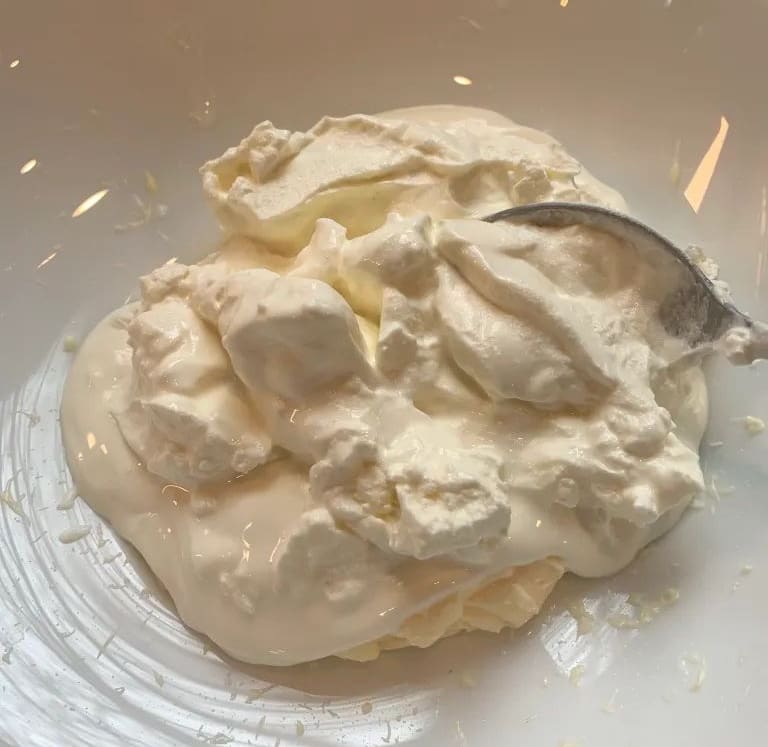
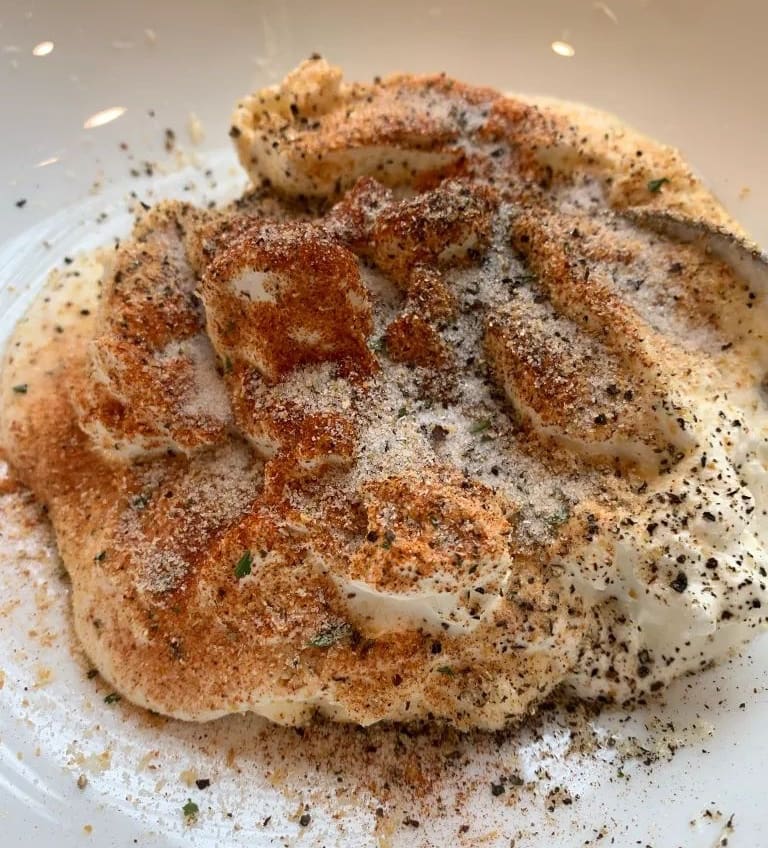
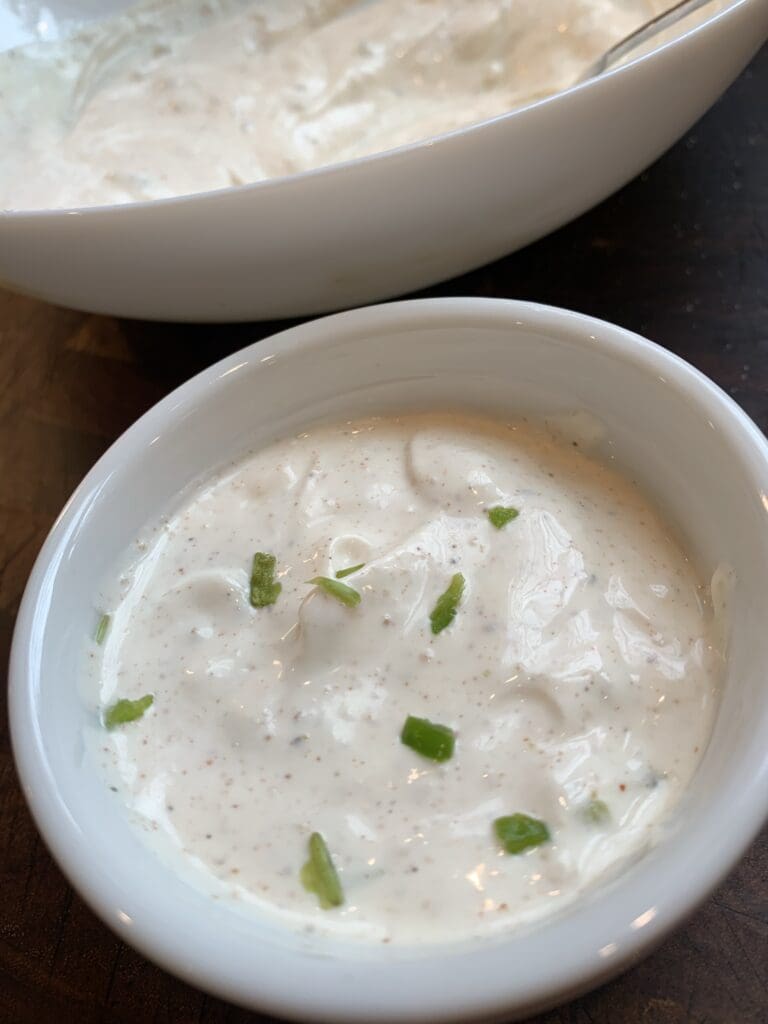
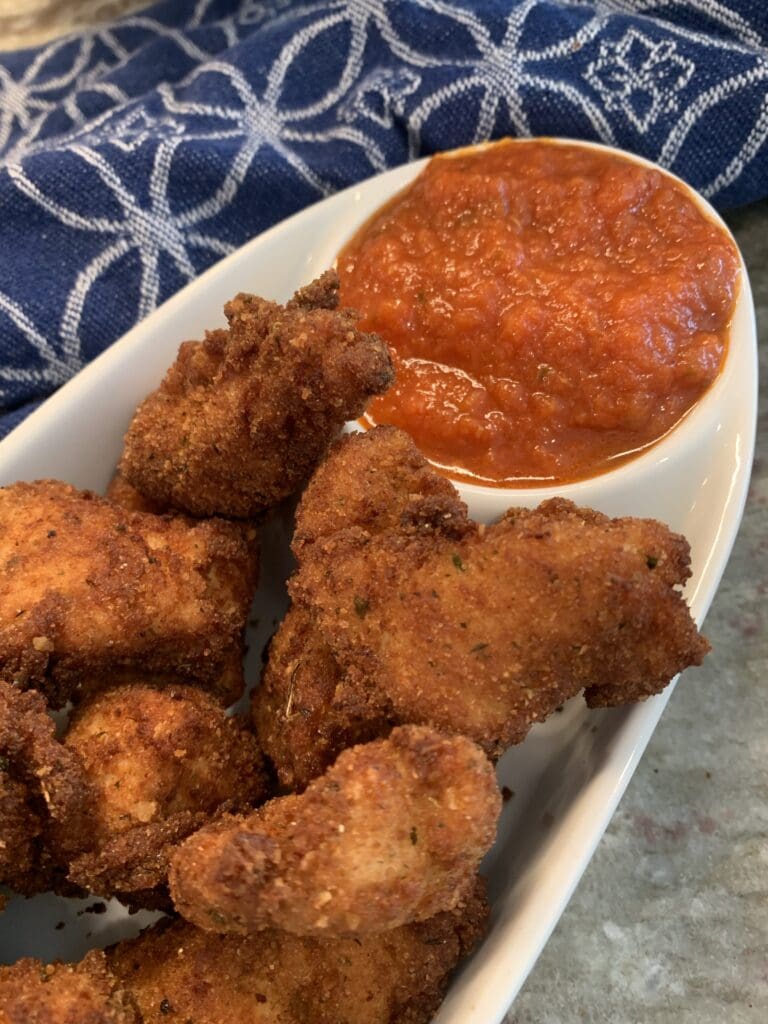
And the homemade tarter sauce easily kicks these canned tuna cakes into the next level.
You have to check out that easy recipe, too, here.
I had mentioned earlier that they were budget friendly and they sure were.
The whole thing took me less than $20 to make.
I will be making these for my friends and family over and over again.
I know if you give them a try they’ll become a family favorite of yours, too.
Other quick dinners:
If quick, easy and inexpensive dinners are your thing, here are a couple of other really great recipes you’d love.
Should I use tuna packaged in oil or water?
This is a great question and depends on what you prefer completely.
From a recipe standpoint, they will both give you the same result. A delicious canned tuna take.
So here’s the difference.
Tuna packaged in water will deliver a much milder tuna flavor. It also tends to be a little lighter in the calorie department.
Tuna packaged in oil will taste much stronger and have a few extra calories.
The choice is yours to make.
How can I keep the tuna cakes from falling apart?
There are a couple do things you can do to ensure that your parties keep they’re shape when being fried.
Here they are:
- Don’t make them too big. Keep there size smaller and easier to manage.
- Form the patties and pop them in the fridge for at least an hour or two. This will really ensure they hold their shape.
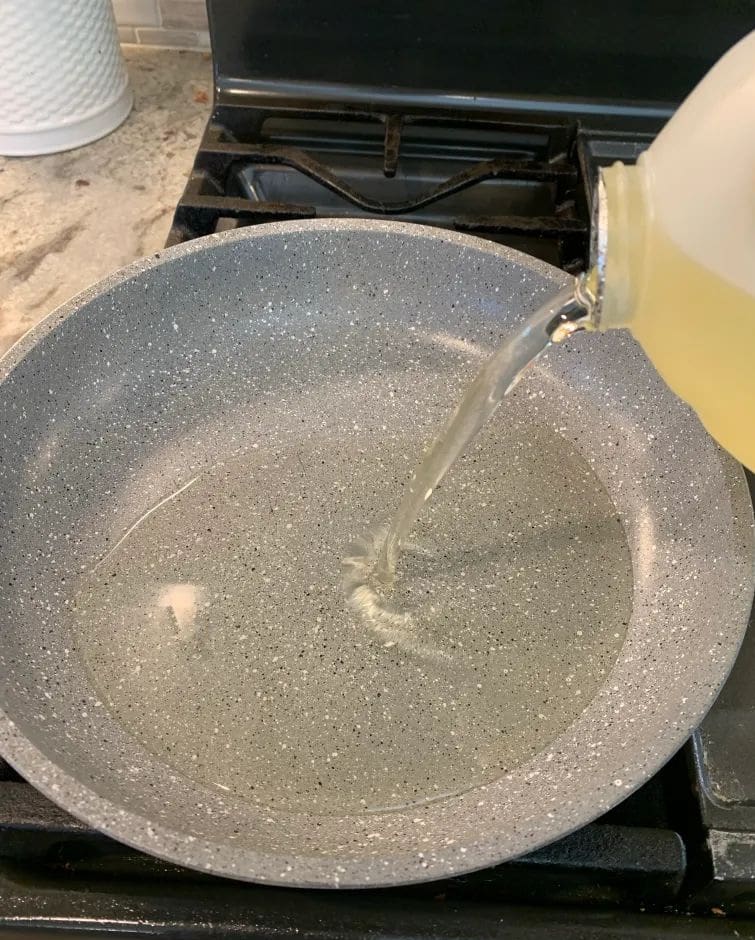
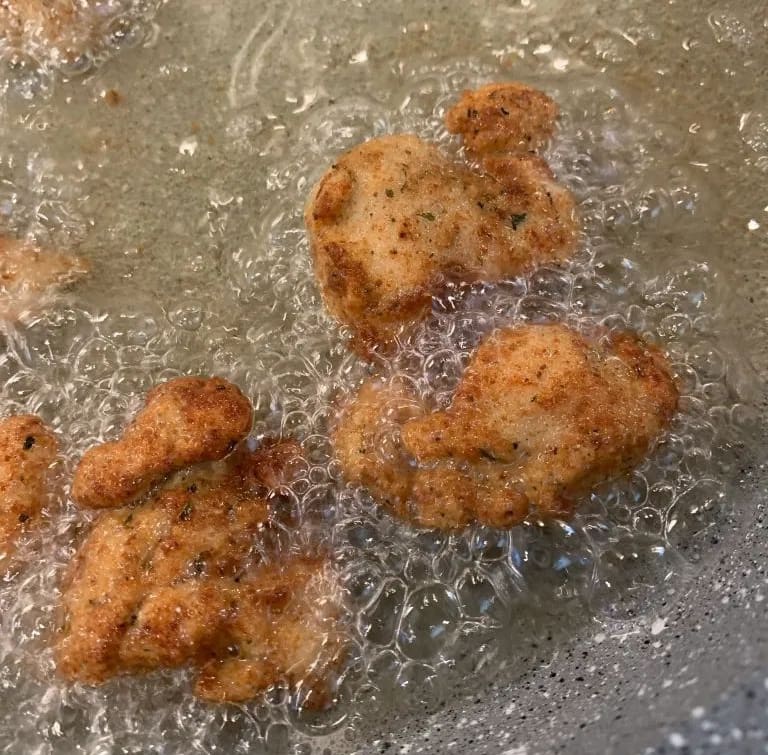
- Make sure your cooking oil is hot and read to go! Adding the tuna cakes too early won’t give them that crispy crust we’re looking for and they could easily break apart.
- Don’t fuss with them too much when they’re frying either. Let the oil do it’s thing. Flip the tuna cakes over once you see the edges start to brown.
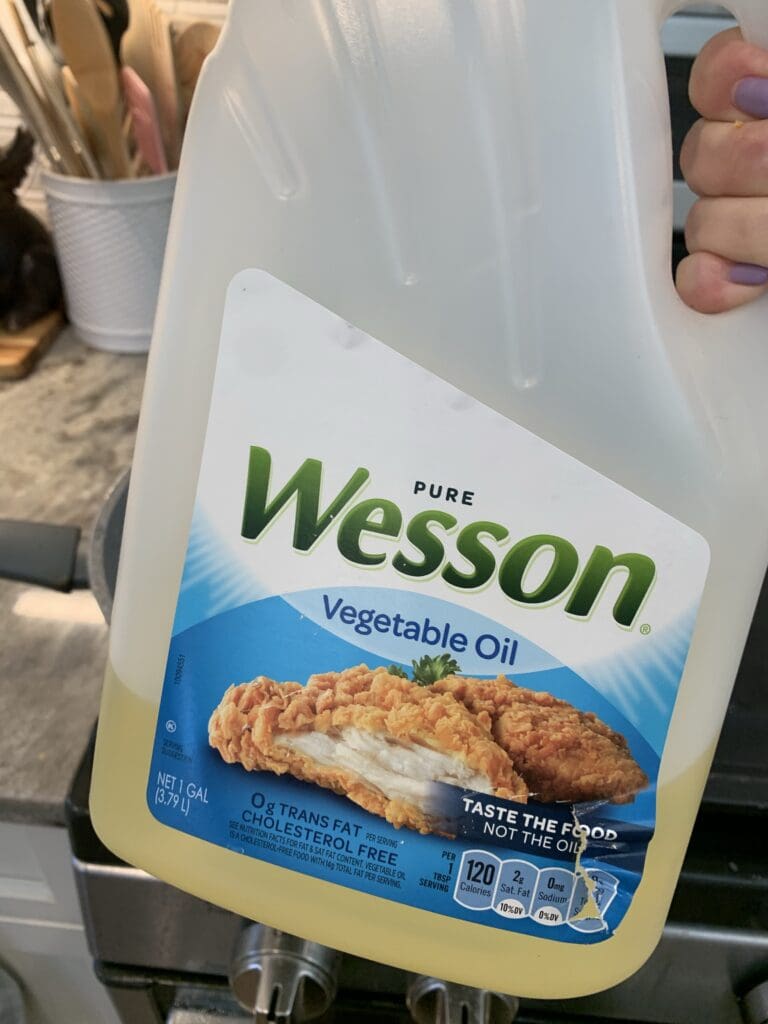
What oil should I use to fry them?
Any oil with a high smoke point will do. Peanut, corn, avocado oil or canola oil are all good options.
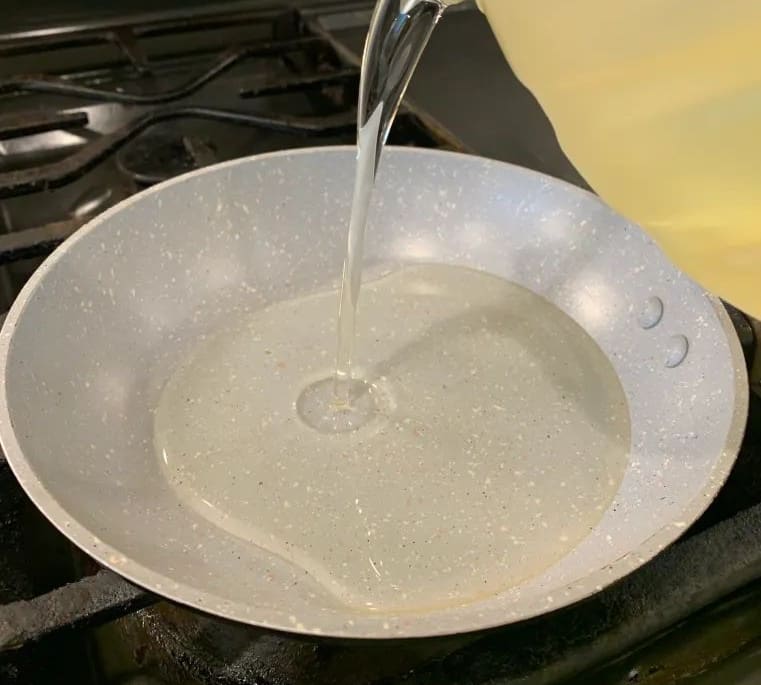
I prefer canola oil because it tends to be pretty flavorless unlike the others that carry a slight taste to them.
Can tuna cakes be made ahead?
Absolutely they can!
Form the canned tuna mixture into little patties and place them in the fridge for up to 3 days ahead.
Or freeze them for up to 3 months.
Take them out when you’re ready and fry them up for dinner.
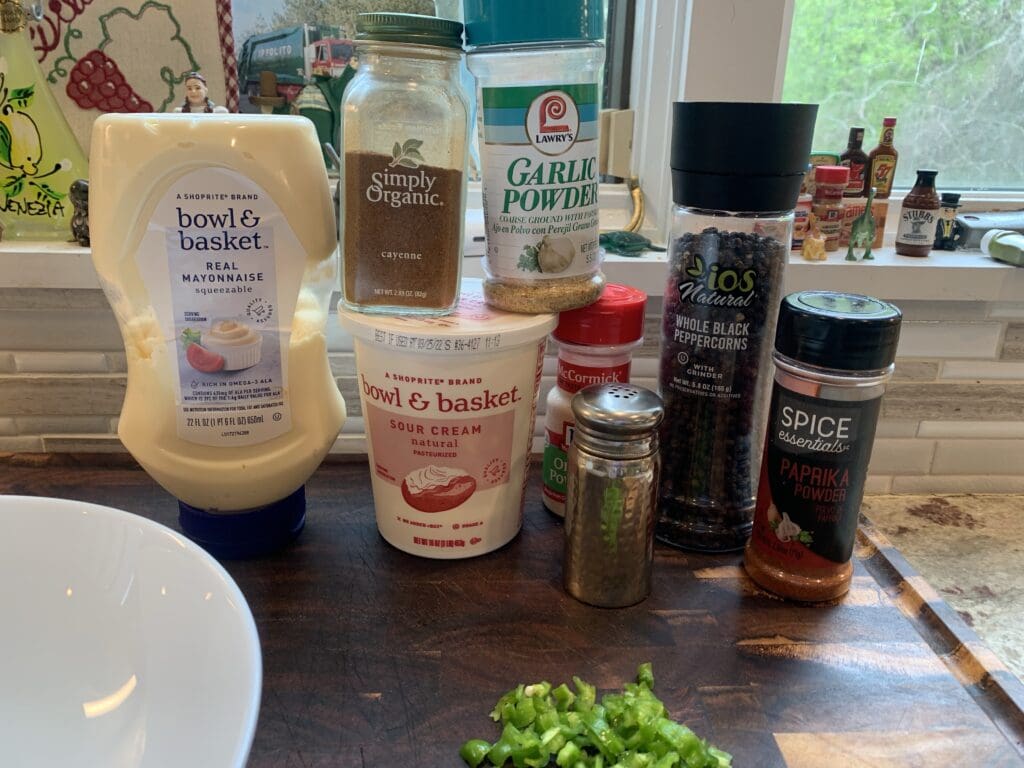
Canned tuna cakes ingredients:
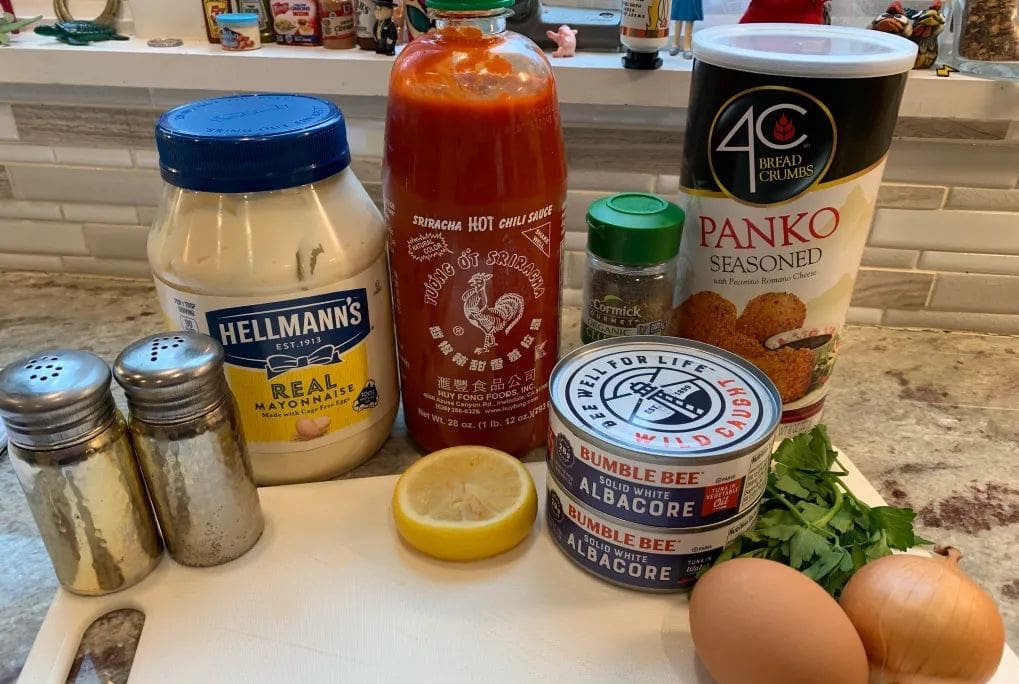
- Canned Tuna
- Mayonnaise
- Eggs
- Mustard
- Celery seed
- Salt and pepper
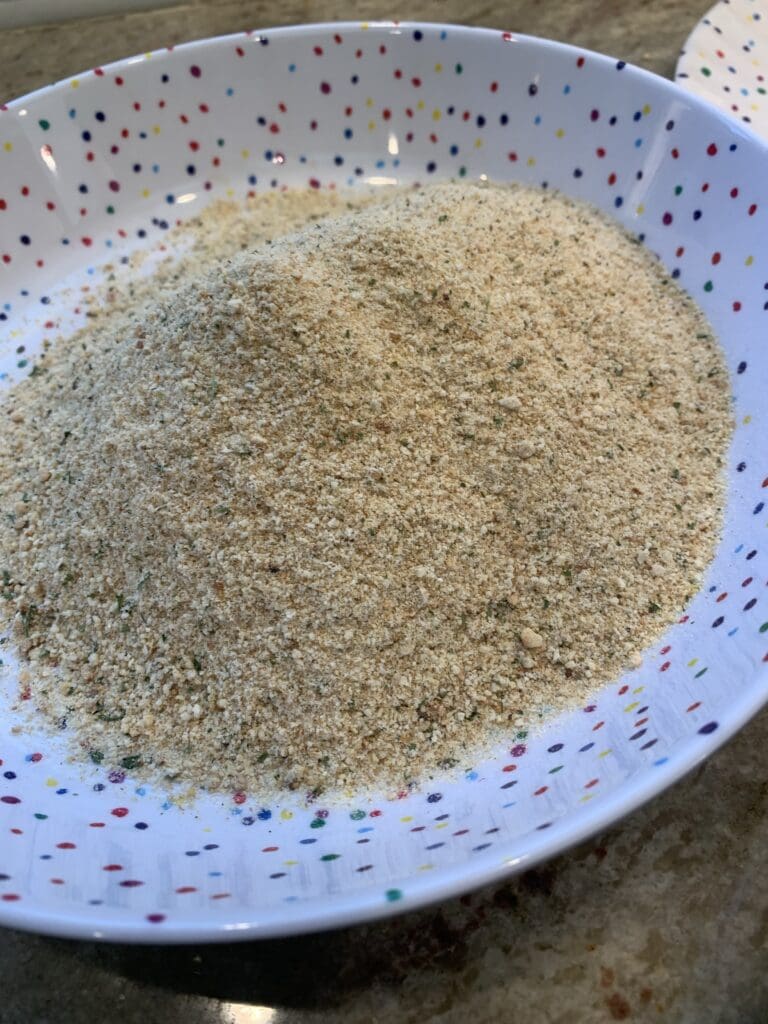
- Panko breadcrumbs
- Lemon juice
- Minced onion
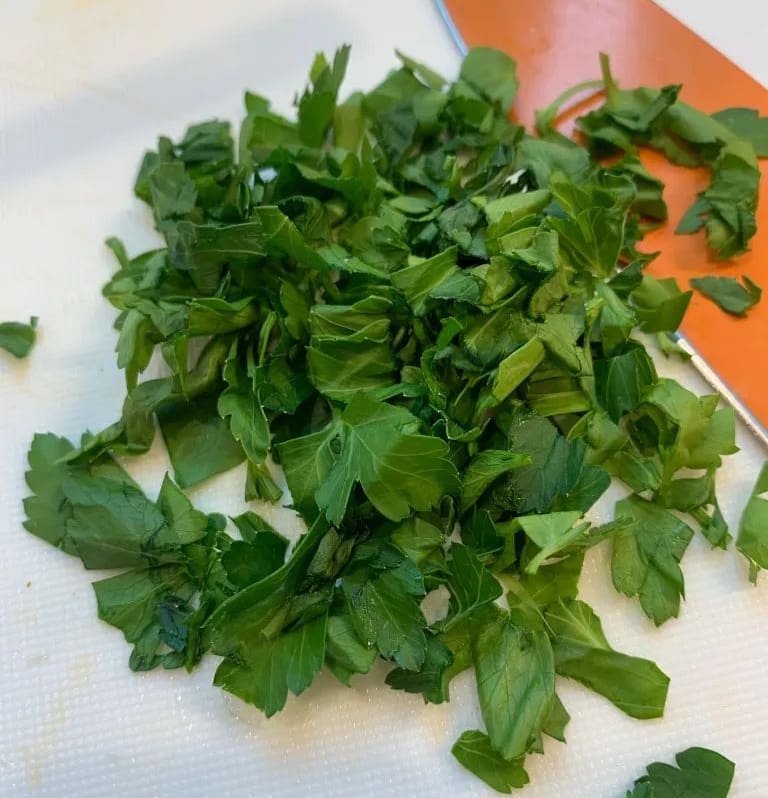
- Fresh parsley
- Sriracha
Instructions:
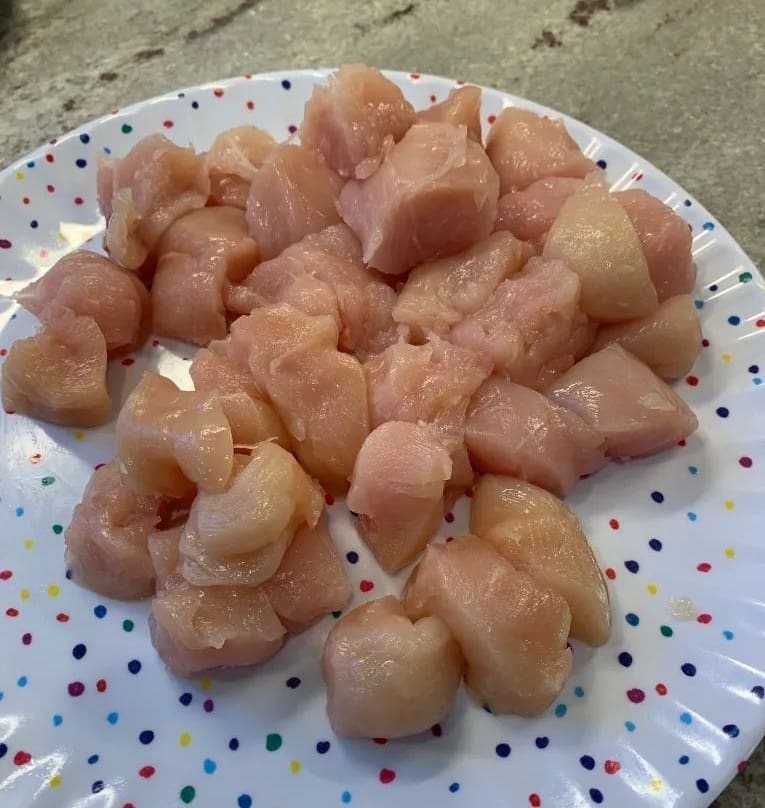
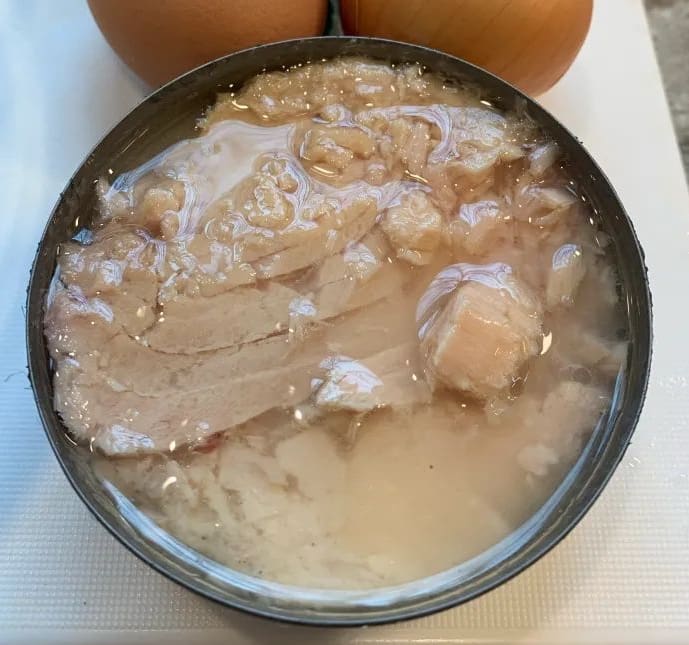
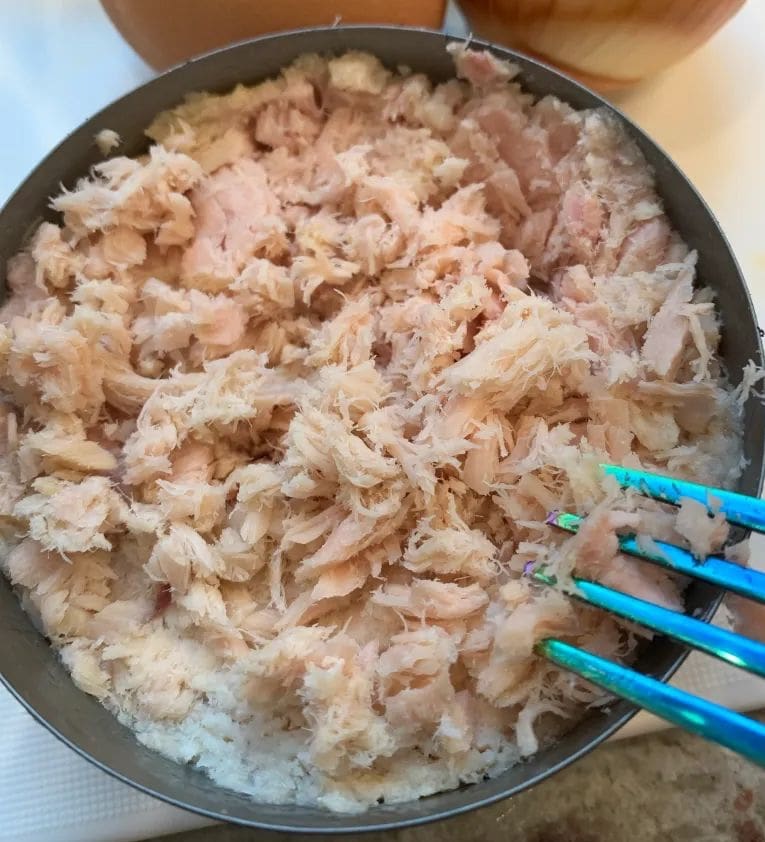
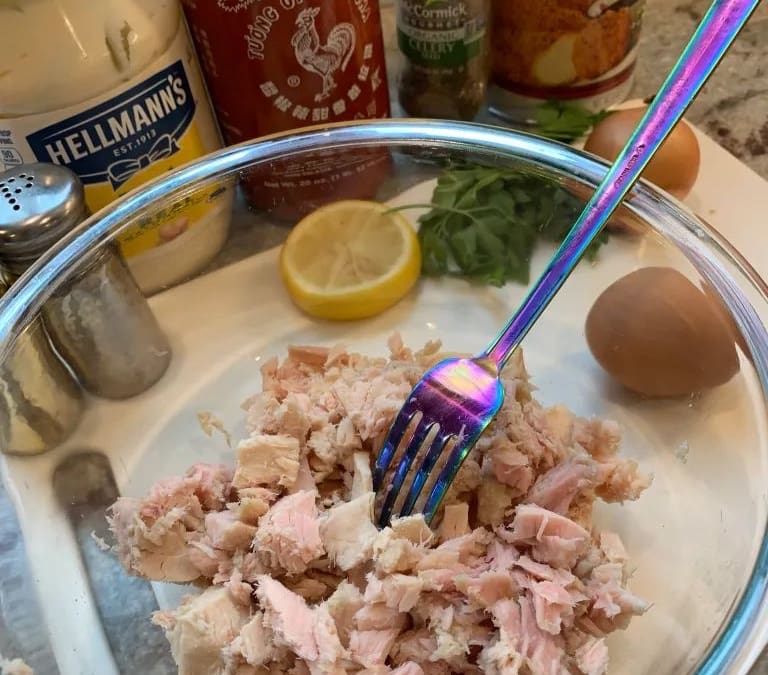
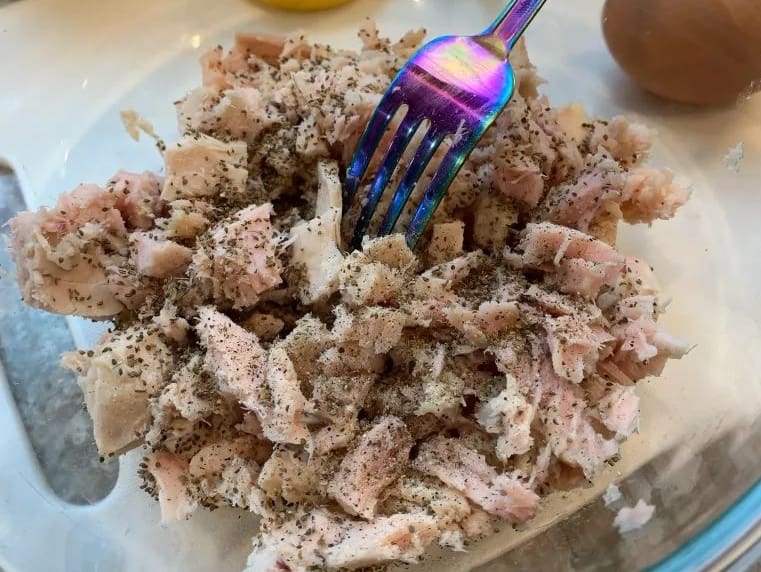
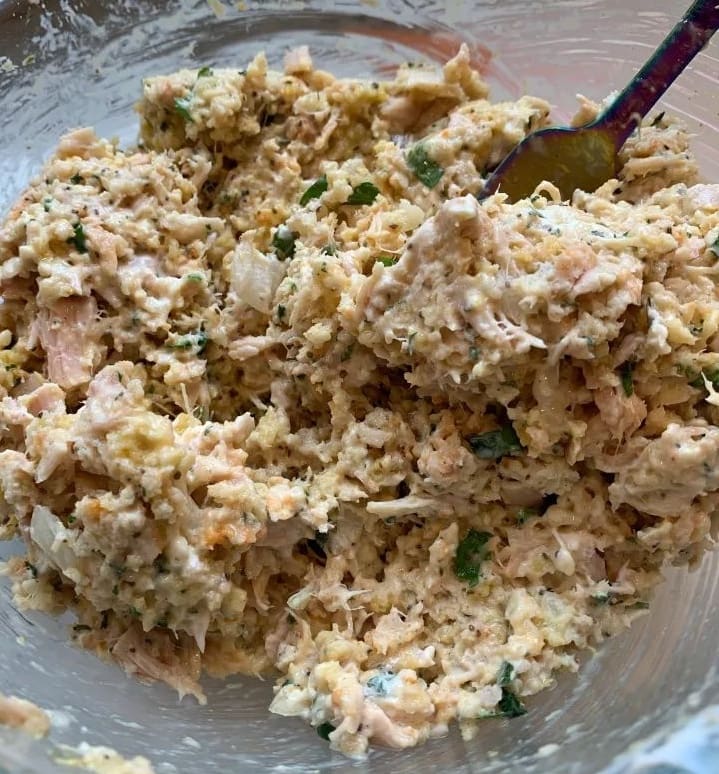
First, drain your tuna from the liquid in the can very well and add it to a medium sized bowl.
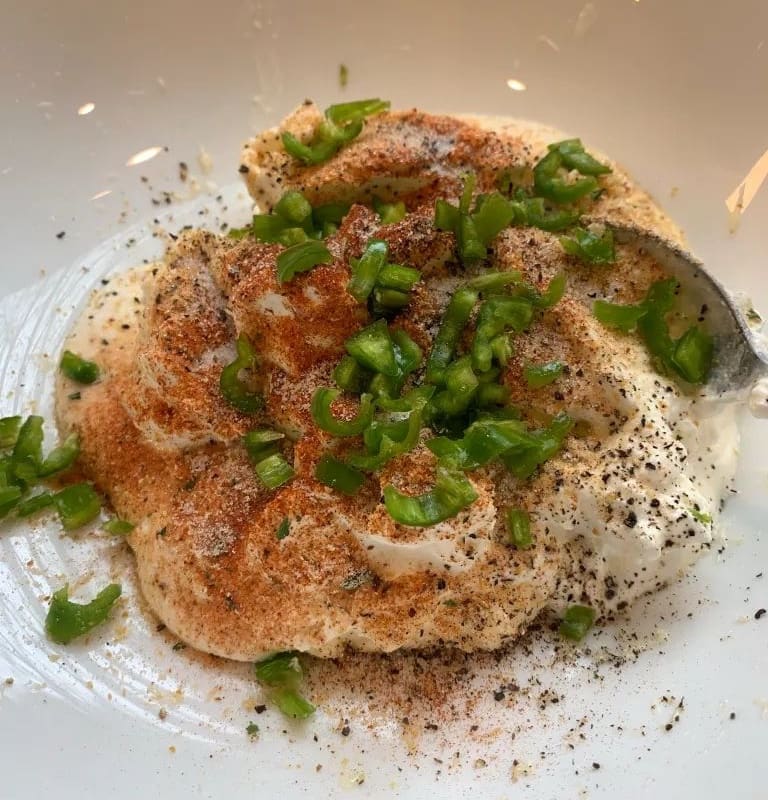
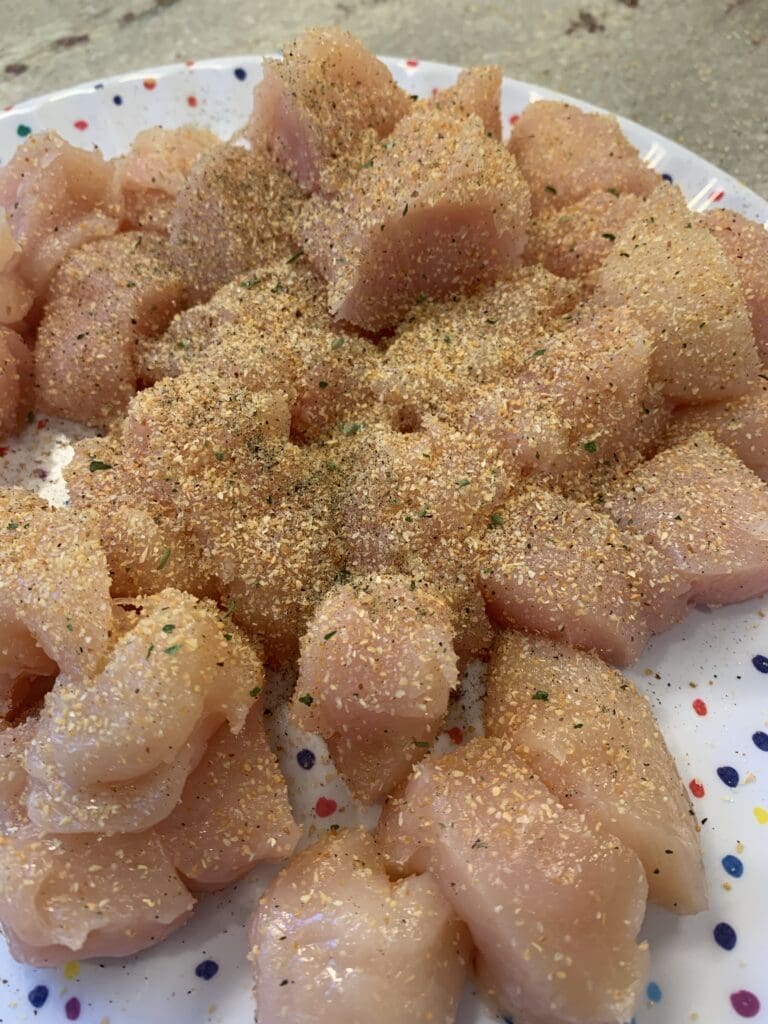
Now add the seasonings,
Lemon juice,
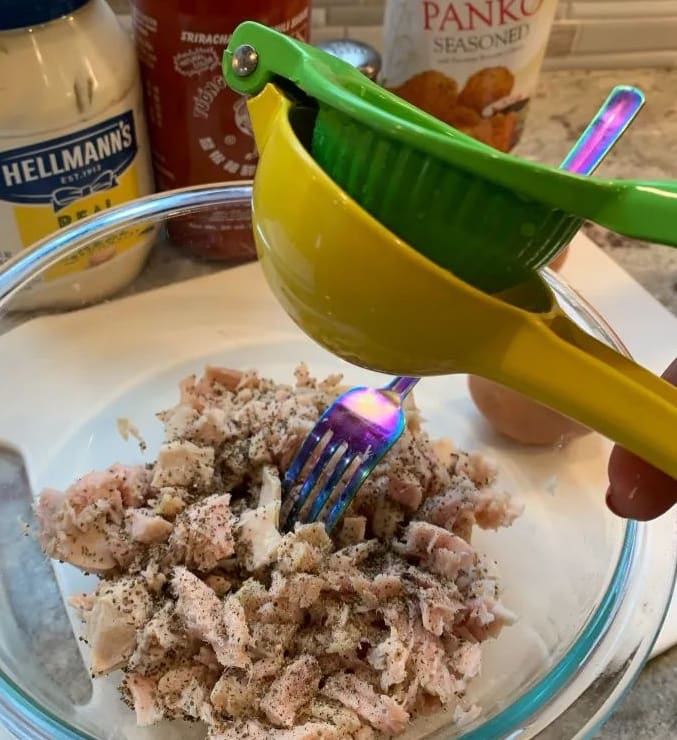
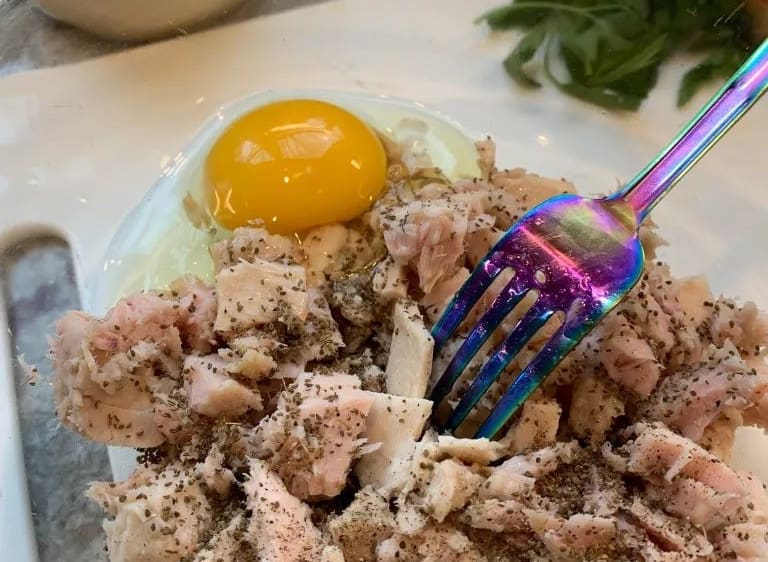
Eggs,
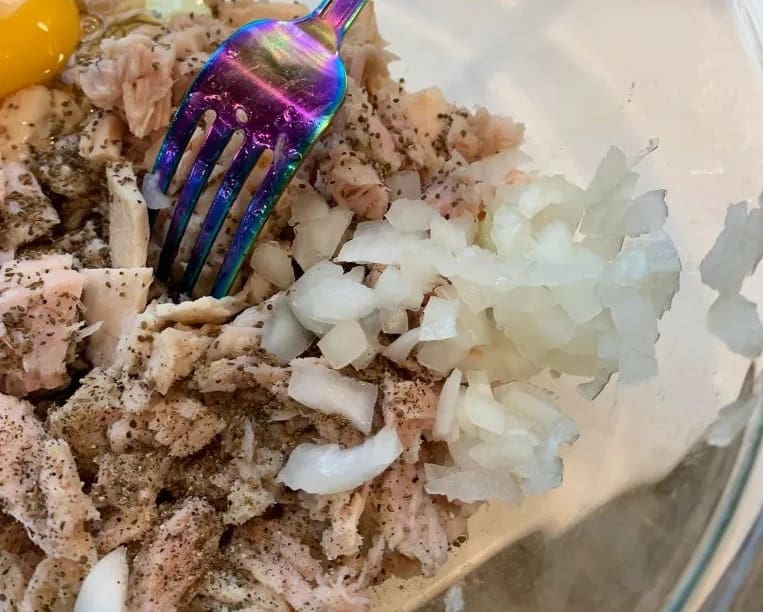
And the onions.
Now add the fresh parsley,
Sriracha,
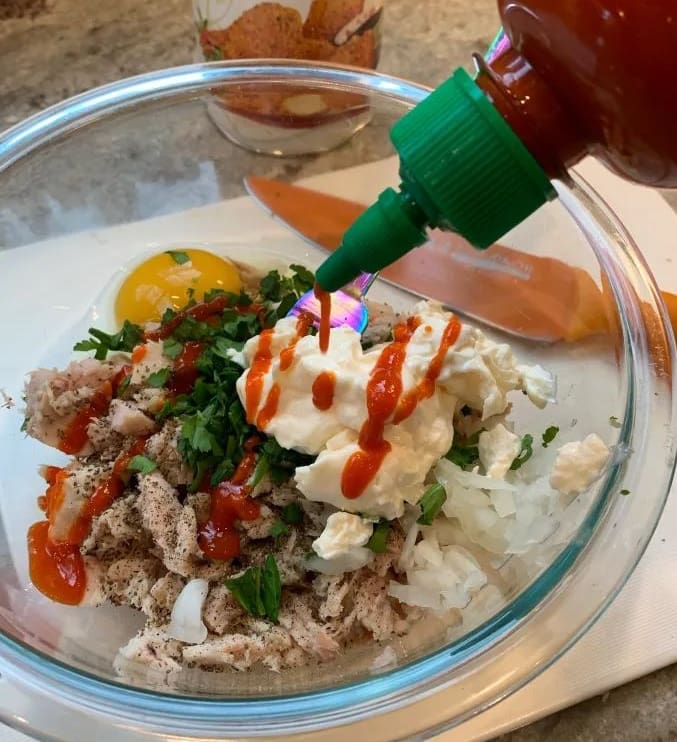
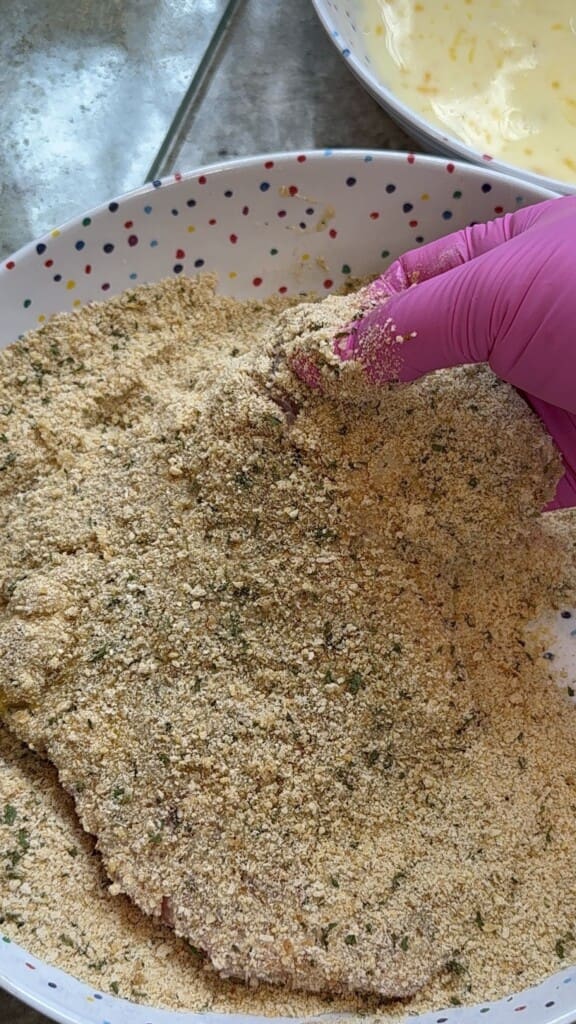
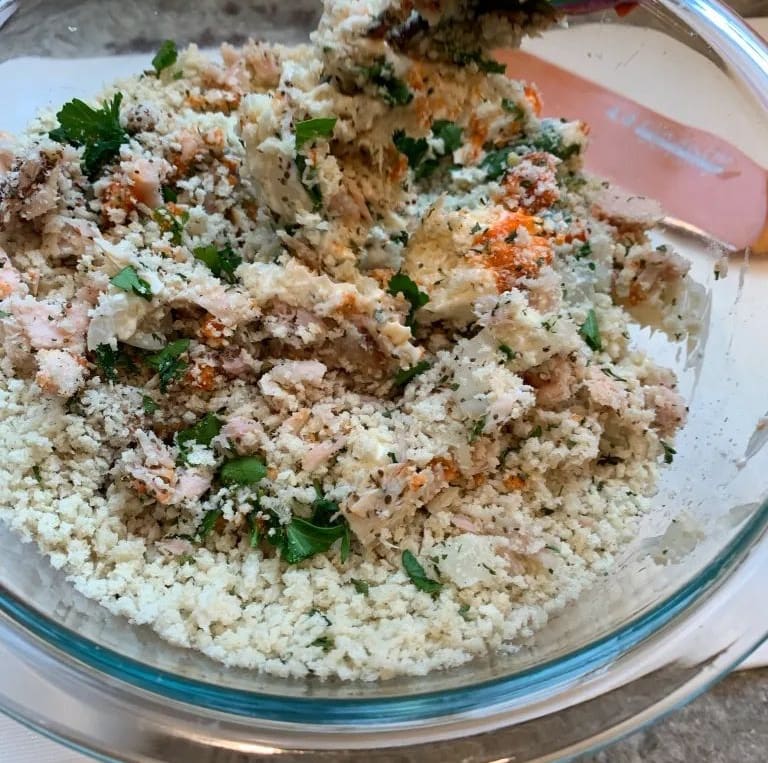
And the breadcrumbs.
After that, I added a little bit of mustard. ?
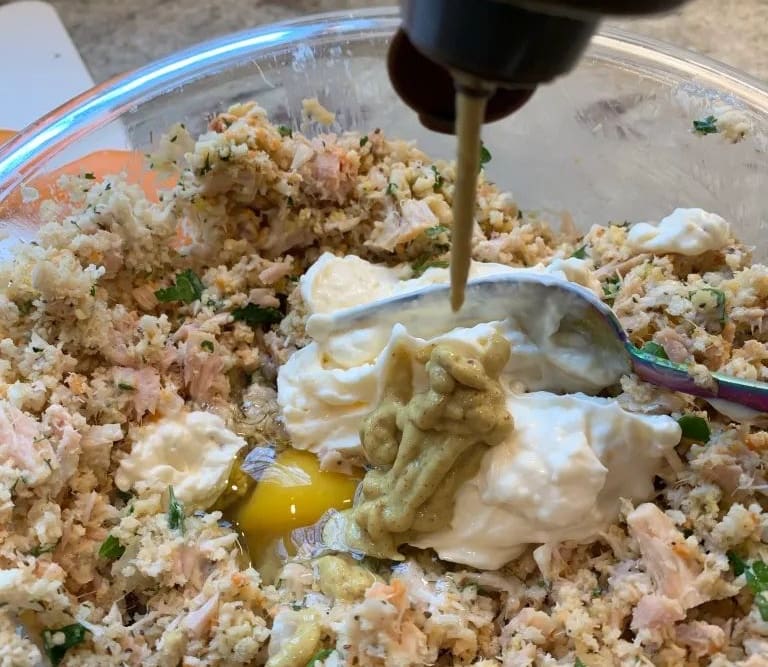
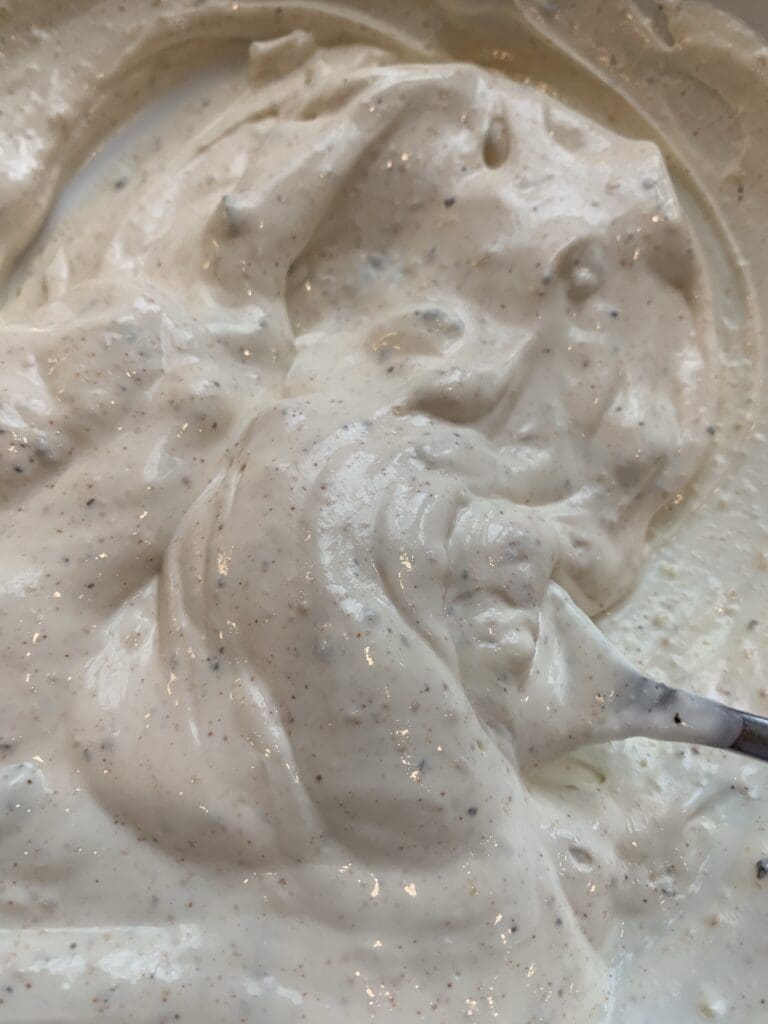
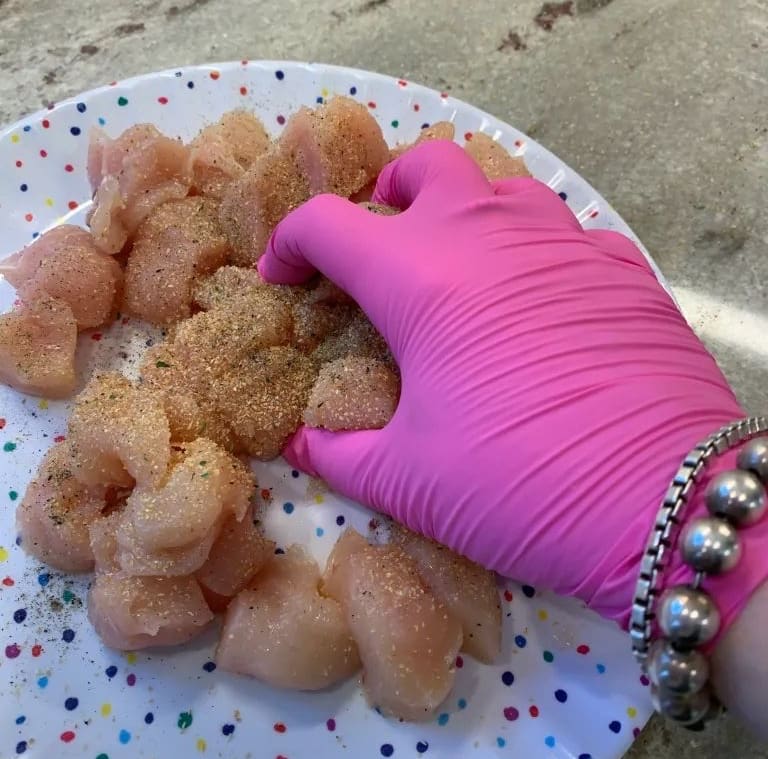
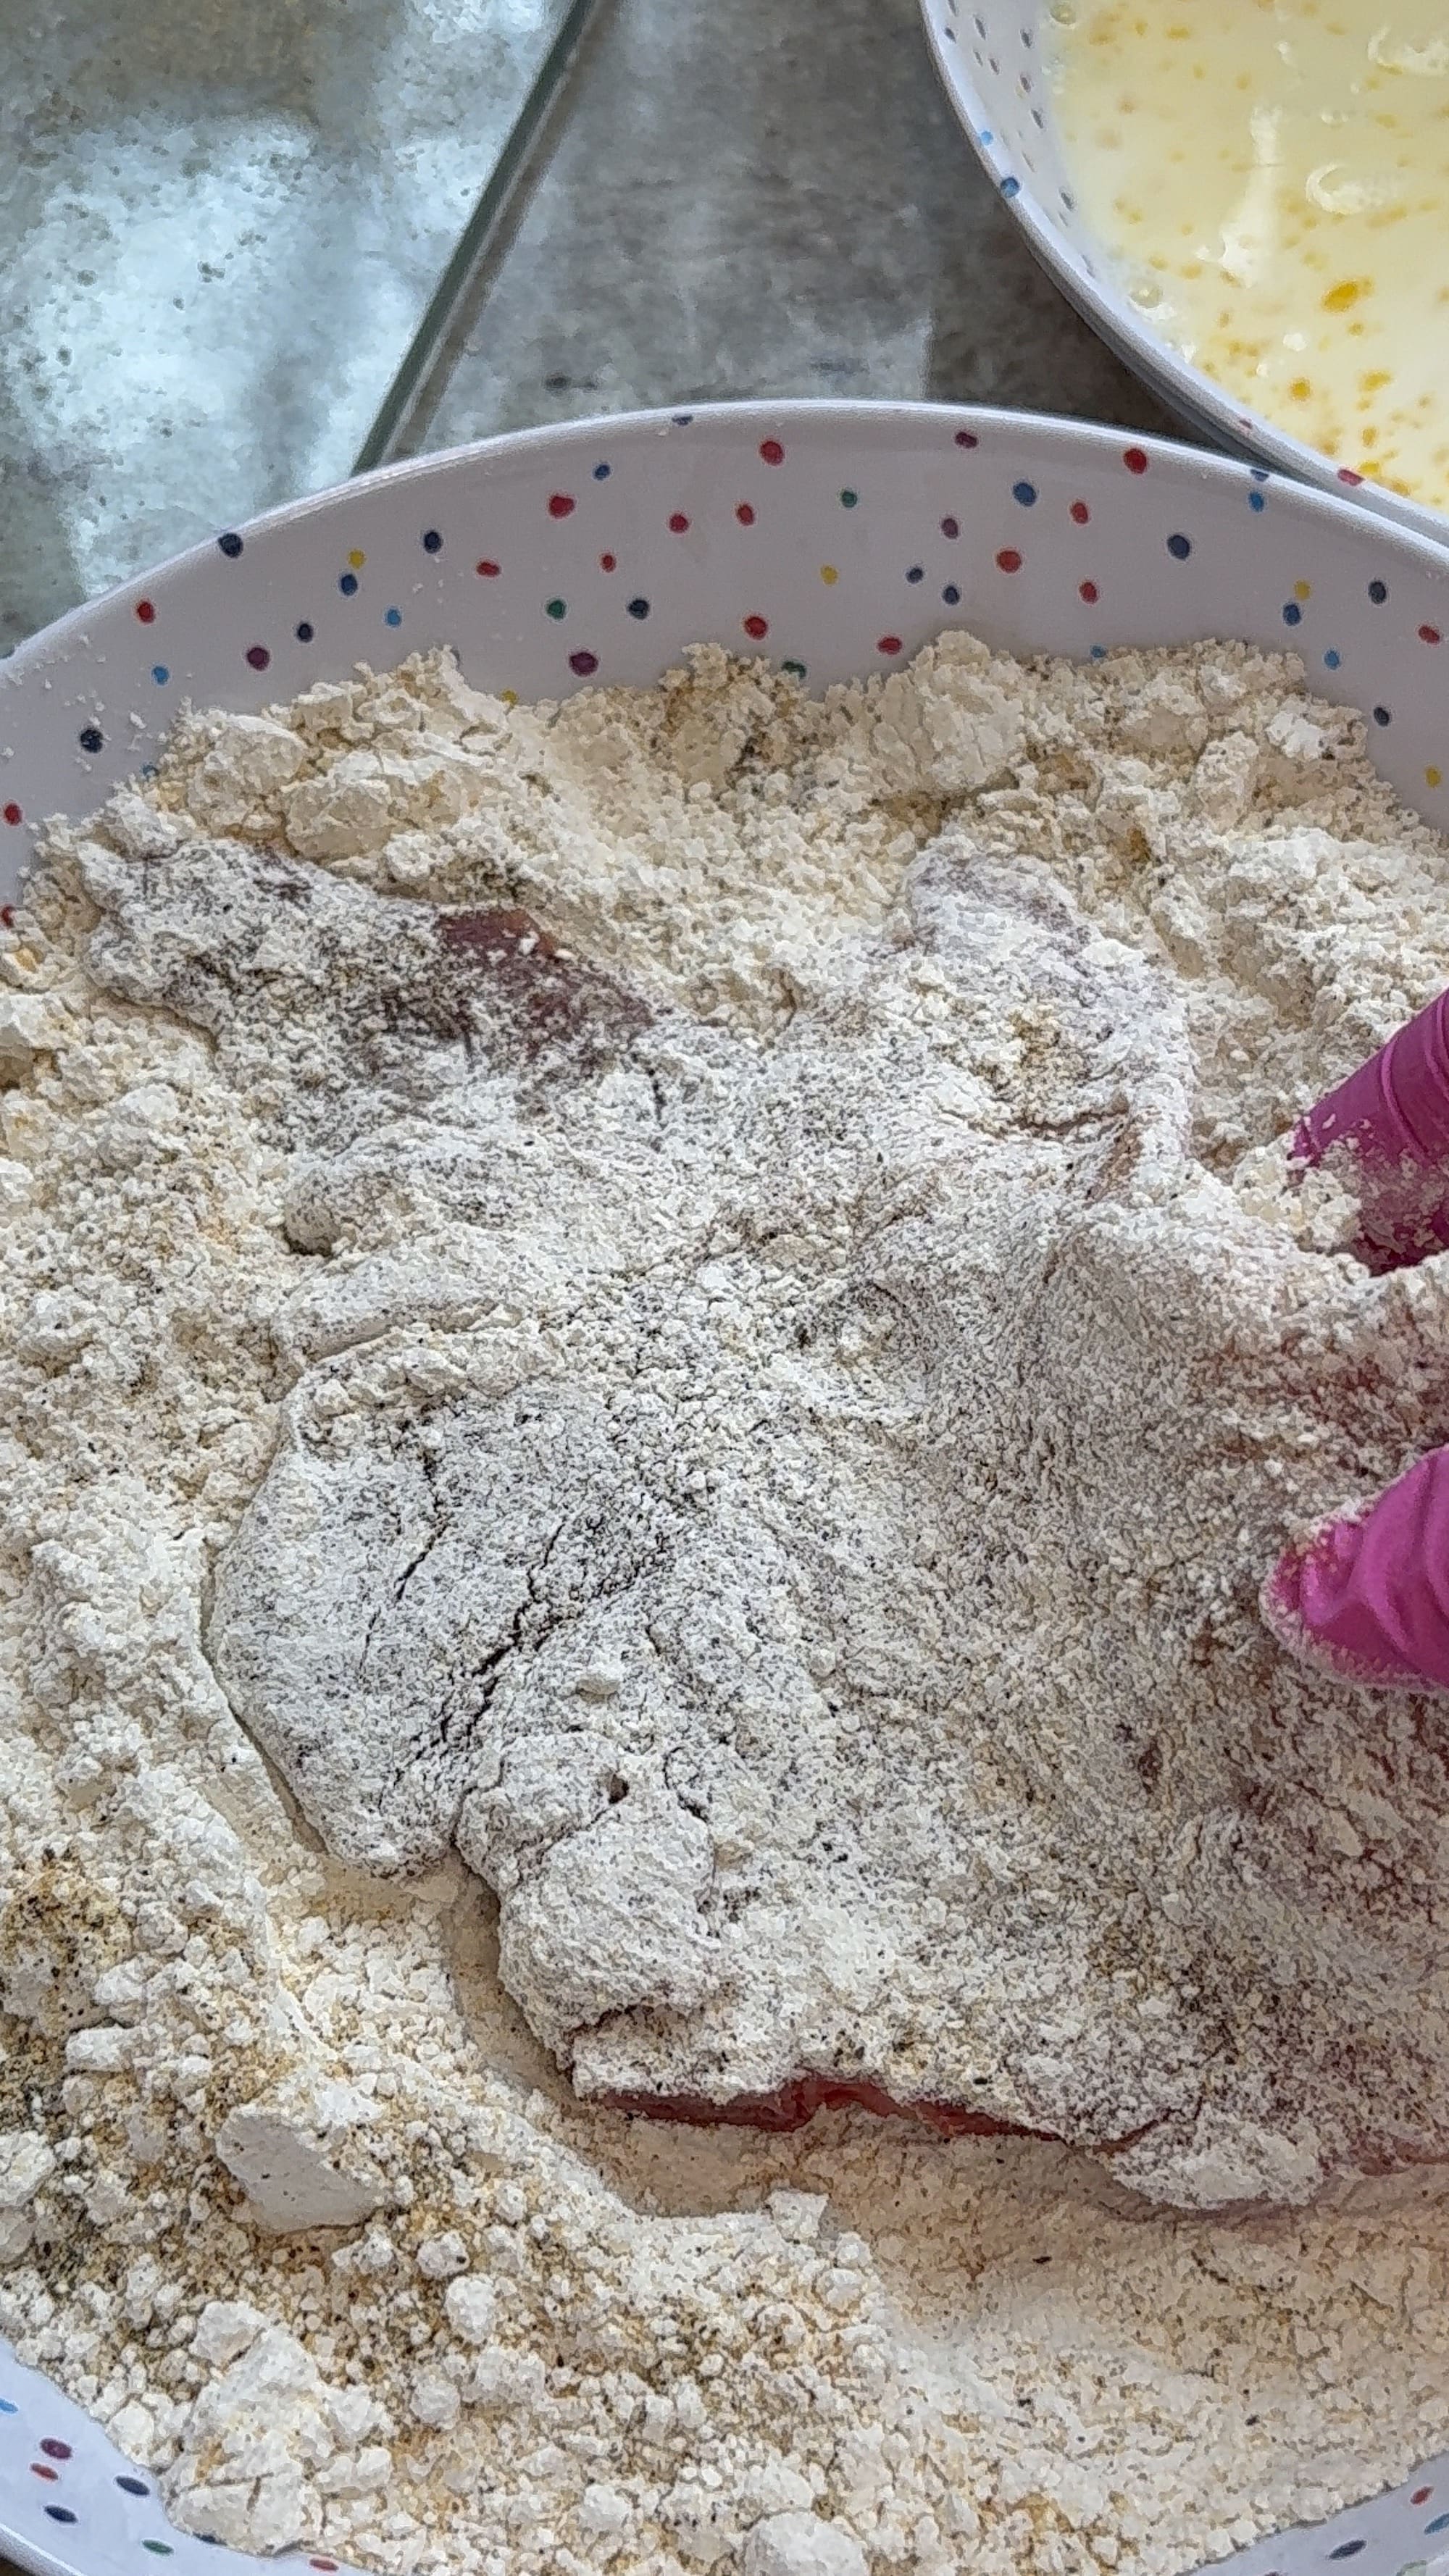
Next, stir the mixture together until everything is well combined.
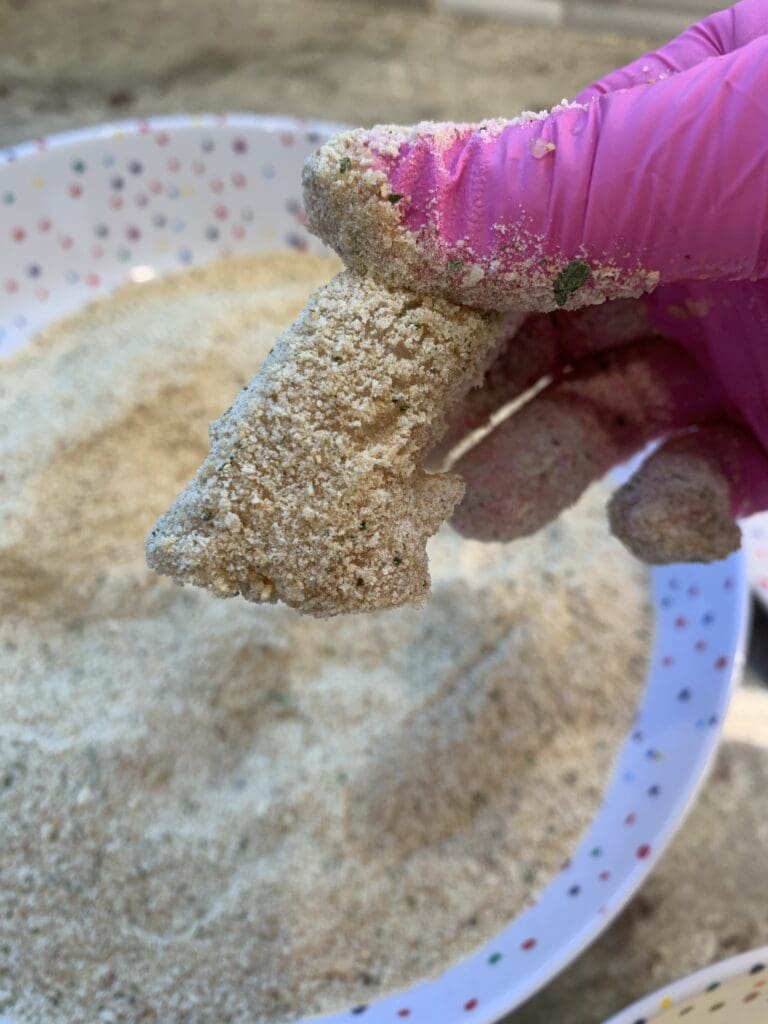
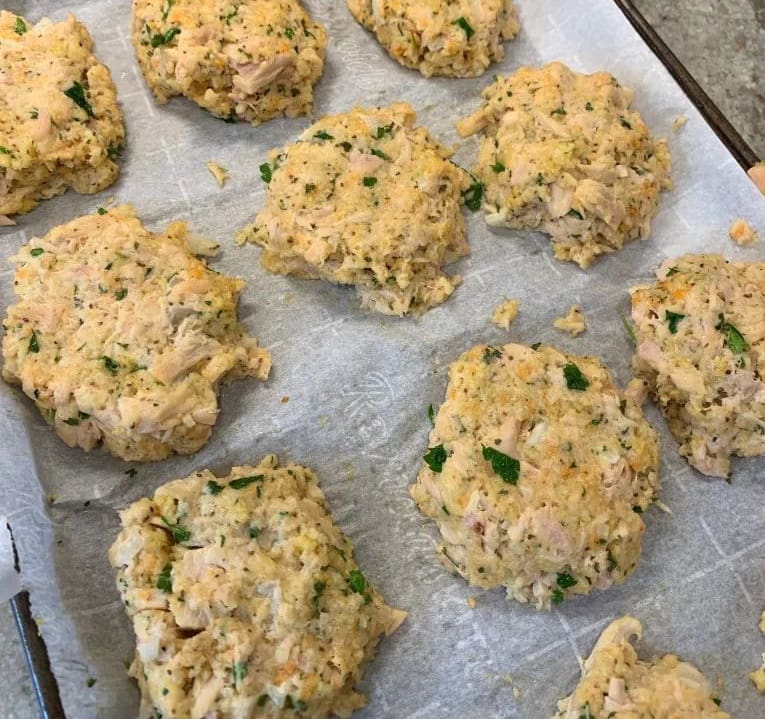
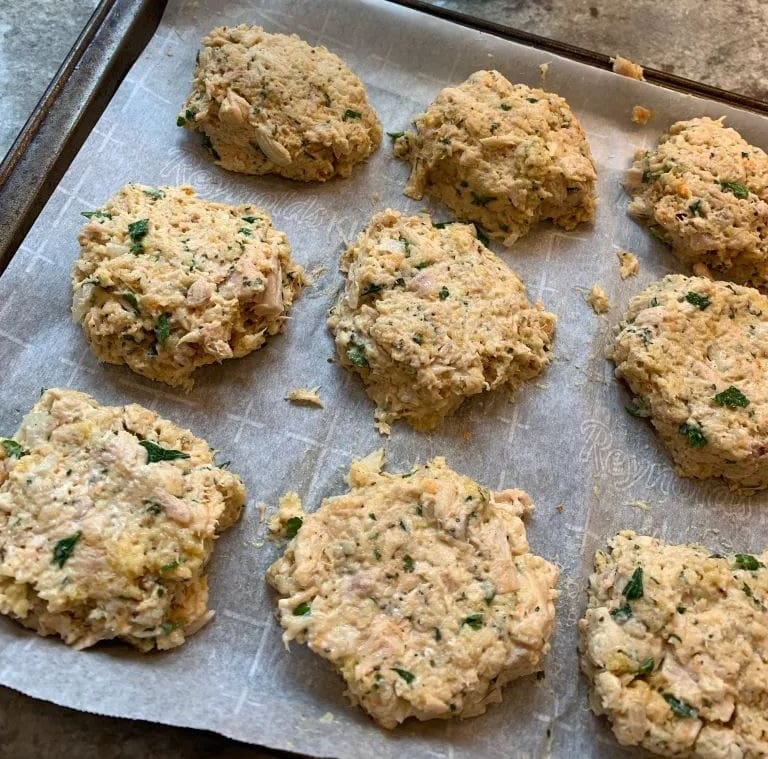
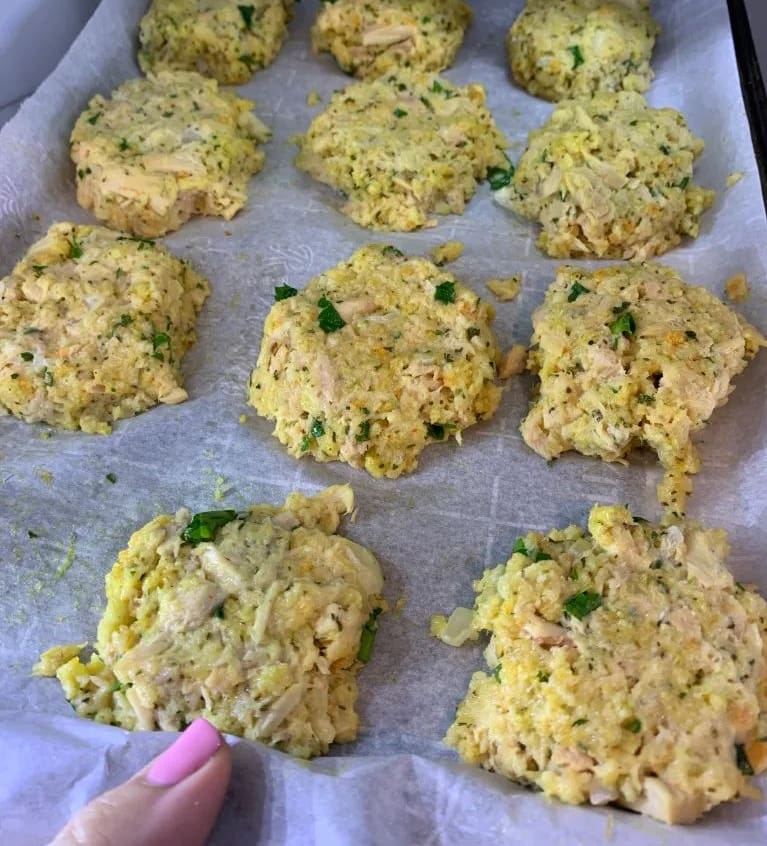
Then form them into little patties and place them onto a parchment paper lined baking sheet.

Put them in the fridge for about an hour or two. This will help them stick together and not crumble when they’re being fried.
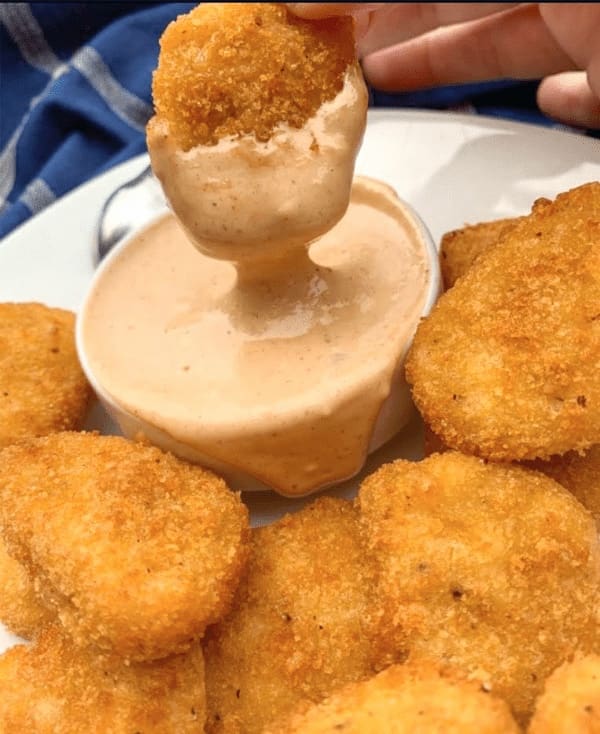
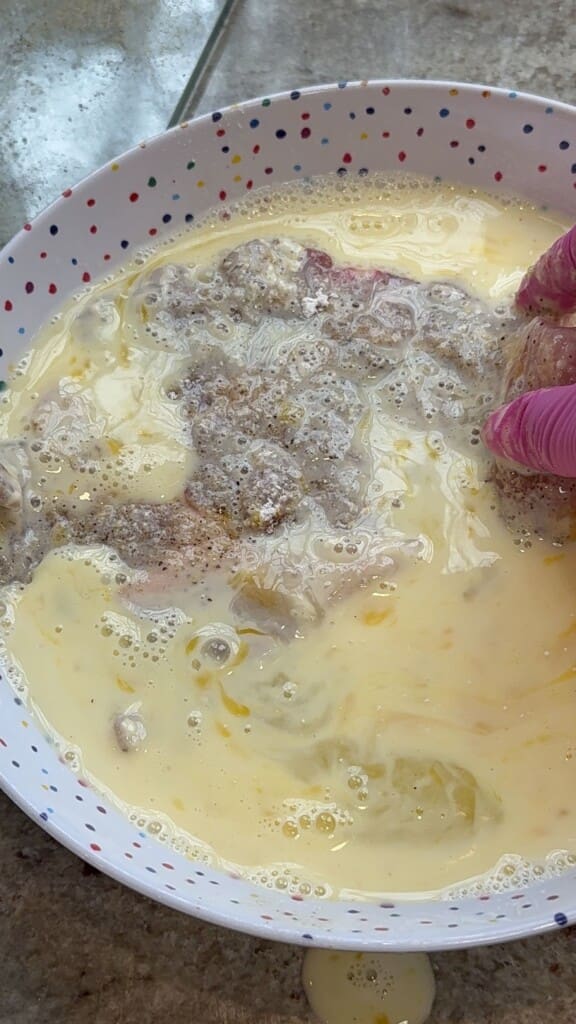
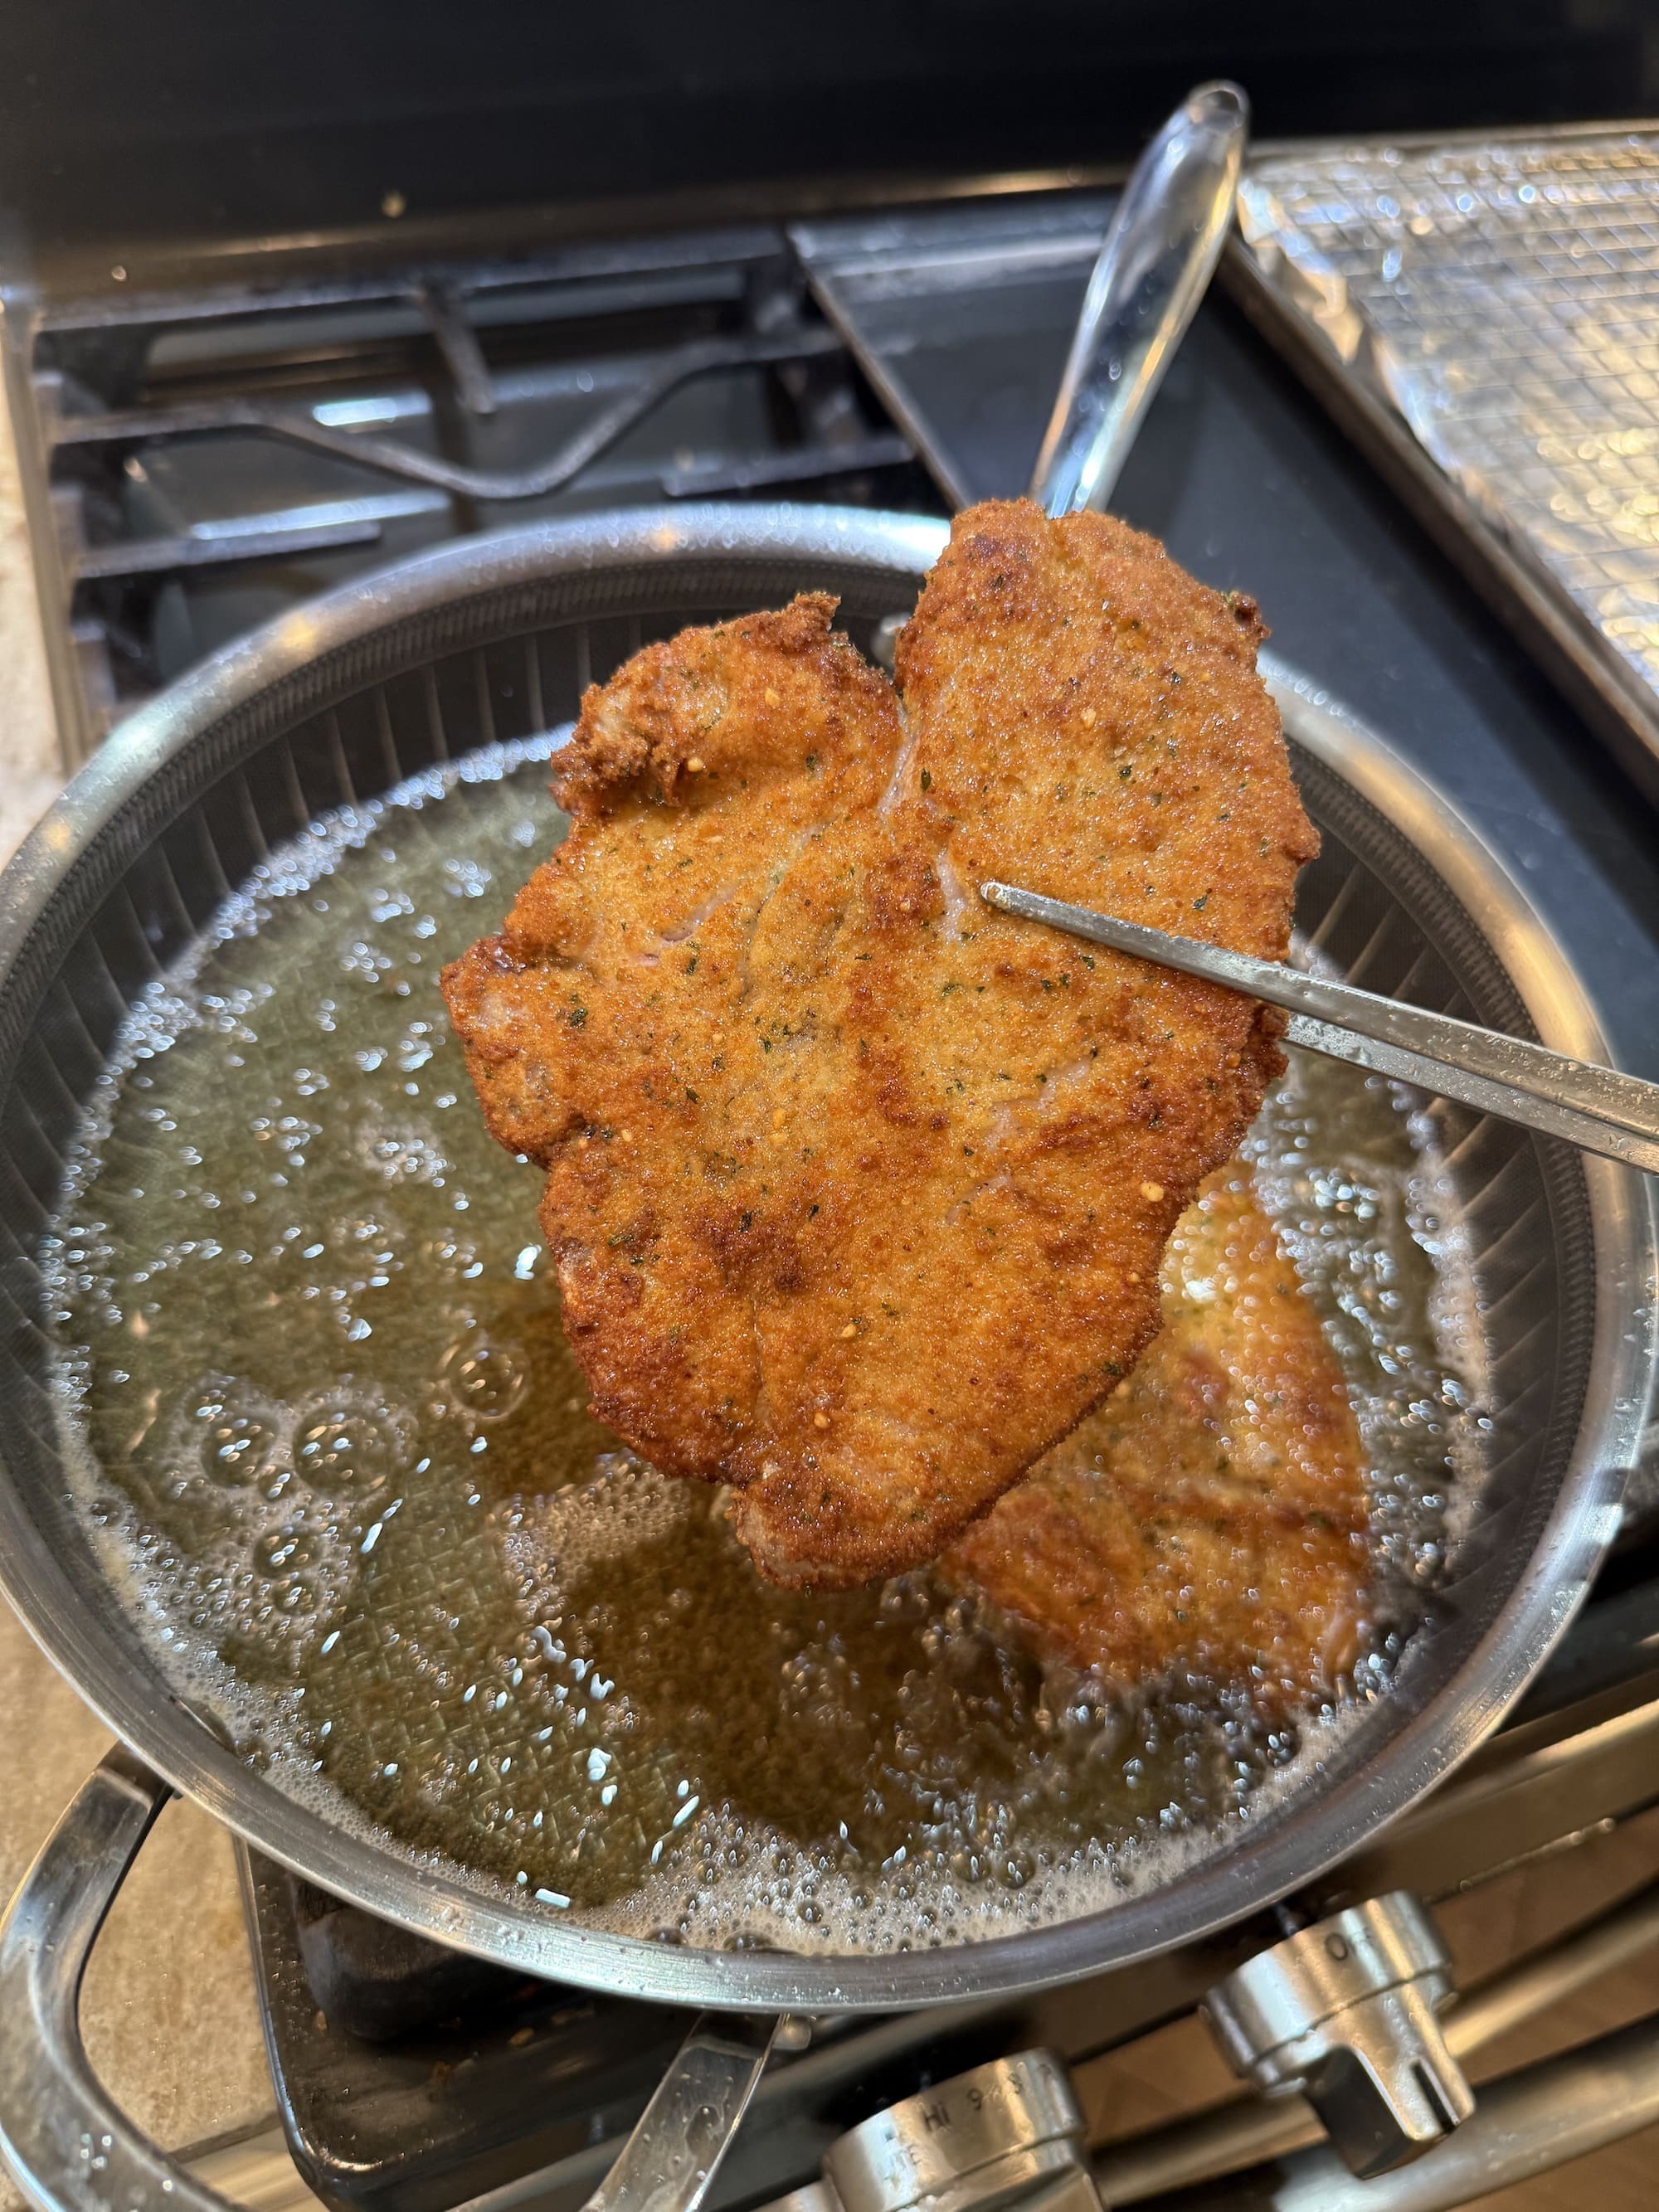
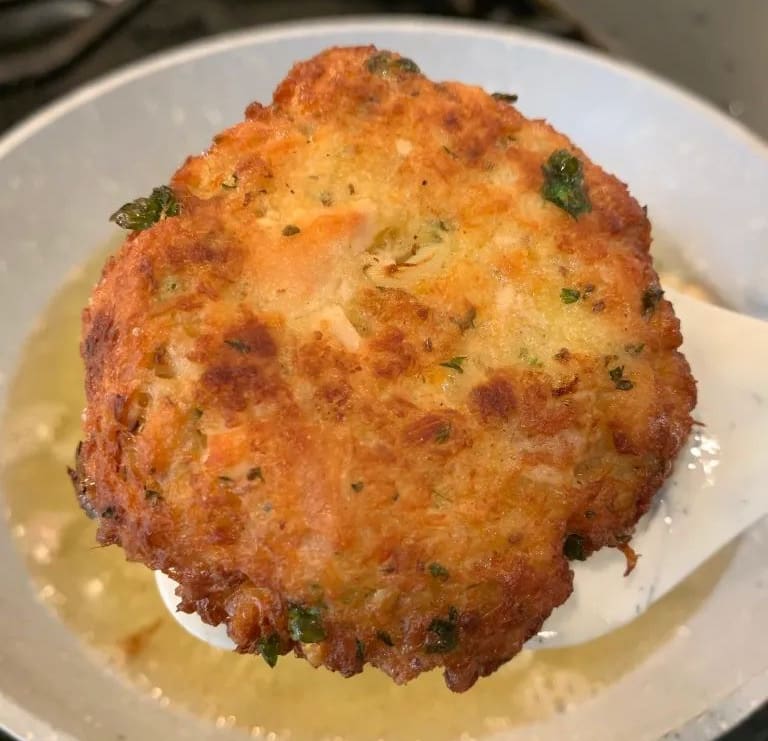
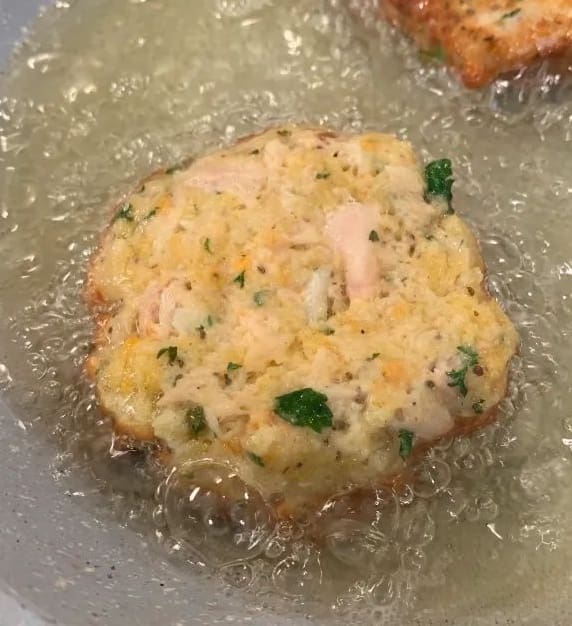
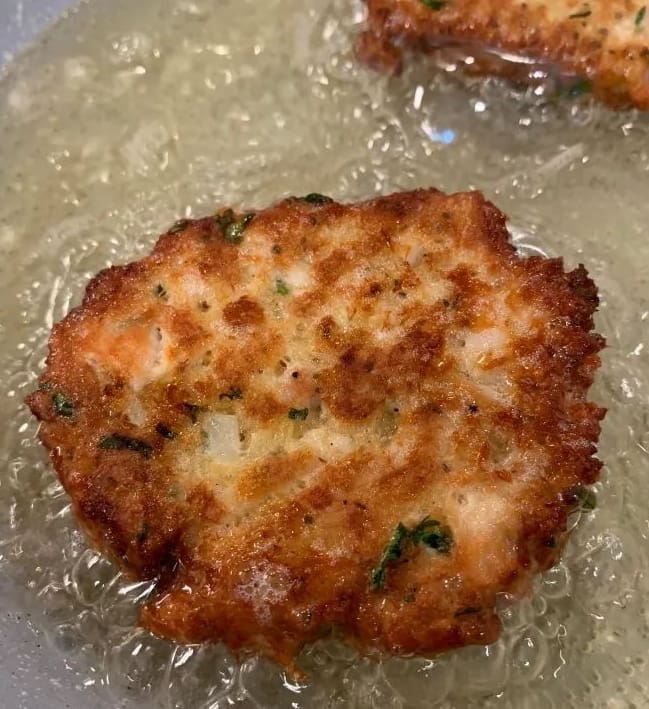
Now remove them from the fridge when you’re ready and fry them in hot oil until they’re golden brown on both sides.
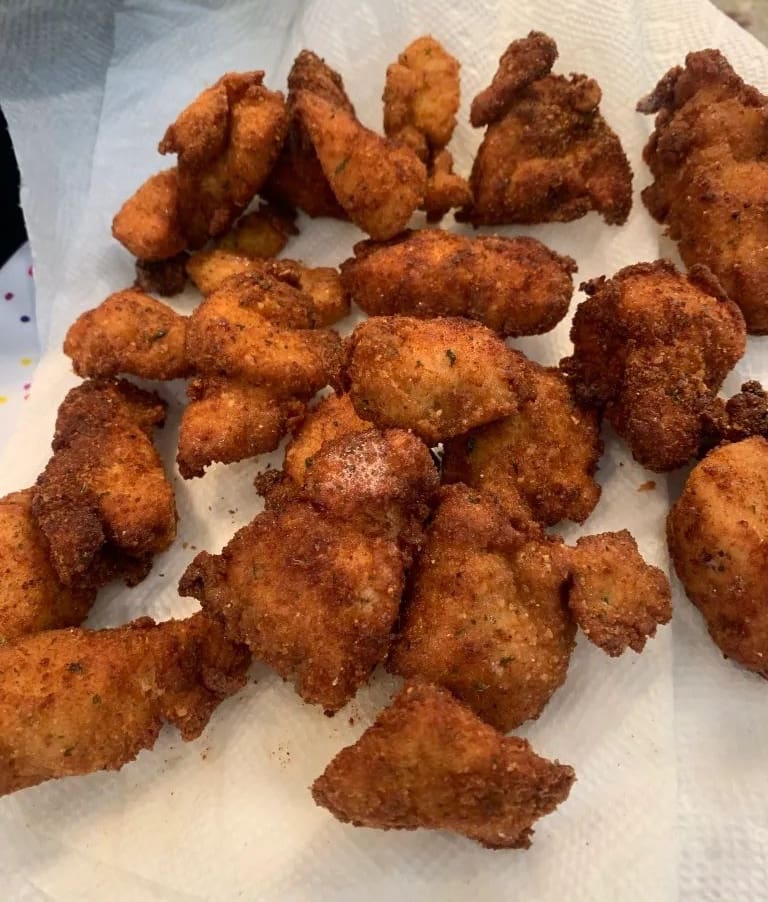
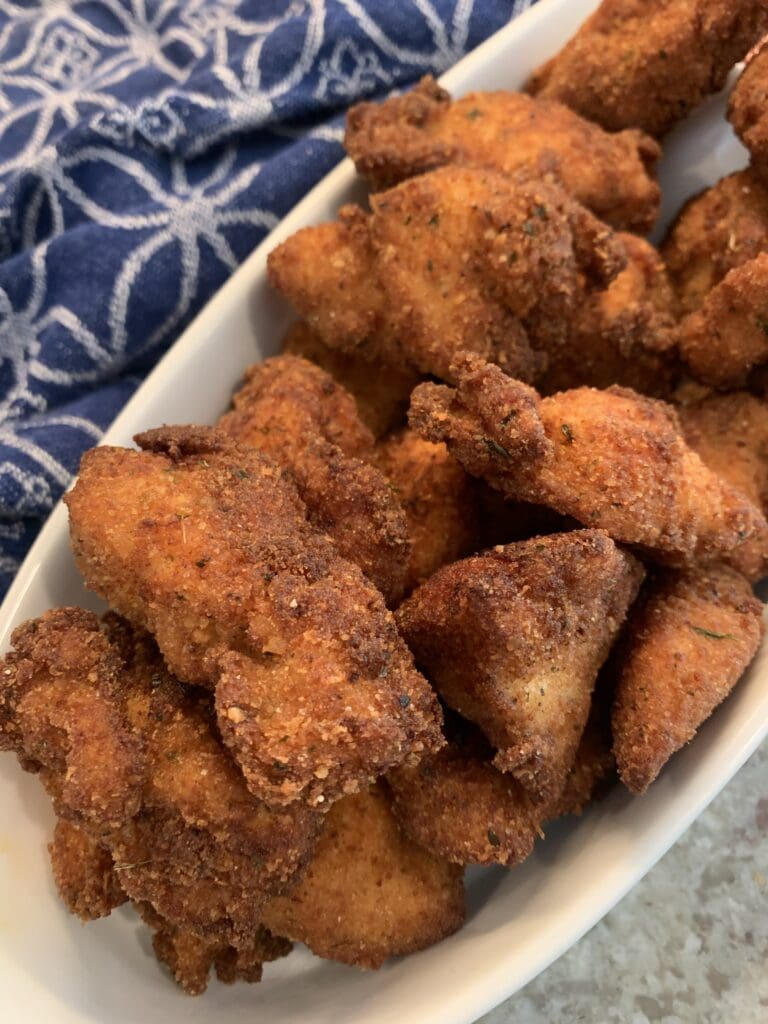
Drain them on some paper towels or a wire rack.
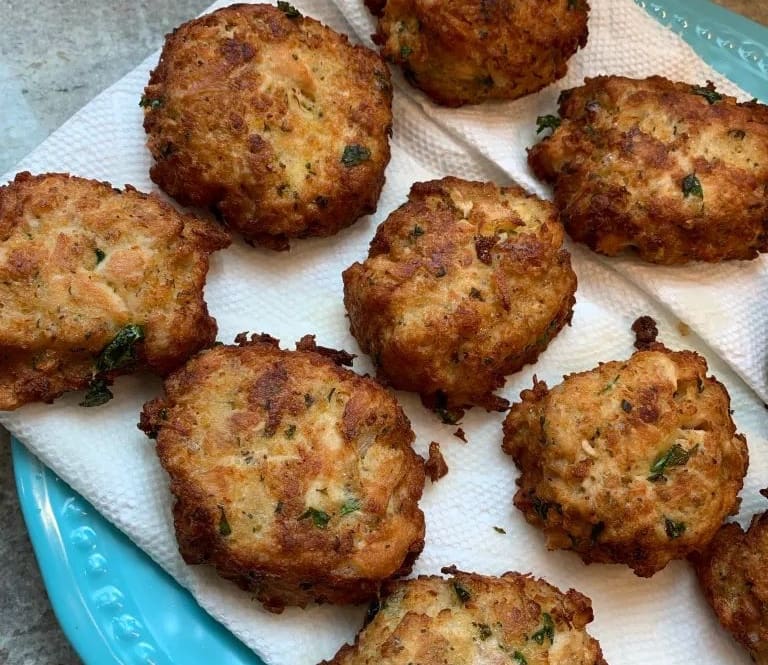
Finally, serve them warm with Tartar Sauce and enjoy!
Canned Tuna Cakes
Equipment
- Parchment Paper
- baking sheet
Ingredients
- 2 4 oz cans Tuna, drianed
- 2 eggs
- ½ cup mayonnaise
- ½ lemon, juiced
- salt and pepper to taste
- ½ teaspoon celery seed
- 2 tbs onion, minced
- 1 tbs Dijon mustard
- ¼ cup fresh parsley, chopped
- 1 cup panko breadcrumbs
- 1 tbs sriracha hot sauce
- canola oil for pan frying
Instructions
- In a medium sized bowl, combine all of the ingredients
- Form them in to small patties about 2 inches wide and lay them down on a parchment paper lined baking sheet.
- Put them in the fridge for an hour or two. This will help them from breaking apart when being fried
- Pan fry them in the hot oil until they're golden brown on both sides.
- Drain them on paper towels or a wire rack once they're done.
- Serve warm with tartar sauce.