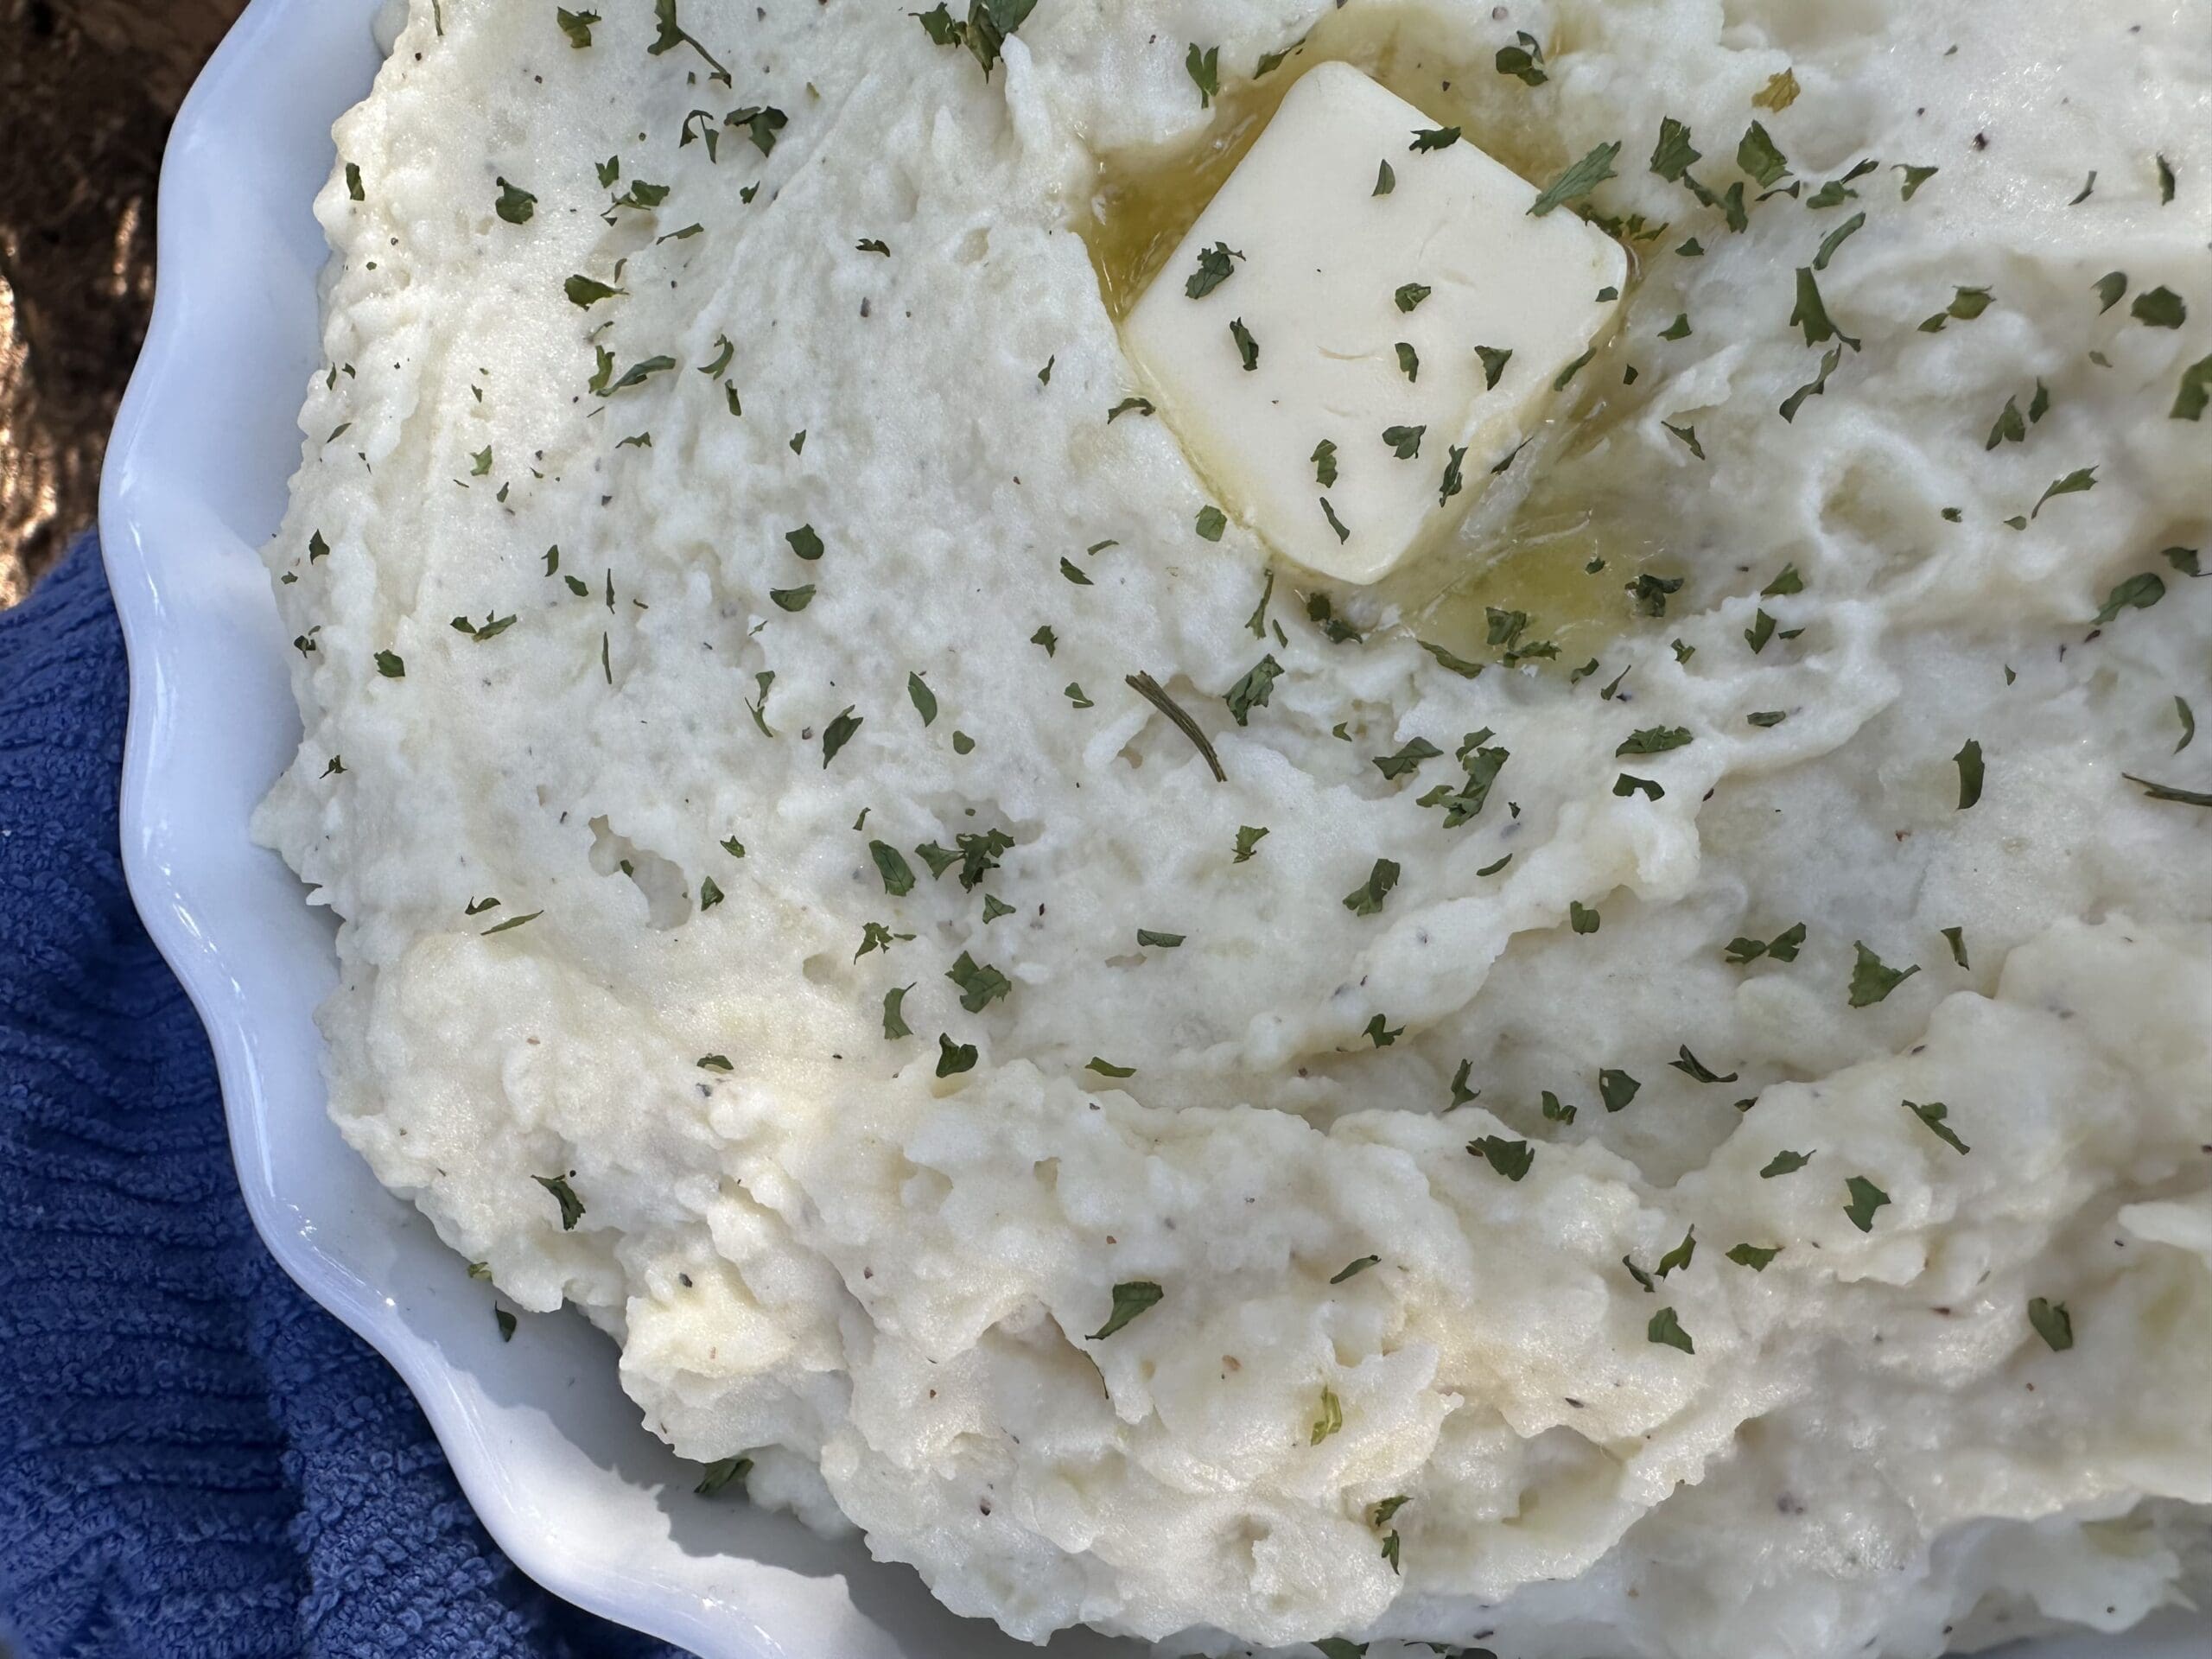
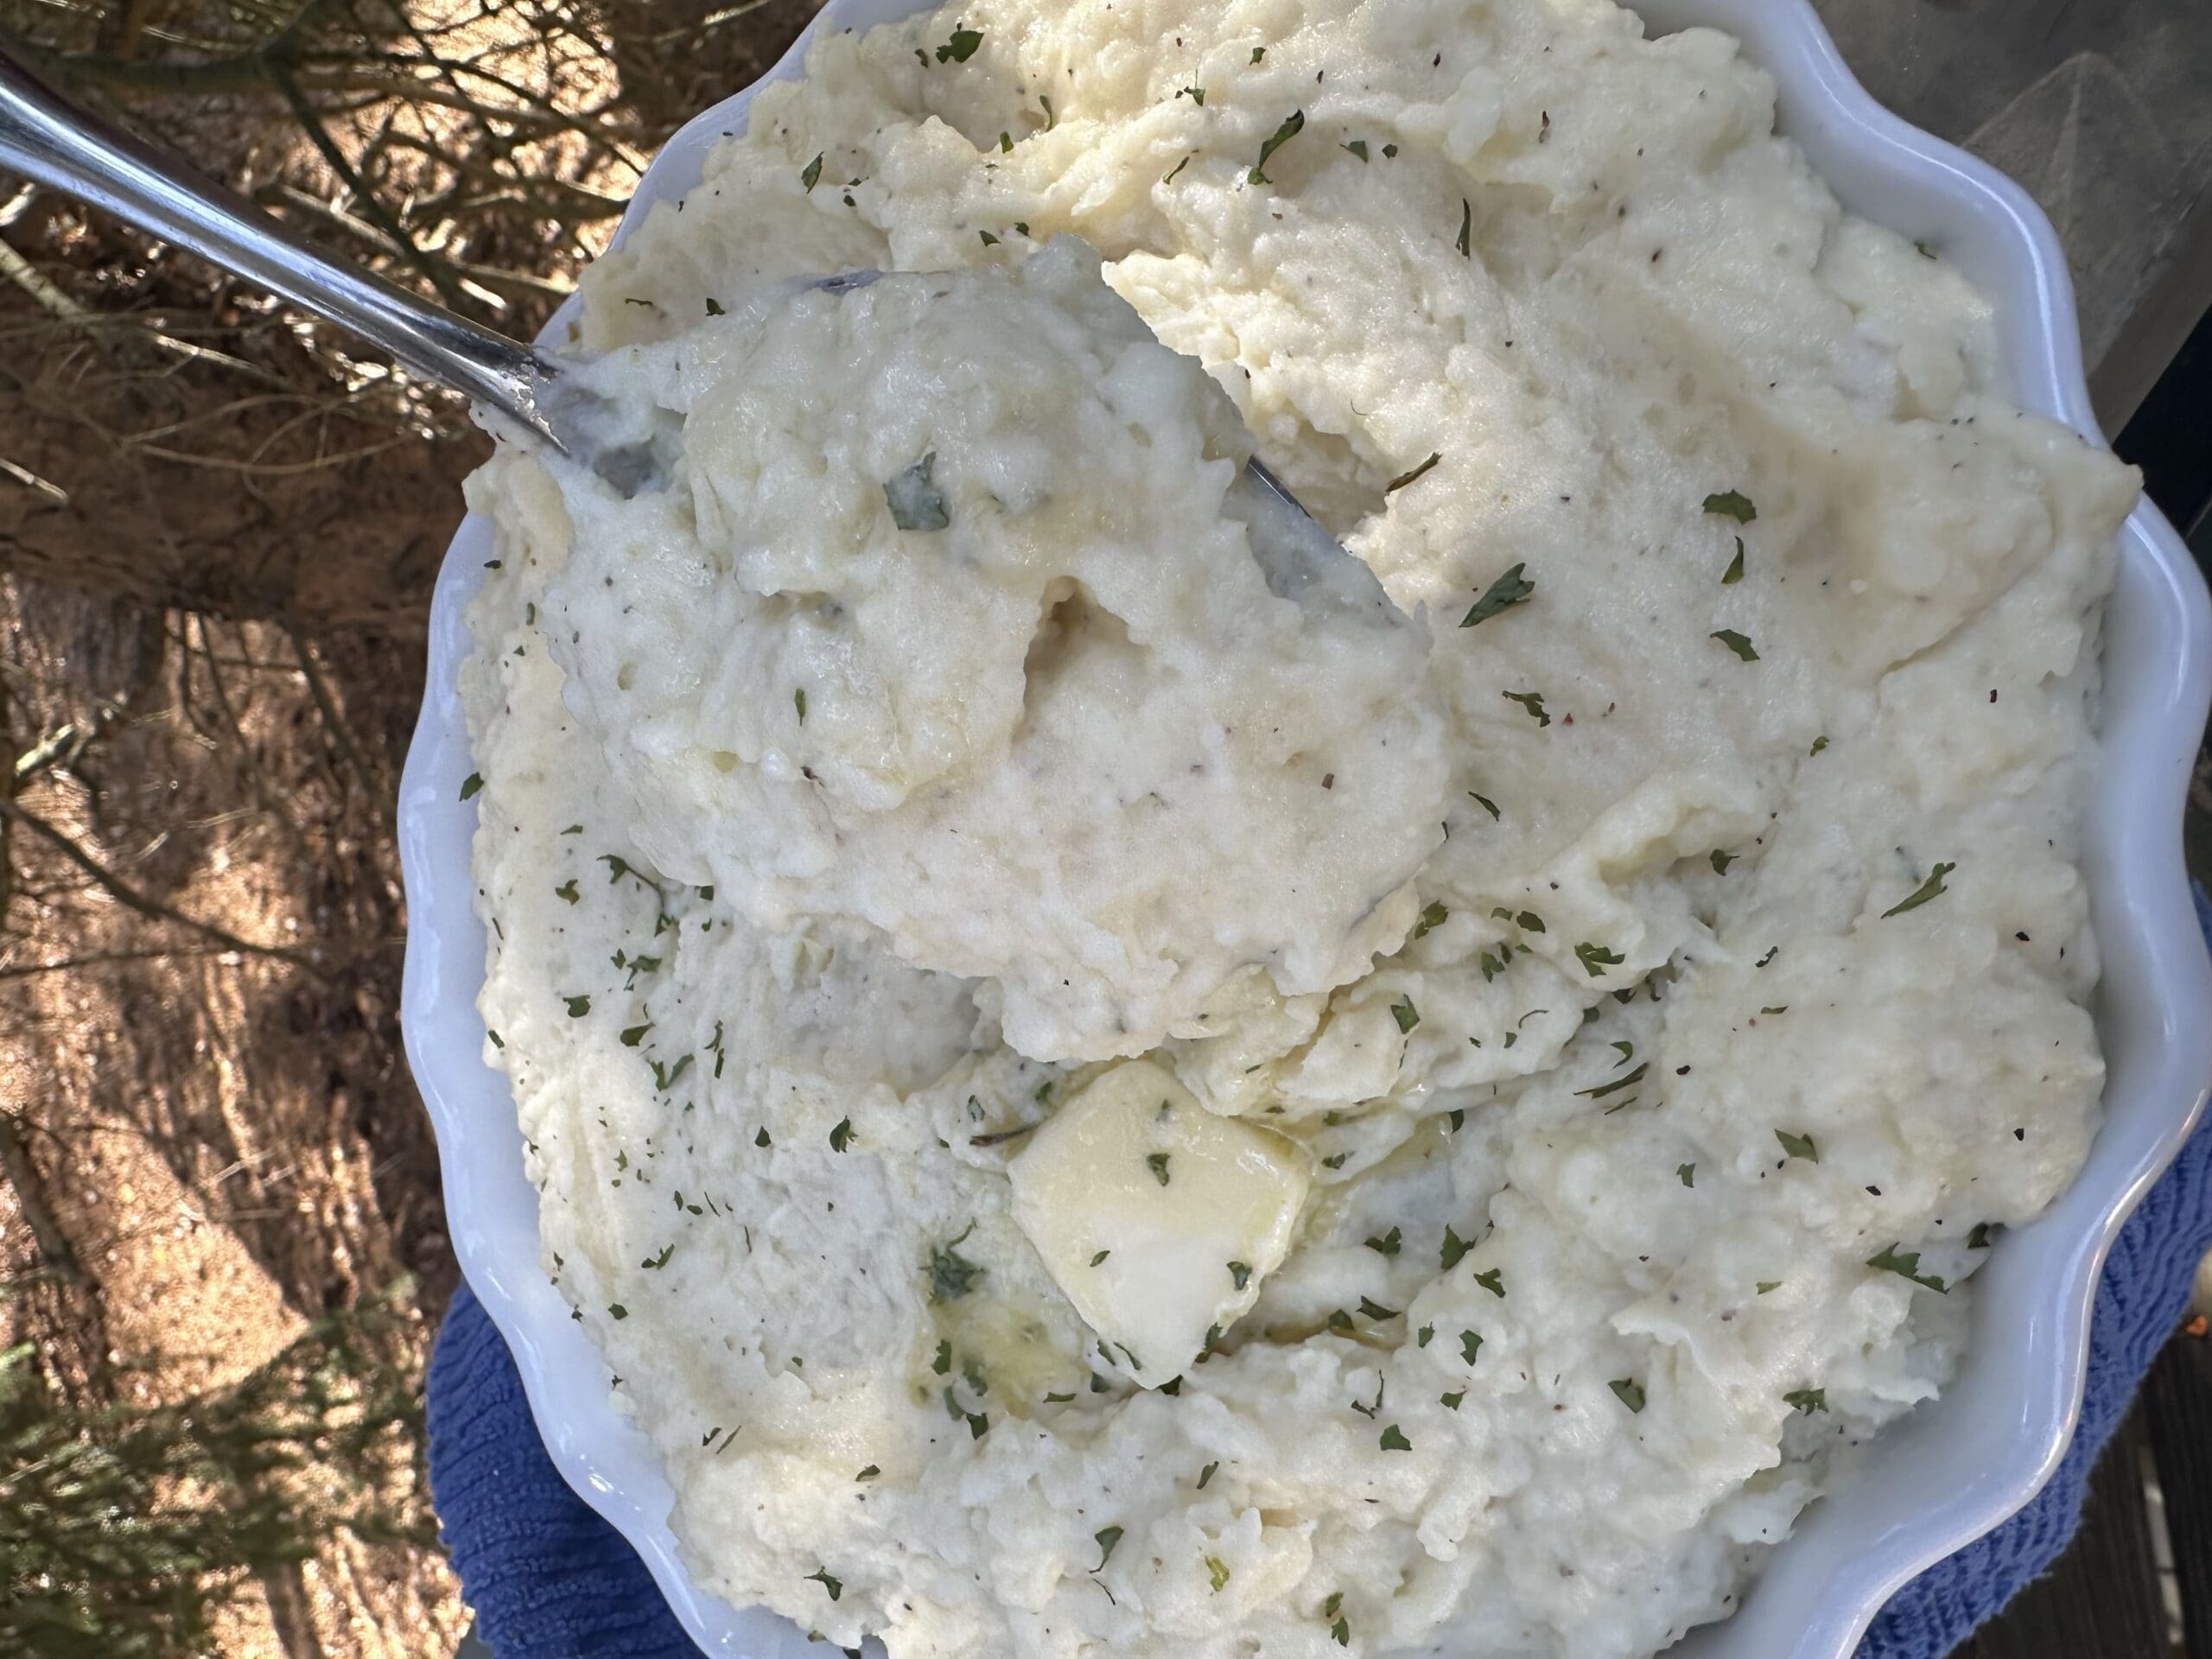
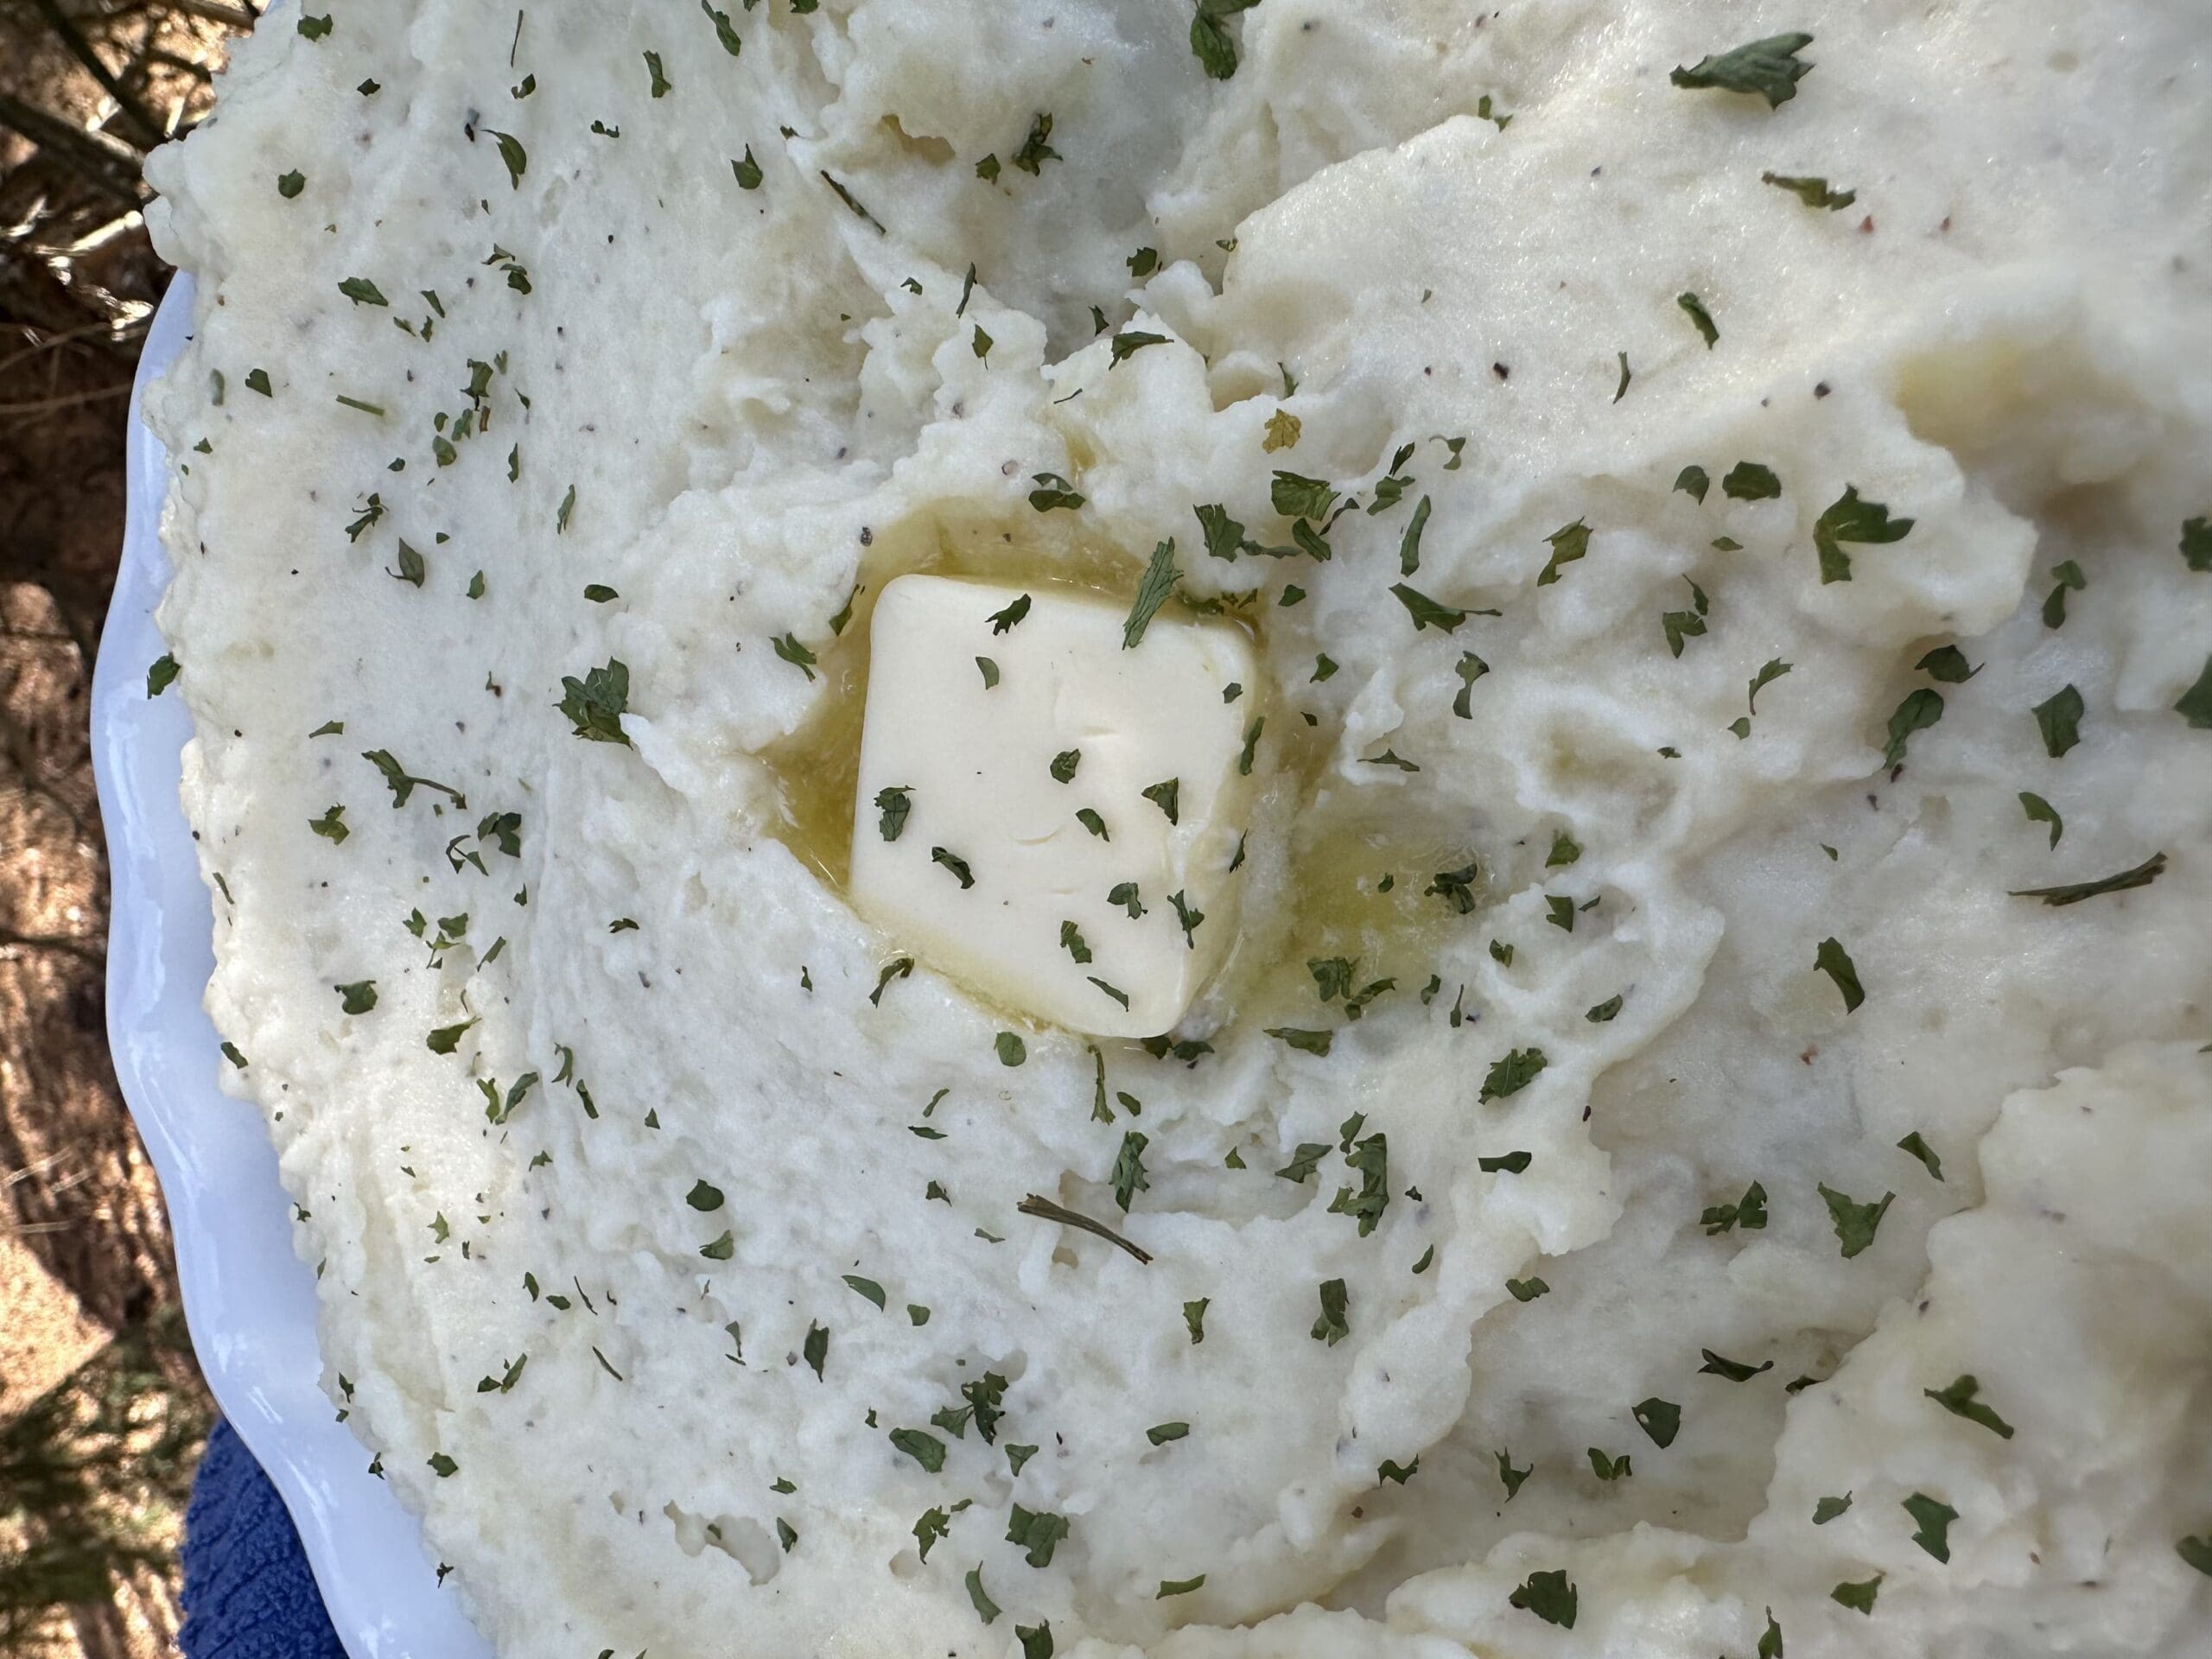
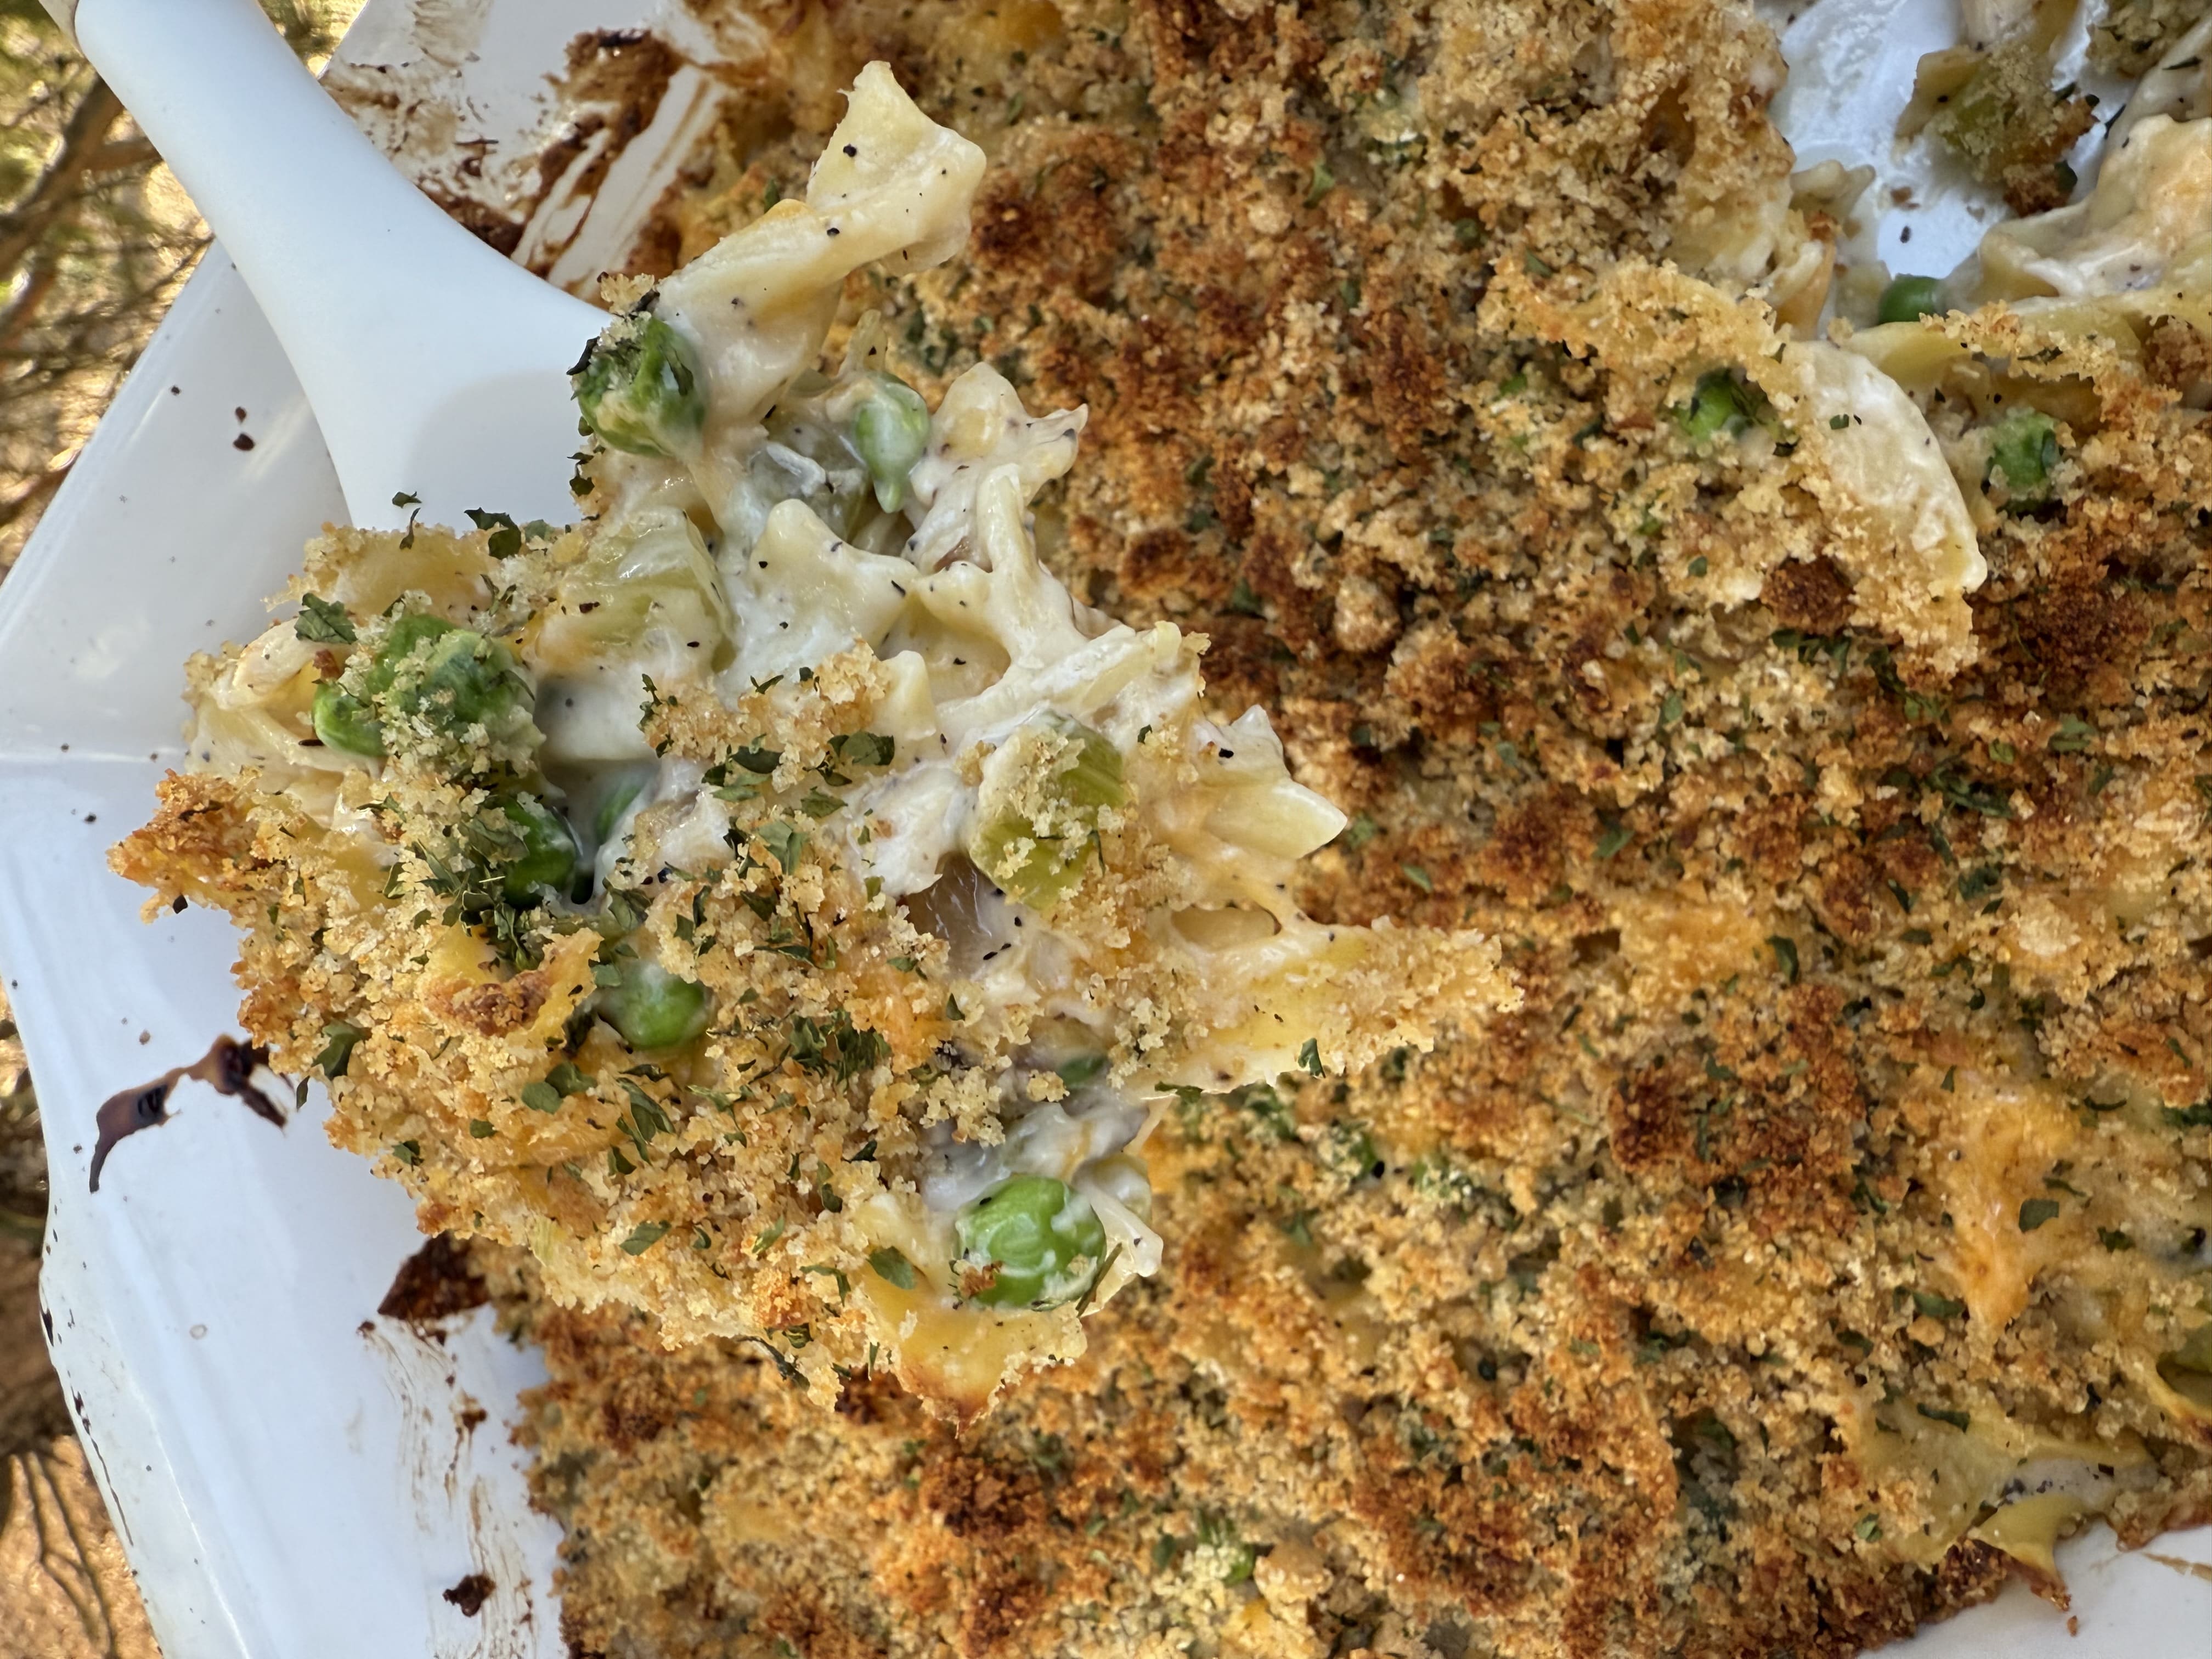
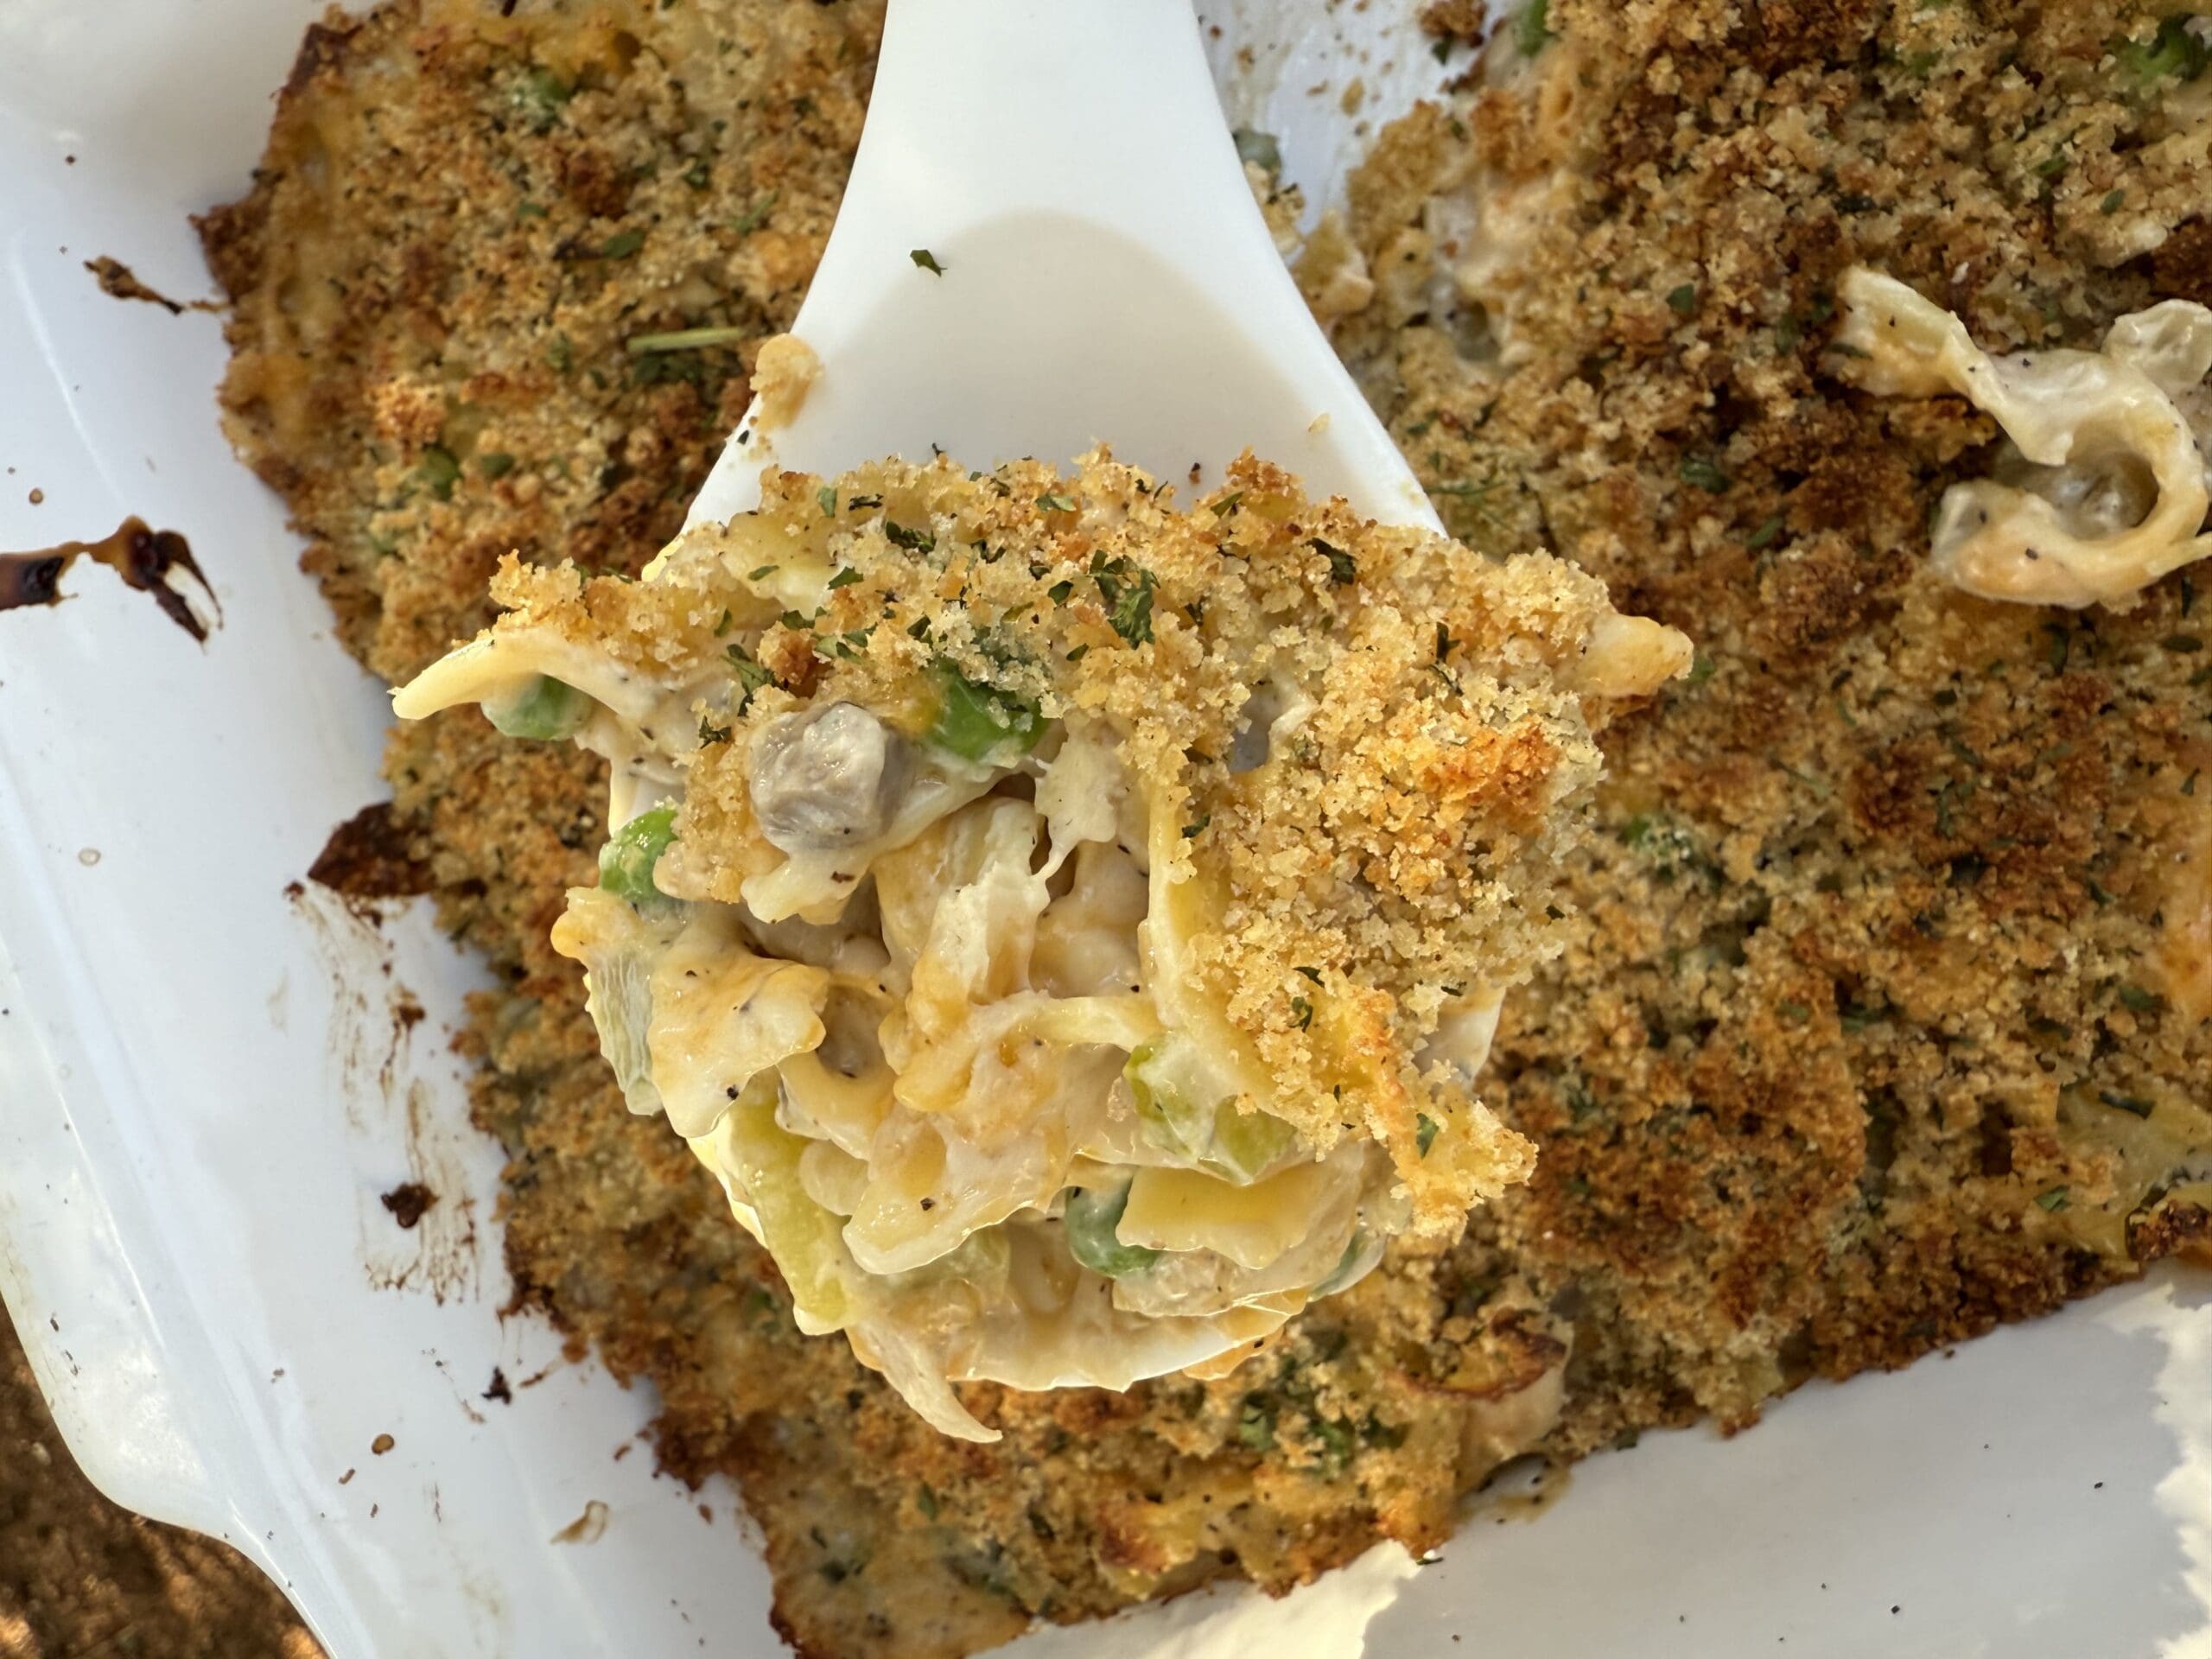
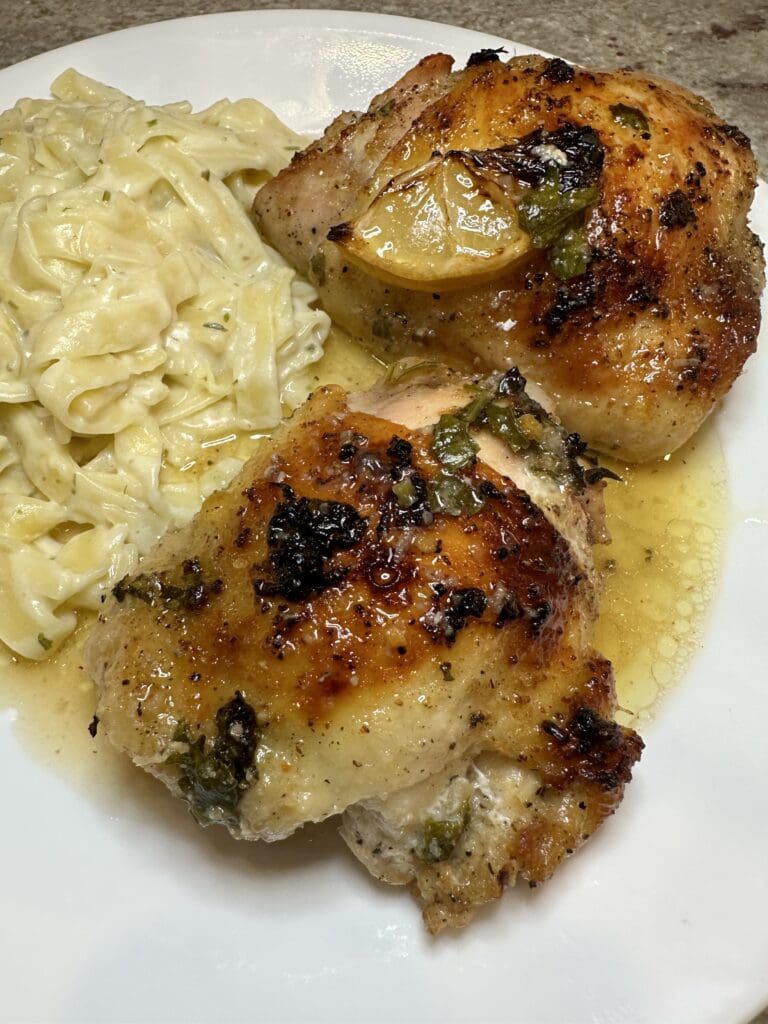
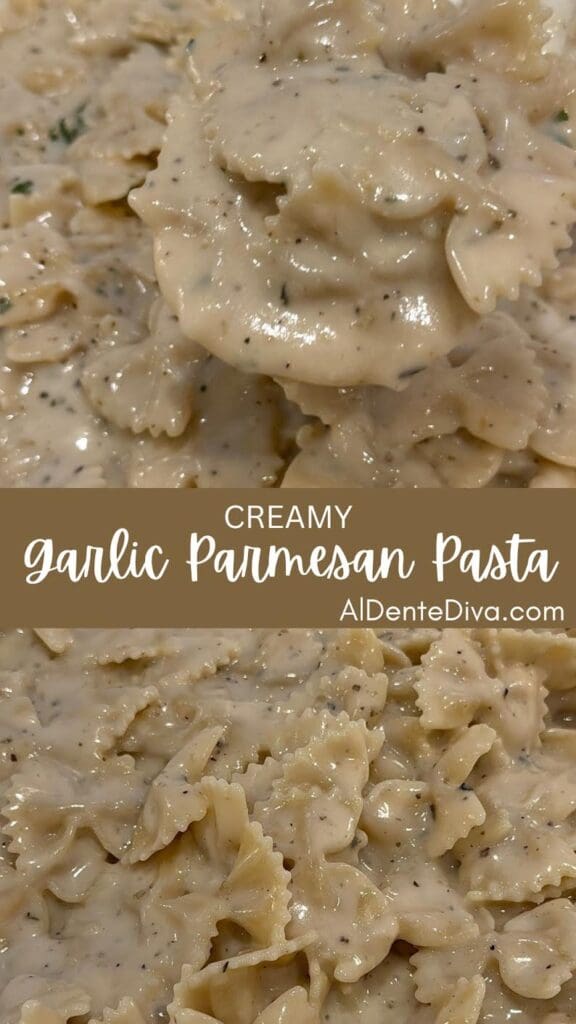
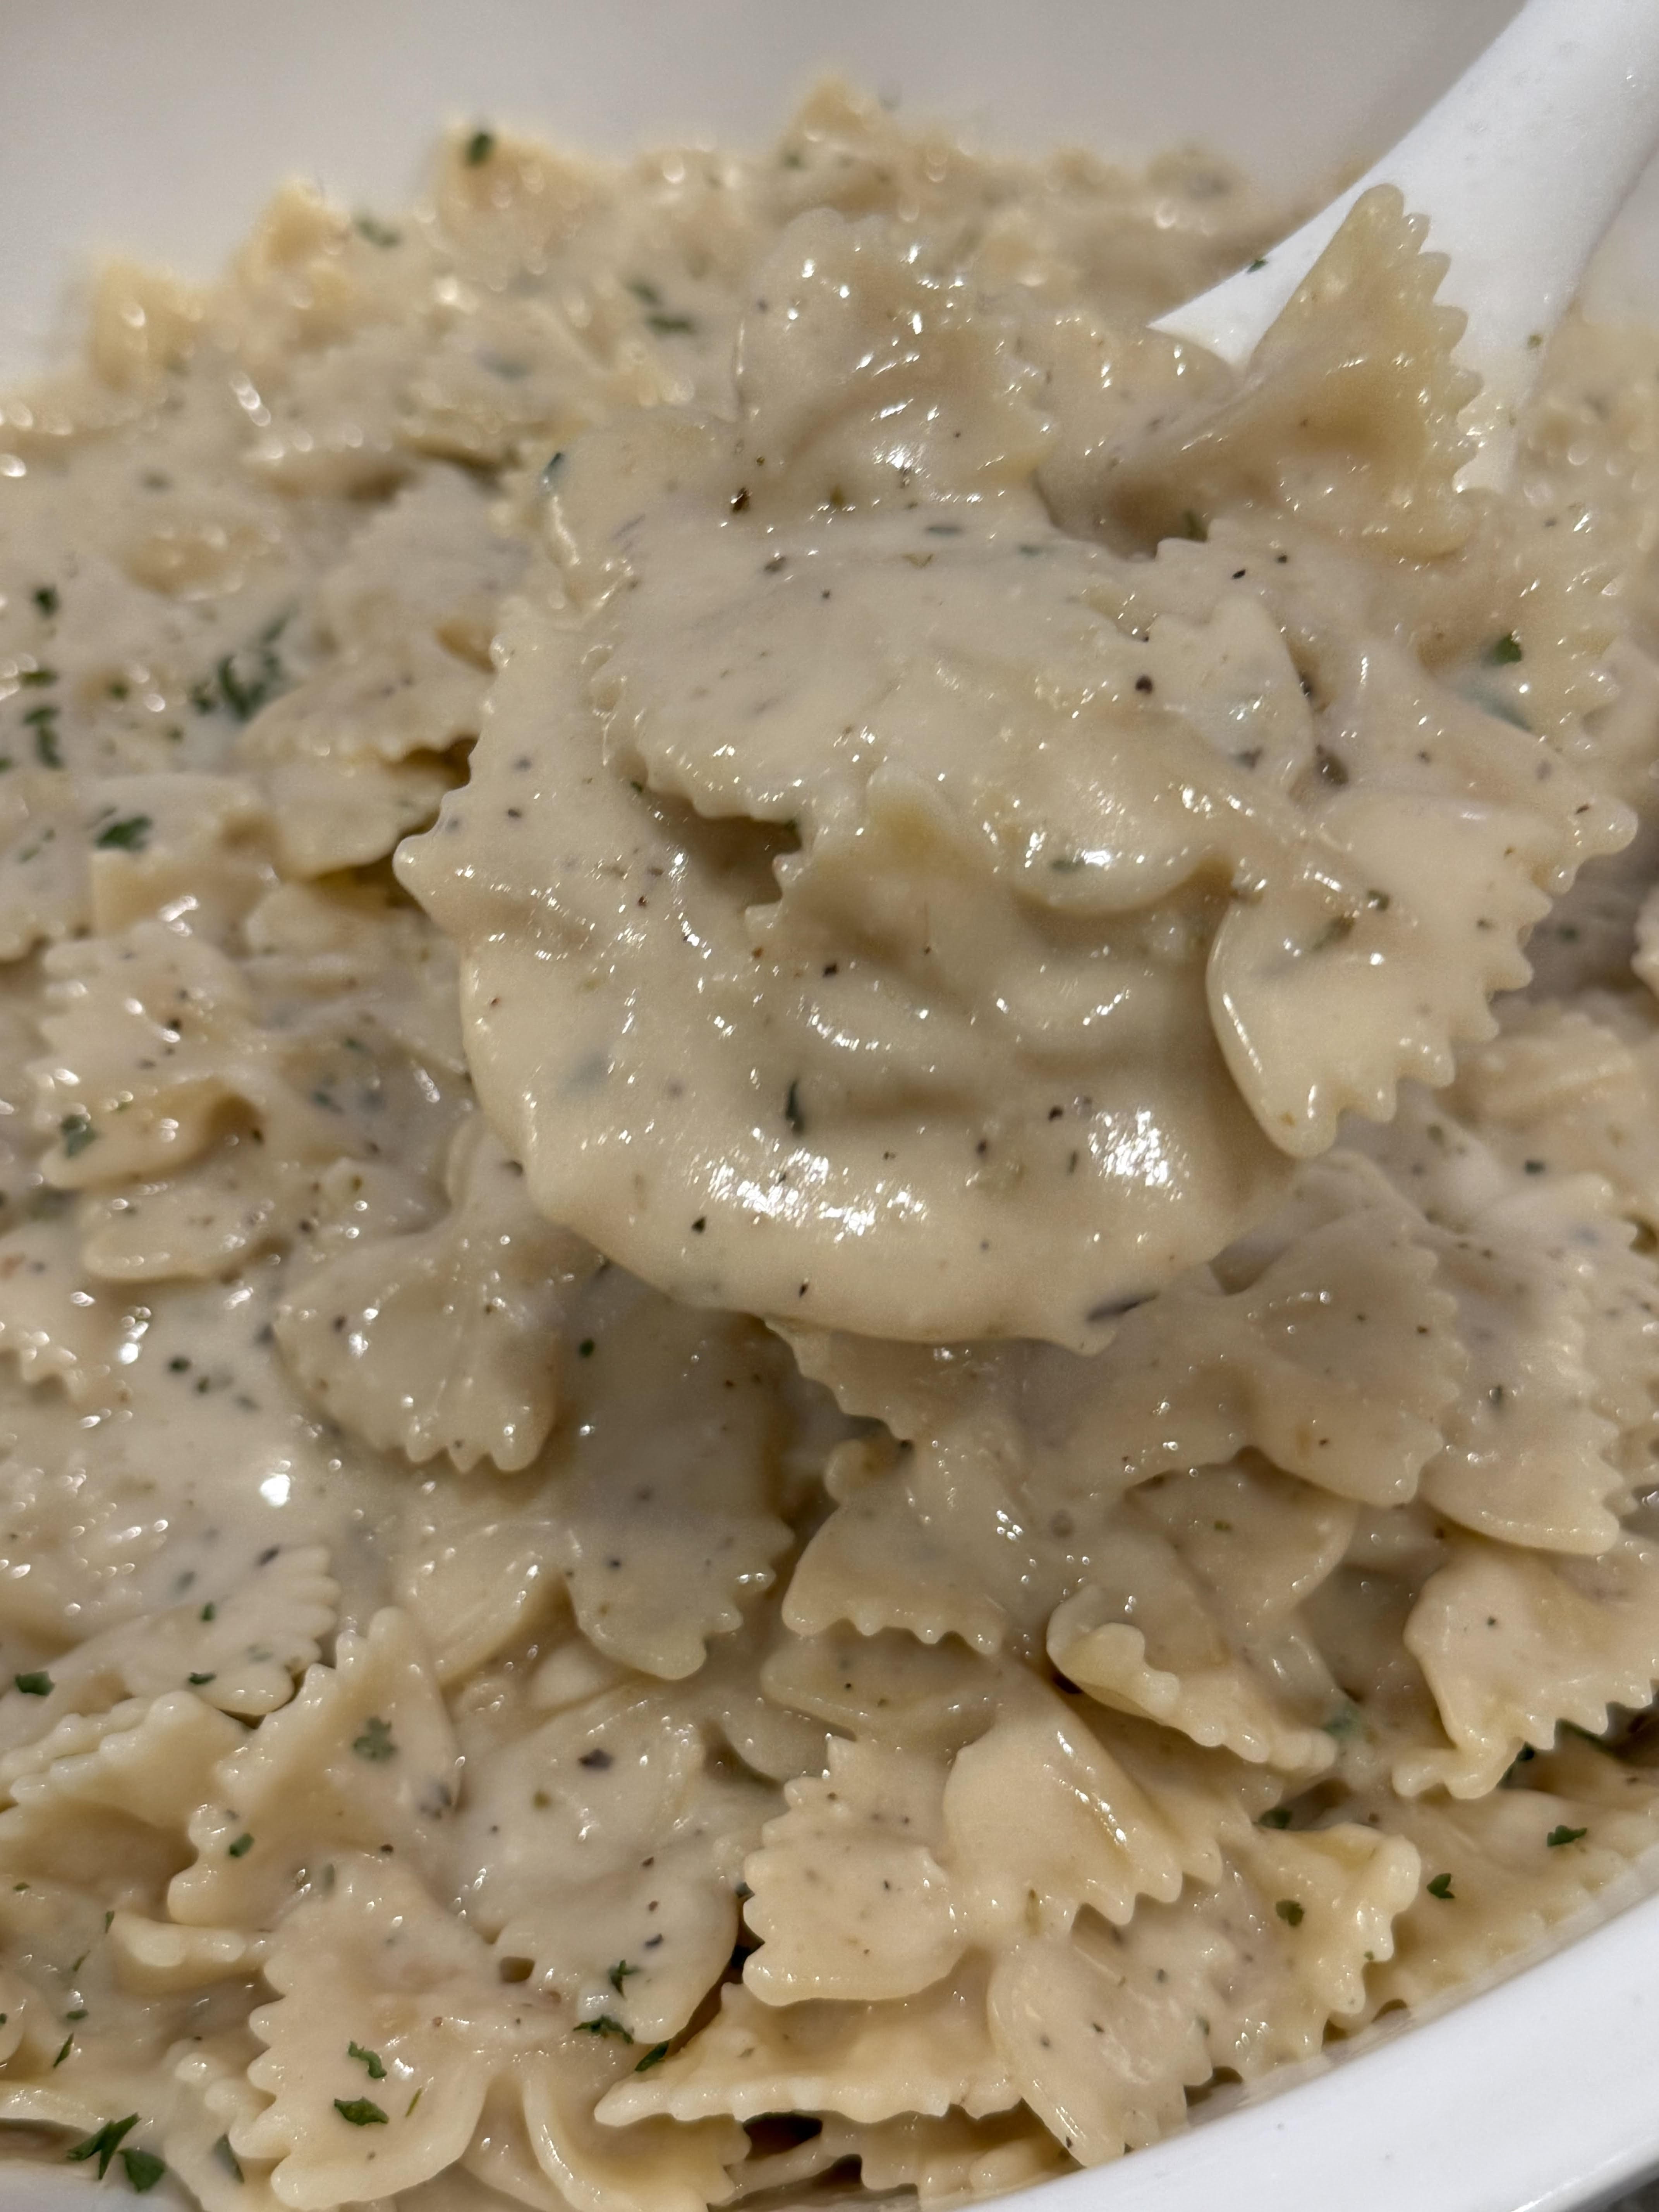
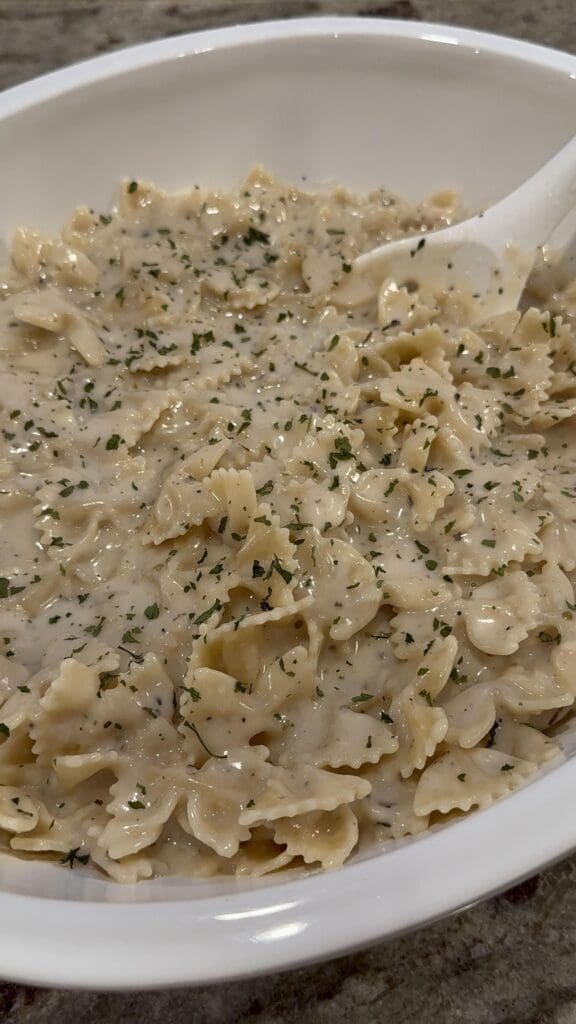
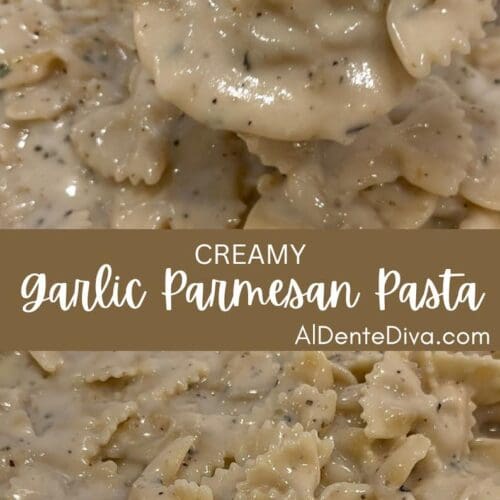
Creamy garlic parmesan pasta is made with an easy to make garlic parmesan sauce tossed in bow tie pasta for a delicious dinner in under 30 minutes.
Creamy Garlic Parmesan Pasta
From the recipe collection of Tara Ippolito
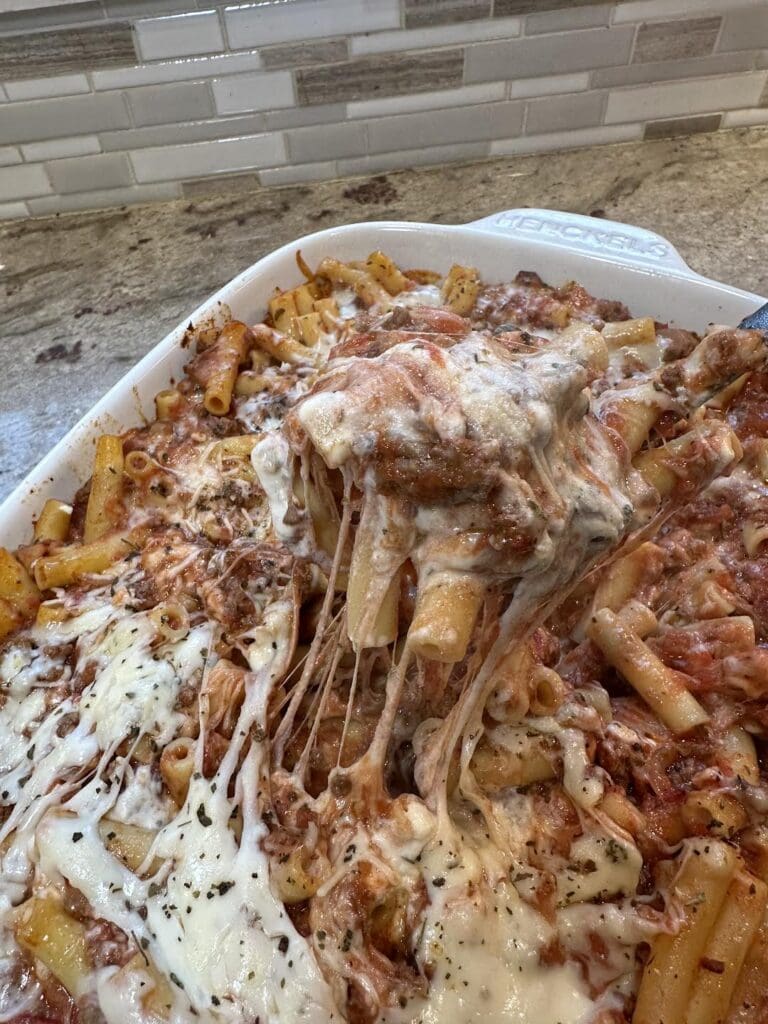
This creamy garlic parmesan pasta may be the most simple and delicious recipes that I have ever shared.
Remember eating plain pasta with melted butter and maybe a little bit of parmesan cheese when we were kids?
This is a lot like that but better. The overall concept is basically the same but the flavor and texture of the sauce is just a little bit more elevated.
Its perfect because both the kids and adults in my house all love it so much. Myself included. Not to mention its super easy to make, too.
This recipe can be thrown together and on the table in less than 30 minutes. It's a great dinner for a busy weeknight.
Sometimes simple comfort food recipes like this just completely hit the spot. They do for my family and I at least.
It can also be served alone as a main course or as a smaller side dish to pretty much any main course that you can think of.

I hope you give this recipe a try. If you do, I know you'll love it just as much as my family and I do.
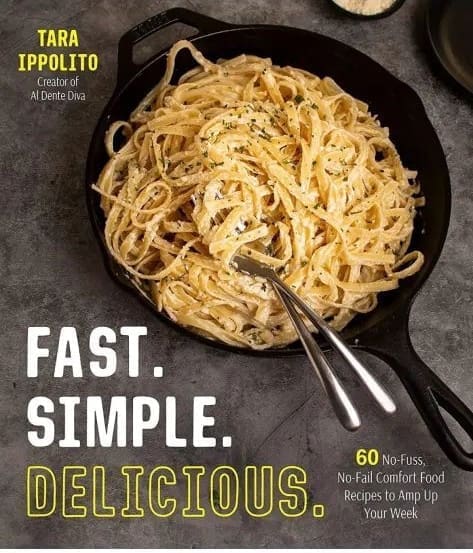
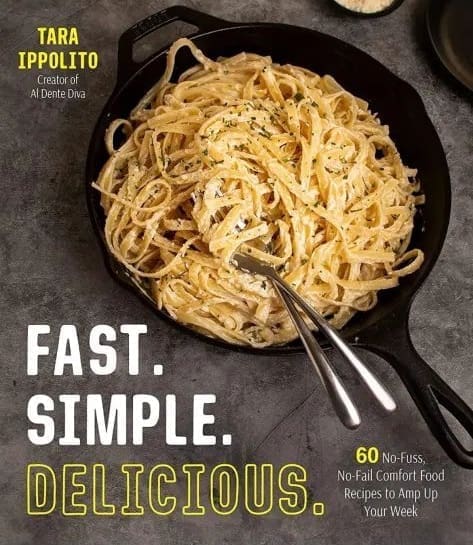
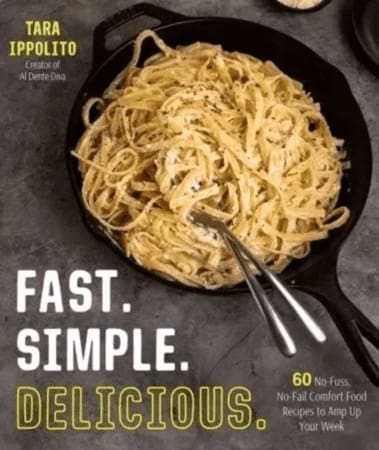
Fast. Simple. Delicious.
Did you know that I have a cookbook called Fast Simple Delicious? It’s 60 no fuss no fail comfort food recipes perfect for busy week day dinners.
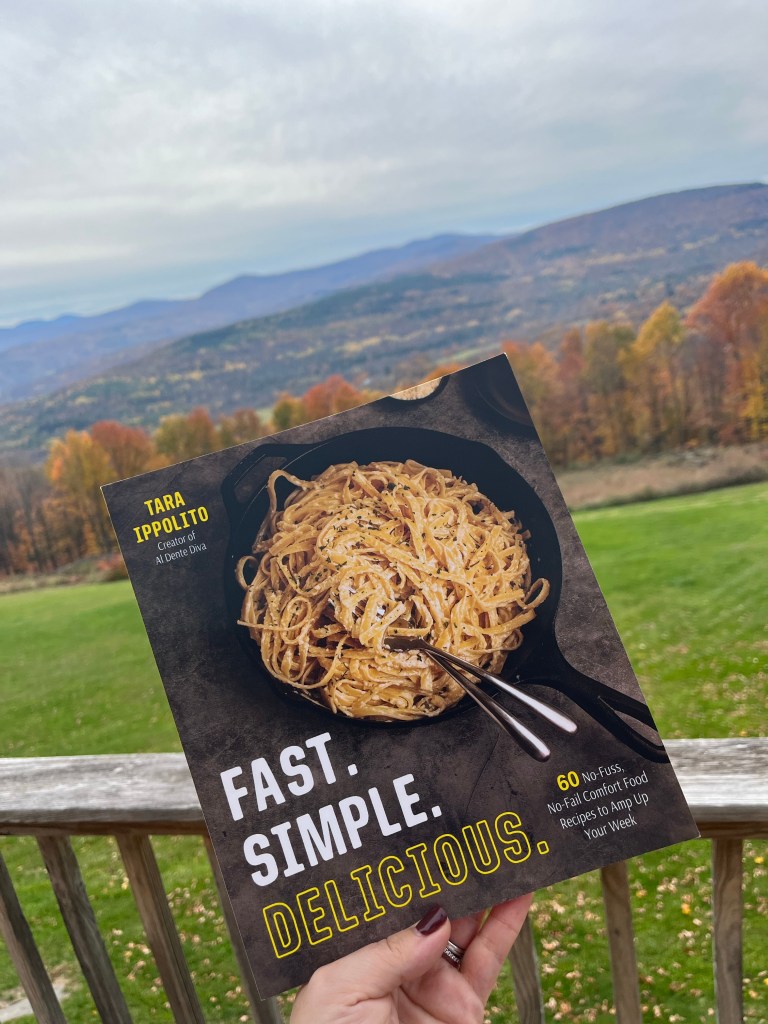
Get your copy HERE and thank you for the support.
Creamy Garlic Parmesan Pasta Variations
I like this recipe made just the way it is, but here are some ways to change it up if you'd like to.

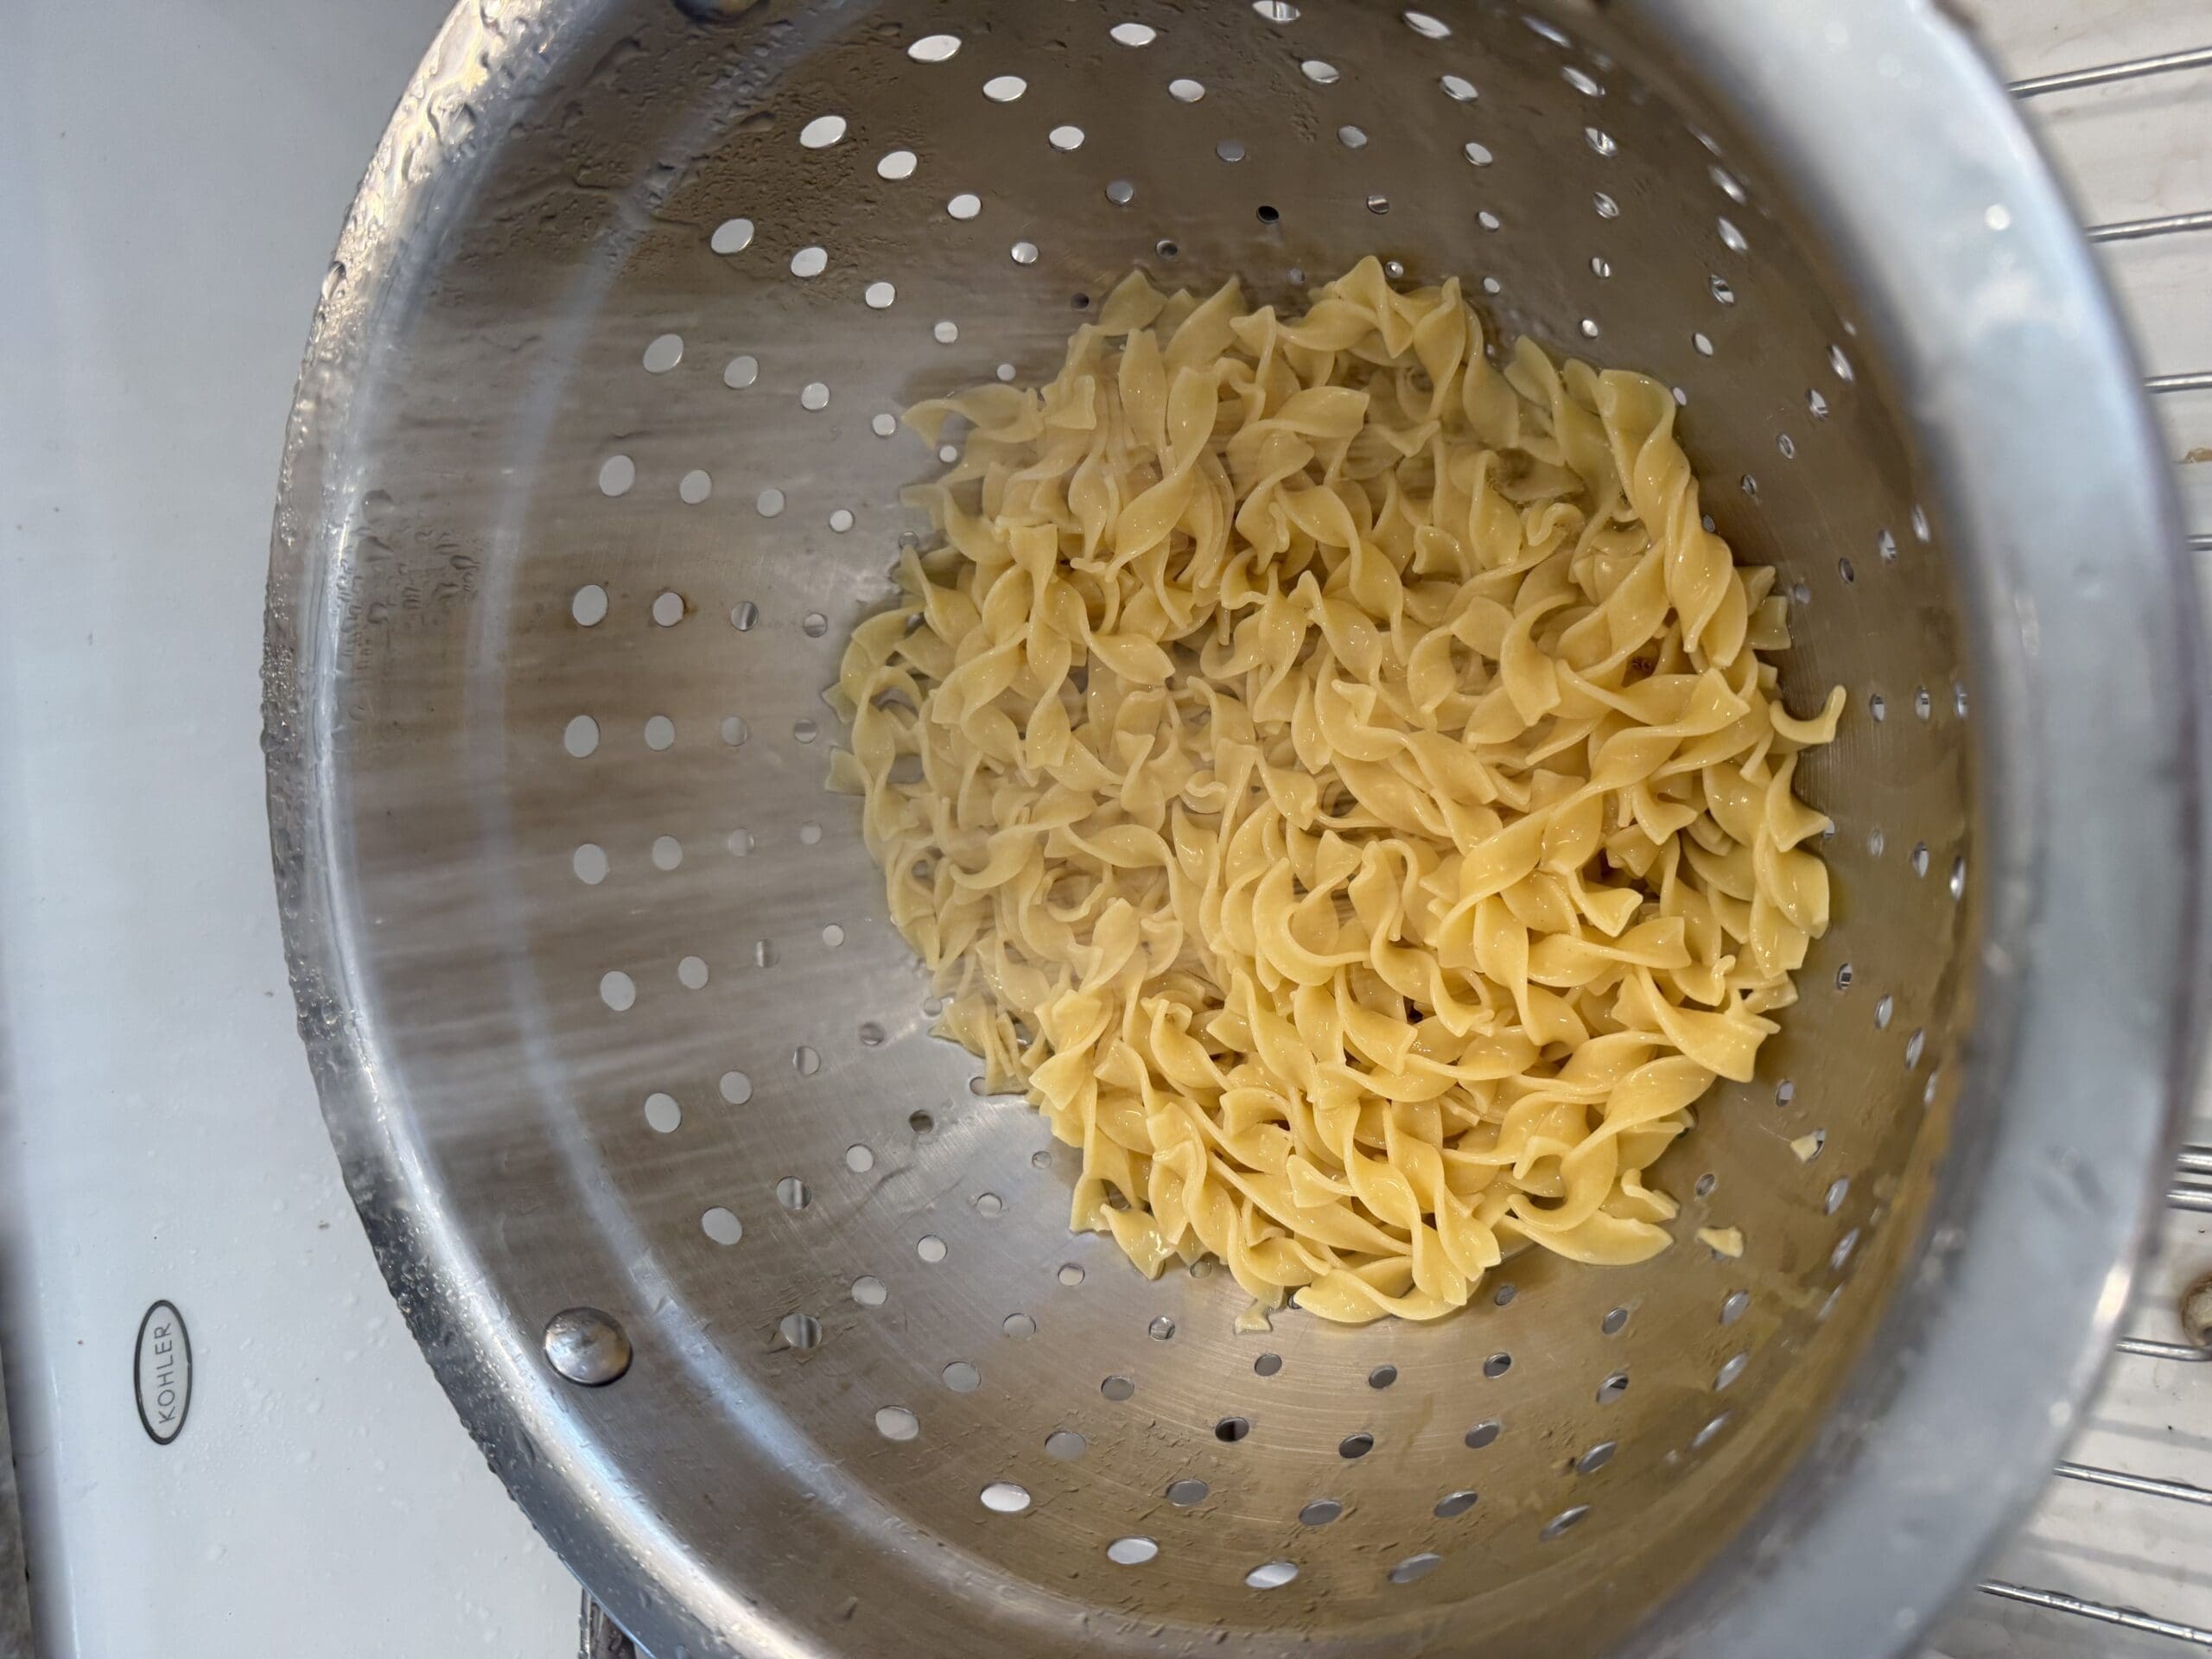
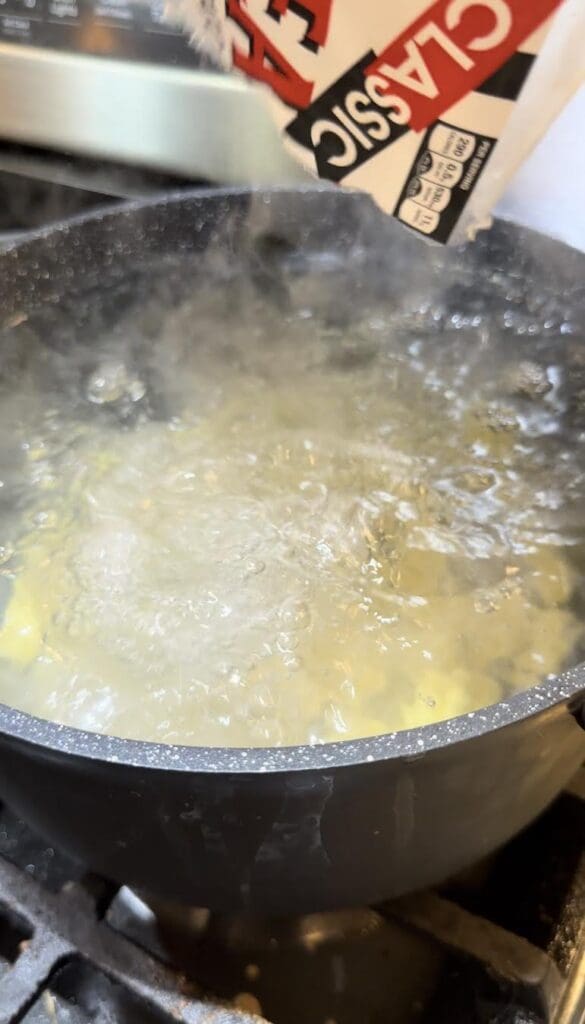
- Pasta- Use any shape of pasta that you'd like for this recipe. Just be sure to boil the pasta in salted water and save some to add to the sauce.
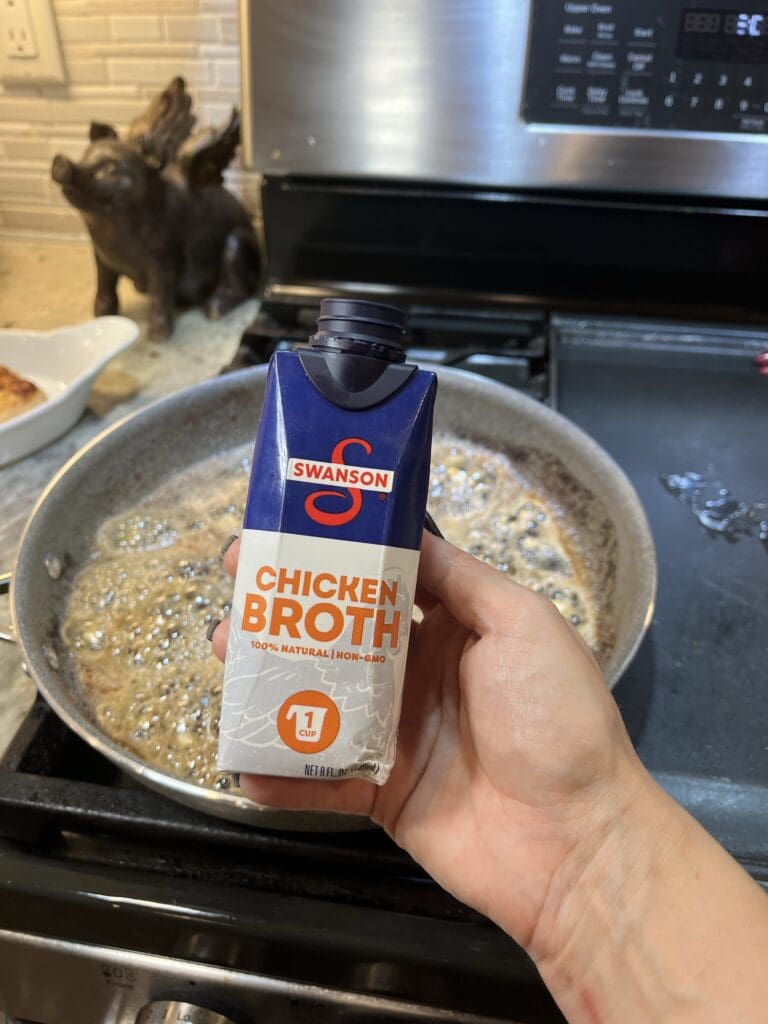
- Both-Use vegetable or chicken broth.
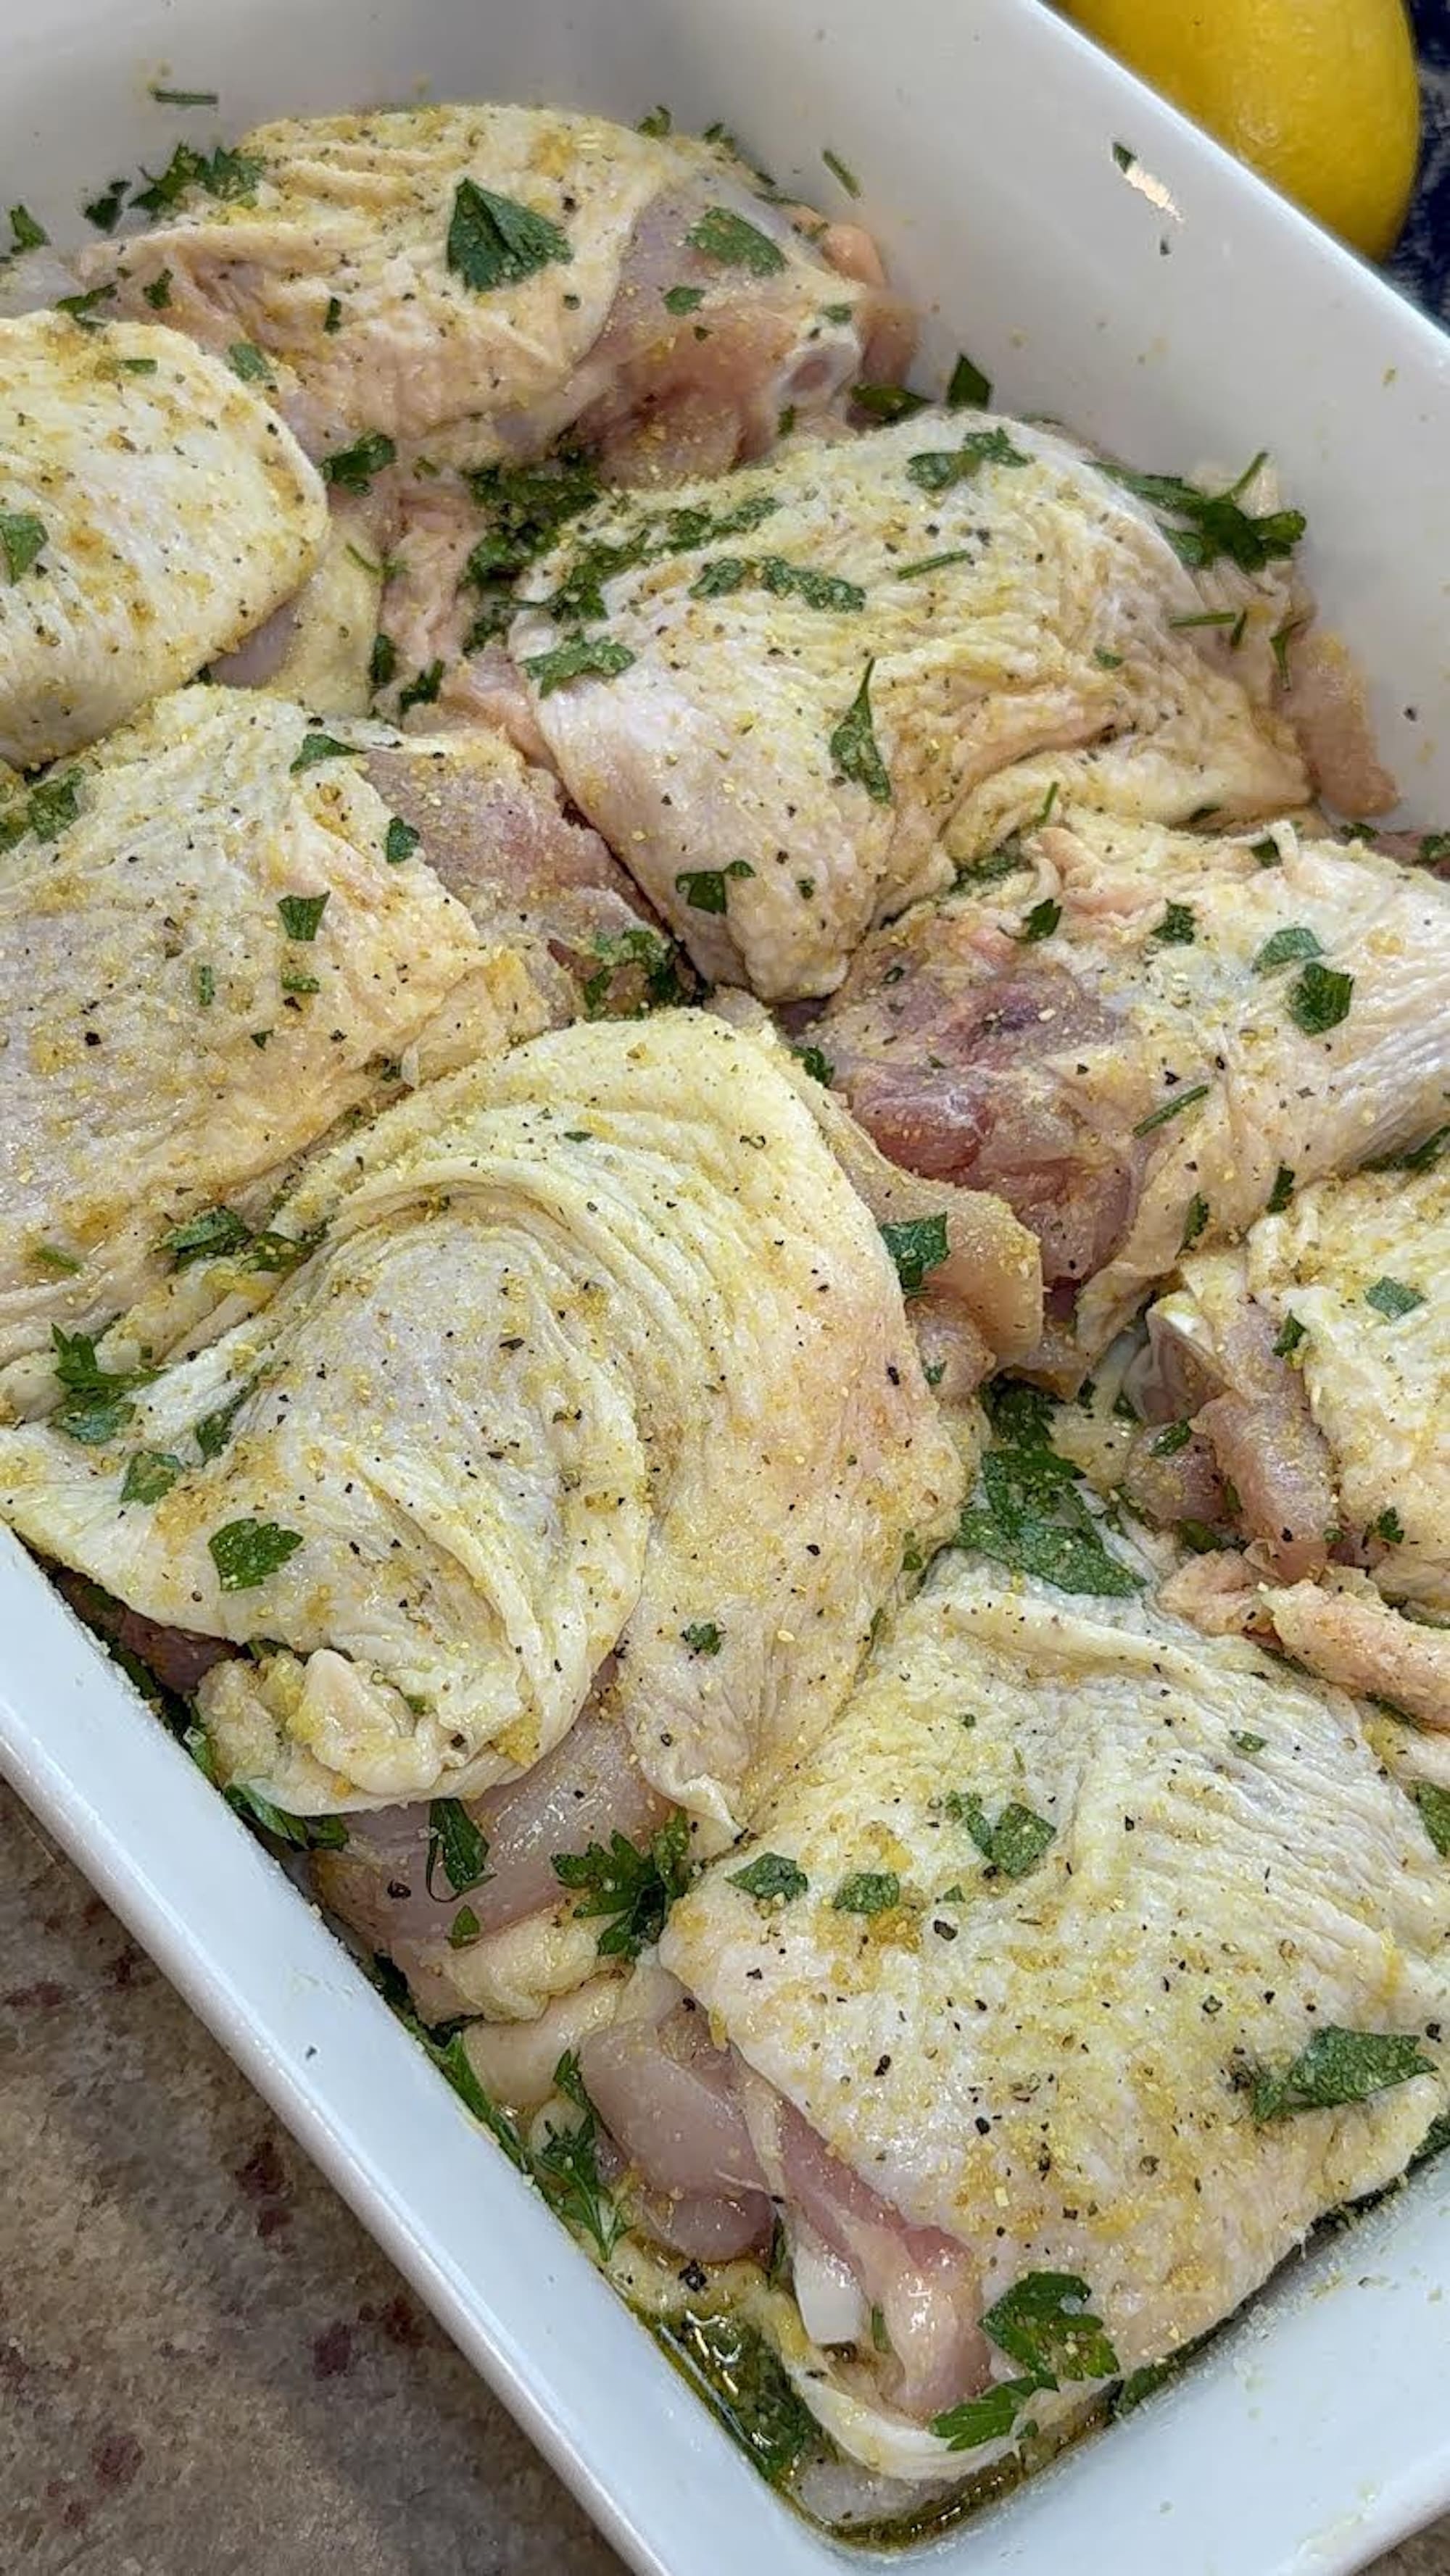
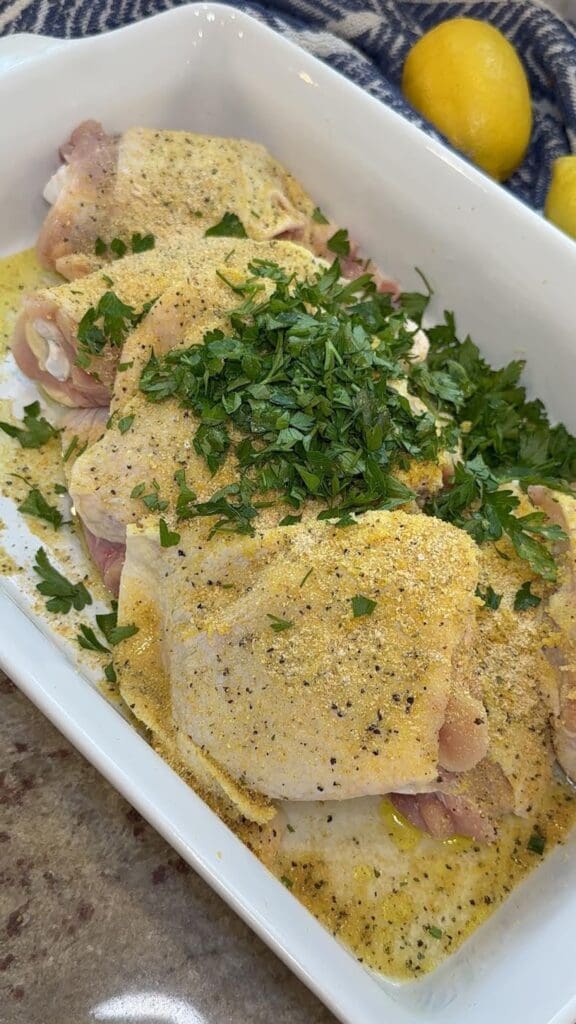
- Add Ins- Feel free to add in some cooked vegetables like broccoli or mushrooms. Some cooked chicken would be delicious, too.
Other Easy Pasta Recipes
If you like super easy to make pasta recipes like this one, here are some others that I know you'll love, too.
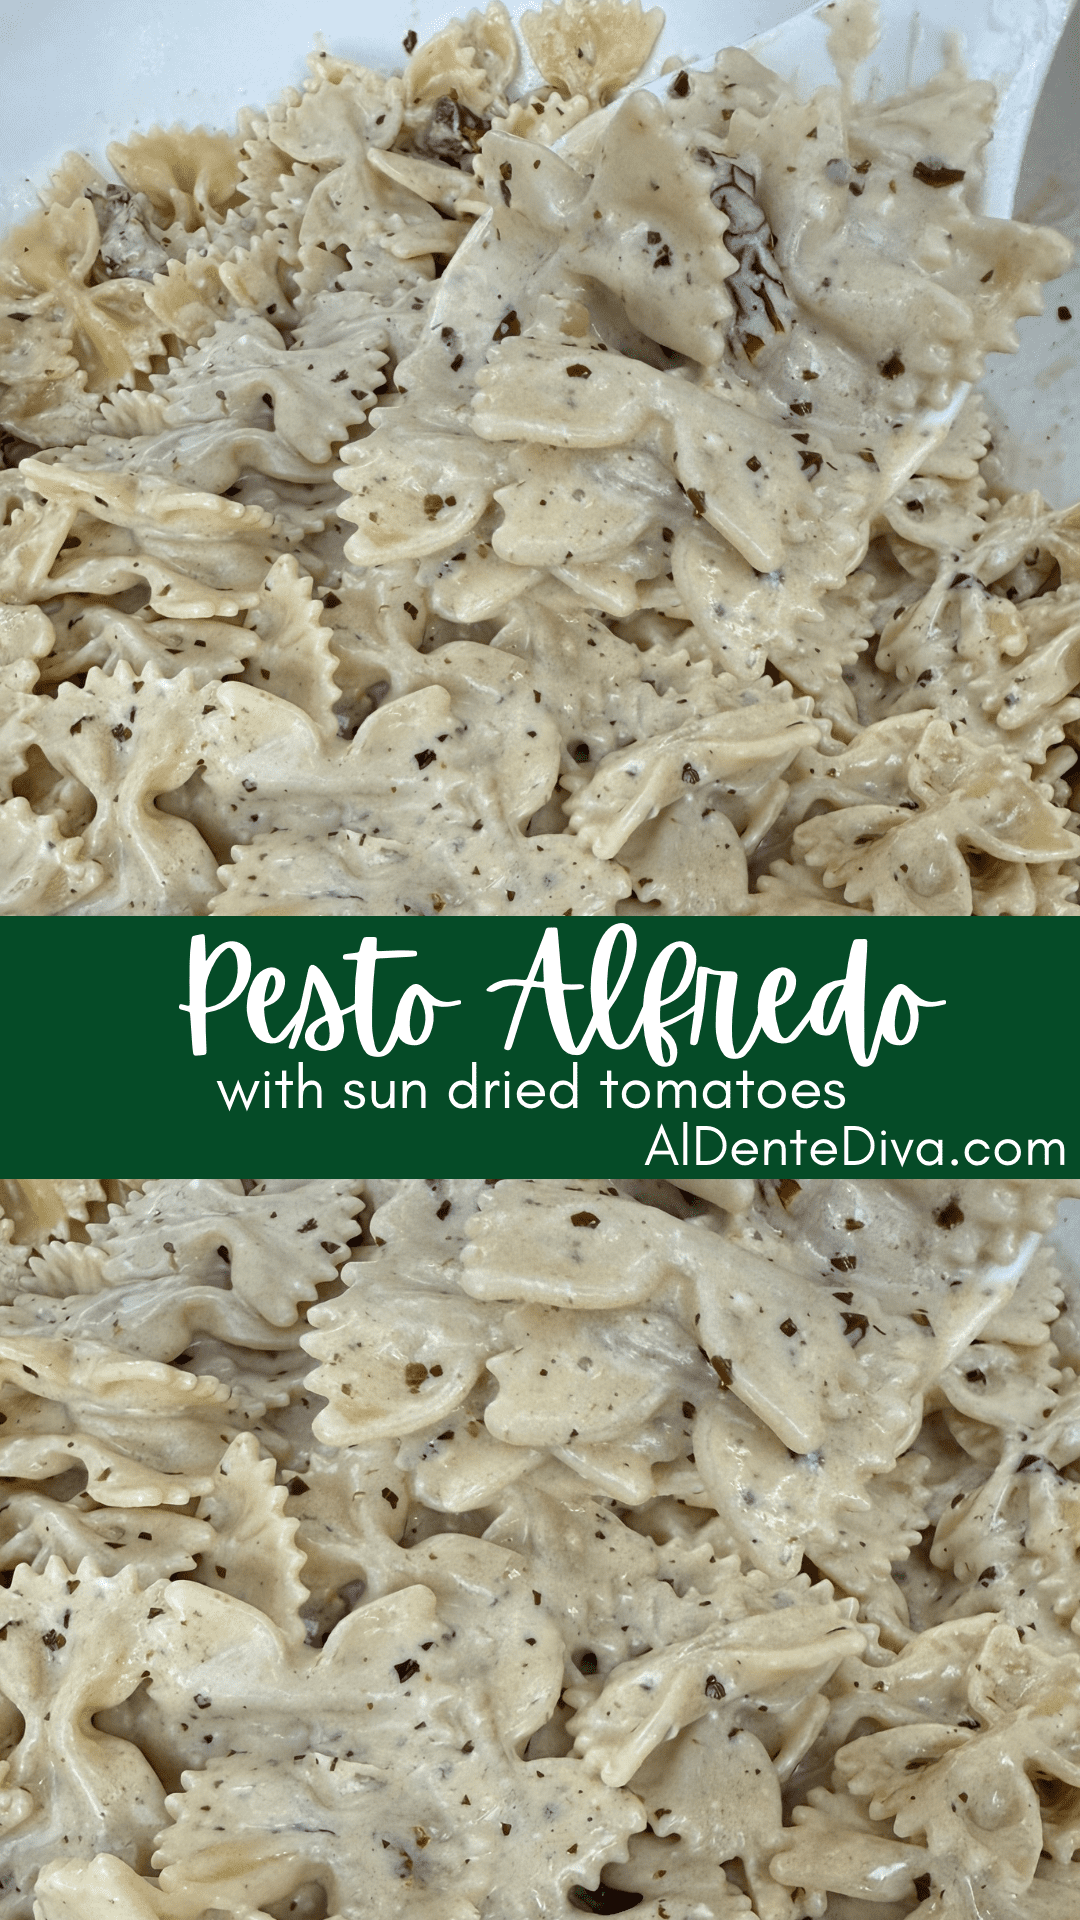
- Pesto Alfredo With Sun Dried Tomatoes
- Spicy Vodka Rigatoni
- Stovetop Macaroni and Cheese
- Creamy Cafeteria Noodles
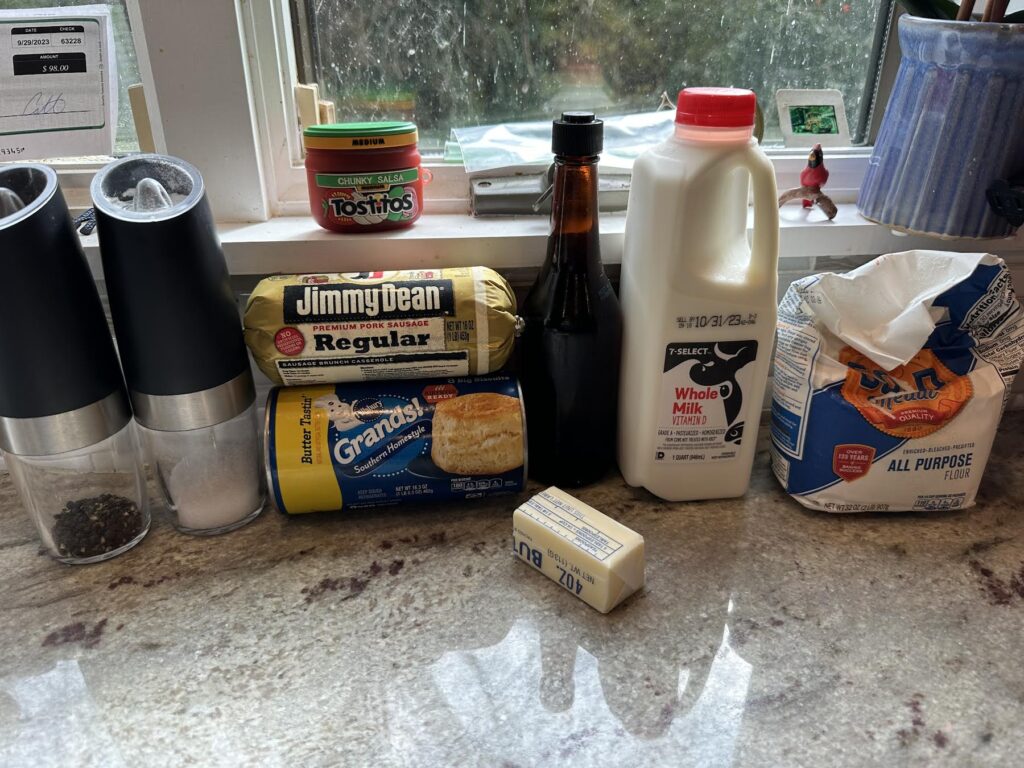
Creamy Garlic Parmesan Pasta Ingredients
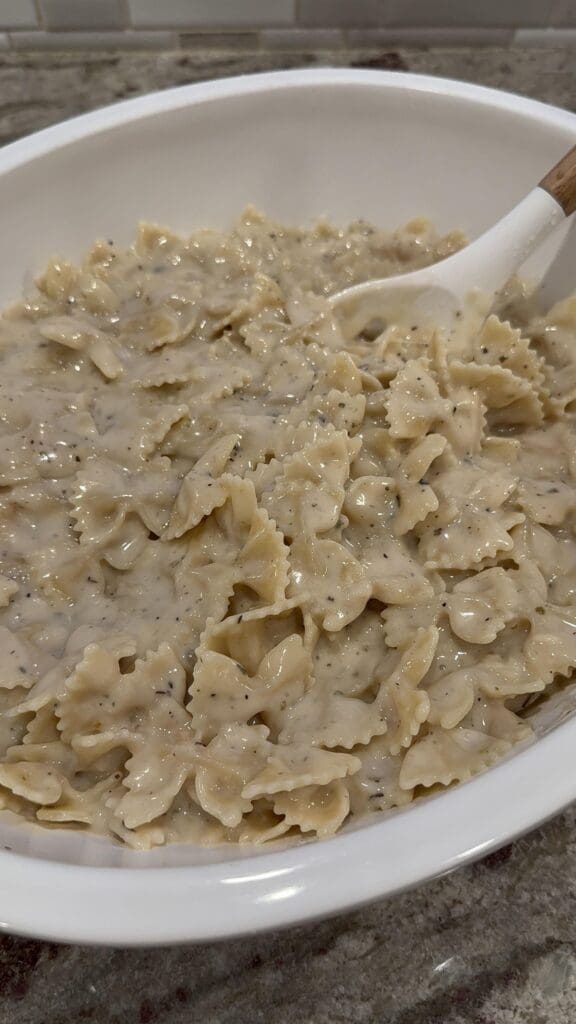
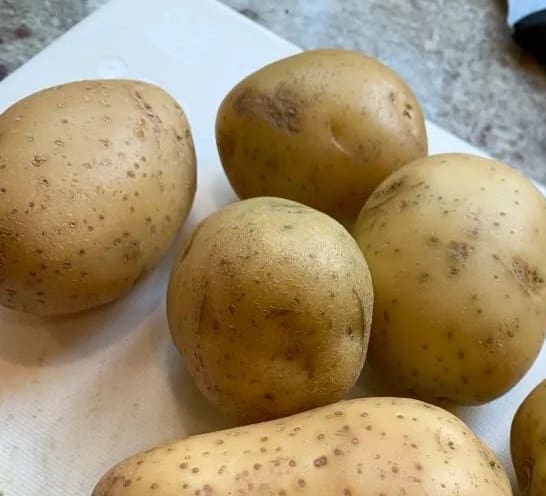
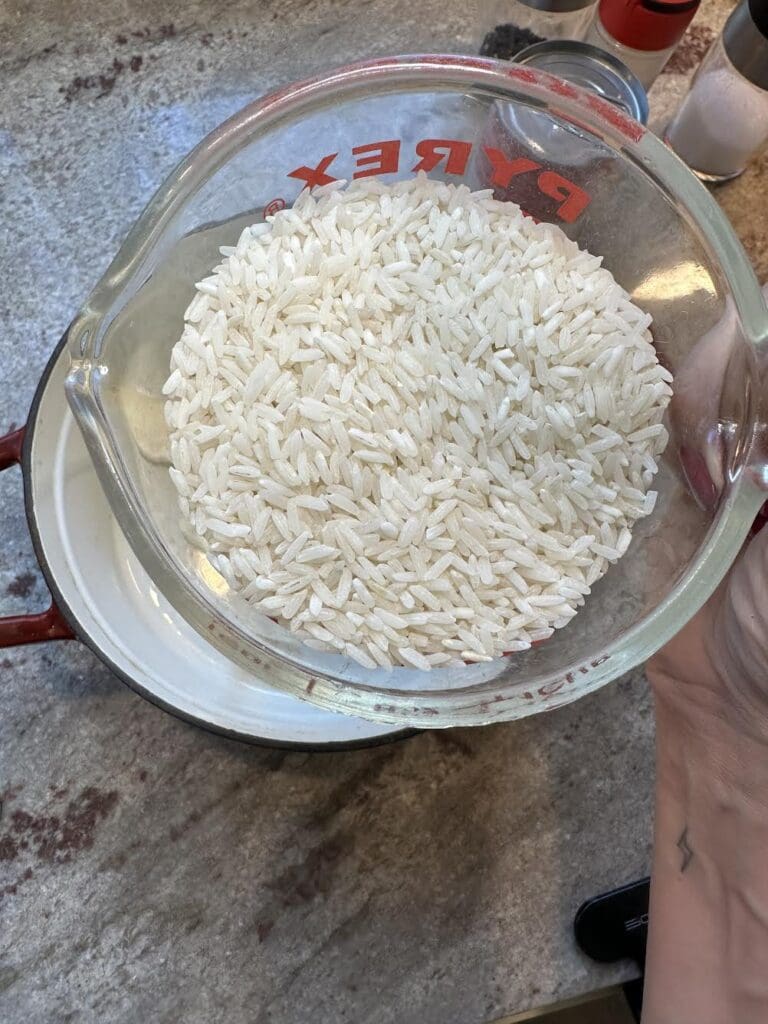
- Bow Tie Pasta
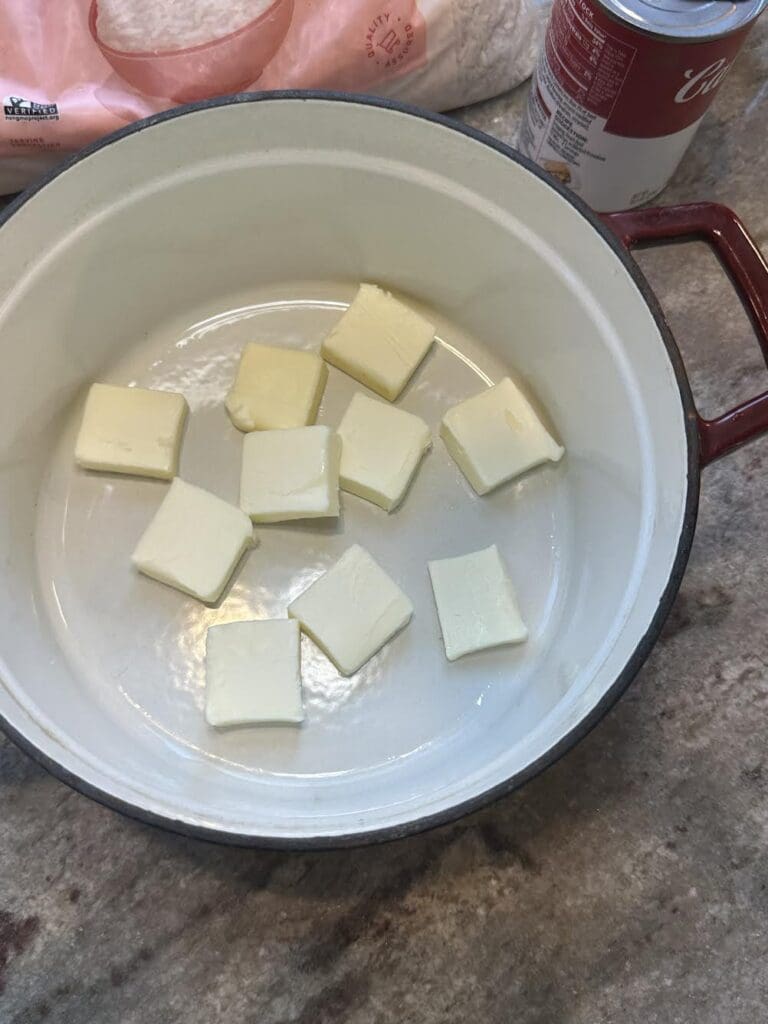
- Butter
- Olive Oil
- Flour
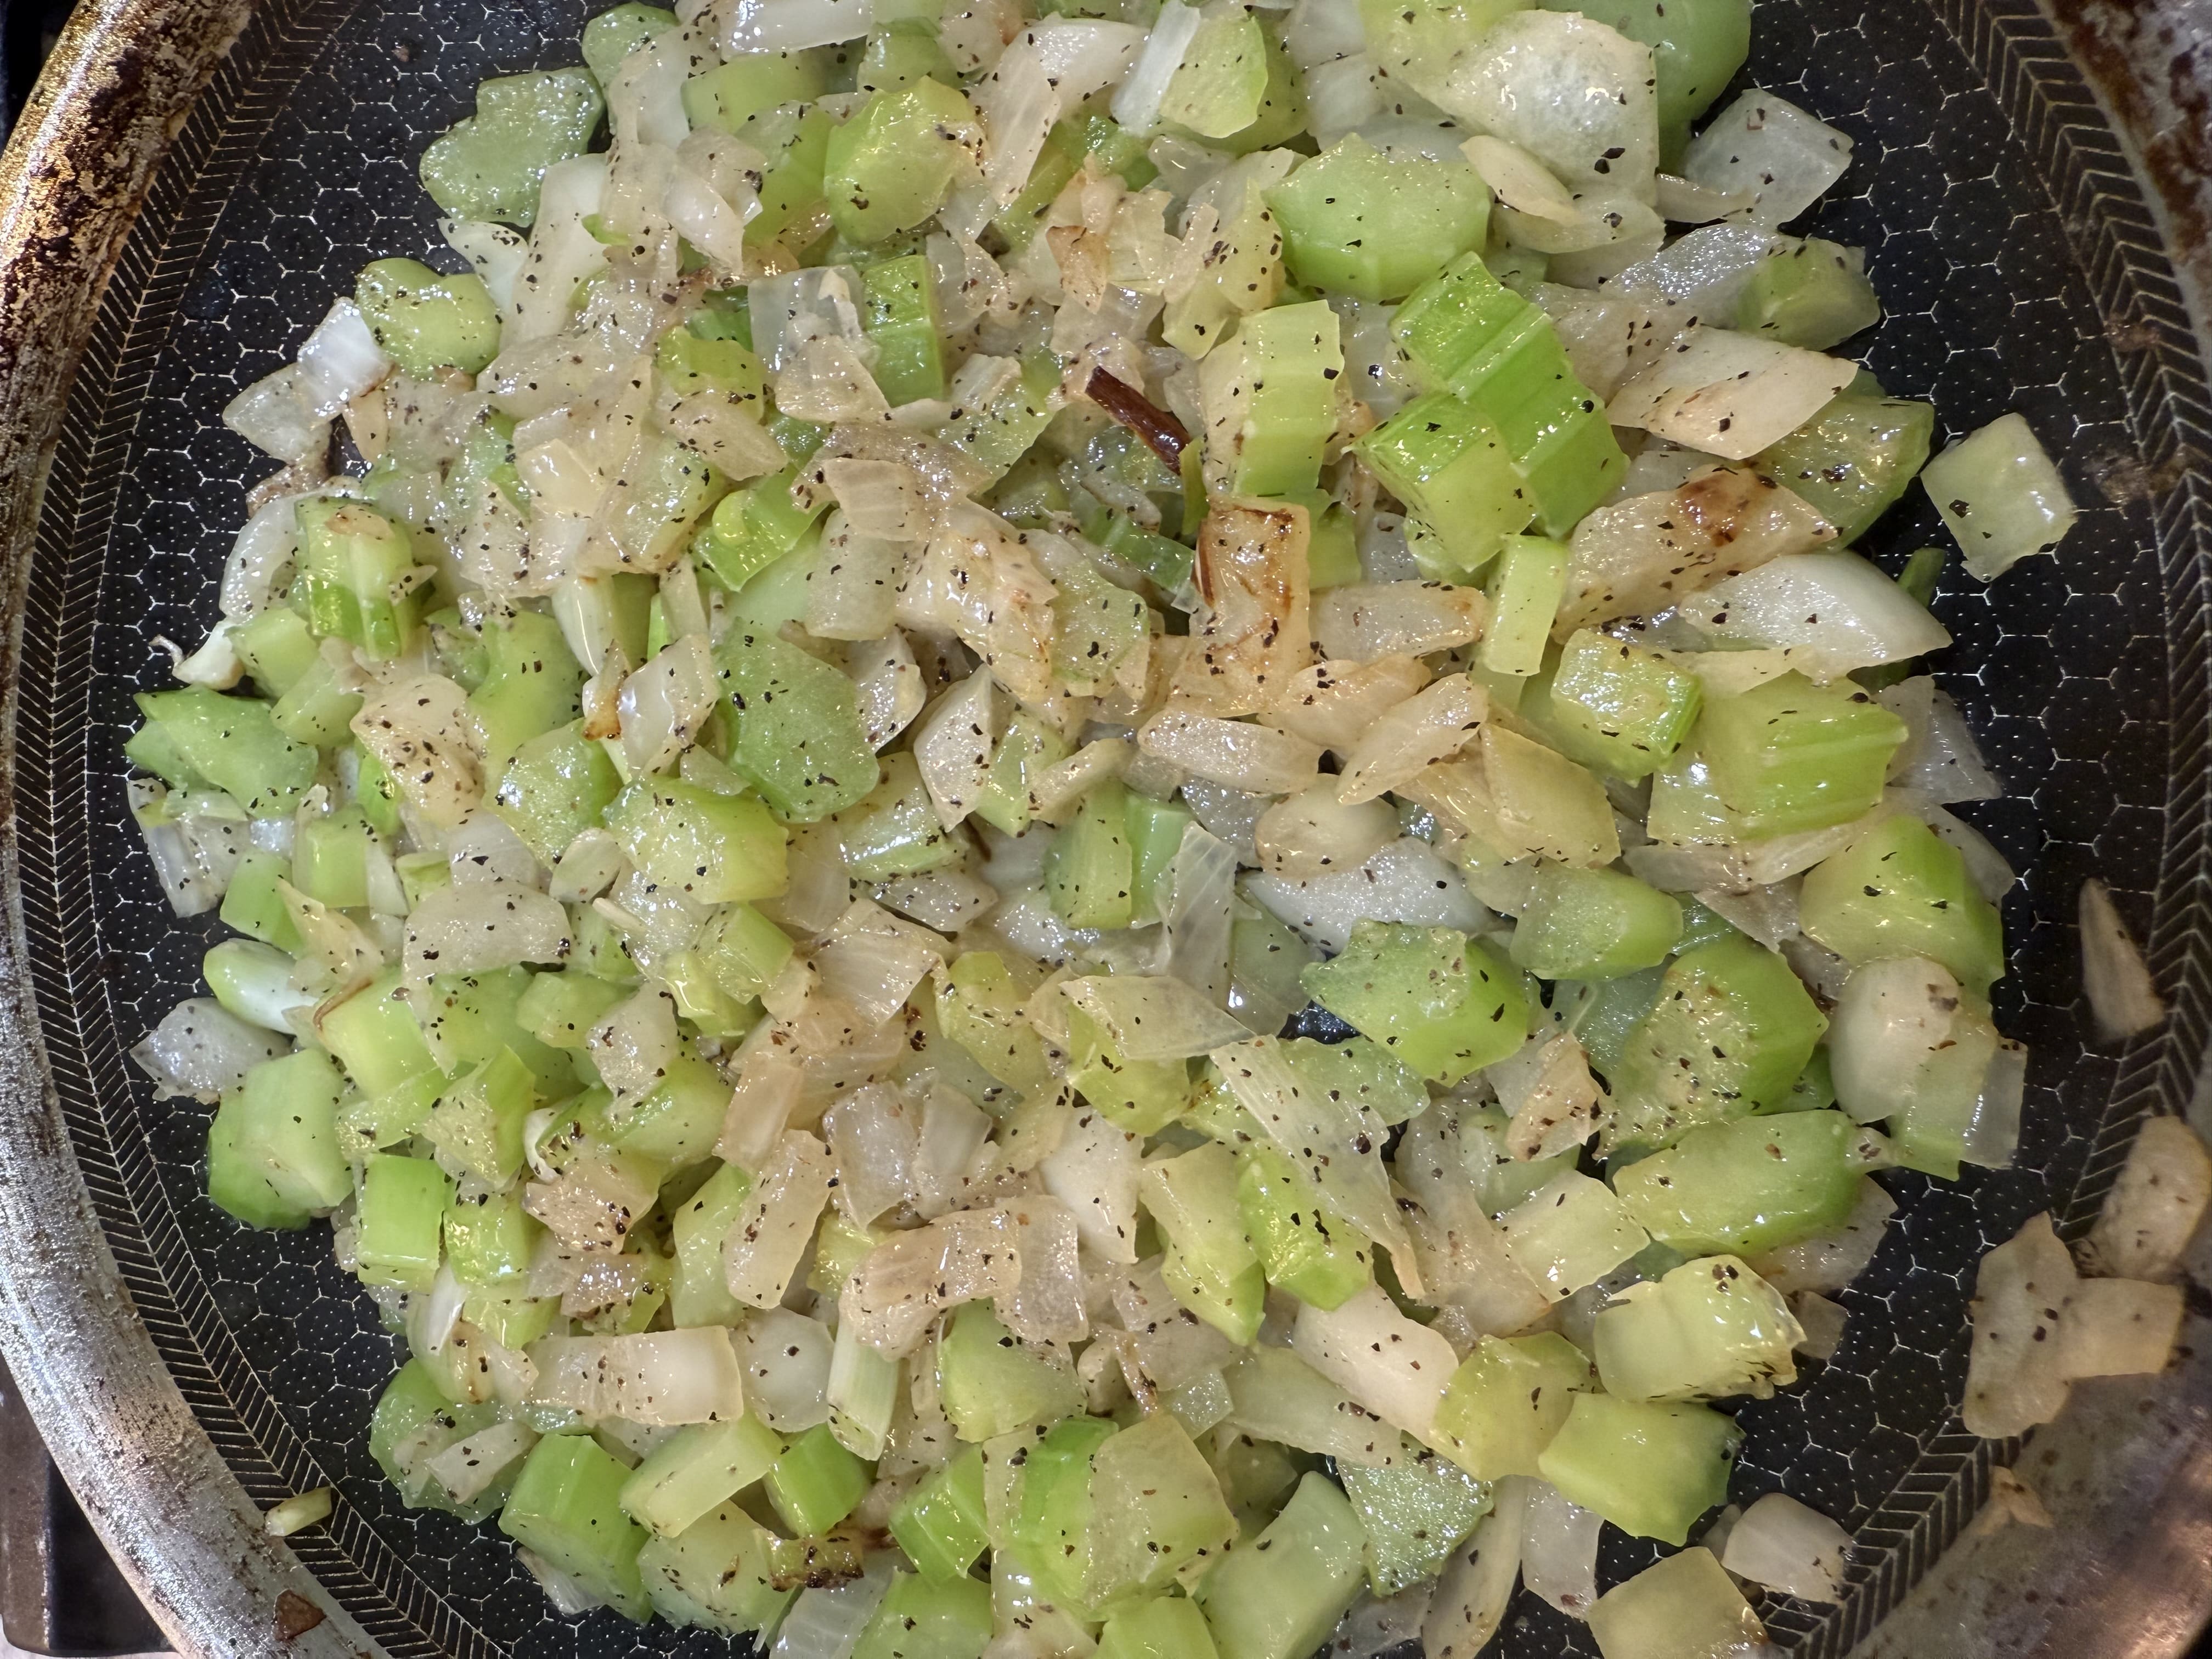
- Garlic, minced
- Vegetable Broth
- Milk
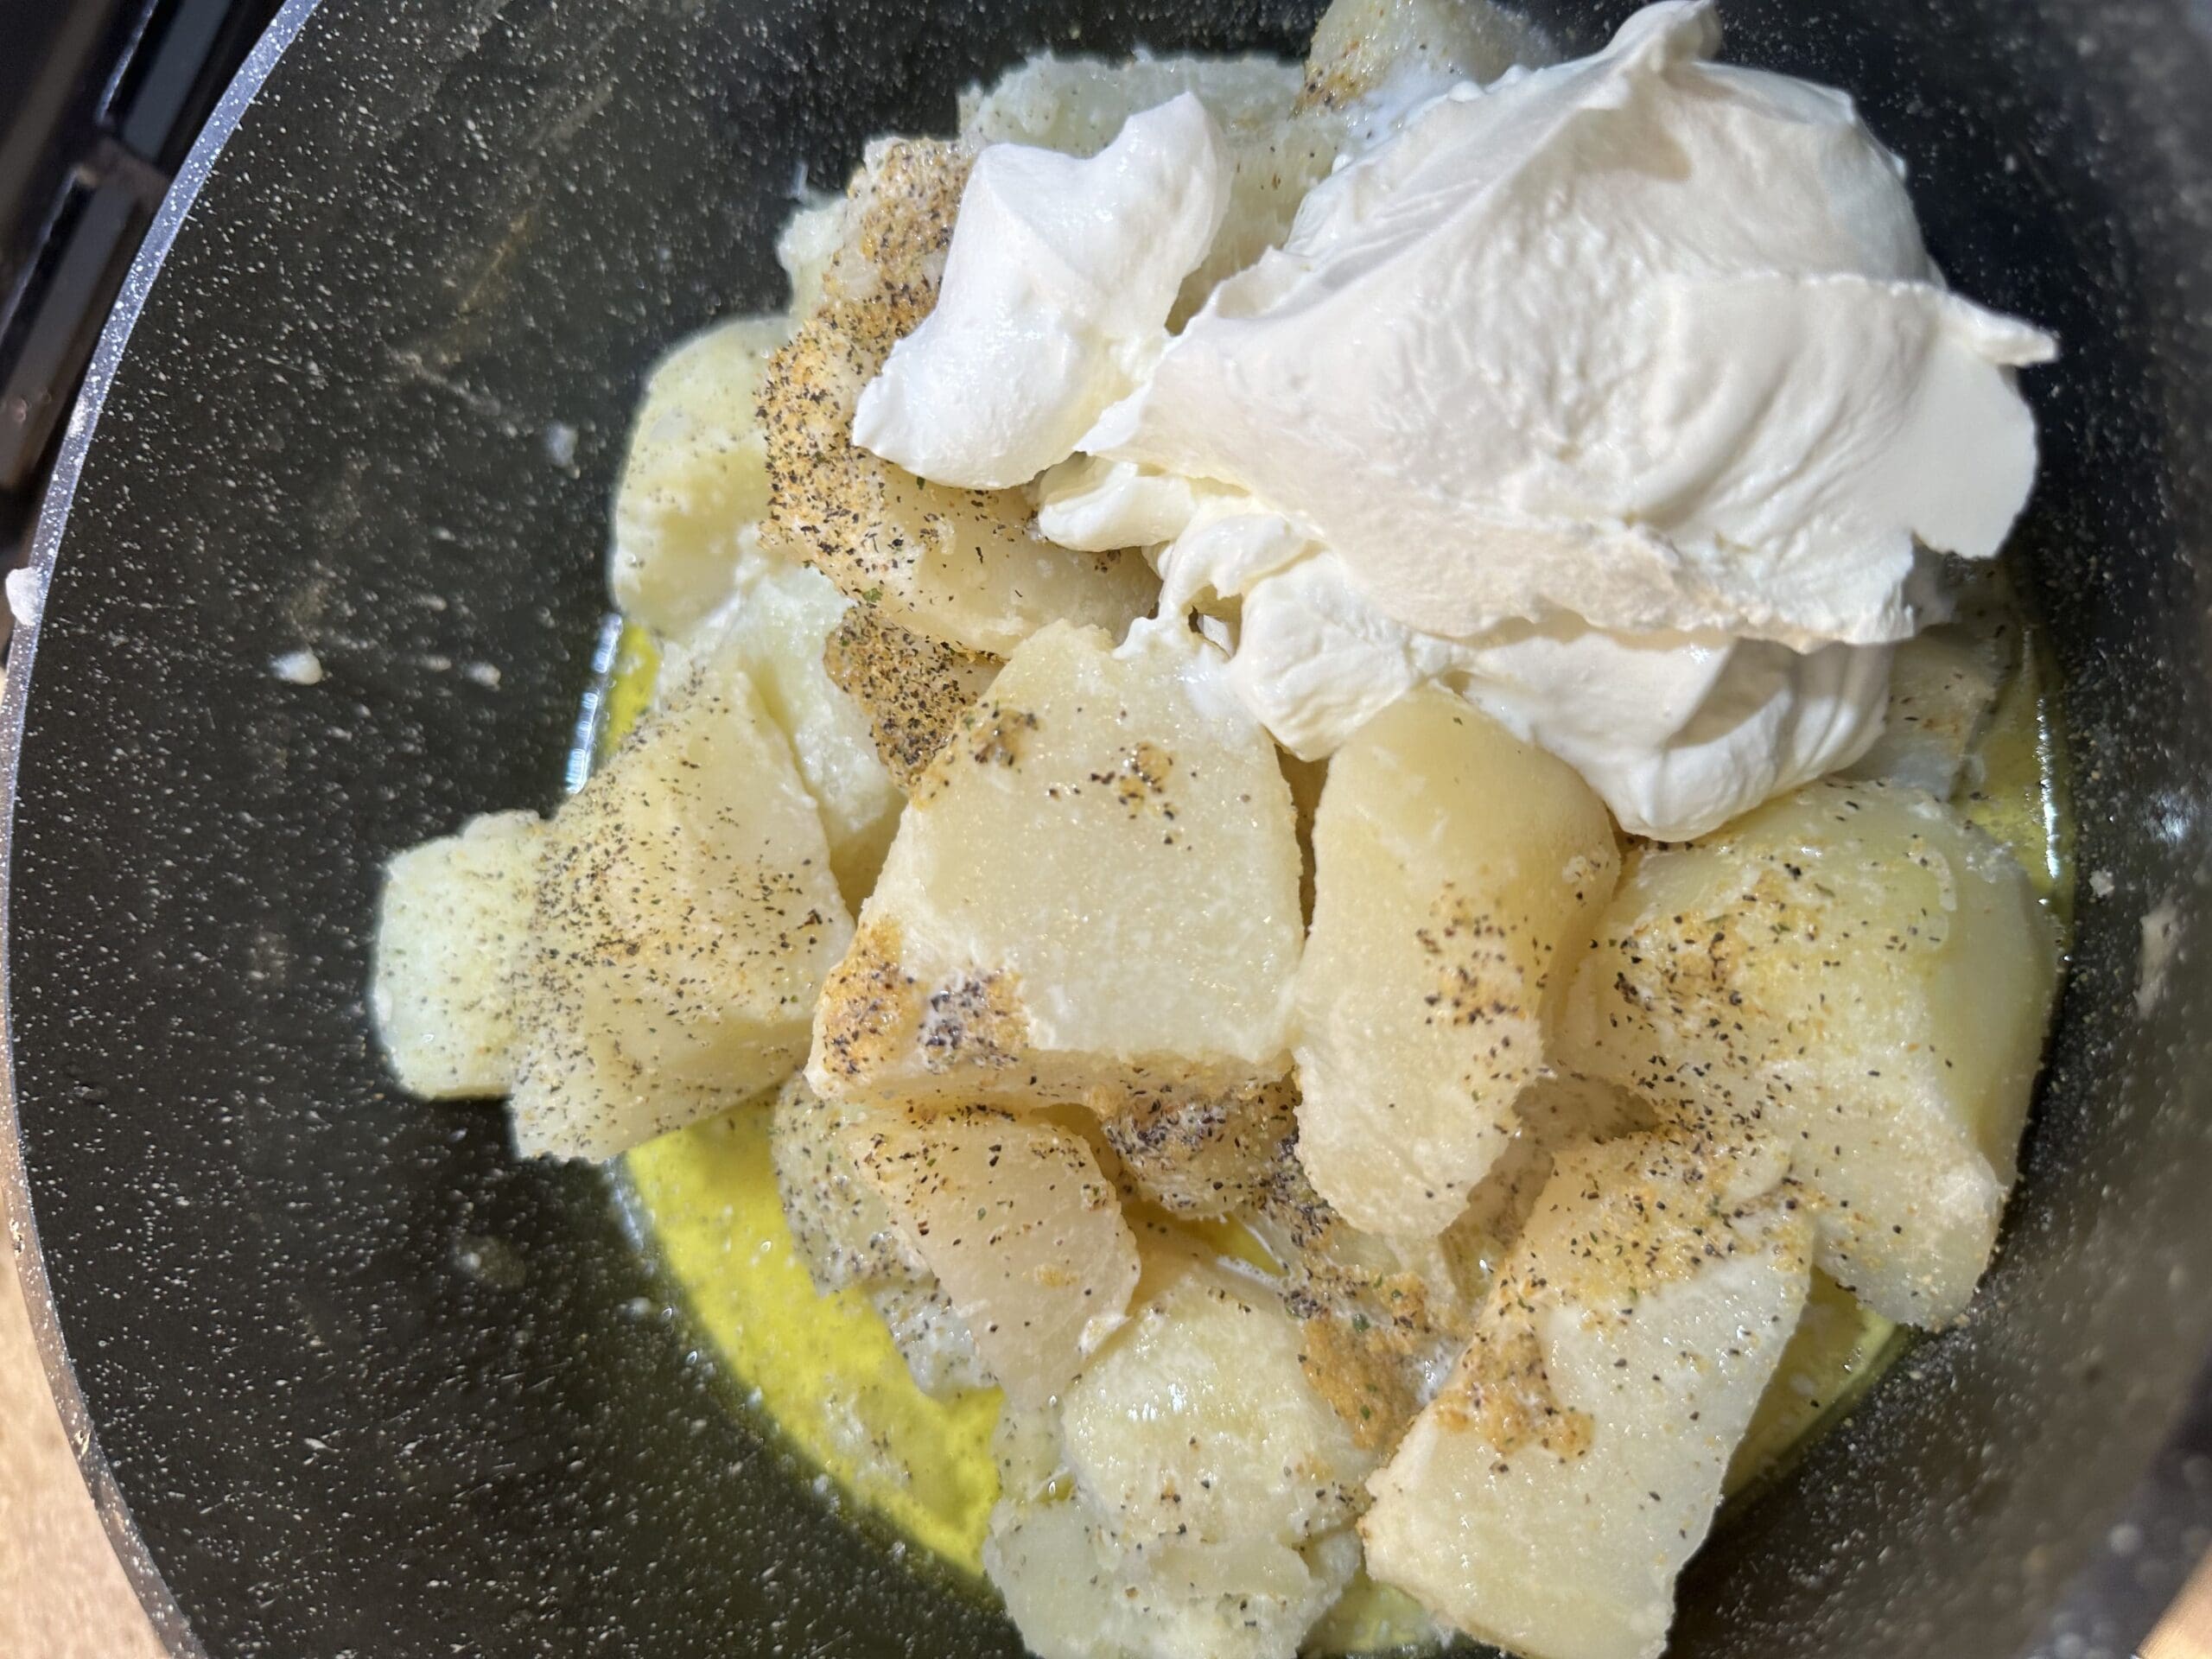
- Parmesan cheese
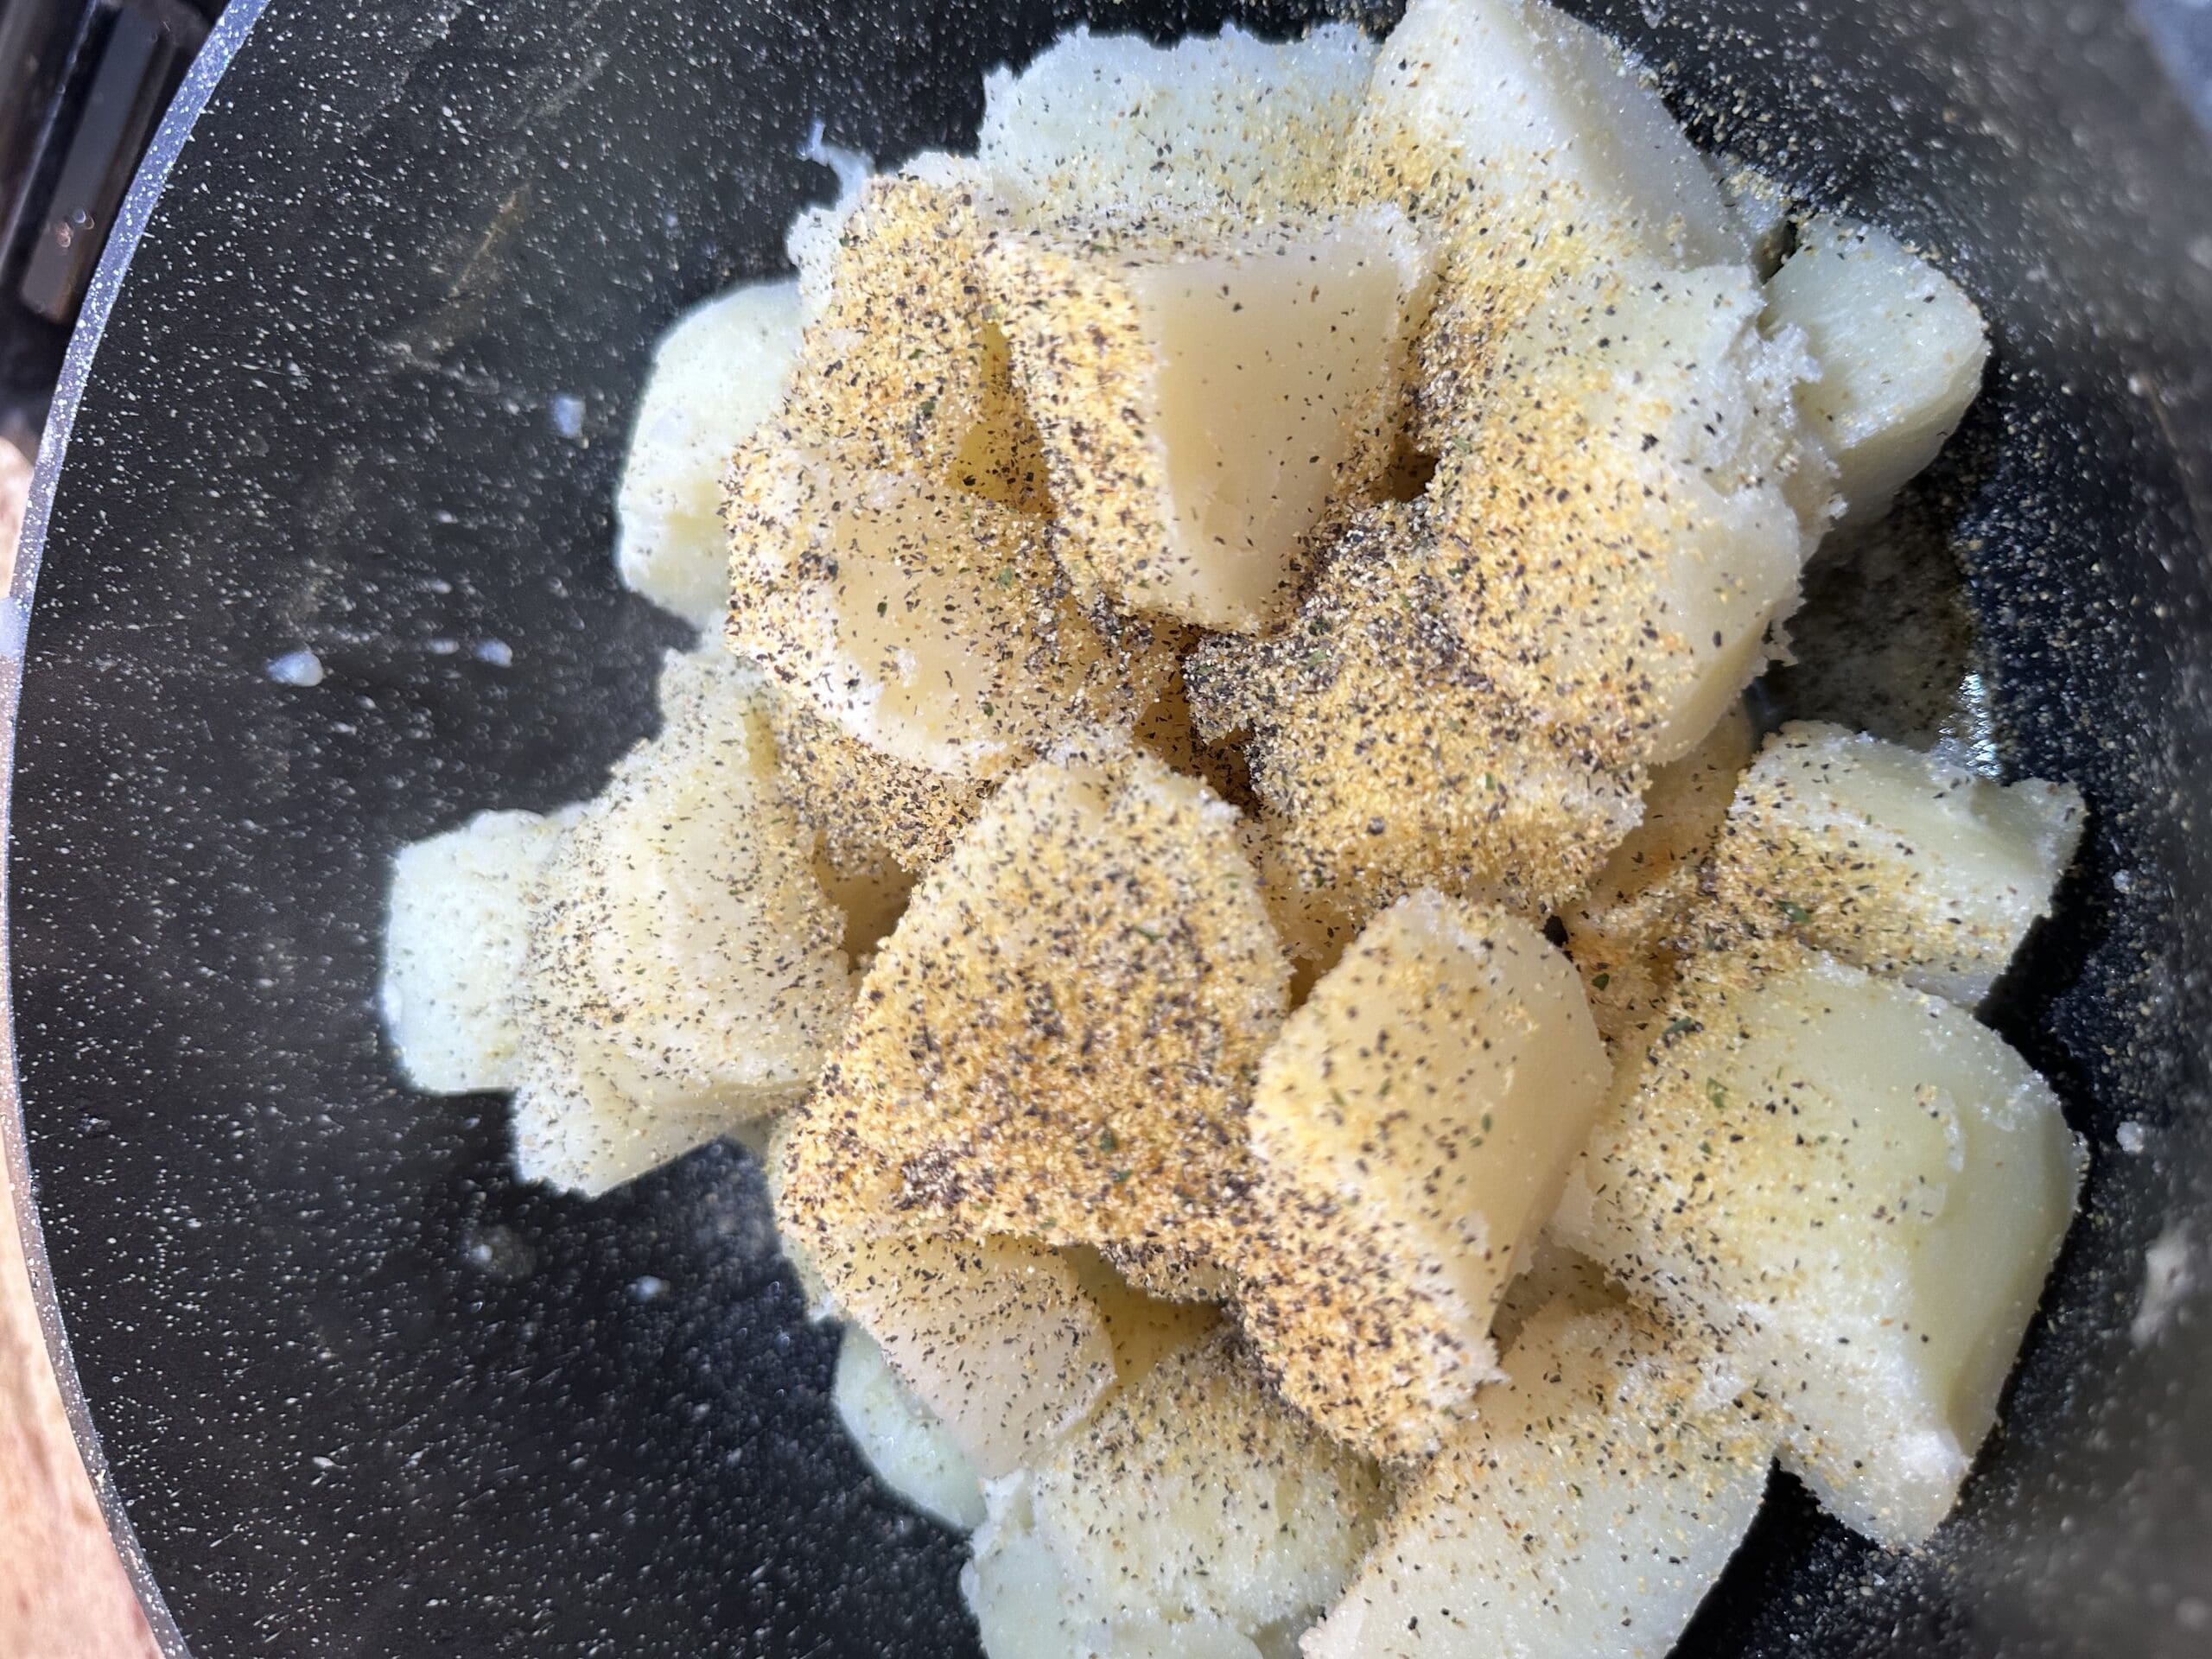
- Salt, Pepper, Garlic Powder and Italian Seasoning
Instructions
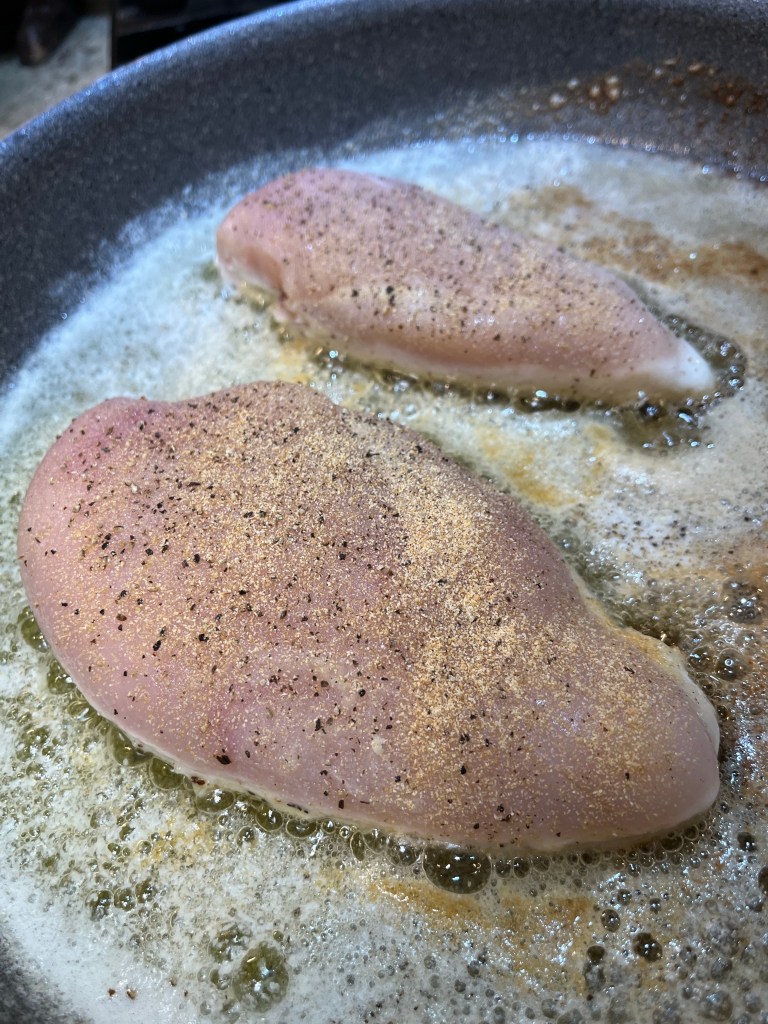
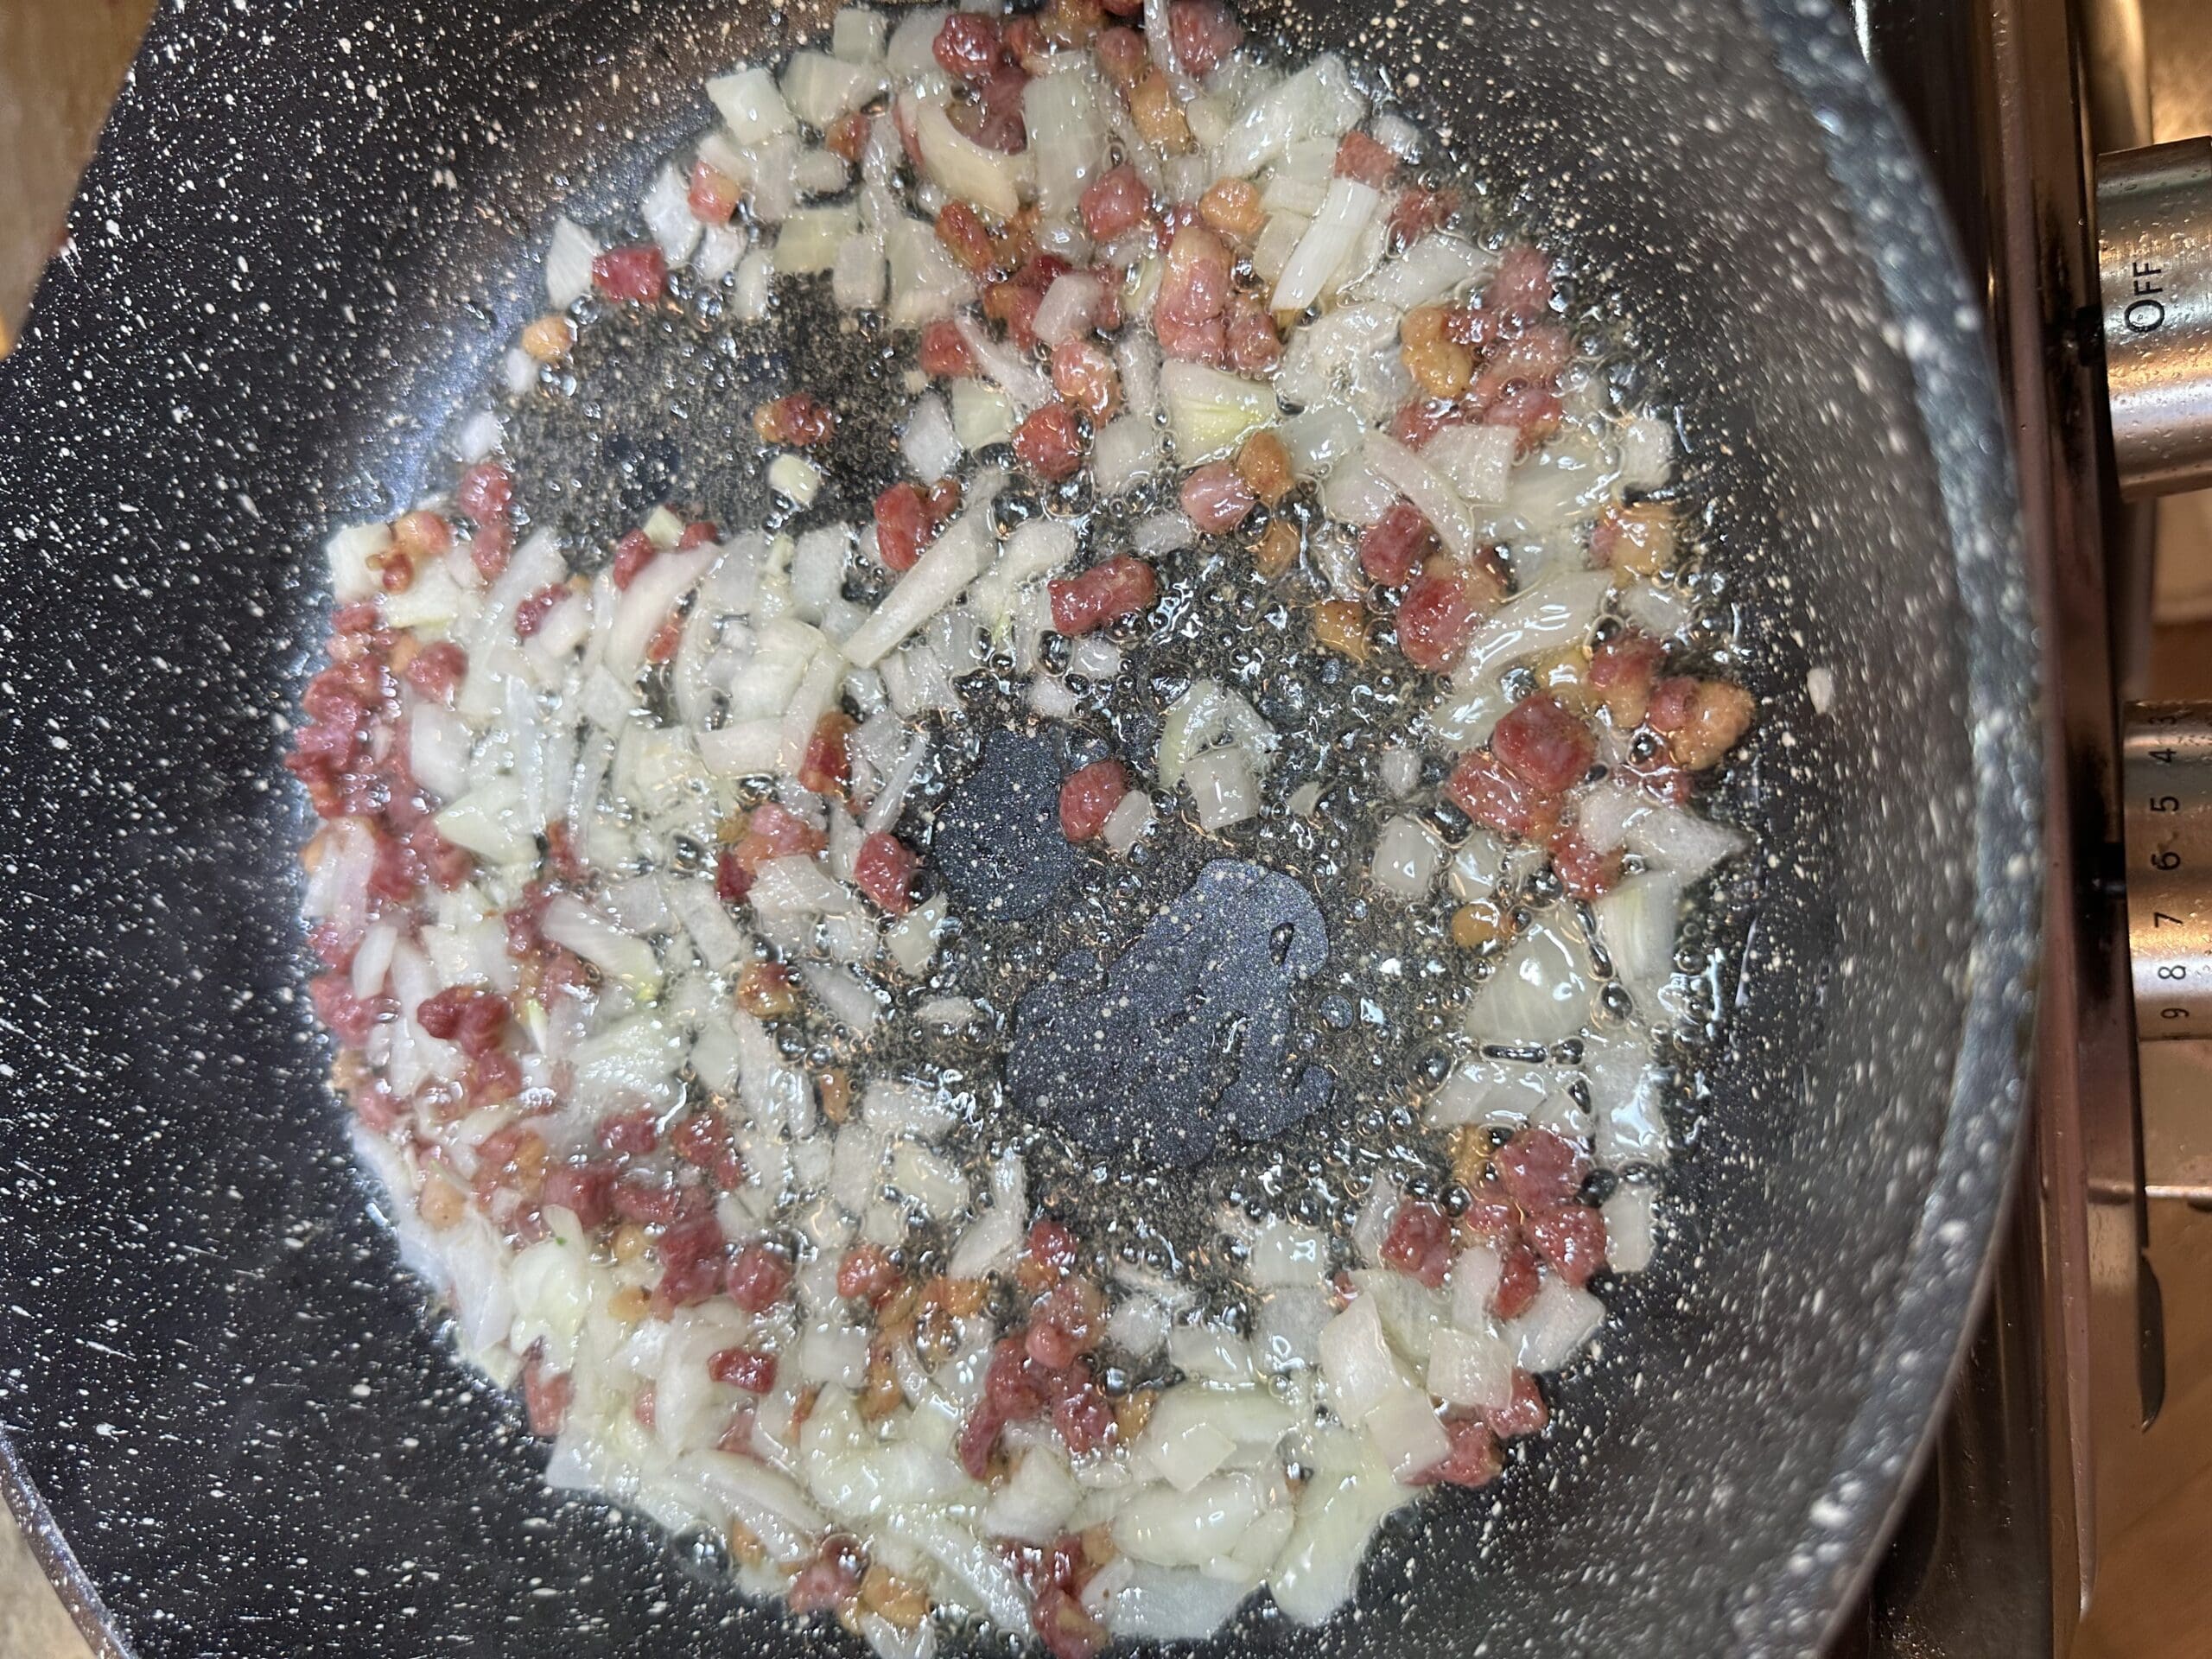
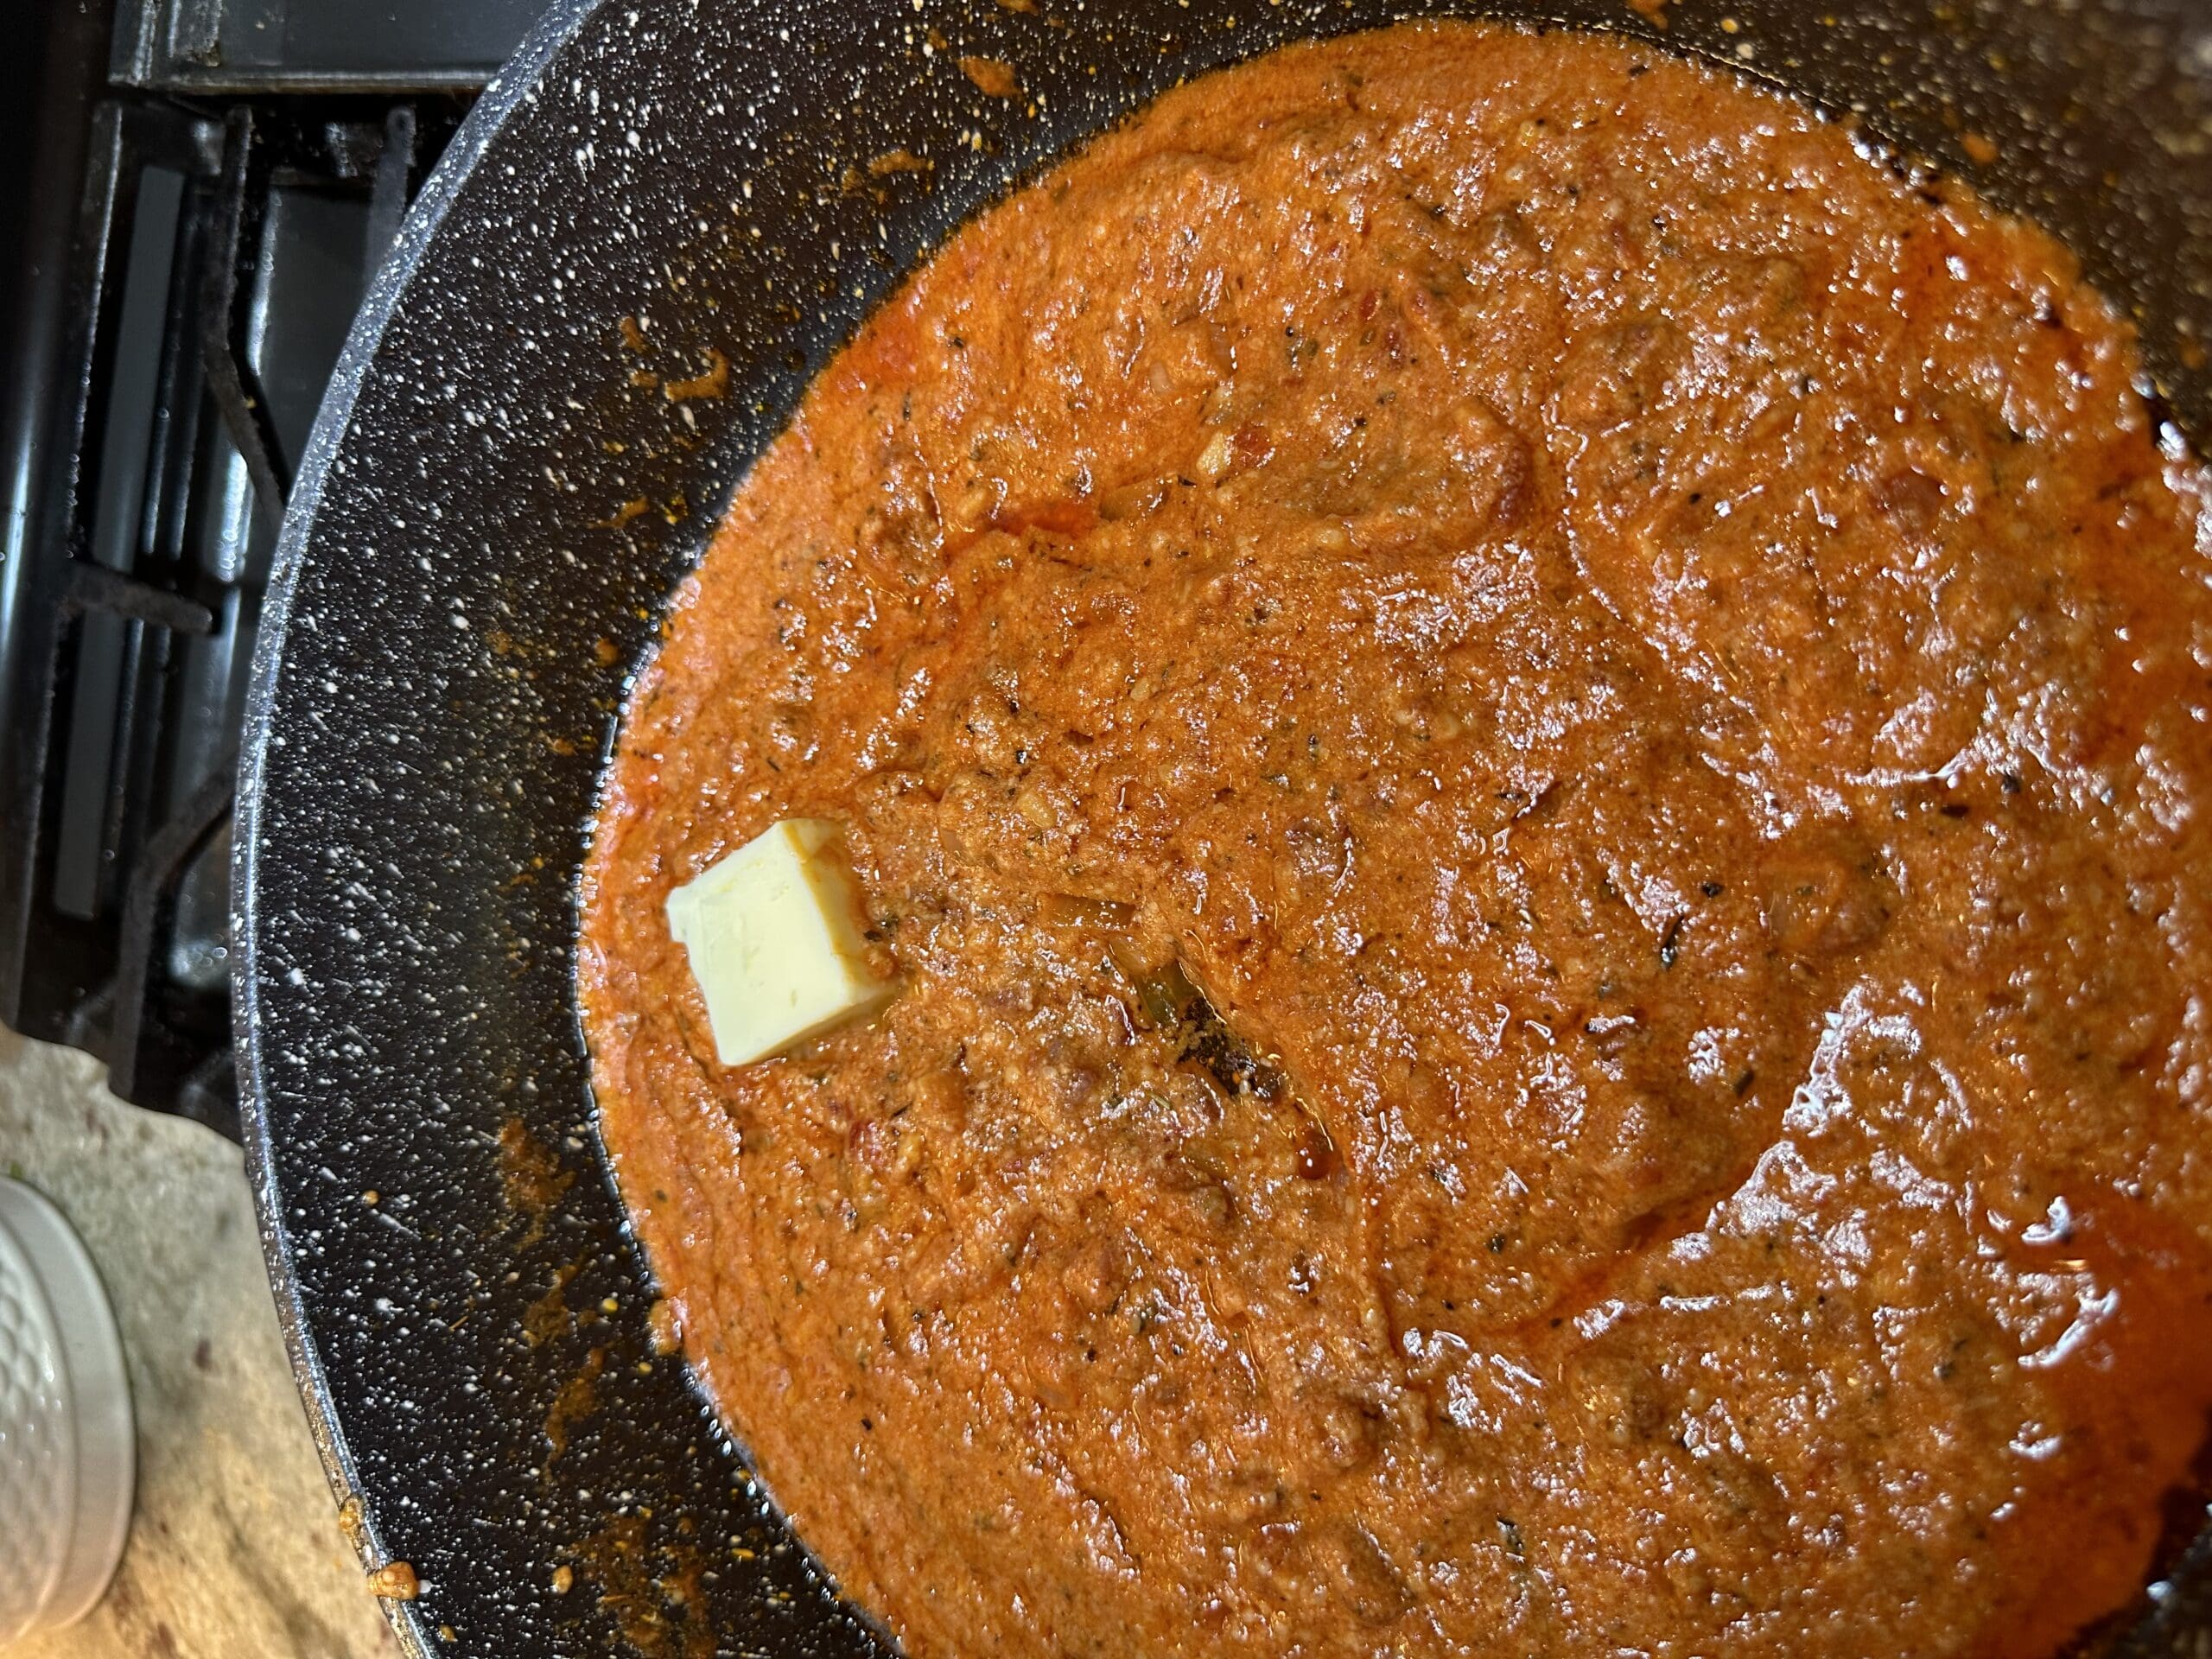
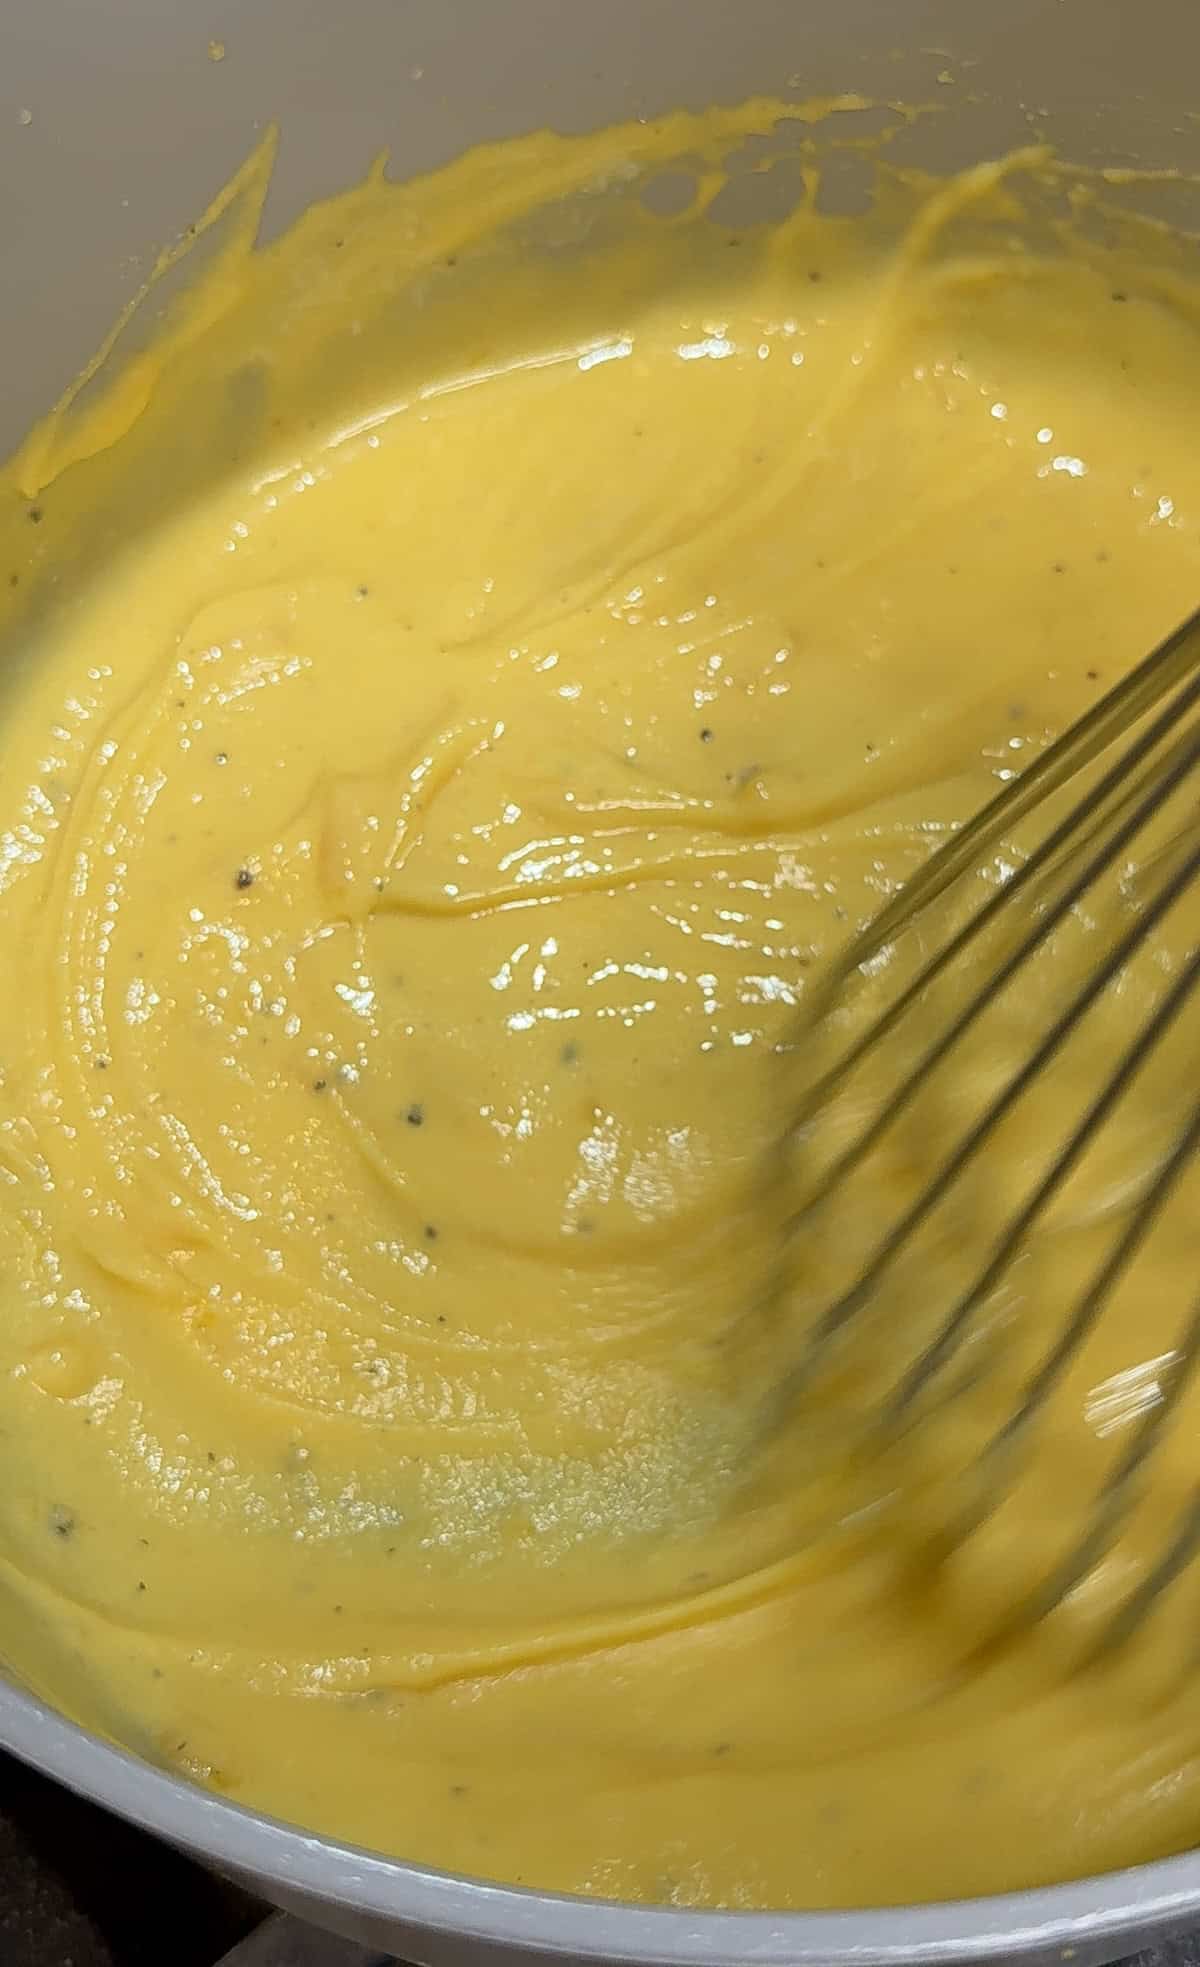
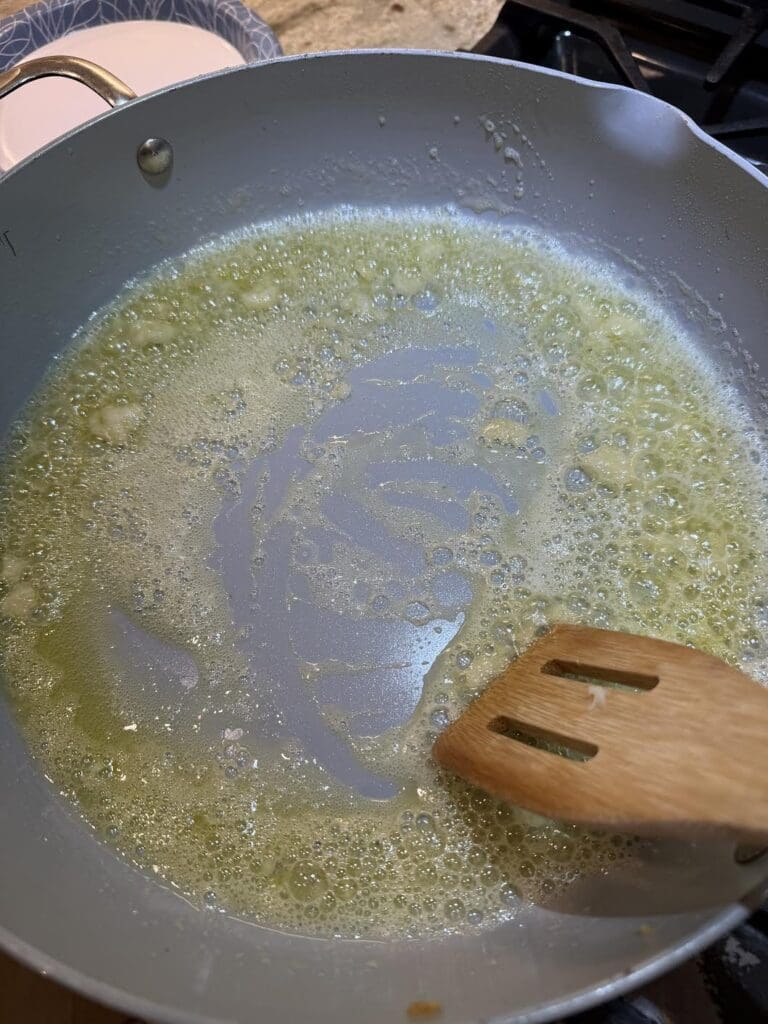
First, melt the butter and olive oil over medium high heat in a large skillet and add the garlic. Cook them together for just a minute.
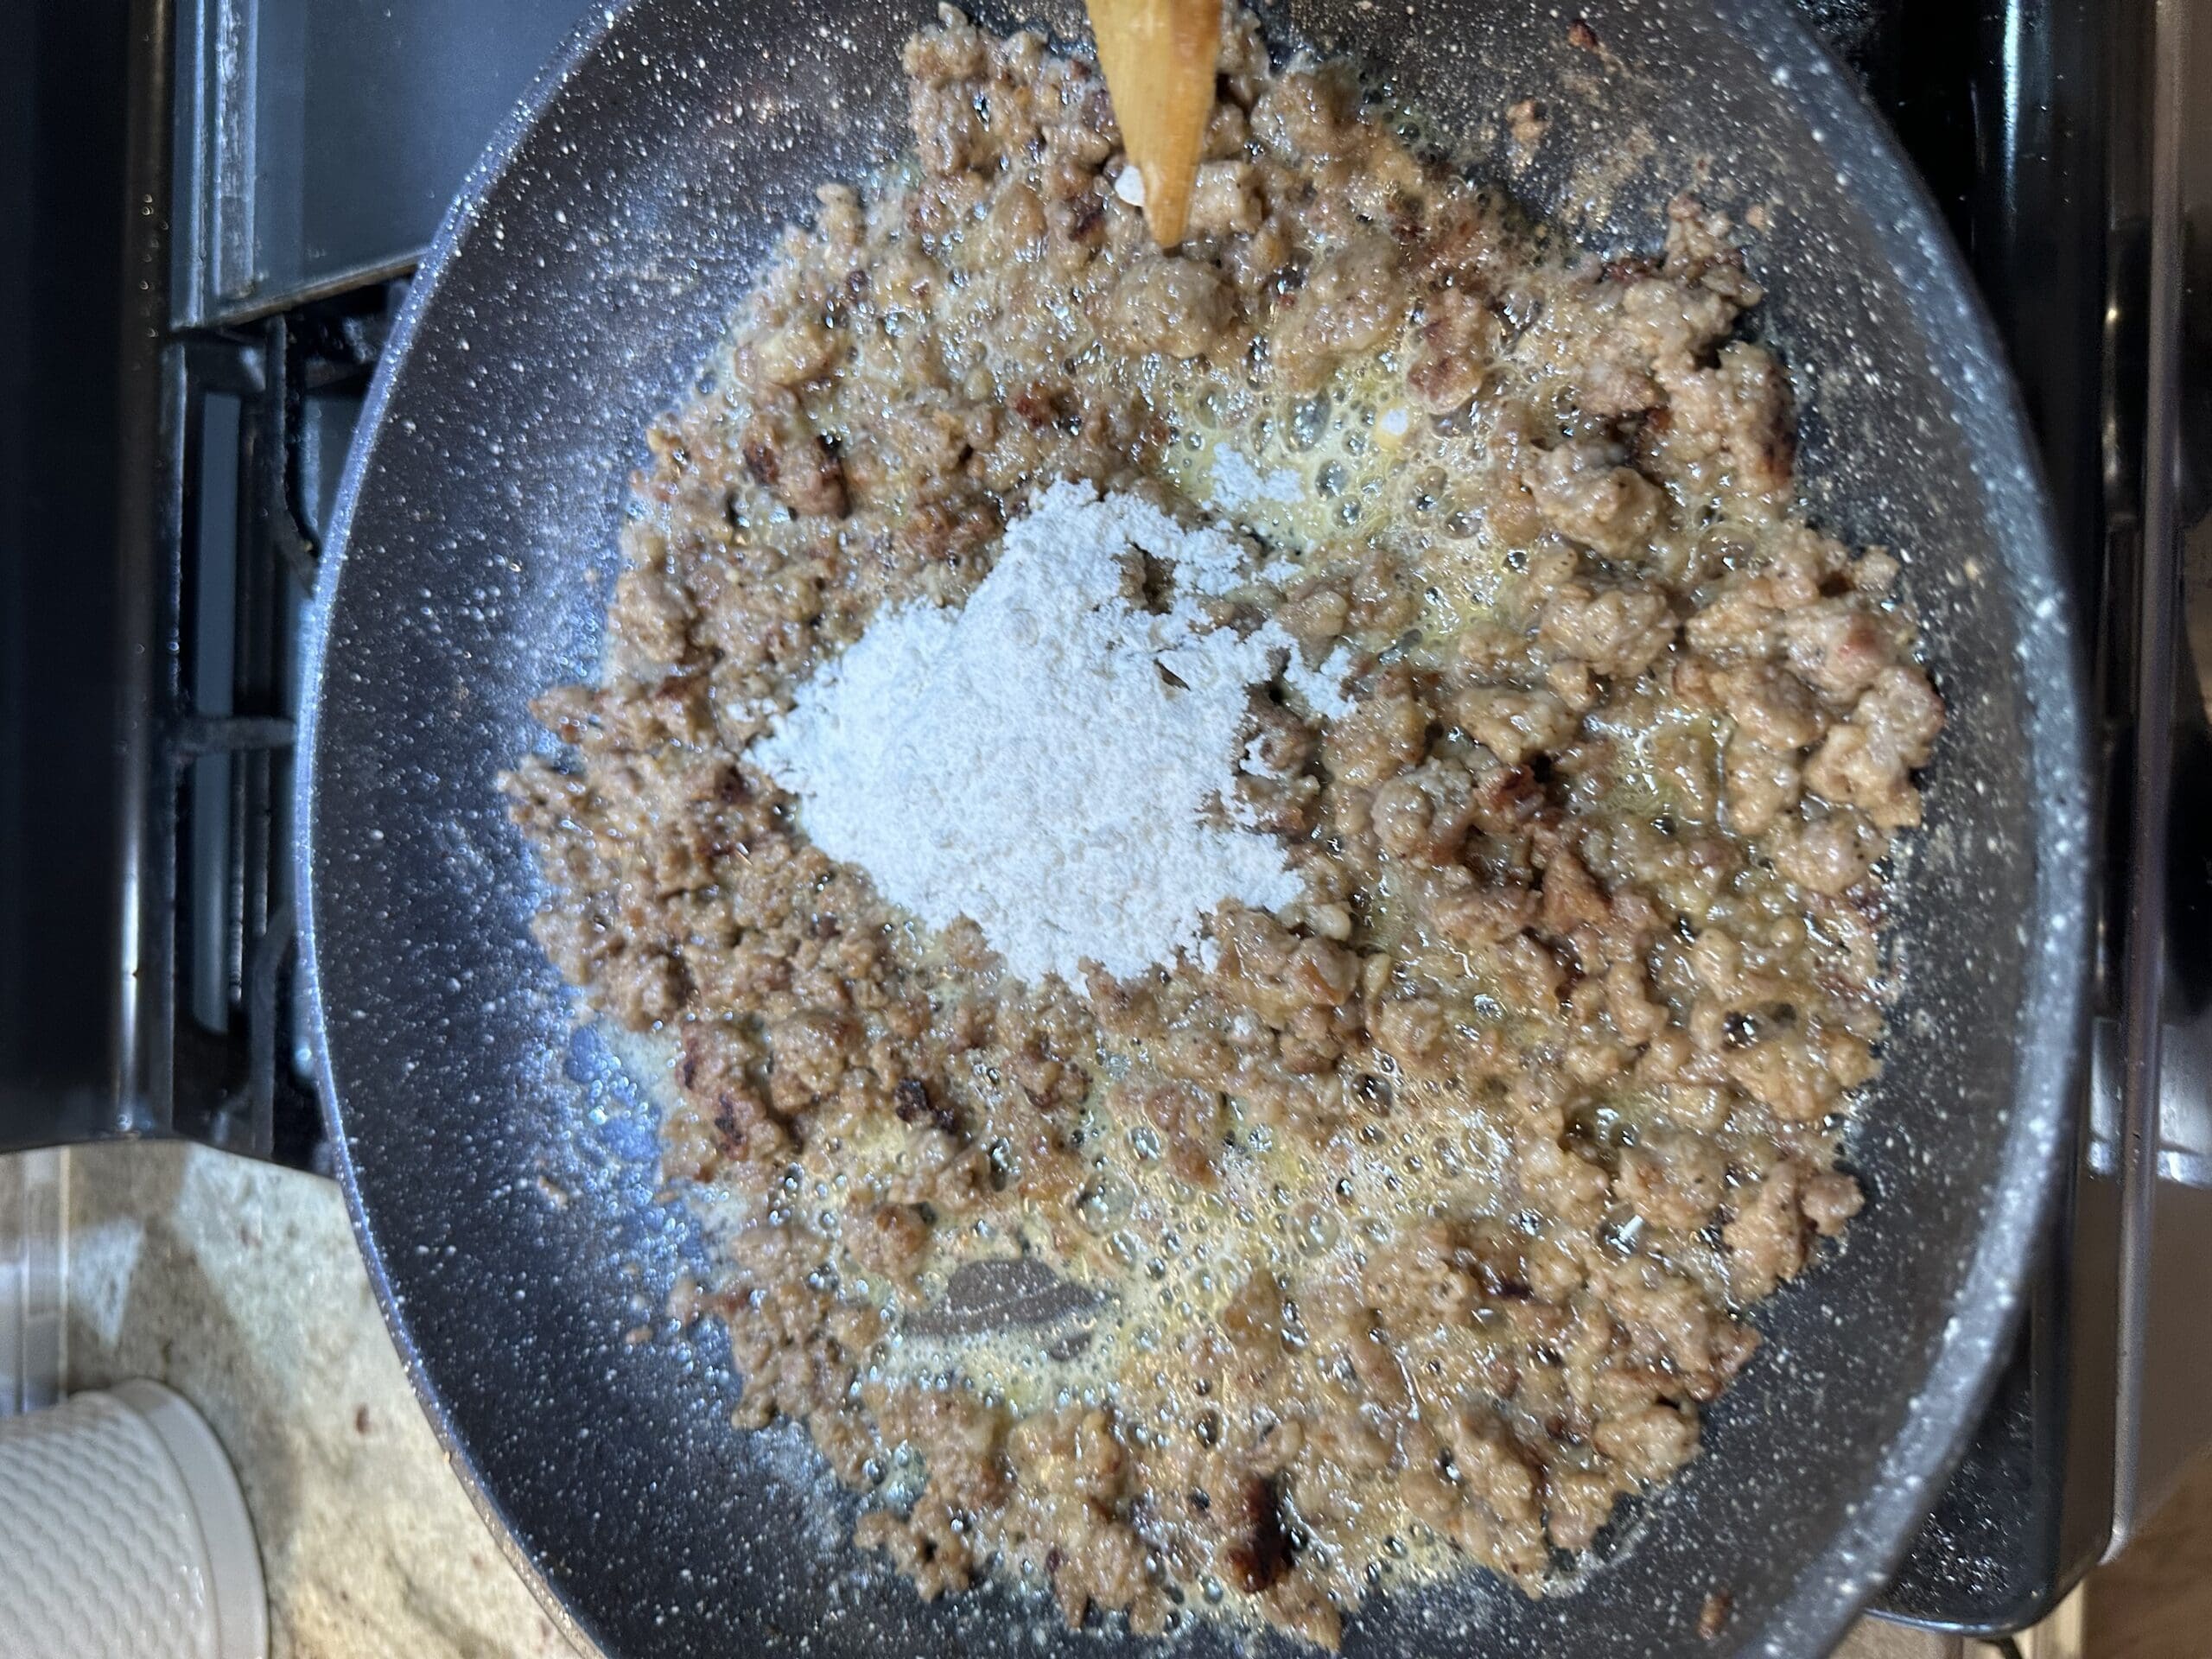
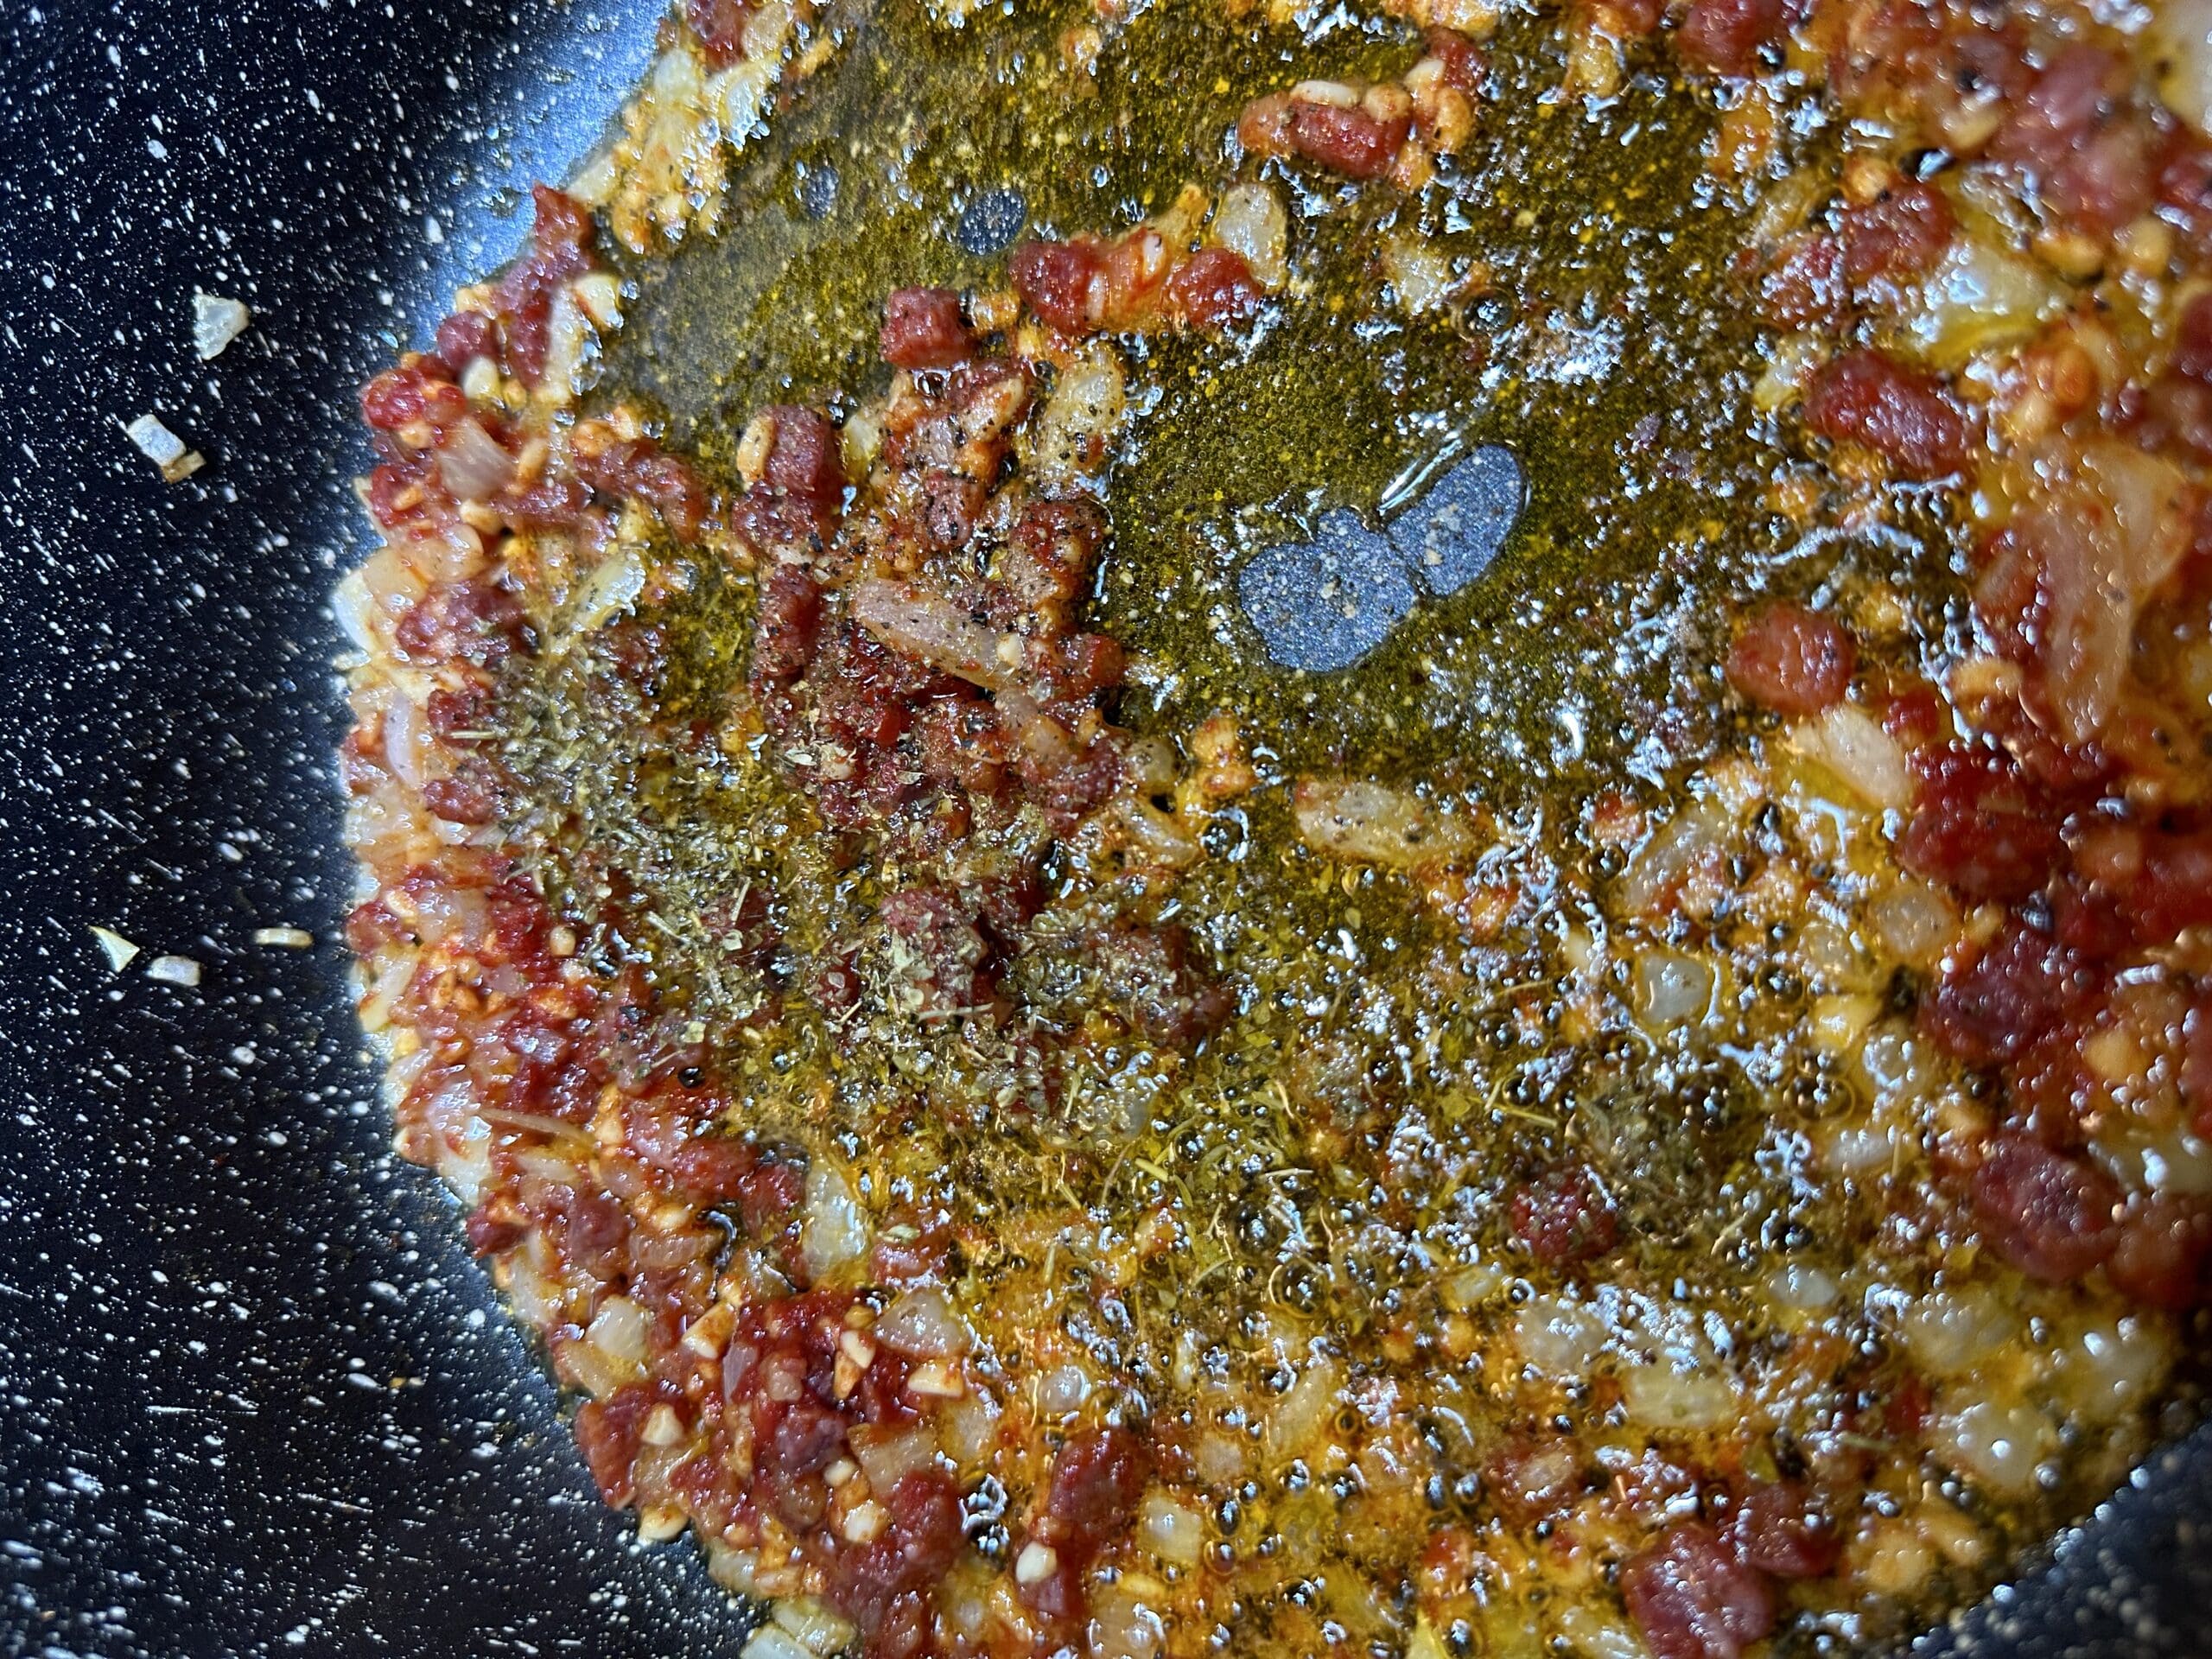
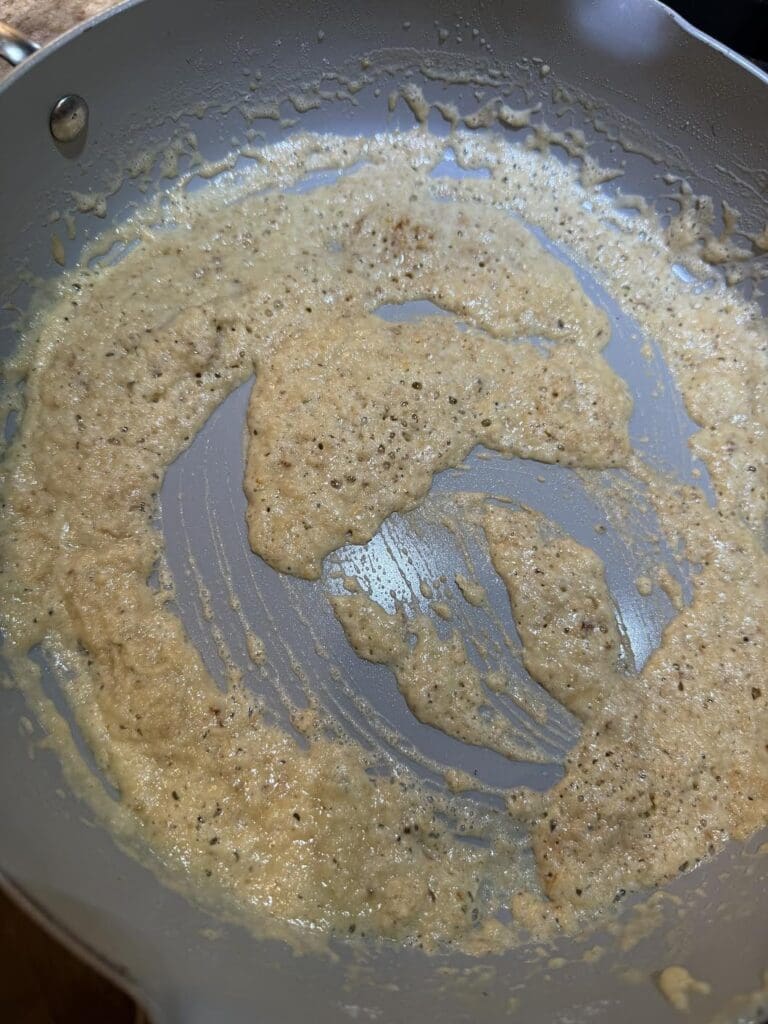
Next, add the four and whisk it into the butter for two minutes.
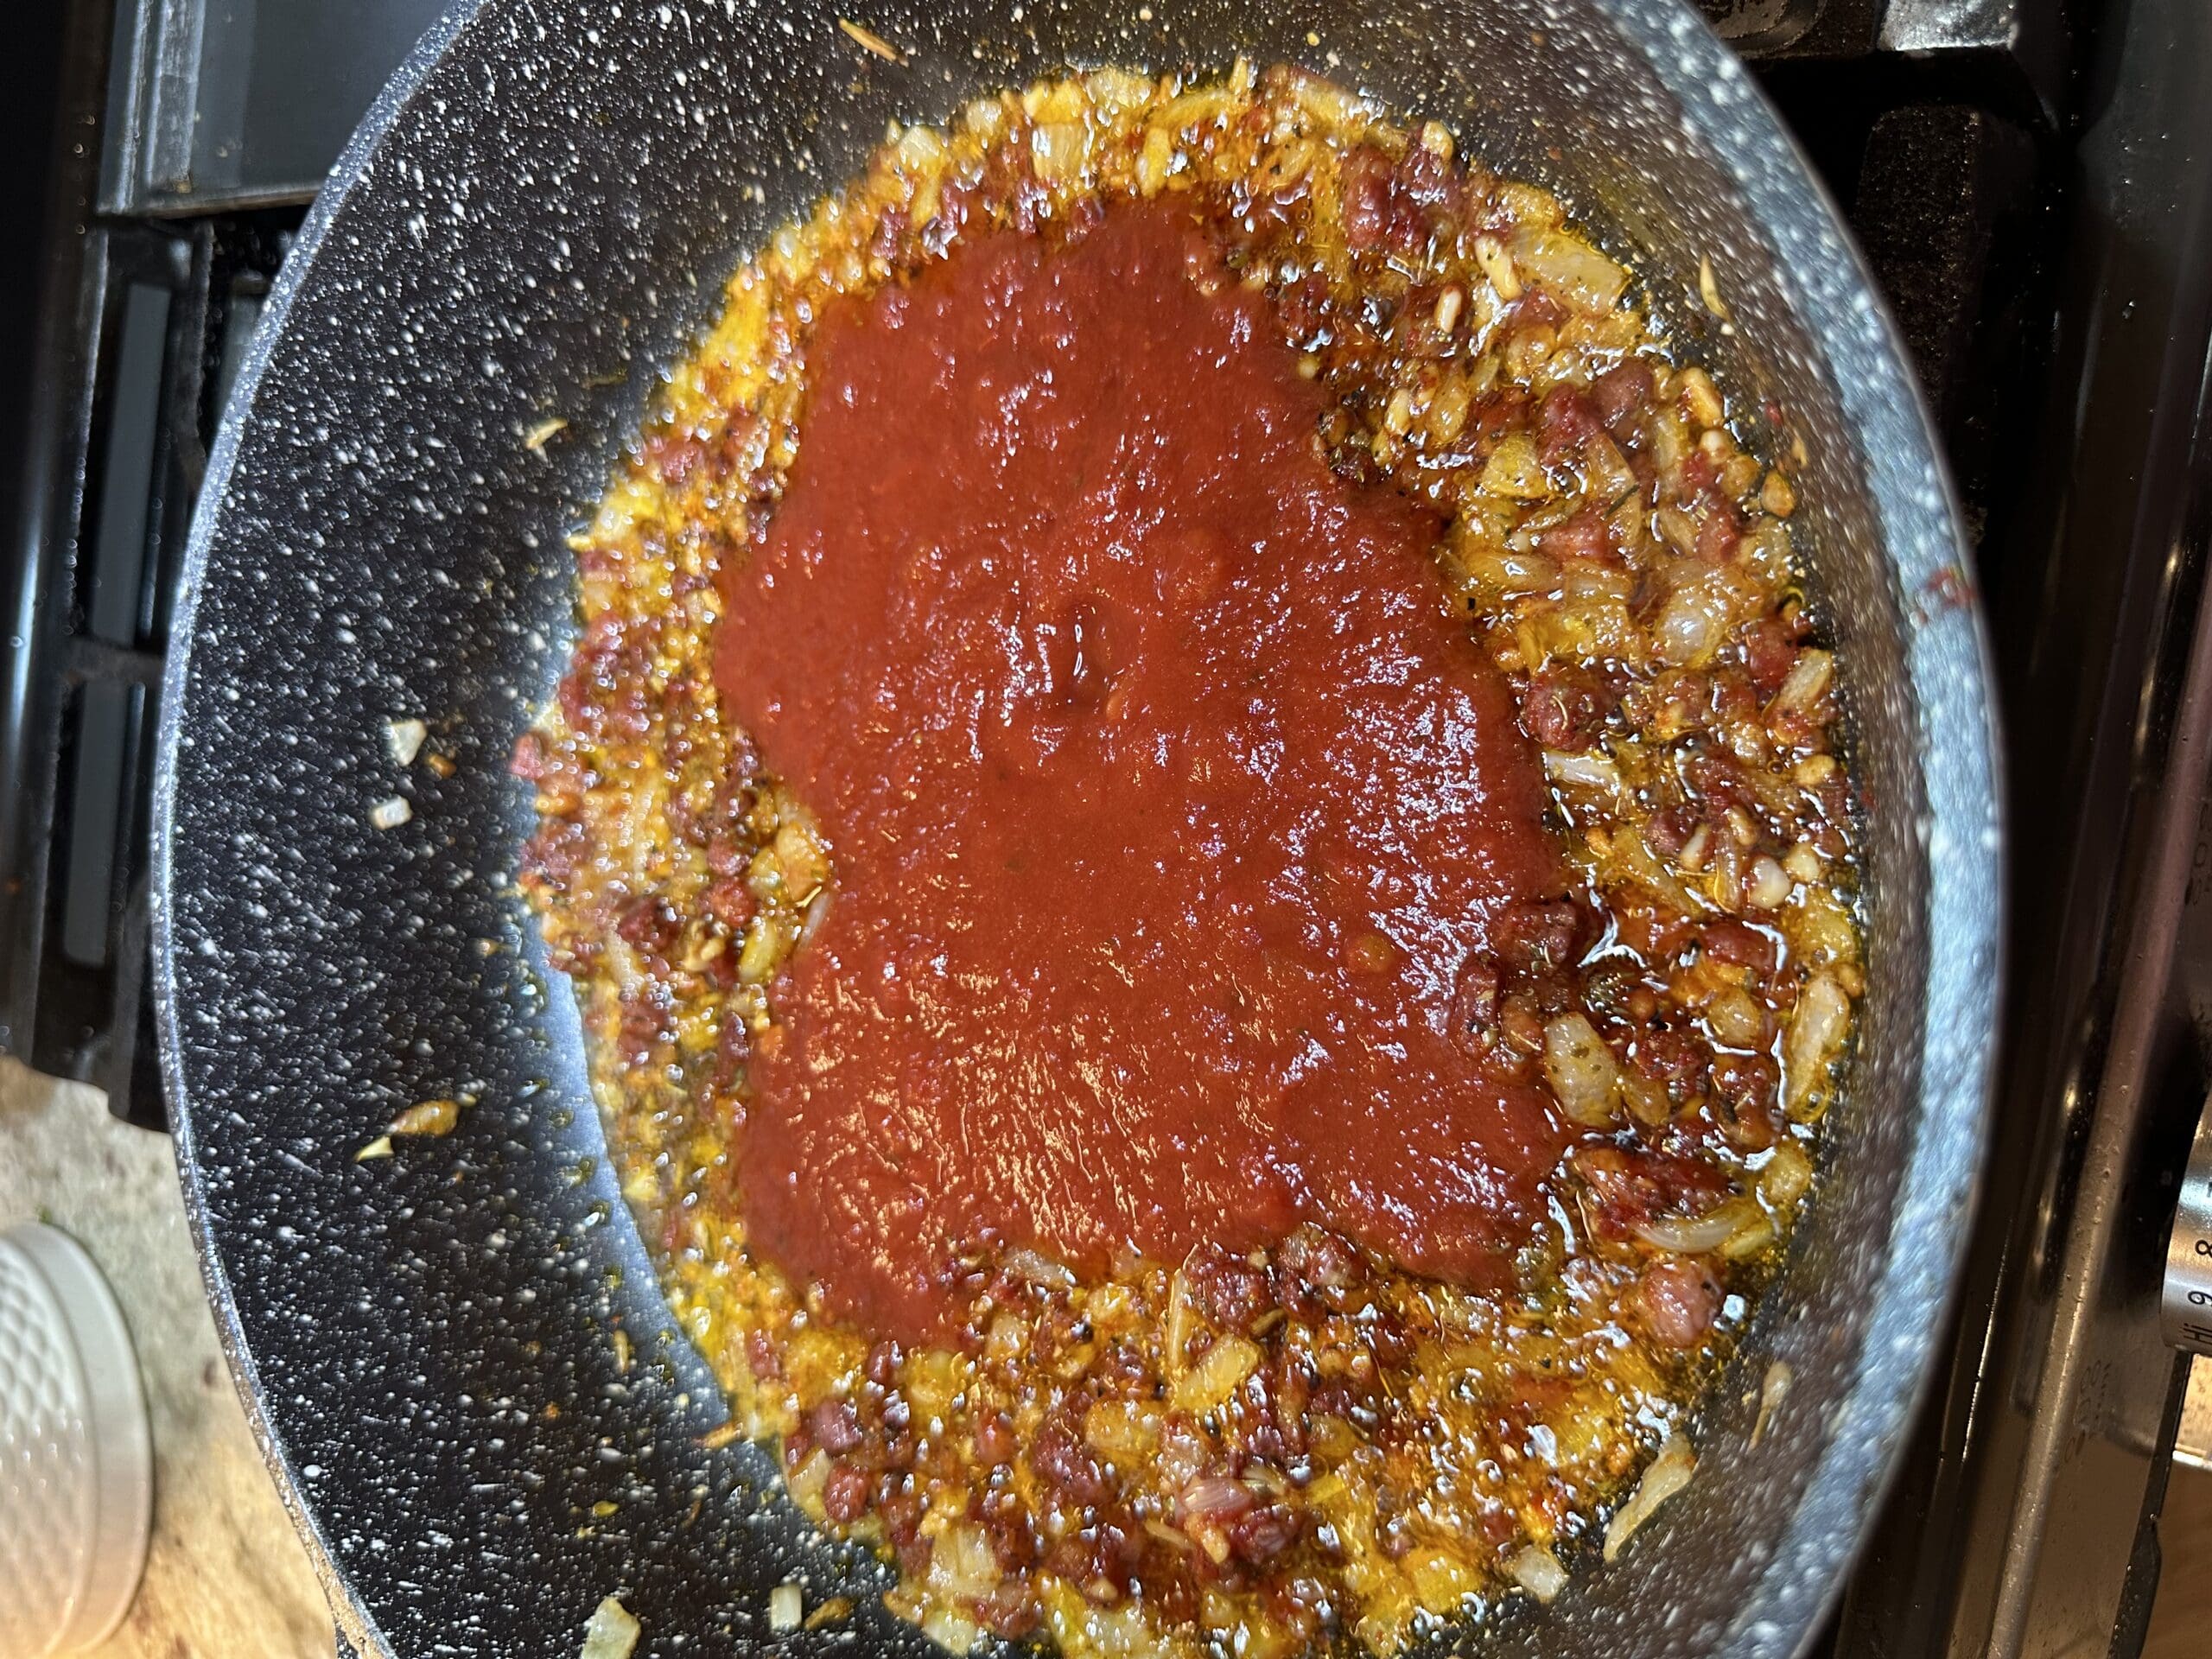
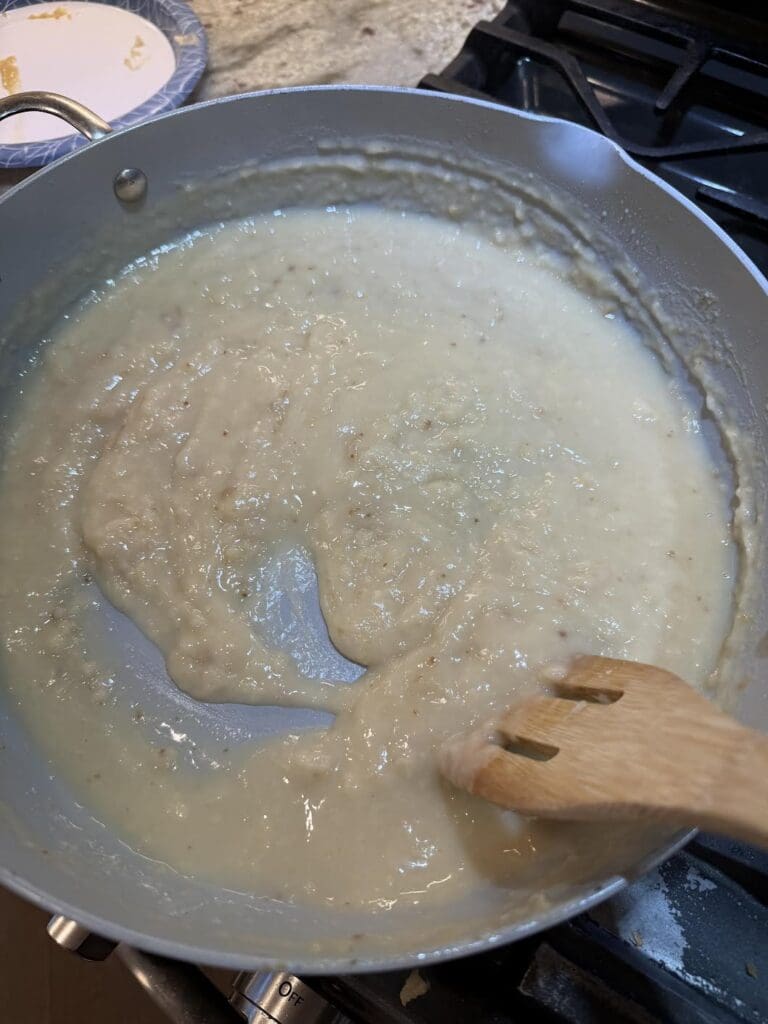
Now, slowly add in the chicken broth and whisk it into the flour until smooth.
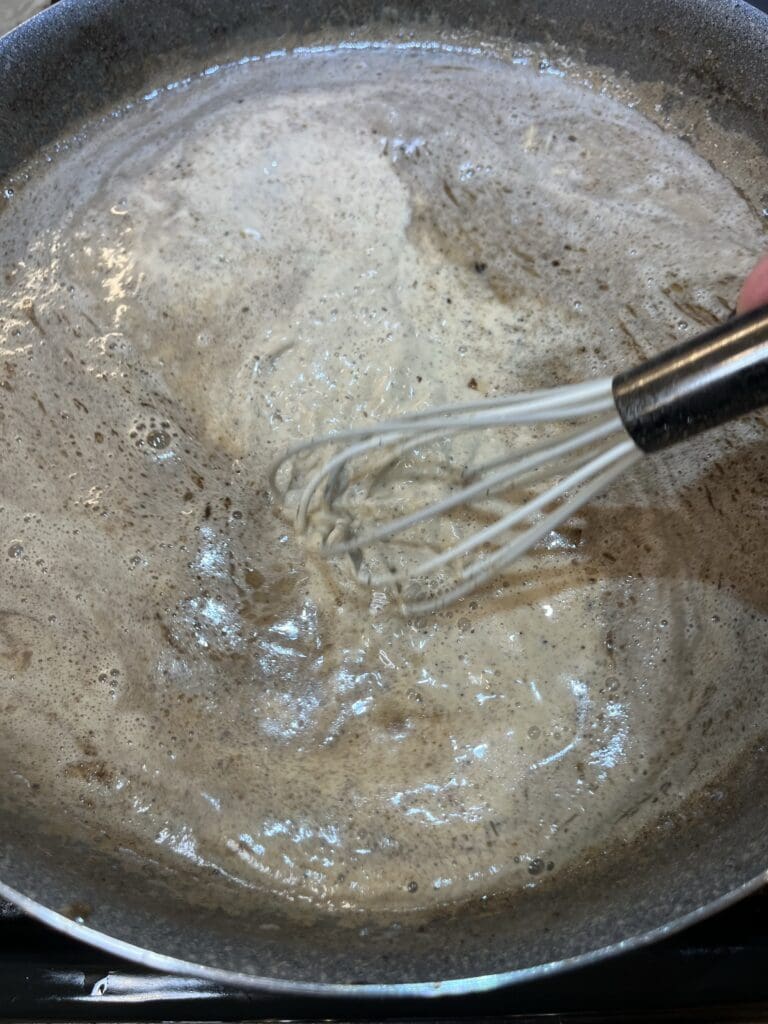
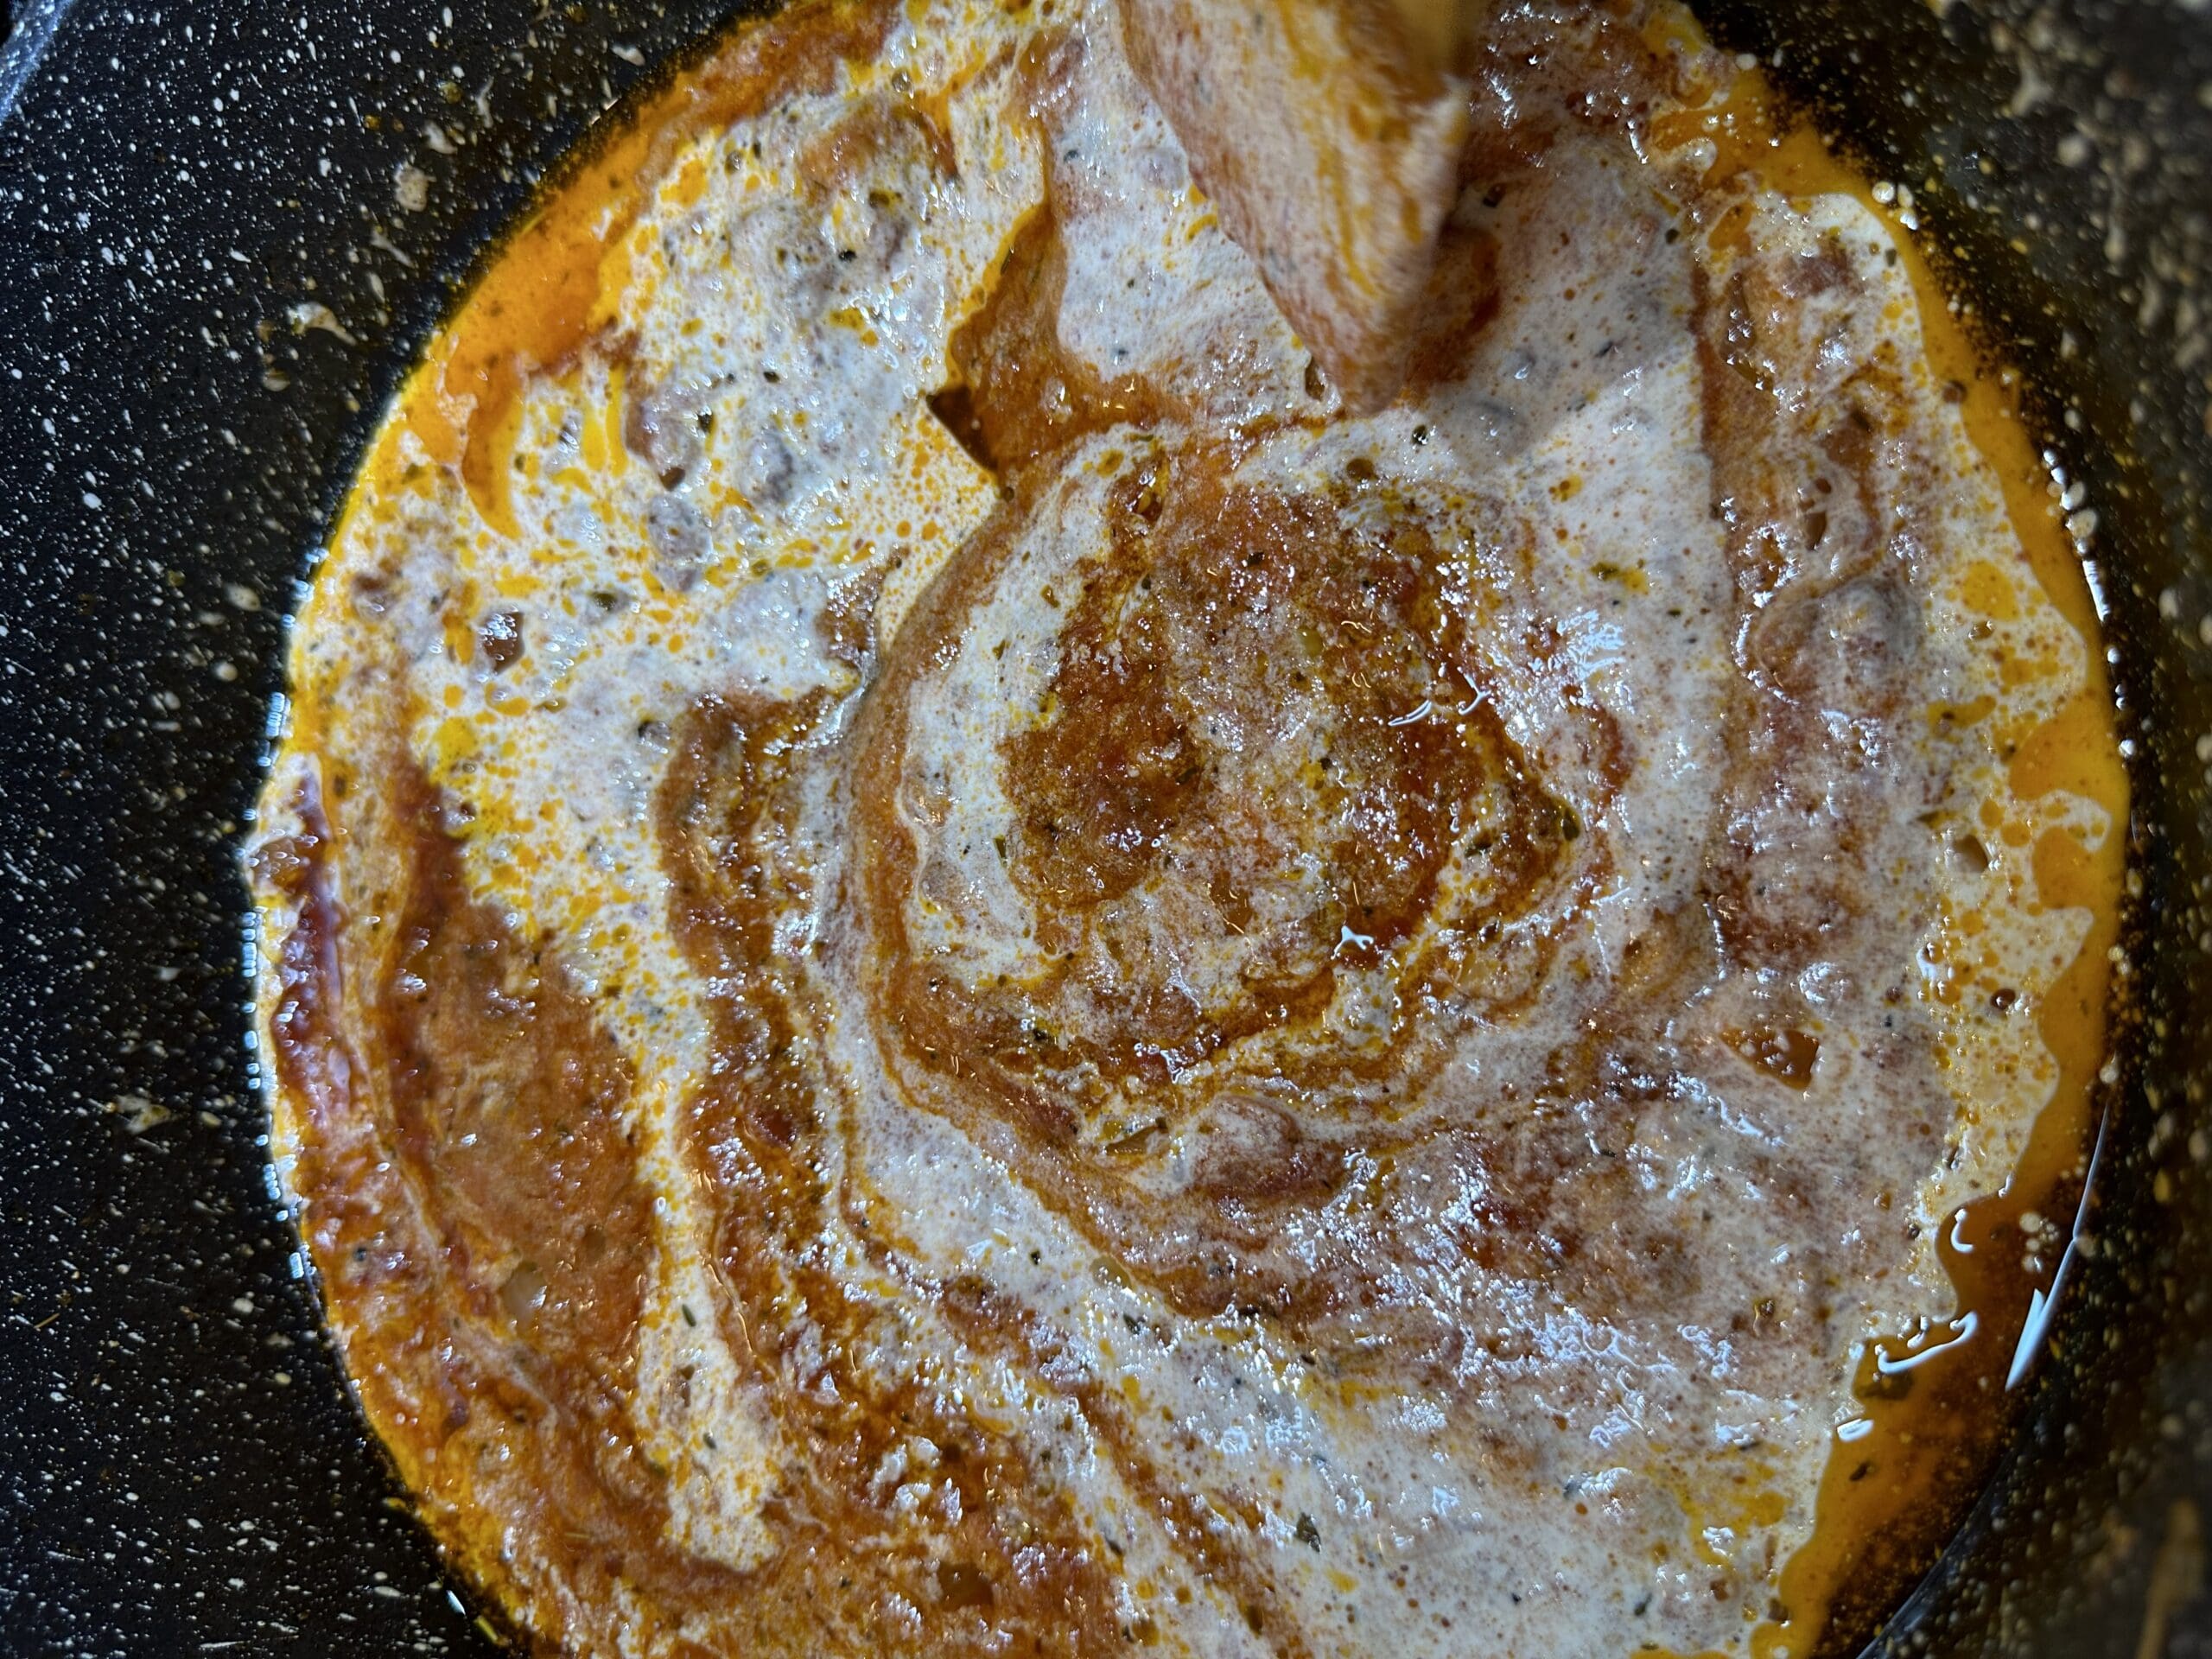
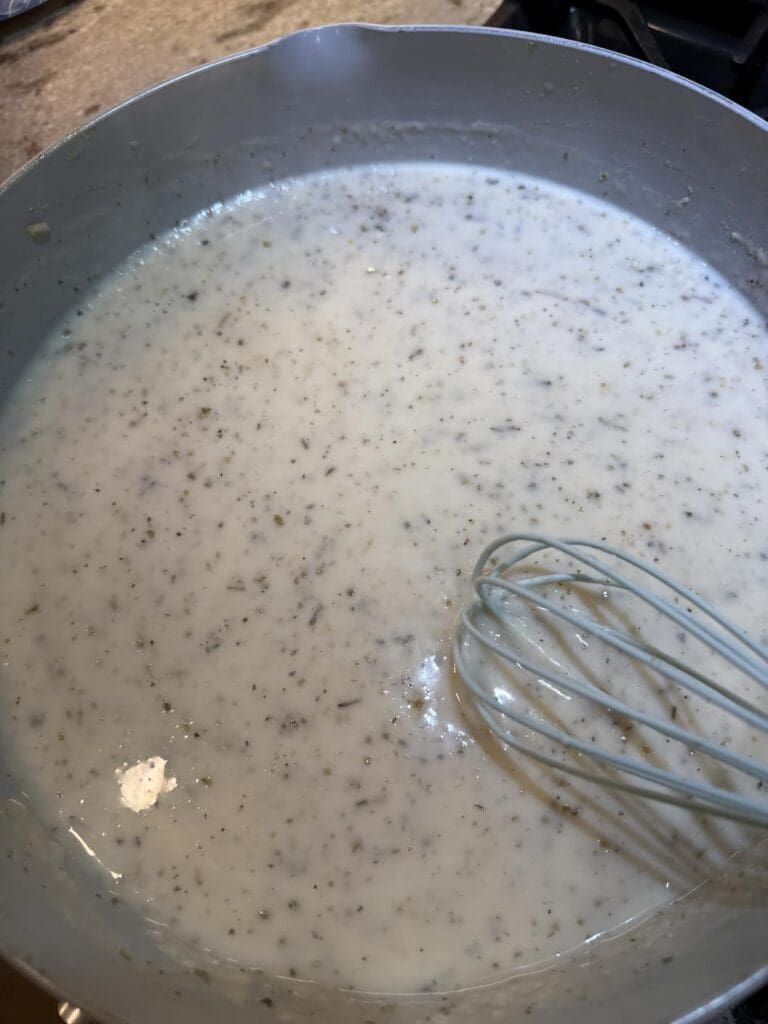
Then, whisk in the milk and season the sauce with salt, pepper, garlic powder and Italian seasoning.
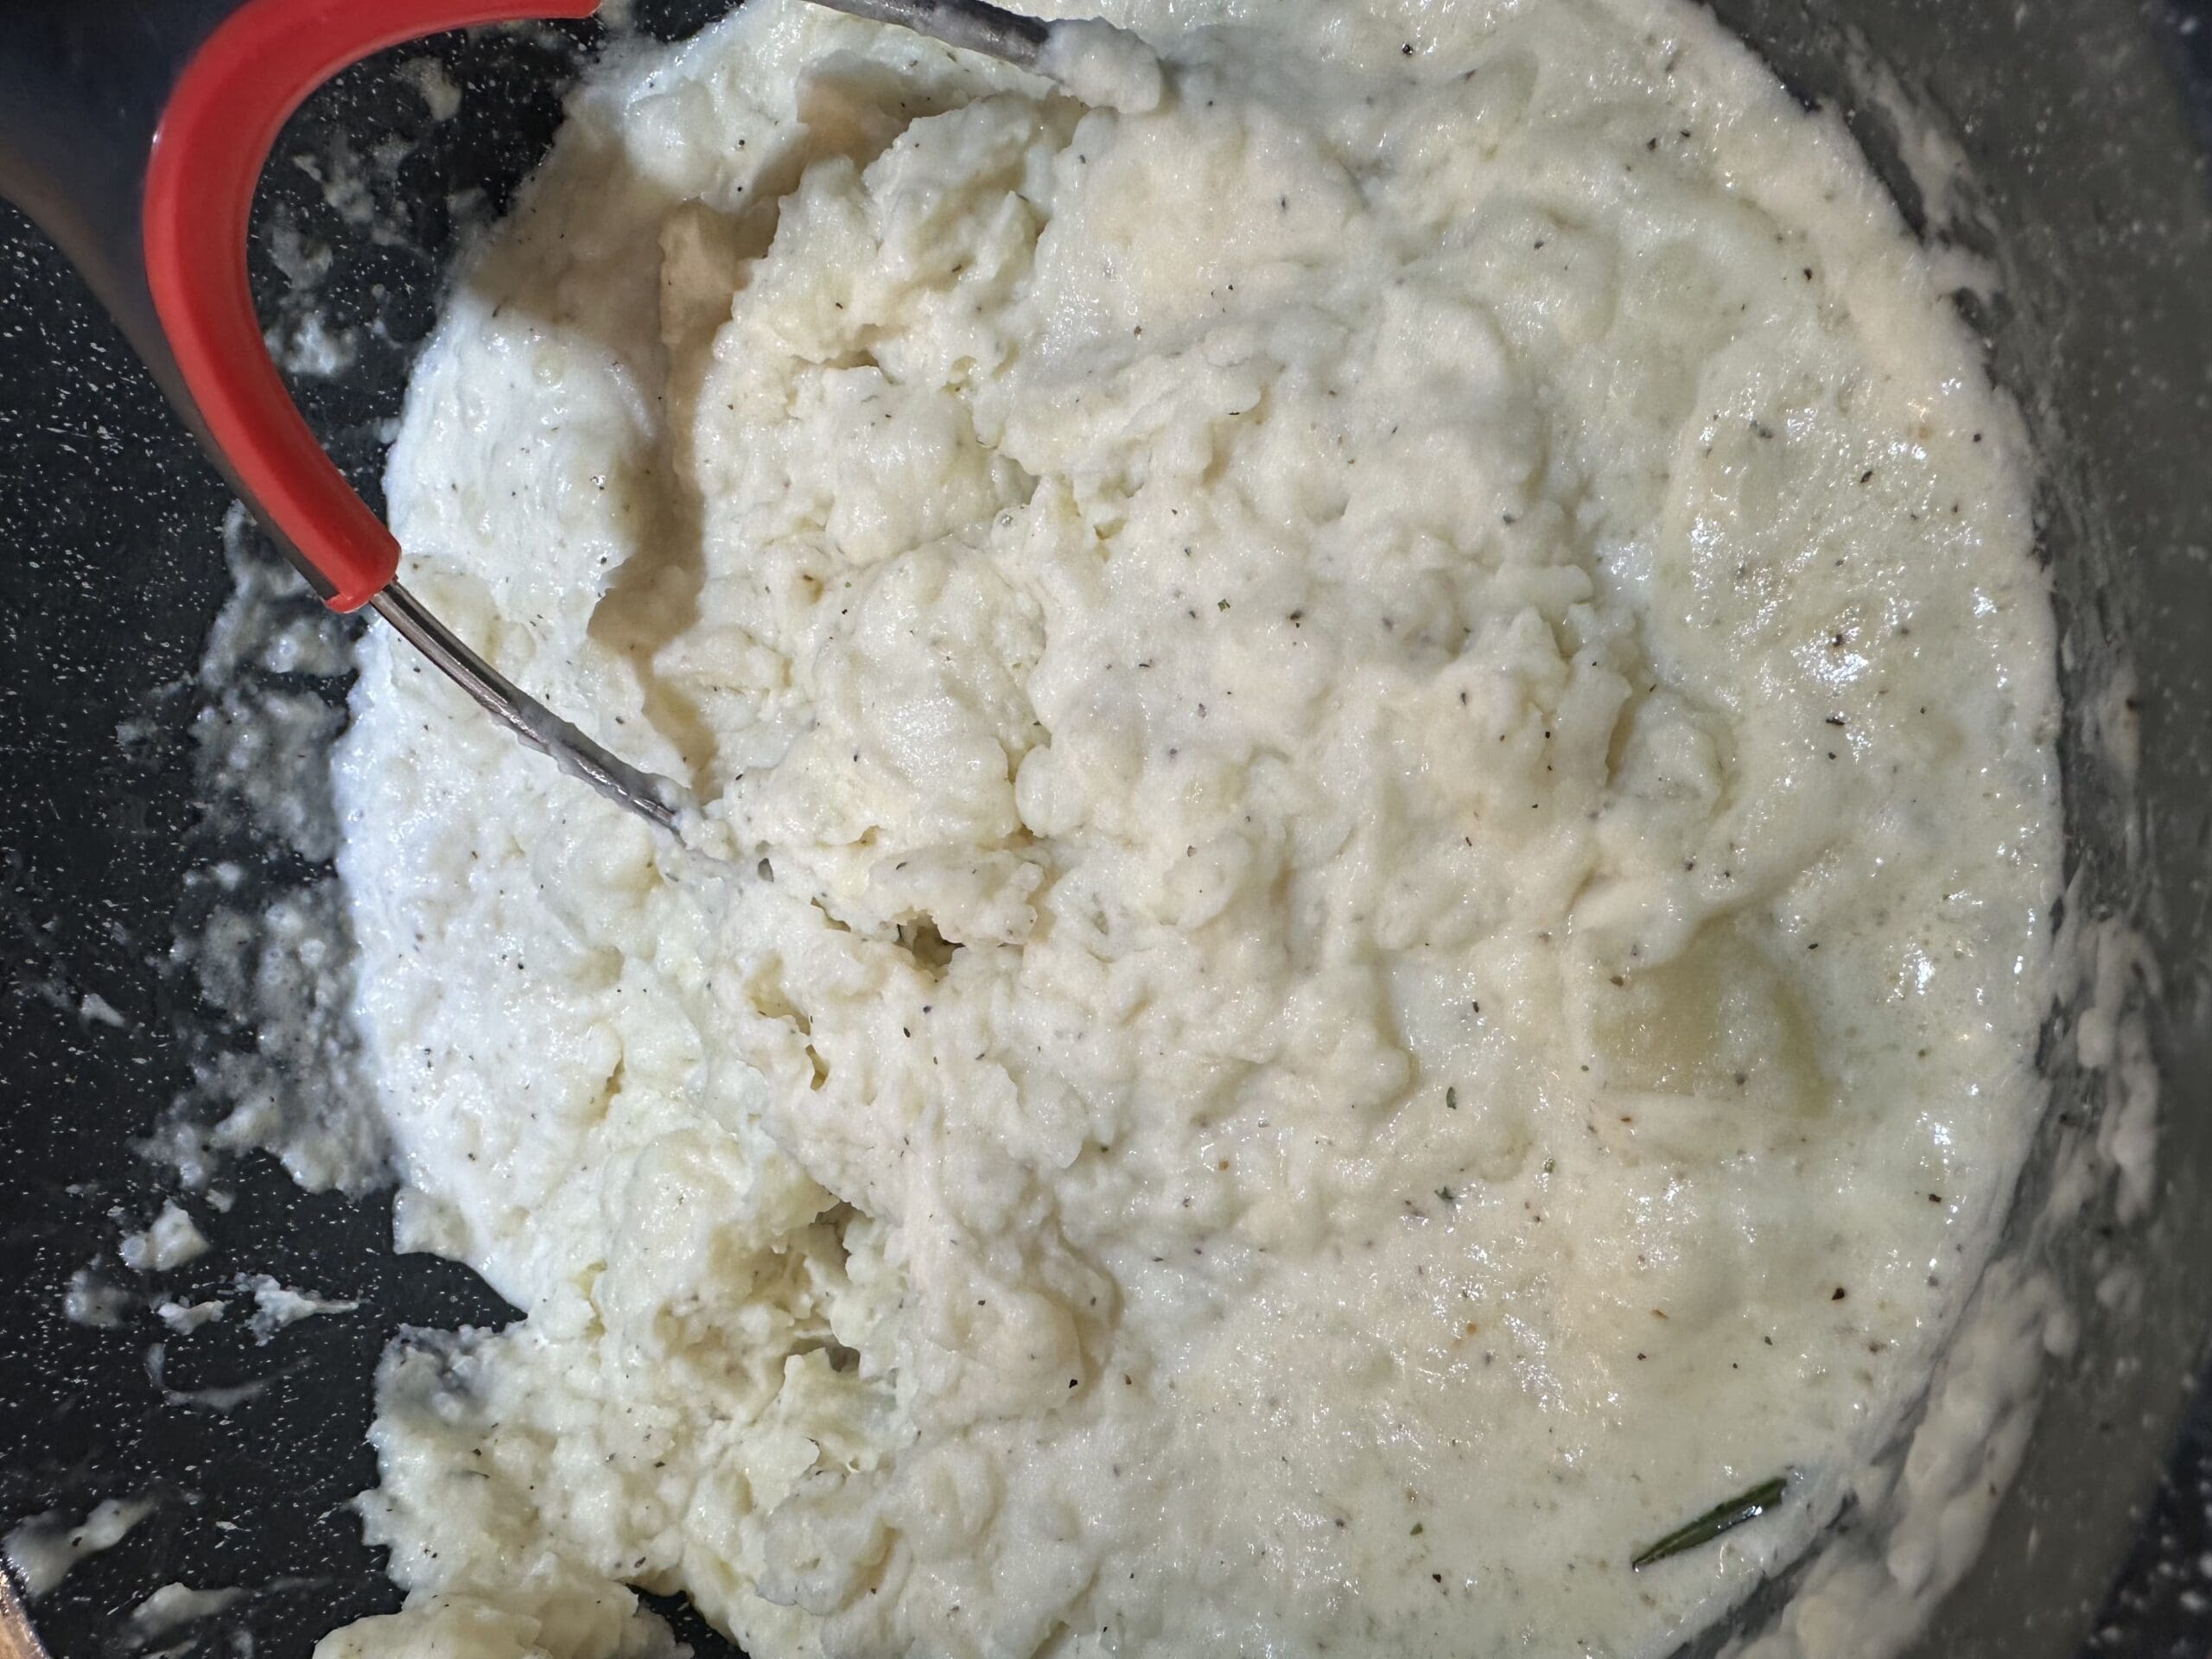
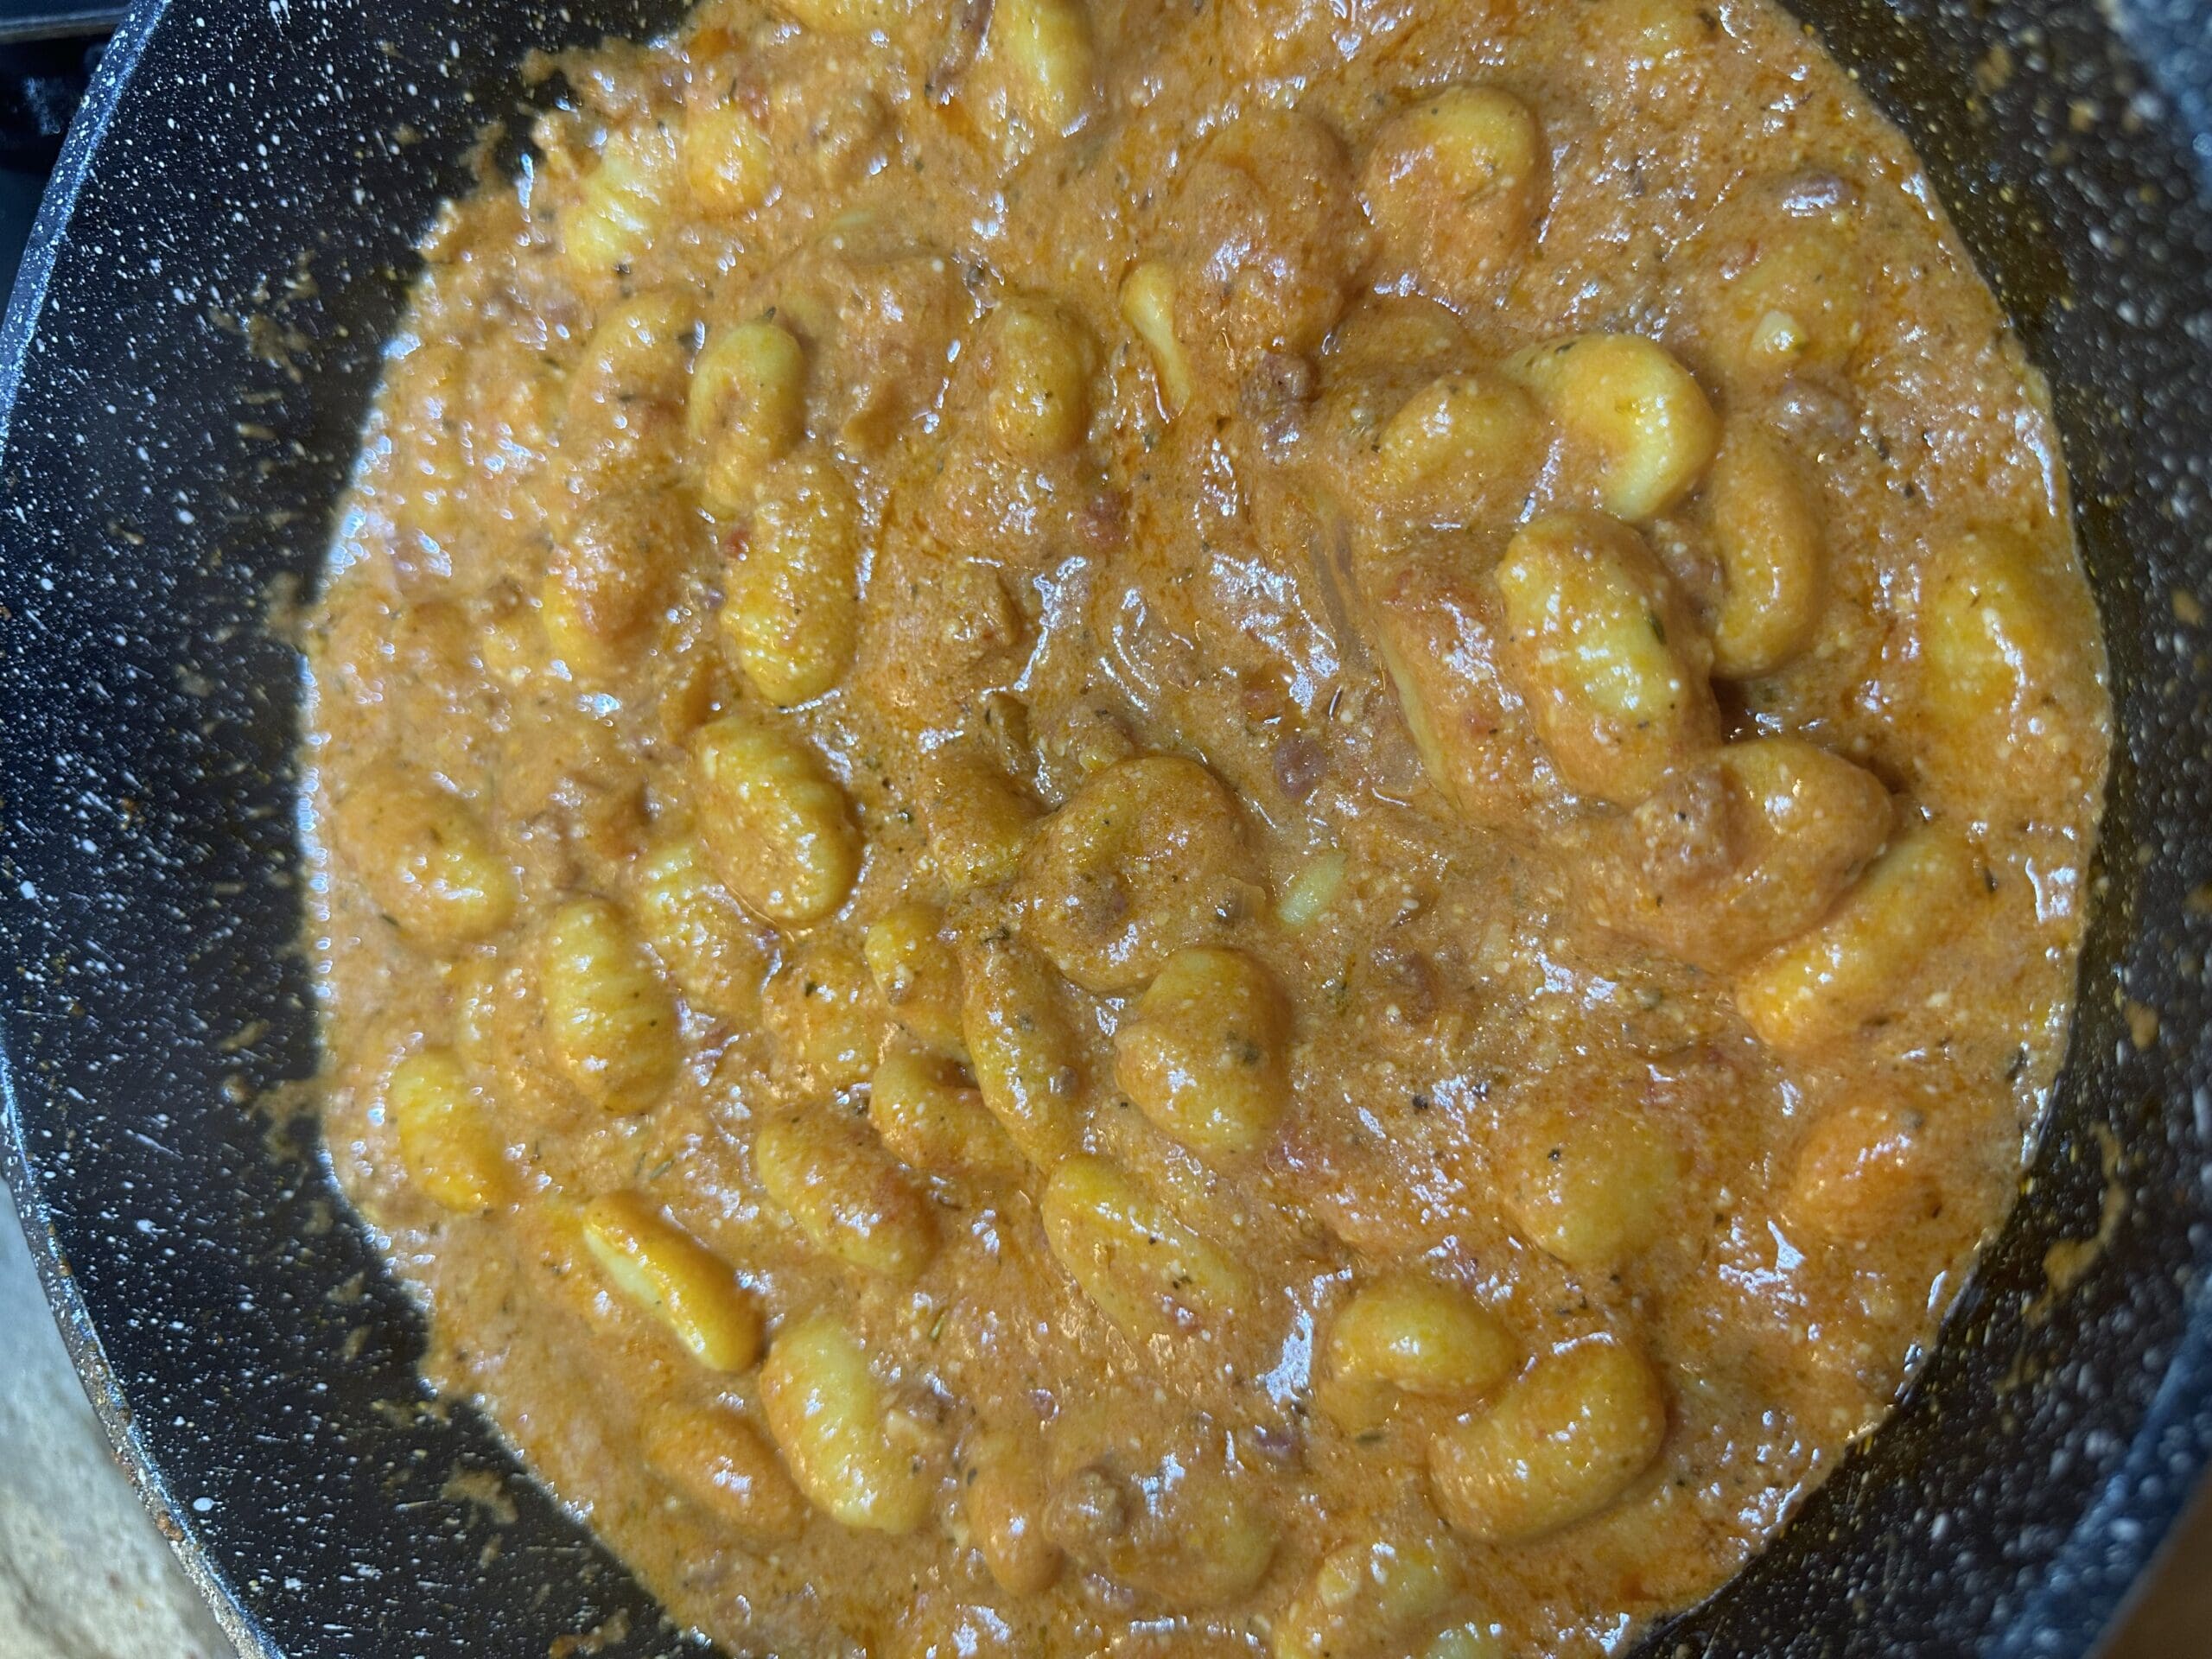
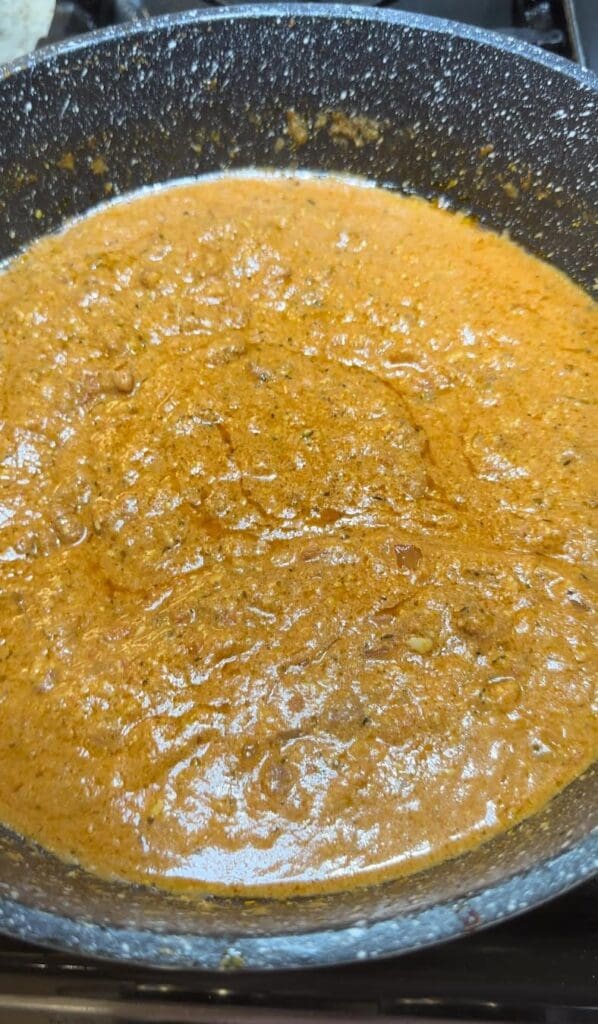
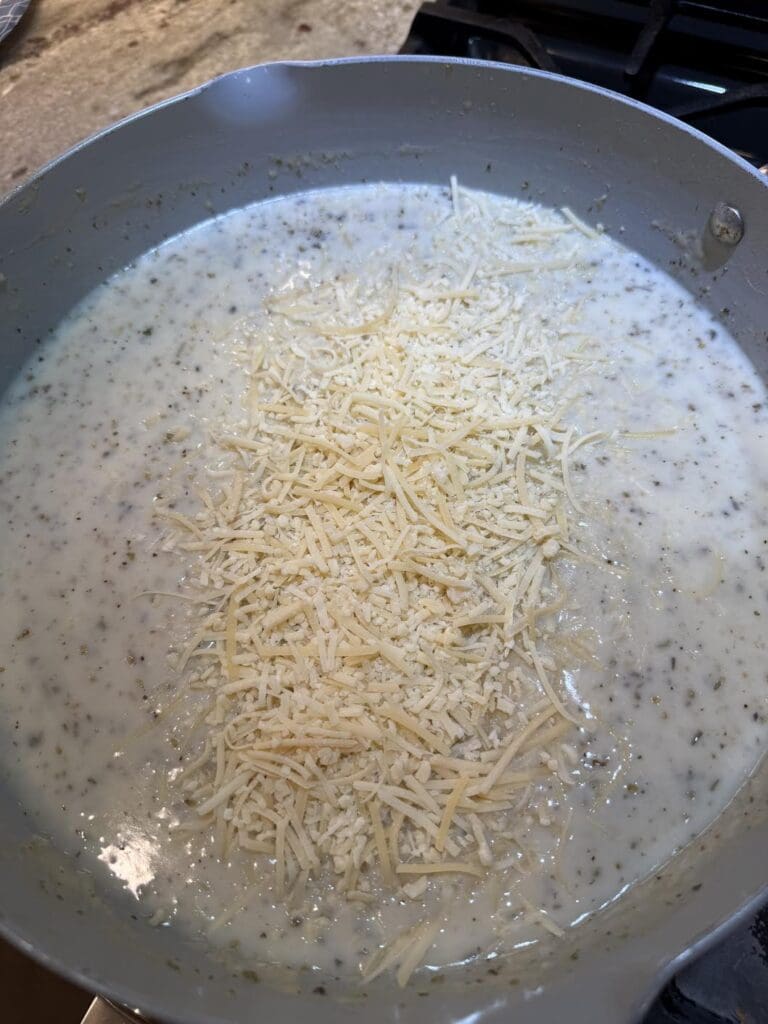
Then, reduce the heat to medium low and let the sauce simmer for about 5 minutes to thicken up and stir in the parmesan cheese.
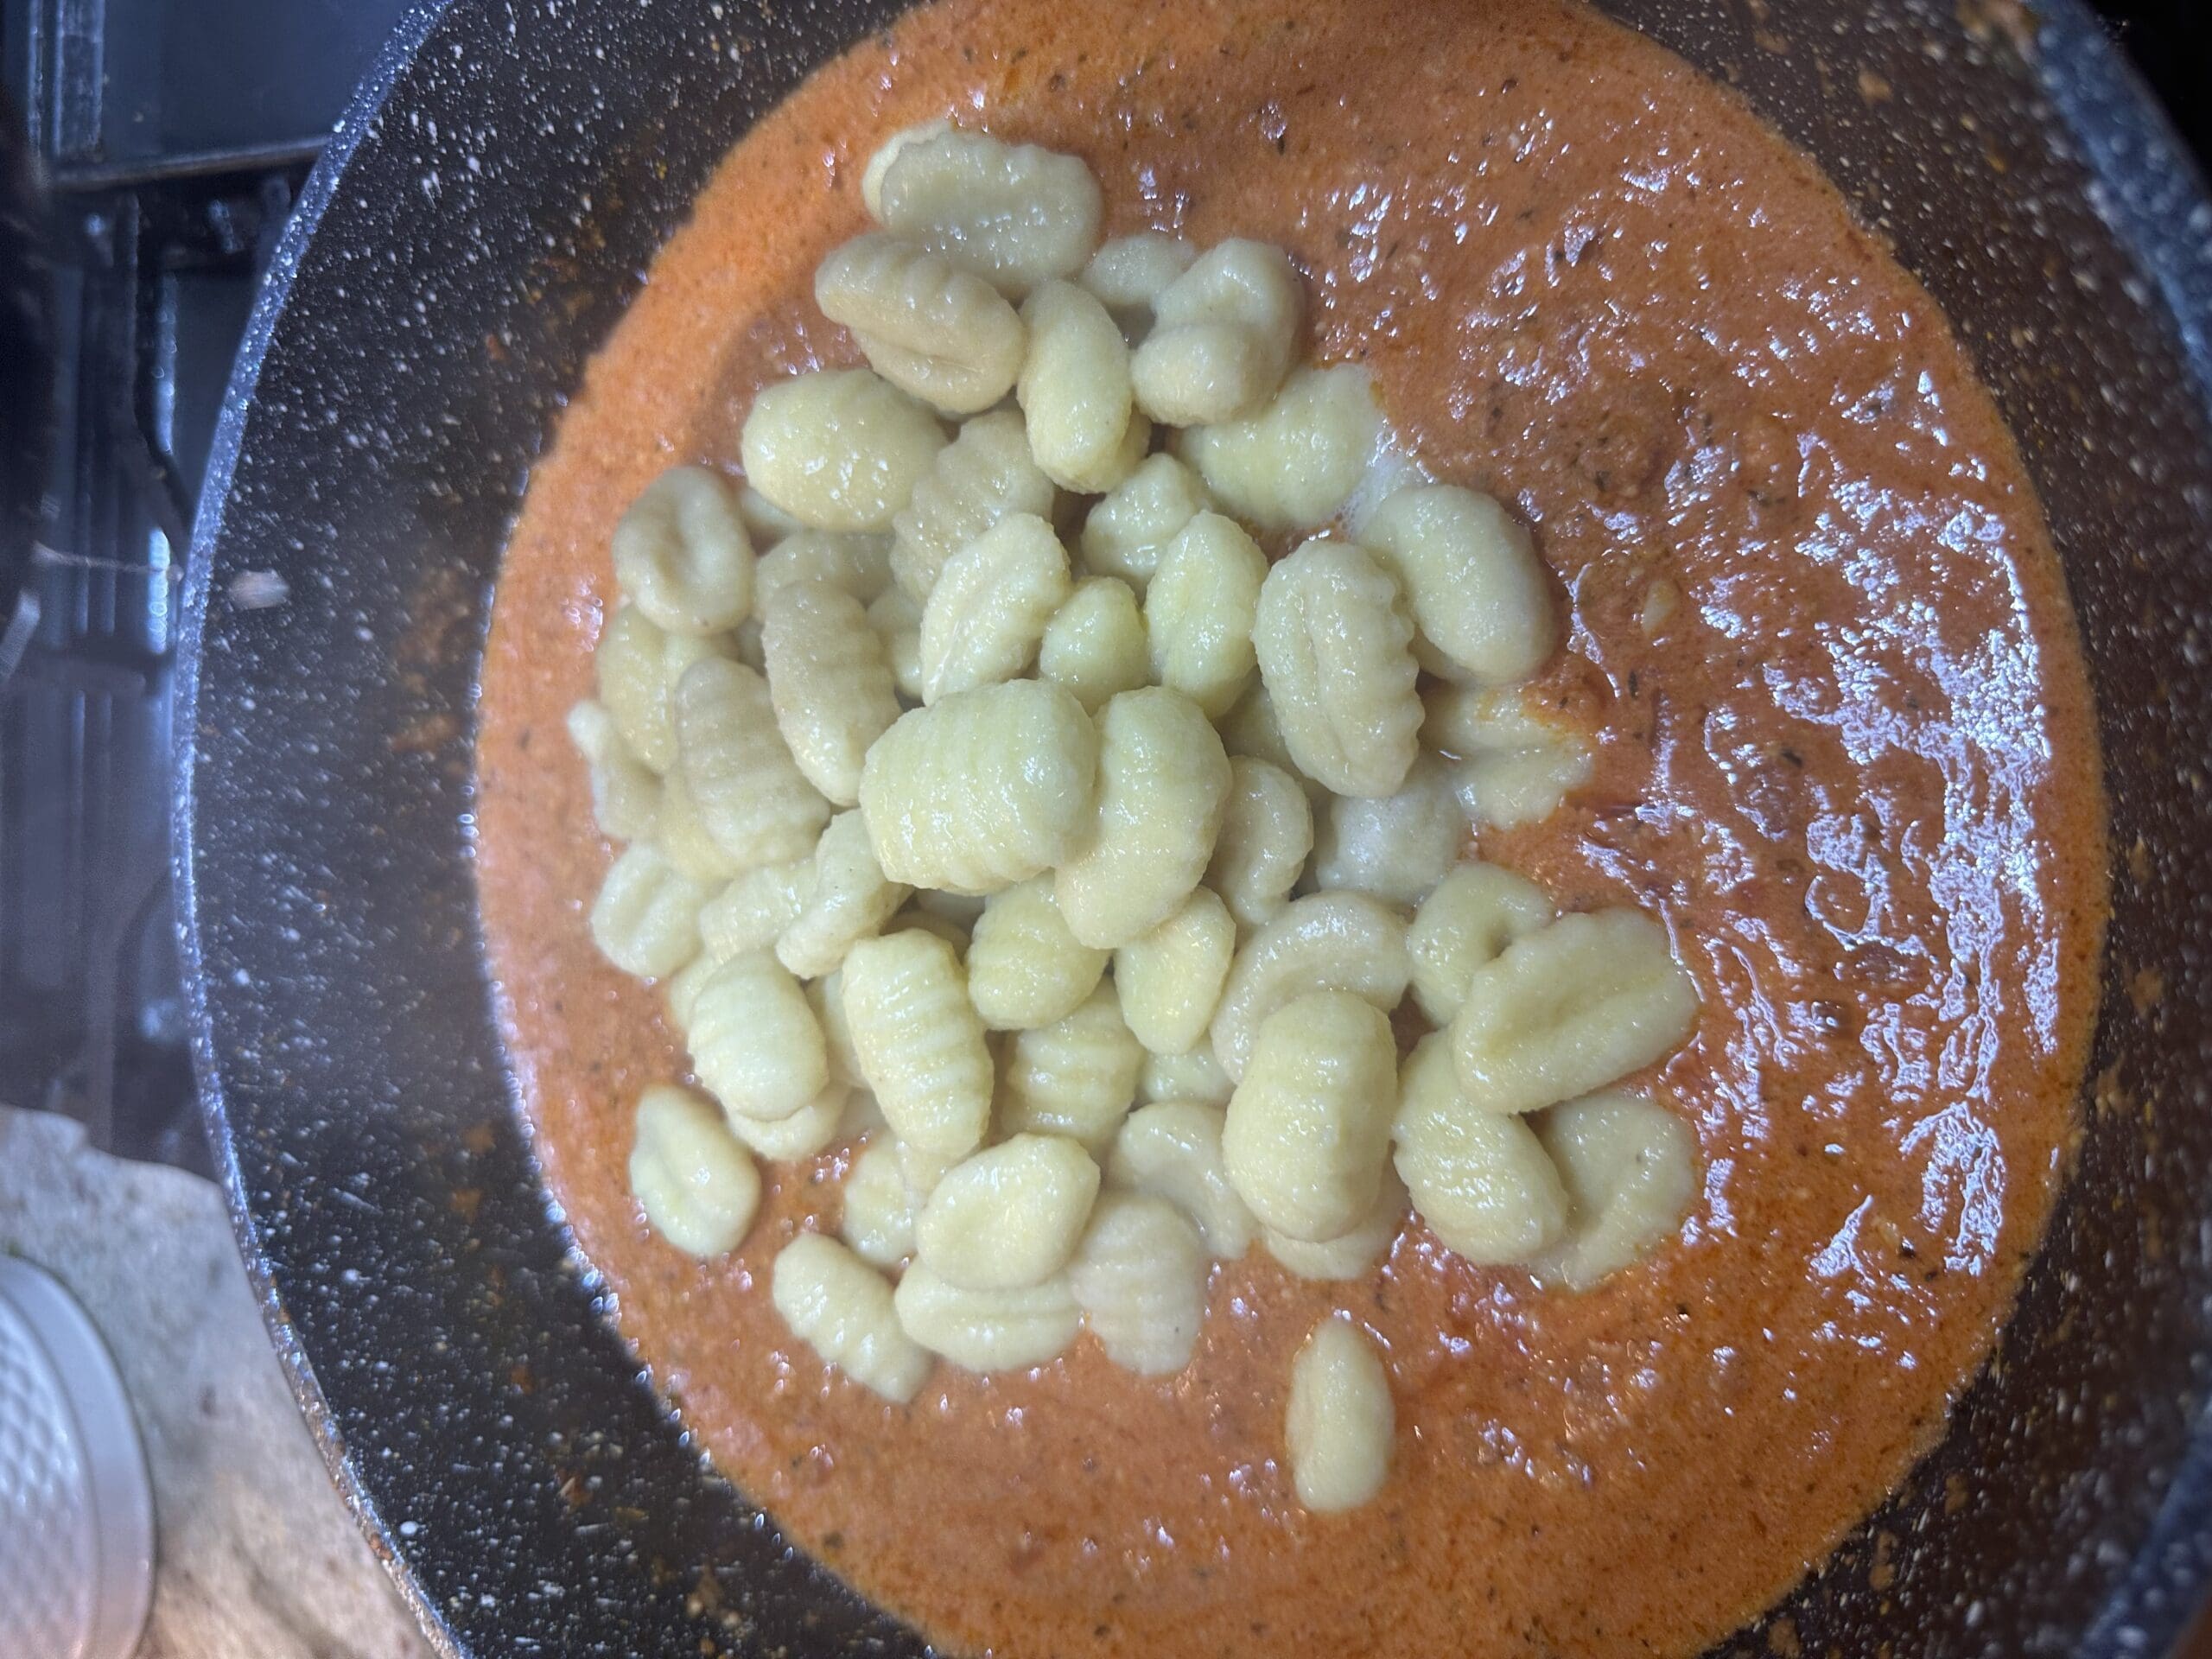
Next, add the bow tie pasta and pasta water.
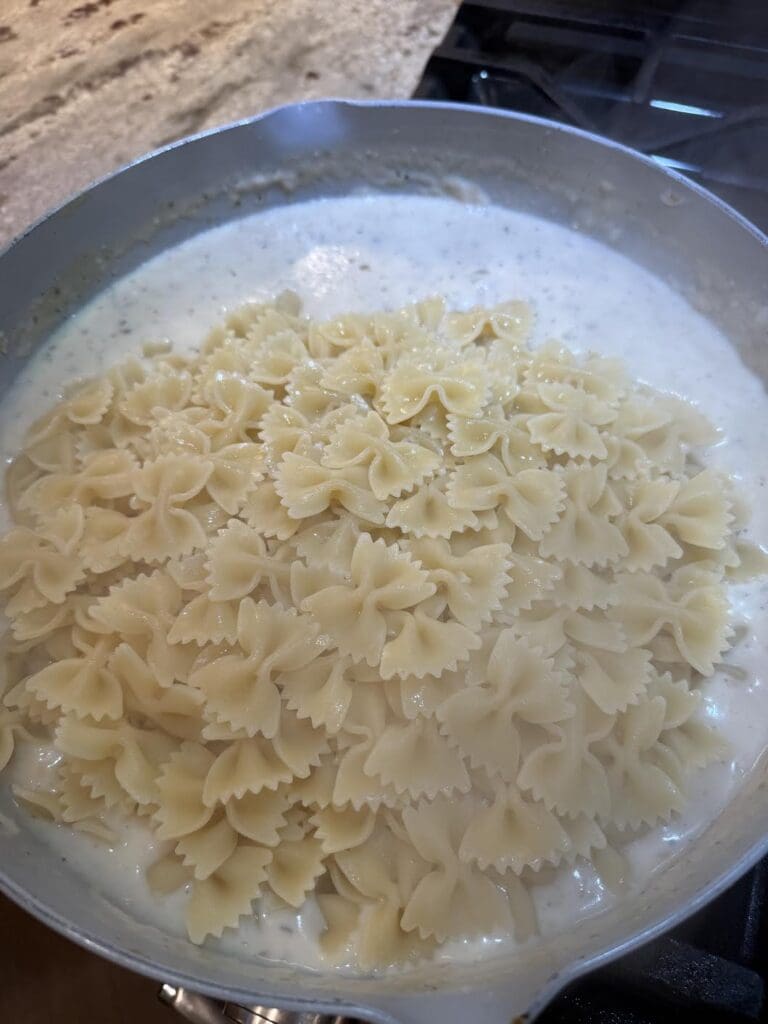
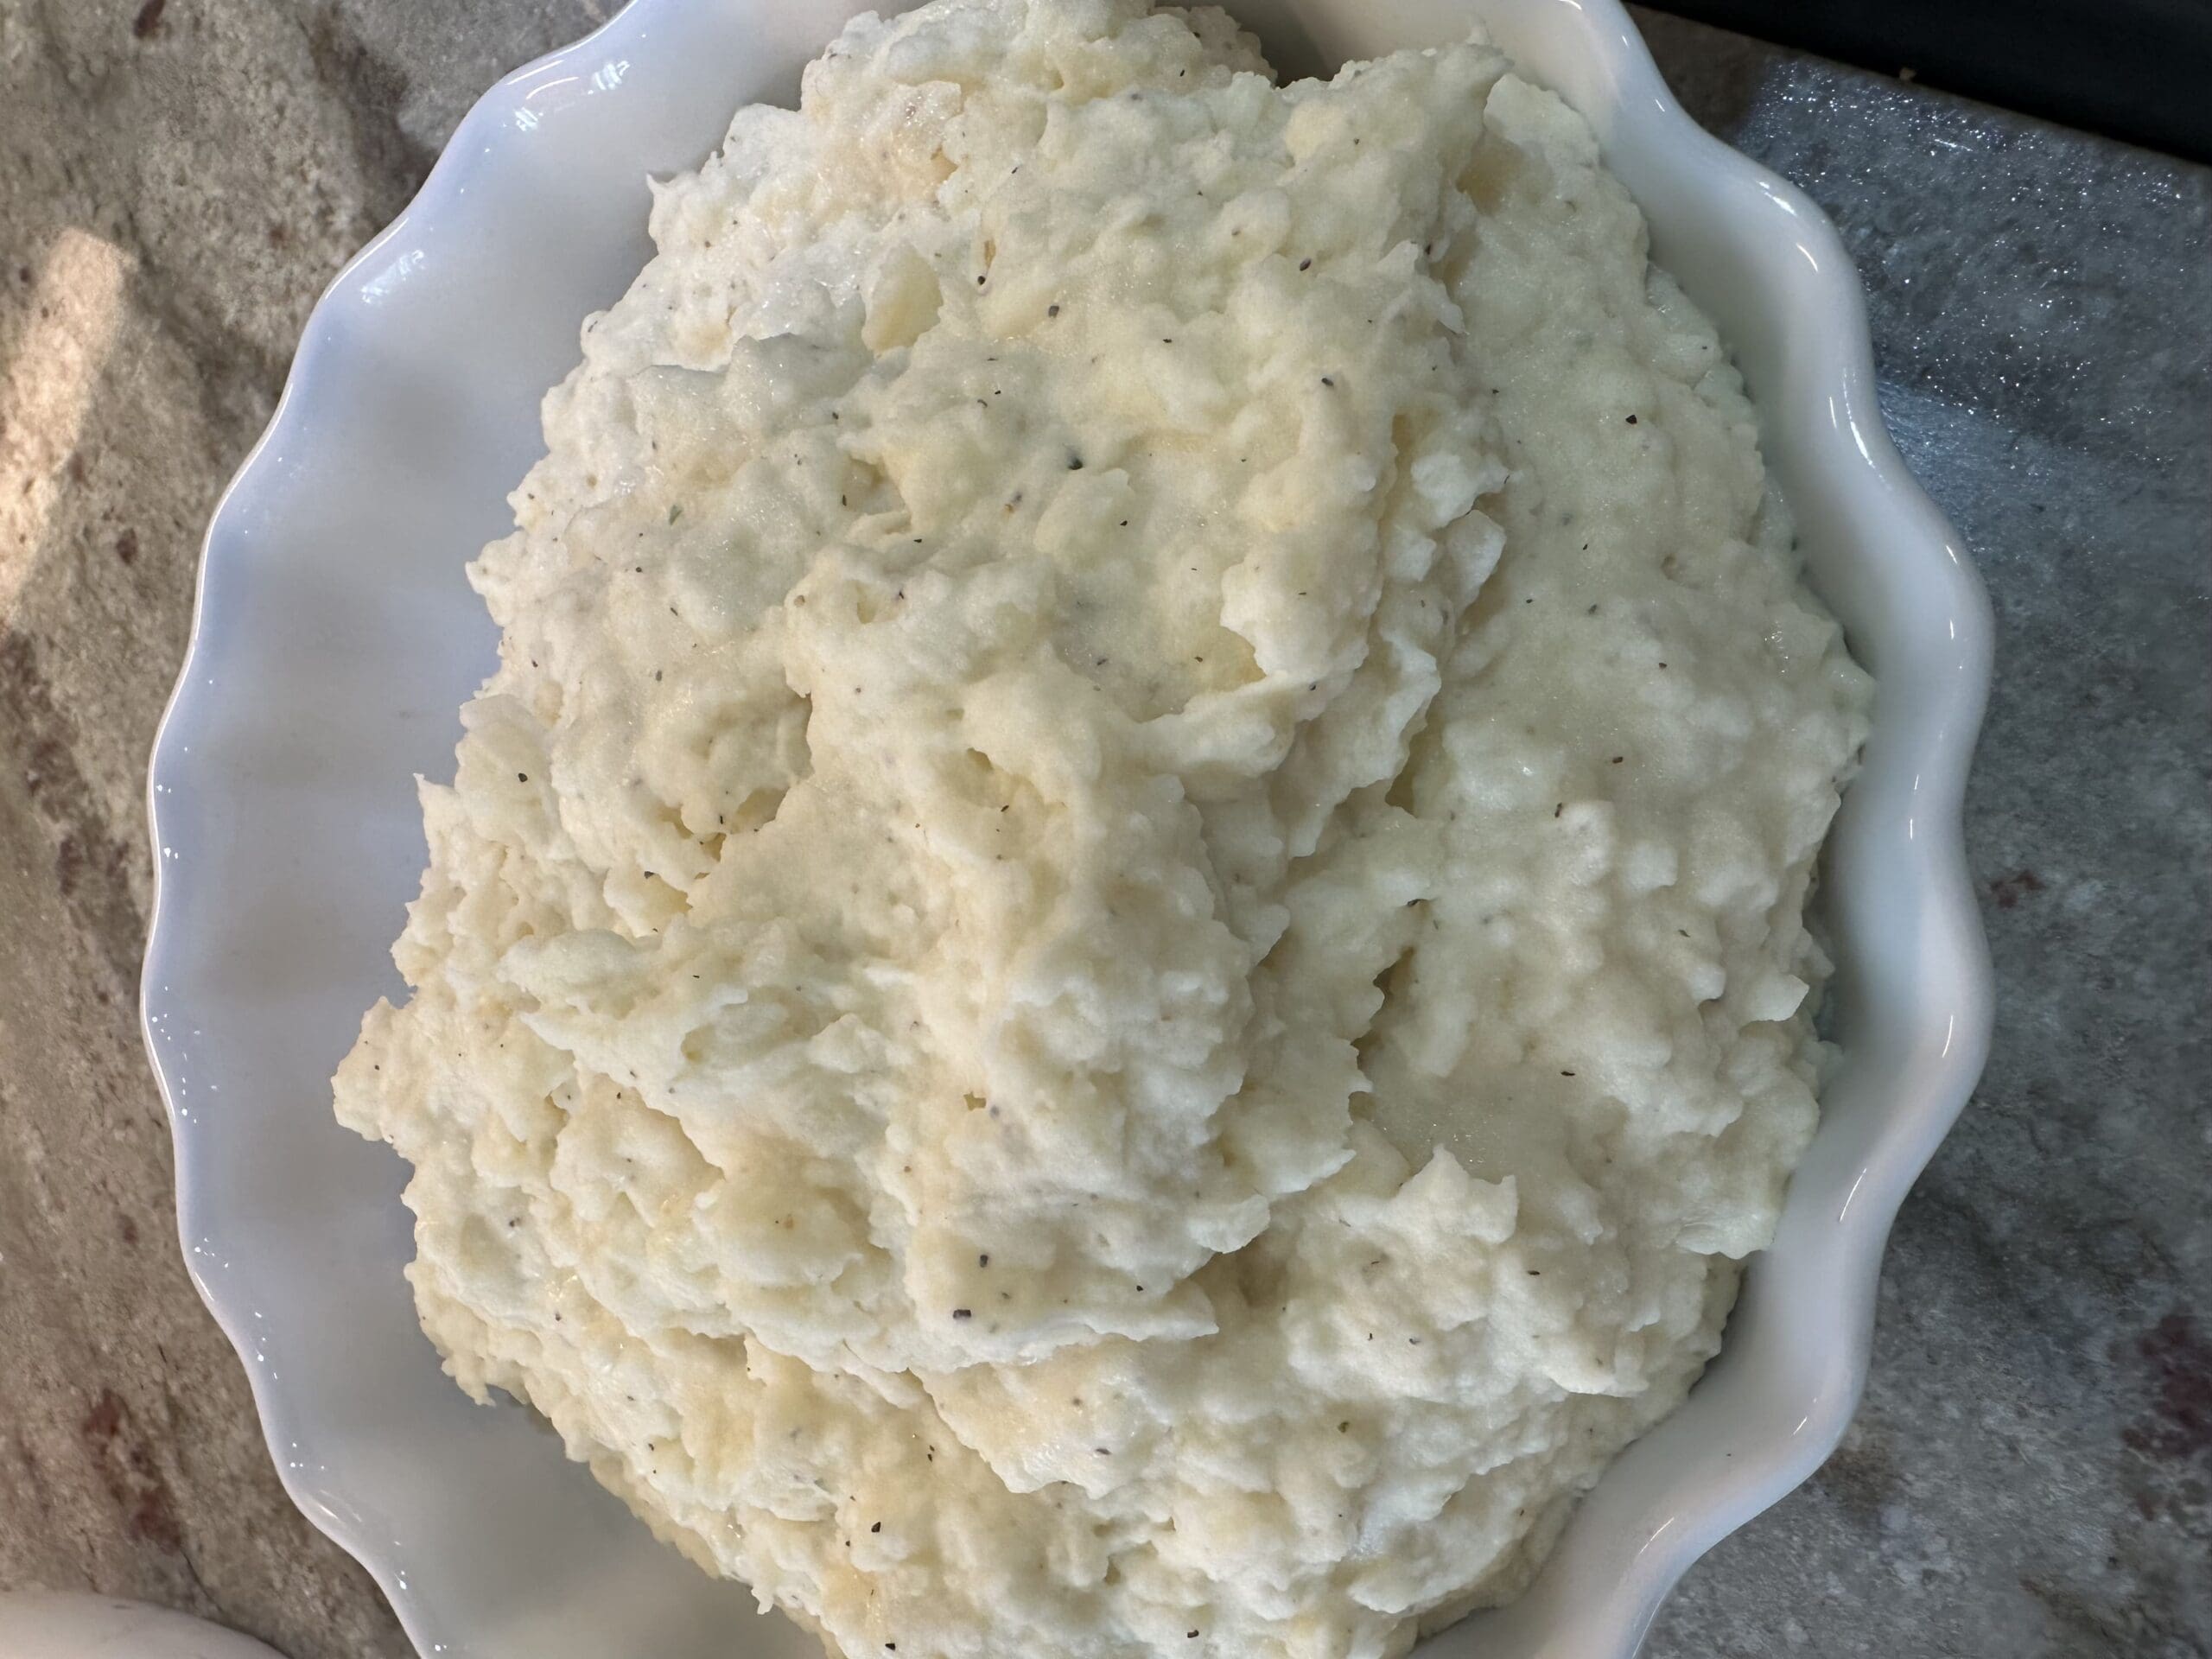
Now, toss everything together until the pasta is evenly coated in the sauce.
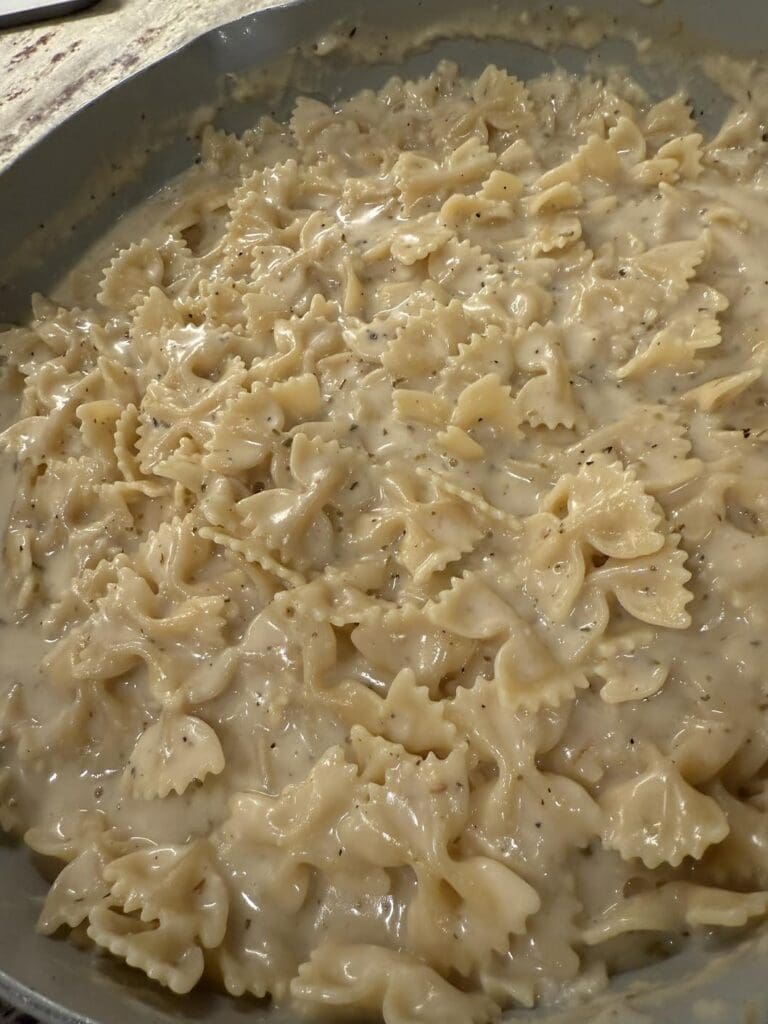
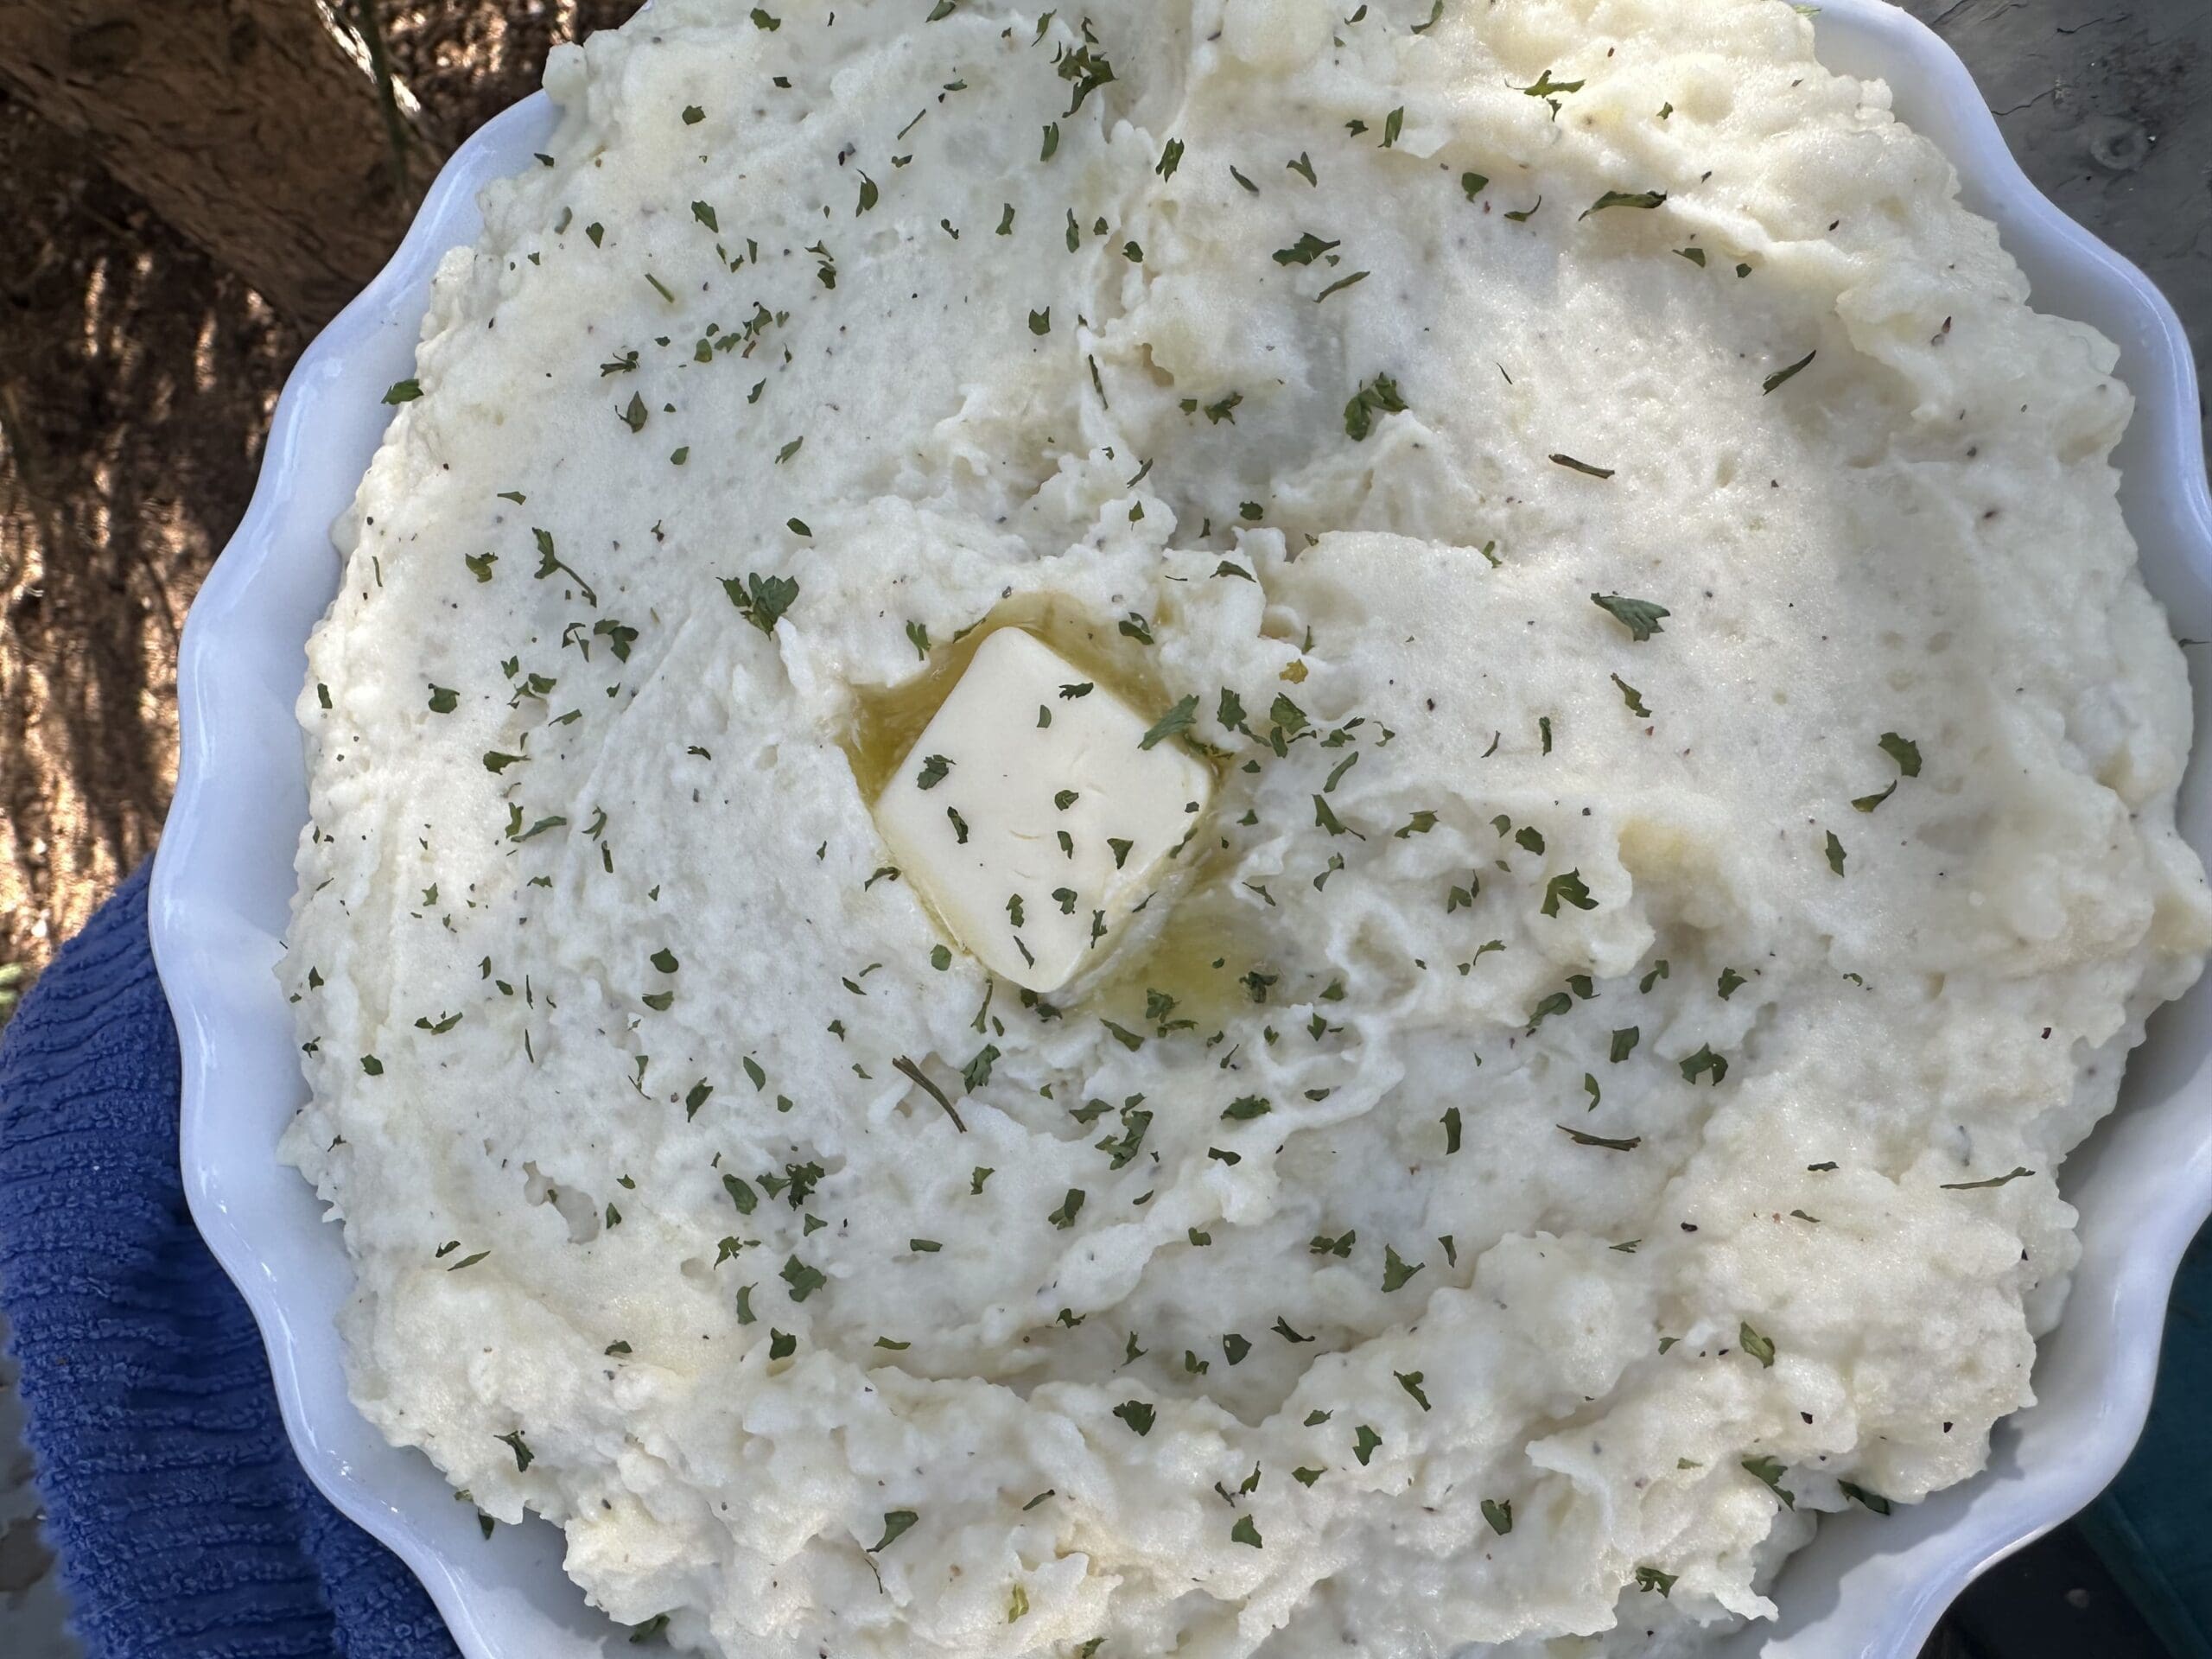
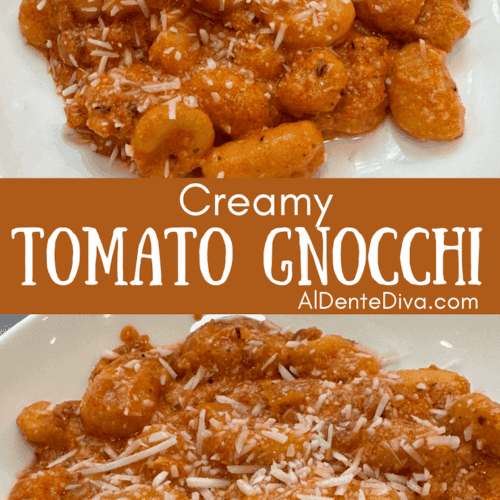
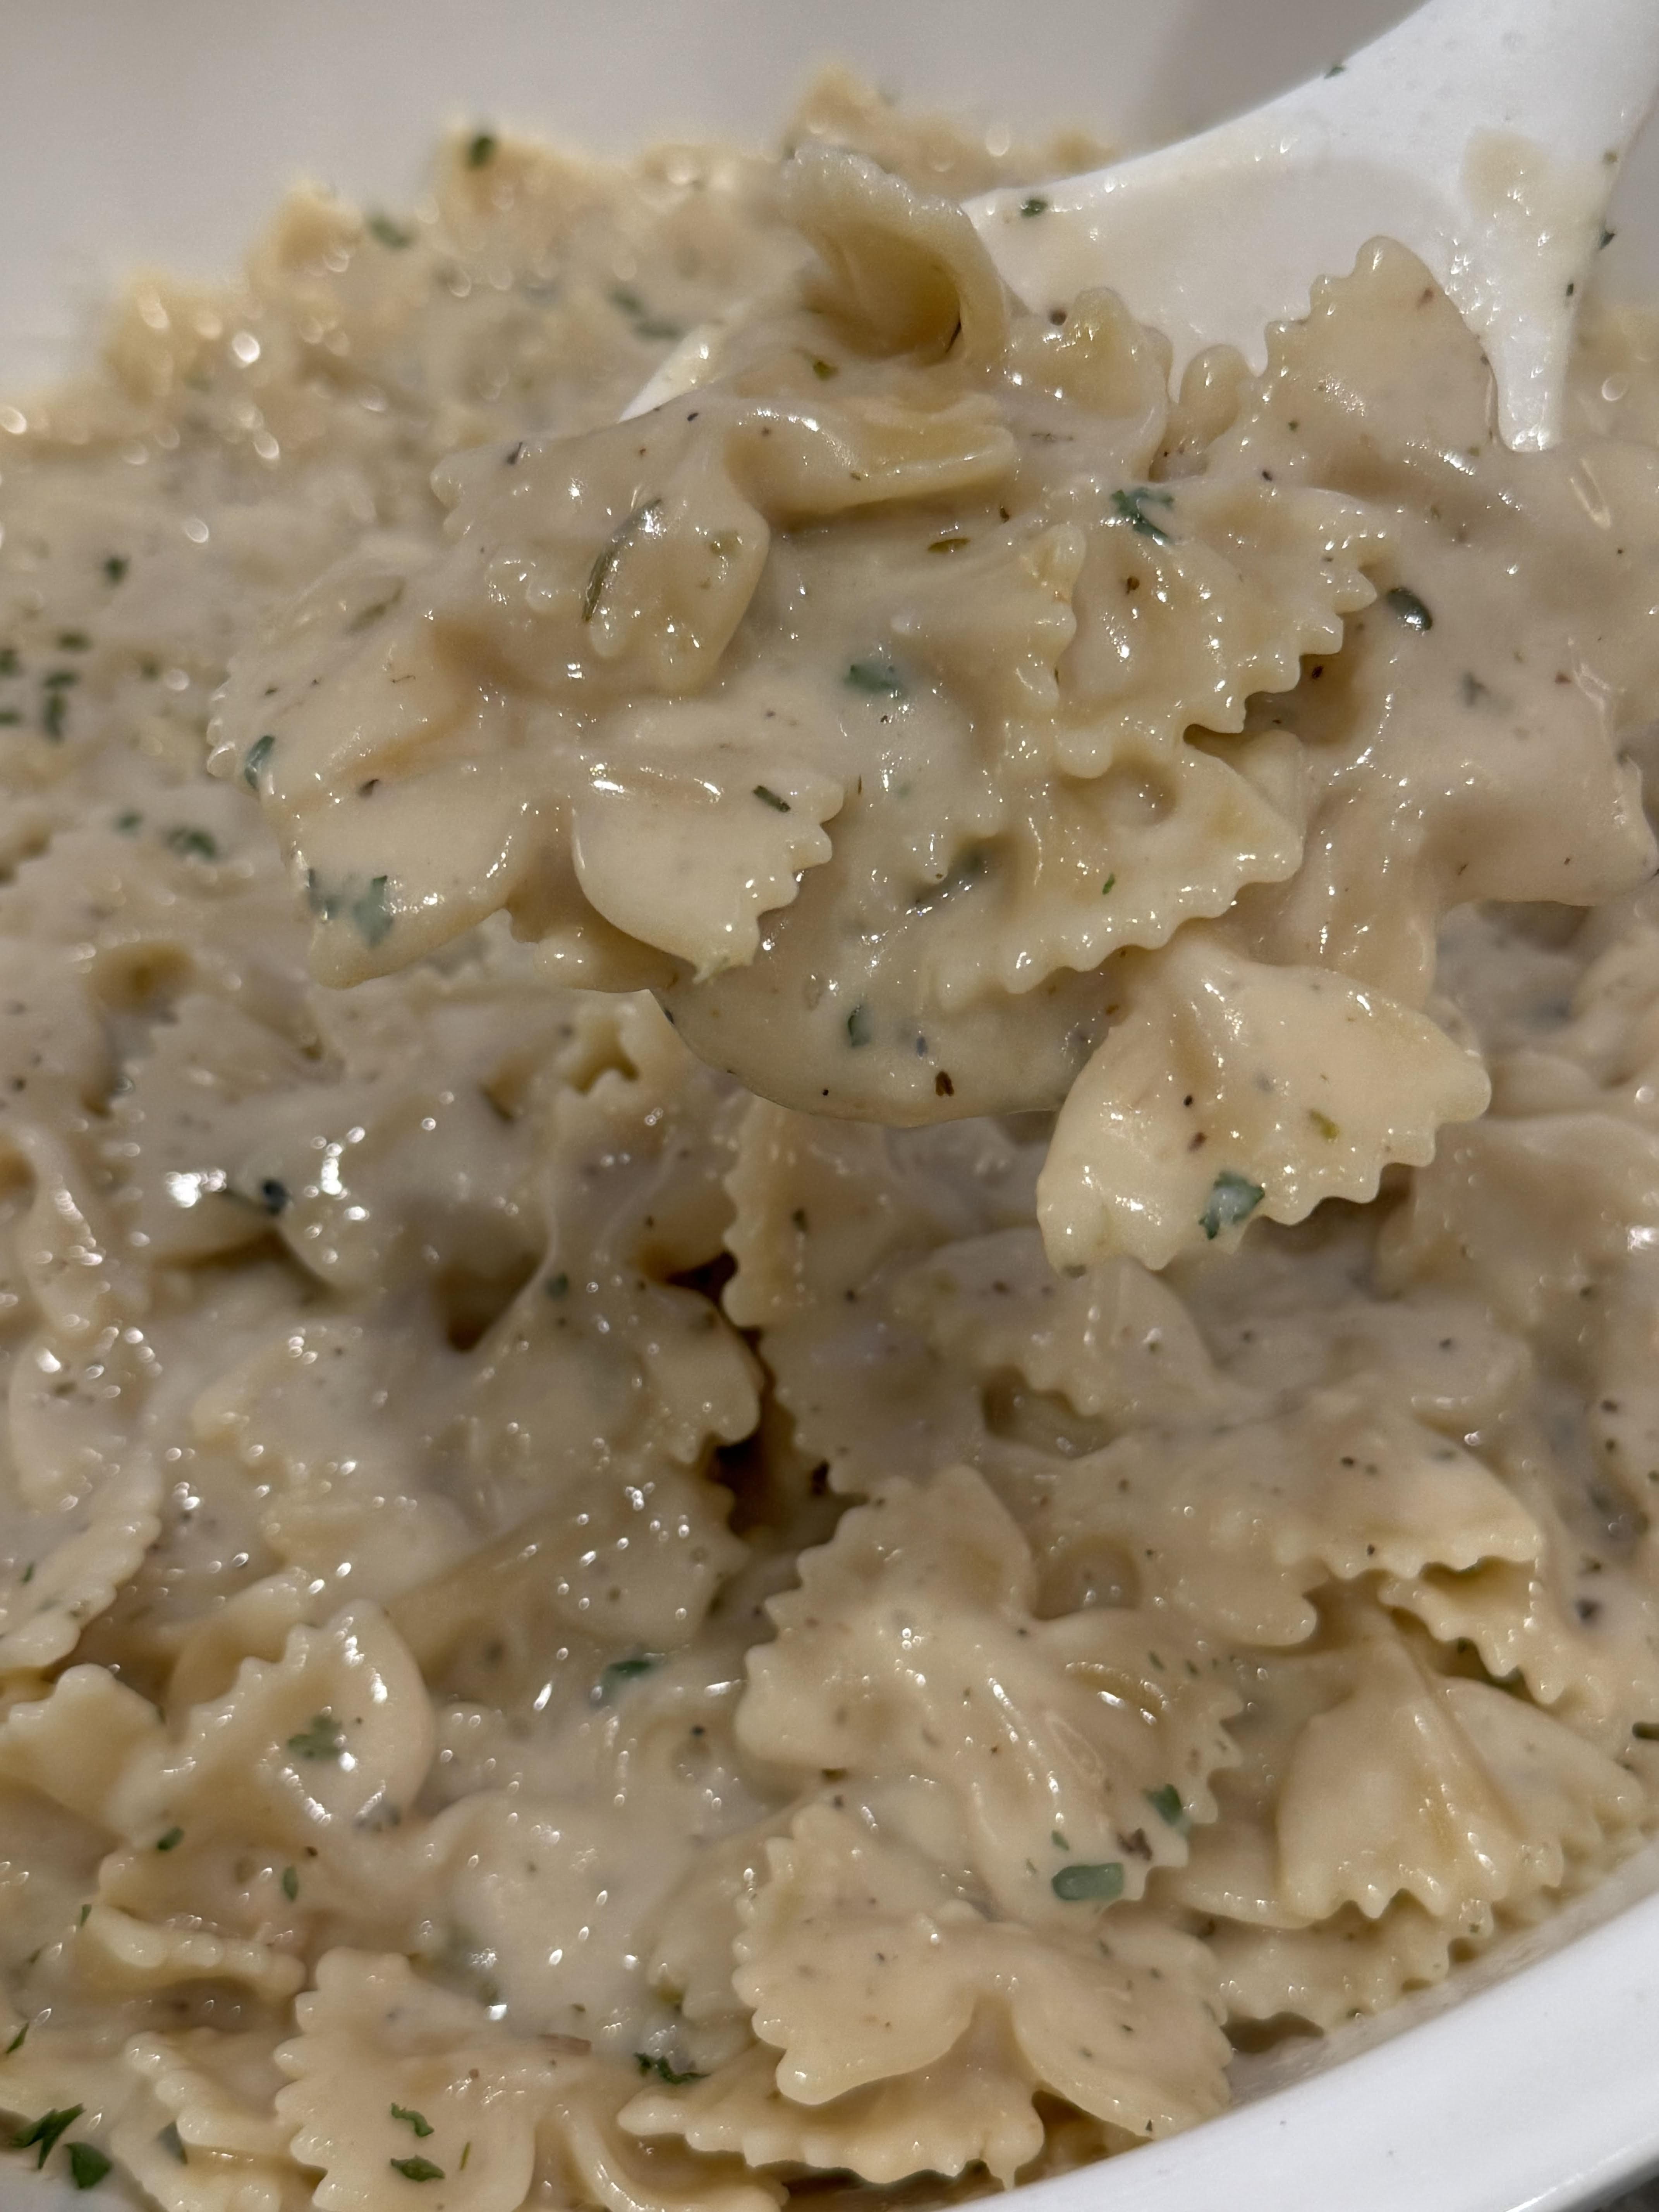
Finally, serve warm and enjoy!
Creamy Garlic Parmesan Pasta
Ingredients
- 1 pound Bow Tie Pasta (and a ladle of pasta water)
- 2 tbs Butter
- 2 tbs Olive Oil
- ¼ cup Flour
- 3 cloves Garlic, minced
- 1 ½ cups Vegetable Broth
- 1 ½ cups Milk
- ¼-1/2 cup Parmesan Cheese
- 1 tbs Garlic Powder
- 1 tbs Italian Seasoning
- Salt and Pepper, to taste
Instructions
- Melt the butter and olive oil over medium high heat in a large skillet and add the garlic. Cook them together for just a minute.
- Add the four and whisk it into the butter for two minutes.
- Slowly add in the chicken broth and whisk it into the flour until smooth.
- Whisk in the milk and season the sauce with salt, pepper, garlic powder and Italian seasoning.
- Reduce the heat to medium low and let the sauce simmer for about 5 minutes to thicken up and stir in the parmesan cheese.
- Add the bow tie pasta and pasta water.
- Toss everything together until the pasta is evenly coated in the sauce.
- Finally, serve warm and enjoy!